
Shrimp dinners for weeknight meals have a way of saving an evening without making a fuss about it. A bag of frozen shrimp, a lemon, a handful of garlic cloves, and a half-decent skillet can turn into dinner fast enough that the sink never fills up with regret.
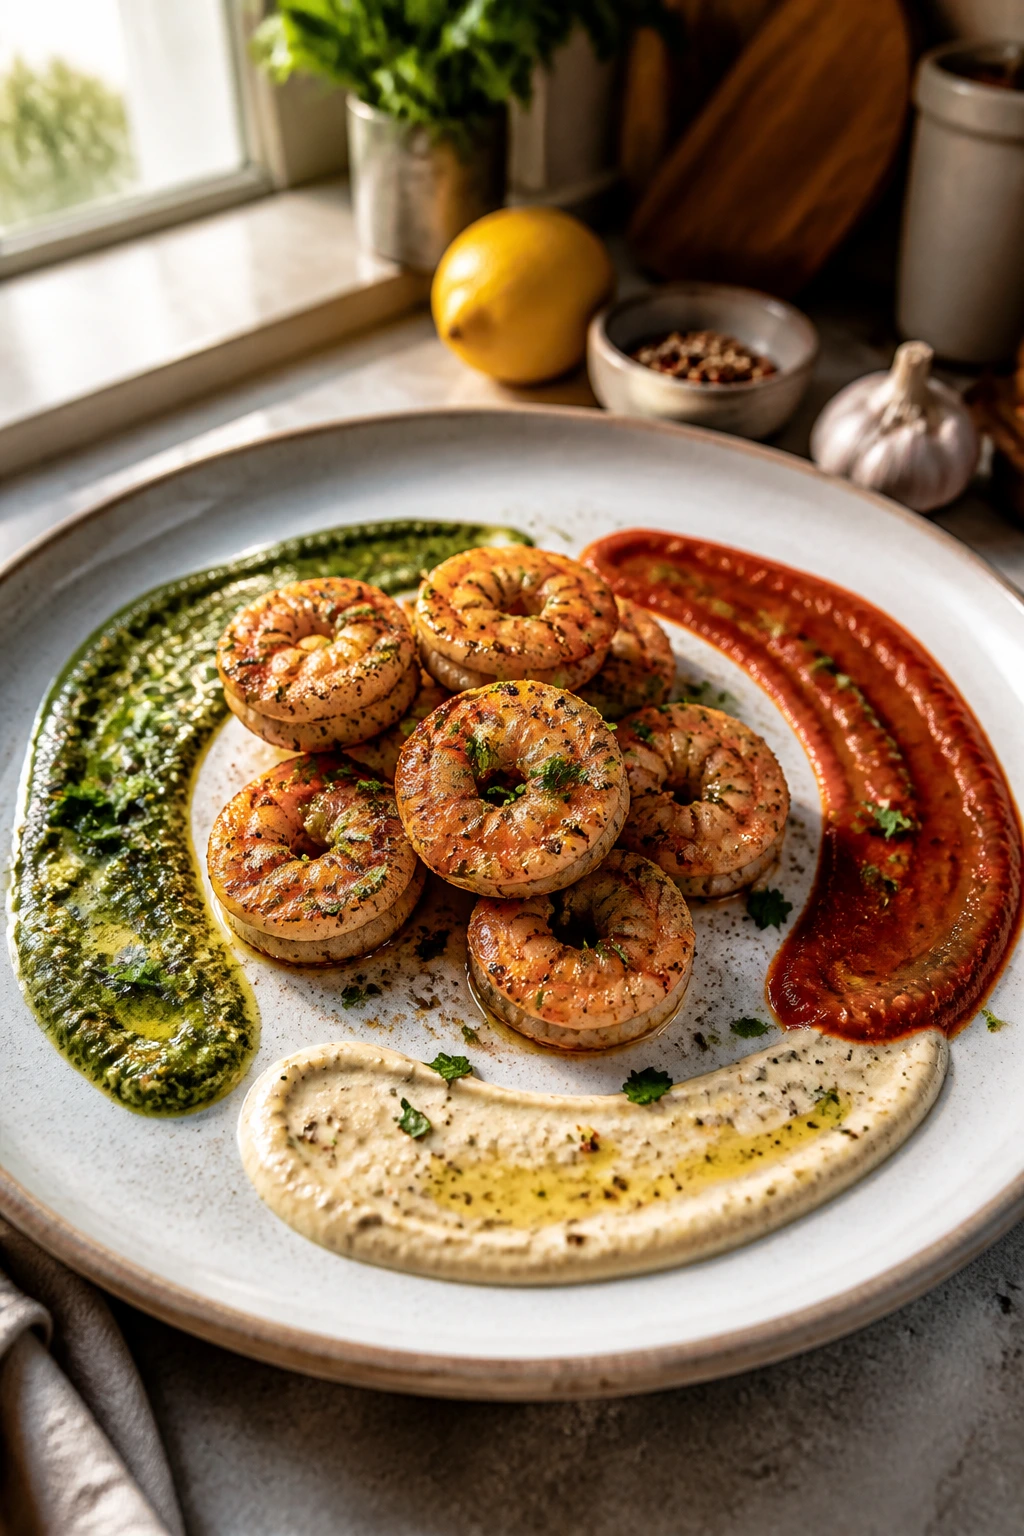
That speed matters. Shrimp cook in a blink, which is either a gift or a trap, depending on how you handle heat. Leave them in the pan too long and they go tight and squeaky. Pull them at the right moment — pink, opaque, curled into a loose C, never a cramped little O — and they taste sweet, briny, and generous.
The best part is how much range you get from one ingredient. Shrimp can lean buttery and glossy, spicy and smoky, bright with lime, or creamy with coconut milk. They slide into pasta, rice, tacos, sheet-pan meals, grain bowls, and skillet dinners with almost rude confidence, which is exactly what makes them such a smart answer when the evening has already run long.
Why You’ll Love This Collection
-
Fast by nature: Most of these shrimp dinners land on the table in 30 to 40 minutes, and several are closer to 20, which is about as forgiving as dinner gets on a busy night.
-
Flexible on ingredients: Fresh or frozen shrimp, rice or pasta, tortillas or flatbreads — the recipes bend around what you already have instead of forcing a special trip.
-
Built for real cleanup: You’ll see plenty of one-skillet, one-pot, and sheet-pan meals here, which means more dinner and less sink time.
-
Easy to scale: Shrimp recipes are simple to double for a bigger family or cut down for one or two people without much drama.
-
Big flavor, small effort: Lemon, garlic, curry paste, Cajun seasoning, pesto, and Thai basil do a lot of heavy lifting here, so the shrimp can stay the star without a long ingredient list.
-
Not stuck in one lane: This collection swings from cozy to bright, spicy to creamy, and casual to a little polished, so you can match the meal to the mood instead of the other way around.
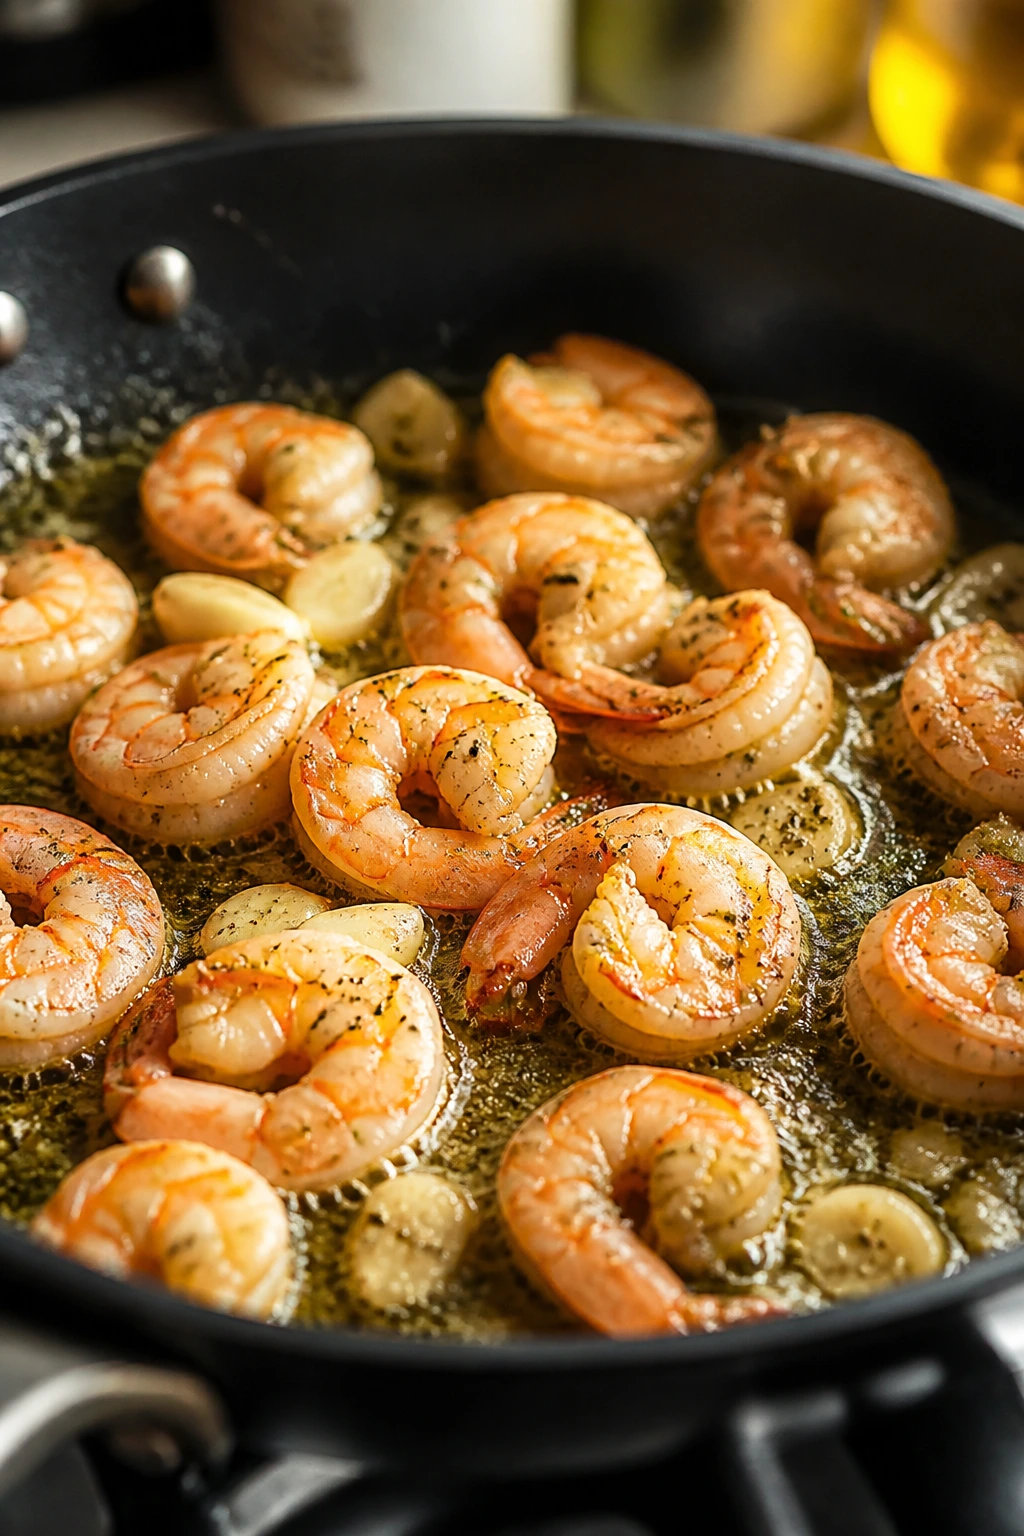
1. Garlic Butter Shrimp Scampi with Linguine
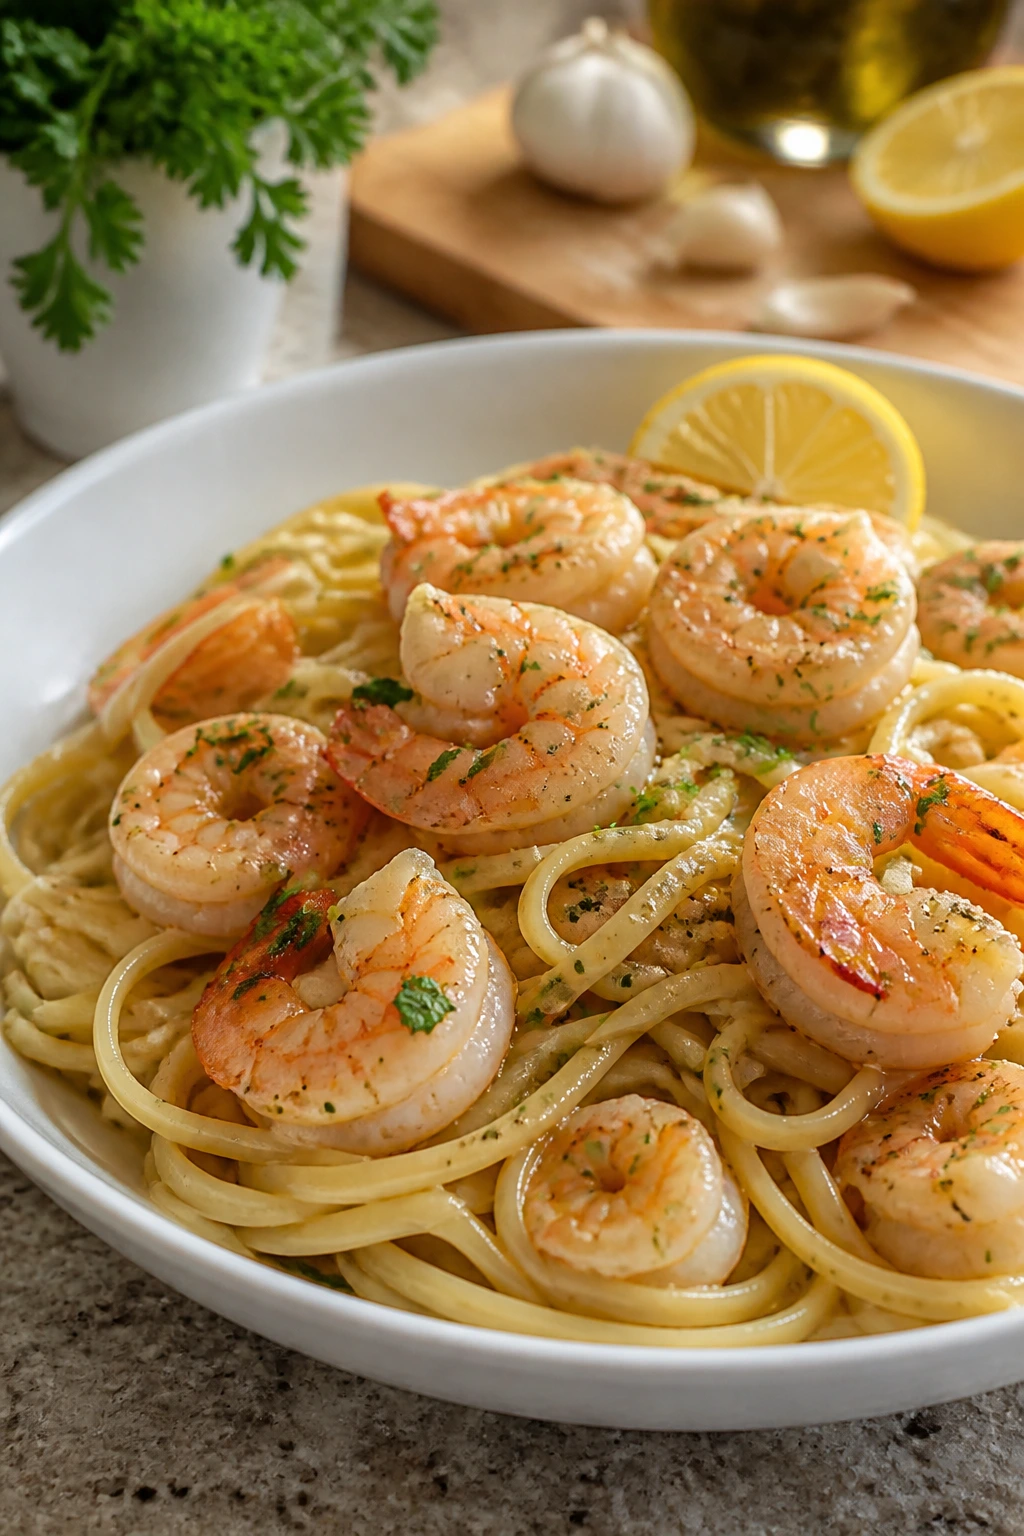
Garlic butter shrimp scampi is the dinner I reach for when I want the table to feel like it took more work than it did. The sauce is glossy, lemony, and just sharp enough to keep all that butter from getting heavy. A tangle of linguine gives the shrimp something to cling to, and the whole pan smells like garlic toast met a seafood restaurant and decided to behave.
Why It Works
Scampi works because it respects shrimp’s speed. The shrimp cook in 4 to 5 minutes total, while the butter, garlic, lemon, and pasta water form a sauce that clings instead of pooling at the bottom of the bowl. That little bit of starchy water is the difference between a broken butter slick and a real emulsion, and it makes the whole dish feel smoother and more finished.
Key Ingredients
- 12 ounces linguine
- 1 1/2 pounds large shrimp, peeled and deveined
- 1 teaspoon kosher salt, plus more for the pasta water
- 1/2 teaspoon black pepper
- 3 tablespoons olive oil
- 4 tablespoons unsalted butter, divided
- 6 garlic cloves, minced
- 1/2 cup dry white wine or low-sodium chicken broth
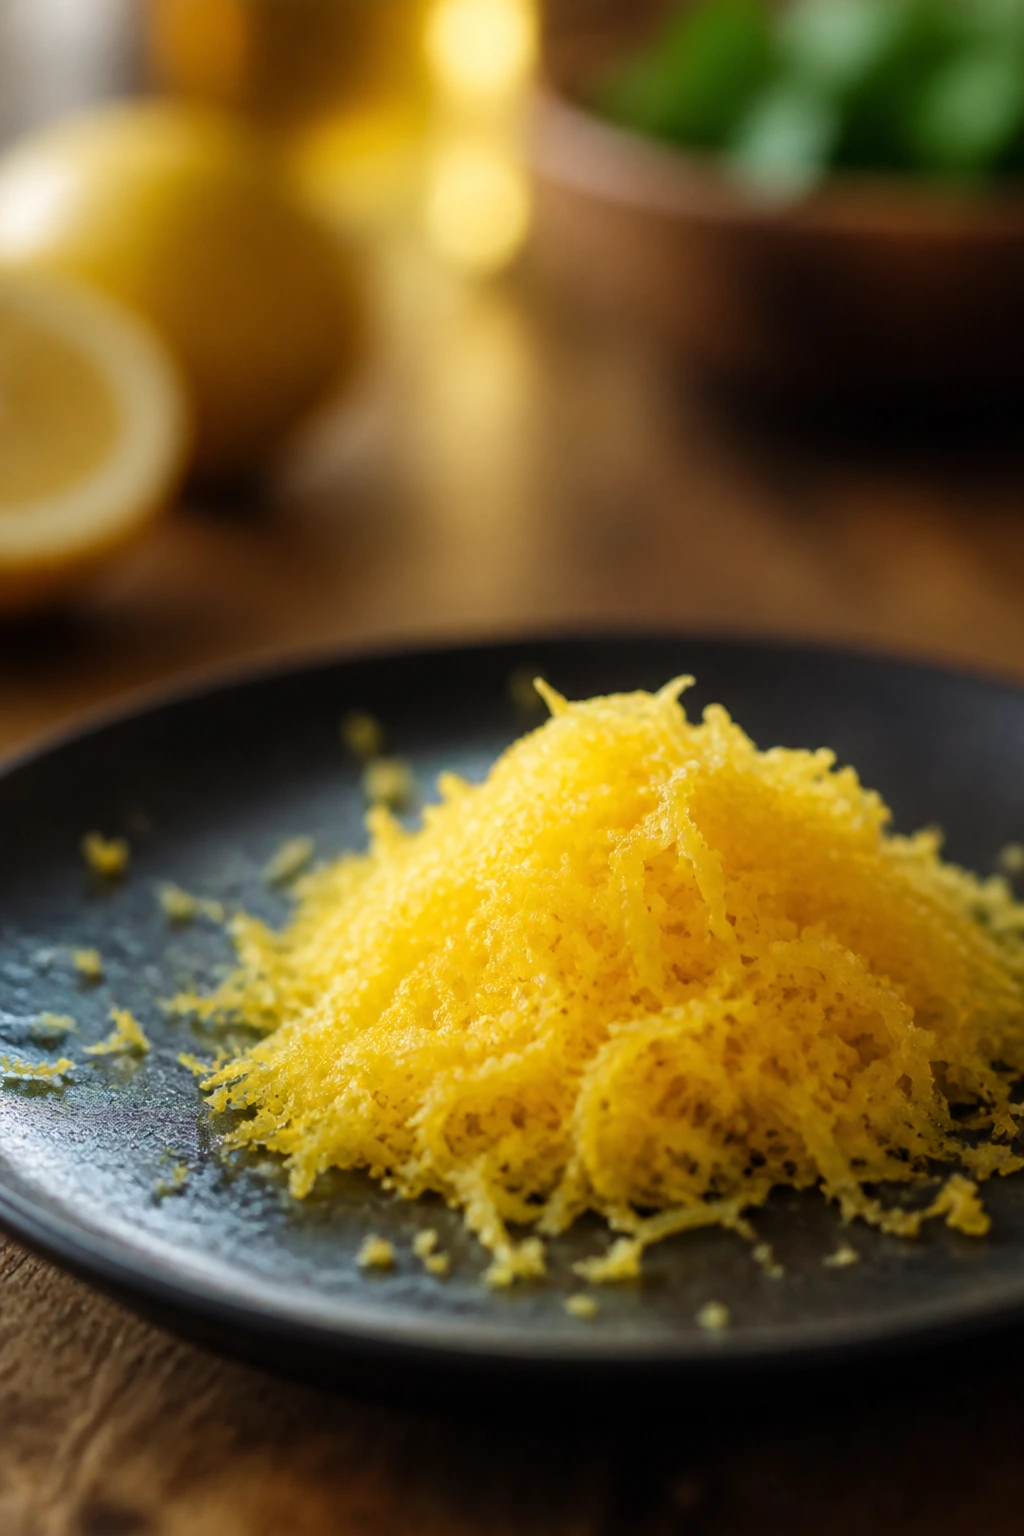
- 1 lemon, zested and juiced
- 1/4 teaspoon red pepper flakes
- 1/2 cup chopped parsley
- 1/4 cup grated Parmesan, optional
Quick Steps
-
Boil the pasta water: Bring a large pot of salted water to a boil and cook the linguine until just al dente, usually 8 to 10 minutes. Reserve 1 cup of pasta water before draining.
-
Dry and season the shrimp: Pat the shrimp dry with paper towels, then season them with the salt and black pepper. Dry shrimp sear better and don’t water down the pan.
-
Start the sauce base: Heat the olive oil and 2 tablespoons of the butter in a large skillet over medium-high heat. Add the garlic and red pepper flakes and cook for 30 seconds, just until fragrant. Do not let the garlic brown.
-
Cook the shrimp fast: Add the shrimp in a single layer and cook for 1 to 2 minutes per side, until pink and opaque with a loose curl. Remove them to a plate before they overcook.
-
Build the pan sauce: Pour in the wine or broth and scrape up the browned bits. Simmer for 1 to 2 minutes, then add the remaining butter, lemon zest, and lemon juice. Stir in a splash of pasta water until the sauce looks silky and lightly glossy.
-
Finish and toss: Add the linguine, parsley, and shrimp back to the skillet and toss until everything is coated. If you want Parmesan, add it at the very end so it melts into the sauce instead of clumping.
Tips and Variations
- Flavor shift: Add a spoonful of capers for a sharper, saltier edge.
- Make it richer: A tablespoon of heavy cream at the end softens the lemon if you want a gentler sauce.
- Best texture tip: If the shrimp are jumbo, give them a little more time on the first side and pull them the moment they turn opaque through the center.
2. Coconut Red Curry Shrimp and Rice
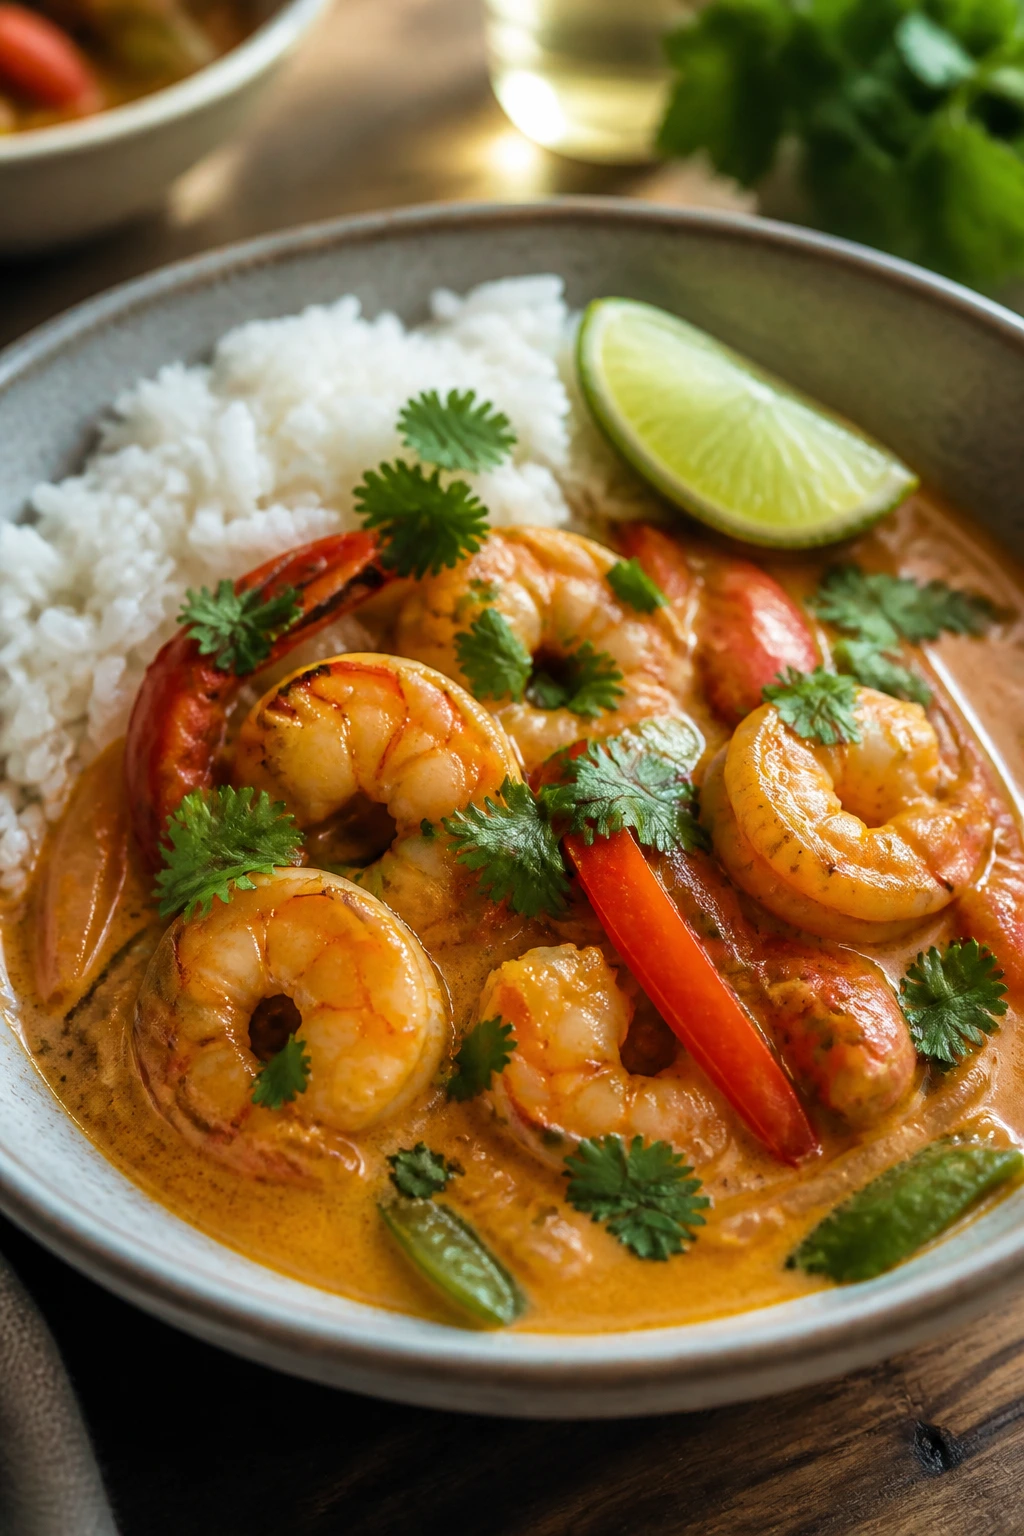
Want dinner that tastes like it simmered all evening but did not? Coconut red curry shrimp is the move. The sauce is creamy from full-fat coconut milk, warm from curry paste, and bright at the finish with lime. Spoon it over jasmine rice and you get the kind of bowl that feels cozy without turning heavy.
Why It Works
This dish uses shrimp the way curry wants to be used: late in the game, after the sauce has already built its flavor. The curry paste blooms in hot oil, which wakes up the spices before the coconut milk goes in. From there, the shrimp only need a few minutes to cook through, and the vegetables stay crisp-tender instead of collapsing into mush.
Key Ingredients
- 1 1/2 cups jasmine rice
- 2 cups water
- 1 tablespoon neutral oil
- 1 small yellow onion, thinly sliced
- 2 tablespoons red curry paste
- 1 can (13.5 ounces) full-fat coconut milk
- 1/2 cup low-sodium chicken broth or water
- 1 red bell pepper, thinly sliced
- 1 cup snap peas
- 1 1/2 pounds medium shrimp, peeled and deveined
- 1 tablespoon fish sauce or soy sauce
- 1 teaspoon brown sugar
- 1 lime, juiced
- 1/4 cup chopped cilantro
Quick Steps
-
Cook the rice first: Rinse the jasmine rice until the water runs mostly clear, then cook it with the 2 cups of water according to the package directions.
-
Wake up the curry paste: Heat the oil in a large skillet or Dutch oven over medium heat. Add the onion and cook for 3 to 4 minutes, then stir in the curry paste for 30 to 60 seconds until it turns darker and smells rich.
-
Add the coconut base: Pour in the coconut milk and broth, then stir in the fish sauce and brown sugar. Bring it to a gentle simmer, not a hard boil.
-
Cook the vegetables: Add the bell pepper and snap peas and simmer for 3 to 4 minutes, just until they are bright and crisp-tender.
-
Add the shrimp last: Stir in the shrimp and cook for 3 to 4 minutes, until pink and opaque all the way through. The sauce should coat a spoon lightly.
-
Finish with lime: Turn off the heat, add the lime juice, and taste for salt. Spoon over rice and scatter cilantro on top.
Tips and Variations
- Use full-fat coconut milk: Light coconut milk can turn thin and flat.
- Vegetable swap: Broccoli florets, zucchini, or baby spinach all fit well here.
- Heat control: If your curry paste runs hot, start with 1 tablespoon and add more after tasting.
3. Shrimp Fried Rice with Frozen Vegetables
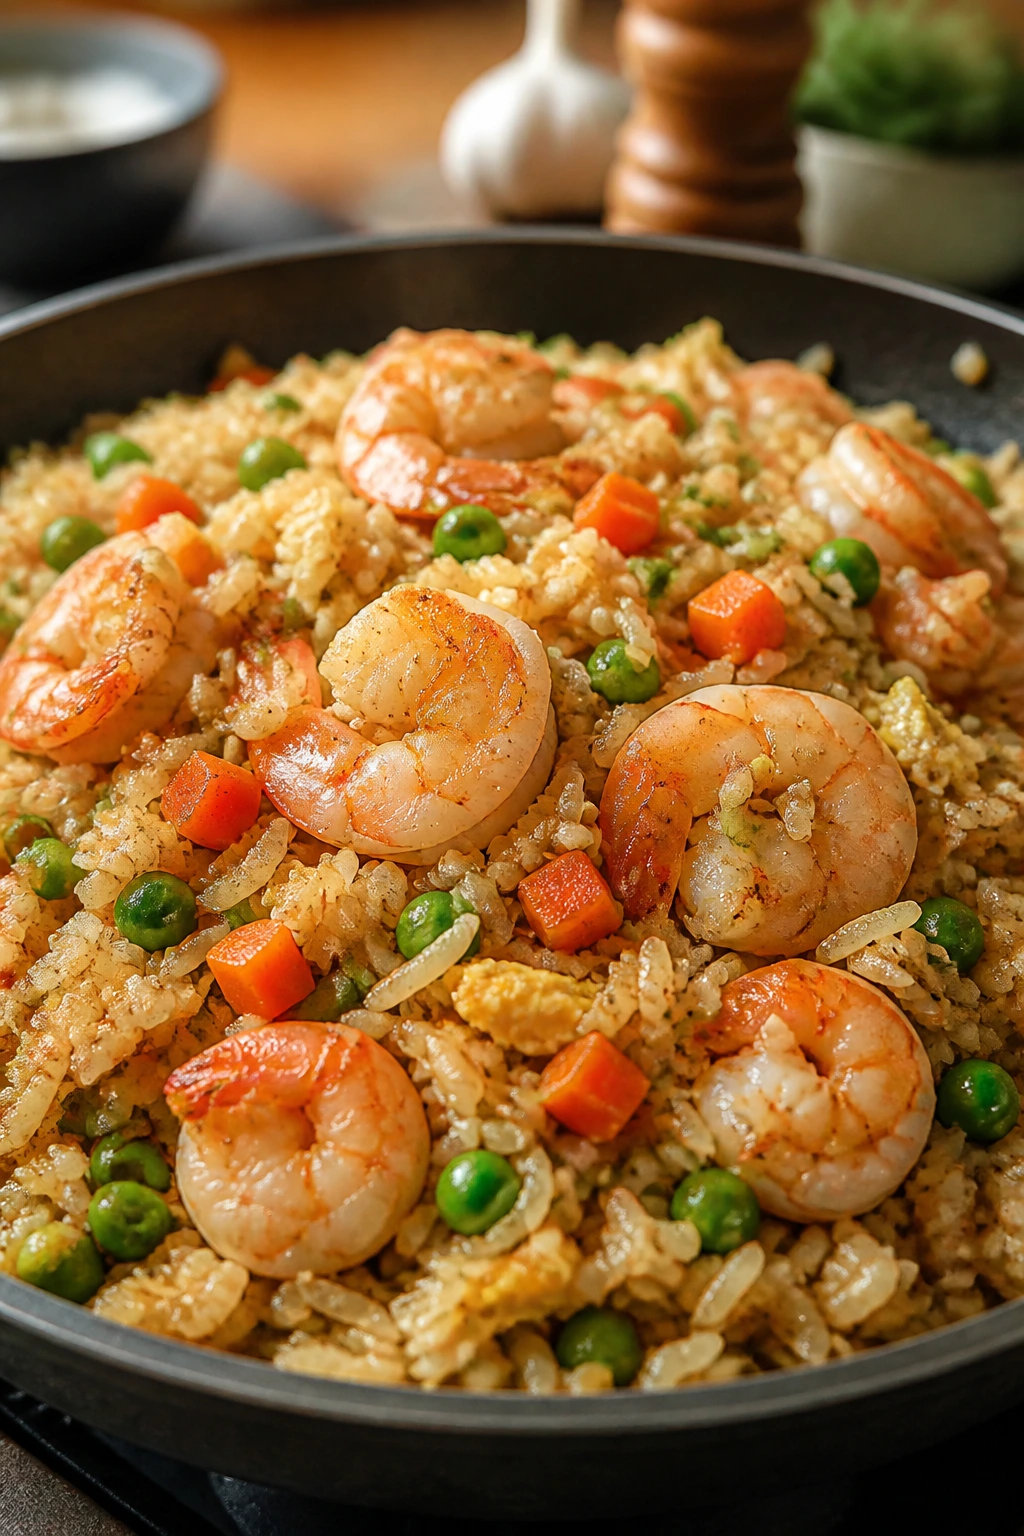
Cold rice from the fridge is not a problem here. It’s the whole point. Shrimp fried rice is one of those useful dinners that feels a little improvised and a little smug, because you can make it from leftovers, frozen vegetables, and a few pantry bottles. The rice gets crisp at the edges, the eggs turn soft and fluffy, and the shrimp bring the whole thing back to life.
Why It Works
Fried rice works best when the grains are dry and separate, which is why day-old rice behaves so much better than just-cooked rice. The shrimp cook first and come out of the pan before the vegetables and rice go in, which keeps them from getting tough while the rice gets the hotter, longer heat it needs. A final splash of sesame oil gives the whole pan that toasty finish people expect from takeout.
Key Ingredients
- 3 cups cold cooked white rice
- 1 pound medium shrimp, peeled and deveined
- 2 tablespoons neutral oil
- 2 large eggs, beaten
- 1 cup frozen peas and carrots
- 1/2 cup diced onion
- 2 garlic cloves, minced
- 3 tablespoons soy sauce
- 1 teaspoon toasted sesame oil
- 2 scallions, sliced
- 1/2 teaspoon grated ginger, optional
Quick Steps
-
Scramble the eggs: Heat 1 teaspoon of the oil in a large skillet or wok over medium-high heat. Add the beaten eggs and stir gently until just set, then remove them to a plate.
-
Cook the shrimp: Add another teaspoon of oil, then the shrimp. Cook for 1 to 2 minutes per side until pink and barely curled. Take them out before they get tight.
-
Stir-fry the vegetables: Add the remaining oil, onion, peas and carrots, garlic, and ginger if using. Cook for 2 to 3 minutes, stirring often, until the onion softens and the garlic smells sweet.
-
Break up the rice: Add the cold rice and break up any clumps with a spatula. Stir-fry for 3 to 4 minutes until the grains are hot and a few of them start to crisp.
-
Season the pan: Pour in the soy sauce and sesame oil and toss until the rice is evenly coated. Return the eggs and shrimp to the skillet.
-
Finish with scallions: Stir in the scallions and taste. If it needs more salt, use a tiny splash of soy sauce rather than dumping in a lot at once.
Tips and Variations
- Rice texture matters: Fresh rice is too soft; cold rice from the night before is ideal.
- Shortcut: Frozen peas and carrots go in straight from the bag.
- Flavor boost: A spoonful of chili crisp on top gives the bowl a sharper finish.
4. Shrimp Tacos with Lime Slaw
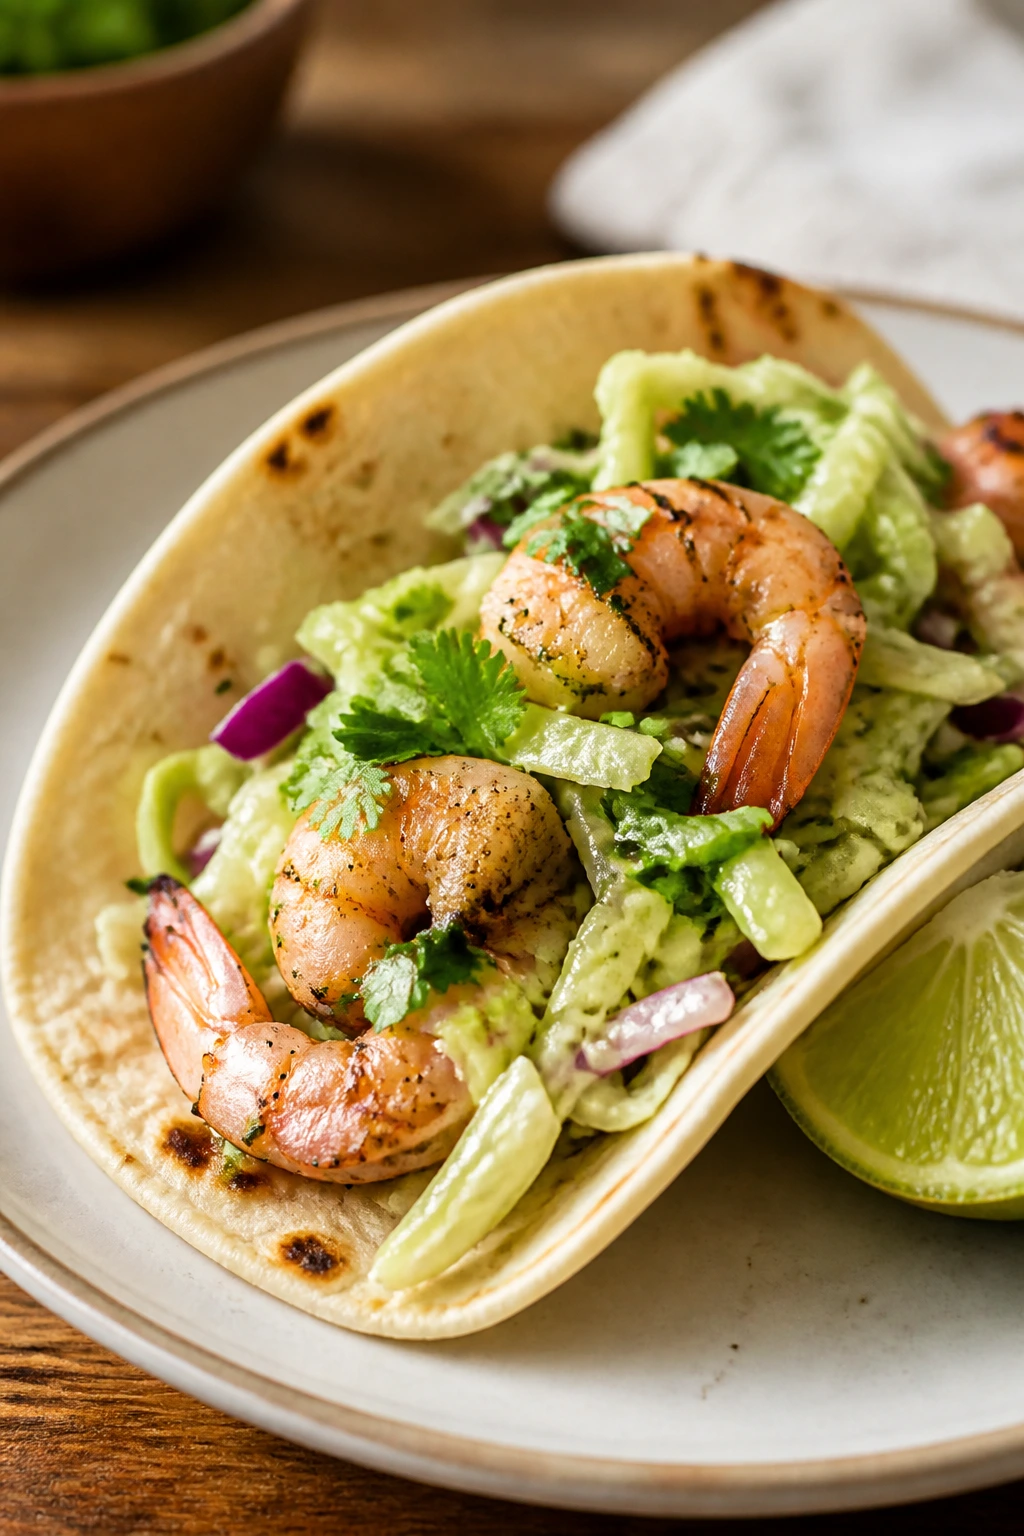
Tacos do not need to be complicated to feel alive on the plate. Shrimp tacos are fast, bright, and a little messy in the best way. The shrimp get a dusting of chili, cumin, and garlic, then hit a hot pan for a quick sear while the slaw brings crunch and lime. If dinner needs energy instead of comfort, this is the answer.
Why It Works
Shrimp tacos rely on contrast. The shrimp are warm and lightly smoky, the slaw is cool and crisp, and the tortillas act like a soft wrapper instead of competing for attention. The lime in the slaw does more than brighten things; it also cuts through the sweetness of the shrimp and keeps the whole taco from tasting flat after the first bite.
Key Ingredients
- 1 1/4 pounds shrimp, peeled and deveined
- 1 tablespoon chili powder
- 1 teaspoon ground cumin
- 1/2 teaspoon garlic powder
- 1/2 teaspoon kosher salt
- 2 tablespoons olive oil
- 8 small corn or flour tortillas
- 3 cups shredded cabbage or coleslaw mix
- 1/4 cup plain Greek yogurt or mayonnaise
- 1 lime, zested and juiced
- 1/4 cup chopped cilantro
- 1 avocado, sliced
- Hot sauce or pickled jalapeños, optional
Quick Steps
-
Mix the slaw first: Stir together the cabbage, Greek yogurt or mayo, lime zest, half the lime juice, and cilantro. Let it sit while you cook the shrimp so the cabbage softens slightly.
-
Season the shrimp: Toss the shrimp with chili powder, cumin, garlic powder, salt, and olive oil until evenly coated.
-
Sear the shrimp: Heat a large skillet over medium-high heat. Cook the shrimp in a single layer for 2 minutes per side, until pink and lightly charred at the edges.
-
Warm the tortillas: Heat the tortillas in a dry skillet for about 20 seconds per side, or wrap them in foil and warm them in a low oven. Warm tortillas tear less.
-
Assemble quickly: Fill each tortilla with slaw, shrimp, and avocado. Add hot sauce or pickled jalapeños if you want more bite.
-
Taste and adjust: Squeeze the remaining lime over the tacos just before serving. That last hit of acid pulls everything together.
Tips and Variations
- Gluten-free note: Corn tortillas keep this easy and naturally gluten-free.
- Extra crunch: Add a few thin slices of radish or cucumber.
- Heat control: Keep the slaw mild and let each person add hot sauce at the table.
5. Sheet Pan Shrimp Fajitas

Sheet pan fajitas are what I cook when I want the oven to do the boring part. The onions and peppers roast until the edges char a little, the shrimp finish in the same pan, and the kitchen smells sweet and smoky all at once. It’s the sort of dinner that looks bigger than the effort behind it.
Why It Works
The sheet pan gives the vegetables a chance to roast instead of steam, which matters more than people think. Peppers and onions need enough space to brown, and shrimp need to be added later so they do not overcook while the vegetables catch color. High heat at 425°F helps the fajita seasoning bloom on contact and keeps the whole pan lively.
Key Ingredients
- 1 1/2 pounds shrimp, peeled and deveined
- 2 bell peppers, sliced
- 1 large red onion, sliced
- 2 tablespoons olive oil
- 2 teaspoons chili powder
- 1 teaspoon smoked paprika
- 1 teaspoon ground cumin
- 1/2 teaspoon garlic powder
- 1/2 teaspoon kosher salt
- 1 lime, cut into wedges
- 8 small tortillas
- Salsa or sour cream, for serving
- 1 avocado, optional
Quick Steps
-
Heat the oven: Preheat to 425°F and place a large sheet pan inside while the oven heats if you want extra sizzling.
-
Season the vegetables: Toss the peppers and onion with olive oil, chili powder, paprika, cumin, garlic powder, and salt. Spread them out in one layer.
-
Roast the vegetables first: Roast for 10 minutes, until the onions start to soften and the peppers show a little browning on the edges.
-
Add the shrimp: Toss the shrimp with the same pan juices, then scatter them over the vegetables. Return the pan to the oven for 6 to 8 minutes, until the shrimp are pink and the vegetables are tender.
-
Finish with lime: Squeeze lime juice over the pan right after it comes out. The steam will carry the aroma straight up.
-
Serve hot: Warm the tortillas and pile in the fajita filling with salsa, sour cream, or avocado.
Tips and Variations
- Do not crowd the pan: If everything is piled up, the vegetables steam instead of roast.
- Best cut: Slice the peppers and onions into similar widths so they cook at the same pace.
- Flavor move: A pinch of chipotle powder adds more smoke if you want it.
6. Creamy Shrimp and Grits
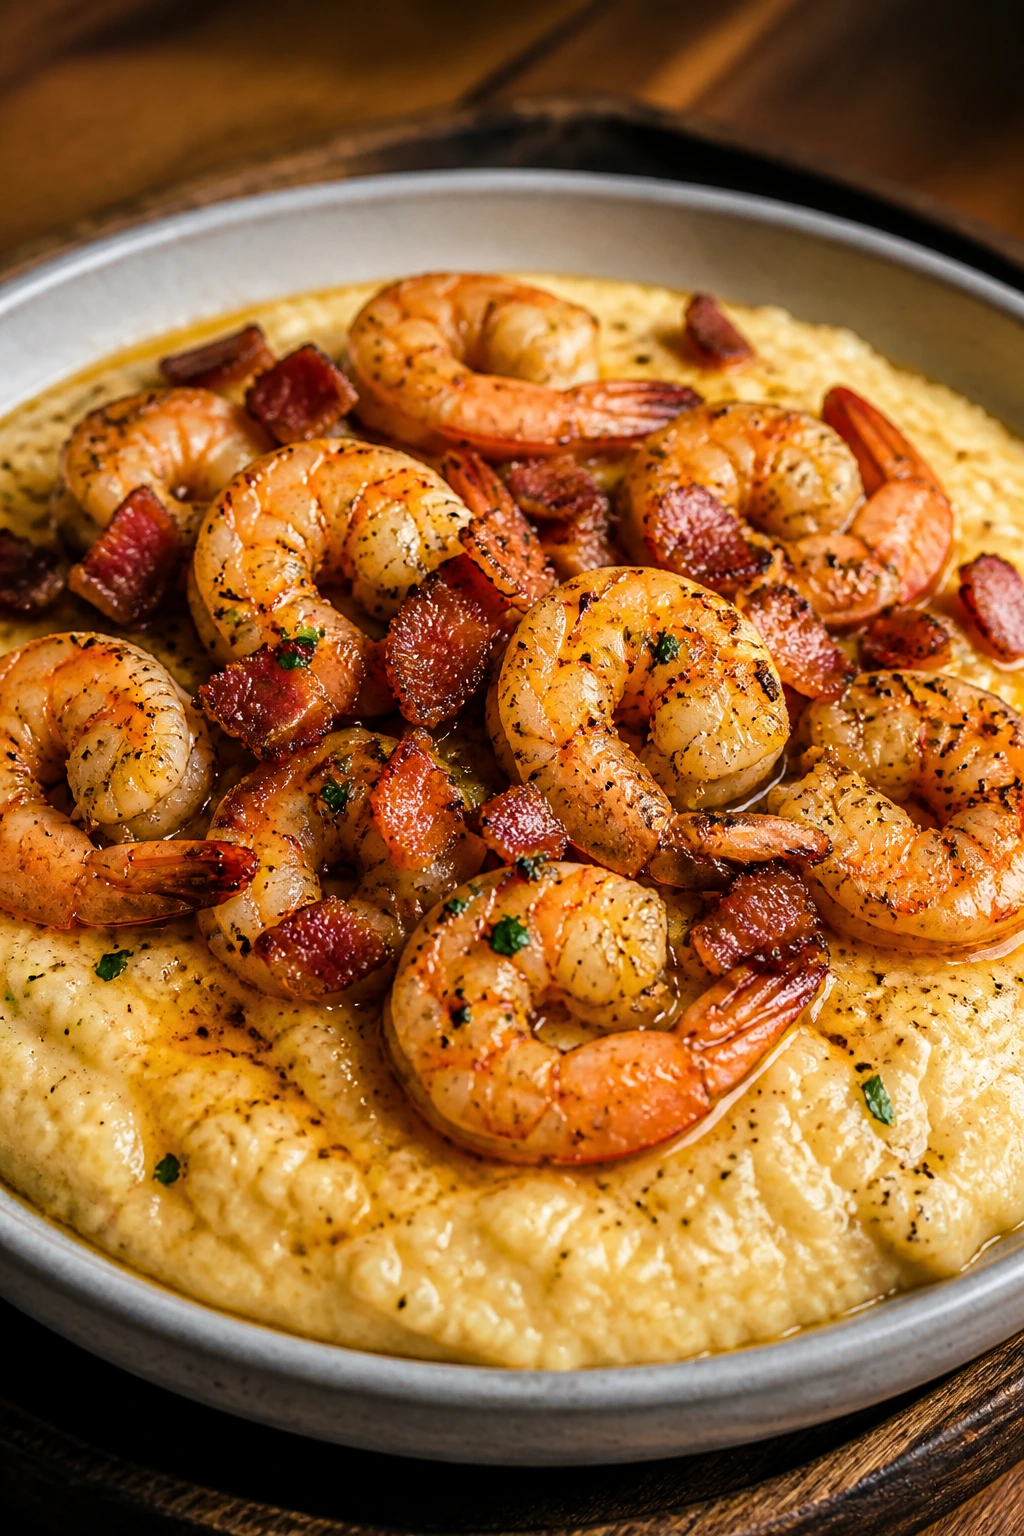
Shrimp and grits has a reputation for weekends and brunch, but quick grits make it weeknight material. The creamy base gets a little richness from cheddar, the shrimp carry Cajun seasoning, and the bacon gives you smoky salt in the background. It’s comforting, yes, but not sleepy. There’s enough pepper and butter here to keep it awake.
Why It Works
Quick grits cook fast enough for a weekday, and they hold onto butter and cheese better than most starches. The shrimp cook separately so they stay tender, then get spooned over the top with bacon and pan drippings. That layering matters: grits, fat, spice, shrimp, then a hit of scallion at the end. It’s a small stack of simple things, and each one does a job.
Key Ingredients
- 1 cup quick-cooking grits
- 3 cups water
- 1 cup whole milk
- 1 teaspoon kosher salt
- 4 slices bacon, diced
- 1 small onion, diced
- 1 1/2 pounds shrimp, peeled and deveined
- 2 garlic cloves, minced
- 1 teaspoon Cajun seasoning
- 1 cup shredded sharp cheddar
- 2 tablespoons butter
- 2 scallions, sliced
- 1 tablespoon lemon juice, optional
Quick Steps
-
Start the grits: Bring the water, milk, and salt to a simmer in a saucepan. Whisk in the grits slowly, then reduce the heat and cook for 5 to 7 minutes, stirring often, until thick and creamy.
-
Finish the grits: Stir in the butter and cheddar. Keep the pot on very low heat, and add a splash of milk if the grits tighten up.
-
Crisp the bacon: Cook the bacon in a skillet over medium heat until browned and crisp. Remove it with a slotted spoon, leaving about 1 tablespoon of drippings in the pan.
-
Cook the aromatics: Add the onion to the drippings and cook for 3 minutes, then stir in the garlic for 30 seconds.
-
Cook the shrimp: Toss the shrimp with Cajun seasoning and add them to the skillet. Cook for 2 minutes per side, until pink and just firm.
-
Assemble the bowls: Spoon the grits into bowls, top with shrimp, bacon, and scallions, and squeeze a little lemon over the top if you want brighter flavor.
Tips and Variations
- Use quick grits for speed: Stone-ground grits taste lovely, but they take too long for this kind of night.
- Texture fix: If the grits get stiff, whisk in warm milk a tablespoon at a time.
- Extra finish: A tiny shake of hot sauce sharpens the richness.
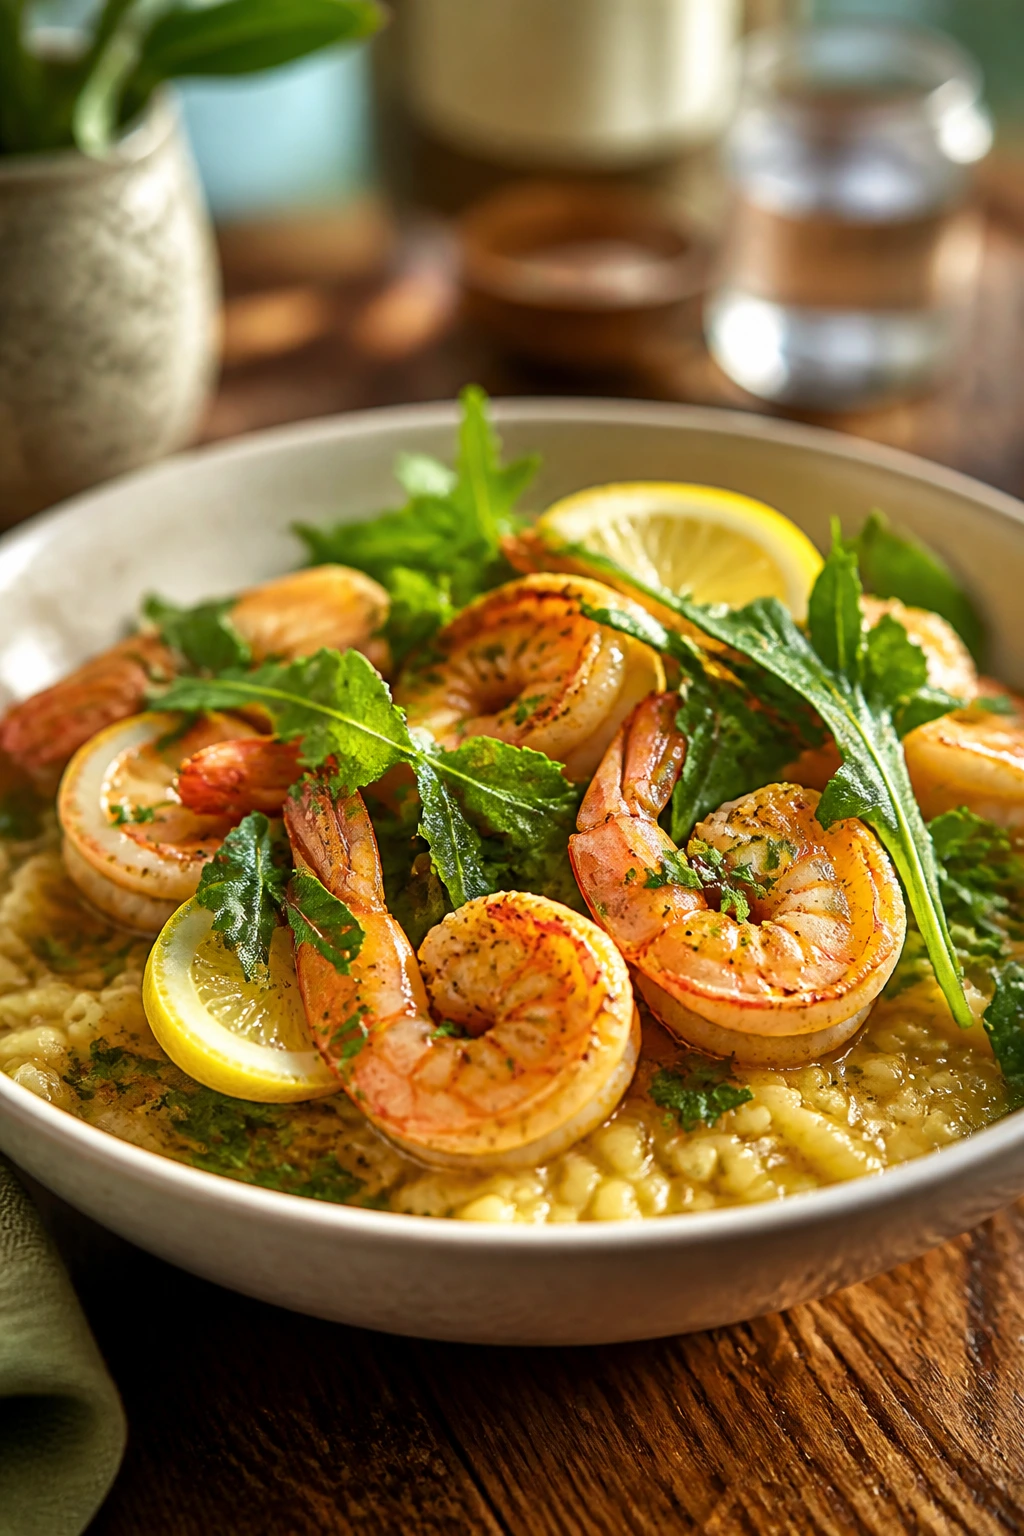
7. Lemon-Parmesan Shrimp Orzo

Orzo is one of those pantry shapes that doesn’t get enough credit. It cooks fast, picks up flavor like a sponge, and turns into a creamy skillet dinner without asking for a full sauce. Add shrimp, zucchini, spinach, lemon, and Parmesan, and you get a dinner that feels light but still leaves people satisfied.
Why It Works
Orzo behaves a bit like pasta and a bit like rice, which makes it excellent for one-pan cooking. The starch it releases helps the broth thicken just enough to coat everything, and the Parmesan finishes the dish with a salty backbone. Shrimp go in near the end, where they can steam gently on top of the orzo instead of getting blasted by direct heat the whole time.
Key Ingredients
- 1 1/2 cups orzo
- 1 1/4 pounds shrimp, peeled and deveined
- 2 tablespoons olive oil
- 1 small zucchini, diced
- 2 garlic cloves, minced
- 3 cups low-sodium chicken broth
- 2 cups baby spinach
- 1 lemon, zested and juiced
- 1/2 cup grated Parmesan
- 2 tablespoons chopped dill or basil
- 1/2 teaspoon kosher salt
- 1/4 teaspoon black pepper
Quick Steps
-
Soften the zucchini: Heat the olive oil in a large skillet over medium heat. Add the zucchini and cook for 3 minutes until it starts to color at the edges.
-
Toast the orzo: Stir in the garlic and orzo and cook for 1 minute, stirring so the pasta gets lightly coated and smells nutty.
-
Add the broth: Pour in the broth, salt, and pepper. Simmer for 8 to 10 minutes, stirring now and then, until the orzo is nearly tender and most of the liquid is absorbed.
-
Cook the shrimp: Scatter the shrimp over the top, cover the pan, and cook for 3 to 4 minutes until the shrimp turn pink and opaque.
-
Wilt the greens: Add the spinach and stir until it collapses into the orzo.
-
Finish with lemon and cheese: Stir in the lemon zest, lemon juice, Parmesan, and herbs. Taste before serving; Parmesan salts the dish more than you think.
Tips and Variations
- Broth matters: Low-sodium broth gives you control over the final seasoning.
- Vegetable swap: Peas or asparagus are easy substitutes for zucchini.
- Don’t rush the shrimp: They should sit on top just long enough to finish.
8. Cajun Shrimp Pasta with Peppers
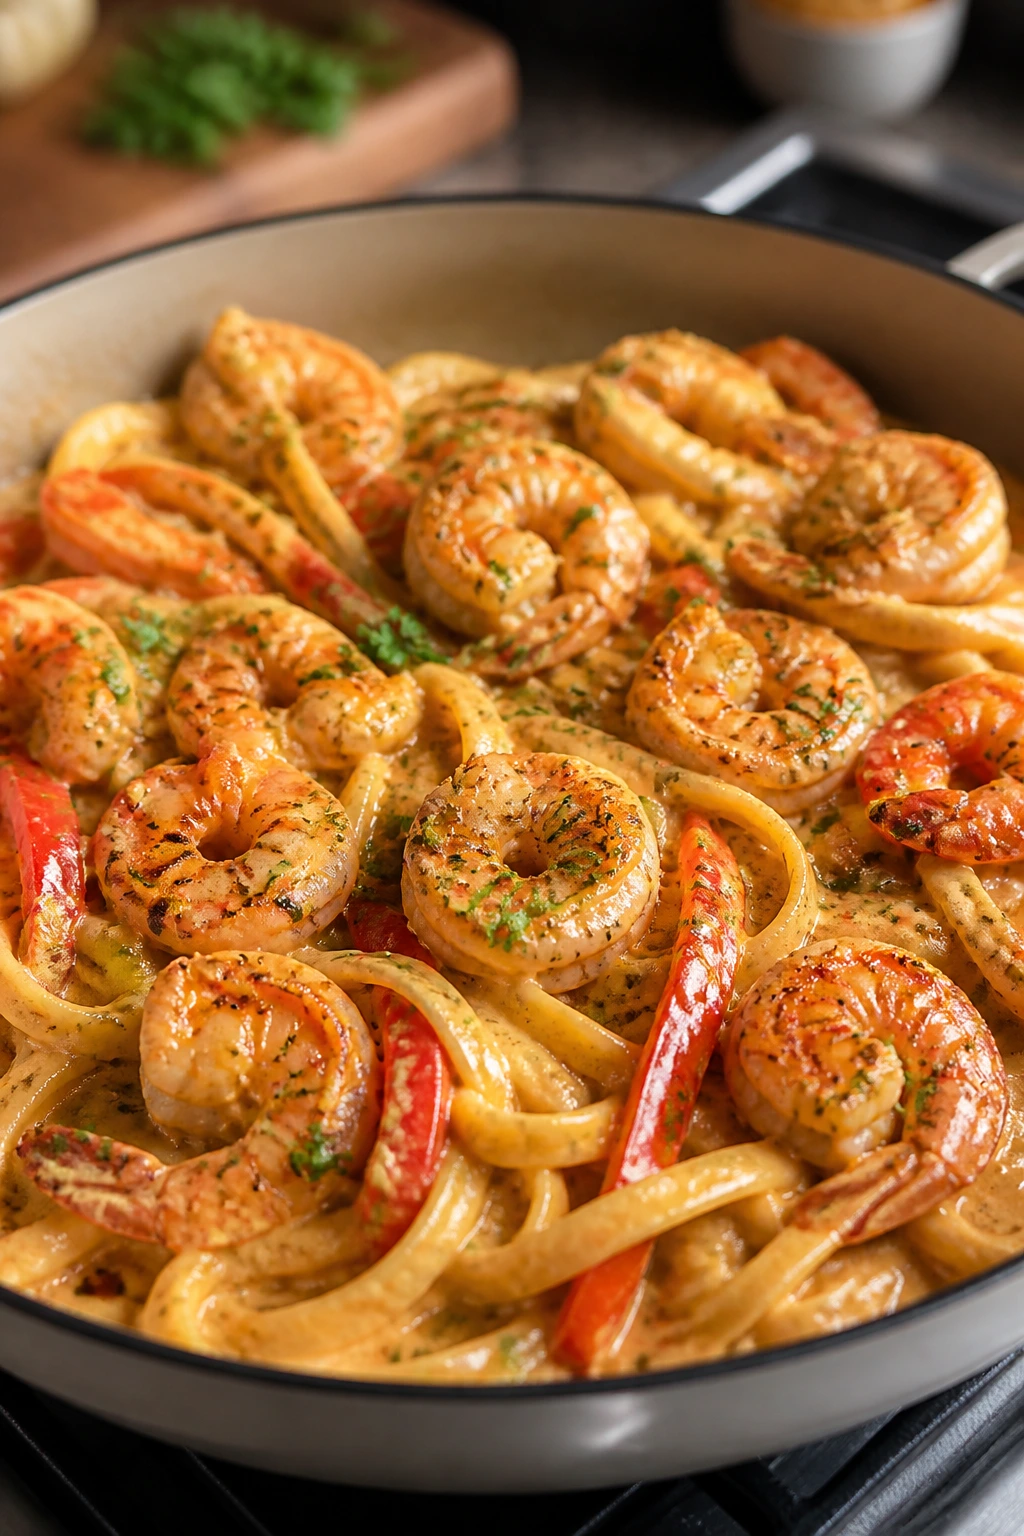
Cajun shrimp pasta is bold in the way a weeknight dinner sometimes needs to be. The sauce is creamy, the pepper strips soften just enough, and the shrimp bring a little heat and sweetness that keeps the bowl from feeling one-note. It is hearty, fast, and a little messy. That’s part of the charm.
Why It Works
This pasta works because Cajun seasoning does more than add heat; it gives the shrimp a crust of flavor before they ever touch the sauce. The peppers and onions soften in the same pan, which picks up the browned bits left behind by the shrimp. Then cream and pasta water turn all that flavor into a sauce that coats the noodles instead of sliding off them.
Key Ingredients
- 12 ounces penne or fettuccine
- 1 1/2 pounds shrimp, peeled and deveined
- 2 tablespoons Cajun seasoning
- 2 tablespoons butter
- 1 red bell pepper, sliced
- 1 small onion, sliced
- 3 garlic cloves, minced
- 1 cup heavy cream
- 1/2 cup reserved pasta water
- 1/2 cup grated Parmesan
- 2 tablespoons chopped parsley
- 1/4 teaspoon black pepper
Quick Steps
-
Cook the pasta: Boil the pasta in salted water until al dente. Reserve 1/2 cup of pasta water before draining.
-
Season the shrimp: Toss the shrimp with the Cajun seasoning and black pepper.
-
Sear the shrimp: Heat the butter in a large skillet over medium-high heat. Cook the shrimp for 1 to 2 minutes per side, until just pink, then remove them.
-
Cook the vegetables: Add the onion and pepper to the pan and cook for 4 to 5 minutes until softened. Stir in the garlic for 30 seconds.
-
Build the sauce: Pour in the heavy cream and reserved pasta water. Simmer for 2 minutes, stirring, until the sauce thickens enough to coat a spoon.
-
Combine everything: Add the pasta, shrimp, and Parmesan. Toss until glossy, then finish with parsley.
Tips and Variations
- Keep the cream gentle: A hard boil can split the sauce.
- Spice control: Use less Cajun seasoning if yours is salty or hot.
- Better leftovers: Add a splash of broth when reheating so the sauce loosens up again.
9. Mediterranean Shrimp Couscous Bowls
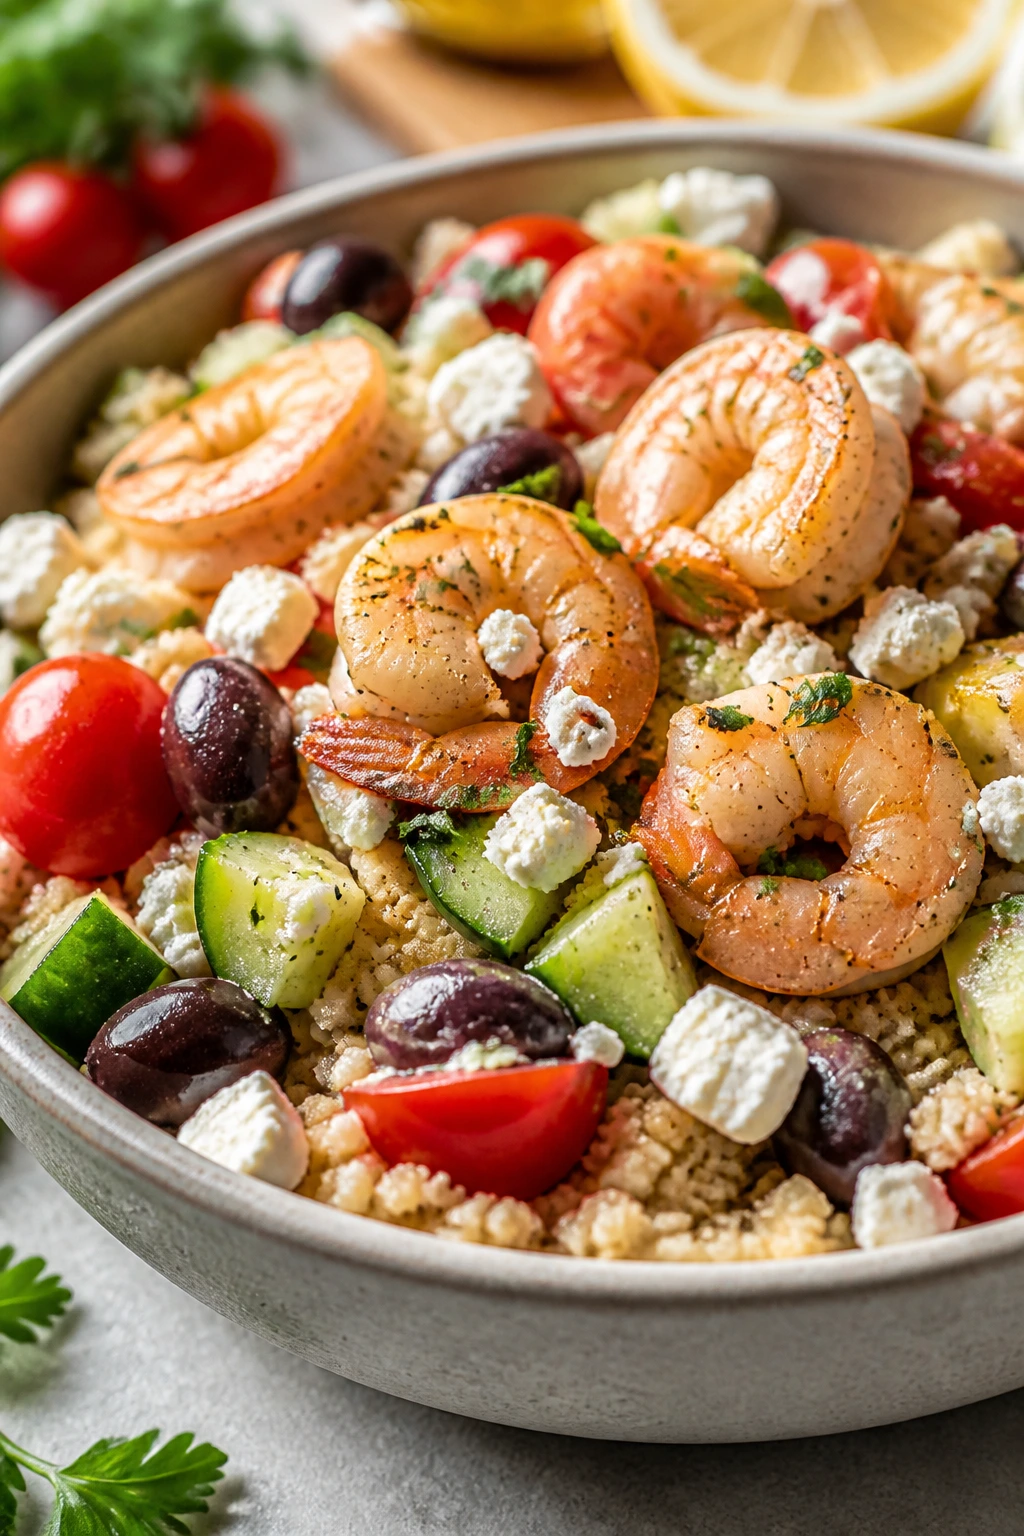
This is the bowl I make when I want dinner to feel fresh but not fussy. Couscous cooks in minutes, shrimp sear fast, and the rest is chopped vegetables and a lemony dressing. Cherry tomatoes, cucumbers, chickpeas, olives, and feta do a lot of the work. You barely have to persuade them.
Why It Works
Mediterranean-style bowls are great because you get hot and cold in one place. The shrimp are warm and savory, the vegetables stay crisp, and the chickpeas make the bowl feel more like a meal than a side dish dressed up for company. Couscous is useful here because it soaks up lemon juice and olive oil without turning heavy, which keeps the whole bowl bright.
Key Ingredients
- 1 1/2 cups couscous
- 1 1/2 cups boiling water or broth
- 1 1/2 pounds shrimp, peeled and deveined
- 2 tablespoons olive oil
- 1 teaspoon dried oregano
- 2 cups cherry tomatoes, halved
- 1 cucumber, diced
- 1 can chickpeas, rinsed and drained
- 1/2 cup kalamata olives
- 1/2 cup crumbled feta
- 1 lemon, juiced
- 2 tablespoons red wine vinegar
- 1 garlic clove, minced
- 2 tablespoons chopped parsley
Quick Steps
-
Prepare the couscous: Put the couscous in a bowl, pour over the boiling water or broth, cover, and let it sit for 5 minutes. Fluff with a fork.
-
Season the shrimp: Toss the shrimp with olive oil, oregano, half the lemon juice, salt, and pepper.
-
Cook the shrimp: Sear the shrimp in a hot skillet for 2 minutes per side until pink and lightly browned.
-
Mix the vegetables: In a large bowl, combine the tomatoes, cucumber, chickpeas, olives, parsley, vinegar, garlic, and the remaining lemon juice.
-
Assemble the bowls: Spoon couscous into bowls, top with the shrimp and vegetable mixture, then scatter feta over the top.
-
Taste before serving: Add more olive oil, lemon, or salt if the bowl tastes flat. Couscous can take more seasoning than you’d expect.
Tips and Variations
- Pearl couscous works too: It gives you more chew and holds up better if you pack leftovers.
- Add greens: Arugula or baby spinach can go under the couscous for a fuller bowl.
- Serve warm or room temperature: This one is flexible, which makes it useful for awkward timing.
10. Thai Basil Shrimp Stir-Fry
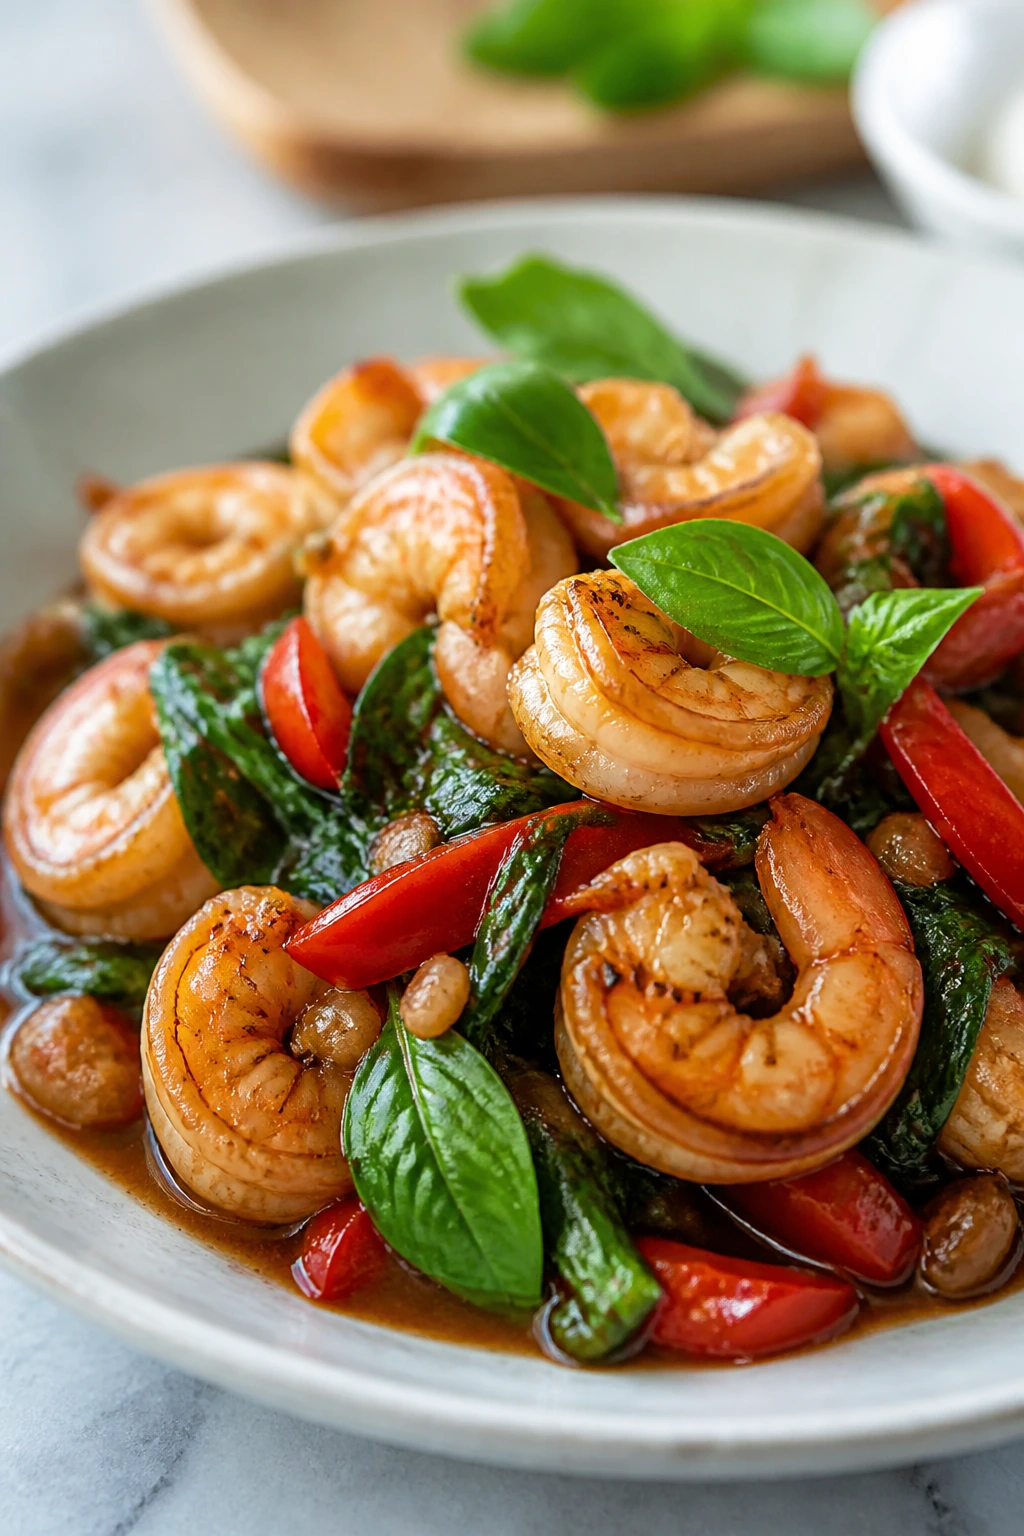
Thai basil shrimp stir-fry smells like it’s moving before it even hits the plate. Garlic, shallots, chili, and basil hit hot oil in quick succession, and the shrimp barely need any time to catch up. The sauce is salty, a little sweet, and sharp enough to wake up plain rice.
Why It Works
Stir-fry is built on speed, which makes it a natural place for shrimp. High heat gives the shrimp a quick sear, while the vegetables stay crisp and the basil only wilts at the end, keeping its peppery flavor intact. The balance of soy sauce, fish sauce, and brown sugar keeps the sauce from tasting flat or too salty, which is where a lot of fast stir-fries go wrong.
Key Ingredients
- 1 1/2 pounds shrimp, peeled and deveined
- 2 tablespoons neutral oil
- 2 shallots, thinly sliced
- 3 garlic cloves, minced
- 1 red bell pepper, sliced
- 1 cup snap peas or green beans
- 2 tablespoons soy sauce
- 1 tablespoon fish sauce
- 1 tablespoon oyster sauce
- 1 teaspoon brown sugar
- 1/4 teaspoon chili flakes
- 1 packed cup Thai basil leaves
- Cooked jasmine rice, for serving
- Lime wedges, optional
Quick Steps
-
Mix the sauce: Stir together the soy sauce, fish sauce, oyster sauce, brown sugar, and chili flakes in a small bowl.
-
Heat the pan hard: Warm the oil in a wok or large skillet over high heat until it shimmers.
-
Cook the aromatics: Add the shallots and garlic and stir for 20 to 30 seconds until fragrant.
-
Add the vegetables: Toss in the bell pepper and snap peas. Stir-fry for 2 minutes so they stay crisp and bright.
-
Cook the shrimp: Add the shrimp and stir constantly for 2 to 3 minutes until they turn pink and opaque.
-
Finish with basil: Pour in the sauce, toss for 30 seconds, then add the basil and turn off the heat. Serve over rice with lime if you want more lift.
Tips and Variations
- Use fresh basil if needed: If Thai basil is hard to find, regular basil works, though the flavor is softer.
- Heat trick: Keep the pan hot enough that ingredients sizzle the second they land.
- Add crunch: Chopped peanuts on top are a nice move if you want texture.
11. Shrimp, White Bean, and Tomato Skillet
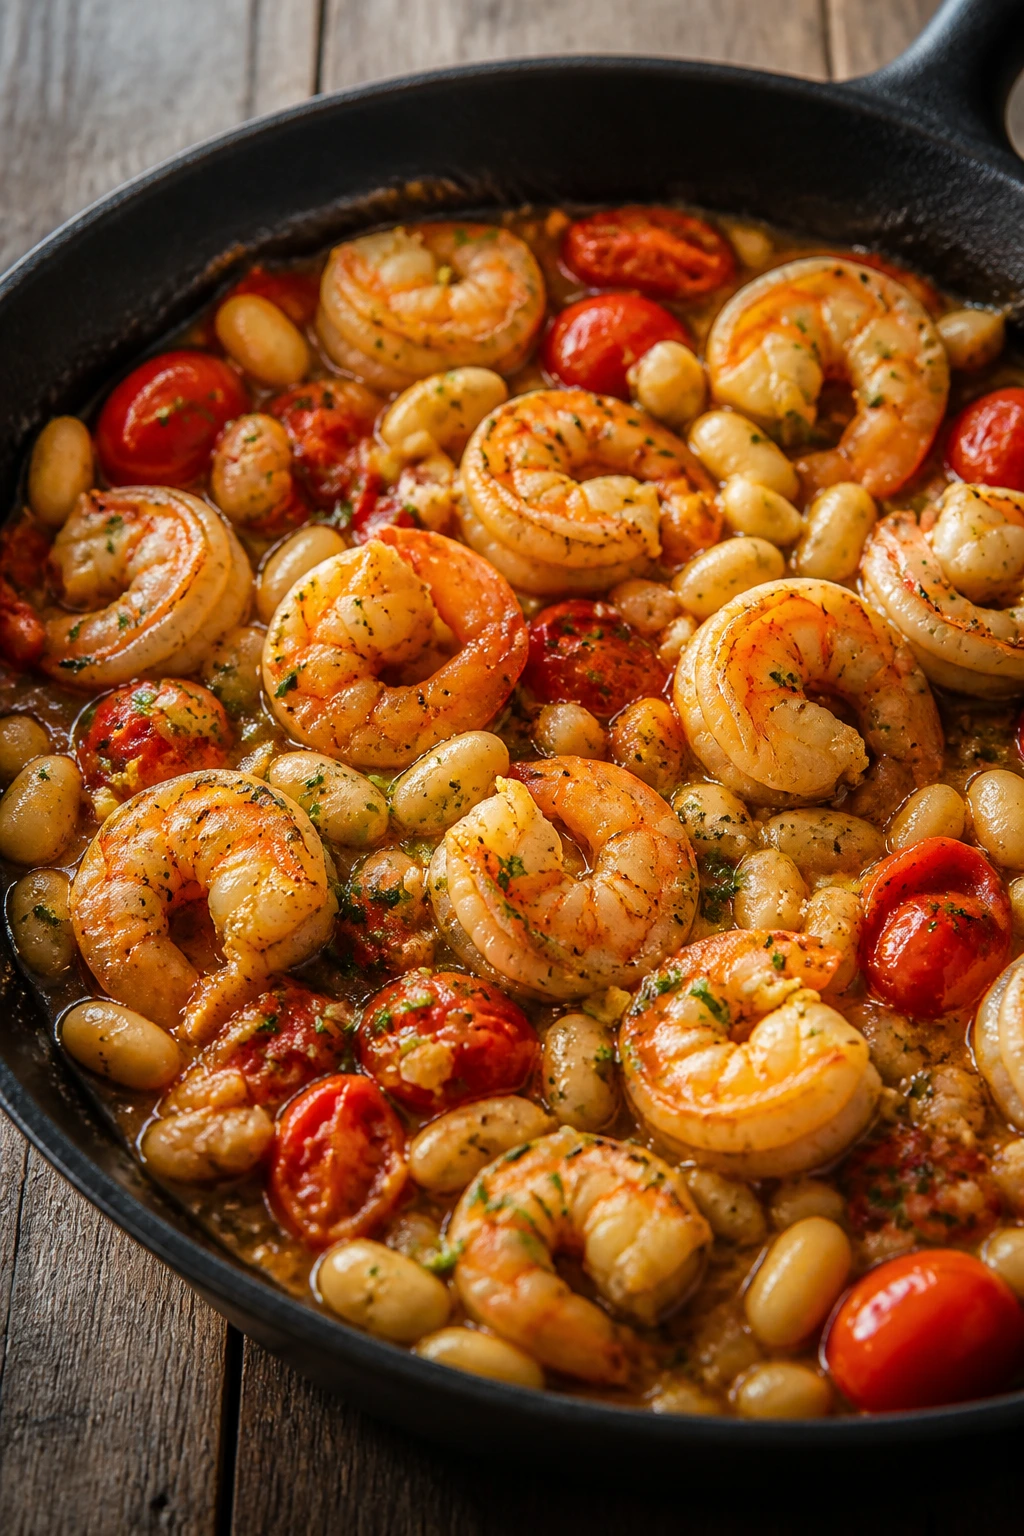
This is the pantry-friendly skillet I lean on when the fridge looks tired but dinner still needs to happen. White beans make it feel sturdy, cherry tomatoes burst into a quick sauce, and shrimp finish everything with sweetness. It’s simple food, but not plain. There’s enough garlic, lemon, and parsley to keep the whole thing moving.
Why It Works
Beans and shrimp are a smart match because the beans carry the sauce while the shrimp bring the fast-cooking protein. Cherry tomatoes collapse into a light pan sauce with almost no effort, and the broth keeps the skillet from drying out. This kind of dinner works best when you let the tomatoes break down first, then add the shrimp at the end so they don’t overcook while the sauce is still developing.
Key Ingredients
- 1 1/4 pounds shrimp, peeled and deveined
- 2 tablespoons olive oil
- 1 small onion, diced
- 3 garlic cloves, minced
- 2 cups cherry tomatoes
- 1 can cannellini beans, rinsed and drained
- 1/2 cup low-sodium chicken broth
- 1 teaspoon smoked paprika
- 1/2 teaspoon dried thyme or oregano
- 3 cups baby spinach
- 1 lemon, juiced
- 2 tablespoons chopped parsley
- Crusty bread, for serving
Quick Steps
-
Cook the onion: Heat the olive oil in a large skillet over medium heat. Add the onion and cook for 4 minutes until translucent and lightly golden.
-
Add garlic and tomatoes: Stir in the garlic, then add the cherry tomatoes. Cook for 4 to 5 minutes, pressing a few tomatoes with the back of a spoon until they burst.
-
Build the base: Add the beans, broth, smoked paprika, thyme, salt, and pepper. Simmer for 3 minutes so the flavors come together.
-
Cook the shrimp: Nestle the shrimp into the skillet in a single layer. Cook for 2 to 3 minutes, then flip and cook for 1 to 2 minutes more until pink and opaque.
-
Wilt the spinach: Stir in the spinach and let it collapse into the sauce.
-
Finish with lemon: Add the lemon juice and parsley, then serve with bread for scooping.
Tips and Variations
- Bean choice: Cannellini, navy beans, or Great Northern beans all work.
- Sauce fix: If the skillet looks dry, add another splash of broth before the spinach goes in.
- Serving tip: Toast the bread so it can stand up to the tomato juices.
12. Pesto Shrimp Flatbreads
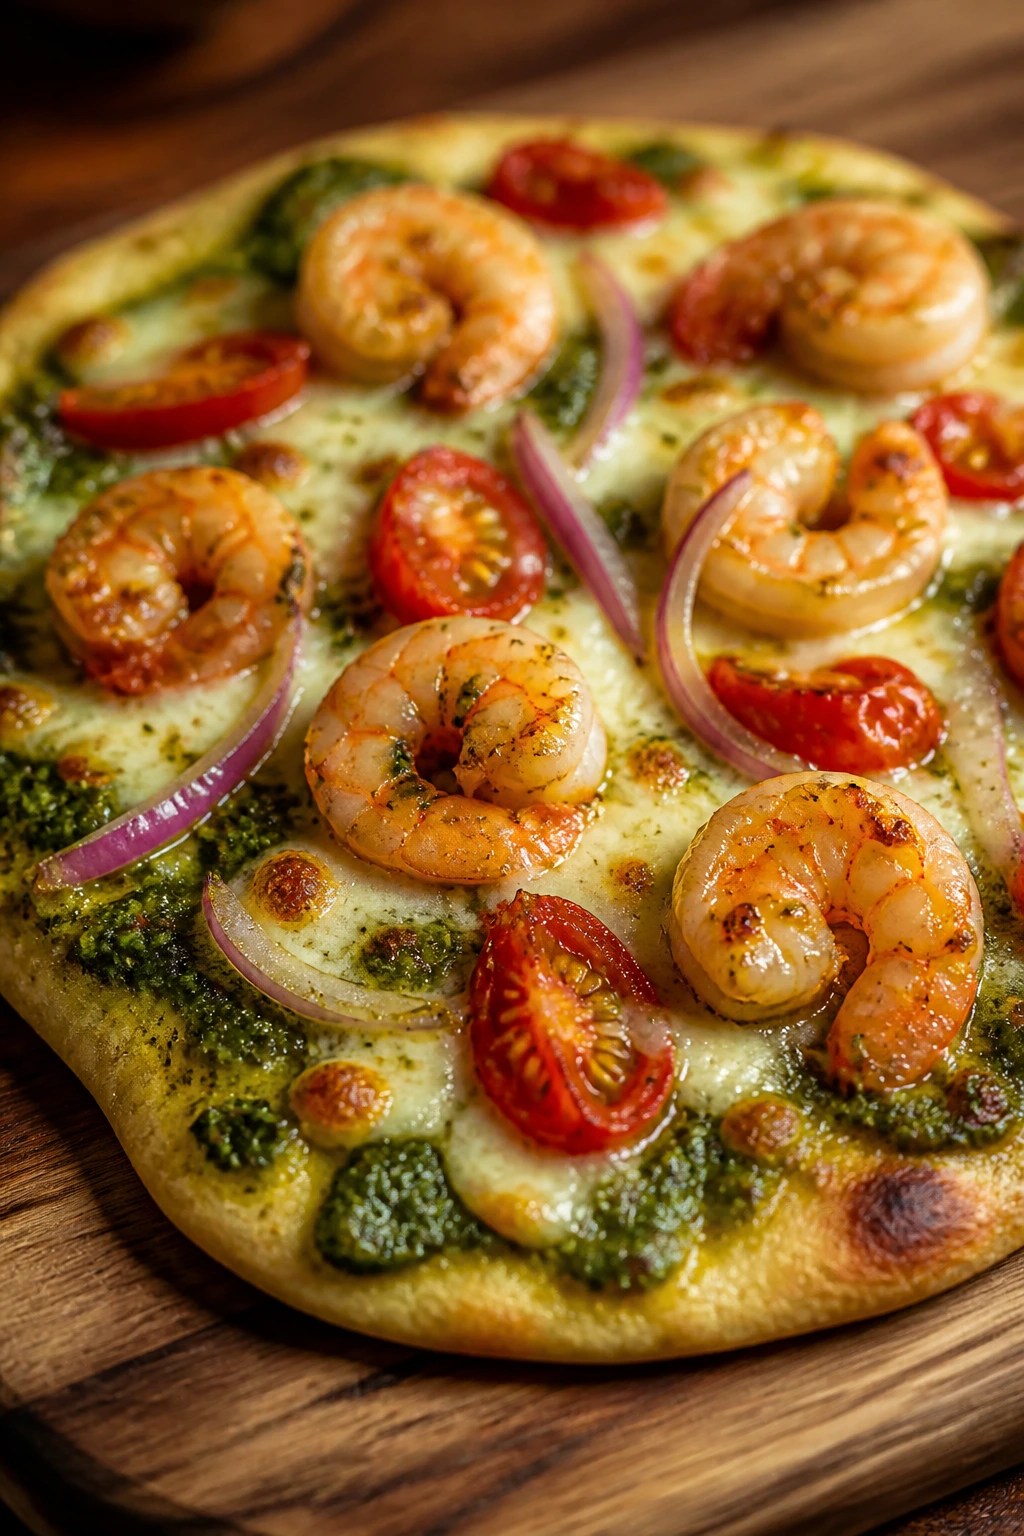
Flatbreads are the weeknight cheat code I never get tired of. They bake fast, feed people quickly, and let you layer flavors without doing much work. Pesto, mozzarella, tomatoes, onions, and shrimp make a dinner that lands somewhere between pizza and something nicer than pizza, which is honestly a sweet spot.
Why It Works
The flatbread base gives you speed, and pesto carries both fat and herb flavor so you do not need a long sauce. Shrimp are best cooked separately or just barely warmed on top so they stay tender. The tomatoes soften in the oven, the cheese melts, and the arugula added at the end keeps the whole thing from feeling heavy.
Key Ingredients
- 4 naan or other flatbreads
- 1 1/4 pounds shrimp, peeled and deveined
- 1 tablespoon olive oil
- 1/2 cup basil pesto
- 1 1/2 cups shredded mozzarella
- 1 cup cherry tomatoes, halved
- 1/4 red onion, very thinly sliced
- 2 cups arugula
- 1 lemon
- 2 tablespoons grated Parmesan, optional
- Salt and pepper, to taste
Quick Steps
-
Cook the shrimp quickly: Heat the olive oil in a skillet over medium-high heat. Season the shrimp with salt and pepper, then cook for 1 to 2 minutes per side until pink and just opaque. Set aside.
-
Heat the oven: Preheat to 450°F and place the flatbreads on a large baking sheet.
-
Build the base: Spread pesto over each flatbread, then top with mozzarella, cherry tomatoes, and onion.
-
Bake until bubbly: Bake for 8 to 10 minutes, until the cheese is melted and the edges are crisp. If you want more browning, broil for 1 minute at the end and watch it like a hawk.
-
Add the shrimp: Arrange the cooked shrimp over the flatbreads after baking so they stay tender.
-
Finish fresh: Toss the arugula with a squeeze of lemon and scatter it on top. Add Parmesan if you want another salty layer.
Tips and Variations
- Pesto note: Store-bought pesto works fine here, especially on a busy night.
- Bread swap: Pizza dough or pita can stand in for naan.
- Fresh finish: The arugula and lemon matter more than they look like they should.
Why Shrimp Works So Well on Busy Nights
Shrimp are built for speed, but speed is only part of the story. They also take on flavor fast. Garlic, curry paste, Cajun spice, lemon, soy sauce, pesto — all of those hit shrimp cleanly because shrimp have a mild, sweet base that doesn’t fight back.
The other advantage is how little fat or fuss they need. A hot skillet, a little oil, and the right pan timing are enough for most shrimp dinners. If you use a thermometer, seafood should reach 145°F in the thickest part. If you don’t, watch for the change in color and texture: the flesh turns opaque, the tails curl loosely, and the surface looks firm instead of glossy and translucent.
There’s a practical bonus, too. Frozen shrimp are one of the easiest proteins to keep around because they thaw fast in a bowl of cold water and can go straight into a dozen different styles of dinner. That means shrimp is not a “special occasion” ingredient in my book. It’s the dinner you keep around so a crowded evening does not knock the whole meal plan sideways.
Essential Equipment for These Recipes
-
Large skillet: The workhorse for scampi, fried rice, tacos, curry, and skillet dinners. A 12-inch pan gives shrimp room to sear instead of steam.
-
Sheet pan: Necessary for fajitas and flatbreads. A heavy one browns better than a thin, floppy pan.
-
Medium saucepan: Useful for rice, grits, and pasta water. Nothing fancy, just sturdy.
-
Wok or deep sauté pan: Helpful for fried rice and stir-fry because the higher sides keep ingredients from spilling while you toss.
-
Chef’s knife: Sharp enough to slice peppers, onions, herbs, and cabbage without squashing them.
-
Cutting board: One for vegetables and one, if you can manage it, for raw shrimp prep.
-
Tongs or a spatula: Good for turning shrimp quickly without tearing them.
-
Microplane or fine grater: Best for lemon zest, Parmesan, and garlic if you want a smoother texture.
-
Colander: Needed for pasta, orzo, and rice draining.
-
Measuring cups and spoons: Shrimp dishes move fast; measuring before you start keeps the pan from running ahead of you.
-
Airtight storage containers: Useful for leftovers, especially sauces and grain bowls that keep better when stored separately.
Smart Shopping for Shrimp Dinners for Weeknight Meals
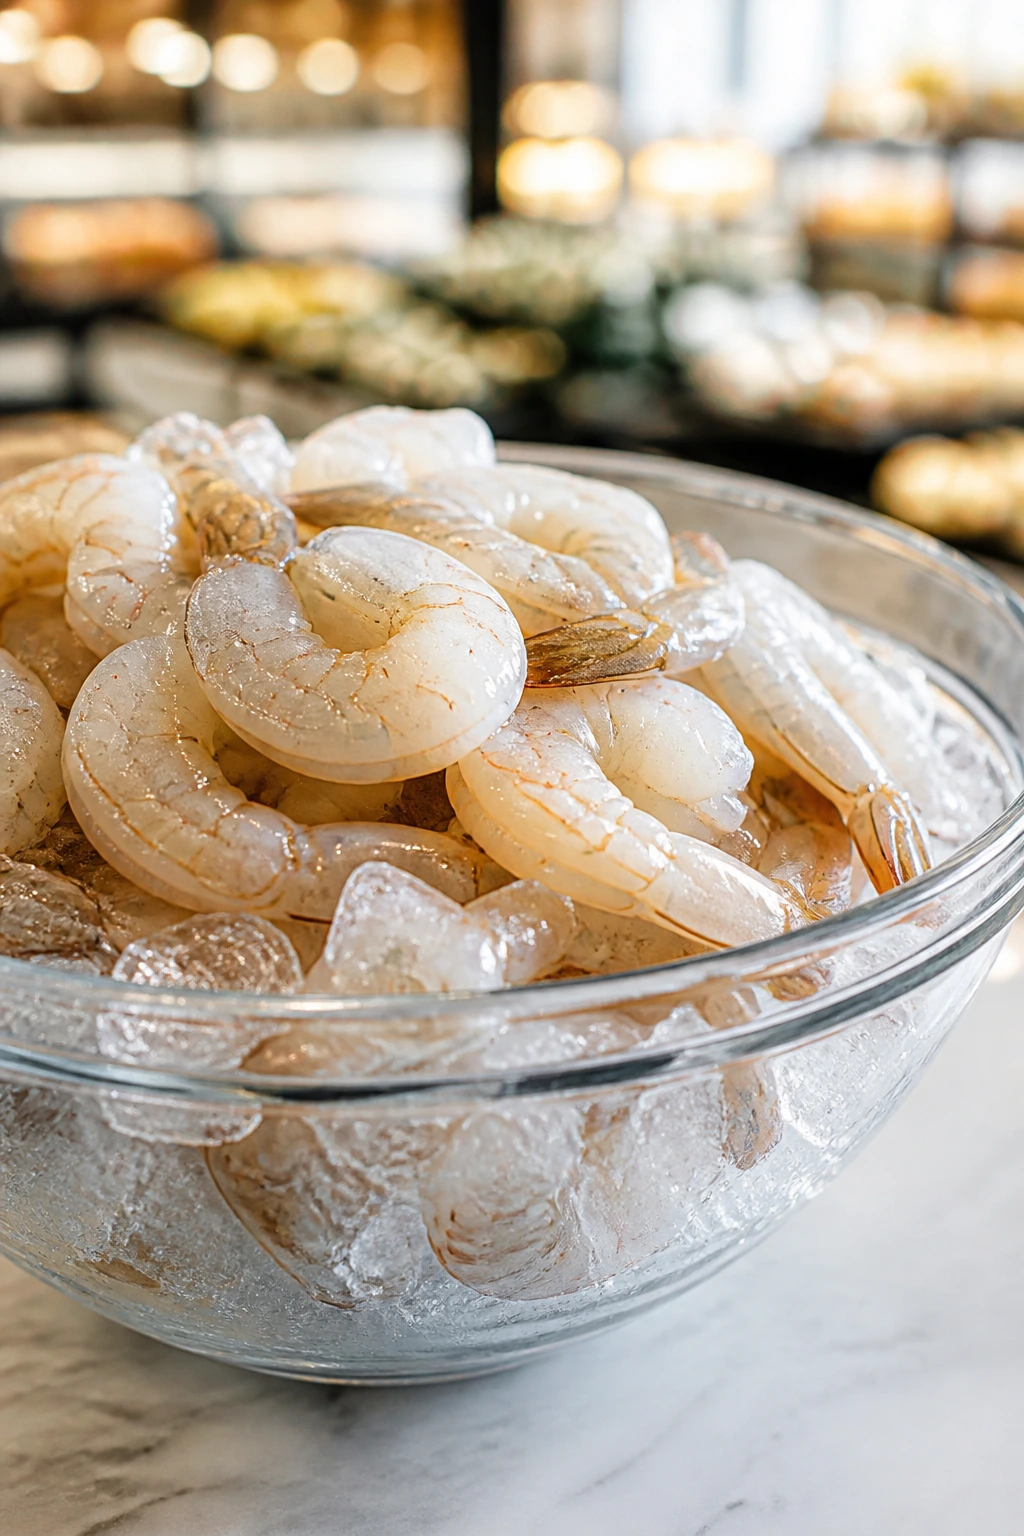
The easiest shrimp dinners start at the freezer case, not the seafood counter. Frozen shrimp are often the better buy because they’re usually frozen soon after harvest, which keeps the flavor clean. Raw shrimp are the ones you want for these recipes. Pre-cooked shrimp tend to turn rubbery when they hit heat again, and they’re better suited to cold salads or a quick toss at the end of a dish.
Size matters, but not in a dramatic way. For most of these dinners, medium to large shrimp — around 21/25, 26/30, or 31/40 count per pound — are the sweet spot because they cook quickly and evenly. Jumbo shrimp work for sheet-pan meals and scampi, where a little more bite is nice. Tiny shrimp can disappear into rice or pasta unless you use a lot of them.
When you buy frozen shrimp, check whether they’re peeled and deveined if you want the fastest path to dinner. Shell-on shrimp can be better for stock or grilling, but they add steps nobody needs on a Tuesday. Tail-on shrimp look a little prettier on a platter; tail-off shrimp are easier to eat in tacos, stir-fries, and pasta. I usually pick based on the dish, not on some blanket rule.
Keep a few pantry partners in mind while you shop. Rice, pasta, tortillas, or flatbreads give shrimp a place to land. Coconut milk, canned beans, broth, curry paste, and pesto all hold up well on the shelf and turn a plain bag of shrimp into something complete. Fresh herbs matter more than people give them credit for, but if the herb case is thin, scallions and lemon can do a lot of the same work.
How to Serve These Recipes
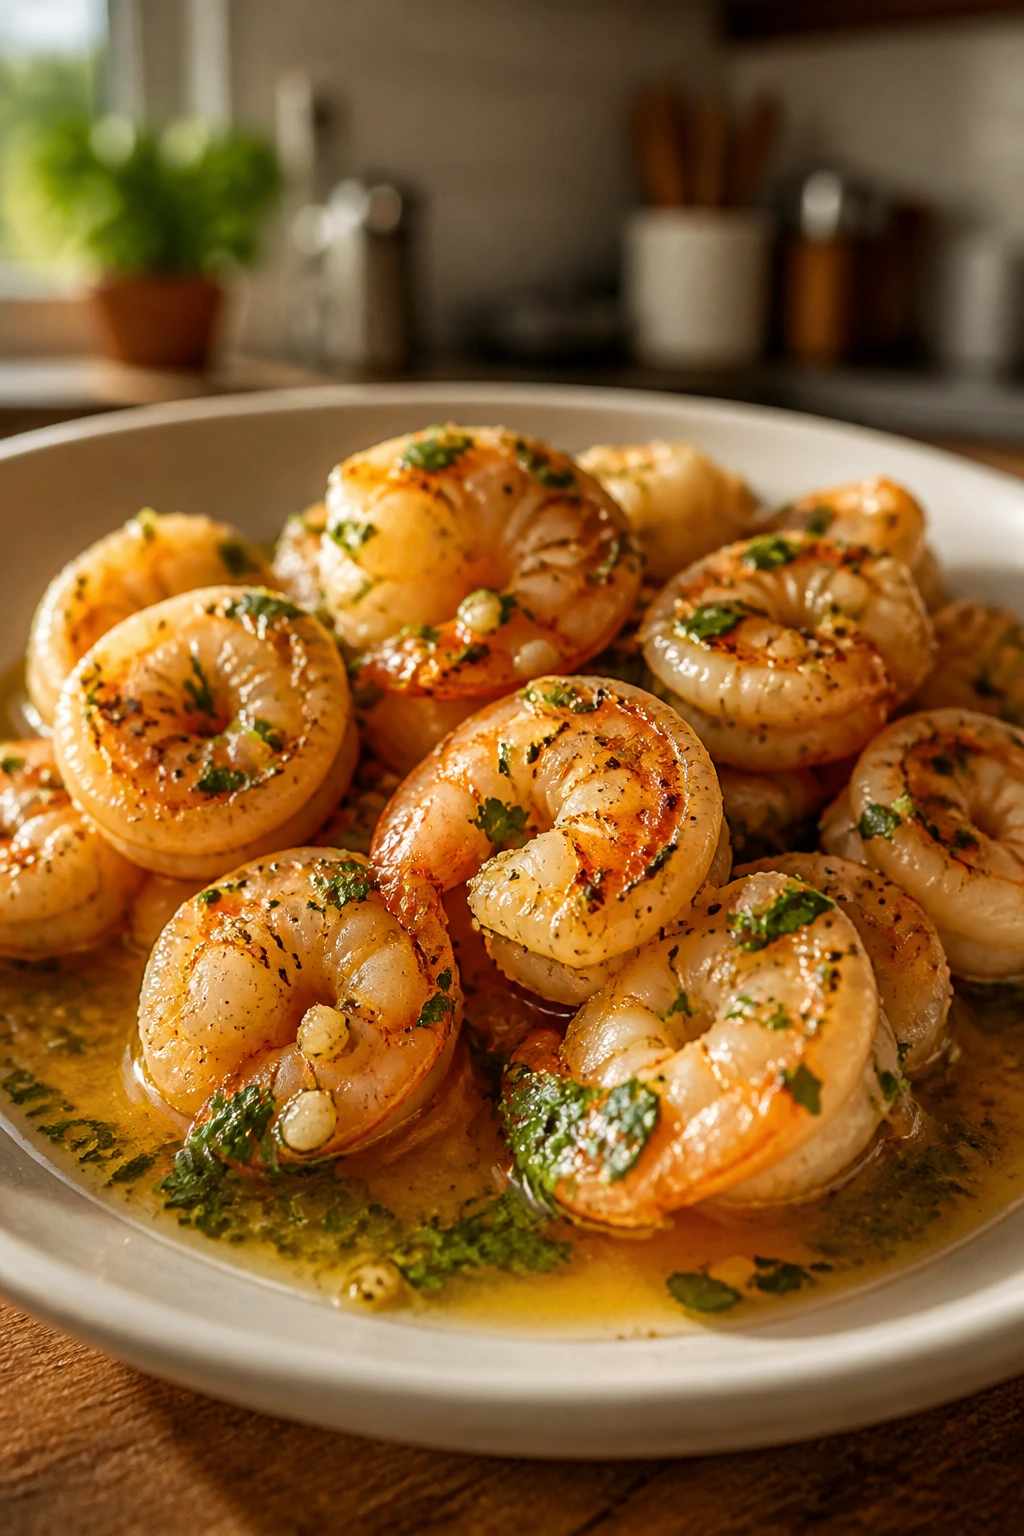
Presentation: Serve saucy shrimp dinners in shallow bowls so the sauce settles around the starch instead of disappearing at the bottom of a deep plate. Tacos and flatbreads look best when finished with something fresh — cilantro, arugula, scallions, or lime wedges — because shrimp can taste a little flat without a bright finish.
Accompaniments: Garlic bread fits the scampi and the white bean skillet. Extra lime wedges and a simple cabbage salad work with tacos and fajitas. For curry, fried rice, and stir-fry, a plain green vegetable such as steamed broccoli or snap peas is enough. The dinner already has plenty going on.
Portions: Most of these recipes feed 4 people comfortably, though the pasta and rice bowls can stretch to 5 or 6 if you add a side salad or bread. If you’re cooking for one or two, make the full amount and pack the extra away before the shrimp sit in the sauce for too long.
Beverage Pairing: For the lighter dishes, cold sparkling water with lime or a crisp white wine like Sauvignon Blanc keeps things bright. Coconut curry and Cajun pasta go better with iced tea, ginger beer, or a beer with a little bitterness to cut the richness.
Additional Tips and Flavor Boosters
Flavor Enhancement: A final squeeze of lemon or lime right before serving is the cheapest upgrade in the whole collection. It wakes up butter sauces, coconut sauces, pesto, and tomato skillets in a way salt alone cannot.
Customization: If you want more vegetables, add them early enough that they have time to cook but not so early that they turn soggy. Broccoli, zucchini, snap peas, spinach, bell peppers, and cherry tomatoes all behave well with shrimp because they cook quickly and keep some shape.
Serving Suggestions: Toasted breadcrumbs with garlic and parsley make a surprisingly good finish for shrimp pasta or orzo. A spoonful of chili crisp, pickled onions, or even a little feta can change the tone of a dish fast.
Make-It-Yours: For dairy-free meals, lean on olive oil, coconut milk, or pesto without cheese. For gluten-free cooking, use corn tortillas, rice, rice noodles, or gluten-free pasta. For a lower-carb plate, swap in cauliflower rice, zucchini noodles, or a big pile of greens underneath the shrimp.
Make-Ahead, Storage, and Reheating Guidance
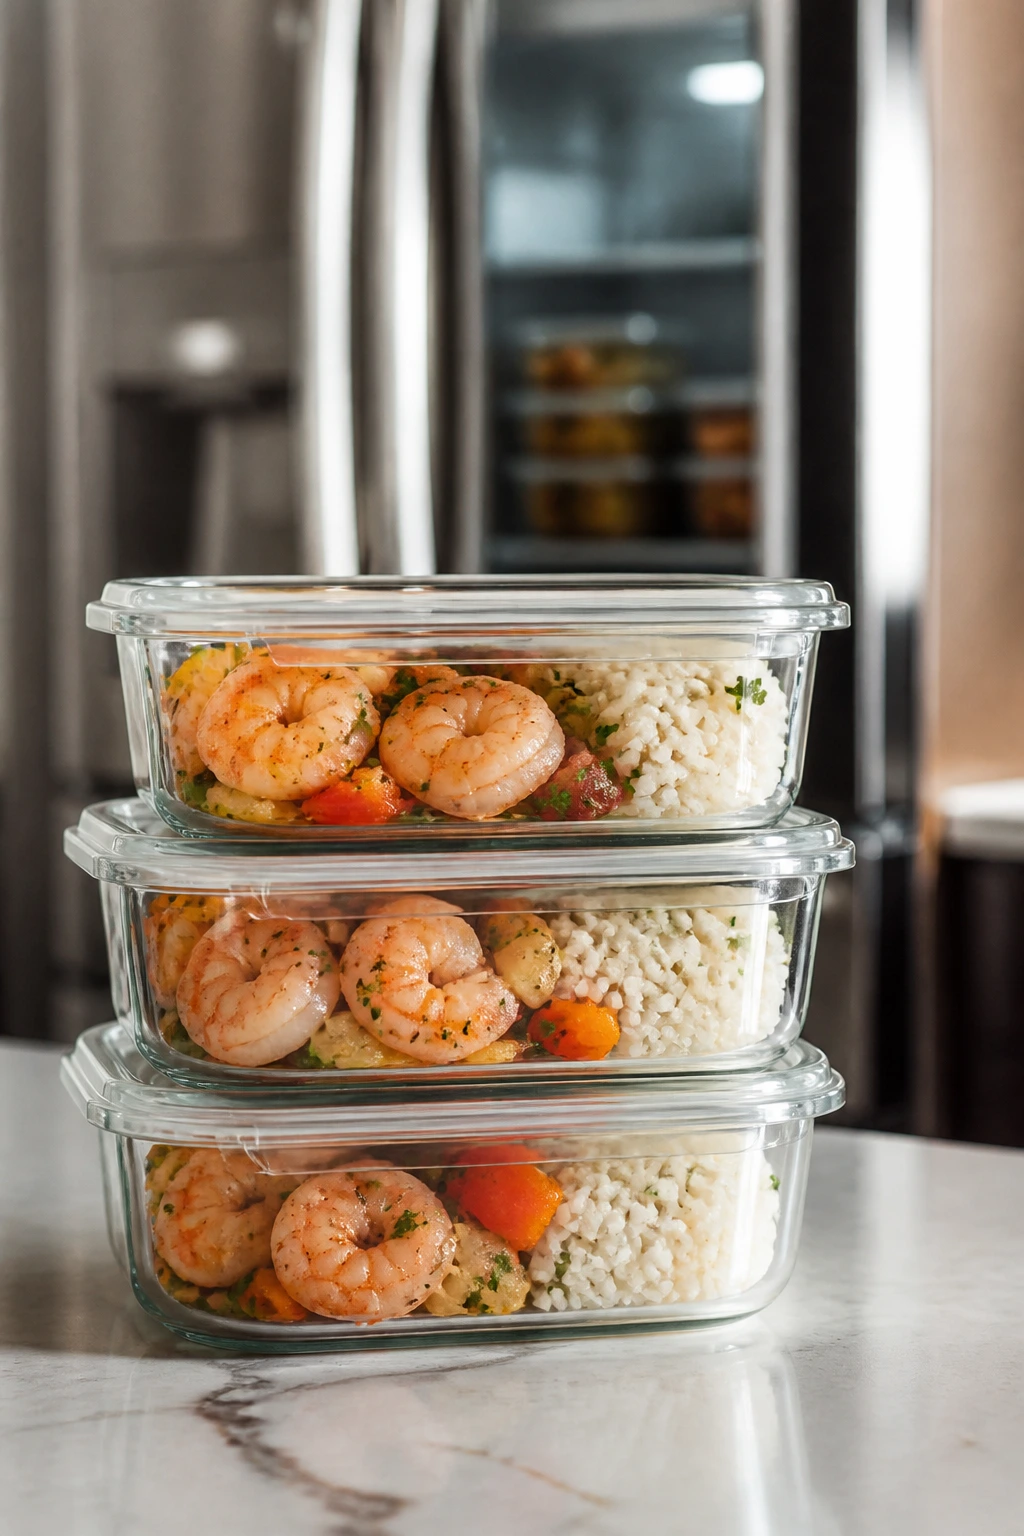
Most cooked shrimp dinners keep best for 3 days in the refrigerator in a sealed container. I would not push them much beyond that, because shrimp lose their sweet texture fast and start leaning rubbery. If the dish includes rice, pasta, or grits, store the starch separately when you can. That keeps the texture better and makes reheating easier.
Freezing is a little more limited. Saucy dishes like coconut curry or the white bean skillet can freeze for up to 2 months, though the vegetables may soften a bit after thawing. Pasta dishes with cream sauce or cheese can freeze, but the texture is never as nice as fresh, so I treat those as fridge-only leftovers. Fried rice also freezes better than creamy pasta, especially if you cool it fast and pack it in a flat container.
For reheating, go gentle. A skillet over low to medium-low heat is best for scampi, curry, fried rice, and bean skillets; add a tablespoon or two of water, broth, or coconut milk to loosen the sauce. Microwave reheating works if you use 50 percent power and short bursts, stirring in between so the shrimp do not overcook on the edges while the center is still cold. Sheet-pan fajitas and flatbreads can go back into a hot oven for a few minutes, but add the shrimp after reheating the vegetables or bread so they stay tender.
Make-ahead pieces help a lot. You can chop vegetables, mix spice blends, and cook rice a day ahead. Slaw even benefits from a short rest, though I’d dress it no more than a couple of hours before serving if you want it crisp. Shrimp themselves are best cooked close to eating time. That part is hard to fake.
Variations and Adaptations to Try
Gluten-Free Dinner Lane: Use corn tortillas for tacos, gluten-free pasta for scampi or Cajun pasta, and rice or rice noodles for curry and stir-fry. The flavor profile stays the same, and the swap is easy because shrimp are already quick.
Dairy-Free Route: Coconut milk replaces cream in the curry, olive oil replaces butter in scampi, and pesto or tomato-based sauces can stand in for cheesy finishes. A squeeze of citrus and a few chopped herbs help replace the richness you lose from dairy.
Low-Carb Bowl Night: Serve the shrimp over cauliflower rice, zucchini noodles, shredded cabbage, or a pile of sautéed greens. The key is to keep the sauce bold enough that you do not miss the starch.
Extra-Veggie Stretch: Add mushrooms, broccoli, asparagus, baby spinach, or extra peppers to most of these dishes. Shrimp takes well to a bigger vegetable ratio because the protein is so quick and mild.
Mild Family Version: Leave the heat out of the pan and put hot sauce, chili crisp, or red pepper flakes on the table. That keeps the dish usable for kids or anyone who does not want a spicy plate.
Loud Flavor Finish: A spoonful of pesto, garlic butter, pickled onions, or fresh herbs at the end can change the whole feel of a dish. Small finishers matter more than they seem to on shrimp, because the protein itself is delicate.
Common Mistakes to Avoid
Overcooking the shrimp: This is the big one. The shrimp turn tight, dry, and oddly squeaky when they stay on the heat too long. Pull them the moment they turn pink and opaque; if you’re unsure, take them out a hair early because residual heat will finish the job.
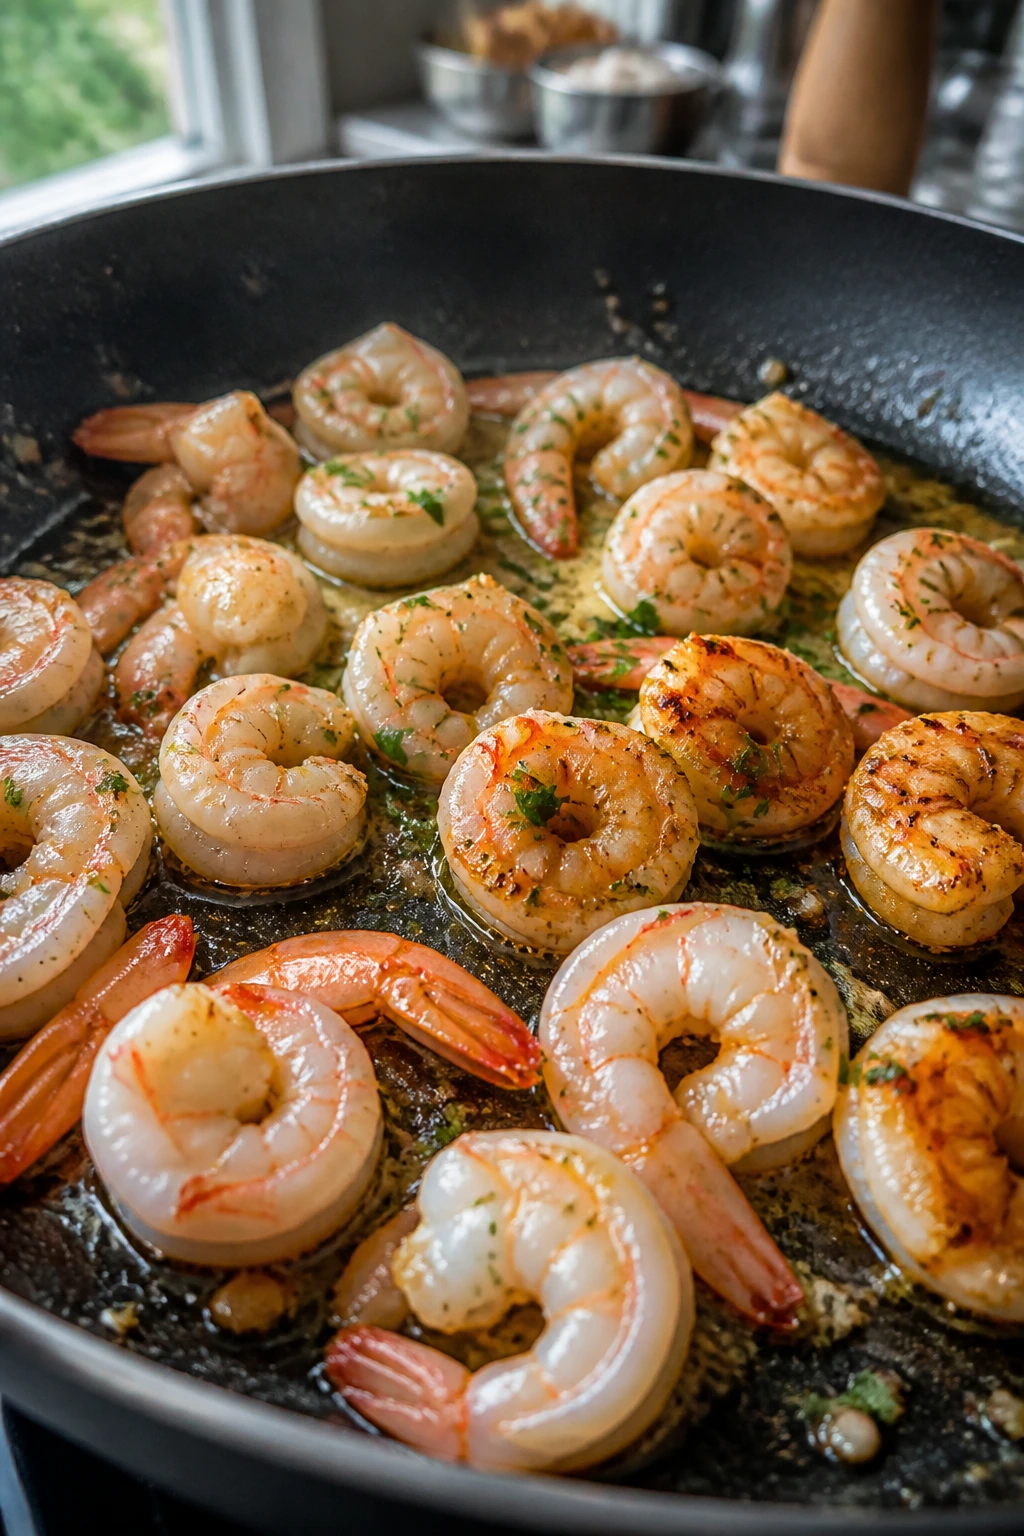
Starting with wet shrimp: Wet shrimp steam before they sear, which leaves them pale and a little rubbery. Pat them dry with paper towels before they hit the pan, especially for tacos, scampi, and stir-fry.
Crowding the pan: Too many shrimp in one skillet drops the heat and forces them to steam. Cook in batches if you need to. A little browning is worth the extra minute.
Underseasoning the whole dish: Shrimp taste mild on their own, so the seasoning has to live in the sauce, the rice, the pasta water, or the slaw too. Salt the layers, not just the shrimp.
Adding shrimp too early: In curry, pasta, or skillet meals, shrimp should usually go in near the end. If they simmer for too long while you fix the rest of the pan, they lose their snap and the texture goes dull.
Ignoring acid at the finish: Lemon, lime, or vinegar makes shrimp taste fresher and keeps rich sauces from feeling heavy. If a dish tastes flat at the end, it probably needs brightness more than more salt.
Frequently Asked Questions
What size shrimp works best for weeknight dinners?
Medium to large shrimp, usually around 21/25 or 26/30 count per pound, are the easiest to cook evenly. Jumbo shrimp are nice for sheet-pan meals or scampi, but smaller shrimp can disappear in pasta or rice unless you use a generous amount.
Can I use frozen shrimp straight from the freezer?
Not for these recipes. Thaw them first in the refrigerator overnight or in a bowl of cold water for about 15 to 20 minutes, changing the water once if needed. Thawed shrimp cook more evenly and season better.
Should I buy raw or pre-cooked shrimp?
Raw shrimp are the right call for most hot dinners because they finish quickly and stay tender. Pre-cooked shrimp are fine for cold shrimp salad or a very brief warm-through, but they can turn rubbery fast in a skillet.
How do I know when shrimp are done?
They should be opaque, pink, and curled into a loose C shape. If they clamp into a tight O, they’ve probably gone too far. If you use a thermometer, aim for 145°F at the thickest part.
Can I make these dinners ahead of time?
You can prep the vegetables, cook the rice, mix sauces, and season the shrimp in advance. I would still cook the shrimp close to dinner time, because reheated shrimp lose their best texture faster than almost any other protein.
What if my sauce turns watery?
Usually it means the pan was crowded, the vegetables gave off too much liquid, or the pasta water or broth was added too fast. Let the sauce simmer uncovered for a minute or two, then finish with butter, Parmesan, or a small splash of cream to help it tighten.
Can I swap shrimp for another protein?
Yes, but the timing changes. Chicken needs longer, scallops need careful searing, and tofu wants more seasoning and a drier surface. The flavor patterns here still work; you just can’t cook every protein with shrimp timing.
Which recipes reheat best?
Coconut curry, fried rice, the white bean skillet, and fajitas reheat better than creamy pasta or flatbreads. Shrimp always reheat gently, though. Low heat and a splash of liquid beat a hard blast in the microwave every time.
A Fast Dinner Habit Worth Keeping
A good shrimp dinner does not need ceremony. It needs a hot pan, a little salt, and a plan that doesn’t collapse when the evening gets noisy. That’s why these recipes work so well together: they cover creamy, bright, spicy, cozy, and crisp without asking you to learn twelve different cooking styles.
Keep a bag of shrimp in the freezer, a lemon on the counter, and one or two of these methods in your pocket. The rest is just choosing the mood of the night.