
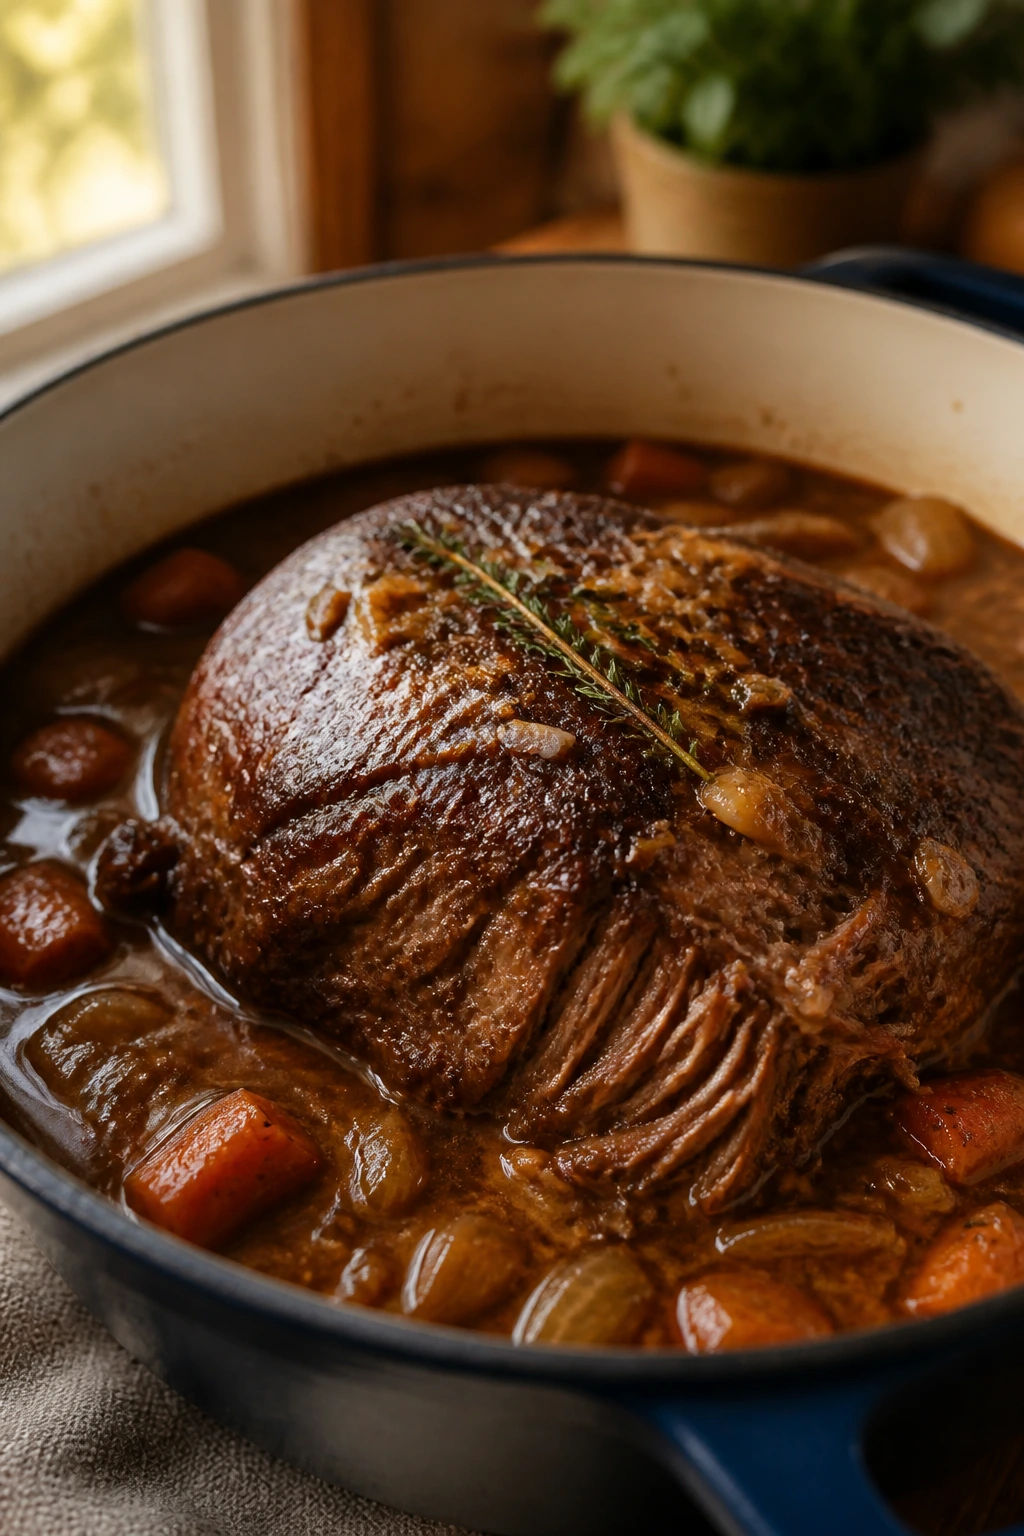
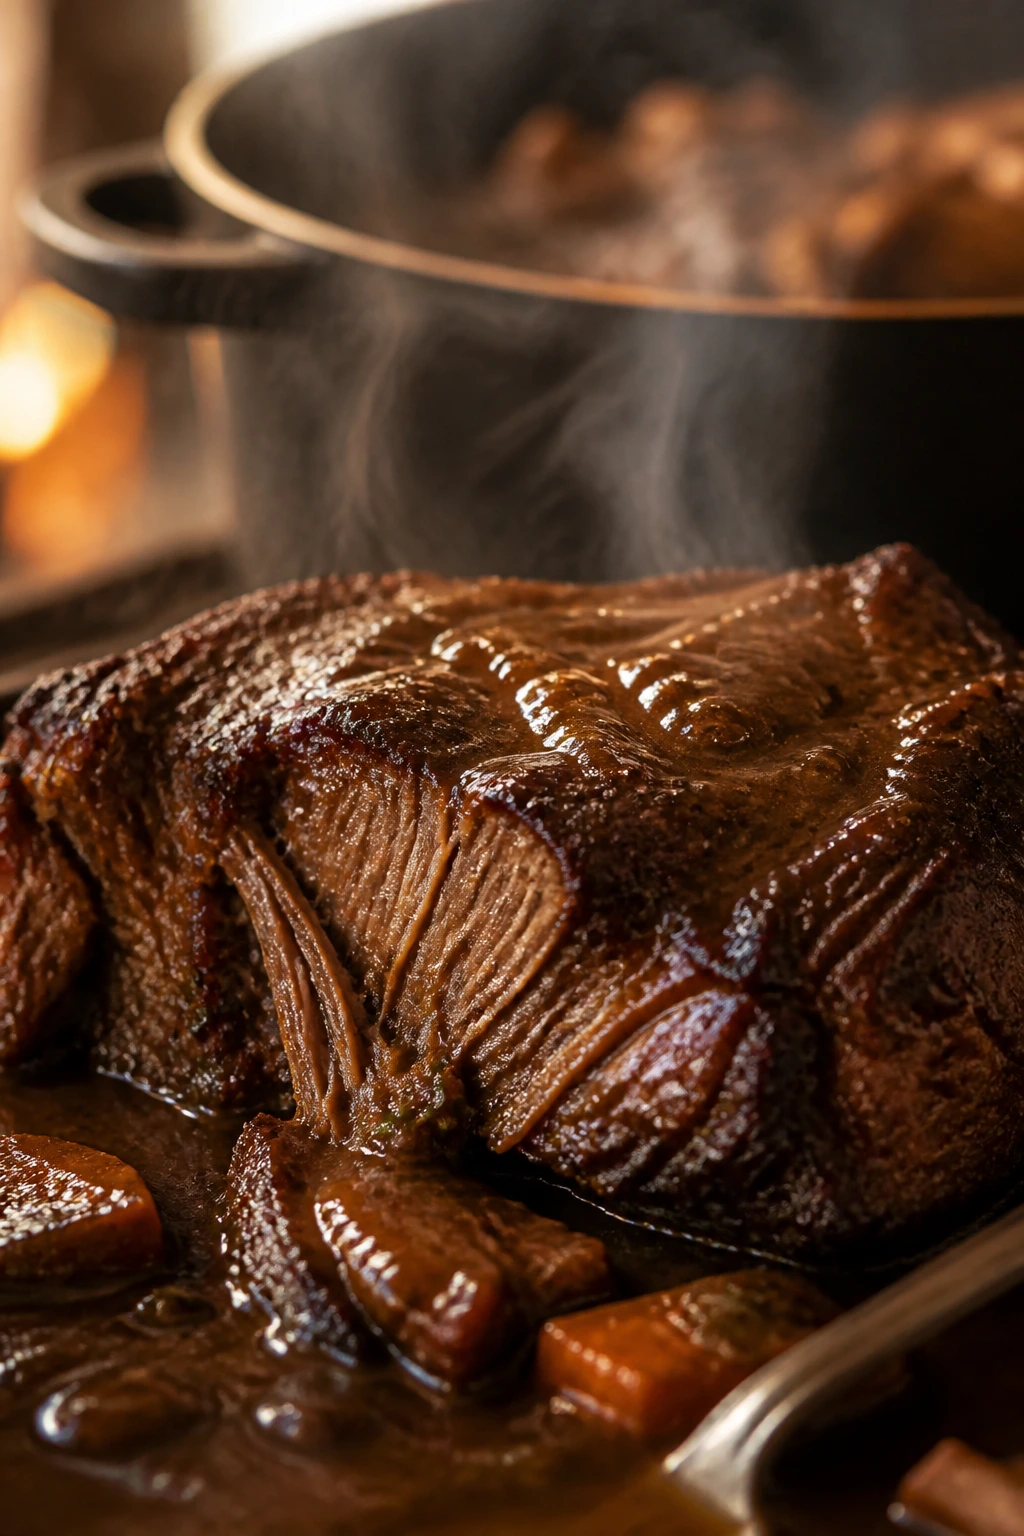
Beef chuck does not reward impatience. Give it a hard sear, a low oven, and enough time for the collagen to melt, and it turns into the kind of dinner that leaves glossy gravy on the spoon and silence at the table for a few seconds.
Rush it, and it stays stubborn. Leave it alone, and the roast softens in that old-fashioned way that feels almost unfair — thick slices giving way with a fork, onions turning sweet in the pan juices, carrots soaking up beef fat, potatoes holding their shape while tasting like they’ve been part of the pot all along.
I keep coming back to beef chuck because it has a real point of view. It’s not delicate, and it doesn’t need to be. The cut comes from the shoulder, which means more connective tissue, more muscle, and more flavor than a lean roast that behaves nicely from the first minute to the last. Chuck wants heat and time. Give it both, and dinner looks far more complicated than it is.
Why This Beef Chuck Dinner Earns a Place at the Table
-
The beef does the heavy lifting: Chuck roast brings deep, beefy flavor on its own, so the gravy tastes rich even before you start fiddling with finishing touches.
-
One pot keeps the whole thing calm: The sear, the braise, the vegetables, and the sauce all happen in the same Dutch oven, which means the browned bits never get left behind.
-
It feeds people without drama: A 3 1/2- to 4-pound roast serves a full table with enough leftovers to matter, and the vegetables make it feel like a complete meal instead of a slab of meat.
-
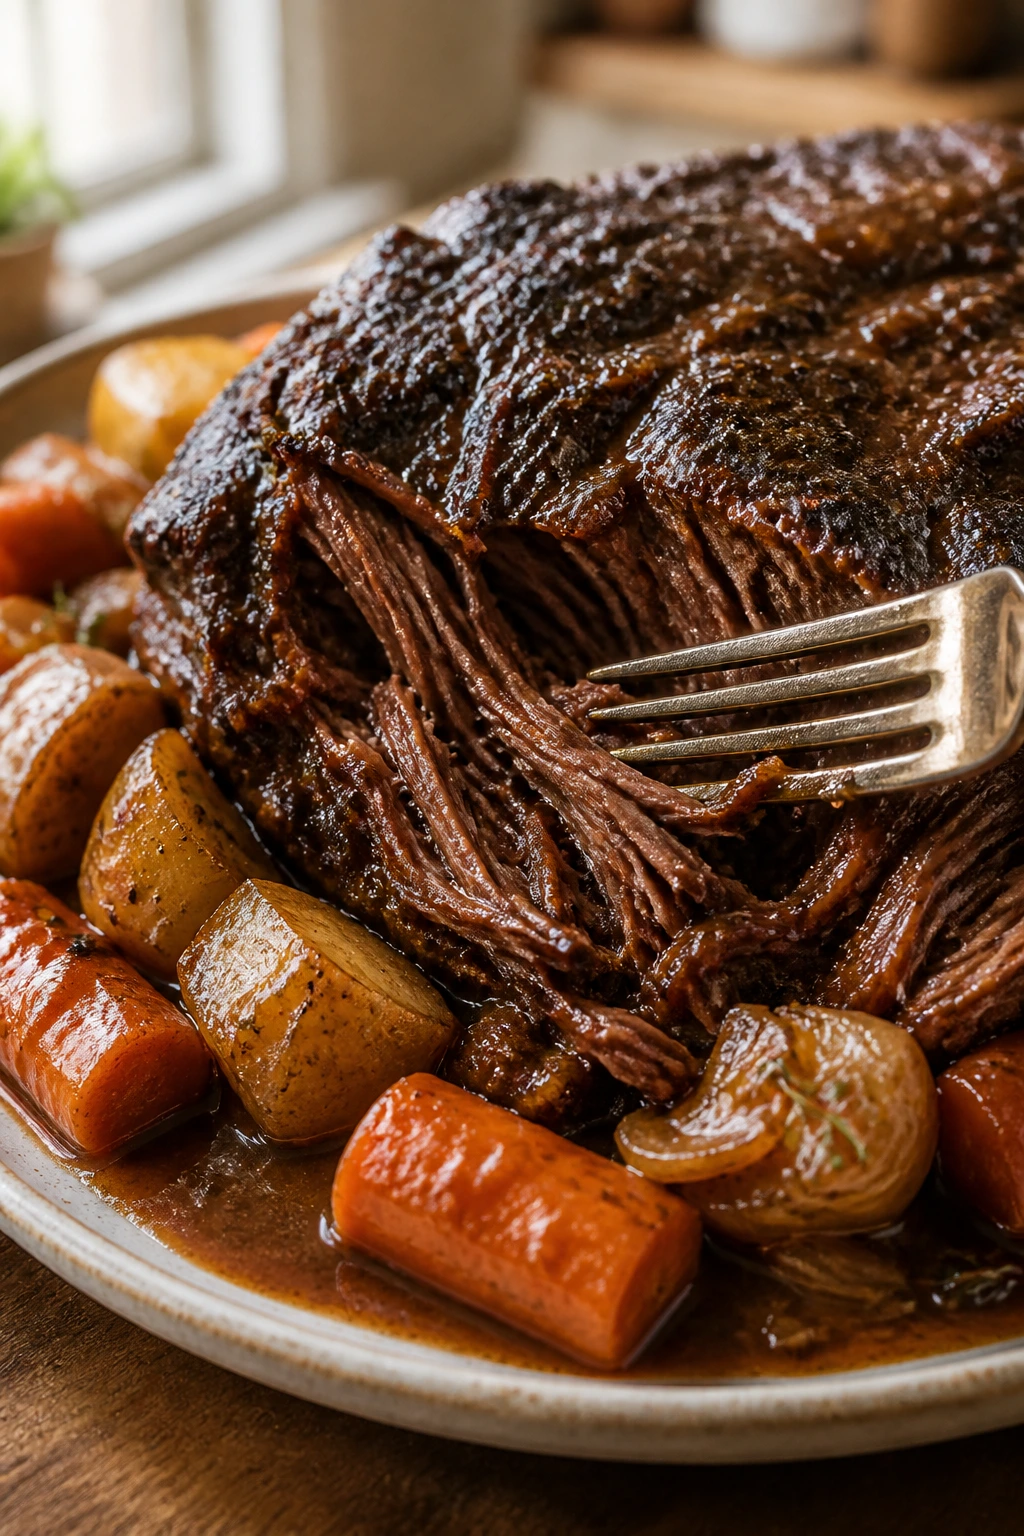
The texture changes in a satisfying way: At the start, the roast feels firm and almost rude. By the end, it yields to a fork and slices cleanly against the grain.
-
The sauce tastes better than the ingredient list suggests: Wine, broth, tomato paste, Dijon, and Worcestershire work together here. None of them shouts. That’s the point.
-
Leftovers are worth keeping: The meat tightens up a little after chilling, then relaxes again when reheated in gravy. It’s one of the few braised dishes that can be better on day two.
What Makes Chuck Roast the Right Cut for Braising
Why does chuck behave so differently from a tender roast? Because it’s built for work, not pampering. The shoulder gets used a lot, so the meat carries more connective tissue and a firmer grain. That sounds like a disadvantage until you braise it. Then it becomes the whole reason the pot tastes so good.
Collagen is the magic word here. It starts out tough, but after a few hours in a covered pot at a gentle 325°F, it breaks down into gelatin. That’s what gives the sauce a silky, almost sticky body without needing a heavy cream finish or a mountain of flour. If you’ve ever noticed a braise that clings to the back of a spoon in the best possible way, that gelatin is doing the work.
Chuck roast also takes seasoning well because it has enough fat and structure to hold up to bold flavors. Tomato paste adds a little darkness. Dijon sharpens the gravy. Worcestershire brings that savory depth people often try to fake with too many spices. You do not need a crowded spice cabinet here. You need heat, salt, and a few ingredients that know their job.
I like this version because it stays in the middle lane. It’s not a French beef stew with a long list of wine-country extras, and it isn’t a bare-bones roast either. It lands in that sweet spot between rustic and polished, which is where chuck usually shines brightest.
Yield, Timing, and the Pace of the Cook
Yield: Serves 6 generously
Prep Time: 25 minutes
Cook Time: 3 hours 15 minutes to 3 hours 30 minutes
Total Time: 3 hours 40 minutes to 3 hours 55 minutes
Difficulty: Intermediate — the steps are straightforward, but the sear, the braise, and the tenderness check all matter.
Chill/Rest Time: 15 to 20 minutes before slicing
Best Served: Warm, after resting, with gravy spooned over the meat and vegetables
There’s a reason braised beef chuck asks for a chunk of your afternoon. The first half hour is active work, then the pot turns into a very calm machine. The oven heat creeps through the roast, the onions soften, the potatoes settle into the sauce, and the whole thing thickens in the way only a covered pot can manage.
If your oven runs cool, add a little time. If your roast is on the smaller side, start checking around the 2 hour 30 minute mark. Chuck is done when it feels tender from the outside in, not when the clock says so. A thermometer helps, but the fork test tells the truest story here.
The Ingredients and What Each Piece Does in the Pot
For the Beef and Seasoning
- 3 1/2 to 4 pounds beef chuck roast, well marbled and trimmed of large hard-fat caps
- 2 1/2 teaspoons kosher salt
- 1 teaspoon freshly ground black pepper
- 2 tablespoons all-purpose flour, for a light dredge
For the Braise
- 2 tablespoons olive oil
- 2 large yellow onions, sliced into thick half-moons
- 3 celery stalks, cut into 1-inch pieces
- 4 medium carrots, cut into 2-inch chunks
- 6 garlic cloves, smashed and chopped
- 2 tablespoons tomato paste
- 1 cup dry red wine, such as cabernet sauvignon or merlot, or an extra cup broth plus 1 tablespoon red wine vinegar if you skip wine
- 3 cups low-sodium beef broth
- 1 tablespoon Worcestershire sauce
- 1 tablespoon Dijon mustard
- 4 sprigs fresh thyme or 1 teaspoon dried thyme
- 2 bay leaves
For the Vegetables and Finish
- 1 1/2 pounds Yukon Gold potatoes, halved if small or quartered if large
- 2 tablespoons chopped parsley, for serving
- 1 to 2 tablespoons cornstarch mixed with 2 tablespoons cold water, optional for a thicker gravy
The list looks long only because the pot is doing several jobs at once. The beef gives the body, the vegetables soften into the broth, and the final sauce should feel more like a pan gravy than a thin soup.
Beef Chuck Roast
What to use: 3 1/2 to 4 pounds of beef chuck roast with visible marbling and a few seams of fat. A boneless roast is easiest to handle, though a tied roast holds its shape nicely in the pot.
Preparation: Pat the roast dry, trim away any thick, hard cap of fat, and season it before it ever touches the heat. If the roast has an odd shape, tie it in two or three places with kitchen twine so it browns more evenly.
Substitutions: Chuck eye roast works almost the same way. Boneless short ribs can be used if you want even richer meat, while bottom round will cook through but won’t give you the same soft, silky result.
Tips: Look for marbling over a perfectly neat shape. The fat in the muscle matters more here than a tidy rectangle ever will. That marbling melts into the sauce and keeps the meat from tasting dry after the long cook.
The Braising Liquid
What to use: 1 cup red wine, 3 cups low-sodium beef broth, 1 tablespoon Worcestershire sauce, 1 tablespoon Dijon mustard, 2 tablespoons tomato paste, 4 sprigs thyme, and 2 bay leaves.
Preparation: Measure the liquid before you start searing. Once the onions are in the pot and the tomato paste hits the heat, the process moves quickly enough that you’ll be glad everything is ready.
Substitutions: No wine? Use extra broth plus 1 tablespoon red wine vinegar or balsamic vinegar at the end. If Dijon is missing, whole-grain mustard can step in, though it gives the sauce a grainier finish.
Tips: Low-sodium broth gives you room to season the final sauce. If you use full-salt broth, taste carefully at the end. It’s easier to add salt than to drag it back out.
The Vegetables
What to use: 2 large yellow onions, 3 celery stalks, 4 medium carrots, and 1 1/2 pounds Yukon Gold potatoes.
Preparation: Cut everything larger than you think you need. Beef chuck braises for a long time, and tiny vegetable pieces go soft and shapeless before the meat is finished.
Substitutions: Red potatoes can stand in for Yukon Golds. Parsnips, turnips, or even a few chunks of sweet potato can replace part of the carrot-and-potato mix if you want a slightly different sweetness.
Tips: Add the potatoes later in the cook so they keep their edges. If you like clean, distinct vegetables, resist the urge to dump them all in at the beginning. That’s how you end up with dinner that tastes good but looks mashed before it reaches the plate.
Aromatics, Herbs, and Seasoning
What to use: 6 garlic cloves, 2 1/2 teaspoons kosher salt, 1 teaspoon black pepper, 2 tablespoons tomato paste, thyme, and bay leaves.
Preparation: Smash the garlic first, then chop it. The smashed pieces keep their shape long enough to perfume the pot, while the chopped bits melt a little into the sauce.
Substitutions: Rosemary can step in for thyme if you want a sharper piney note. A pinch of smoked paprika works too, though I’d keep it small so the gravy doesn’t start tasting like a different dish.
Tips: Cook the tomato paste for at least a minute before adding the wine. That short step takes off the raw edge and gives the braise a darker, more settled flavor. Skip it, and the sauce can taste oddly thin and tomato-bright in the wrong way.
Optional Finishing Ingredient
What to use: 1 to 2 tablespoons cornstarch mixed with 2 tablespoons cold water.
Preparation: Stir the slurry together just before you need it so it stays smooth and easy to whisk in.
Substitutions: If you’d rather not thicken with starch, simmer the sauce uncovered for a few extra minutes and reduce it the old-fashioned way. A spoonful of mashed potato can also help if you’re not chasing a perfectly clear gravy.
Tips: Use the slurry only after the meat is tender and out of the pot. If you add it too soon, the sauce can tighten before the flavor has fully concentrated.
The Tools That Make a Braise Easier
-
5- to 6-quart Dutch oven with a tight lid: This is the main event. A heavy pot holds heat well and keeps the braise steady instead of swinging hot and cold.
-
Tongs: You need them for turning the roast during the sear and lifting it out without tearing the crust.
-
Sharp chef’s knife: Thick-cut onions, carrots, and potatoes are easier to manage when the knife actually bites cleanly.
-
Large cutting board: Chuck roast takes up room, and so do the vegetables. Give yourself enough space to work without stacking things in little piles.
-
Wooden spoon or heatproof spatula: Useful for scraping up the browned bits after the wine goes in. Those bits are the best part of the sauce.
-
Instant-read thermometer: Not mandatory, but helpful. Around 195°F to 205°F in the thickest part of the roast is the range where chuck starts to fall apart in the right way.
-
Ladle or large spoon: Handy for skimming fat and spooning gravy over the meat at the end.
-
Kitchen twine, optional: Useful if the roast is oddly shaped or you want a cleaner, more even sear.
From Sear to Spoon-Tender: The Cooking Method
Prep and Season
-
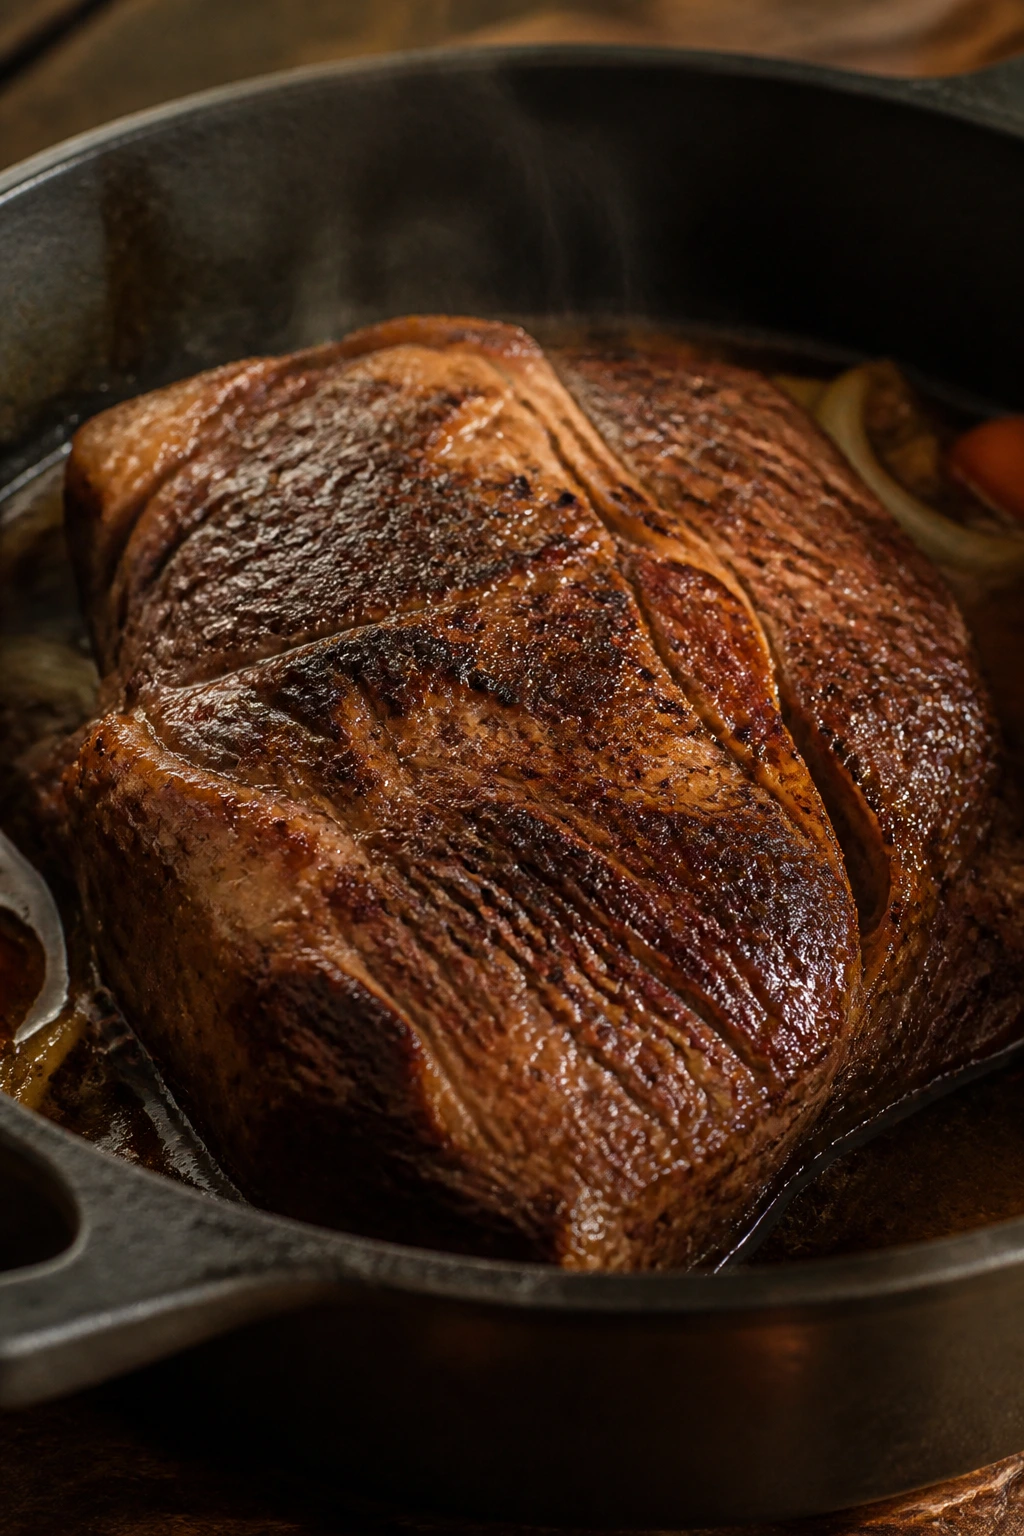
Position a rack in the lower third of the oven and preheat it to 325°F (165°C). Pat the beef chuck roast dry on every side with paper towels, then season it all over with the salt, pepper, and flour. If the roast has a loose or uneven shape, tie it with kitchen twine in two places so it browns more evenly. Let it sit for 15 to 20 minutes while the salt starts doing its work.
-
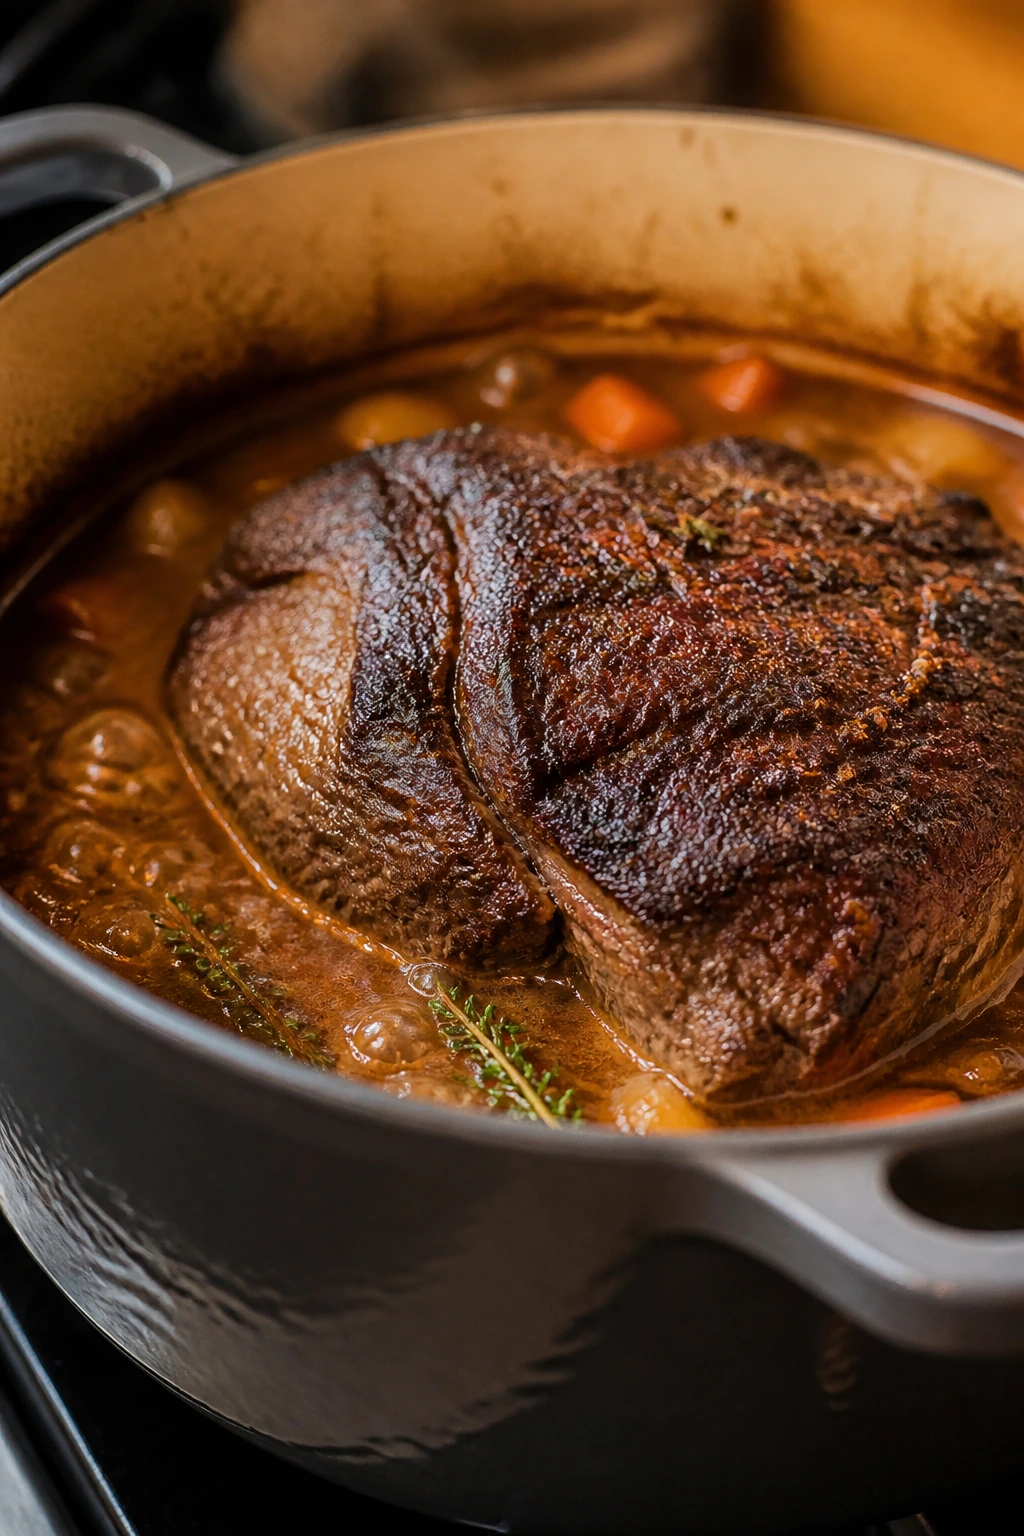
Heat a 5- to 6-quart Dutch oven over medium-high heat. Add the olive oil. When the oil shimmers and moves easily across the bottom of the pot, set in the roast and sear it for 4 to 5 minutes per side until a deep brown crust forms. Do not move it too early — if it sticks, it usually needs another minute.
Build the Braise
-
Transfer the beef to a plate and lower the heat to medium. Add the onions, celery, and carrots to the pot with a small pinch of salt. Cook for 6 to 8 minutes, stirring now and then, until the onions soften and the bottom of the pot starts to loosen up from the fond.
-
Stir in the garlic and tomato paste. Cook for 1 to 2 minutes, scraping the paste across the hot metal until it turns a brick-red shade and smells sweet instead of raw. If the paste looks like it might scorch, pull the pot off the heat for a few seconds.
-
Pour in the red wine and simmer for 2 to 3 minutes, scraping up every browned bit from the bottom. Let the wine reduce by about half. The pot should smell deep and savory, not sharp or boozy.
-
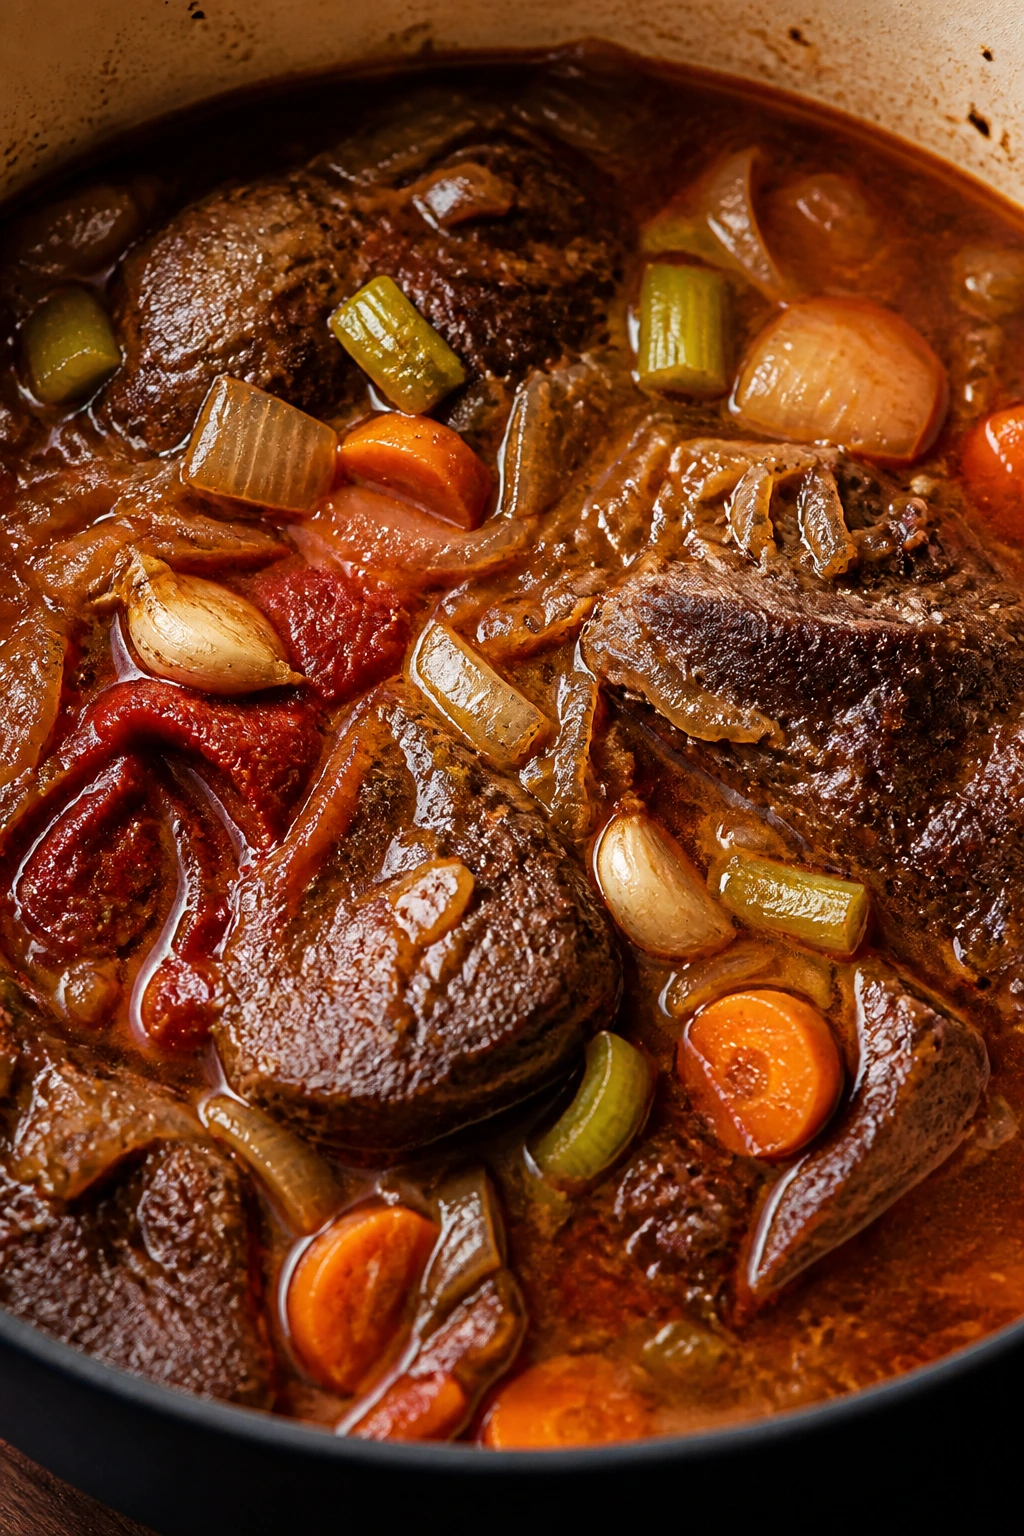
Add the beef broth, Worcestershire sauce, Dijon mustard, thyme, and bay leaves. Return the beef to the pot with any juices from the plate. The liquid should come about halfway up the roast. If it looks too low, add up to 1 cup more broth.
Braise and Finish
-
Cover the pot and move it to the oven. Braise for 2 hours. Then add the potatoes around the roast and spoon some of the liquid over the top. Cover again and braise for 1 hour to 1 hour 15 minutes more, until the beef is fork-tender and the potatoes slide easily on the tip of a knife.
-
Check the thickest part of the roast with a fork. It should pull apart with little resistance, and an instant-read thermometer should read roughly 195°F to 205°F if you want a number to trust. If it still feels tight, keep braising in 15-minute bursts.
-
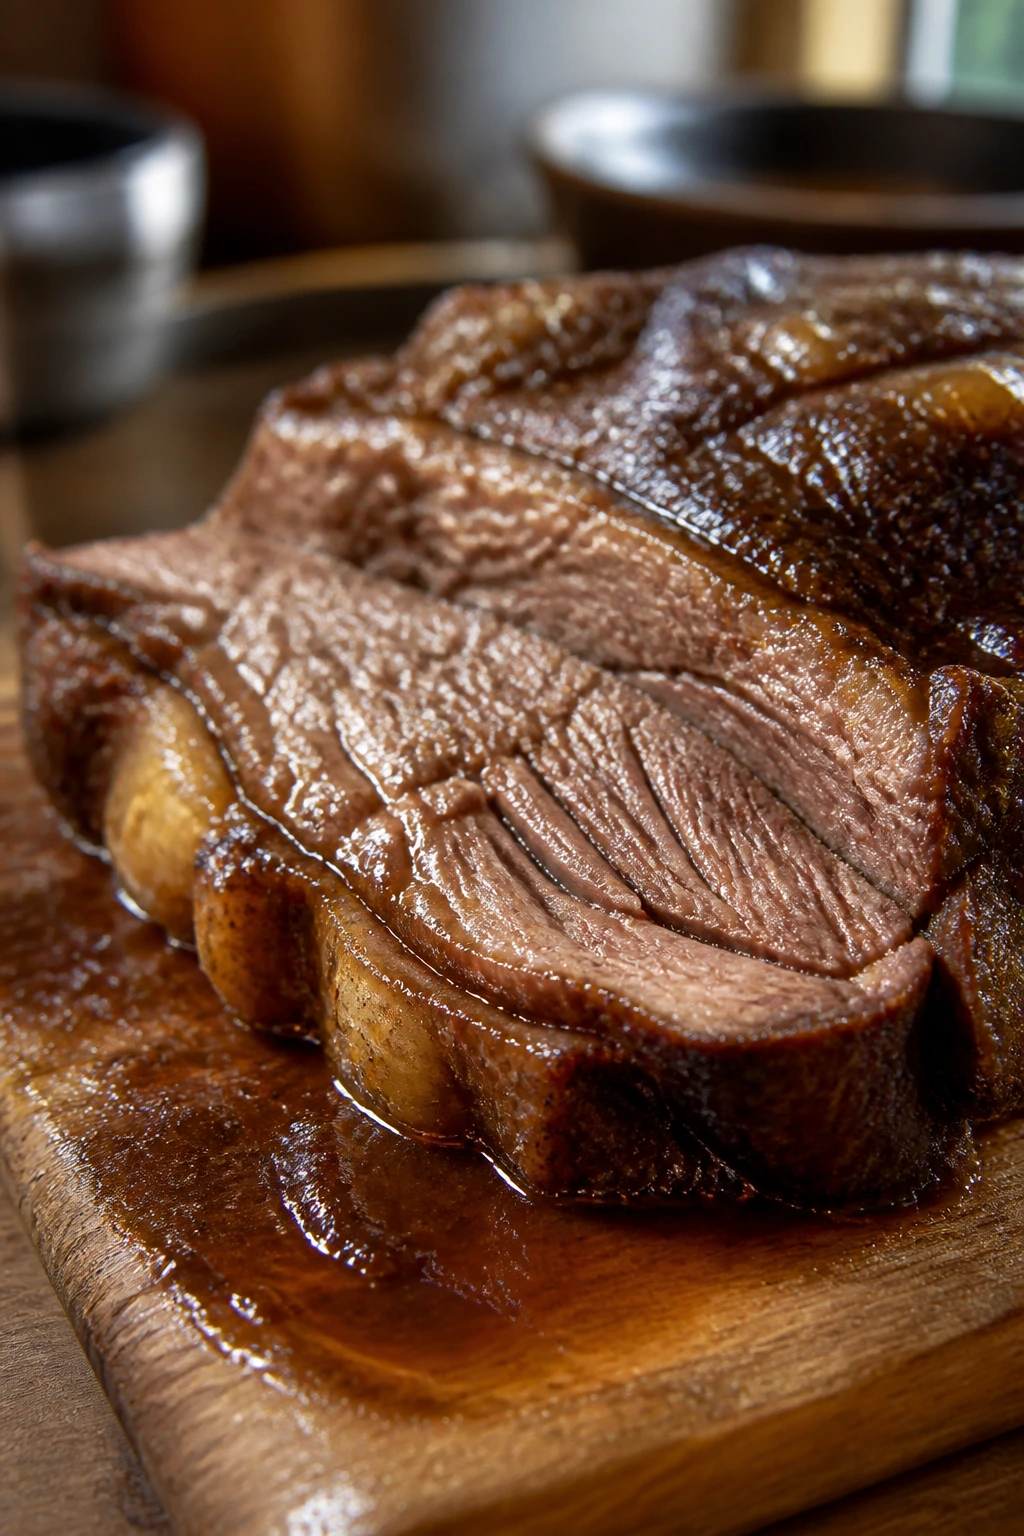
Move the roast to a cutting board and let it rest for 15 minutes. Remove the bay leaves, skim any excess fat from the surface of the liquid, and simmer the gravy on the stovetop for 5 to 10 minutes if you want it thicker. If you’re using the cornstarch slurry, whisk it in and simmer for 1 to 2 minutes until the sauce turns lightly glossy. Slice or shred the beef, return it to the pot, and finish with parsley.
How I Like to Serve Beef Chuck on a Cold Plate
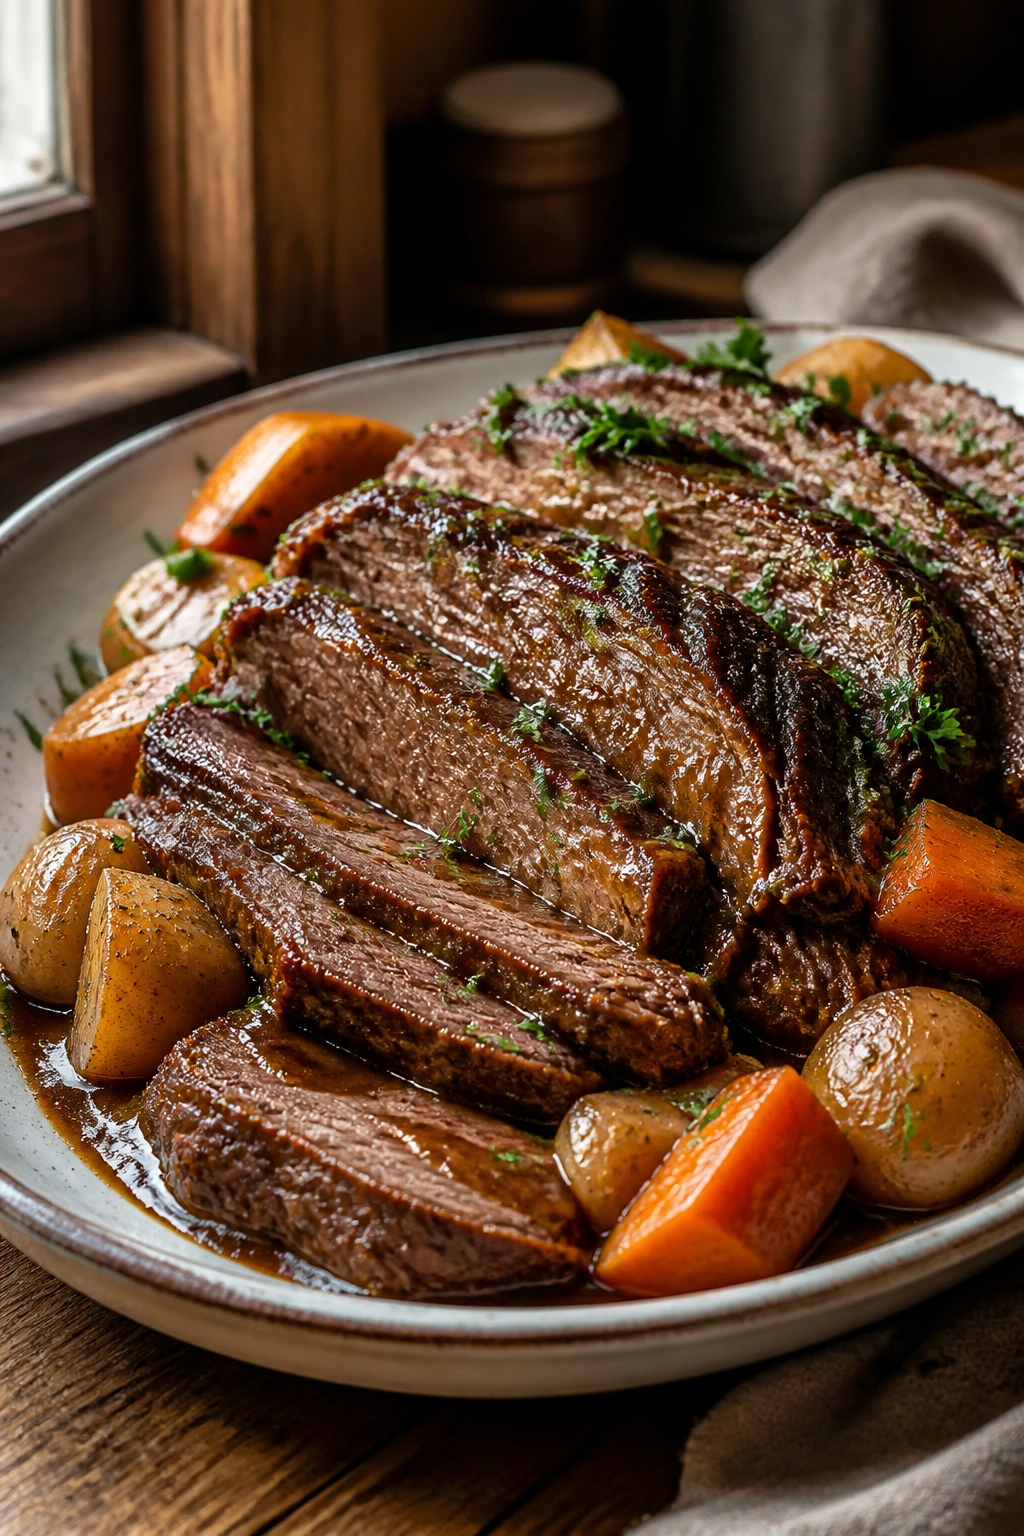
Presentation: I like to slice the roast against the grain into thick half-inch slabs, then fan the meat across a shallow platter with the potatoes and carrots tucked around the sides. If the beef is breaking apart on its own, I don’t fight it. I just pull it into large chunks and let the gravy do the framing. A final spoonful of parsley over the top keeps the pot from looking muddy.
Accompaniments: Buttered egg noodles are a strong move because they catch the gravy in all their folds. Mashed potatoes work too, though I’d skip them if the roast already came with plenty of potatoes in the pot. A crisp green salad, braised greens, or simple green beans gives the plate some lift, and a chunk of crusty bread is never wasted here.
Portions: A 4-pound chuck roast feeds 6 hungry people comfortably, or 8 if you’re serving bread and vegetables alongside it. If the table is full of bigger eaters, plan closer to 3/4 pound raw beef per person. For lighter portions, 1/2 pound per person is enough when the sauce and vegetables are generous.
Beverage Pairing: A medium-bodied red wine — cabernet sauvignon, syrah, or malbec — fits the deep beef flavor and the wine-braised sauce. If beer is more your pace, an amber ale or a brown ale keeps up without bulldozing the meal. Sparkling water with a lemon wedge sounds plain, but it works, especially if the gravy is rich enough to ask for a clean sip between bites.
The Little Moves That Improve the Pot Roast
Flavor Enhancement: Stir a teaspoon of red wine vinegar into the finished gravy after it comes off the heat. It doesn’t make the sauce sour; it just wakes up the beef flavor and keeps the whole pot from tasting sleepy after a long braise.
Time-Saver: Pre-cut mirepoix is fine here if you want a shortcut. Use it for the onions, carrots, and celery, then spend your time on the sear and the gravy instead. That’s where the flavor lives.
Texture Control: Add the potatoes only when the roast is already halfway tender. If they go in too early, they soften too much and start breaking the braising liquid into cloudy starch. That’s a stew move, not a pot roast move.
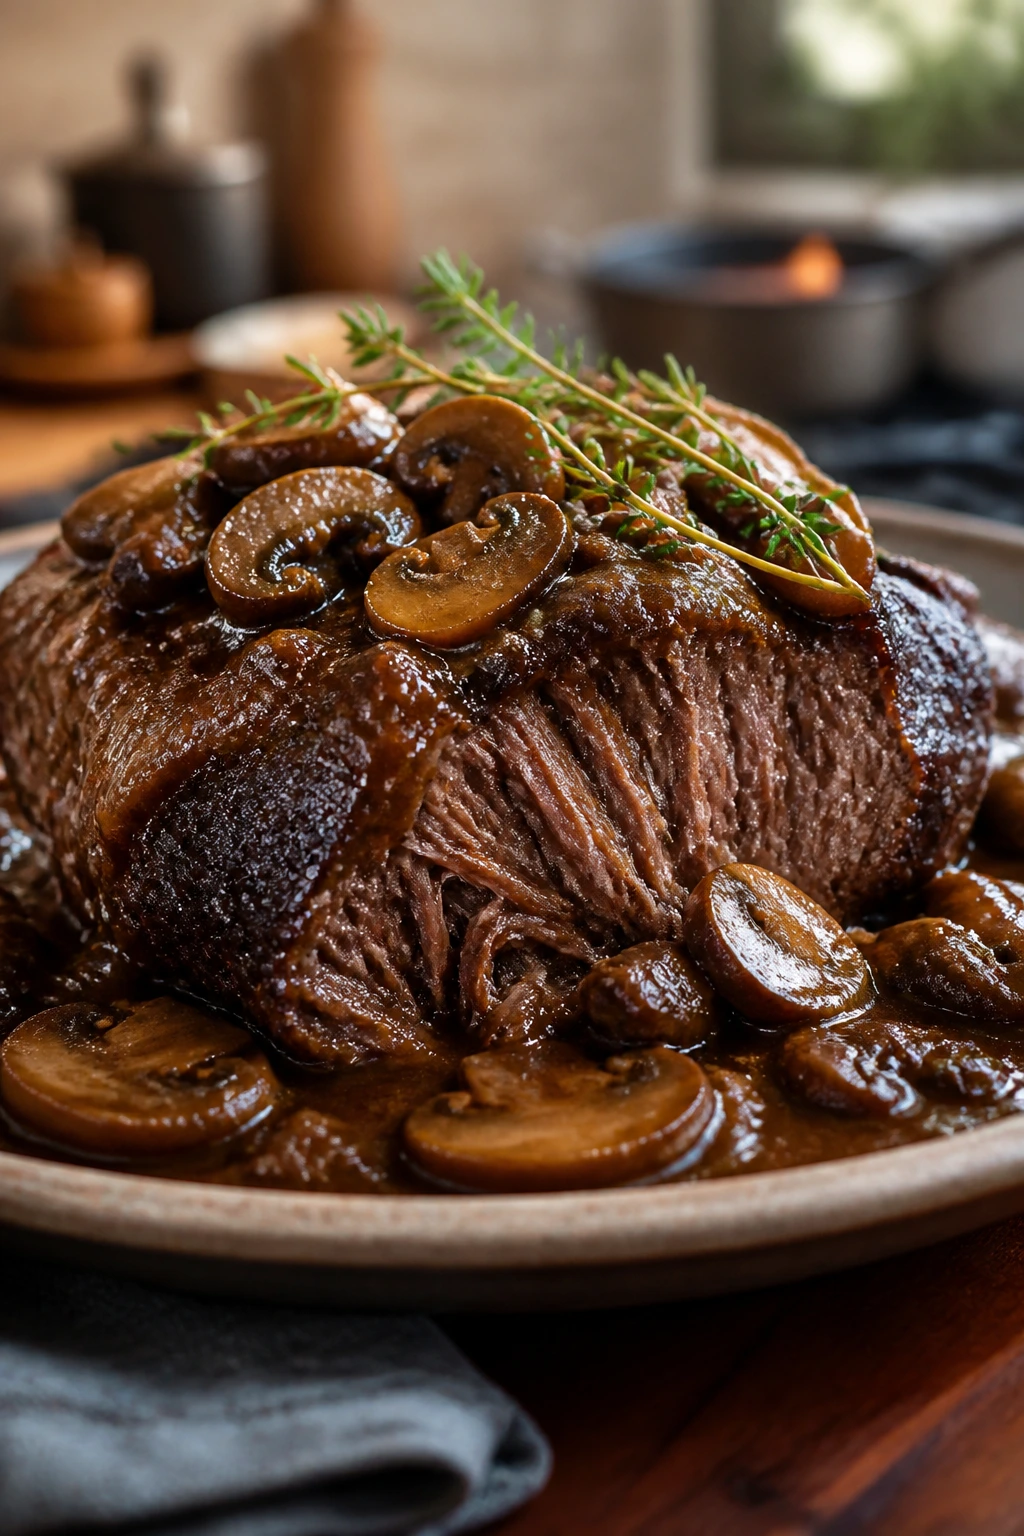
More Depth: A handful of cremini mushrooms can go in with the potatoes if you want a darker, earthier sauce. They absorb the drippings fast and make the broth taste like it simmered all day, even if the ingredient list stays compact.
Make-It-Yours: A spoonful of whole-grain mustard at the end gives the gravy a little rough edge that I like with crusty bread. If you want a sweeter finish, add pearl onions with the potatoes and let them mellow in the liquid.
The Mistakes That Leave Chuck Tough or Flat
-
Starting with wet beef: A damp roast steams before it browns. The crust stays pale, and the gravy loses the deep flavor that searing should build. Pat the beef dry, then season it, then sear it.
-
Boiling the braise: If the liquid roils hard in the oven, the muscle fibers tighten and the meat can turn stringy before it gets tender. The fix is a gentle oven and a covered pot that barely simmers.
-
Adding the potatoes too early: They go mushy, steal some of the salt, and make the sauce cloudy. Wait until the roast is partly tender so the vegetables keep their shape.
-
Underseasoning the liquid: Chuck can handle strong seasoning, and the vegetables need it too. Salt the meat, season the broth, and taste the gravy at the end before serving. Flat sauce is usually a seasoning problem, not a cooking problem.
-
Pulling the roast before it’s ready: Chuck is one of those cuts that often feels tough at 180°F and suddenly turns right at the 200°F mark. If the fork still resists, keep going. Time is part of the recipe.
-
Slicing with the grain: Long muscle fibers chew tougher than they should. Turn the roast and slice across the grain, or shred it if the meat is falling apart anyway.
Ways to Put Your Own Spin on This Dinner
-
Mushroom and Thyme Pot Roast: Add 12 ounces of cremini mushrooms with the onions and keep the thyme in place. The sauce gets darker, the vegetables taste meatier, and the whole pot leans a little more earthy.
-
No-Wine Braise with a Bright Finish: Replace the wine with an extra cup of broth plus 1 tablespoon red wine vinegar and 1 teaspoon soy sauce. That combination keeps the pot savory and balanced without pushing it toward a heavy, wine-forward flavor.
-
Stout and Onion Chuck: Swap the red wine for 1 cup stout and add 1 teaspoon brown sugar. The broth turns darker and maltier, which works especially well if you’re serving the beef with crusty bread or mashed potatoes.
-
Garlic-Herb Sunday Roast: Add 2 extra garlic cloves and swap the thyme for rosemary. The flavor becomes sharper and more piney, which suits people who like their roast closer to a classic Sunday dinner.
-
Slow Cooker Version: Sear the beef and build the vegetable base on the stovetop, then move everything to a slow cooker and cook on low for 8 to 9 hours or on high for 5 to 6 hours. Add the potatoes in the last 2 hours so they don’t collapse into the sauce. The texture is a touch softer than the oven version, but the flavor still lands.
Keeping Leftovers Tender, Not Dry
Let the roast cool for no more than 2 hours before it goes into the fridge. That’s the standard food-safety window, and it matters more than people think when a pot like this is sitting out on the counter and everyone is “just having one more helping.”
Store the beef, vegetables, and gravy together in shallow airtight containers. The fridge will keep it in good shape for 3 to 4 days. If you want to freeze it, aim for up to 2 months for the best texture, though the meat will still be safe beyond that if the freezer stays steady. I prefer freezing the beef and gravy without the potatoes, because potatoes tend to go mealy after thawing.
Reheat it gently. A covered pot on low heat with a splash of broth works best on the stovetop. In the oven, 300°F to 325°F covered for 20 to 30 minutes usually brings it back without drying out the edges. For single portions, the microwave is fine if you use short bursts and stir the gravy between them. Cold leftovers from the fridge can also be sliced, shredded, and tucked into sandwiches the next day, which is one of the few ways to make roast beef feel like a completely different dinner.
This recipe also makes a strong make-ahead meal. Braise it the day before, chill it overnight, then lift off the solid fat from the top before reheating. The flavor settles and deepens while it rests, and the gravy often tastes more complete after a night in the fridge than it does straight from the oven.
Beef Chuck Questions People Ask in the Kitchen
Can I use a different cut if chuck roast isn’t available?
Yes, but choose a cut with enough connective tissue to handle long braising. Chuck eye roast, boneless short ribs, or brisket will all work better than a lean round roast. If you pick something too lean, the meat may cook through without ever becoming tender enough to pull apart.
Do I have to sear the beef first?
I wouldn’t skip it. The sear gives the pot those browned bits that make the gravy taste deep and layered instead of flat. If you absolutely can’t sear, the roast will still cook, but the sauce will taste more one-note.
Can I make this in a slow cooker?
Yes. Sear and build the base on the stove first, then finish it on low in the slow cooker for 8 to 9 hours. Add the potatoes late so they hold their shape. The oven version gives you a slightly better crust and a more concentrated sauce, but the slow cooker is solid when your day is already crowded.
What if the beef is still tough after 3 hours?
Keep braising. Chuck often needs longer than the clock suggests, especially if the roast is thick or the oven runs cool. Tough after three hours usually means it needs more time, not more heat.
How do I know when it’s actually done?
The fork test is the easiest answer. The fork should slide in with little resistance, and the meat should feel like it wants to separate when you twist it. If you’re checking temperature, 195°F to 205°F is the useful range for a braised chuck roast.
Can I thicken the gravy without cornstarch?
Yes. Simmer the liquid uncovered after removing the meat until it reduces to the thickness you want. You can also mash one or two potato pieces into the gravy to give it more body. That keeps the sauce rustic and avoids the slightly slippery texture starch can bring if you use too much.
Why does my gravy taste bland even though the beef is fine?
Usually the liquid needed more salt, more reduction, or both. Braising creates a lot of volume, and a pot that tastes great midway through can still need a final adjustment after the meat comes out. Taste at the end, then add salt, pepper, or a spoonful of vinegar if the flavor feels heavy.
Can I freeze the leftovers with the vegetables in the pot?
You can, but the texture of the potatoes won’t be as nice after thawing. If you know you’re freezing part of the batch, keep the beef and gravy together and freeze the potatoes separately or skip them entirely. The meat holds up far better than the starches.
A Braise Worth the Wait
Beef chuck is the kind of cut that asks for patience and gives back twice as much flavor. The sear builds the crust, the oven does the slow work, and the gravy ends up tasting like the best part of a Sunday kitchen: onion sweetness, browned meat, thyme, wine, and that little gelatin-rich sheen that tells you the pot was handled with care.
I like this dinner because it never feels fussy, even though it tastes like it took serious effort. The pot does the talking. You just need to know when to lower the heat, when to add the potatoes, and when to stop pretending the roast is “probably ready” and trust the fork instead.
Set the Dutch oven on the stove, and let the house start smelling like dinner before the plates are even out.
Oven-Braised Beef Chuck Pot Roast — Recipe Card
Recipe Name: Oven-Braised Beef Chuck Pot Roast
Description: A slow-braised beef chuck roast with onions, carrots, potatoes, thyme, and a red-wine gravy. The meat turns fork-tender, and the sauce thickens into something you’ll want to spoon over every bite.
Prep Time: 25 minutes
Cook Time: 3 hours 15 minutes to 3 hours 30 minutes
Total Time: 3 hours 40 minutes to 3 hours 55 minutes
Course: Dinner, Main Course
Cuisine: American
Servings: 6 servings
Calories: About 610 kcal per serving
Ingredients
For the Beef and Seasoning:
- 3 1/2 to 4 pounds beef chuck roast, well marbled and trimmed of large hard-fat caps
- 2 1/2 teaspoons kosher salt
- 1 teaspoon freshly ground black pepper
- 2 tablespoons all-purpose flour, for a light dredge
For the Braise:
- 2 tablespoons olive oil
- 2 large yellow onions, sliced into thick half-moons
- 3 celery stalks, cut into 1-inch pieces
- 4 medium carrots, cut into 2-inch chunks
- 6 garlic cloves, smashed and chopped
- 2 tablespoons tomato paste
- 1 cup dry red wine
- 3 cups low-sodium beef broth
- 1 tablespoon Worcestershire sauce
- 1 tablespoon Dijon mustard
- 4 sprigs fresh thyme or 1 teaspoon dried thyme
- 2 bay leaves
For the Vegetables and Finish:
- 1 1/2 pounds Yukon Gold potatoes, halved if small or quartered if large
- 2 tablespoons chopped parsley, for serving
- 1 to 2 tablespoons cornstarch mixed with 2 tablespoons cold water, optional for a thicker gravy
Instructions
-
Preheat the oven to 325°F (165°C). Pat the roast dry, season it with salt, pepper, and flour, and tie it with twine if needed.
-
Heat olive oil in a Dutch oven over medium-high heat and sear the roast 4 to 5 minutes per side until deeply browned. Remove to a plate.
-
Lower the heat to medium. Add onions, celery, and carrots, and cook 6 to 8 minutes until softened.
-
Stir in garlic and tomato paste, and cook 1 to 2 minutes until the paste darkens.
-
Add the wine and simmer 2 to 3 minutes, scraping up browned bits, until reduced by half.
-
Add broth, Worcestershire sauce, Dijon mustard, thyme, and bay leaves. Return the beef and its juices to the pot.
-
Cover and braise for 2 hours. Add the potatoes, cover again, and braise 1 hour to 1 hour 15 minutes more until the beef is fork-tender and the potatoes are done.
-
Rest the beef 15 minutes. Remove bay leaves, skim excess fat, and simmer the gravy if needed. Whisk in the cornstarch slurry, if using, and simmer 1 to 2 minutes until slightly thickened.
-
Slice or shred the beef, return it to the pot, and top with parsley before serving.
Notes: Add the potatoes late so they keep their shape. For cleaner leftovers, chill the braise first and skim the fat before reheating. If you skip the wine, use extra broth plus 1 tablespoon red wine vinegar.