
A classic hamburger only looks simple. The moment you crowd the pan, overwork the beef, or slide a pale bun under a hot patty, the whole dinner turns limp and forgettable.
What makes a good hamburger worth serving for a hearty dinner is not cleverness. It’s heat, timing, and restraint. The beef wants to stay cold until the last possible second, the skillet wants to be properly hot, and the bun wants a little butter and a short toast so it can hold onto juices instead of soaking them up like a sponge.
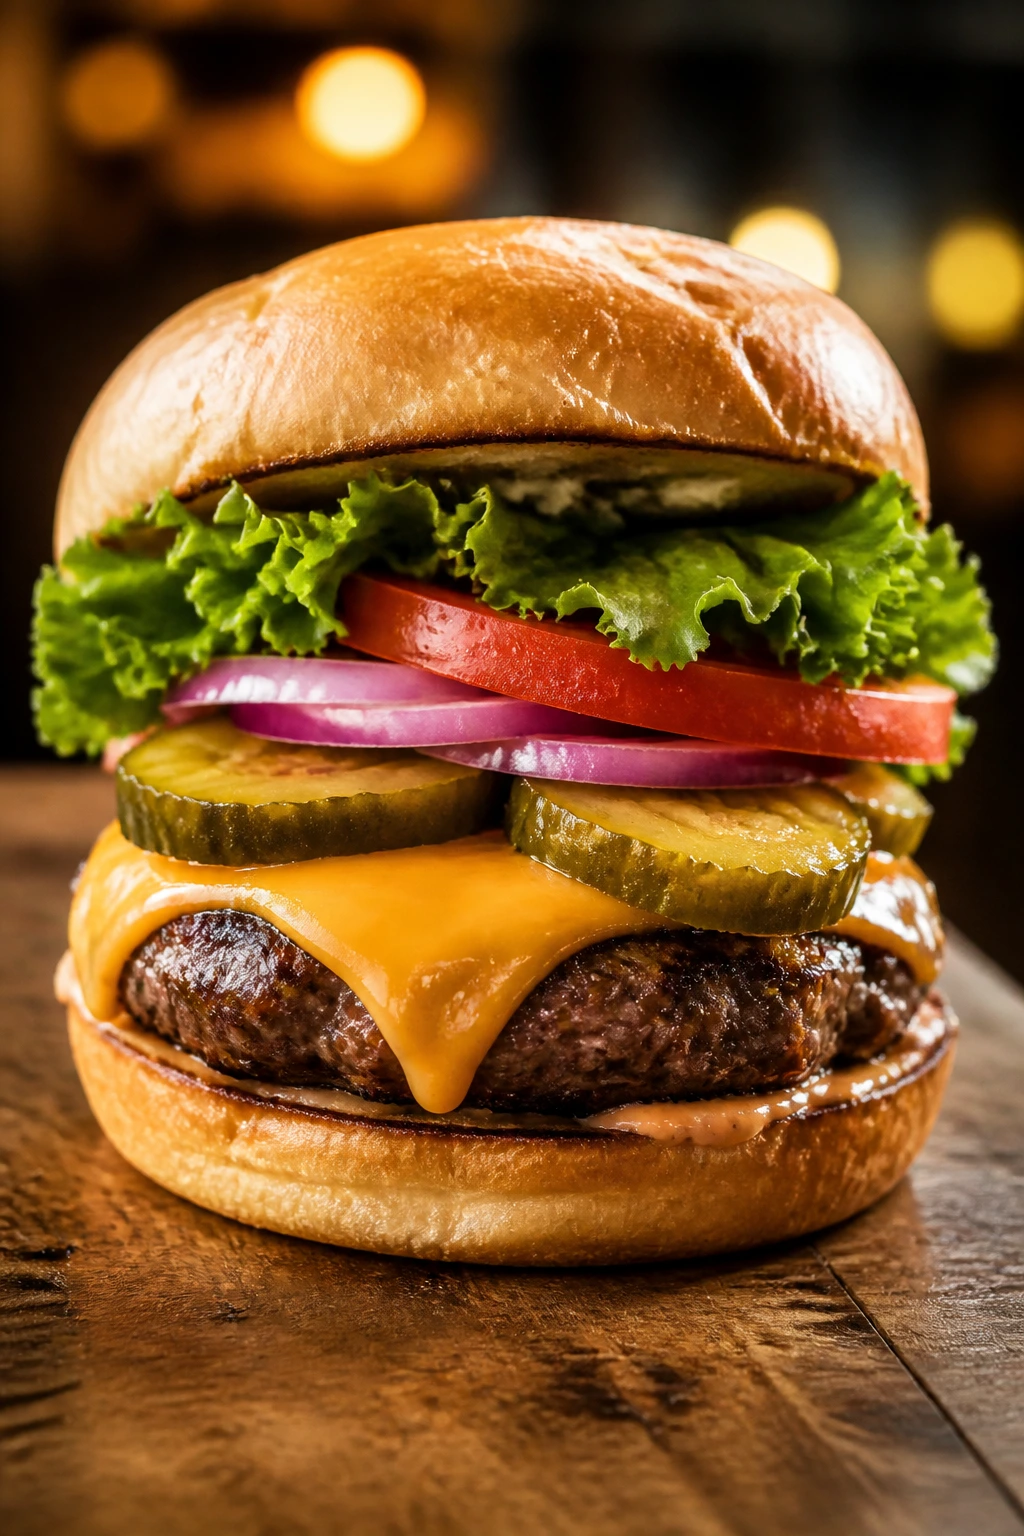
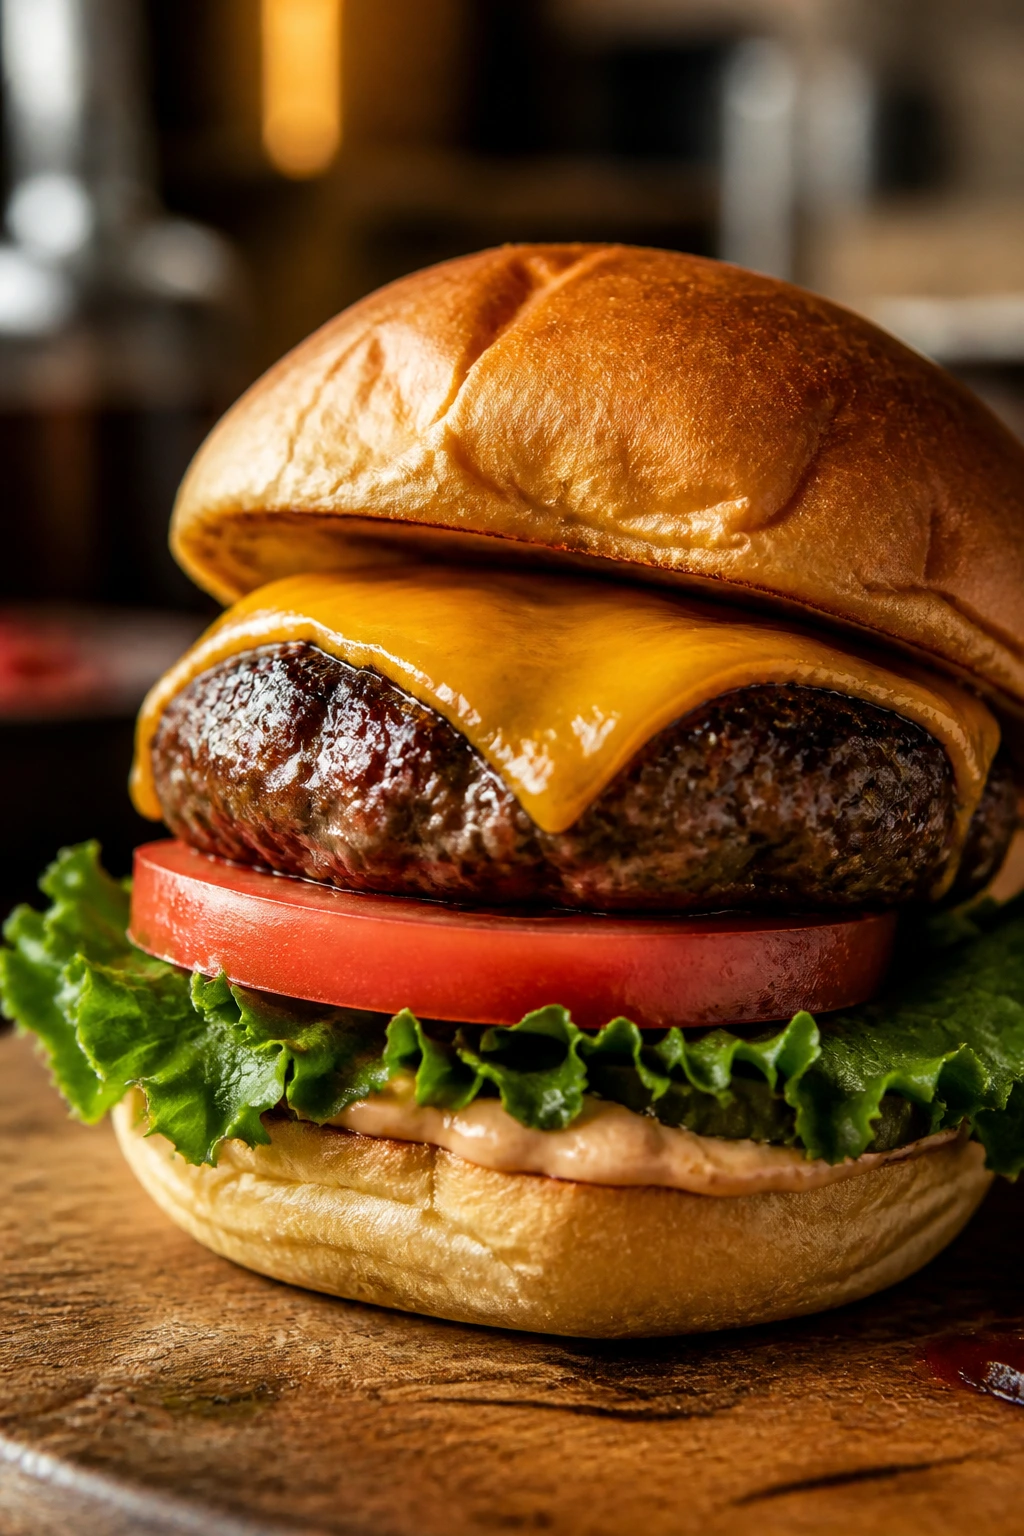
I’ve always thought the bun matters more than people admit. Not more than the beef, obviously. But once you’ve chosen 80/20 ground beef and browned it hard enough to get that savory crust, the bun is what decides whether the burger eats like dinner or slouches into a wet napkin. A toasted bun, crisp lettuce, a slice of tomato that actually tastes like tomato, and a few dill pickles give the whole thing enough structure to feel substantial.
The good news is that a classic hamburger doesn’t need a long ingredient list to feel complete. It needs a hot skillet, a little patience, and the confidence to leave the patty alone once it hits the pan. Get those pieces right, and the whole plate starts to make sense.
Why This Classic Hamburger Still Feels Like Dinner
-
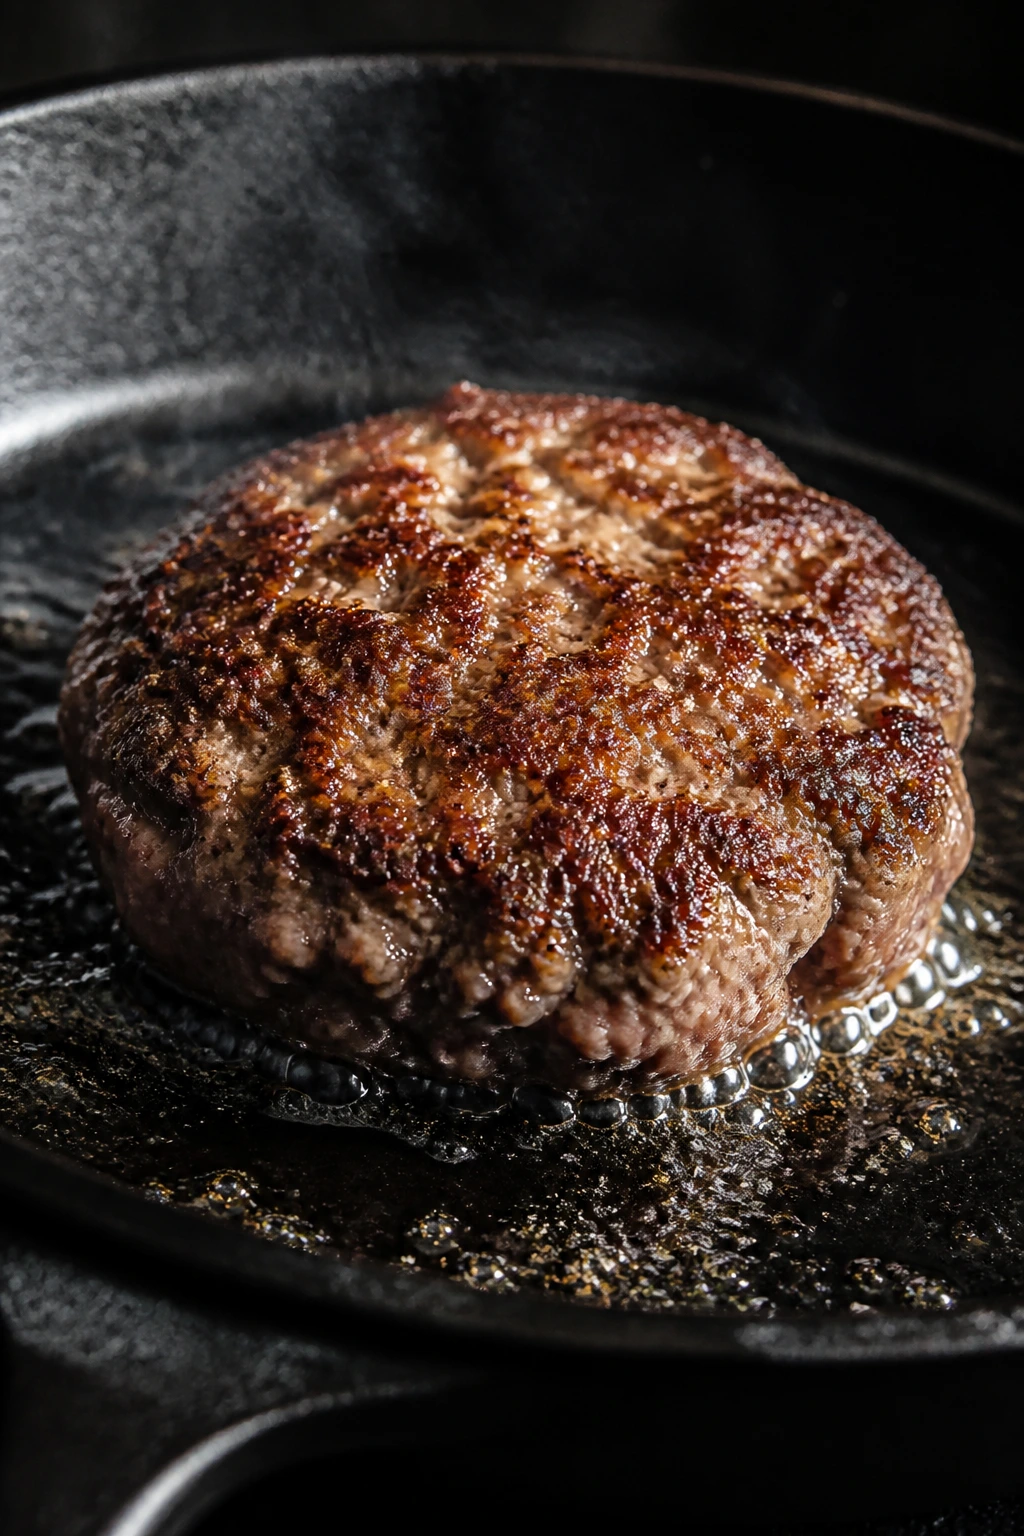
The crust does half the work: A hot cast-iron skillet gives the beef a browned edge in about 3 minutes per side, which is where most of the deep, savory flavor lives.
-
The bun holds its ground: Toasting the cut sides with butter keeps the bottom from turning soggy under ketchup, pickle brine, and beef juices.
-
The patty stays juicy without tricks: An 80/20 blend has enough fat to stay moist after cooking to the USDA-safe 160°F mark, so you do not need breadcrumbs or an egg to hold it together.
-
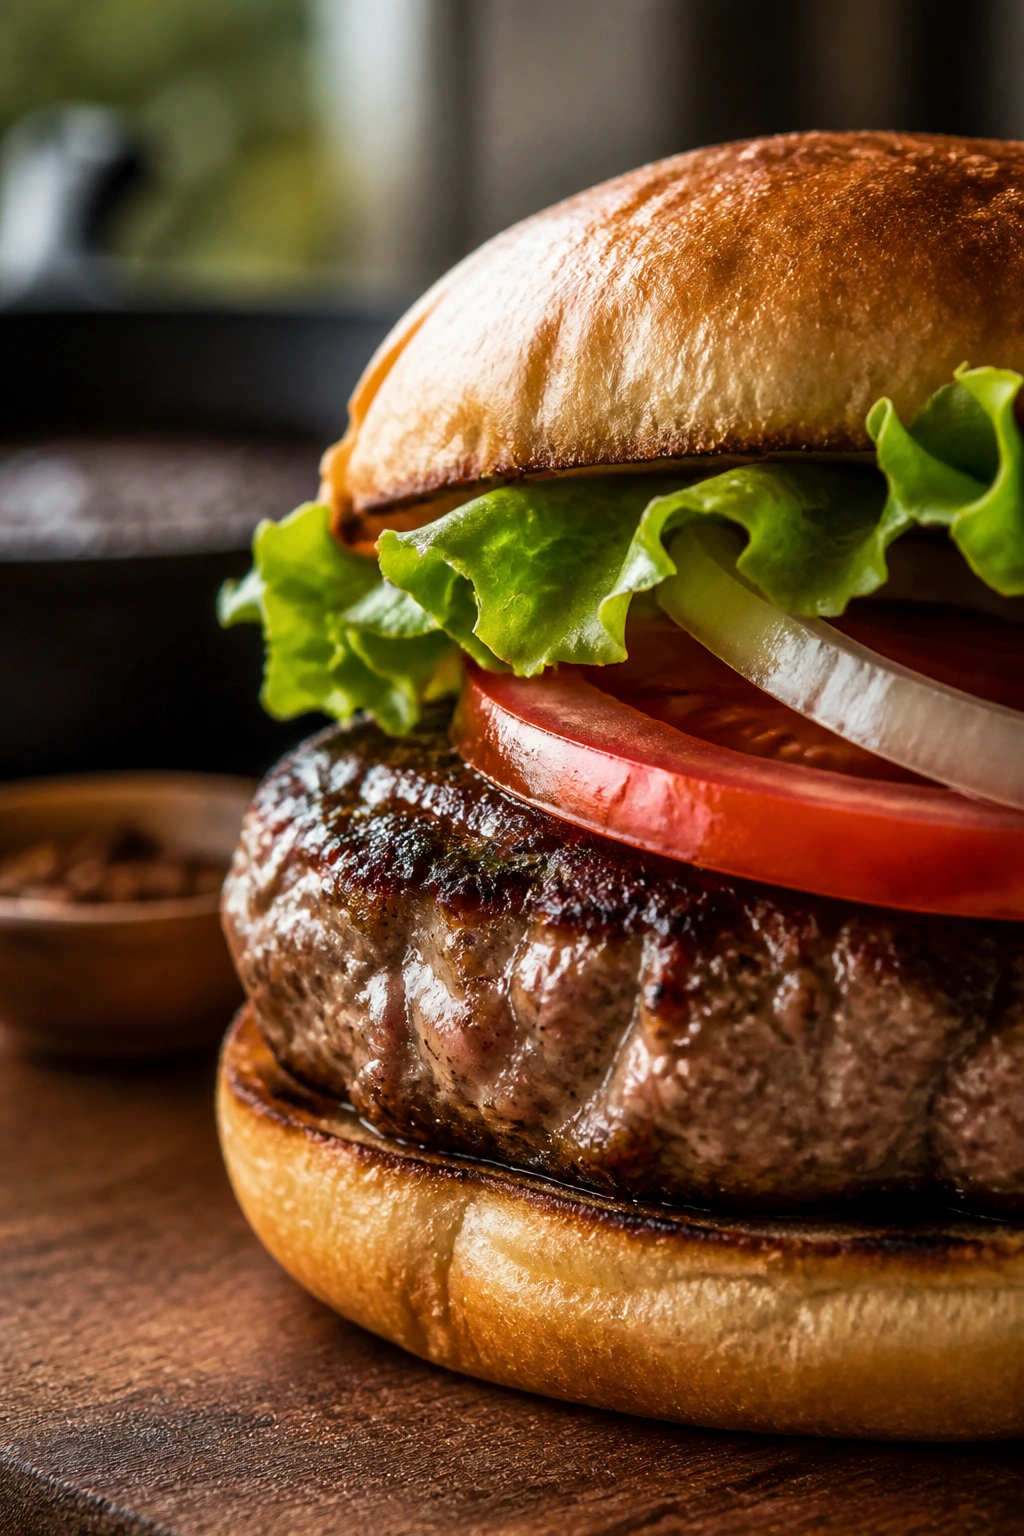
The toppings stay crisp and clean: Ice-cold lettuce, thick tomato slices, and thin onion give the burger crunch and bite instead of turning the whole thing mushy.
-
It feels like a full plate, not a snack: Pair it with fries, slaw, or a sharp salad and the burger reads as dinner, not just something you ate standing over the stove.
Burger Timing at a Glance
Yield: 4 burgers
Prep Time: 15 minutes
Cook Time: 12 minutes
Total Time: 27 minutes
Chill/Rest Time: 10 minutes optional chilling for shaped patties, plus 3 minutes resting after cooking
Difficulty: Beginner — the steps are straightforward, but the heat control and gentle handling matter.
Best Served: Right away, while the patties are hot, the cheese is melted, and the buns are still warm from the skillet.
The Ingredient List You Actually Need
For the Burgers:
- 1 1/2 pounds ground beef (80/20)
- 1 teaspoon Worcestershire sauce
- 1 1/2 teaspoons kosher salt
- 1 teaspoon freshly ground black pepper
- 1 tablespoon neutral oil, for the skillet
For the Buns and Toppings:
- 4 hamburger buns, split
- 2 tablespoons unsalted butter, softened
- 4 slices American cheese or sharp cheddar, optional but recommended
- 4 crisp lettuce leaves
- 1 large tomato, sliced into 4 thick rounds
- 1/2 small red onion, very thinly sliced
- 12 dill pickle chips
- 2 tablespoons ketchup
- 2 tablespoons yellow mustard
- 2 tablespoons mayonnaise
What Each Ingredient Is Doing in the Pan
Ground Beef
What to use: 1 1/2 pounds ground beef with an 80/20 fat ratio, divided into 4 equal portions.
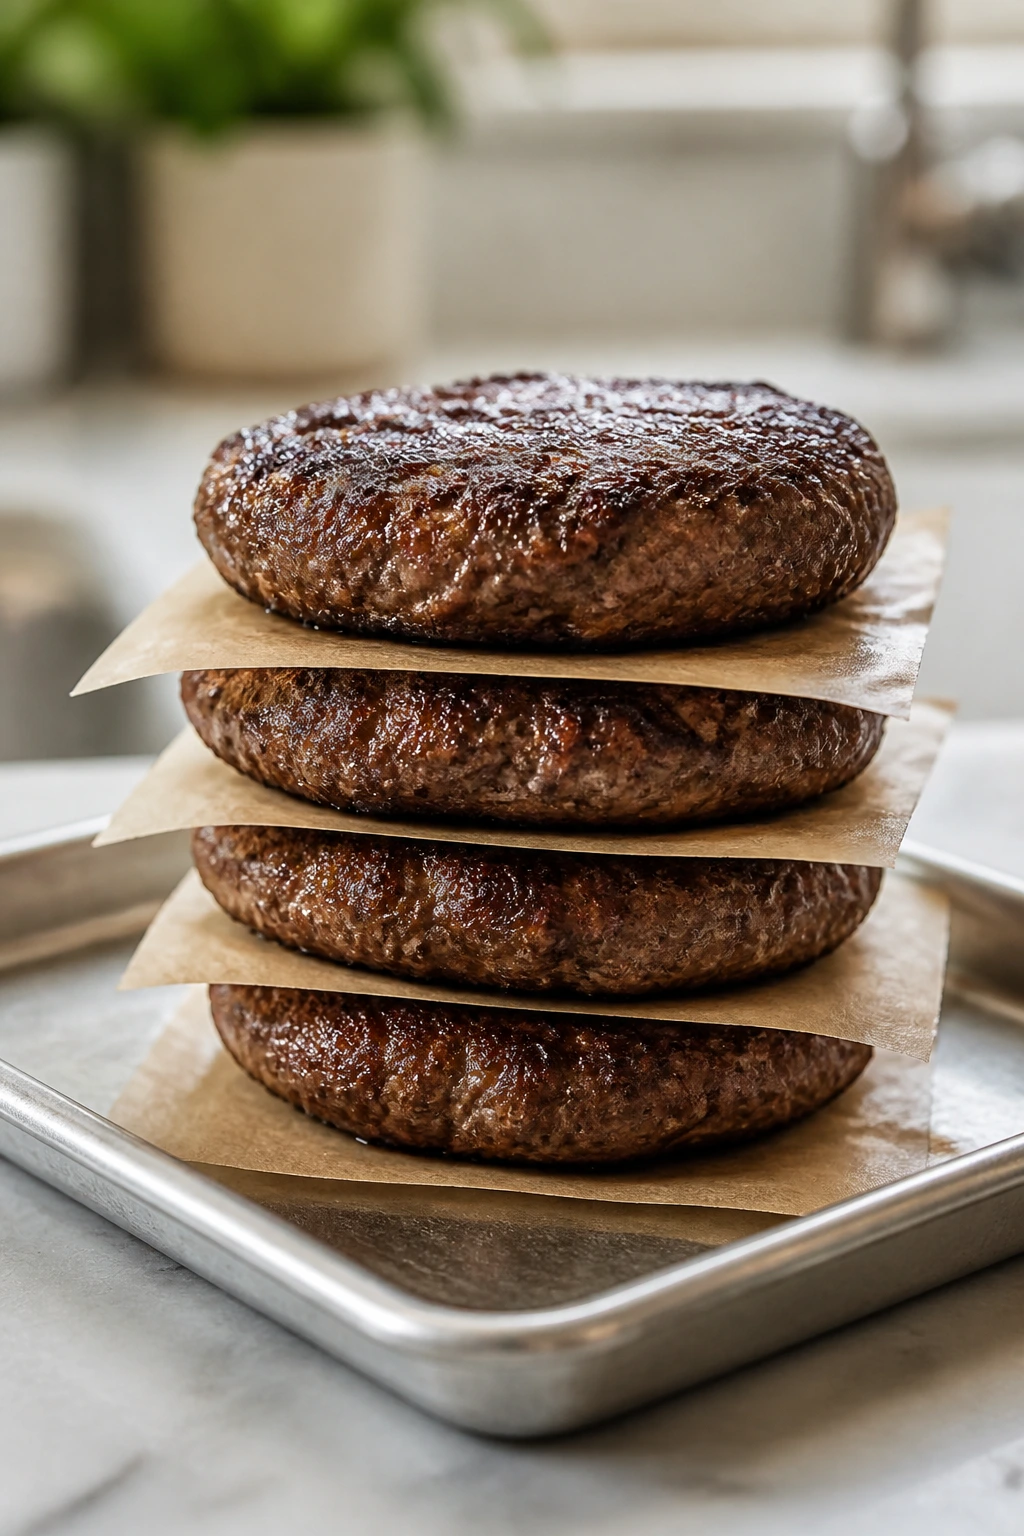
Preparation: Keep it cold until you’re ready to shape it, then handle it lightly and form loose patties about 3/4 inch thick.
Substitutions: 85/15 works if you want a slightly leaner burger, though the patty will cook drier and needs closer attention; ground chuck is the best straight swap. Ground sirloin can work, but it is lean enough that you need to pull it at the first sign of overcooking.
Tips: Fat is not a problem here. It is the reason the burger tastes like a burger instead of a meatloaf slice, and the 80/20 blend gives you enough grease for a proper crust without turning the pan into a lake.
Worcestershire, Salt, and Pepper
What to use: 1 teaspoon Worcestershire sauce, 1 1/2 teaspoons kosher salt, and 1 teaspoon freshly ground black pepper.
Preparation: Drizzle the Worcestershire over the beef before shaping, but save the salt and pepper for the outside of the patties right before they hit the heat.
Substitutions: Fine sea salt works in the same amount; use a little less table salt because the grains are tighter. Soy sauce can stand in for Worcestershire in a pinch, though it brings a sharper edge. If you like a slightly smokier profile, add a pinch of smoked paprika to the exterior.
Tips: Salt on the surface gives you better control and a looser texture. If you mix salt deeply into the beef and work it hard, the patties can start to feel springy, which is the wrong texture for a classic hamburger.
Buns and Butter
What to use: 4 hamburger buns, split, plus 2 tablespoons softened unsalted butter.
Preparation: Split the buns cleanly so the cut sides are flat, then butter those cut faces right before toasting.
Substitutions: Potato buns are my first pick for this kind of burger because they stay tender without falling apart. Brioche buns bring a slightly sweeter finish; sesame buns give the old diner feel. If your buns are soft and flimsy, toast them a little longer, because a weak bun is how a burger starts leaning.
Tips: A toasted bun is not decoration. It is structural support. The butter also helps the cut side brown fast and gives you that faintly fried smell that makes a kitchen feel like a proper burger joint.
Cheese
What to use: 4 slices American cheese or sharp cheddar.
Preparation: If you’re using cheese, keep the slices ready so they can go on during the last minute of cooking.
Substitutions: American cheese melts into a smooth blanket, which is why it works so well on a skillet burger. Sharp cheddar tastes bolder and a little saltier, but it melts less cleanly. Swiss and pepper jack both work if you want a different finish.
Tips: I lean toward American cheese here because it softens into the cracks and edges of the patty instead of sitting there like an afterthought. Cheddar is tastier in a stricter, sharper way, but it can split a little if the heat runs too high.
Lettuce, Tomato, Onion, and Pickles
What to use: 4 crisp lettuce leaves, 1 large tomato sliced into 4 thick rounds, 1/2 small red onion thinly sliced, and 12 dill pickle chips.
Preparation: Wash and dry the lettuce well, slice the tomato thick enough to hold its shape, and keep the onion slices paper-thin. If your onion is aggressive, soak the slices in cold water for 5 minutes, then drain and pat dry.
Substitutions: Roma tomato works if the large tomato is pale and mealy. Sweet onion softens the sharp bite, and bread-and-butter pickles give a sweeter burger if that’s your thing. Iceberg lettuce gives the best snap, though romaine is fine if that’s what’s in the crisper.
Tips: Wet toppings ruin burger structure faster than bad seasoning. Pat the lettuce dry, and do not stack a watery tomato slice straight onto a naked bun if you want the bottom half to stay intact.
Ketchup, Mustard, and Mayonnaise
What to use: 2 tablespoons ketchup, 2 tablespoons yellow mustard, and 2 tablespoons mayonnaise.
Preparation: Keep the condiments ready to spread while the patties rest, because burgers do not wait politely.
Substitutions: BBQ sauce can replace the ketchup if you want a sweeter edge, and a quick burger sauce made from mayo, ketchup, and a little pickle juice works well too. Dijon mustard can step in for yellow mustard if you want a sharper bite.
Tips: Spread condiments on the bun, not on the lettuce. The bun grips them better, and you avoid creating a slick layer that sends the toppings sliding out the side of the burger after the first bite.
The Tools I Reach for on Burger Night
-
12-inch cast-iron skillet or heavy stainless skillet — Cast iron holds heat well and gives you a better crust, but a heavy stainless pan can still do the job if it gets properly hot.
-
Thin metal spatula — A thin edge slides under the patty without tearing the crust.
-
Instant-read thermometer — The cleanest way to know when the burger has reached the USDA-safe 160°F in the center.
-
Large mixing bowl — Helpful for a light Worcestershire drizzle and the gentlest possible shaping.
-
Cutting board and sharp knife — You want even tomato slices and thin onion slices, not ragged wedges.
-
Plate or rimmed tray — A place to rest the patties for a few minutes so the juices settle before you build.
-
Paper towels — Worth keeping nearby for drying lettuce and blotting any excess moisture from the tomato.
Shaping, Searing, and Melting the Cheese
Prep the meat and toppings:
-
Remove the ground beef from the fridge and divide it into 4 equal portions, about 6 ounces each.
-
Drizzle 1 teaspoon Worcestershire sauce over the beef, then use your fingertips to fold it through the meat only 2 or 3 times. Do not knead or squeeze the mixture into a dense ball. You want the beef to stay loose.
-
Shape each portion into a patty about 3/4 inch thick and slightly wider than the buns, because the meat will shrink as it cooks. Press a shallow dimple into the center of each patty with your thumb so the burger stays flatter in the middle.
-
Season both sides of each patty with the kosher salt and black pepper right before cooking. Keep the pressure light and even.
Heat and cook the patties:
-
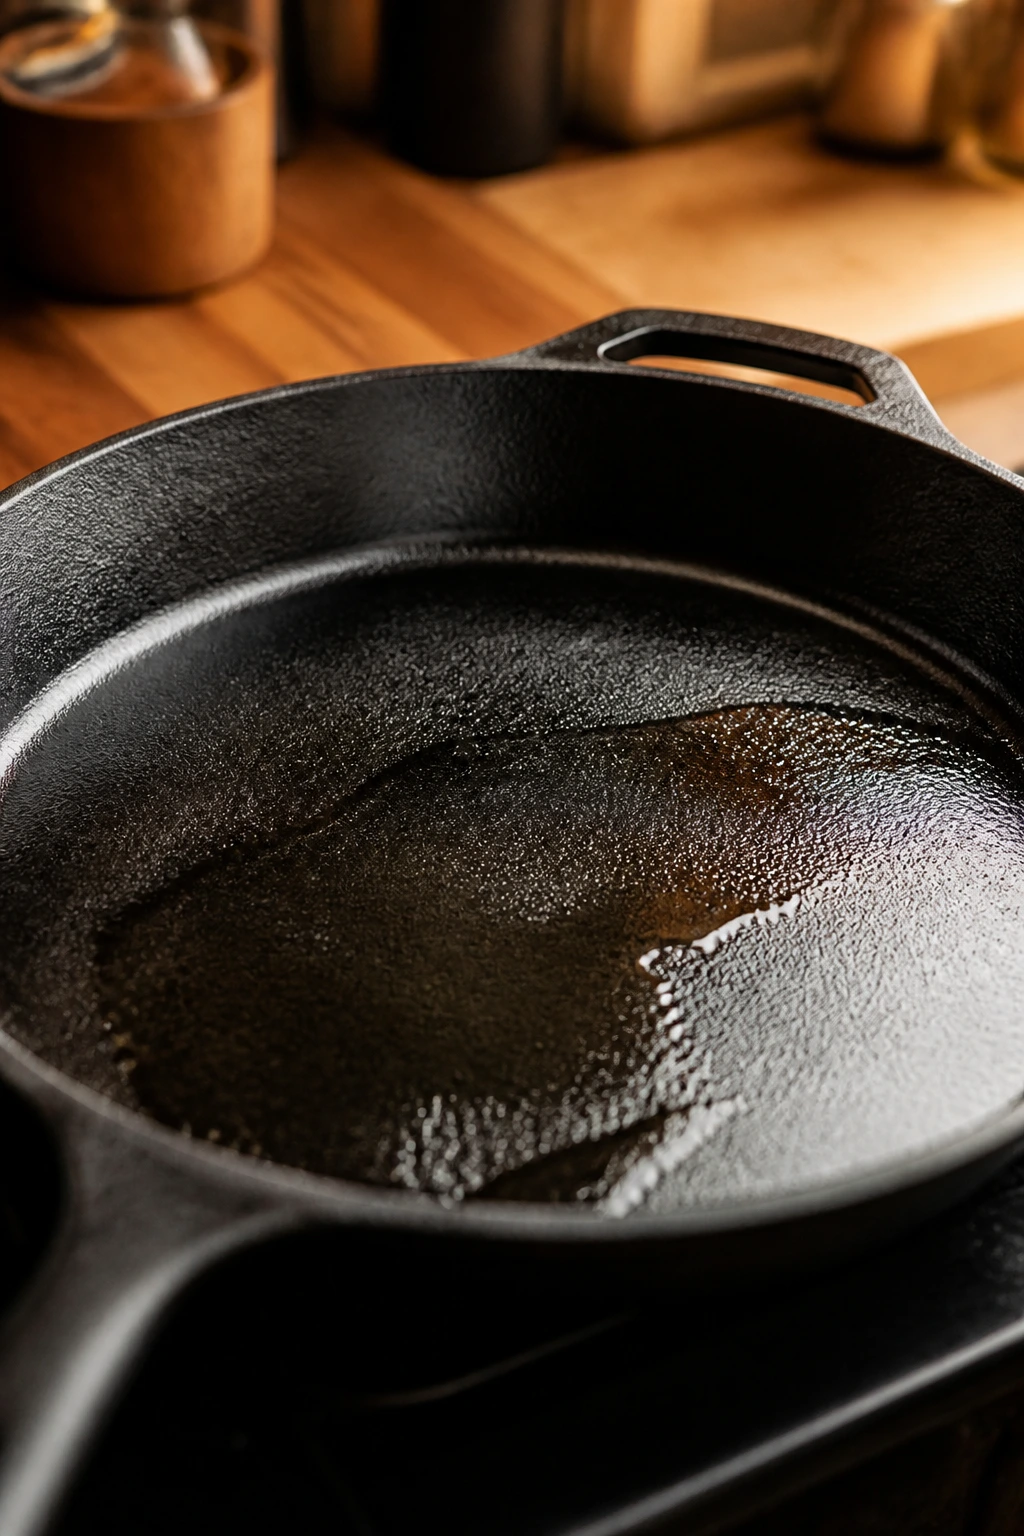
Set a 12-inch cast-iron or heavy skillet over medium-high heat and let it preheat for 2 full minutes. Add 1 tablespoon neutral oil and swirl to coat. The oil should look thin and glossy, and a faint shimmer means the pan is ready.
-
Lay the patties in the skillet with space between them. Cook for 3 to 4 minutes on the first side without moving them. Do not press down with the spatula. That squeeze sends the juice straight onto the pan, where it can only sizzle and disappear.
-
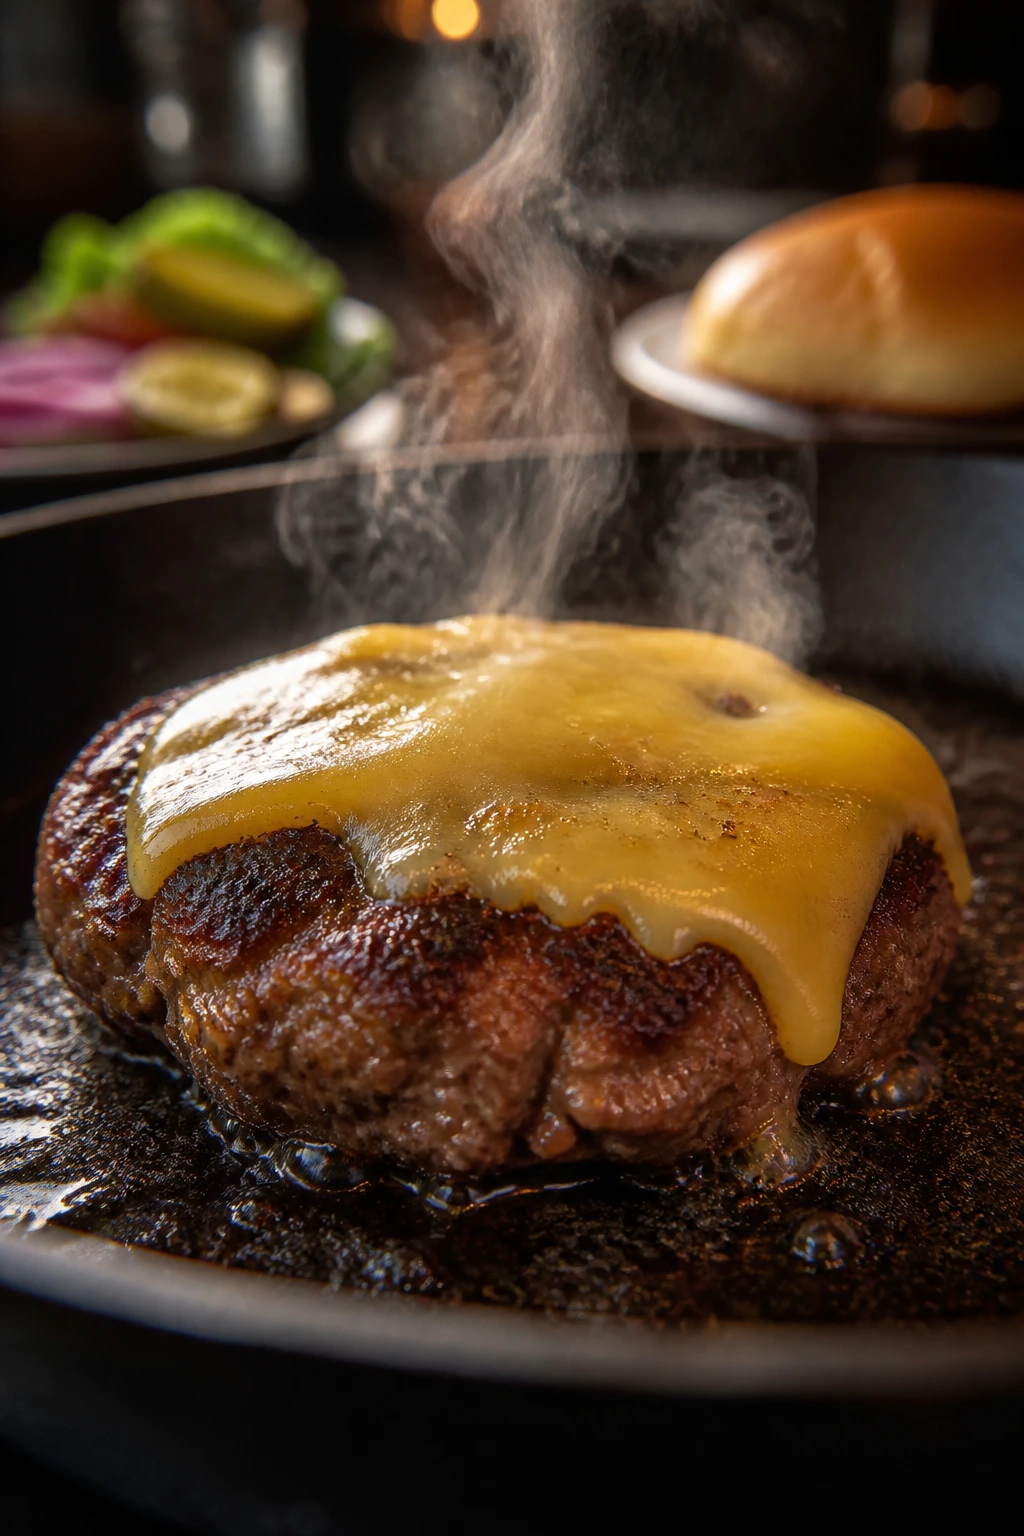
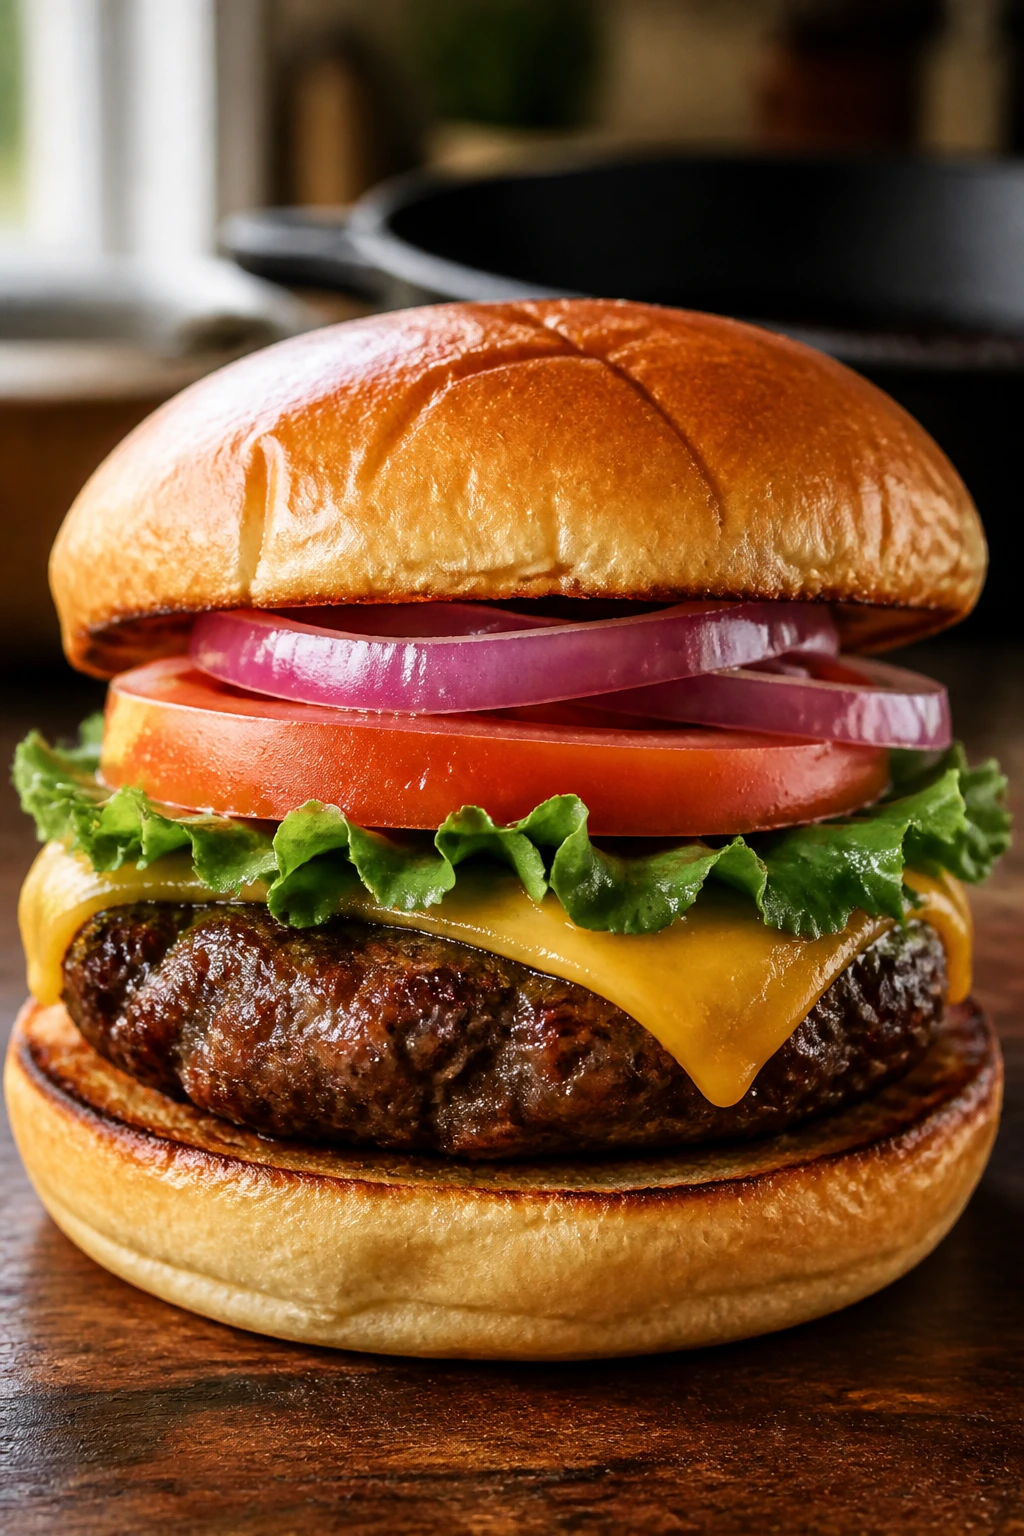
Flip the burgers and cook for 2 to 3 minutes more for medium-well to well-done burgers. If you are using cheese, place 1 slice on each patty during the last 60 seconds and cover the pan loosely for a quick melt. The burgers should reach 160°F in the center, and the cheese should soften and slump at the edges.
-
Transfer the patties to a plate and let them rest for 3 minutes. The surface will stop hissing, the juices will settle back into the meat, and the burger will hold together better when you bite in.
Toast and build:
-
While the patties rest, spread the softened butter on the cut sides of the buns. Place them cut-side down in the same skillet for 30 to 60 seconds, just until the edges turn golden and the bread smells nutty.
-
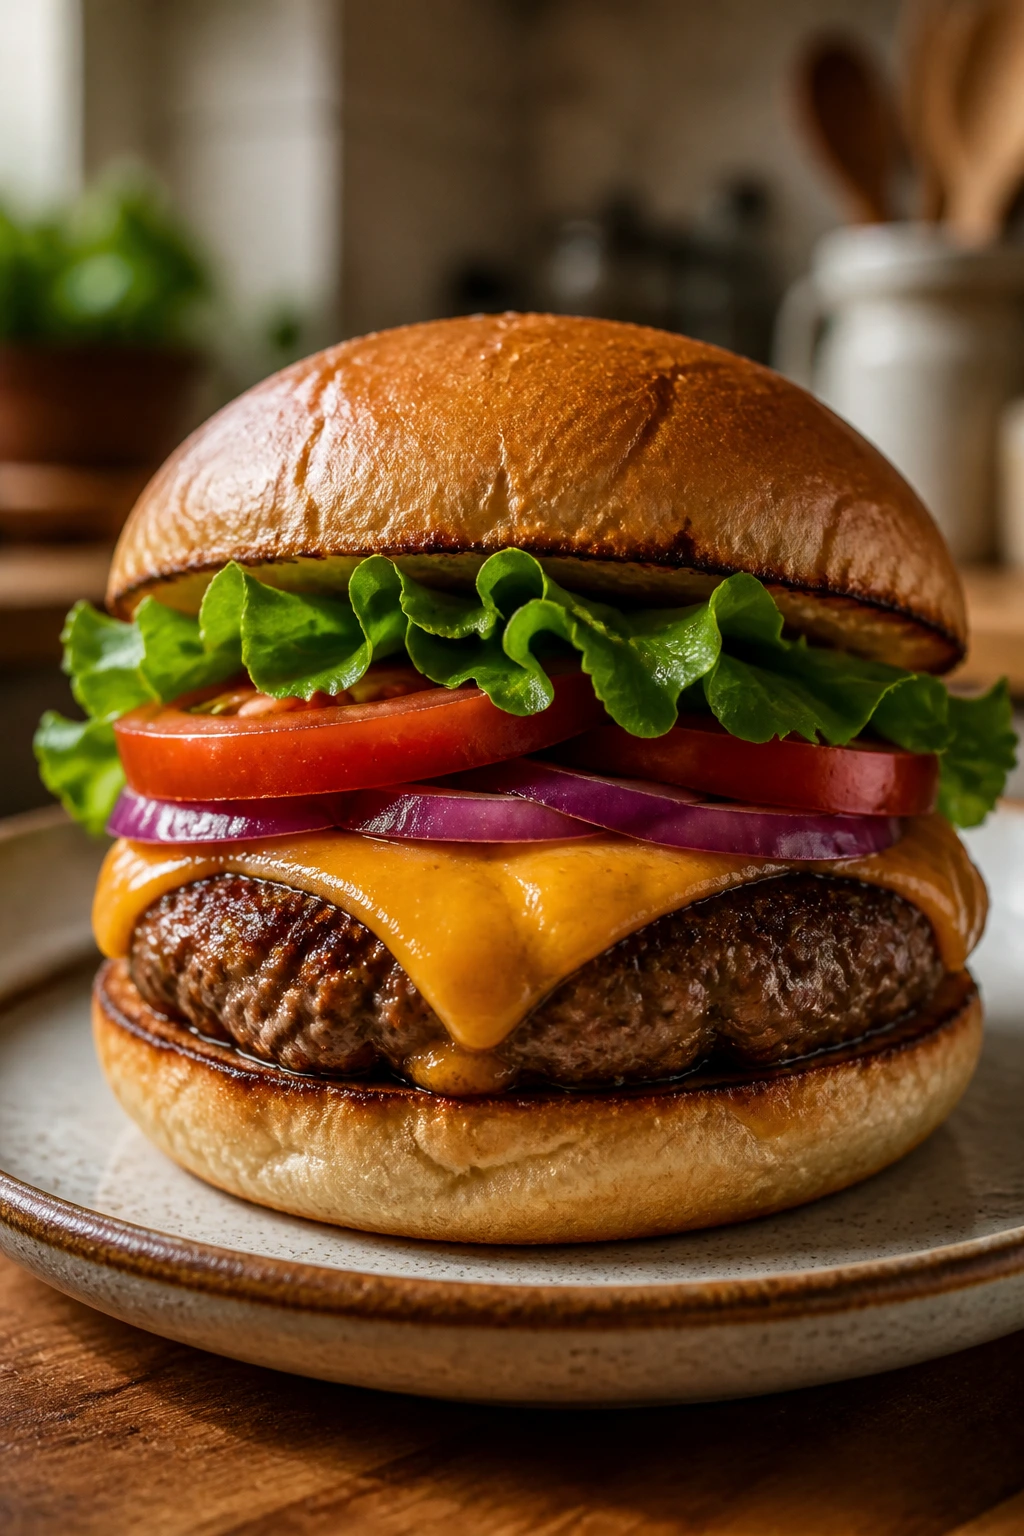
Spread ketchup, mustard, and mayonnaise on the bun halves, then layer lettuce, tomato, onion, pickles, and the rested patty. Close the burger and serve immediately while the bun is still warm and the cheese is soft.
The Best Way to Build a Hamburger
Presentation: Start with the bottom bun, then the condiments, then the lettuce. That order matters more than people think. The lettuce creates a dry cushion, the tomato sits on top of it instead of leaking straight into the bread, and the burger has enough height to look like dinner instead of a sandwich that has slumped under its own ambition.
Accompaniments: I like oven fries, thick potato wedges, a sharp vinegar slaw, or even a simple dill cucumber salad on the side. If you want something lighter next to the beef, a mustardy green salad cuts through the richness better than another creamy side. Pick one starchy side and one crisp side if the goal is a full plate.
Portions: One 6-ounce patty per person makes a solid dinner with fries or slaw. If you know your crowd tends to want a bigger burger, make 5-ounce patties and keep the toppings tidy rather than stacking the sandwich into a wobbling tower. Two burgers can work for very hungry adults, but that usually means smaller patties and fewer toppings per bun.
Beverage Pairing: Cold cola works because the sweetness and fizz reset your palate after the beef and mustard. A light lager or a crisp amber beer also fits well, especially if the burger has cheese. For a nonalcoholic option, unsweetened iced tea with lemon stays out of the way and keeps the meal tasting clean.
Small Tweaks That Make the Burger Better
Flavor Enhancement: Brush the cut sides of the buns with a thin film of mayo before toasting if you want a slightly richer crust. The dairy browns fast, and the bread picks up a savory edge that tastes deeper than plain butter alone.
Customization: A spoonful of caramelized onions, a handful of sautéed mushrooms, or a single strip of bacon can change the mood of the burger without turning it into a different recipe. I like to keep the base the same and add only one extra thing, because too many toppings blur the beef.
Serving Suggestions: Finish the burger with a last minute grind of black pepper or a few extra pickle chips on top. If you want the juice to settle before serving, wrap each finished burger loosely in parchment for 30 to 45 seconds. It is a small pause, but it helps the layers stay together on the first bite.
Make-It-Yours: For a gluten-free version, use a bun that can stand up to moisture or go bunless and serve the patty over shredded lettuce with the same toppings. For dairy-free diners, skip the cheese and use a dairy-free mayo, which still gives the bun a nice toasted edge. If you want extra heat, tuck a few pickled jalapeño slices under the patty where they can warm slightly without losing their crunch.
The Mistakes That Turn a Burger Dry or Blunt
-
Packing the beef like meatloaf: If the patties feel tight and springy before they hit the skillet, they will eat that way too. Shape gently, use cold beef, and stop handling it as soon as the patty holds together.
-
Starting with a weak pan: A lukewarm skillet produces gray burgers with no crust. Let the pan heat properly, add the oil only after the pan is ready, and listen for a steady sizzle when the meat lands.
-
Pressing on the burger with the spatula: That old habit squeezes out the fat that keeps the meat juicy. The burger may look flatter for a second, but the result is a drier, denser patty.
-
Cooking by guesswork alone: Ground beef should reach 160°F in the center for safety, and the thermometer removes all the drama. If you cut into the patty just to check, you lose the juices and still may not know whether the center is done.
-
Skipping the bun toast: Untoasted bread soaks up ketchup, tomato juice, and burger fat fast. Thirty to sixty seconds in a skillet gives the bun enough backbone to survive the rest of the meal.
-
Loading on wet toppings: A thick tomato slice straight from the cutting board can undo the whole structure. Dry the lettuce, pat the tomato if it looks watery, and keep the onion sliced thin so it does not drag the burger apart.
Variations That Still Taste Like a Hamburger
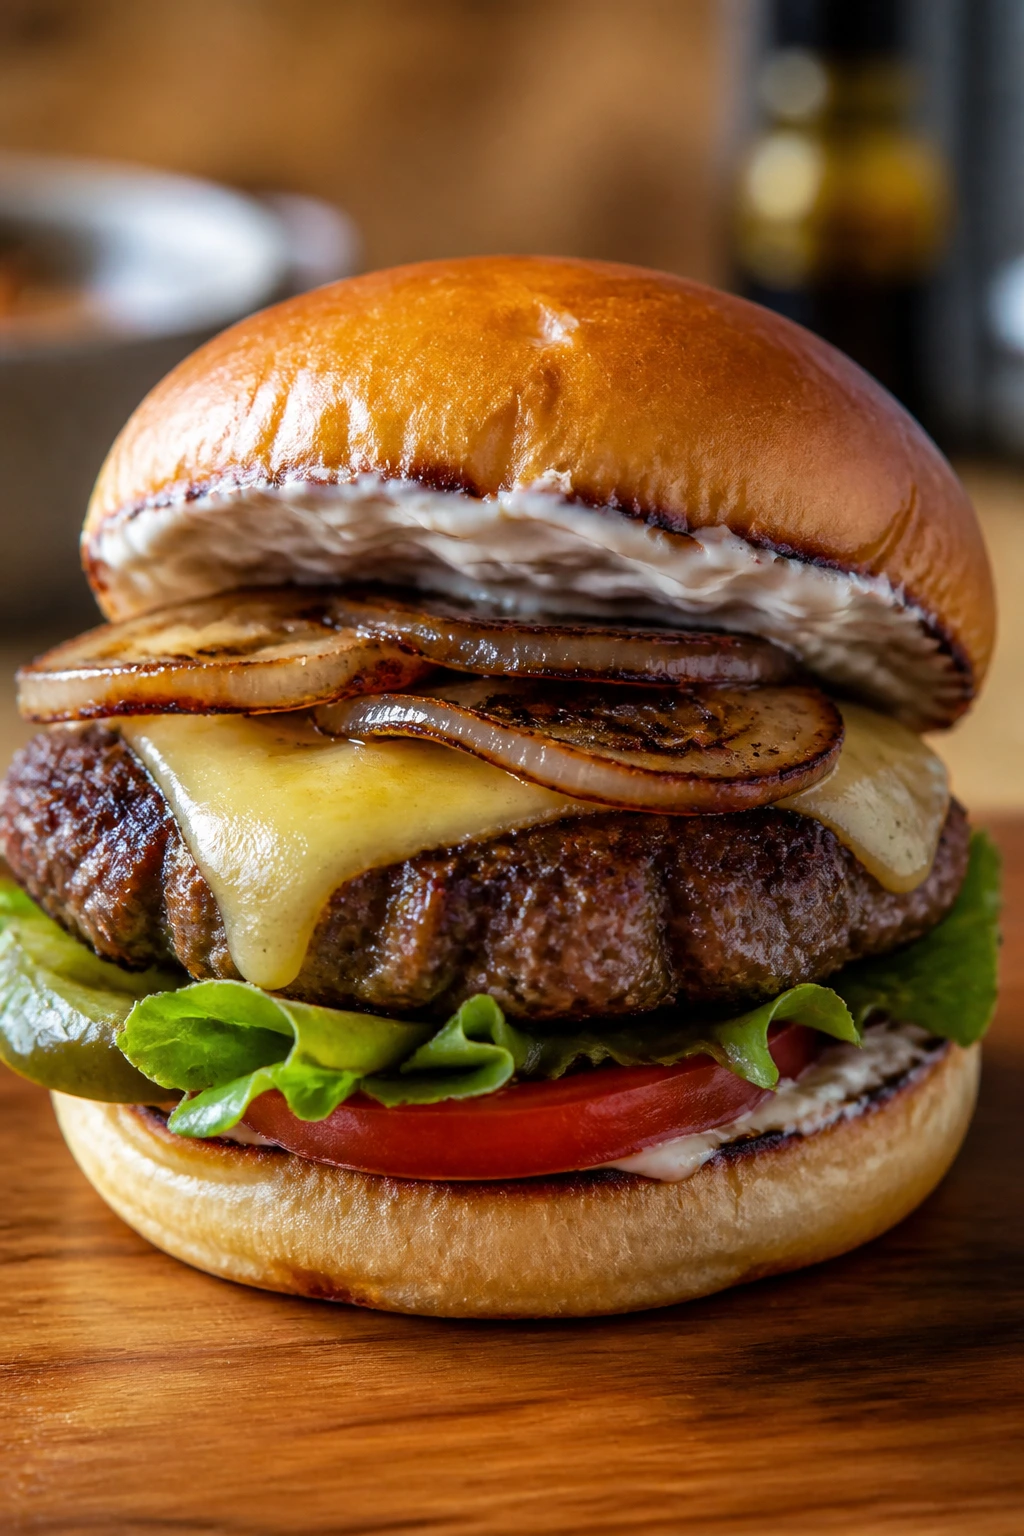
Diner-Style Onion Burger: Add a thin layer of very finely sliced onion to the top of each patty in the skillet during the last minute, then flip it so the onion caramelizes into the meat. The result tastes like an old roadside grill burger and pairs especially well with yellow mustard.
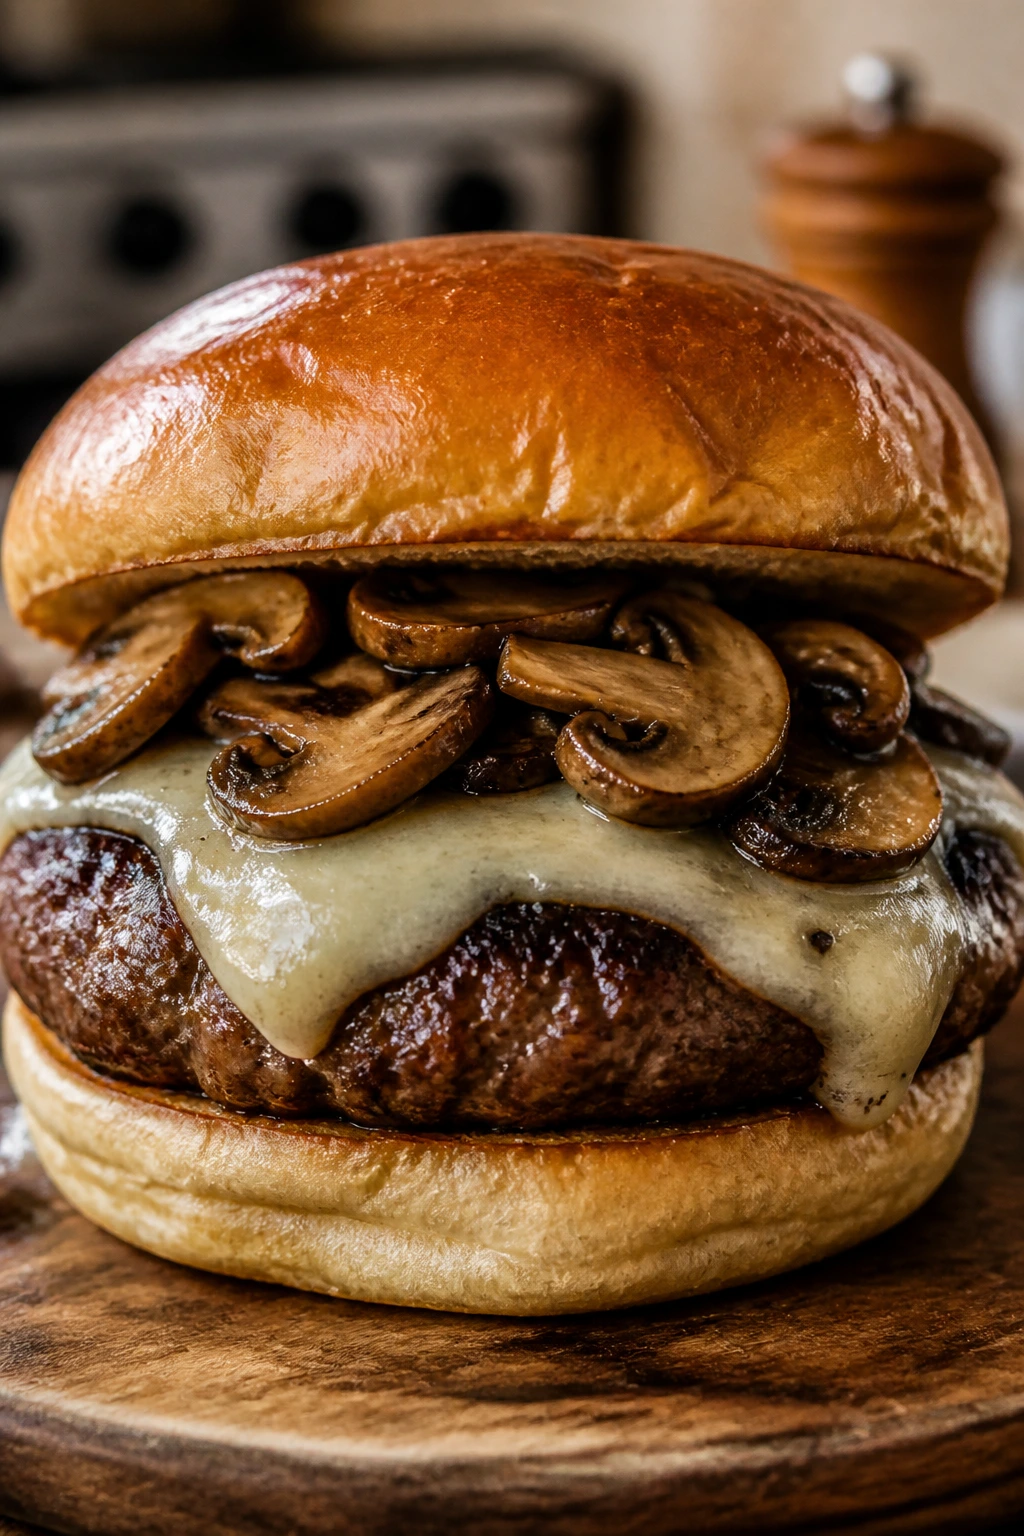
Mushroom Swiss Dinner Burger: Sauté 8 ounces sliced mushrooms in a little butter and salt until they lose their raw smell and turn brown at the edges, then spoon them over the patty and top with Swiss cheese. This version feels a little earthier and works well when you want the burger to lean richer rather than sharper.
Smokehouse Skillet Burger: Add 1/2 teaspoon smoked paprika to the outside seasoning and finish the burger with barbecue sauce instead of ketchup. It keeps the same shape and structure as the classic version, but the flavor shifts toward a backyard cookout without changing the cooking method.
Cheddar-and-Pickle Stack: Use sharp cheddar, add an extra layer of dill pickles, and keep the condiments simple with mustard and a little mayo. The sharpness of the cheese and the pickles keeps the burger from tasting heavy, which is useful if the meal includes fries.
Bunless Lettuce Wrap: For a lighter plate, replace the buns with two or three sturdy lettuce leaves per burger and keep the patty, cheese, and toppings the same. You lose the toasted bread, which I do miss, but the burger still works if you want the flavor with less bulk.
Make-Ahead, Storage, and Reheating
Cooked burger patties keep well in an airtight container in the refrigerator for 3 to 4 days. If you plan to reheat them, store the patties separately from the buns and toppings so the bread doesn’t turn sticky and the lettuce doesn’t wilt into the box.
Uncooked patties can be shaped and refrigerated for up to 24 hours, tucked between sheets of parchment on a plate or tray. If you want to freeze them, freeze the patties flat first, then stack them with parchment between layers and store them in a freezer bag for up to 3 months. Thaw them overnight in the refrigerator before cooking.
Reheating works best in a skillet over low to medium-low heat. Add the patty to the pan with a tablespoon of water, cover it loosely, and warm for 2 to 3 minutes per side until heated through. That little bit of steam keeps the beef from drying into shoe leather. A 300°F oven also works for multiple patties; give them about 8 to 10 minutes on a sheet pan, then toast the buns separately.
Assembled burgers do not hold well, and I would not pretend otherwise. If you must pack one for later, keep the patty, bun, and cold toppings in separate containers and assemble after reheating. A burger that has already been stacked tends to collapse into a damp, soft mess by the time you open the lid.
Hamburger Questions People Actually Ask
Can I make this classic hamburger on a grill instead of a skillet?
Yes. Use the same patties, preheat the grill to medium-high, and cook over direct heat for about 4 minutes on the first side and 2 to 3 minutes after flipping. Keep an eye on flare-ups, because 80/20 beef drips fat and the flames can char the outside before the center is done.
What ground beef ratio is best for a juicy burger?
80/20 is the sweet spot for this recipe. Leaner beef can work, but it usually needs more careful timing and a little less heat, because the margin between juicy and dry gets narrow fast.
Do I need egg or breadcrumbs to hold the patties together?
No. A classic hamburger does not need either one. The beef should hold because you shape it gently and cook it without fuss, not because it’s padded with filler.
How do I stop the burgers from puffing up in the middle?
Make a shallow dimple in the center of each raw patty before it goes into the skillet. That little depression evens out the rise that happens as the meat cooks and keeps the finished burger flatter, which helps with stacking.
Can I make the patties ahead of time?
Yes, and it works well. Shape them up to 24 hours ahead, cover them tightly, and keep them cold in the refrigerator until cooking time. If you salt the exterior too far ahead, the texture can tighten, so save the final seasoning for just before the skillet.
What if I only have lean ground beef?
Use it, but lower the heat slightly and watch it closely. You may also want to add a touch more mayonnaise to the bun or a slice of cheese to bring back some richness that the leaner beef would otherwise miss.
How do I know the burger is done without cutting into it?
Use an instant-read thermometer and check the center from the side. Ground beef is safely cooked at 160°F, and that is the cleanest way to avoid both guesswork and juice loss.
Can I freeze raw patties?
Yes. Freeze them flat first so they keep their shape, then stack with parchment between each patty and seal them in a freezer bag. Cook from thawed for the best texture; frozen patties straight into the skillet usually cook unevenly.
The Burger I’d Serve Again
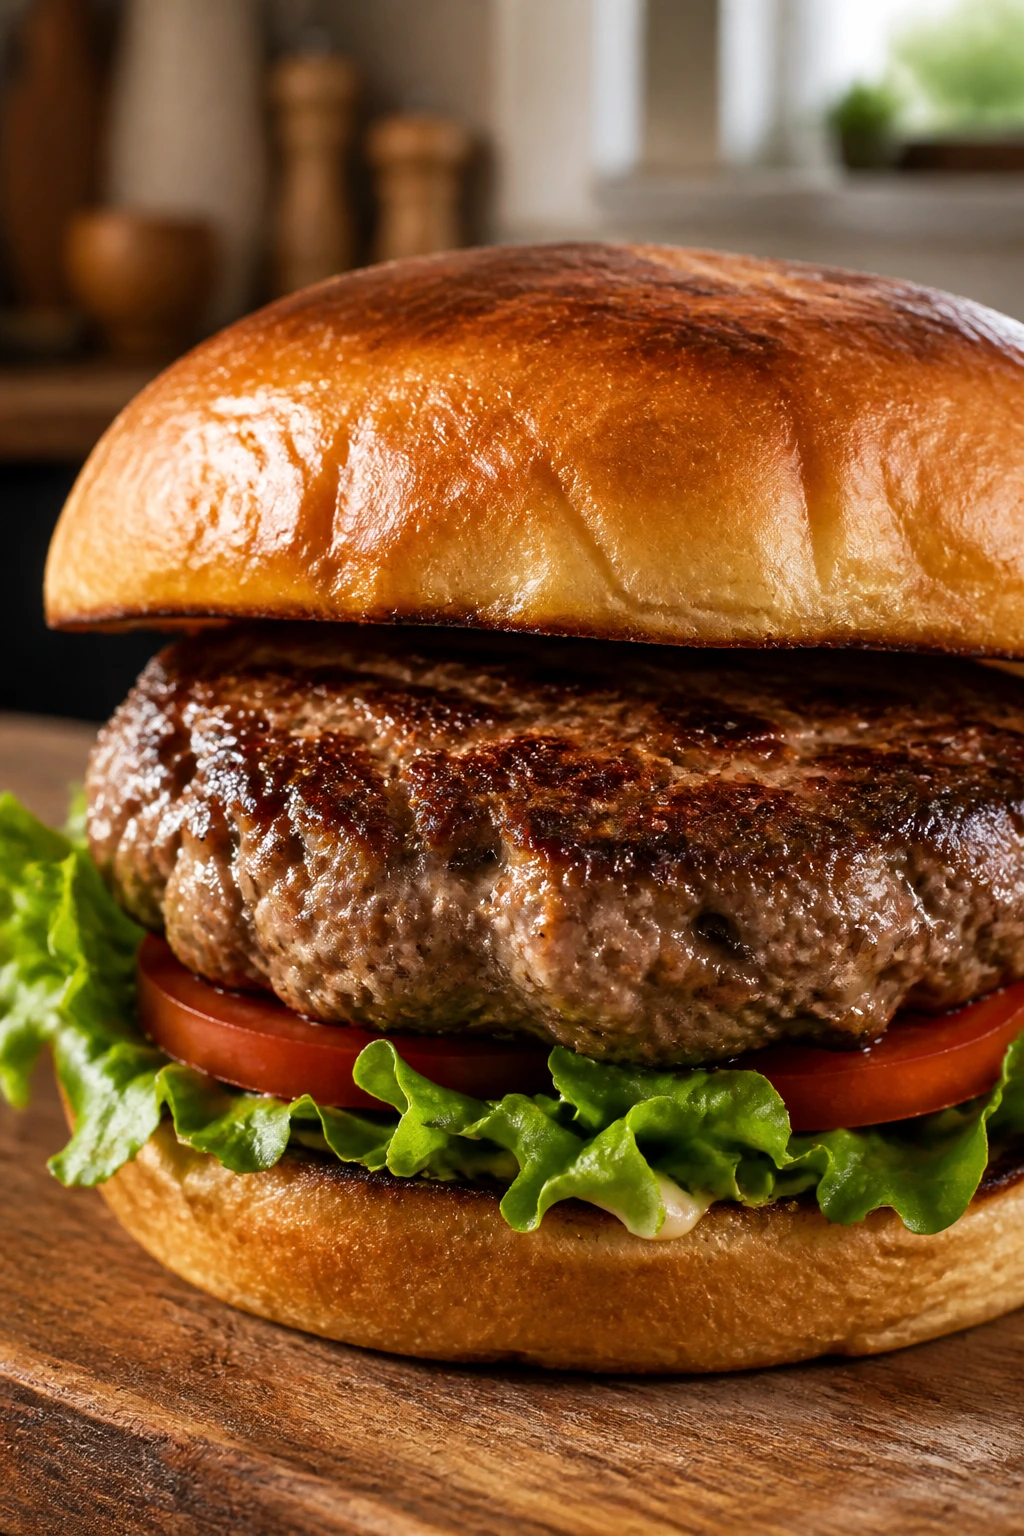
A classic hamburger works because it respects the few things that matter most: a beefy patty with a browned crust, a toasted bun that can carry its own weight, and toppings that stay crisp instead of muddying the whole bite. Once you stop overhandling the meat and let the skillet do its job, the burger tastes fuller than the ingredient list suggests.
I like this kind of dinner because it doesn’t ask for a lot of ceremony. It just needs careful heat, decent buns, and enough restraint to leave the patty alone. Get that right once, and it becomes one of those recipes you keep reaching for when you want dinner to feel solid, familiar, and worth sitting down for.
Classic Hamburger — Recipe Card
Recipe Name: Classic Hamburger for a Hearty Dinner
Description: A skillet-seared classic hamburger with juicy 80/20 beef, toasted buns, crisp toppings, and optional cheese for a diner-style finish. The crust is browned, the center stays moist, and the whole burger holds together without falling apart.
Prep Time: 15 minutes
Cook Time: 12 minutes
Total Time: 27 minutes
Course: Dinner, Main Course
Cuisine: American
Servings: 4 burgers
Calories: About 700 kcal per serving
Ingredients
For the Burgers:
- 1 1/2 pounds ground beef (80/20)
- 1 teaspoon Worcestershire sauce
- 1 1/2 teaspoons kosher salt
- 1 teaspoon freshly ground black pepper
- 1 tablespoon neutral oil, for the skillet
For the Buns and Toppings:
- 4 hamburger buns, split
- 2 tablespoons unsalted butter, softened
- 4 slices American cheese or sharp cheddar, optional but recommended
- 4 crisp lettuce leaves
- 1 large tomato, sliced into 4 thick rounds
- 1/2 small red onion, very thinly sliced
- 12 dill pickle chips
- 2 tablespoons ketchup
- 2 tablespoons yellow mustard
- 2 tablespoons mayonnaise
Instructions
-
Divide the beef into 4 equal portions. Drizzle with Worcestershire sauce and shape into loose patties about 3/4 inch thick with a shallow dimple in the center.
-
Season both sides of the patties with kosher salt and black pepper right before cooking.
-
Heat a large skillet over medium-high heat for 2 minutes, then add the oil. Cook the patties for 3 to 4 minutes on the first side without pressing them down.
-
Flip the patties and cook for 2 to 3 minutes more. Add cheese during the last 60 seconds if using, and cook until the centers reach 160°F.
-
Transfer the burgers to a plate and rest for 3 minutes.
-
Butter the cut sides of the buns and toast them in the skillet for 30 to 60 seconds until golden.
-
Spread ketchup, mustard, and mayonnaise on the buns, then layer lettuce, tomato, onion, pickles, and the rested patty. Close and serve immediately.
Notes: Toast the buns or the bottom half will get soggy fast. Keep the beef cold until shaping, and use a thermometer if you want the safest, most reliable finish. If you skip the cheese, shave off about 70 calories per serving.