
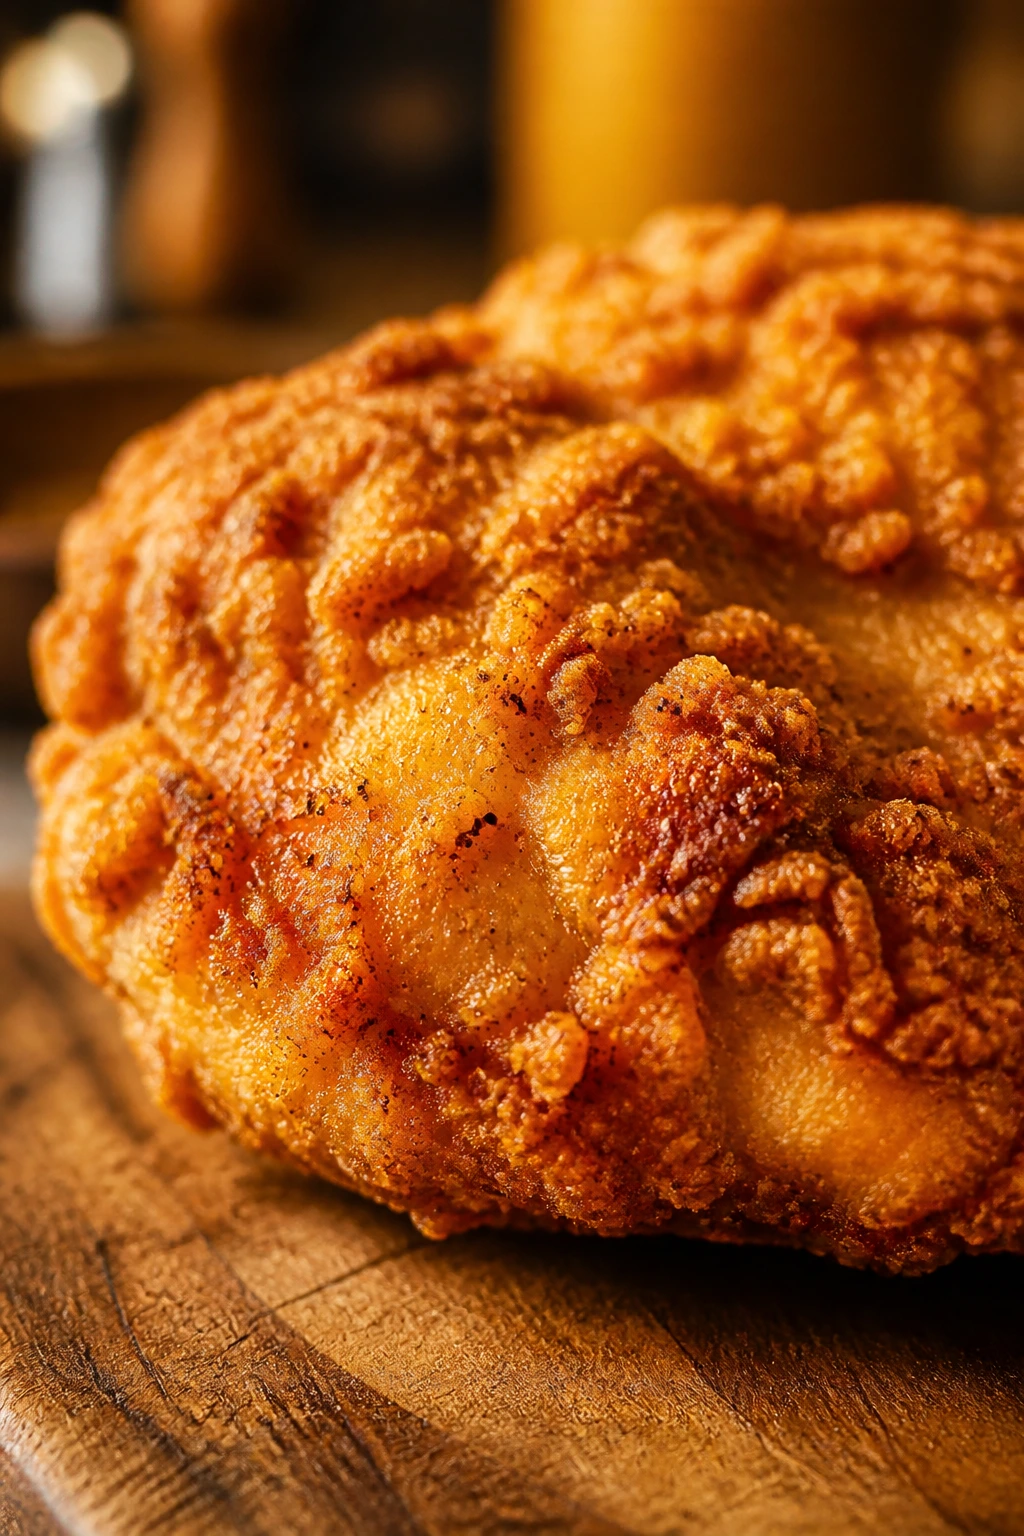
Crispy chicken for picky eaters works because it keeps the fight out of dinner. The first bite gives crunch, not mystery. There’s no slick sauce to inspect, no tangle of herbs to fish out, no chewy surprise hiding in the middle of a thick breast. Just a clean, golden crust and chicken that stays juicy if you cut it the right way.
That matters more than people admit. Picky eaters usually aren’t reacting to chicken itself; they’re reacting to texture, color, and the feeling that the food is trying too hard. A cutlet that crackles when you bite it and tastes gently seasoned reads as familiar. A slippery, over-sauced piece with random green bits on top reads as trouble.
The good version is not complicated, but it does have rules. Thin chicken. Dry surface. A breading that clings instead of flaking off in the pan. Heat that’s high enough to brown but not so hot that the crust burns before the inside catches up. Get those pieces right, and weeknight dinner gets a lot quieter.
Why This Approach Works on a Busy Night
A chicken dinner only earns repeat status when the texture cooperates. That’s the whole trick.
- Crunch first: A thin, panko-coated cutlet gives a familiar crackle at the first bite, which buys you more goodwill than a glossy sauce ever will.
- Mild seasoning: Salt, garlic powder, and a small pinch of paprika add flavor without putting black pepper flecks or chili heat on display.
- Fast cook time: Pounded chicken breasts finish in about 10 to 12 minutes in a skillet, so the crust browns before the meat dries out.
- Easy portions: Cutlets, strips, or nuggets can be plated separately, which keeps sauces, vegetables, and starches from touching if that matters at your table.
- Leftover recovery: A few minutes in the air fryer or a hot oven brings back the crunch better than the microwave, which tends to turn the crust leathery.
- Pantry-friendly: Flour, eggs, panko, and neutral oil are ordinary ingredients, so you can make dinner without a special trip.
What Picky Eaters Notice Before They Taste a Bite
Kids and cautious adults usually decide on a food before they really taste it. The first inspection happens with the eyes, then the nose, then the fork.
Texture is the first vote
Wet food makes people suspicious. A glossy sauce, a thick gravy, or a marinade dripping off the chicken can trigger a hard no before the first bite. Crispy chicken avoids that by giving the eye and the teeth something predictable: a dry, rough surface outside, a soft and juicy center inside. That contrast is what keeps the piece interesting without making it look strange.
Color matters more than most cooks think
Deep brown is good. Burnt edges are not. Pale beige breading usually gets ignored, and dark peppery specks can look more aggressive than they taste. I’d rather under-season a picky-eater batch slightly and serve a dip on the side than dump a pepper mill over the whole tray and wonder why everyone suddenly “isn’t hungry.”
Sauce belongs on the side
Put ketchup, honey mustard, ranch, or plain gravy in a small cup and let people control the amount themselves. That one move solves a surprising number of dinner complaints. It also keeps the crust dry longer, which is half the point of making crispy chicken in the first place.
Choosing Chicken Cuts That Stay Juicy and Cook Fast
The cut matters. A lot more than the seasoning, honestly.
Boneless skinless chicken breasts are the safest place to start because they look familiar and slice cleanly into cutlets or strips. They also take seasoning well without adding a darker, richer flavor that some picky eaters immediately clock as “different.” Thighs are juicier and more forgiving, but the deeper flavor and darker color can be a harder sell at the family table.
If you want the least drama, buy these
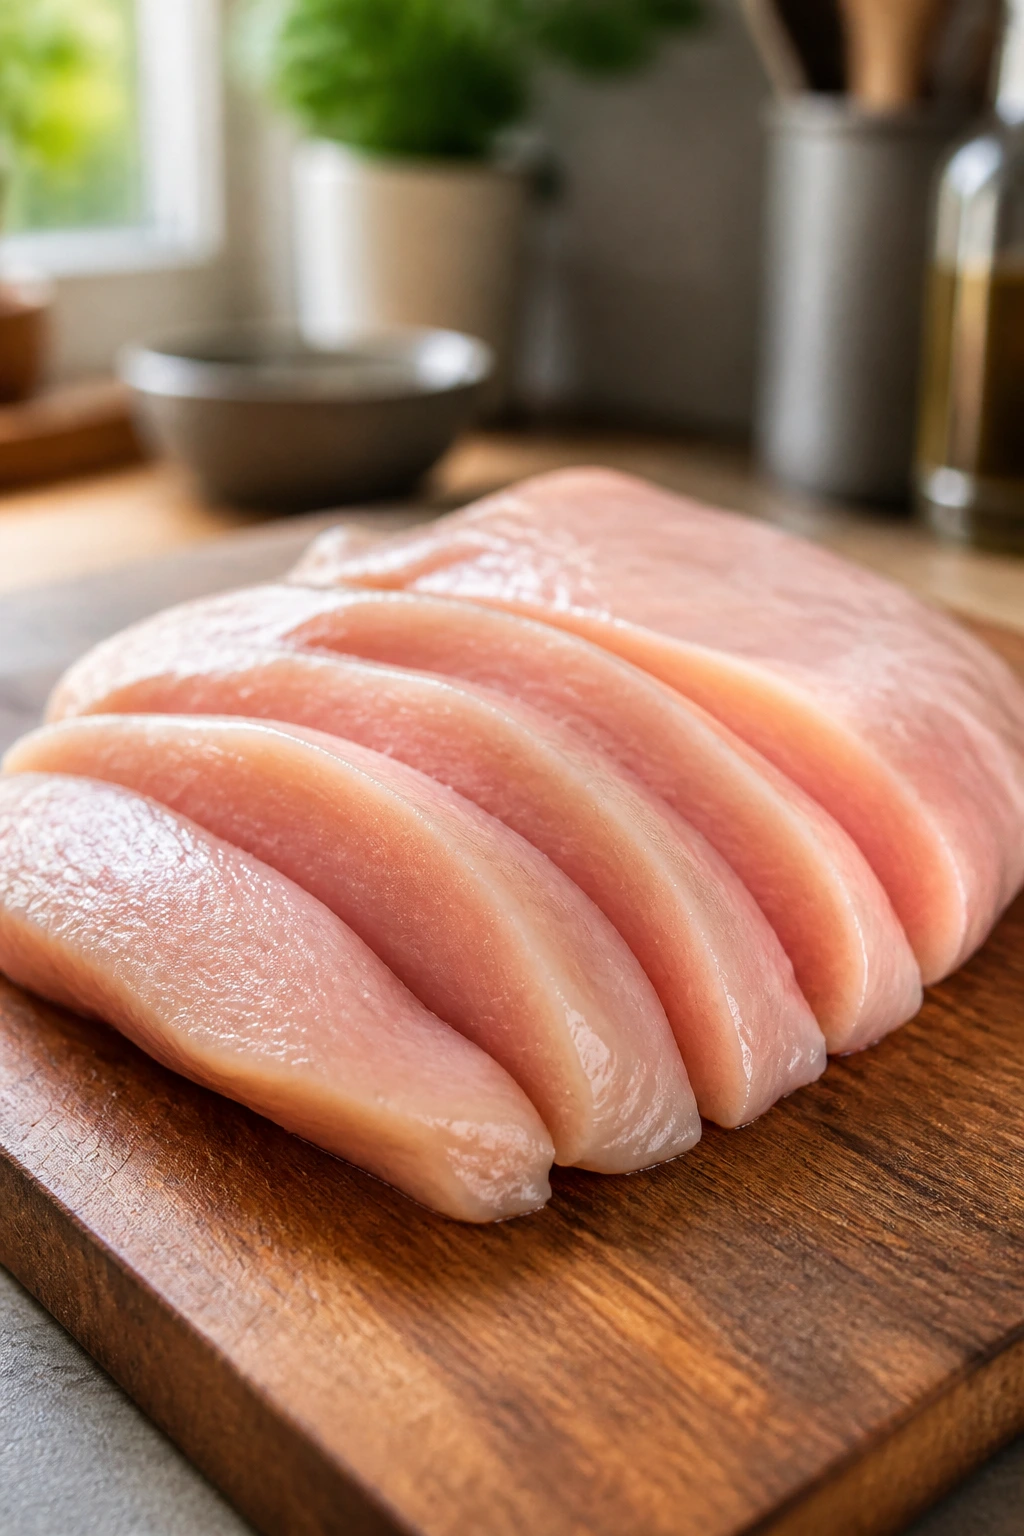
- Chicken cutlets: Thin cutlets cook fast and stay even. If the store doesn’t sell them, slice breasts horizontally or pound them to about 1/2 inch.
- Chicken tenders: These are built for quick cooking and kid-sized fingers. Trim the white tendon if it’s attached; that chewy strip can ruin a perfectly good piece.
- Chicken breasts: Good for budget and flexibility, as long as you flatten the thick end so the piece cooks at the same rate from edge to center.
- Chicken thighs: Best when you want more forgiveness and don’t mind a richer taste. Trim visible fat so the crust doesn’t get greasy.
Thickness beats shape
A 1-inch-thick breast can look browned on the outside and still need more time in the middle. That’s where people go wrong. The crust burns, the meat dries out, and everyone blames the breading when the real problem was thickness. Aim for a piece that’s roughly 1/2 inch thick all the way across. It cooks faster, stays juicy, and looks more like the chicken fingers or cutlets many picky eaters already trust.
Frozen chicken should be fully thawed before you bread it. Not “mostly thawed.” Fully thawed. Ice crystals melt during cooking and loosen the coating, which is a rude little trick that turns a promising crust into a sliding mess.
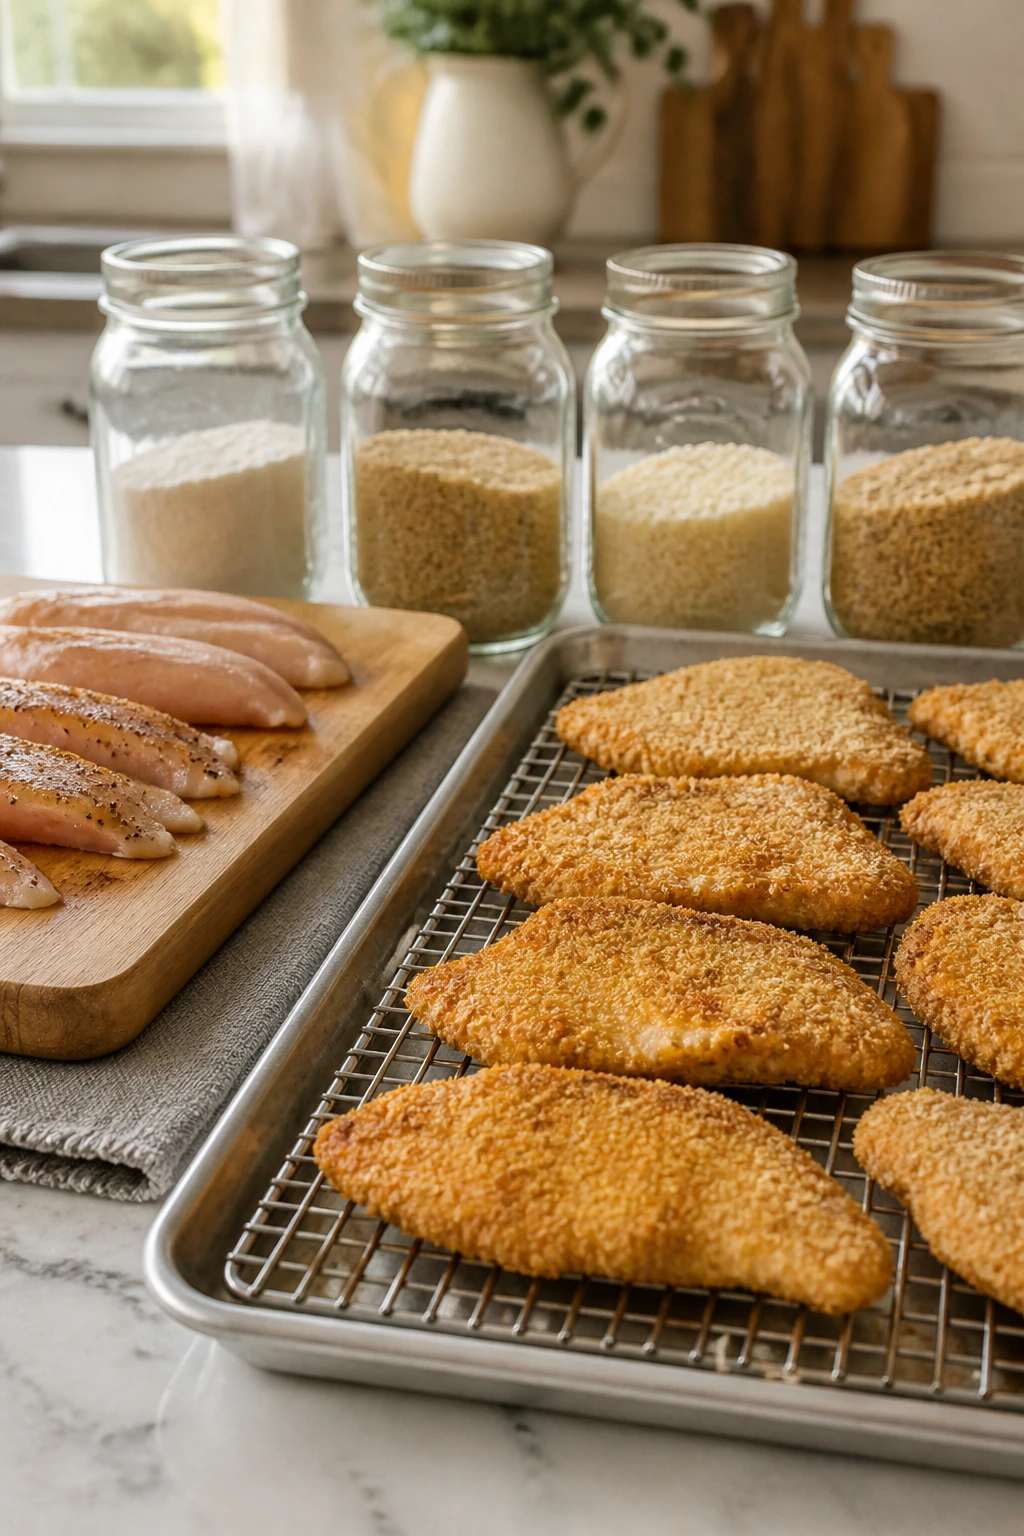
The Crunch Layer That Holds Up From Pan to Plate
A good coating is a system, not a sprinkle of crumbs.
Flour grips the chicken. Egg makes the crumbs stick. Panko brings the crunch. If you skip one layer or rush through it, the crust tends to fall off in the pan or come out dense instead of crisp.
A simple breading formula for about 4 servings
- 1 1/2 pounds boneless skinless chicken breasts or tenders
- 1/2 cup all-purpose flour
- 2 tablespoons cornstarch
- 1 teaspoon kosher salt
- 1/2 teaspoon garlic powder
- 1/2 teaspoon paprika
- 2 large eggs
- 1 tablespoon water
- 1 1/2 cups panko breadcrumbs
- 1/4 cup finely grated Parmesan, optional
- 1/4 cup neutral oil for pan-frying
The cornstarch in the flour is a small move with a big payoff. It helps the surface dry out a little faster and gives the crust a cleaner snap. Regular flour alone works, but flour plus cornstarch gives you a lighter, more crackly shell.
Why panko wins here
Panko crumbs are larger and airier than fine breadcrumbs. That means more little gaps, which means more crunch. Fine crumbs pack down like sand. Panko stays shaggy. Shaggy is good. Shaggy gives you edges that brown instead of turning into a hard slab.
If you only have regular breadcrumbs, do not panic. Crush a handful of plain cornflakes or a few saltines into them to rough up the texture. You want crumbs that look uneven, not dust.
Press lightly, not hard
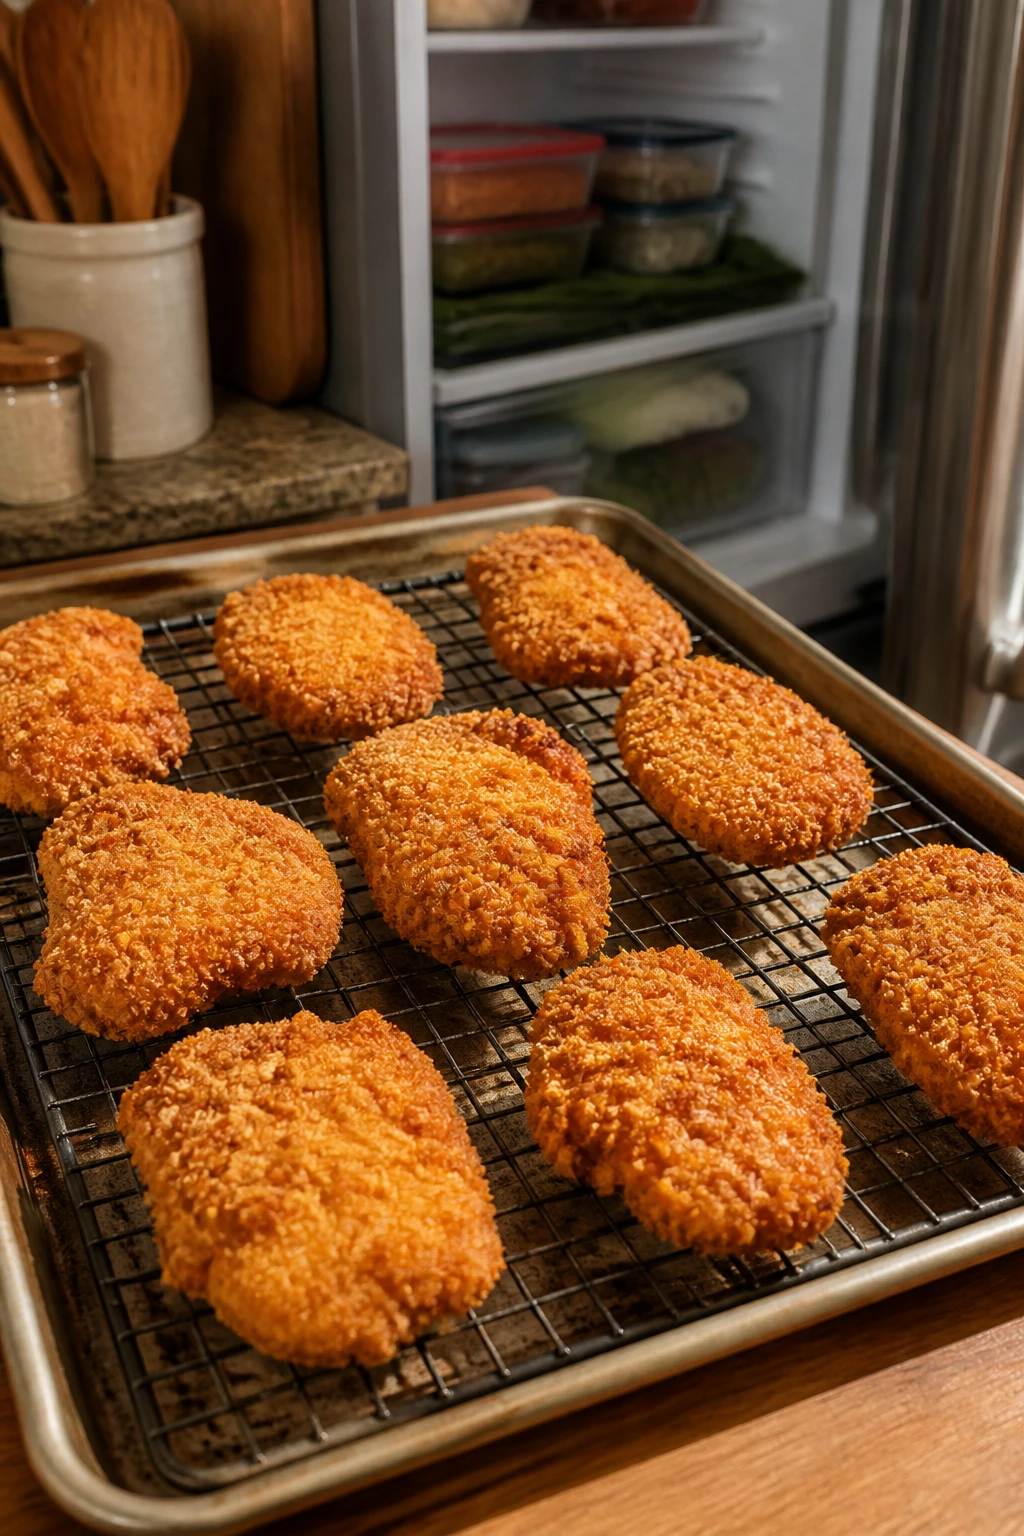
The goal is adhesion, not cement. After the egg dip, press the crumbs onto the chicken with your fingertips just enough to make contact. Then let the breaded pieces sit on a rack for 5 to 10 minutes before cooking. That short pause helps the coating absorb a little moisture from the chicken and cling better once it hits the heat.
Pan-Frying, Oven-Baking, and Air Frying Compared
No single method wins every time. But one of them usually wins for picky eaters.
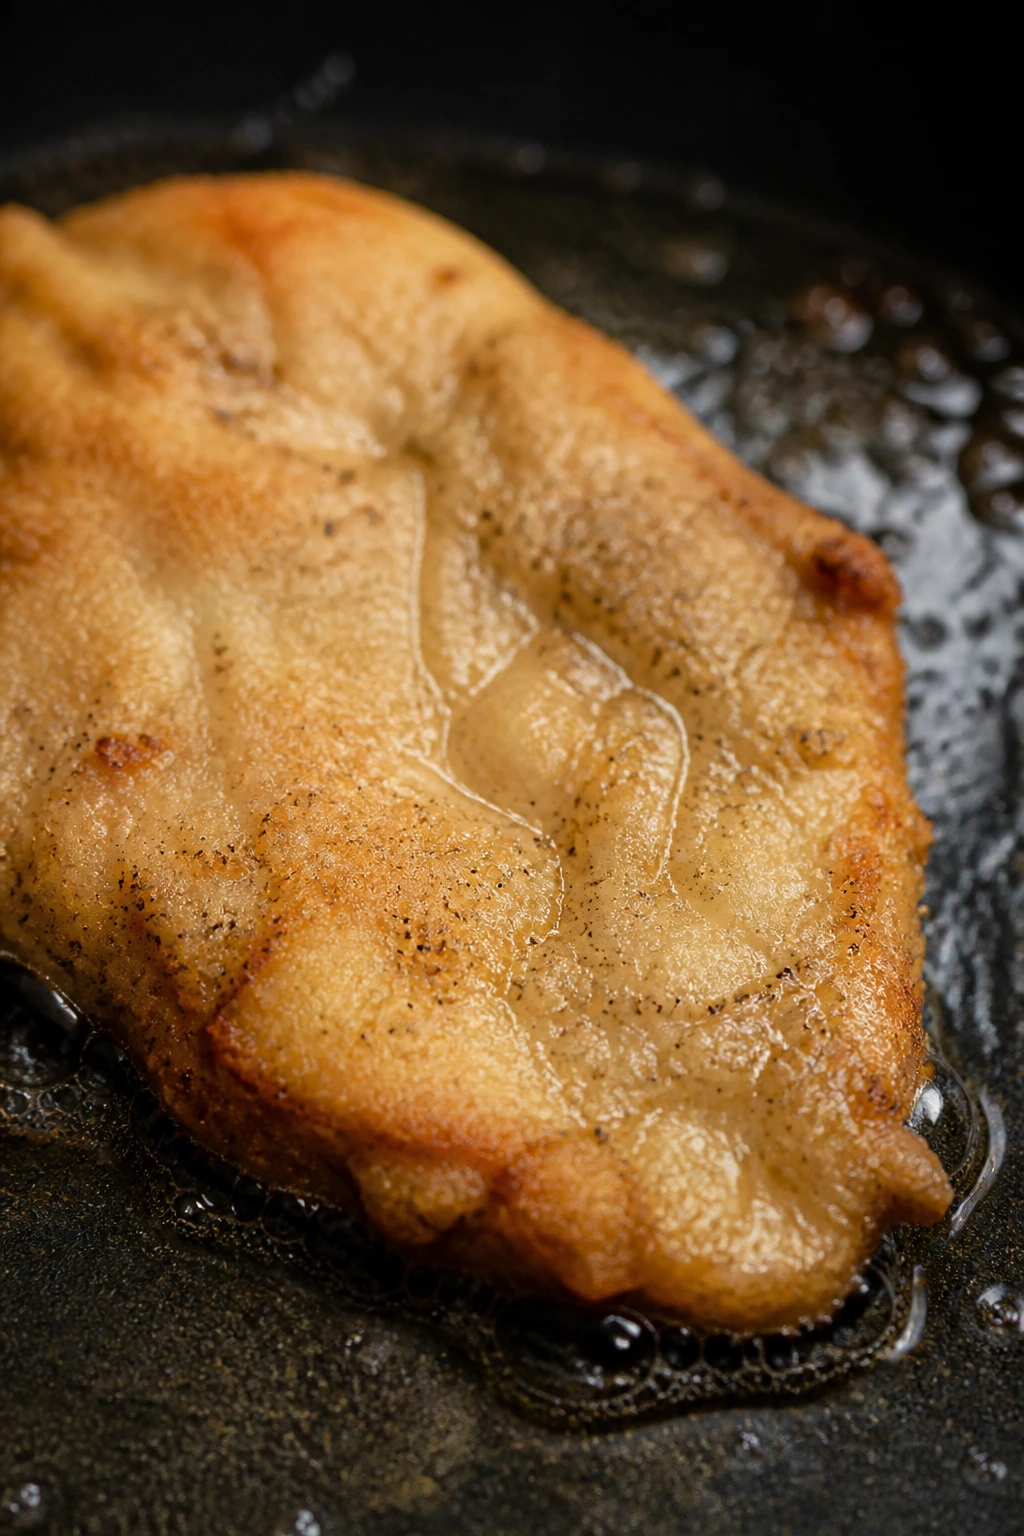
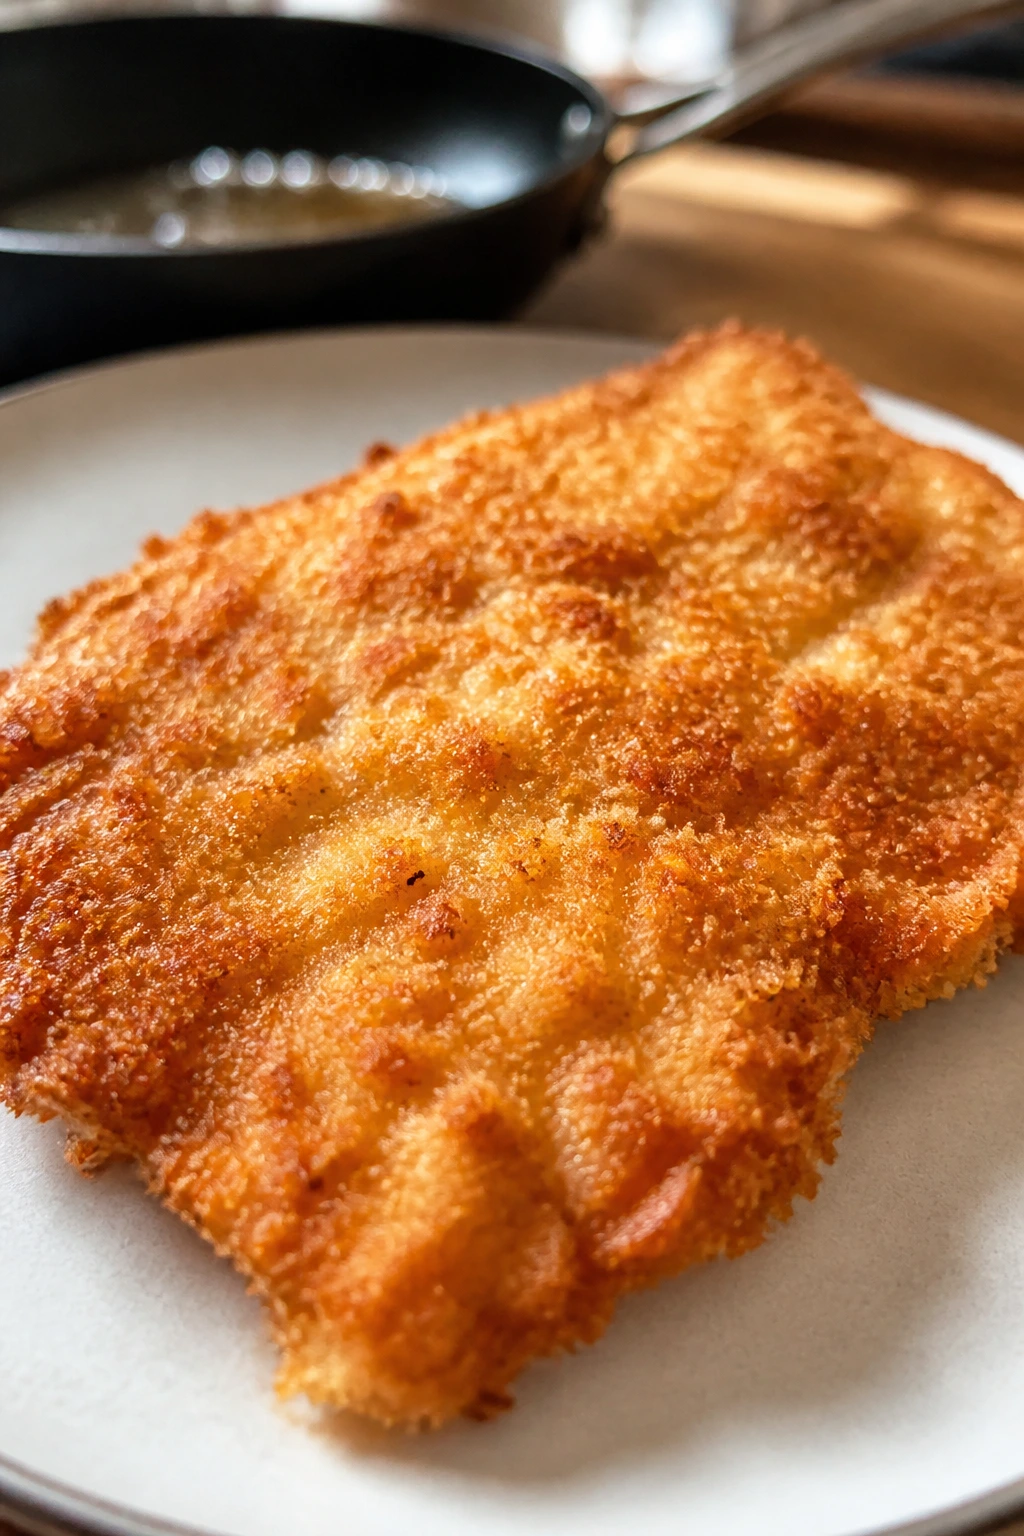
Pan-frying gives the deepest crust
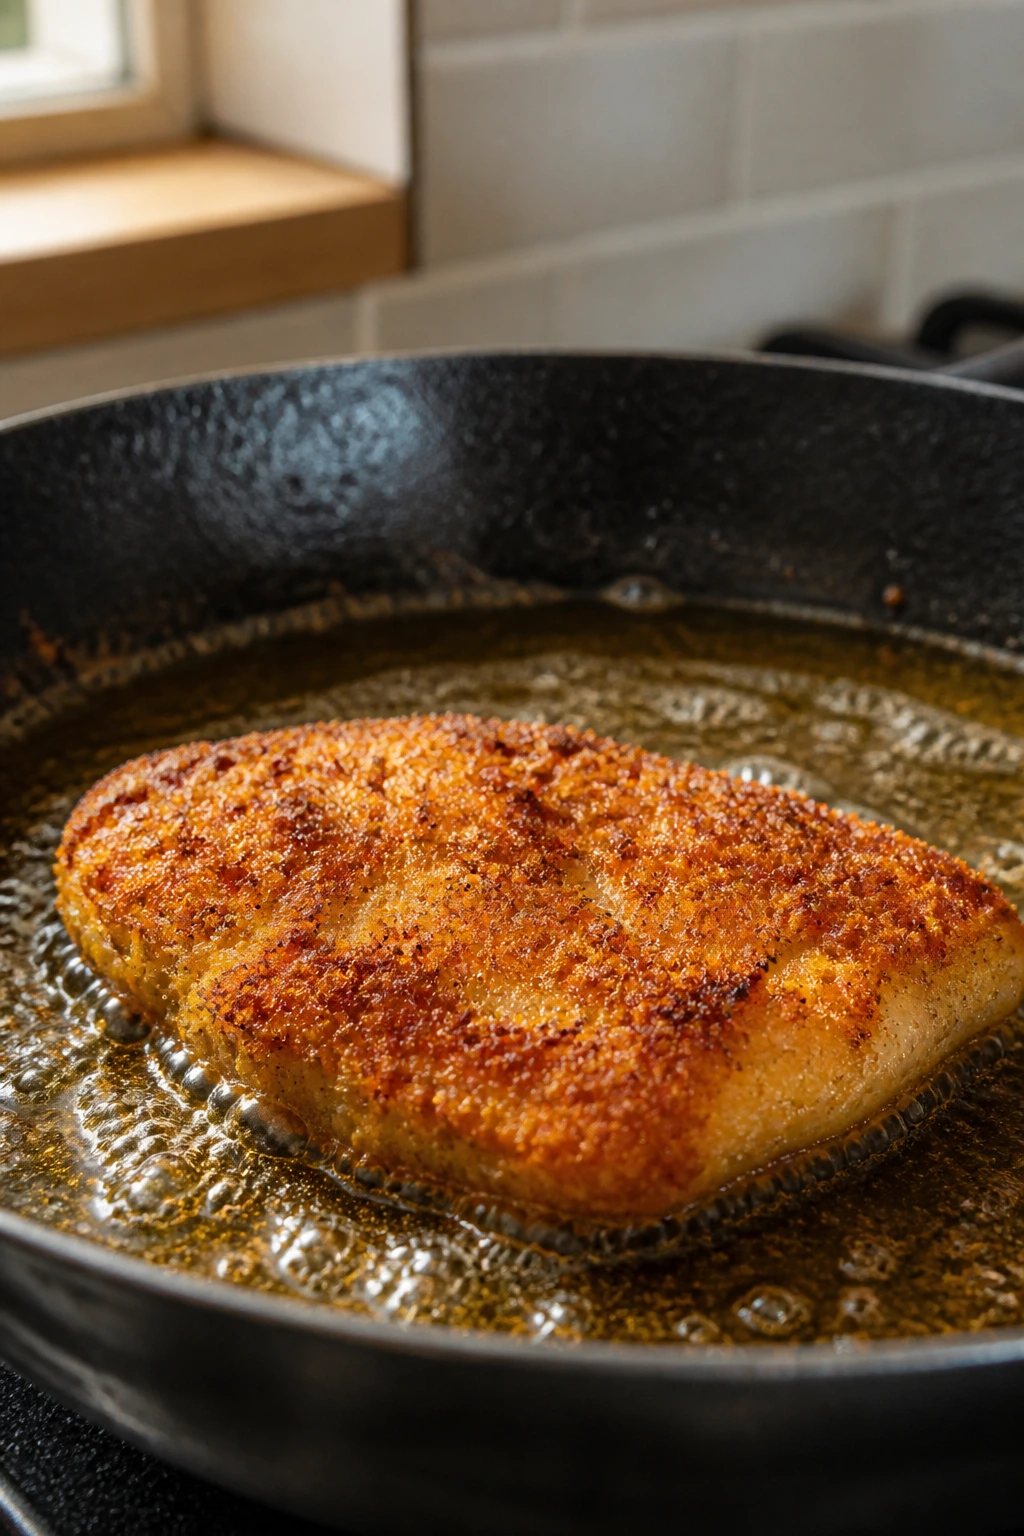
A skillet with about 1/4 inch of neutral oil gives you the best browning and the loudest crunch. I trust this method when the crust has to survive a plate, a table, and a few minutes of waiting. Use medium heat, not blazing heat. You want steady bubbling, not a furious, smoky tantrum from the oil.
The downside is cleanup. Oil splatter happens. So does the smell of fried food hanging around the kitchen for a while. Worth it when you want the fullest crunch.
Oven-baking is easier, but the crust is gentler
A wire rack set over a rimmed sheet pan keeps the bottom from steaming. Bake at 425°F, flip halfway, and spray the top with oil before it goes in. You’ll get decent color and less mess, especially if you need to feed a bigger group. The crust won’t be as sharp as pan-fried chicken, but it can still be very good if the pieces are thin and spaced apart.
Air frying sits in the middle
An air fryer at 400°F is a tidy solution for small batches. It gives a pretty good crunch and only needs a light spray of oil. The catch is crowding. Stack pieces on top of each other and the coating turns patchy fast. Keep the chicken in a single layer, spray both sides, and flip once for best results.
If I had to pick one method for the most cautious eaters, I’d choose pan-frying the cutlets once, then using the air fryer or oven to revive leftovers. That gives you the best first impression and the best second chance.
Prep the Chicken for Even Browning
This is where the whole dinner gets easier.
-
Trim the chicken into manageable pieces. Slice chicken breasts horizontally into cutlets or cut them into long strips if that’s the shape your family eats most easily. If you’re using tenders, pull off the white tendon. It takes a few seconds and saves a chewy surprise later.
-
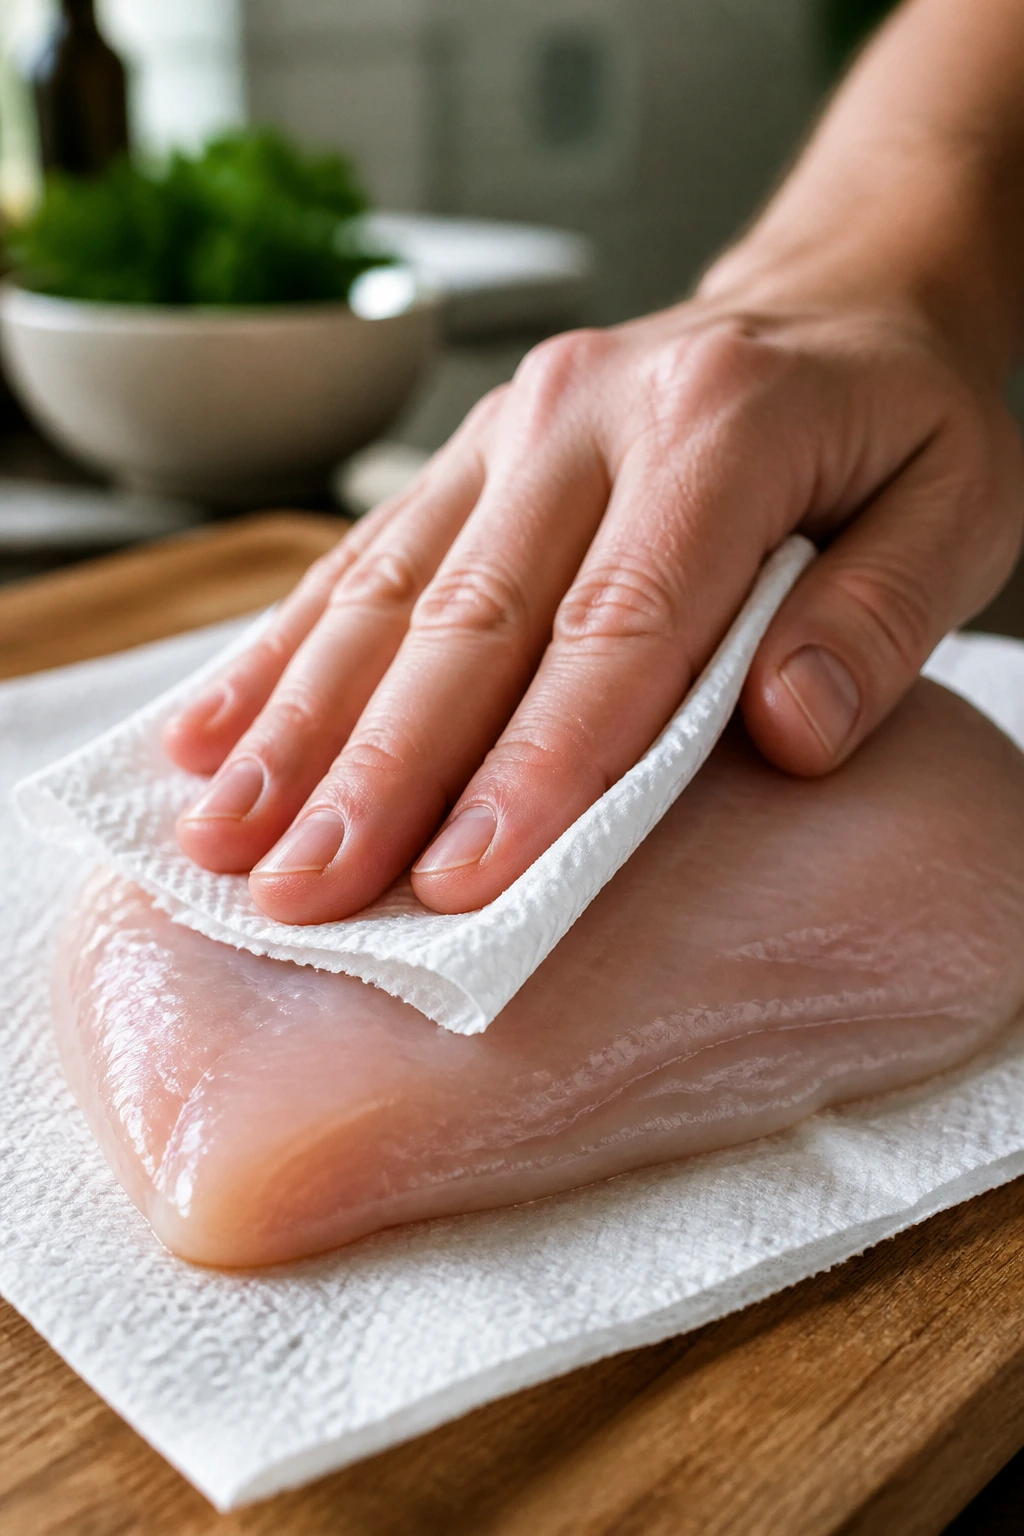
Pat the chicken dry with paper towels. Don’t rinse it. Dry it. Wet chicken turns the flour into paste, and paste does not crisp well. The surface should feel dry and a little tacky, not slick.
-
Pound thicker pieces to an even 1/2 inch. Put the chicken between two sheets of parchment or in a zip-top bag, then use a meat mallet or rolling pin to even out the thick end. You are not trying to make paper-thin cutlets. You’re trying to get one even thickness so the whole piece finishes at the same time.
Season the chicken lightly with salt before breading. Not a heavy hand. Just enough to season the meat itself, because a crust without salted chicken underneath can taste oddly hollow, like a shell with nothing inside.
Build the Breading Station Without the Mess
A clean breading station saves time and keeps the coating from turning into paste on your fingers.
-
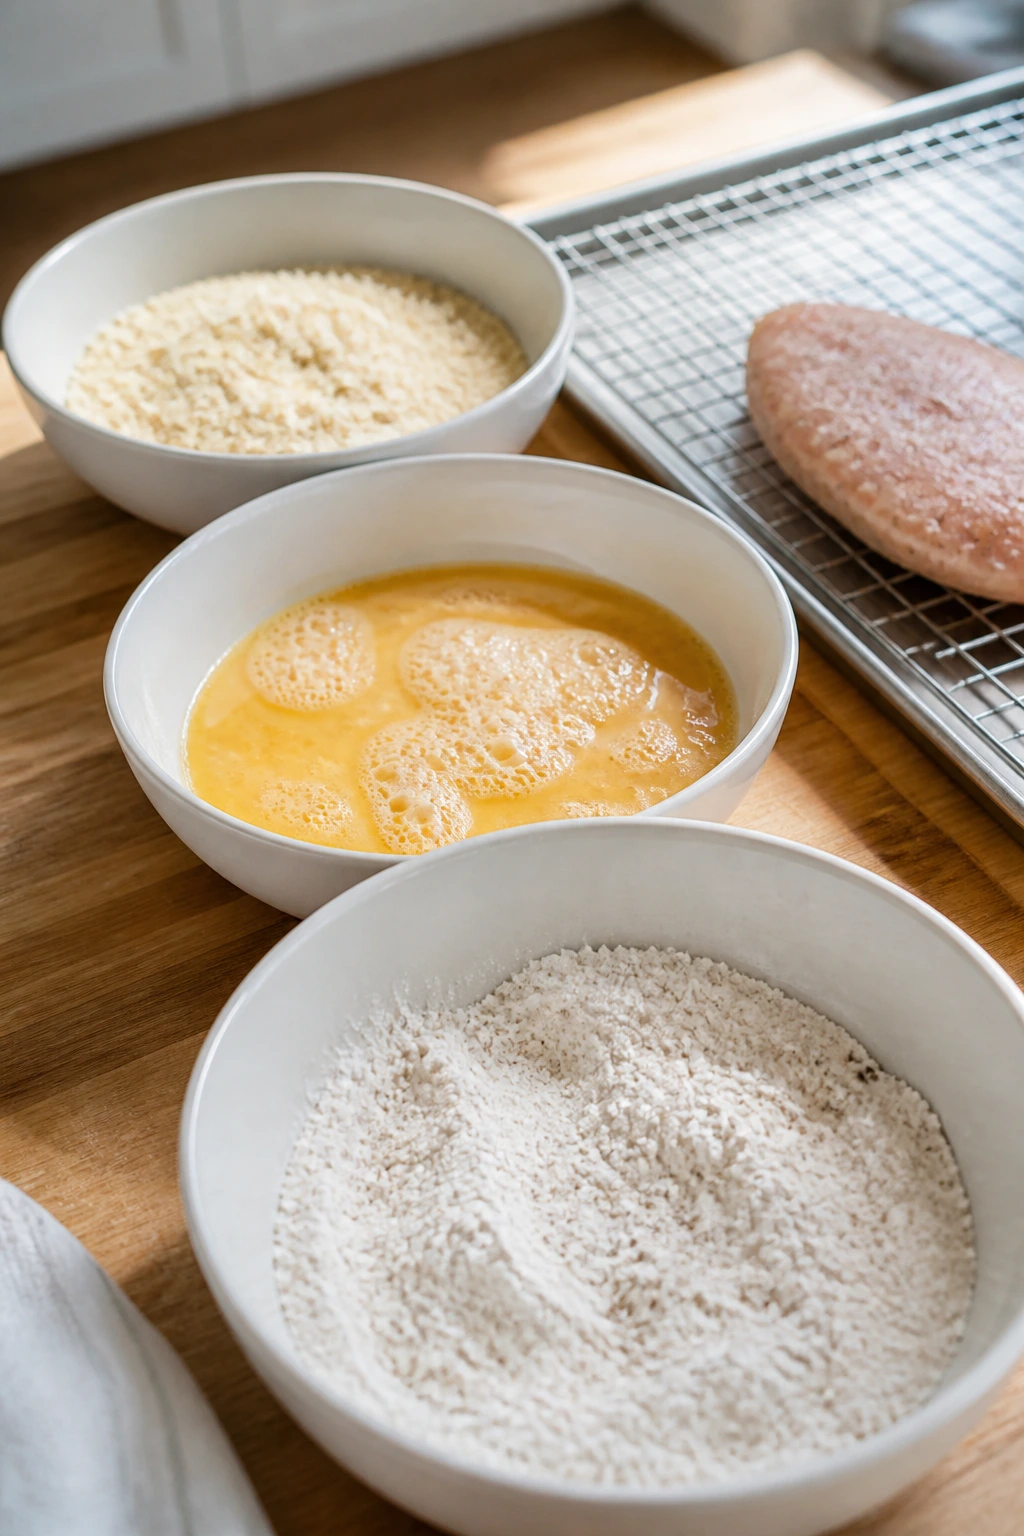
Set out three shallow bowls or pie plates. Put the flour, cornstarch, salt, garlic powder, and paprika in the first bowl. Beat the eggs with the water in the second. Pour the panko into the third. If you’re using Parmesan, mix it into the panko now, not later.
-
Season the flour, not only the crumbs. This spreads the salt more evenly and keeps the flavor from sitting only on the outside of the crust. The egg layer should stay plain.
-
Coat one piece at a time. Dredge the chicken in flour, shake off the loose stuff, dip it in egg, then press it into the panko. Use one hand for dry ingredients and the other for wet ingredients if you can. That old trick is annoying to read about and wonderful in practice.
-
Set the breaded chicken on a rack and let it rest. Five to 10 minutes is enough. The coating should look dry and a little settled, not damp. If you see bare spots, press a few crumbs onto them instead of starting over.
A lot of breading problems come from rushing this middle stage. If the chicken goes straight from egg to oil, the crust can shed crumbs into the pan and leave bald patches behind. A short rest fixes more than people expect.
Cook the Chicken Until the Crust Crackles
-
Heat the oil in a heavy skillet over medium heat. A 12-inch cast-iron or stainless-steel skillet is ideal because it keeps the temperature steadier than a thin pan. Add about 1/4 inch of neutral oil. You want the surface shimmering, not smoking. If you have a thermometer, aim for about 350°F to 365°F.
-
Lay the chicken into the oil without crowding the pan. Two or three pieces at a time is usually enough. If the pan gets packed, the temperature drops, the crumbs absorb oil, and the crust comes out pale and greasy instead of crisp. The chicken should sizzle as soon as it lands.
-
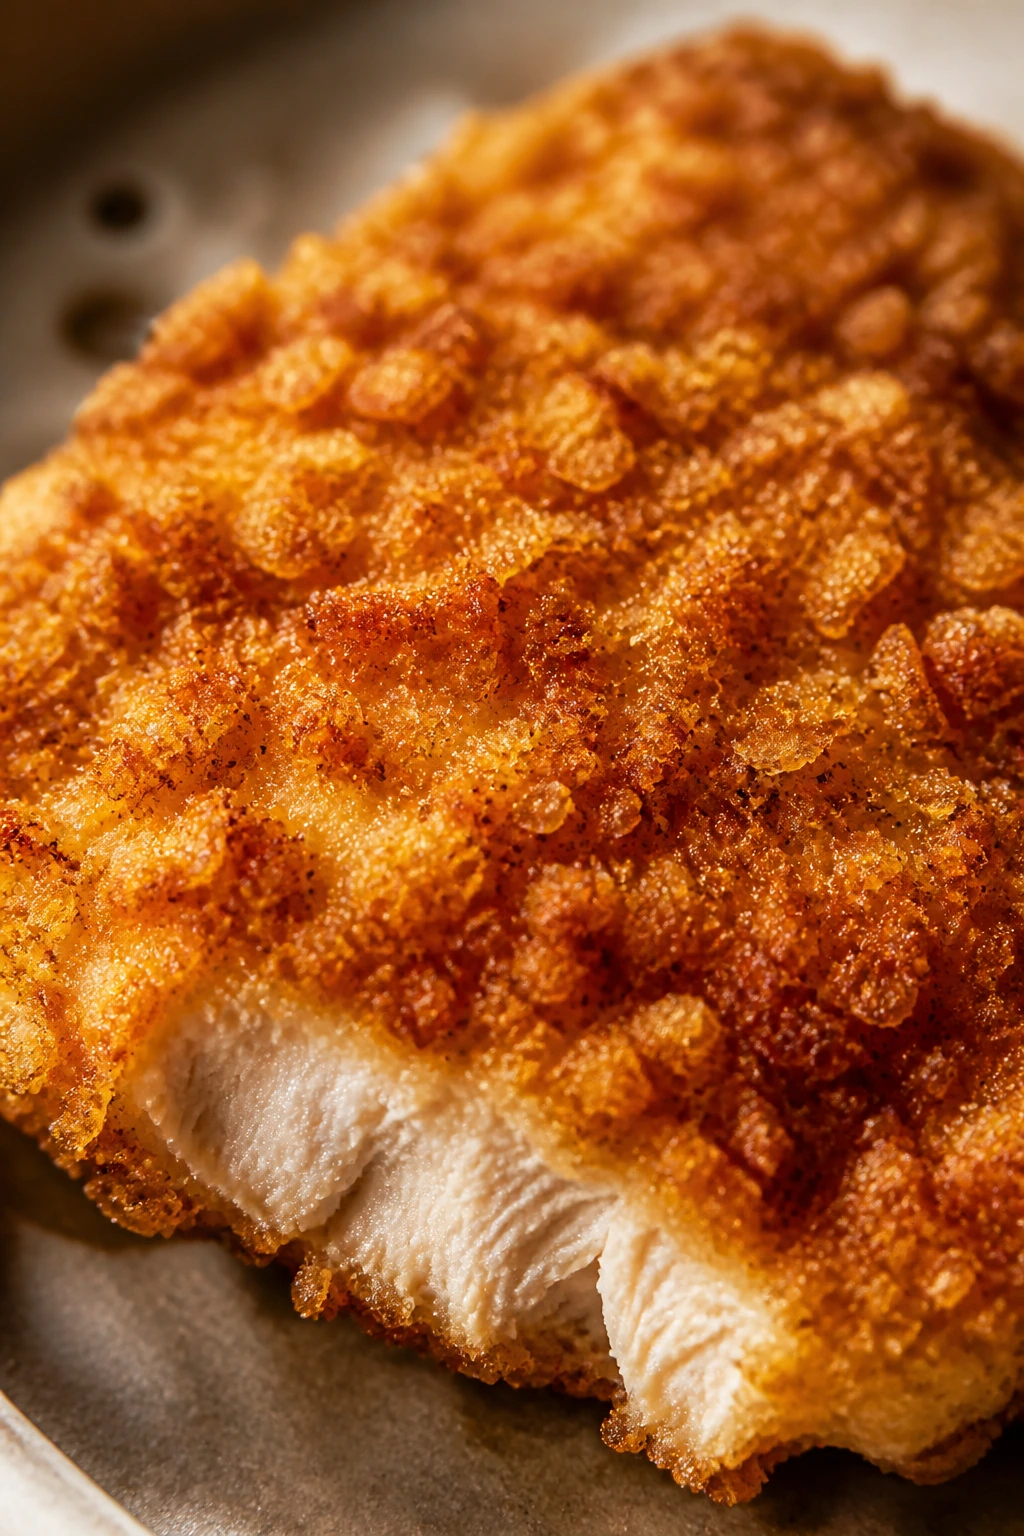
Cook until the underside is deep golden, then flip once. For thin cutlets, 3 to 4 minutes per side is usually enough. Tenders or nugget-sized pieces may be done in closer to 2 to 3 minutes per side. Do not press down on the chicken with the spatula. That squeezes out juice and crushes the crust.
-
Check for doneness and rest on a rack. Chicken should reach 165°F in the thickest part. Move each piece to a wire rack set over a sheet pan, not paper towels. Paper towels trap steam under the crust and soften the bottom. Let the chicken rest for about 3 minutes, then serve while it still crackles a little at the edges.
If the crust is browning too quickly, lower the heat a notch and give the chicken another minute or two. If it’s pale after the first flip, the oil is too cool. That’s the tell. Pale and greasy means the pan needed more heat.
What to Serve With It on a Busy Night
Keep the plate simple. That’s the move.
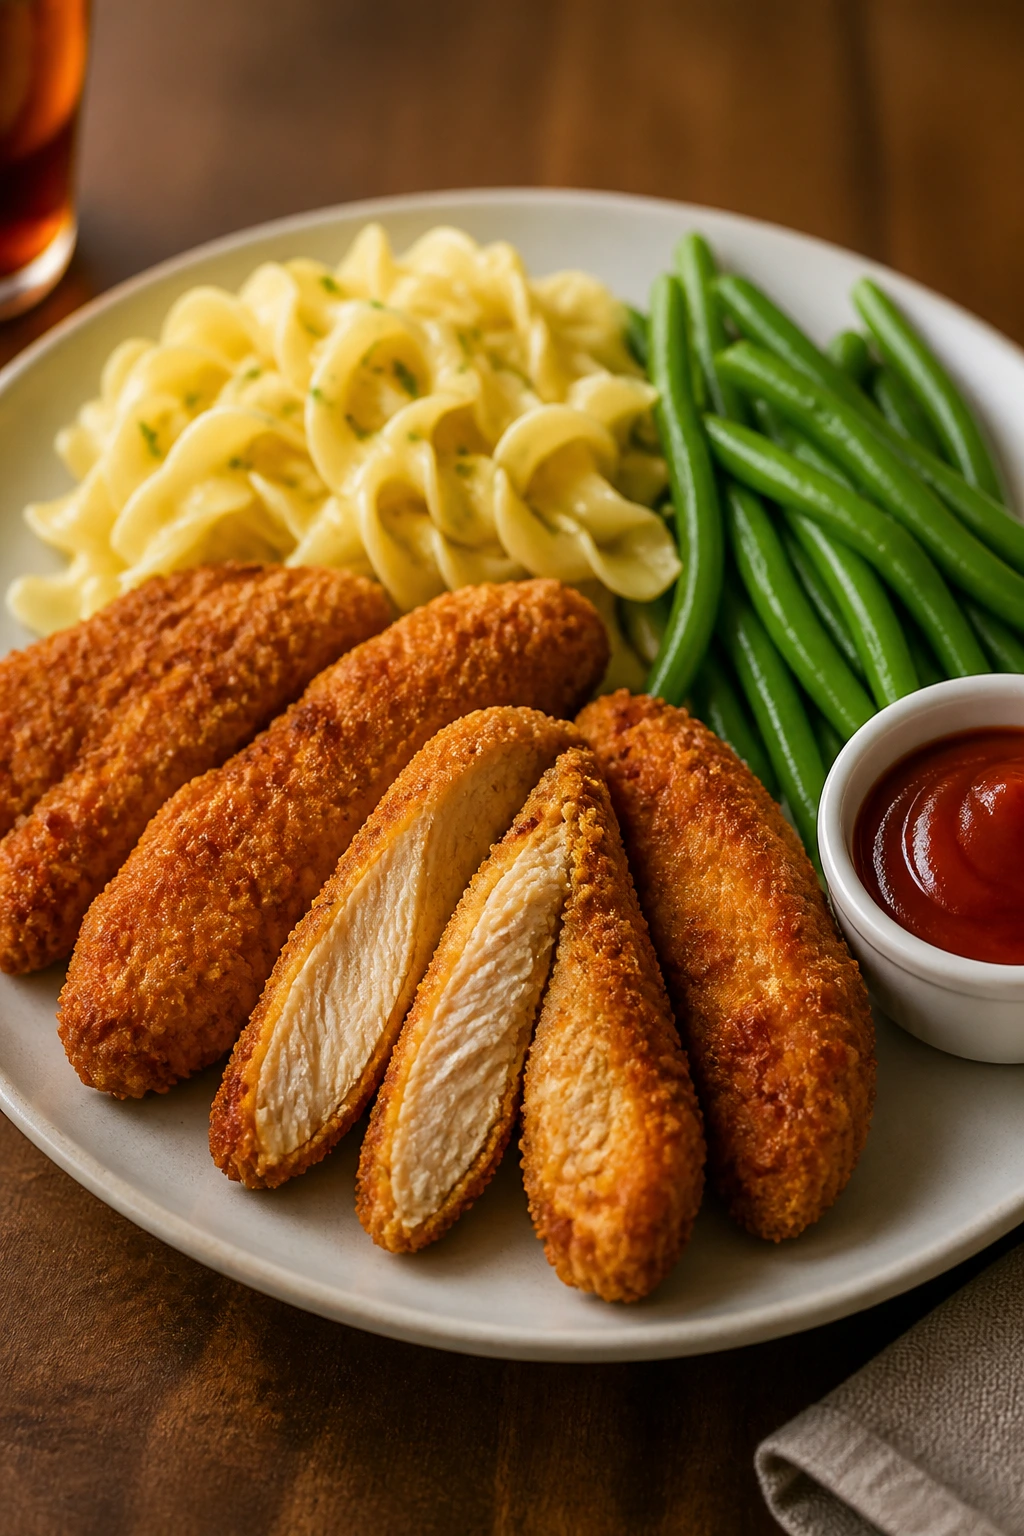
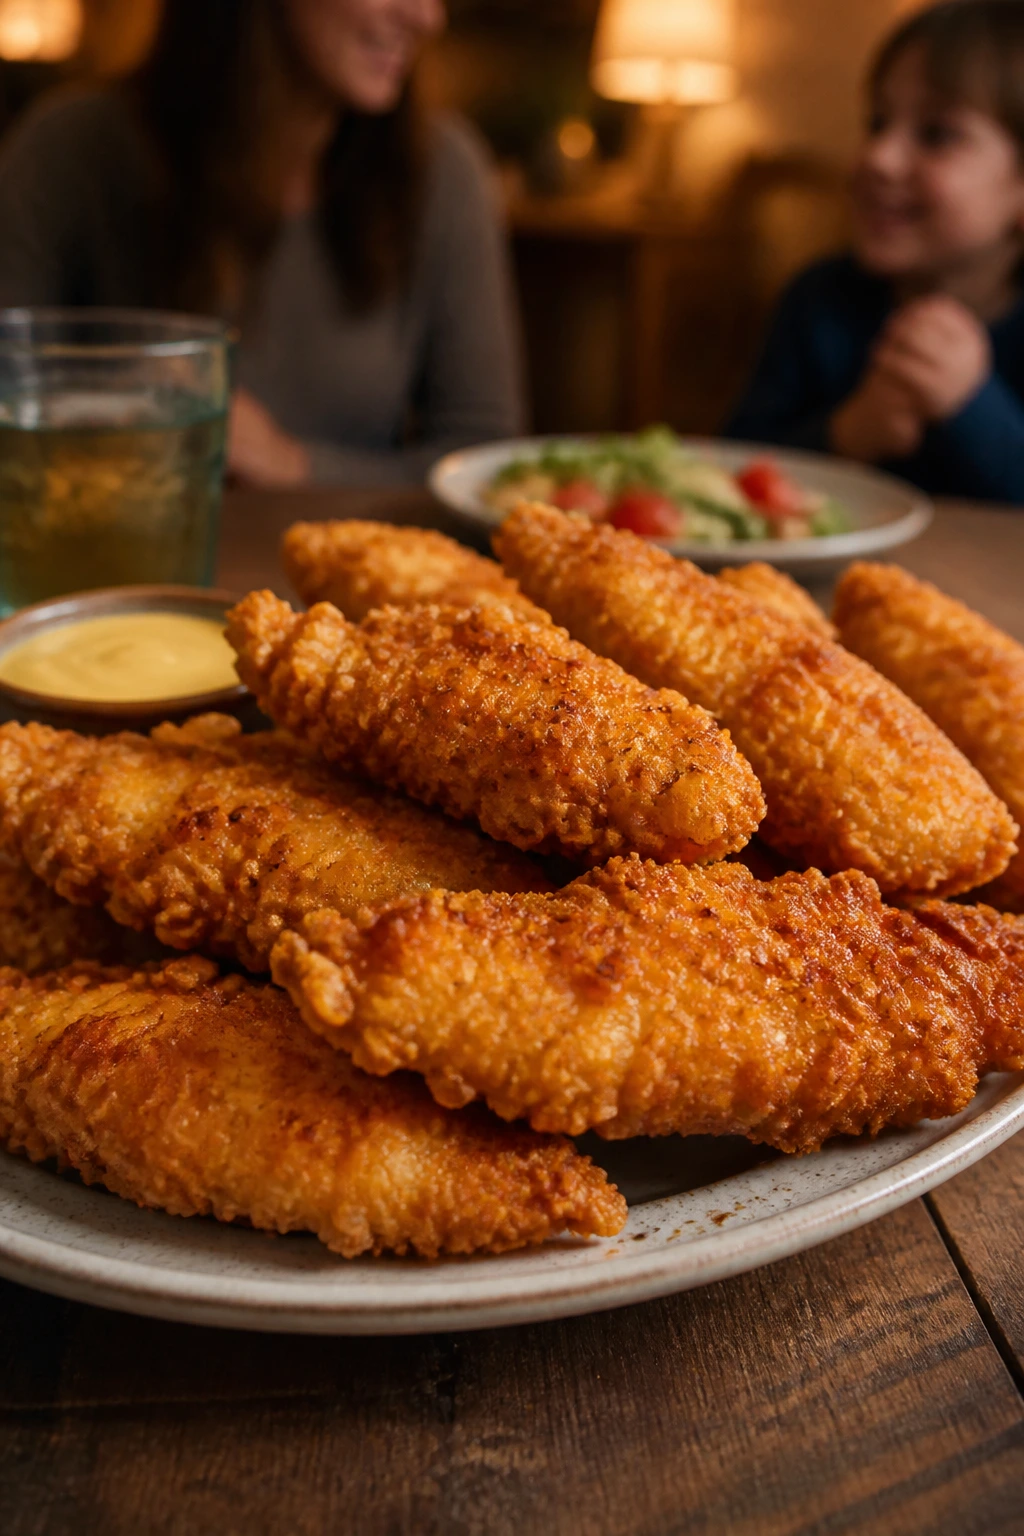
Presentation: Put the chicken on a warm plate or a wide platter in a loose fan so the pieces don’t stack on top of one another. If your household likes dipping sauces, put them in small cups beside the chicken instead of drizzling them over the top. That keeps the crust dry and gives picky eaters some control.
Accompaniments: Buttered noodles, plain rice, mashed potatoes, roasted carrots, corn, steamed green beans, and cucumber slices all work because they don’t compete with the chicken. I like one starch and one mild vegetable, maybe with apple slices or a simple fruit cup on the side if that’s part of the routine. The plate should feel familiar. No one needs seven side dishes fighting for space.
Portions: Plan on about 4 to 6 ounces of cooked chicken per adult and 3 to 4 ounces per child. If you’re serving strips, that usually means 2 to 3 strips for a smaller eater and 3 to 4 for a bigger one, depending on size. If appetite varies wildly in your house, cook a little extra. Crispy chicken disappears faster than you expect when it lands well.
Beverage Pairing: Cold milk is the classic move for kids. For adults, unsweetened iced tea, lemonade, or sparkling water with lemon keeps the meal from feeling heavy. If you want one drink that works for the whole table, a simple fruit spritz or a lightly sweet tea does the job without making the chicken taste more seasoned than it already is.
Practical Tips for Smoother Dinners
A few small moves make this dinner behave better. I’d use them every time.
Time-Saver: Slice and season the chicken earlier in the day, then keep it covered in the fridge until dinner. You can also mix the dry breading ingredients ahead of time and leave them in a jar or zip bag. That cuts the setup time to a few minutes when you walk in the door hungry and annoyed.
Texture Saver: Let the breaded chicken sit on a rack for 5 to 10 minutes before cooking. That tiny wait helps the coating hold together and gives you a cleaner crust. If you’re in a hurry, don’t skip it entirely; just keep the rest short and the pan hot.
Flavor Saver: Salt the chicken itself, not only the coating. The crust can taste fine while the meat underneath tastes flat if you leave the chicken bare. For a very cautious eater, keep the spice list to salt, garlic powder, and maybe a faint touch of paprika.
Cleanup Saver: Set the breading station on a rimmed sheet pan. Flour and crumbs stay in one area, and you can slide the pan straight into the sink when you’re done. I also keep a damp kitchen towel under the cutting board so it doesn’t skate around while I slice.
Pro Move: Hold finished chicken on a wire rack in a 250°F oven if the sides need a few extra minutes. Uncovered. If you cover it, steam softens the crust right away. Three to ten minutes in the warm oven is enough to bridge the gap without wrecking the texture.
Cost-Saver: Buy family packs of chicken breasts and cut them into strips yourself. Chicken tenders are convenient, but they usually cost more per pound. A sharp knife and a flat cutting board handle the job just fine.
Mistakes That Turn Crisp Chicken Limp or Dry
Most crispy chicken failures are not mysterious. They’re mechanical.
-
Starting with wet chicken: If the coating slumps or slides off, the chicken probably went into the flour damp. Pat it dry, then dry it again if needed. Surface moisture is the enemy of adhesion.
-
Crowding the skillet: When too many pieces go into the pan at once, the oil temperature drops and the chicken starts steaming in its own moisture. The crust looks blond and feels oily. Cook in batches and keep the finished pieces on a rack.
-
Using mismatched thicknesses: Thin ends finish early and turn dry while thick centers are still catching up. Pound the breasts to an even thickness or separate the tiny pieces from the bigger ones and cook them in different batches.
-
Flipping too soon: If you tug at the chicken before the crust sets, it tears. Wait until the edges are deep gold and the piece releases naturally from the pan.
-
Seasoning with too many visible spices: A heavy blanket of pepper, chili flakes, or dried herbs can make a picky eater suspicious before the first bite. Keep the crust plain-looking and put bolder seasoning on the adult plate or the dipping sauce.
-
Reheating in the microwave: The crust turns soft, then rubbery, then sad. Use the oven or air fryer instead. If you absolutely have to microwave, do it only to take the chill off, then crisp it back up in a dry skillet or toaster oven.
-
Rinsing raw chicken: People still do this. Don’t. It spreads splash around the sink area and doesn’t improve the meat. Paper towels handle the drying job better and cleaner.
Variations for Different Picky Eaters
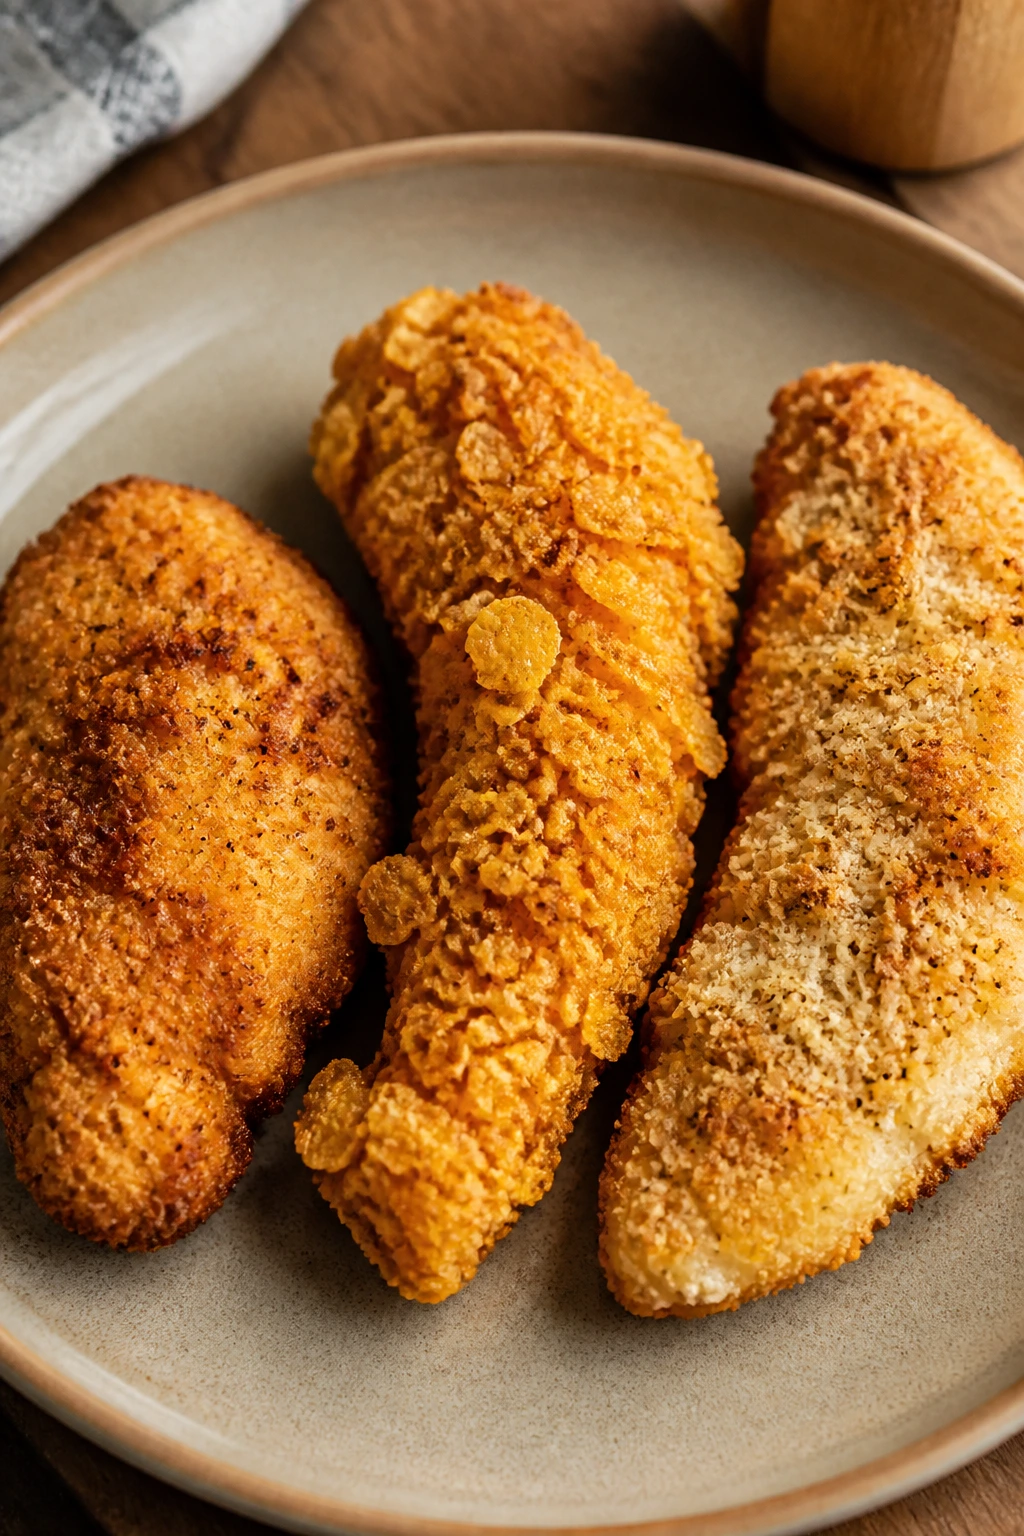
These are not wild reinventions. They’re small shifts that change the feeling of the plate.
Nugget Night Cutlets: Cut the chicken into 1-inch nugget shapes instead of strips or cutlets. The smaller pieces feel closer to store-bought nuggets, which can help if your eater wants familiar proportions more than a fancy presentation. Keep the coating thin so the pieces don’t turn bready.
Cornflake Crunch Strips: Swap the panko for plain crushed cornflakes. The crunch gets a little sweeter and a little louder, and the coating looks familiar to anyone who grew up on cereal-coated chicken tenders. Use unsweetened cornflakes if possible; sugary flakes brown oddly and can taste off.
Bare-Minimum Seasoning: Skip the paprika and black pepper. Use only salt and garlic powder in the flour, then serve ketchup or honey mustard on the side. This is the version I’d make for the most cautious eater in the house, the one who notices every speck before the plate even lands.
Parmesan Edge: Stir 1/4 cup finely grated Parmesan into the panko. The crust gets a salty, nutty edge and browns a little faster. It works best when the eaters already like cheese and aren’t bothered by a more toasted flavor.
Gluten-Free Crunch Coat: Replace the flour with rice flour or cornstarch and use gluten-free panko or crushed gluten-free cereal. Keep the coating light, because thick gluten-free crumbs can feel sandy if you overpack them. This version crisps well in the oven or air fryer.
Air-Fryer Strip Basket: Use the same breading but cut the chicken into thinner strips and spray the coated pieces well before air frying at 400°F. Smaller pieces need less time and stay crisper in a basket-style cooker. It’s the easiest version to reheat the next day, too.
Essential Tools and Pantry Gear
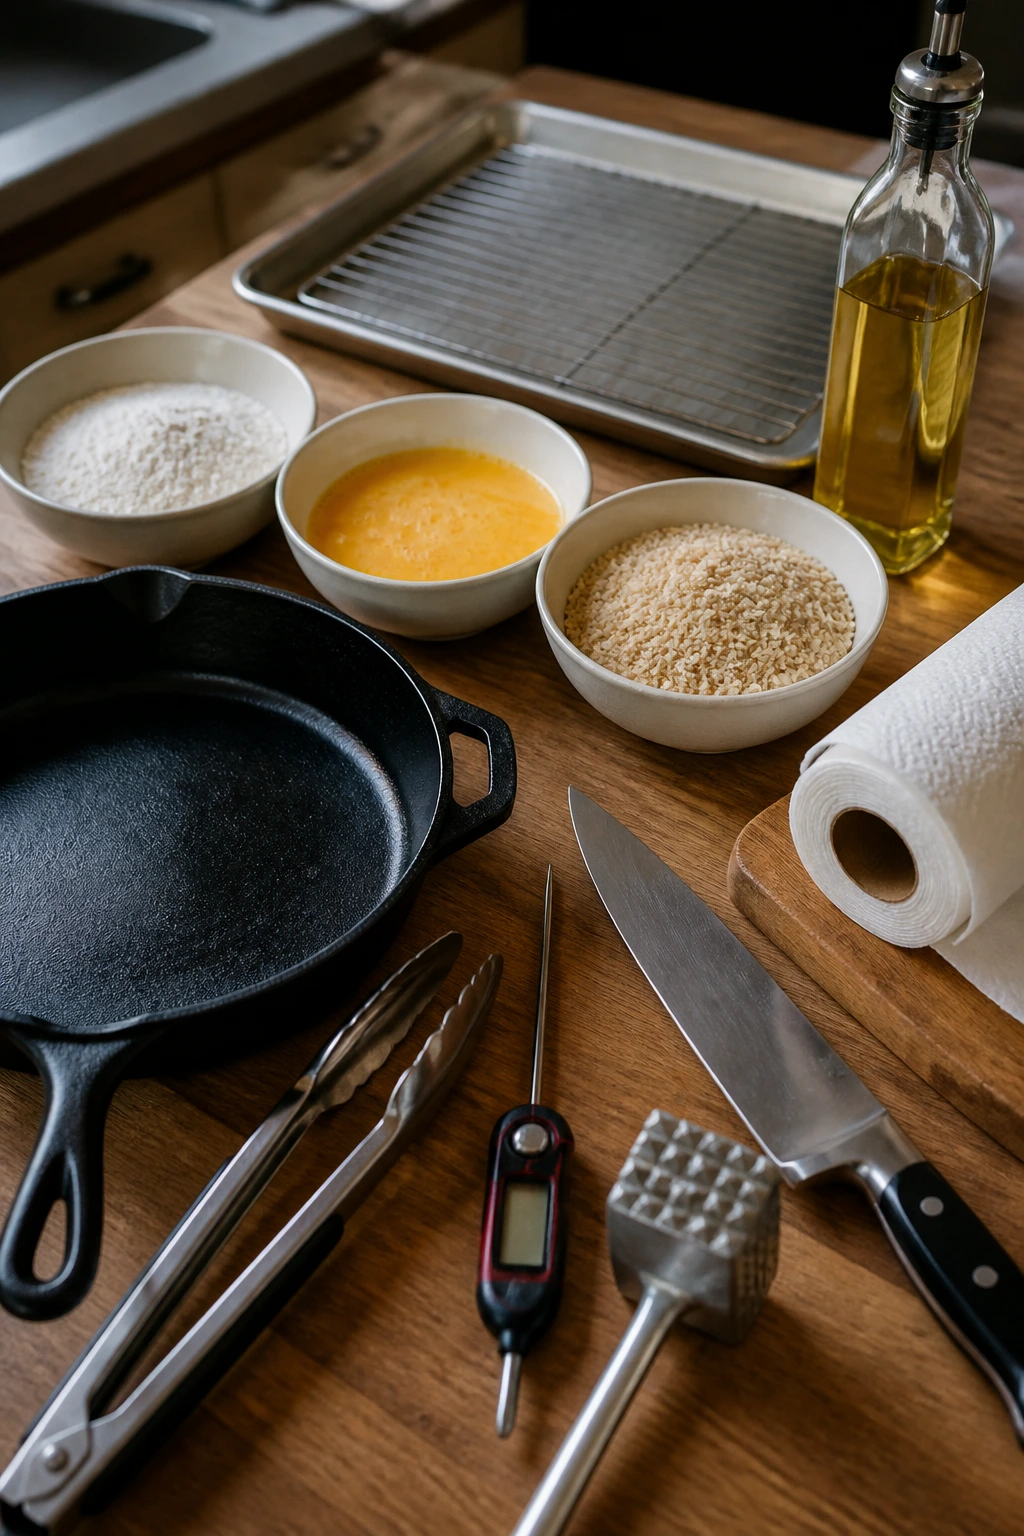
Keep these within reach, and the whole process gets calmer.
- 12-inch cast-iron or stainless-steel skillet — Holds heat better than a thin pan, which means steadier browning and less greasy crust.
- Wire rack with a rimmed sheet pan — Keeps the chicken elevated so steam doesn’t soften the bottom.
- Three shallow bowls or pie plates — Makes the flour, egg, and crumb station easy to set up and easier to clean.
- Instant-read thermometer — The fastest way to know when the thickest part has reached 165°F.
- Tongs — Help turn the chicken without scraping the coating off the underside.
- Meat mallet or rolling pin — Useful for flattening thick chicken breasts to an even thickness.
- Sharp chef’s knife — Cuts breasts into cutlets or strips without tearing the meat.
- Parchment paper or a zip-top bag — Good for pounding the chicken cleanly and keeping raw meat off the counter.
- Neutral oil with a higher smoke point — Canola, avocado, peanut, or similar oils handle frying better than fragile oils that smoke fast.
- Paper towels — Best used for drying raw chicken, not for draining the cooked pieces.
If you only own a nonstick skillet, use moderate heat and stay within the pan’s safe range. It can work. I still prefer cast iron or stainless for this job because they keep the oil temperature steadier, and temperature steadiness is half the battle.
Make-Ahead, Storage, and Reheating
If you want to prep ahead
You can cut and pound the chicken earlier in the day, then keep it covered in the fridge until cooking time. That part is easy. You can also mix the dry coating ingredients ahead of time and keep them in a sealed container. I would bread the chicken no more than about 8 hours ahead if you want the crust to stay in good shape before cooking.
If you need to pause longer than that, bread the chicken and keep it chilled, loosely covered, for up to 24 hours. Don’t leave raw chicken on the counter. That’s not a texture choice; that’s a safety problem.
Fridge and freezer rules
Cooked crispy chicken keeps in the refrigerator for 3 to 4 days in an airtight container. Let it cool first, but don’t seal it while it’s still steaming hot or the condensation will soften the coating. If you’re stacking pieces, slip a small piece of parchment between layers so they don’t glue together.
For longer storage, freeze cooked chicken for up to 2 months. Wrap each piece individually or freeze them in a single layer first, then move them to a freezer bag. That helps the crust keep its shape and makes it easier to reheat only what you need.
You can also freeze raw breaded chicken, though I prefer freezing cooked pieces for this particular dinner. Raw breaded cutlets can be frozen in a single layer, then stored in a bag and cooked from frozen later, but the texture is a little less predictable than freezing after cooking.
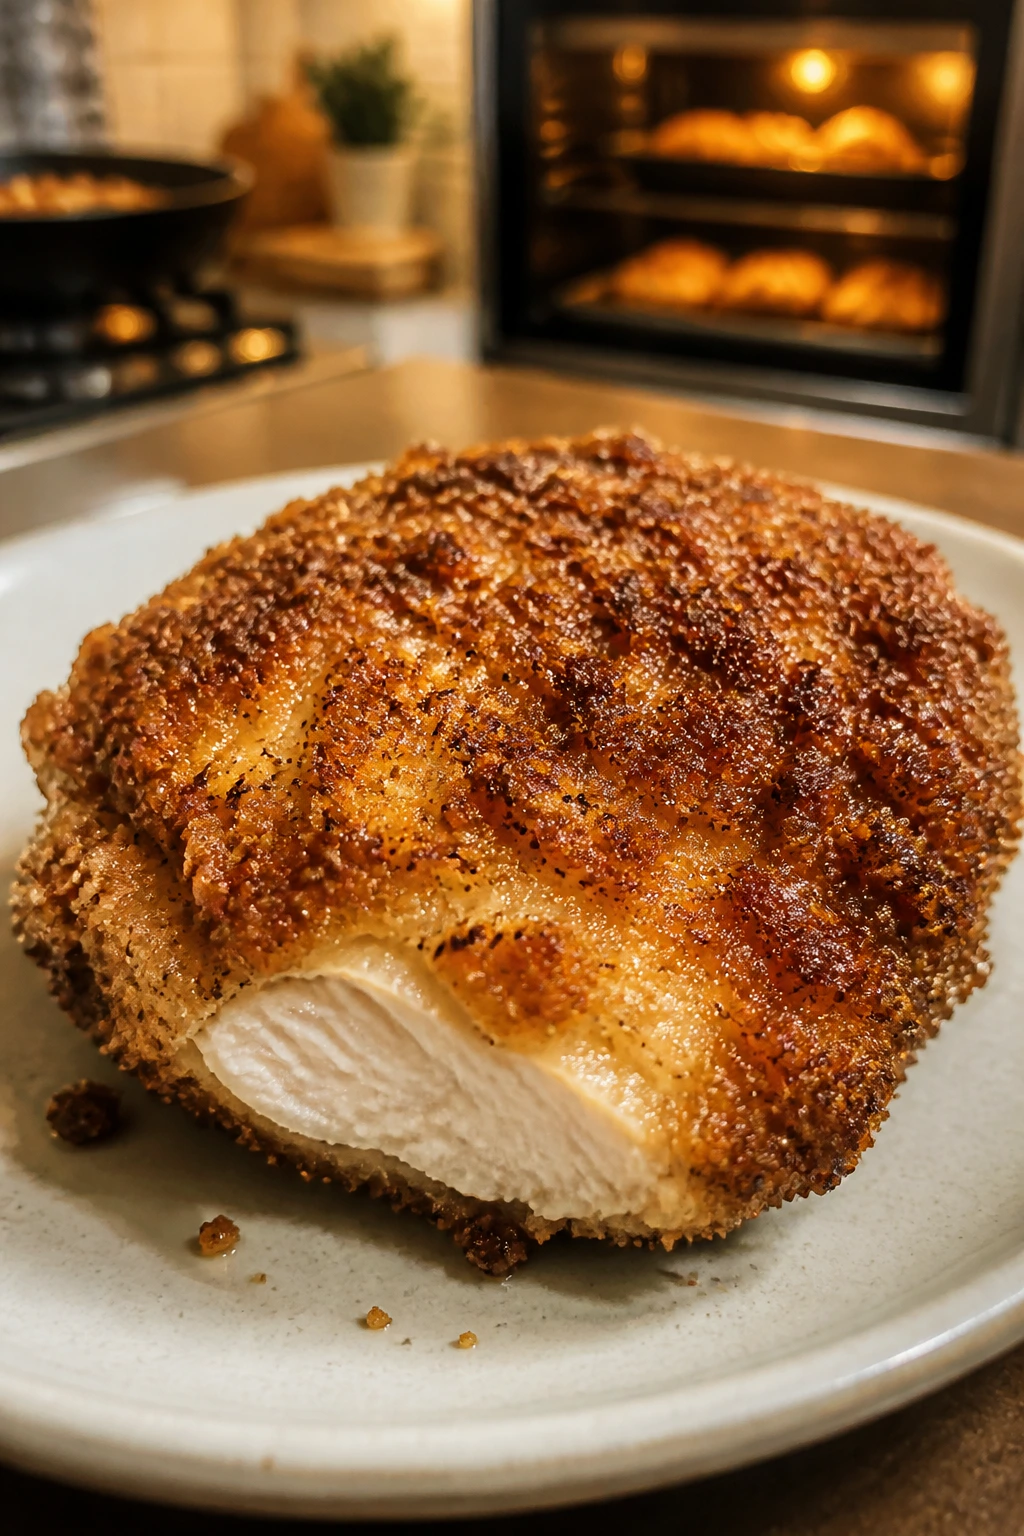
Reheating without losing the crunch
The oven is the safest bet for a larger batch. Set it to 375°F, place the chicken on a wire rack over a sheet pan, and heat it for about 10 to 12 minutes until the center reaches 165°F. An air fryer does the job faster: 350°F to 375°F for 5 to 7 minutes, depending on thickness. Thin strips come back quickly. Thick cutlets need a minute or two more.
The microwave is a last resort. If you use it, keep the power low and stop before the coating turns rubbery, then finish in a dry skillet or air fryer for a little crisp. That extra step sounds annoying, and it is. But it’s still better than serving limp breading and pretending it worked.
Leftovers also make decent lunchbox chicken if you accept that the crust will soften a bit by lunchtime. A cold strip tucked into a wrap or cut over salad is useful in a different way. Just know that it’s a different experience from the dinner plate version.
Frequently Asked Questions
What chicken cut is best if my eater likes plain, familiar food?
Boneless skinless chicken breasts cut into thin cutlets or strips usually work best. The shape looks familiar, the flavor stays mild, and the meat cooks fast enough that the crust doesn’t burn before the center is done.
Can I make crispy chicken without frying it in oil?
Yes. Bake it on a wire rack at 425°F or cook it in an air fryer at 400°F. You’ll get less oil and less cleanup, though the crust won’t be quite as deep and crackly as a well-managed skillet version.
Why does the breading fall off in the pan?
Usually the chicken was too wet, the pan was too cold, or the breaded pieces went straight into the oil without resting. Pat the chicken dry, let the coated pieces sit for 5 to 10 minutes, and make sure the oil shimmers before you start cooking.
How do I keep the chicken juicy inside?
Use even thickness and stop cooking when the thickest part reaches 165°F. Thin, flattened pieces cook faster and more evenly, which means you don’t need to keep them in the pan long enough to dry them out.
Can I use chicken thighs instead of breasts?
Yes, and they’re forgiving if you’re nervous about overcooking. Trim off excess fat, cut them into smaller pieces, and expect a richer flavor. Some picky eaters love that. Others notice the darker meat right away, so it depends on your table.
What if my child hates pepper or paprika?
Leave them out. Salt and garlic powder are enough for the base coating. You can always add pepper to your own plate later, but visible spice specks can be enough to put a cautious eater on guard.
Can I bread the chicken ahead of time?
Yes, and that’s one of the better ways to make weeknight dinner easier. Bread the pieces, set them on a rack, and refrigerate them for up to 8 hours, or up to 24 if you really need to stretch it. Keep them cold and cook them soon after.
How do I reheat leftovers without making them soggy?
Use a wire rack in the oven at 375°F or an air fryer at 350°F to 375°F. The chicken should be hot all the way through and the crust should feel dry again. The microwave softens the coating, so it should only be used as a last step before crisping.
A Dinner That Stays Friendly
Crispy chicken for picky eaters works because it takes the pressure off the plate. The crust gives people something familiar to bite into, the seasoning stays calm, and the chicken itself stays juicy enough that nobody has to negotiate with dinner. That sounds small. It isn’t. Small wins matter on a weeknight.
The best part is how repeatable it becomes. Once you know the cut, the coating, and the heat, you can make strips, cutlets, or nuggets without reinventing the meal every time. Keep panko in the pantry, keep a wire rack nearby, and you’ve got one of those rare dinners that can survive both a short attention span and a hungry crowd.