
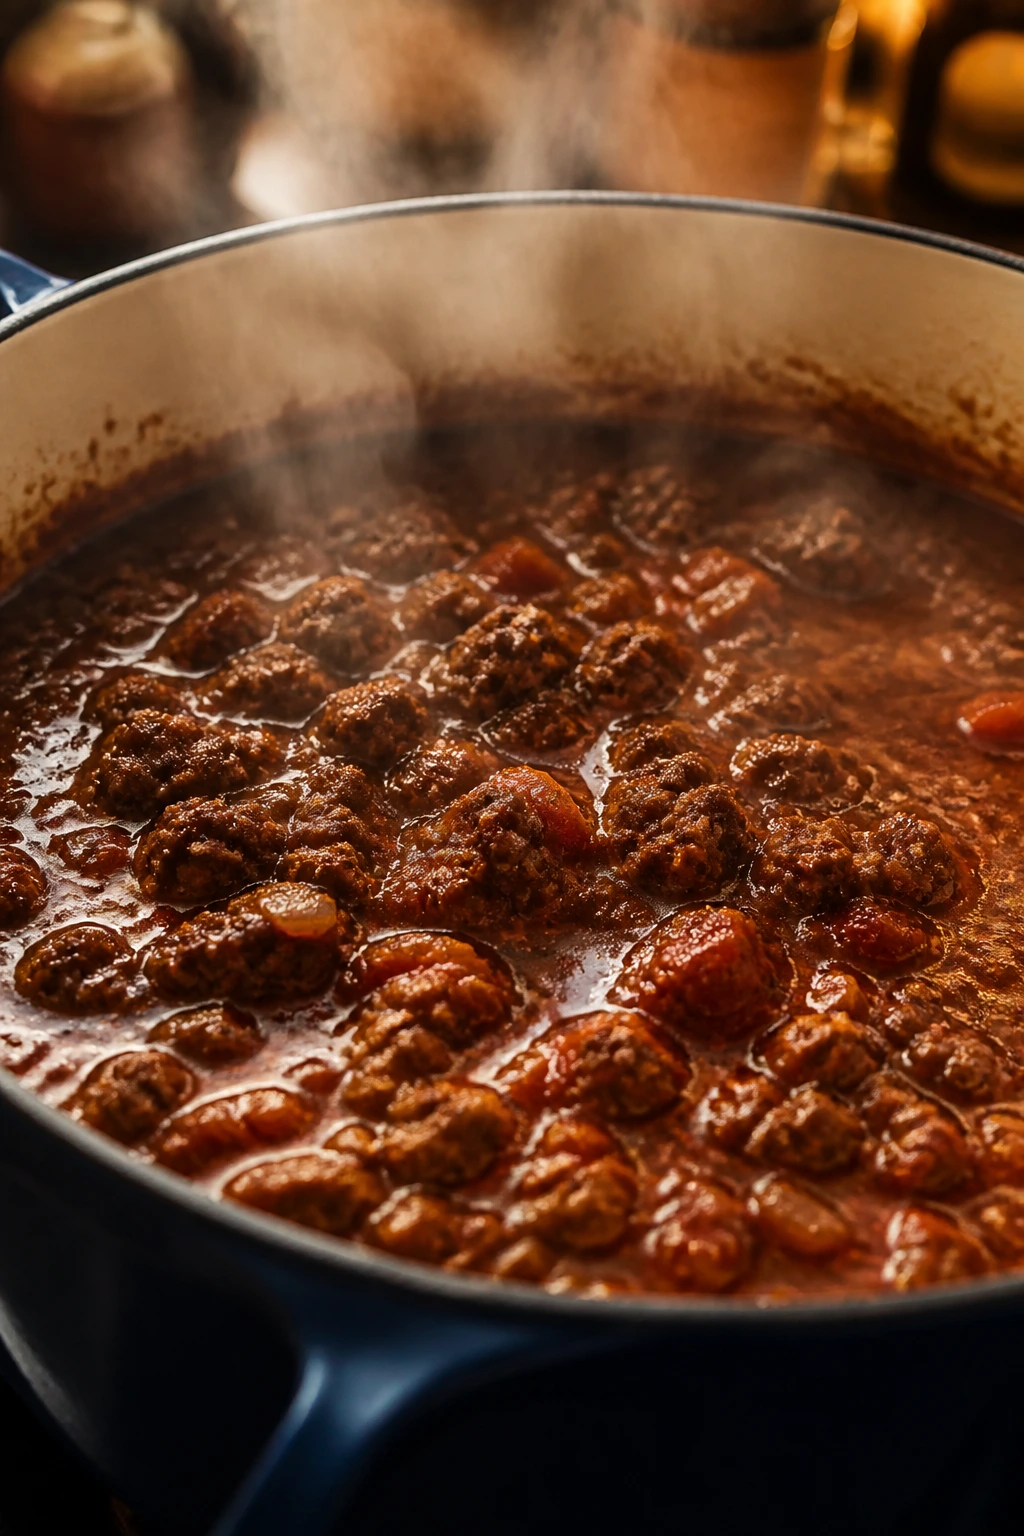
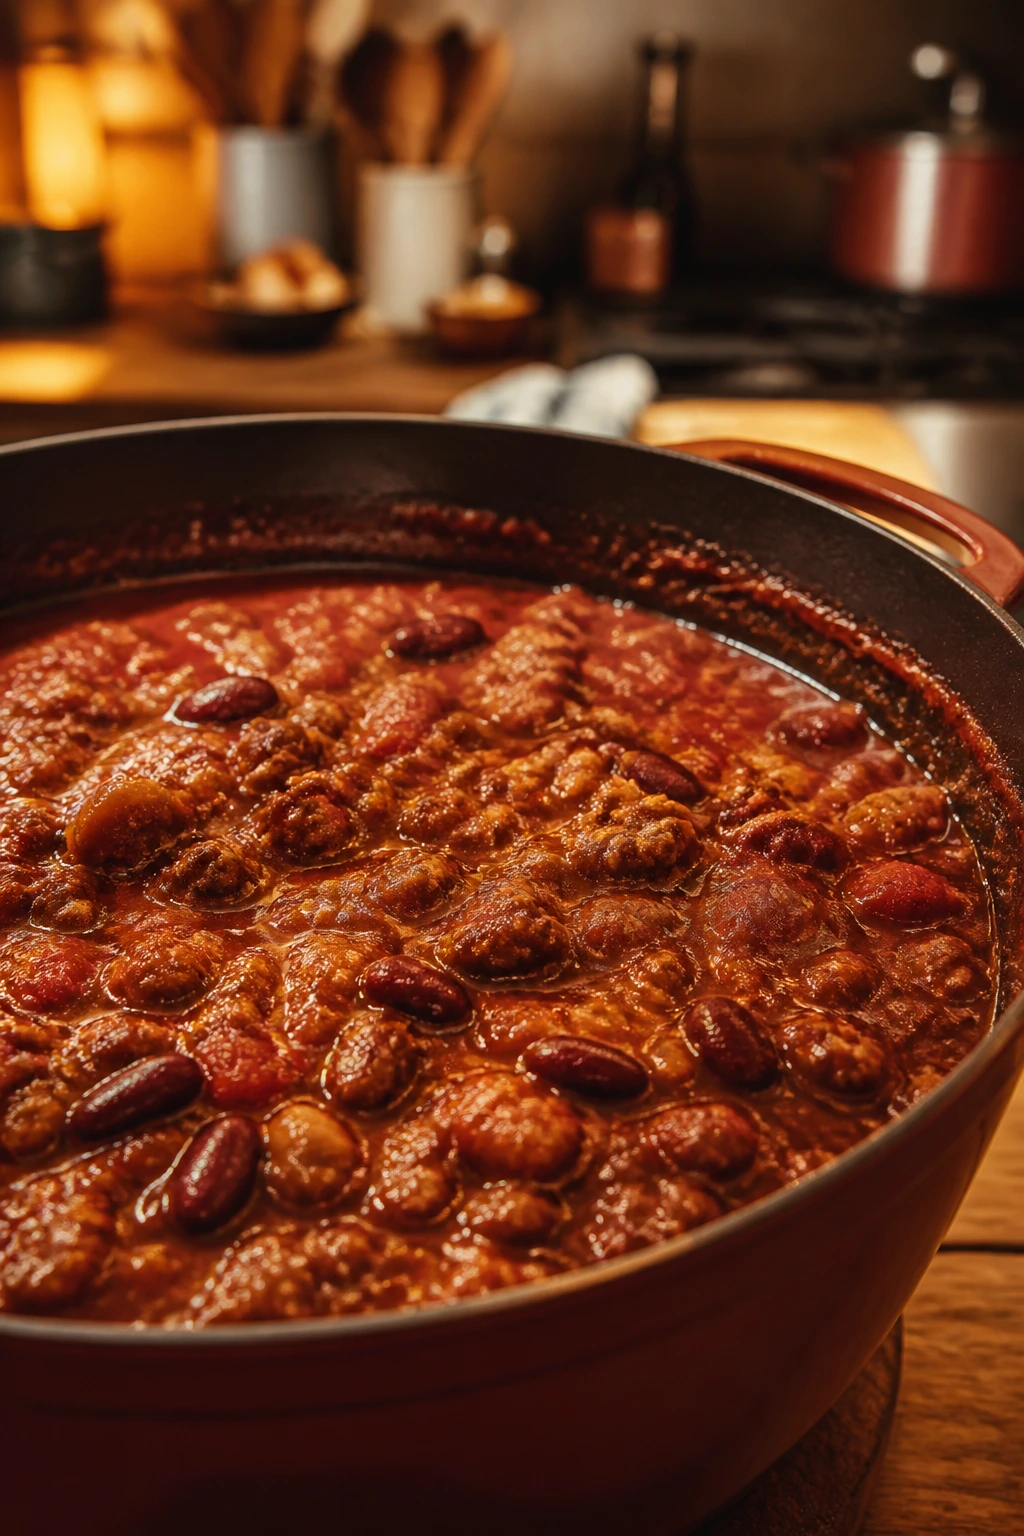
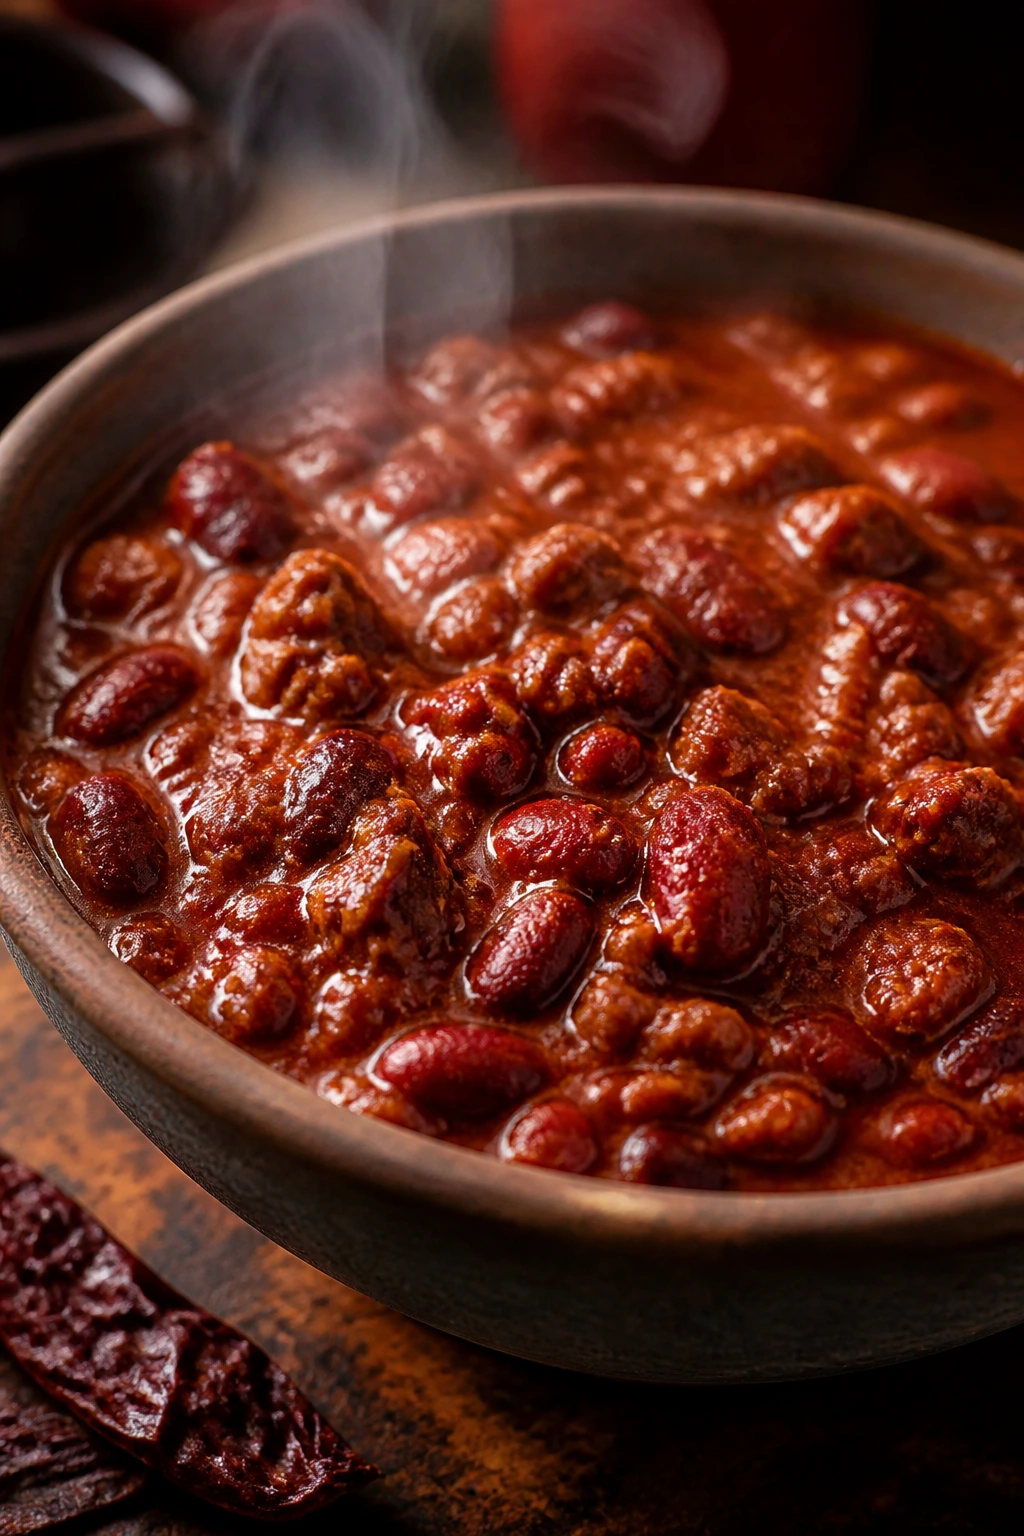
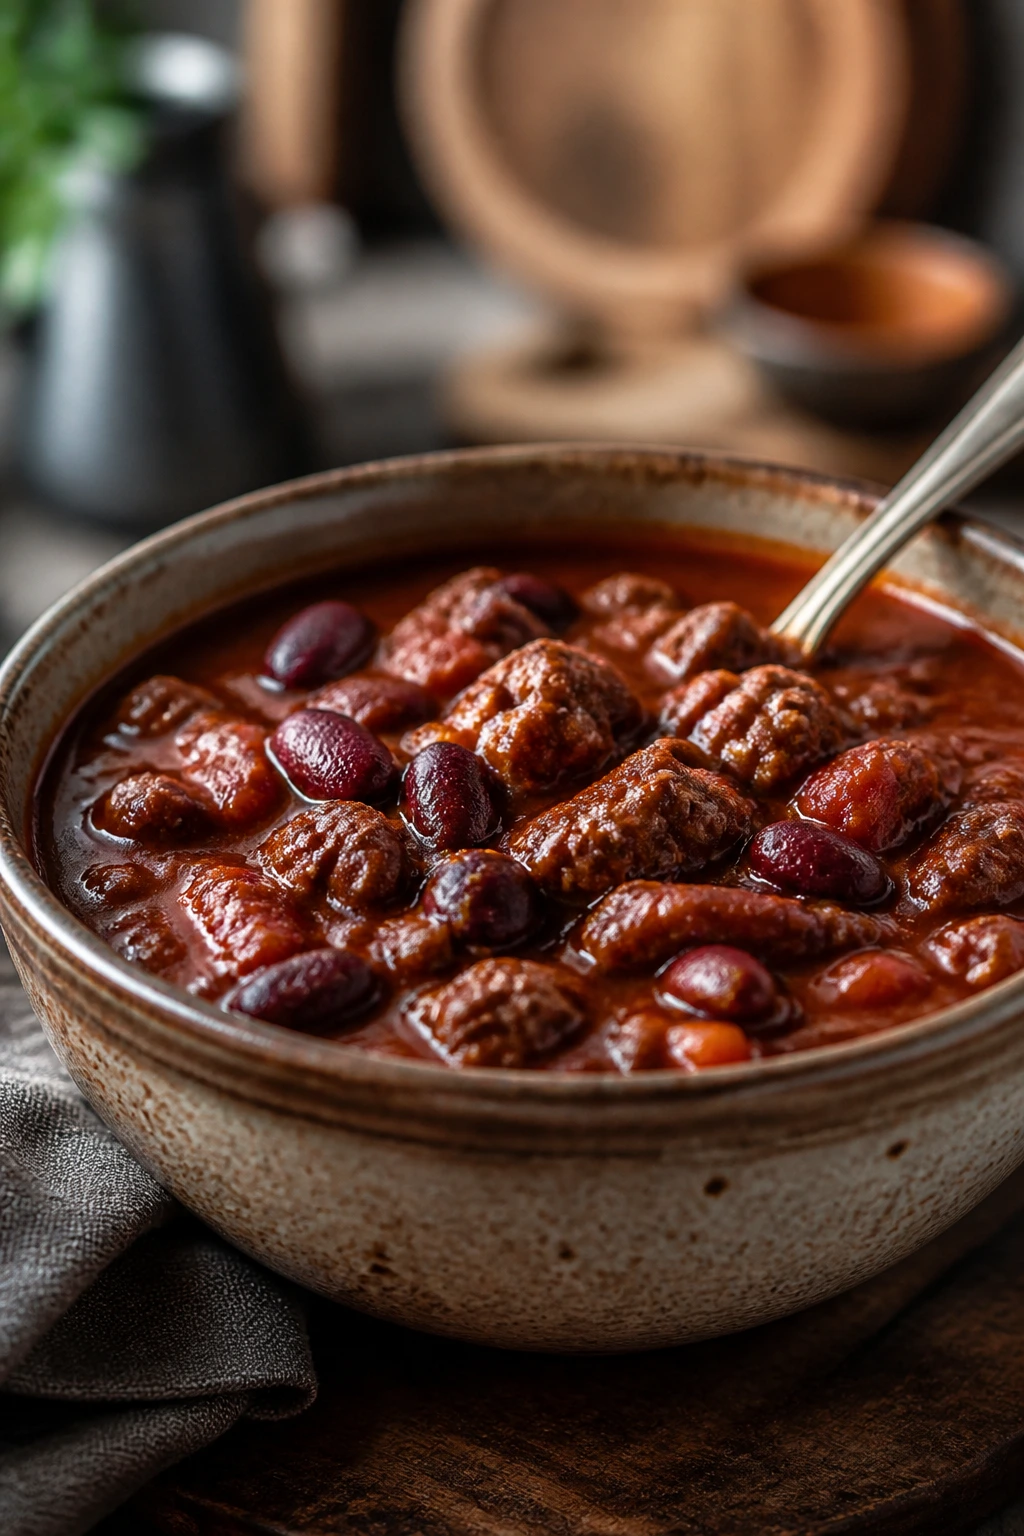
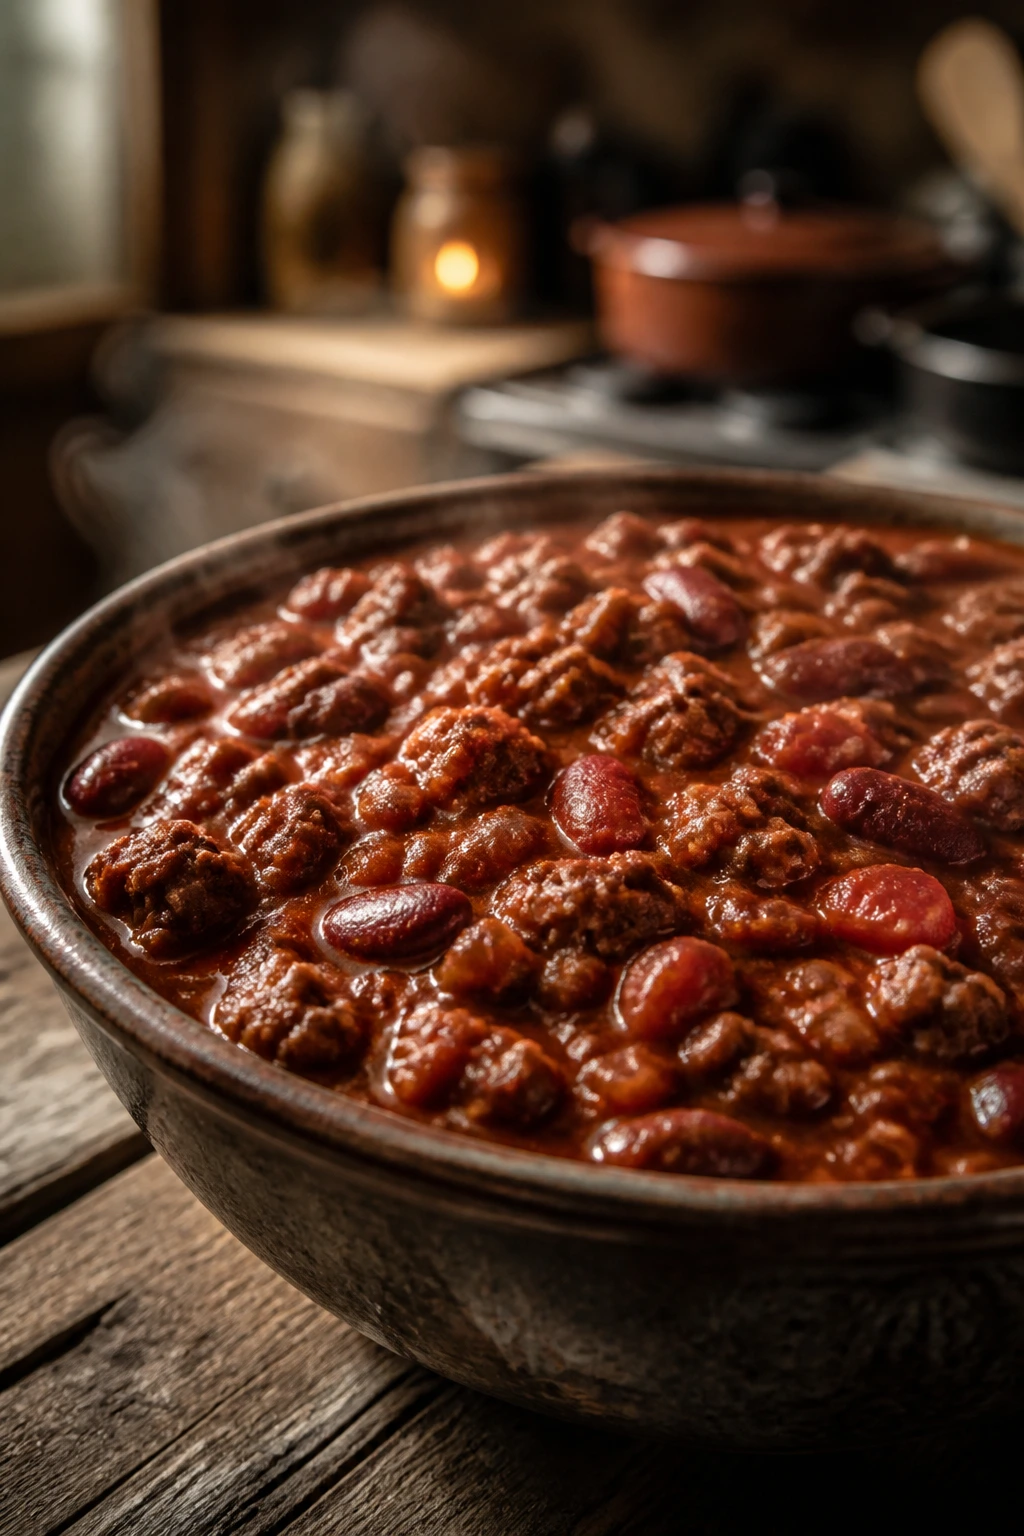
The first spoonful should be thick enough to cling to the bowl, with beef, beans, and tomato folded into one dark, smoky bite. A good hearty chili for cold winter nights doesn’t slosh around like soup; it settles into the spoon and leaves a slow heat at the back of your throat.
That’s the version I want when the windows are cold to the touch and the kitchen smells like onions softening in fat. Onion, garlic, chili powder, cumin, and tomato paste need time to wake up together. If you rush them, the pot tastes like separate ingredients wearing the same name tag.
You do not need a giant grocery list to get there. You need the right order, a little patience, and enough simmer time for the beans to stop tasting canned and start tasting like they belong in the pot. Once that happens, the whole kitchen changes. Dinner feels louder. Better. Calmer, too.
Why This Pot Works on a Bitter Night
- Thick by design: This chili leans on browned beef, beans, and a long simmer, so the broth turns glossy instead of watery.
- Smoke without fuss: Smoked paprika, chili powder, and tomato paste give it that slow-cooked edge even though it starts on the stovetop.
- Flexible heat: You can keep it mild enough for a child’s bowl or push it into a sharper, redder heat with cayenne and chipotles.
- Leftovers improve fast: The flavor settles overnight, which means tomorrow’s lunch usually tastes deeper than the first bowl.
- Feeds a real crowd: A single Dutch oven makes enough for dinner, seconds, and a container tucked into the freezer for a bad-weather day.
- No delicate timing: If the onions cook a minute longer or the simmer runs a little slower, the chili forgives you. That’s part of the charm.
A Quick Look at Time, Yield, and Difficulty
Yield: Serves 6 to 8
Prep Time: 20 minutes
Cook Time: 1 hour
Total Time: 1 hour 20 minutes
Difficulty: Beginner — the work is mostly browning, stirring, and tasting, with no tricky technique hiding in the corners.
Chill/Rest Time: 10 minutes
Best Served: Hot from the pot after a short rest, when the surface has gone glossy and the steam has calmed down a little
A rest matters here. Not because the chili is fragile, but because the texture tightens up after ten minutes and the sauce wraps around the beans instead of running away from them. That little pause is worth it.
The Ingredients That Make This Chili Taste Like Dinner
For the Chili Base:
- 2 tablespoons olive oil
- 2 pounds ground beef, preferably 85/15
- 1 large yellow onion, diced
- 1 green bell pepper, diced
- 4 garlic cloves, minced
- 2 tablespoons tomato paste
- 2 tablespoons chili powder
- 2 teaspoons ground cumin
- 1 teaspoon smoked paprika
- 1 teaspoon dried oregano
- 1/2 teaspoon cayenne pepper, optional but useful if you want heat
- 1 1/2 teaspoons kosher salt, plus more to taste
- 1/2 teaspoon black pepper
- 1 (28-ounce) can crushed tomatoes
- 1 (15-ounce) can diced tomatoes, with juices
- 1 1/2 cups beef broth
- 1 (15-ounce) can kidney beans, drained and rinsed
- 1 (15-ounce) can pinto beans, drained and rinsed
- 1 tablespoon brown sugar
- 1 teaspoon unsweetened cocoa powder
- 1 tablespoon apple cider vinegar
For Serving:
- 1 cup shredded sharp cheddar cheese
- 1/2 cup sour cream
- 2 scallions, thinly sliced
- 1/4 cup chopped fresh cilantro
- 1 cup crushed tortilla chips or saltines
Why Each Ingredient Matters in the Bowl
Ground Beef
What to use: 2 pounds ground beef, and 85/15 gives the best balance of flavor and fat for this pot.
Preparation: Break it up as soon as it hits the hot oil so you get small, browned crumbles instead of one gray slab that steams in its own juices.
Substitutions: Ground turkey works if you want a lighter chili, and ground bison brings a leaner, slightly sweeter flavor. A half-beef, half-pork mix also works if you want a richer bowl.
Tips: If you use extra-lean beef, add a touch more oil up front or the finished chili can taste dry and a little flat. Browning matters here. Don’t hurry it.
Tomatoes and Beans
What to use: 1 (28-ounce) can crushed tomatoes, 1 (15-ounce) can diced tomatoes, 1 (15-ounce) can kidney beans, and 1 (15-ounce) can pinto beans.
Preparation: Drain and rinse the beans so the pot doesn’t pick up that cloudy canned liquid, but keep the tomato juices from the diced tomatoes because they help build body.
Substitutions: Black beans can replace the pinto beans, cannellini beans can replace kidney beans, and if you want a beanless chili, bump up the beef and broth instead of leaving the pot thin.
Tips: Crushed tomatoes make the base smoother, while diced tomatoes keep the chili from turning into puree. That mix gives you a better spoonful than using one type alone.
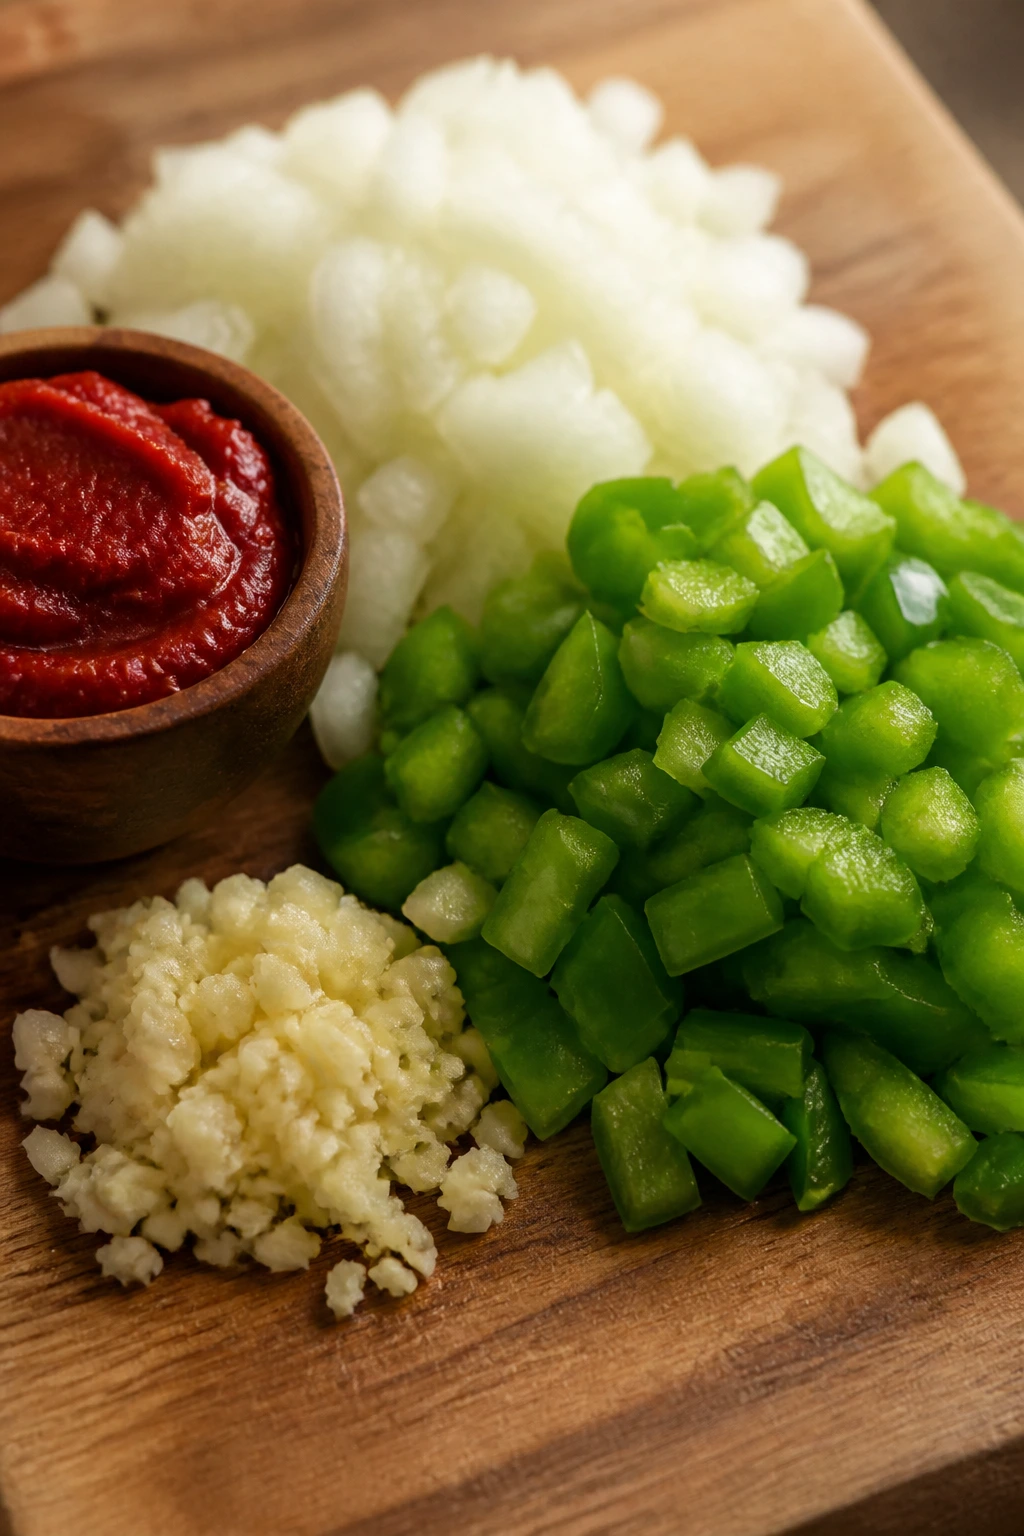
Aromatics and Vegetables
What to use: 1 large yellow onion, 1 green bell pepper, and 4 garlic cloves.
Preparation: Dice the onion and pepper into small, even pieces so they soften at the same pace. Mince the garlic fine enough that it disappears into the base instead of sitting in little sharp bits.
Substitutions: Red bell pepper adds a sweeter note, and poblano pepper gives the pot a softer chile flavor without much heat. Shallots work in place of onion if that’s what you have, though they cost more and bring a gentler finish.
Tips: Let the onion and pepper soften until the onion turns translucent and the edges pick up a little gold. That’s the point where they stop tasting raw and start helping the chili taste cooked.
Spice Cabinet
What to use: 2 tablespoons chili powder, 2 teaspoons cumin, 1 teaspoon smoked paprika, 1 teaspoon dried oregano, 1/2 teaspoon cayenne, 1 1/2 teaspoons kosher salt, and 1/2 teaspoon black pepper.
Preparation: Measure the spices before the pan gets hot enough to demand your full attention. Once the tomato paste goes in, the pot moves fast.
Substitutions: If your chili powder is very mild, add a pinch more cayenne or a chopped chipotle pepper. If you’re out of smoked paprika, use regular paprika and a splash of liquid smoke, but go easy — that stuff can take over.
Tips: Spices need a little fat and heat to bloom. If they go in raw and sit in liquid right away, they taste dusty instead of deep.
Finishers and Toppings
What to use: 1 tablespoon brown sugar, 1 teaspoon cocoa powder, 1 tablespoon apple cider vinegar, plus cheddar, sour cream, scallions, cilantro, and chips for serving.
Preparation: Keep the toppings cold and the chili hot. That contrast matters more than people think; a cool spoonful of sour cream against steaming chili changes the whole bowl.
Substitutions: Maple syrup can replace brown sugar in a pinch, and lime juice can stand in for vinegar if that’s what’s in the kitchen. Greek yogurt can replace sour cream if you want something tangier and a little lighter.
Tips: The cocoa powder should stay in the background. You’re not making dessert chili. You’re giving the tomatoes a darker edge and helping the pot taste bigger.
The Tools That Keep the Pot Moving
- 5- to 6-quart Dutch oven: Heavy enough to hold heat evenly and wide enough to brown the beef instead of steaming it.
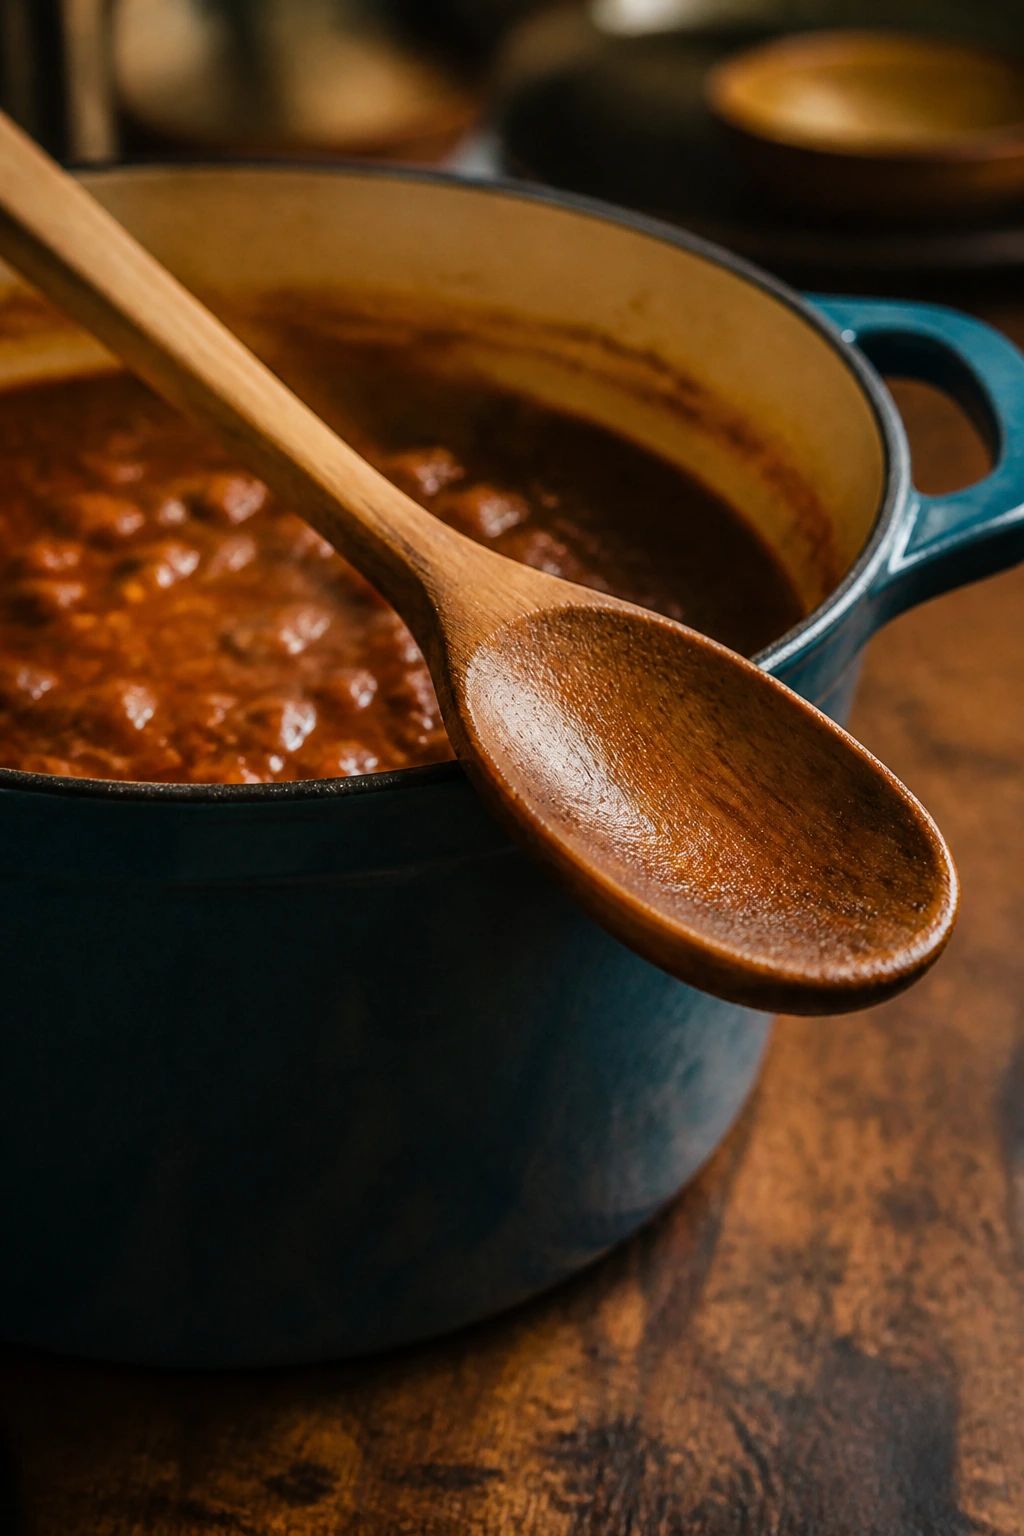
- Wooden spoon or sturdy spatula: Useful for breaking up meat and scraping the browned bits from the bottom.
- Chef’s knife: A sharp knife makes the onion and pepper prep faster and safer.
- Cutting board: Give yourself enough room to dice without chasing peppers across the counter.
- Measuring spoons and cups: Chili is forgiving, but spice balance is not the place to guess.
- Can opener: Obvious, yes. Still worth having within reach before you start.
- Ladle: Makes serving cleaner, especially when the pot is thick and heavy.
- Lid that fits the Dutch oven: You’ll use it partially on and partially off, so a proper fit helps.
How to Build the Chili, One Layer at a Time
The best chili recipe is a sequence of small decisions, not a single dump-and-stir move. Brown first. Bloom second. Simmer after that. If you keep the order intact, the pot does most of the work.
Brown the Beef and Start the Base:
-
Set a 5- to 6-quart Dutch oven over medium-high heat and add the olive oil.
-
Add the ground beef and 1/2 teaspoon of the salt. Cook for 6 to 8 minutes, breaking it into small crumbles with a spoon, until the meat is no longer pink and the bottom of the pot has browned bits clinging to it. If you use a thermometer, the beef should reach 160°F before you move on.
-
If more than about 2 tablespoons of fat collect in the pot, spoon off a little. Leave enough behind to coat the bottom. That fat is carrying flavor right now.
-
Add the onion and bell pepper. Cook for 5 to 6 minutes, stirring often, until the onion looks translucent and the pepper softens around the edges.
-
Stir in the garlic and cook for 30 seconds, just until fragrant. Do not let the garlic sit long enough to brown or it turns bitter fast.
Bloom the Spices and Build the Sauce:
-
Add the tomato paste, chili powder, cumin, smoked paprika, oregano, cayenne, black pepper, and the remaining salt. Stir constantly for 1 to 2 minutes, until the tomato paste darkens and the spices smell toasted rather than raw.
-
Pour in the crushed tomatoes, diced tomatoes, and beef broth. Use the spoon to scrape up every browned bit from the bottom of the pot. Those bits matter. They are not stuck-on debris; they’re the good part.
-
Stir in the kidney beans, pinto beans, brown sugar, and cocoa powder.
-
Bring the pot to a gentle boil, then lower the heat until the chili barely bubbles. Partially cover the pot, leaving the lid cracked a little so steam can escape.
Simmer and Finish:
-
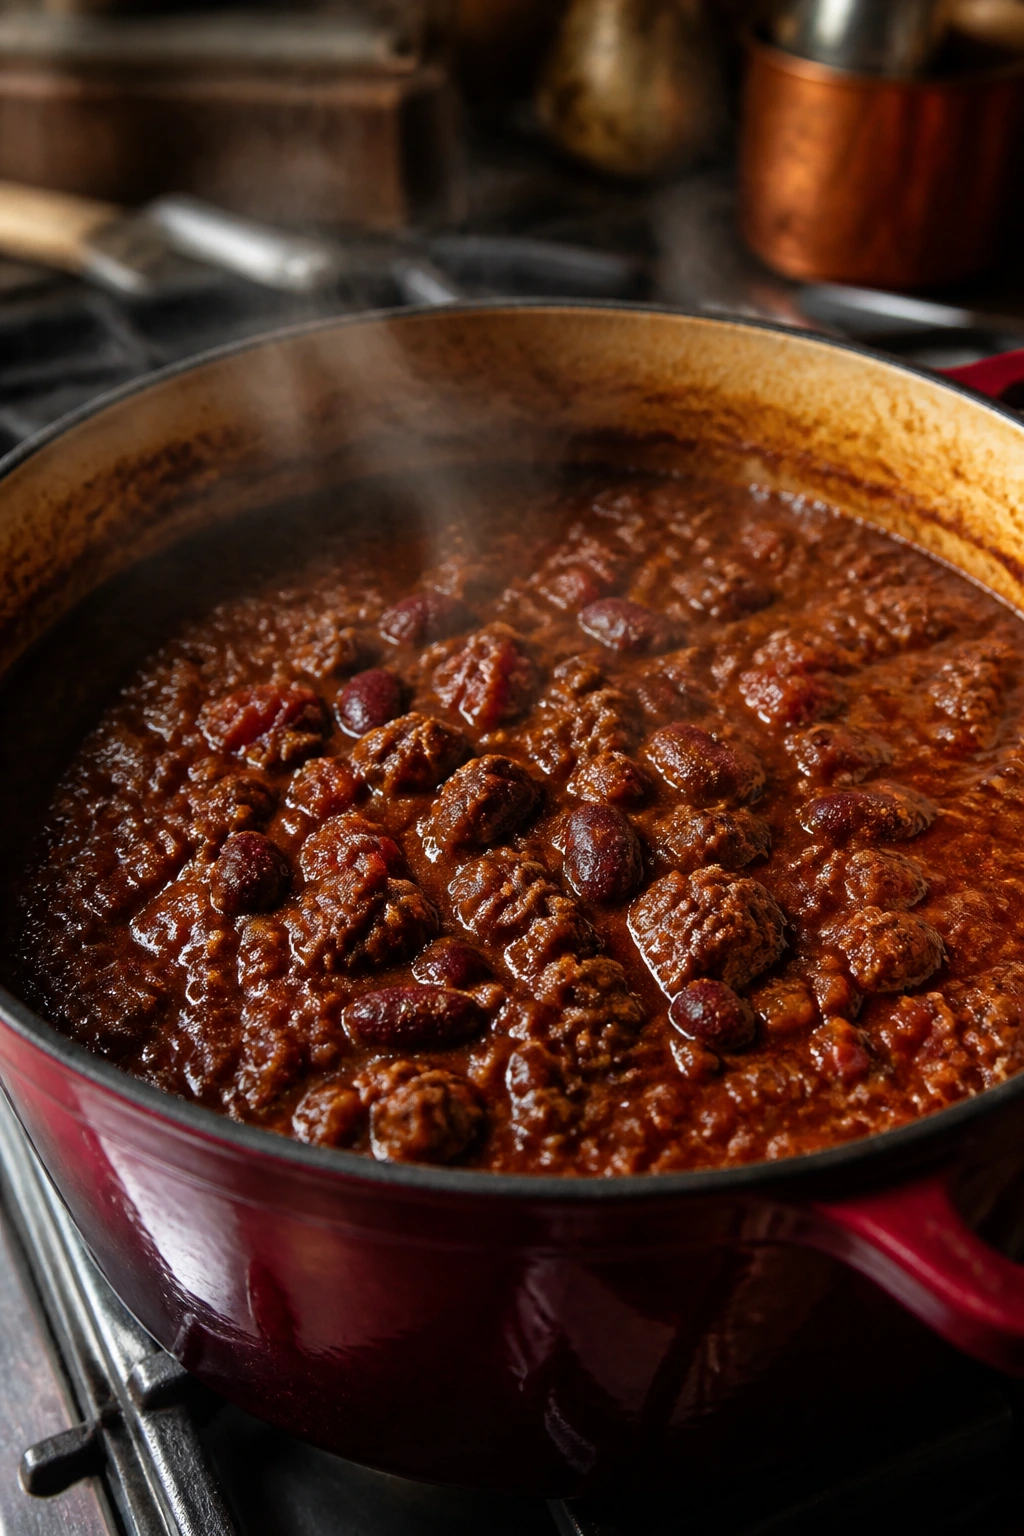
Simmer for 35 to 45 minutes, stirring every 10 minutes, until the chili looks thick, glossy, and darker than it did at the start. If you want a looser bowl for serving over rice, stop closer to 35 minutes. If you want it thicker and more spoon-coating, go closer to 45.
-
Stir in the apple cider vinegar, then taste and adjust the salt, pepper, and heat. That vinegar is not decoration. It wakes up the tomatoes and keeps the pot from tasting heavy.
-
Turn off the heat and let the chili rest for 10 minutes before serving. It will tighten slightly as it sits. That is a good thing.
How to Serve a Bowl That Feels Complete
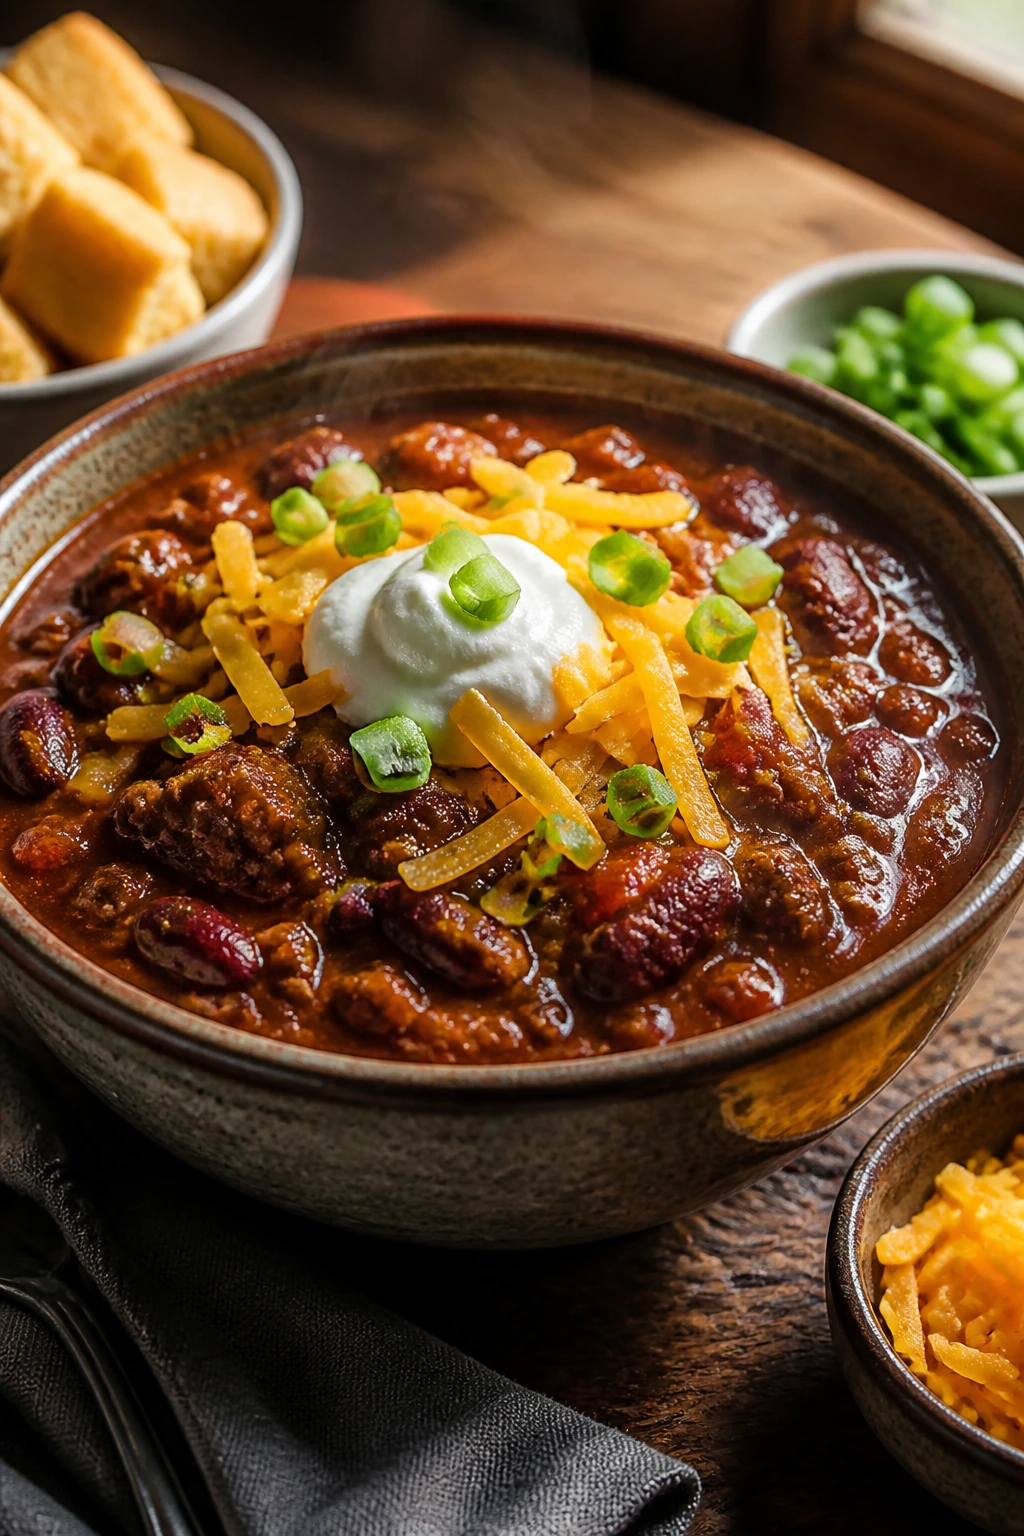
Presentation: Ladle the chili into warm bowls so it stays hot longer, then top each one with a small handful of cheddar, a spoonful of sour cream, and a scatter of scallions. I like to finish with a few cilantro leaves and a handful of crushed tortilla chips on one side, because that little crunch changes the whole bite.
Accompaniments: Cornbread is the easy answer, and I won’t argue with it. Buttered saltines, oyster crackers, baked potatoes, and a simple green salad with a sharp vinaigrette all do real work here. If you want a fuller spread, set out pickled jalapeños, hot sauce, and lime wedges.
Portions: Plan on 1 1/2 to 2 cups per adult if the chili is the main dinner. If you’re feeding hungrier people, serve it with cornbread or over steamed rice. For a lighter meal, 1 cup per person is enough when you’ve got a side salad and bread on the table.
Beverage Pairing: A malty amber ale fits the smoky tomato base without fighting the heat. For a nonalcoholic choice, black tea with lemon or a cold ginger beer cuts through the richness nicely. A plain cola works too, which is less glamorous and still oddly right.
Small Moves That Make the Flavor Deeper
Flavor Enhancement: Stir in the vinegar at the end, not halfway through. Acid is loudest when the pot is finished simmering, and that late hit keeps the chili from tasting like it spent an hour under a blanket. The same goes for the cocoa powder — a teaspoon is enough to round out the tomatoes without making the pot taste sweet.
Time-Saver: Chop the onion and bell pepper before you turn on the burner. Then the browning step can roll straight into the aromatics without a long pause where the garlic risks burning. If you’re cooking on a busy night, this single bit of prep keeps the whole recipe calm.
Cost-Saver: Use 85/15 ground beef instead of an ultra-lean package. The chili needs some fat to carry the spices, and the beans stretch the meat further than people expect. A pound and a half can feel stingy in another dish; in chili, it’s the right amount once the beans and tomatoes settle in.
Heat Control: Keep the cayenne optional if you’re serving a mixed crowd. You can always add heat at the table with hot sauce or sliced jalapeños, but you can’t subtract it once it’s in the pot. That is one of those dull rules that saves dinner.
Texture Trick: If the chili looks thin near the end, mash a cup of beans against the side of the pot and stir them back in. That gives you body without flour, cornstarch, or any powdery aftertaste.
What Usually Goes Wrong with Chili
-
The beef never browns properly: If the meat goes pale and watery, the pot will taste flat no matter how many spices you add. Fix it by cooking in a wide pot, keeping the heat at medium-high, and giving the beef a few minutes untouched before you stir.
-
The spices taste dusty: This happens when the chili powder and cumin go straight into liquid without a quick toast in fat. Stir them into the tomato paste for a minute or two until they smell warm and toasty, not raw and dry.
-
The chili stays soup-thin: Too much broth, too short a simmer, or a lid sealed too tightly can leave you with a loose bowl. Remove the lid for the last 10 minutes, simmer a little longer, or mash some beans to tighten it up.
-
The flavor tastes heavy but not lively: Chili can feel dull if it’s missing acid. The fix is simple: add the apple cider vinegar at the end, then taste again. A teaspoon can change the whole pot.
-
The salt went in too late: If the chili tastes like tomatoes and beans wearing a coat of spice, it probably needs salt earlier in the process. Season the beef, then taste again after the simmer. Chili builds flavor in layers, not at the end.
-
The garlic turned bitter: Garlic cooks fast in a hot pot. If it browns hard before the spices go in, the background flavor gets sharp. Keep it to 30 seconds and move on.
Variations That Still Taste Like Chili
Smoky Chipotle Pot: Add 1 to 2 minced chipotle peppers in adobo sauce and 1 tablespoon of the adobo liquid when you add the tomatoes. The heat lands lower and smokier than cayenne, and it gives the chili a deeper red color that looks as serious as it tastes.
Turkey and White Bean Bowl: Swap the ground beef for 2 pounds ground turkey, the beef broth for chicken broth, and the kidney beans for cannellini beans. Because turkey is leaner, add an extra tablespoon of olive oil at the start and keep a close eye on the simmer so it doesn’t taste dry.
Beanless Texas-Style Version: Leave out both cans of beans and increase the ground beef to 2 1/2 pounds. Add another 1/2 cup broth if the pot starts looking too tight, and simmer until the sauce clings to the meat. This version eats more like a meat stew, which is exactly what some people want from chili.
Three-Bean Pantry Chili: Keep the beef as written, but change the beans to kidney, pinto, and black beans. It softens the texture and gives you a mixed spoonful, especially nice if you want a softer, more rustic bowl.
Meatless Winter Chili: Replace the beef with 2 cups cooked brown lentils and 8 ounces chopped mushrooms sautéed with the onion and pepper. Use vegetable broth instead of beef broth. The mushrooms bring a meaty bite, and the lentils hold the sauce in a way that keeps the bowl sturdy.
Storing, Reheating, and Making It Ahead
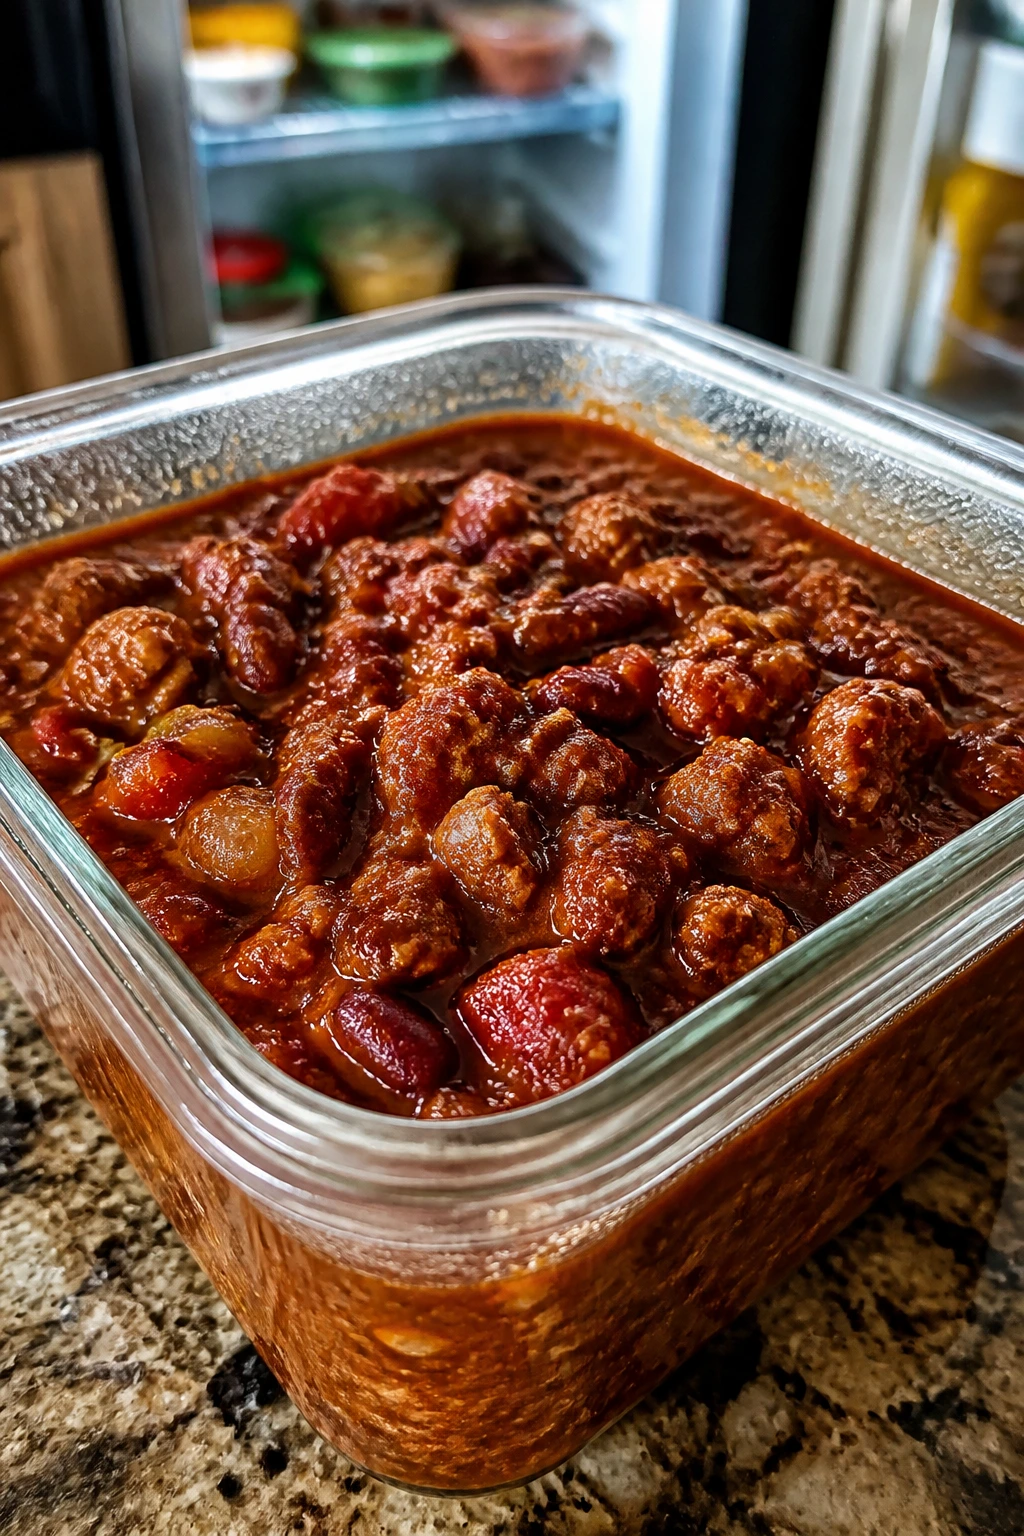
Chili is one of those dishes that behaves well in the fridge. Let it cool for no more than 2 hours after cooking, then pack it into shallow containers so it drops temperature faster. That’s the safest move and the easiest one.
Stored in the refrigerator, this chili keeps for 3 to 4 days. In the freezer, it holds well for up to 3 months. I like freezing it in 2-cup portions because they thaw faster and don’t trap you into reheating a giant pot when you only want lunch.
The texture may thicken overnight. That is normal. The beans soak up some of the sauce, and the tomato base settles into a deeper, richer body. When you reheat it, splash in a little beef broth or water — 1 to 3 tablespoons per bowl is usually enough — and warm it over low heat on the stove until it’s steaming again.
Microwave reheating works too. Use a covered bowl, heat in 1-minute bursts, and stir between bursts so the edges don’t dry out while the center stays cold. If you’re reheating a full batch, use a saucepan instead. A gentle simmer is kinder to the texture than a hard boil.
Make-ahead wise, this chili is better than most. You can cook it a day in advance, chill it, and reheat it slowly the next day. The flavor gets rounder overnight, and the spice reads a little softer. Keep the toppings separate until serving so the sour cream and herbs stay fresh instead of sinking into the pot.
Chili Questions People Ask Before They Start
Can I make this chili in a slow cooker?
Yes, but brown the beef, onion, pepper, garlic, and spices first. Then move everything to the slow cooker and cook on low for 6 to 7 hours or on high for 3 to 4 hours. If you skip the browning step, the flavor usually comes out flatter.
How do I make the chili thicker without flour or cornstarch?
Simmer it uncovered for the last 10 to 15 minutes and mash some of the beans against the side of the pot. That thickens the sauce without changing the flavor or making it gummy. A spoon should leave a slow trail across the surface, not sink without a trace.
Can I use ground turkey instead of beef?
Absolutely. Just add a little extra oil at the start because turkey is leaner and can taste dry if the pan runs too lean. The spice profile stays the same, though I’d keep the vinegar and cocoa in place so the pot still tastes full.
What if the chili tastes bland after simmering?
First check the salt. Then add the vinegar. Those two things fix more bland chili than any extra spice ever will. If it still feels muted, a pinch more cumin or another spoon of tomato paste cooked in for a minute can help.
Can I use dried beans instead of canned beans?
You can, but cook them fully before they go into the pot. Dried beans need a separate soak and simmer, and they’ll only behave well if they’re tender before the chili starts. Canned beans are faster and easier on a weeknight.
Does chili really taste better the next day?
Usually, yes. The spices settle, the tomatoes lose some of their sharp edge, and the beans drink up the sauce. If you have time, cook it ahead and reheat it slowly the next day. It’s one of the few kitchen clichés that holds up.
How spicy is this version?
Mild to medium if you leave out the cayenne. The heat comes more from chili powder and black pepper than from brute force. If you want it hotter, add cayenne in small pinches or spoon in chipotle peppers at the end.
A Pot Worth Making Again
A chili like this doesn’t try to impress you with cleverness. It wins by being steady, thick, and deeply flavored, the kind of dinner that feels better than the weather outside. That’s the whole point on a cold night: a heavy bowl, a hot spoon, and steam rising off the surface while the rest of the house goes quiet.
Keep the method simple, but don’t rush the browning or the simmer. Those two stretches are where the flavor gets its backbone. The next time the windows haze up and the air outside feels sharp enough to sting, this is the pot I’d put on first.
Hearty Chili for Cold Winter Nights — Recipe Card
Recipe Name: Hearty Chili for Cold Winter Nights
Description: A thick, stovetop beef chili built with browned ground beef, beans, tomatoes, and a smoky spice base. It’s finished with vinegar for lift and tastes even deeper after a short rest.
Prep Time: 20 minutes
Cook Time: 1 hour
Total Time: 1 hour 20 minutes
Course: Dinner, Main Course
Cuisine: American
Servings: 6 to 8 servings
Calories: About 430 kcal per serving
Ingredients
For the Chili Base:
- 2 tablespoons olive oil
- 2 pounds ground beef, preferably 85/15
- 1 large yellow onion, diced
- 1 green bell pepper, diced
- 4 garlic cloves, minced
- 2 tablespoons tomato paste
- 2 tablespoons chili powder
- 2 teaspoons ground cumin
- 1 teaspoon smoked paprika
- 1 teaspoon dried oregano
- 1/2 teaspoon cayenne pepper, optional
- 1 1/2 teaspoons kosher salt, plus more to taste
- 1/2 teaspoon black pepper
- 1 (28-ounce) can crushed tomatoes
- 1 (15-ounce) can diced tomatoes, with juices
- 1 1/2 cups beef broth
- 1 (15-ounce) can kidney beans, drained and rinsed
- 1 (15-ounce) can pinto beans, drained and rinsed
- 1 tablespoon brown sugar
- 1 teaspoon unsweetened cocoa powder
- 1 tablespoon apple cider vinegar
For Serving:
- 1 cup shredded sharp cheddar cheese
- 1/2 cup sour cream
- 2 scallions, thinly sliced
- 1/4 cup chopped fresh cilantro
- 1 cup crushed tortilla chips or saltines
Instructions
-
Heat the olive oil in a 5- to 6-quart Dutch oven over medium-high heat.
-
Add the ground beef and 1/2 teaspoon of the salt. Cook for 6 to 8 minutes, breaking it into crumbles, until browned and no pink remains. Spoon off excess fat if needed.
-
Add the onion and bell pepper. Cook for 5 to 6 minutes, stirring often, until softened and the onion turns translucent.
-
Stir in the garlic and cook for 30 seconds.
-
Add the tomato paste, chili powder, cumin, smoked paprika, oregano, cayenne, black pepper, and remaining salt. Cook for 1 to 2 minutes, stirring constantly, until fragrant.
-
Pour in the crushed tomatoes, diced tomatoes, beef broth, kidney beans, pinto beans, brown sugar, and cocoa powder. Scrape up the browned bits from the bottom of the pot.
-
Bring the chili to a gentle boil, then reduce the heat to low. Partially cover and simmer for 35 to 45 minutes, stirring every 10 minutes, until thick and glossy.
-
Stir in the apple cider vinegar and taste for salt and heat. Add more if needed.
-
Turn off the heat and let the chili rest for 10 minutes before serving with cheddar, sour cream, scallions, cilantro, and chips or saltines.
Notes: For a thicker chili, simmer uncovered for the last 10 minutes. The flavor deepens overnight, so leftovers are excellent. Add a splash of broth when reheating if the chili has thickened in the fridge.