
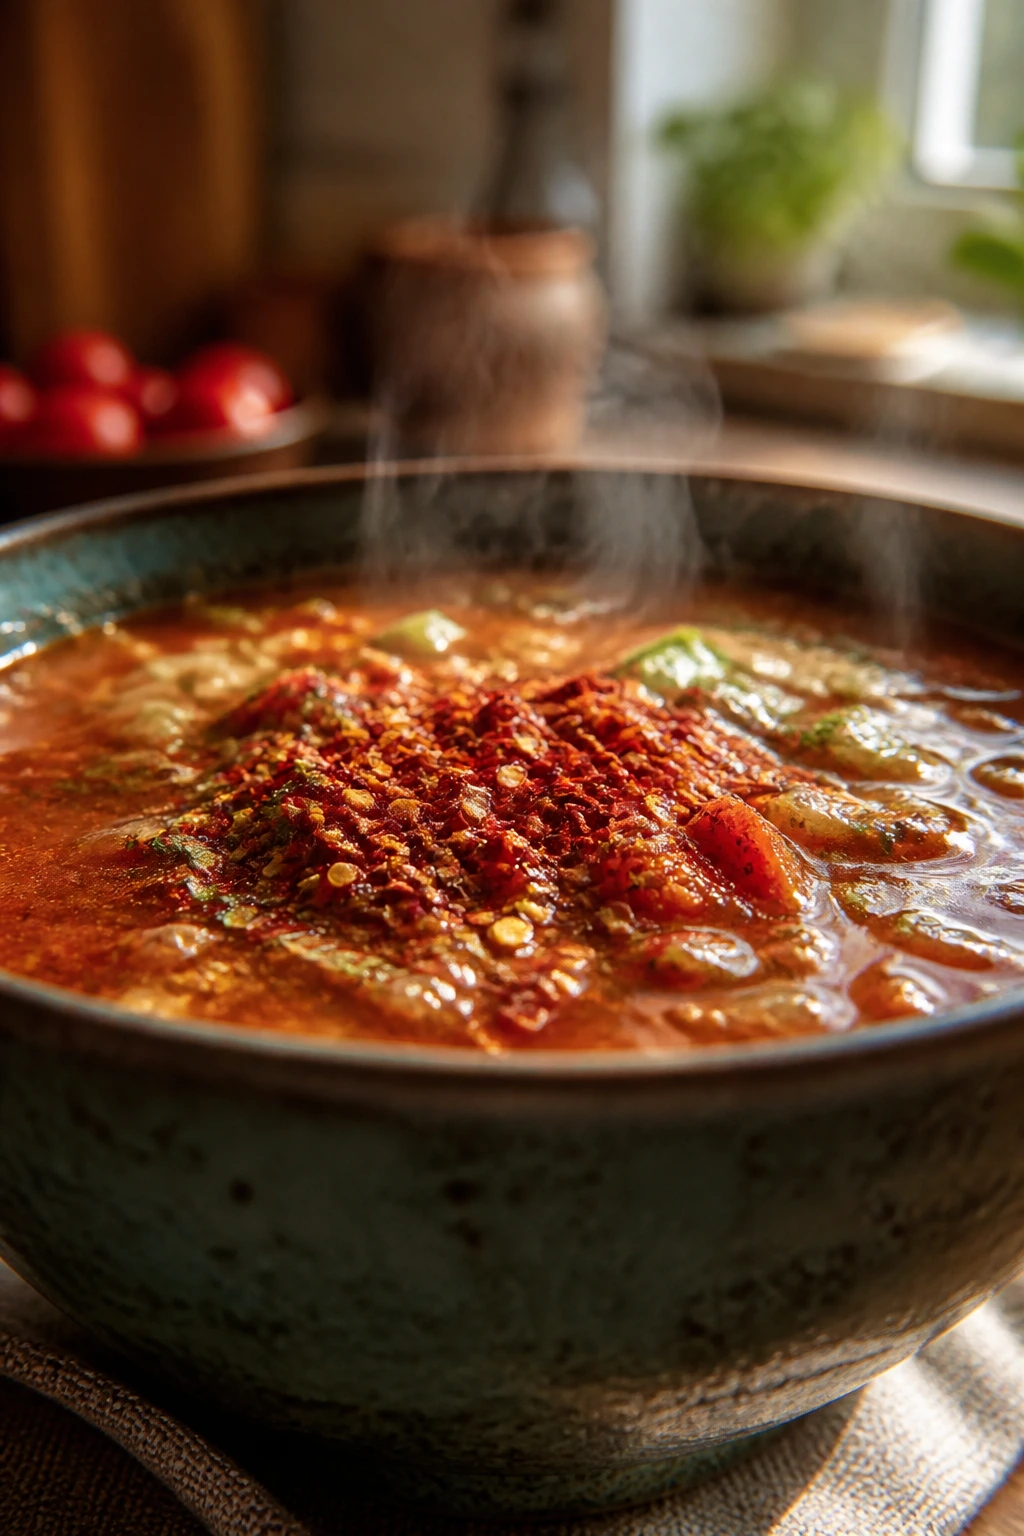
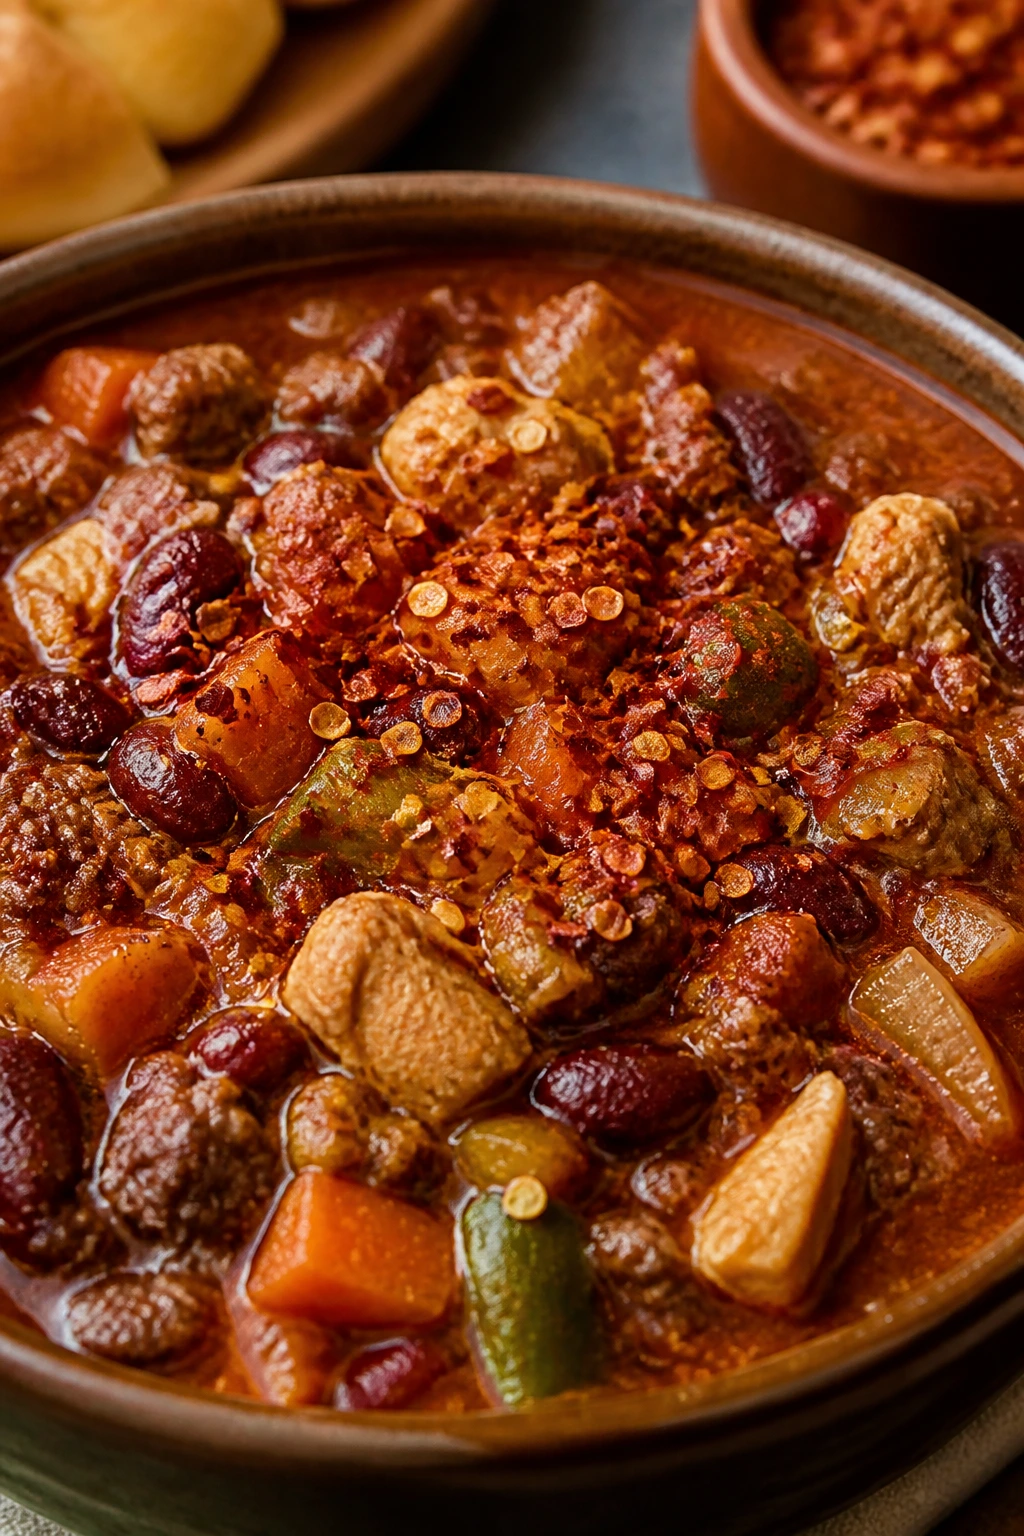
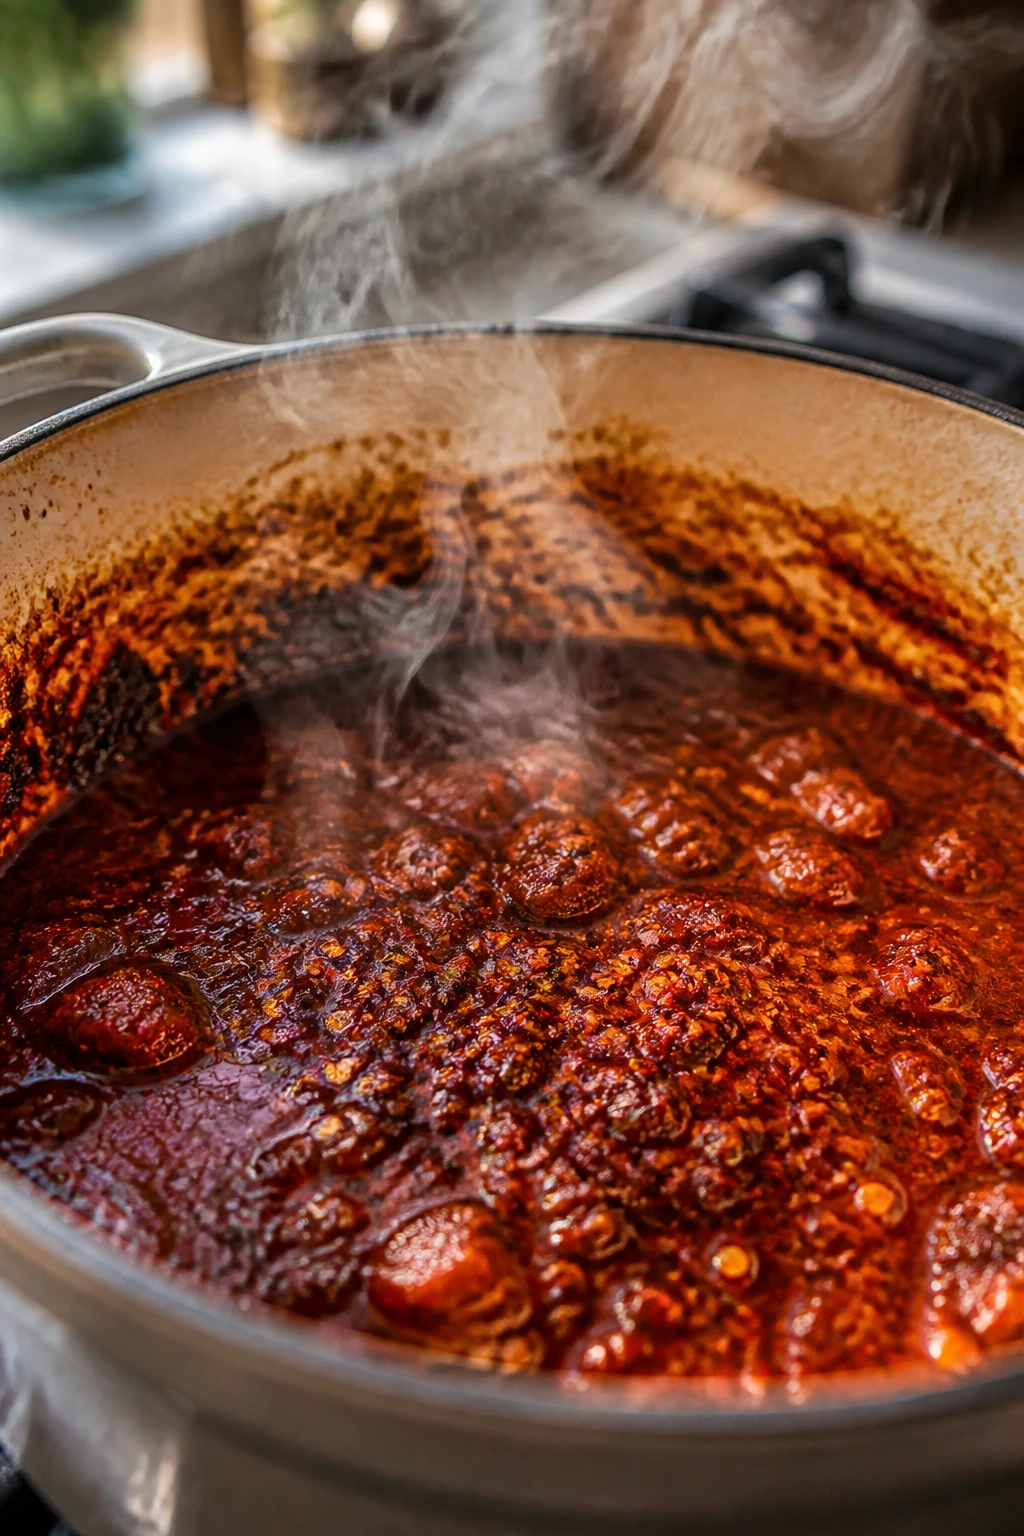
A pot of chili that smells flat at 5 o’clock can turn lively after a teaspoon of red chili flakes hits hot oil. Not loud. Not punishing. Just awake. On a cold night, that matters more than people admit, because the first spoonful is doing a lot of work: it has to smell good, taste deep, and feel warming without turning the whole bowl into a dare.
What red chili flakes bring to soup, stew, and chili is not only heat. The better jars add a dry, peppery edge, a little fruit, sometimes a faint smoke, and a kind of toasted aroma that plays especially well with onions, tomatoes, beans, and browned meat. Capasaicin is the compound behind the burn, but the real magic is that the flakes can taste like pepper first and heat second — if you treat them well.
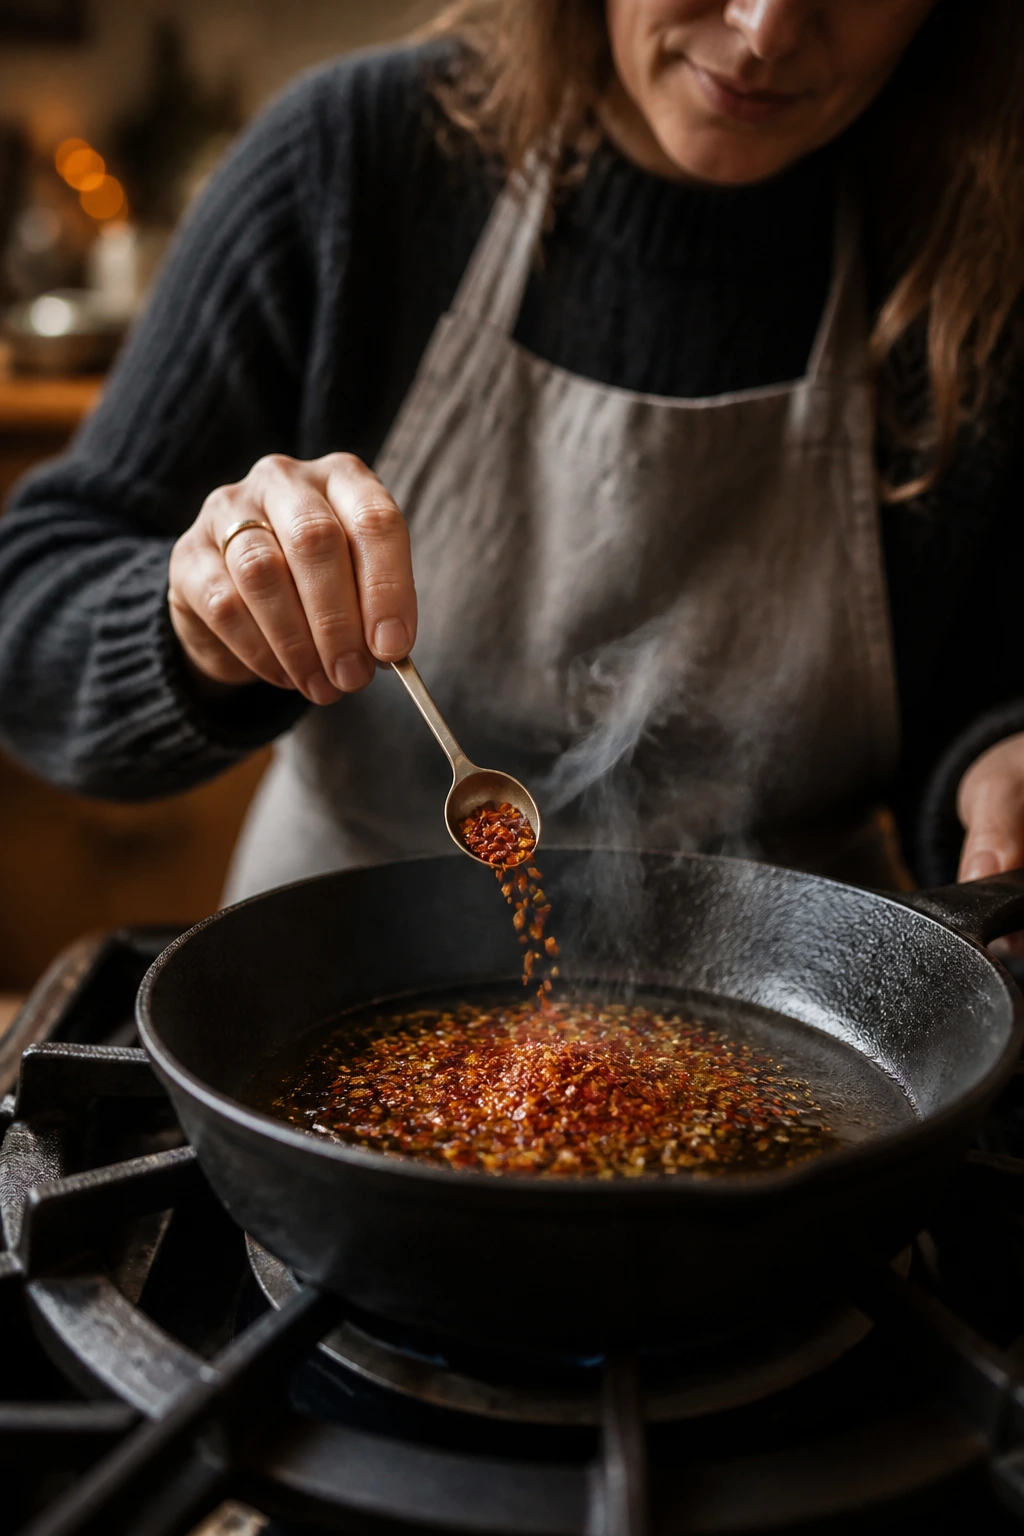
That “if” is where most people stumble. A stale jar tastes like dust. A hot spoonful dumped into cold broth can feel harsh and scattered. Bloom the flakes in fat, choose the right jar, and add them at the right moment, and they stop being a last-second rescue act. They become part of the backbone of the pot.
Why Red Chili Flakes Earn Their Keep on a Cold Night
They cut through heavy bowls. A bean stew, a beef chili, or a squash soup can get thick and sleepy if everything leans on starch and salt. Red chili flakes bring a sharp, dry edge that makes each bite taste clearer.
They warm without locking you into one heat level. Start with 1/2 teaspoon in a 4-quart pot, taste after 10 minutes, and you can still move up. That kind of control beats pouring in a hot sauce that takes over the whole pot.
They bloom fast. Twenty to thirty seconds in hot oil is enough to wake up the aroma. Past that, they can tip bitter, so you get a short window and a big payoff.
They work with almost every winter staple. Tomatoes, lentils, cabbage, chicken, sausage, mushrooms, potatoes, black beans — the flakes don’t ask for a special menu. They just slot in.
They keep leftovers from tasting tired. Reheated soup often loses its top notes. A pinch of fresh flakes at serving time brings those back without changing the whole recipe.
What Red Chili Flakes Actually Bring to a Bowl
Red chili flakes are a broad category, not a single thing. One jar may be mostly crushed cayenne. Another may lean on dried chile de árbol or a blended Italian pepper mix with seeds and a little stem. That means two jars with the same “red pepper flakes” label can land very differently in the pot.
Heat, aroma, and color are not the same thing
The heat comes from capsaicinoids, which sit mostly in the pepper’s inner membranes and cling to the seeds and flesh as the pepper is dried and crushed. The color comes from pigment in the skin. The aroma is the part people forget to check, and it matters most in soup, stew, and chili because aroma tells your nose what kind of heat is coming.
A bright jar smells peppery, a little sweet, sometimes faintly smoky. A dull one smells like cardboard and dust. The first one will still do useful work in a long simmer. The second one usually needs more salt, more fat, or more of everything, which is a bad sign.
Pure flakes vs. mixed crushed pepper
Some jars are pure dried chile flakes, and some are blends. Blends often include seeds and a range of pepper types, which can make them easier to use in a big pot because they don’t hit like a single-note blast. Pure flakes can be cleaner and more specific, especially if you want a fruity red pepper flavor that stands up to tomatoes or squash.
A quick freshness test
Rub a pinch between your fingers and smell it. Good flakes smell alive within a second or two. Stale ones barely register until you add them to heat, and even then the flavor feels thin. If the jar has been open for ages and it lives above the stove, it has probably already lost the bright edge that makes it useful.
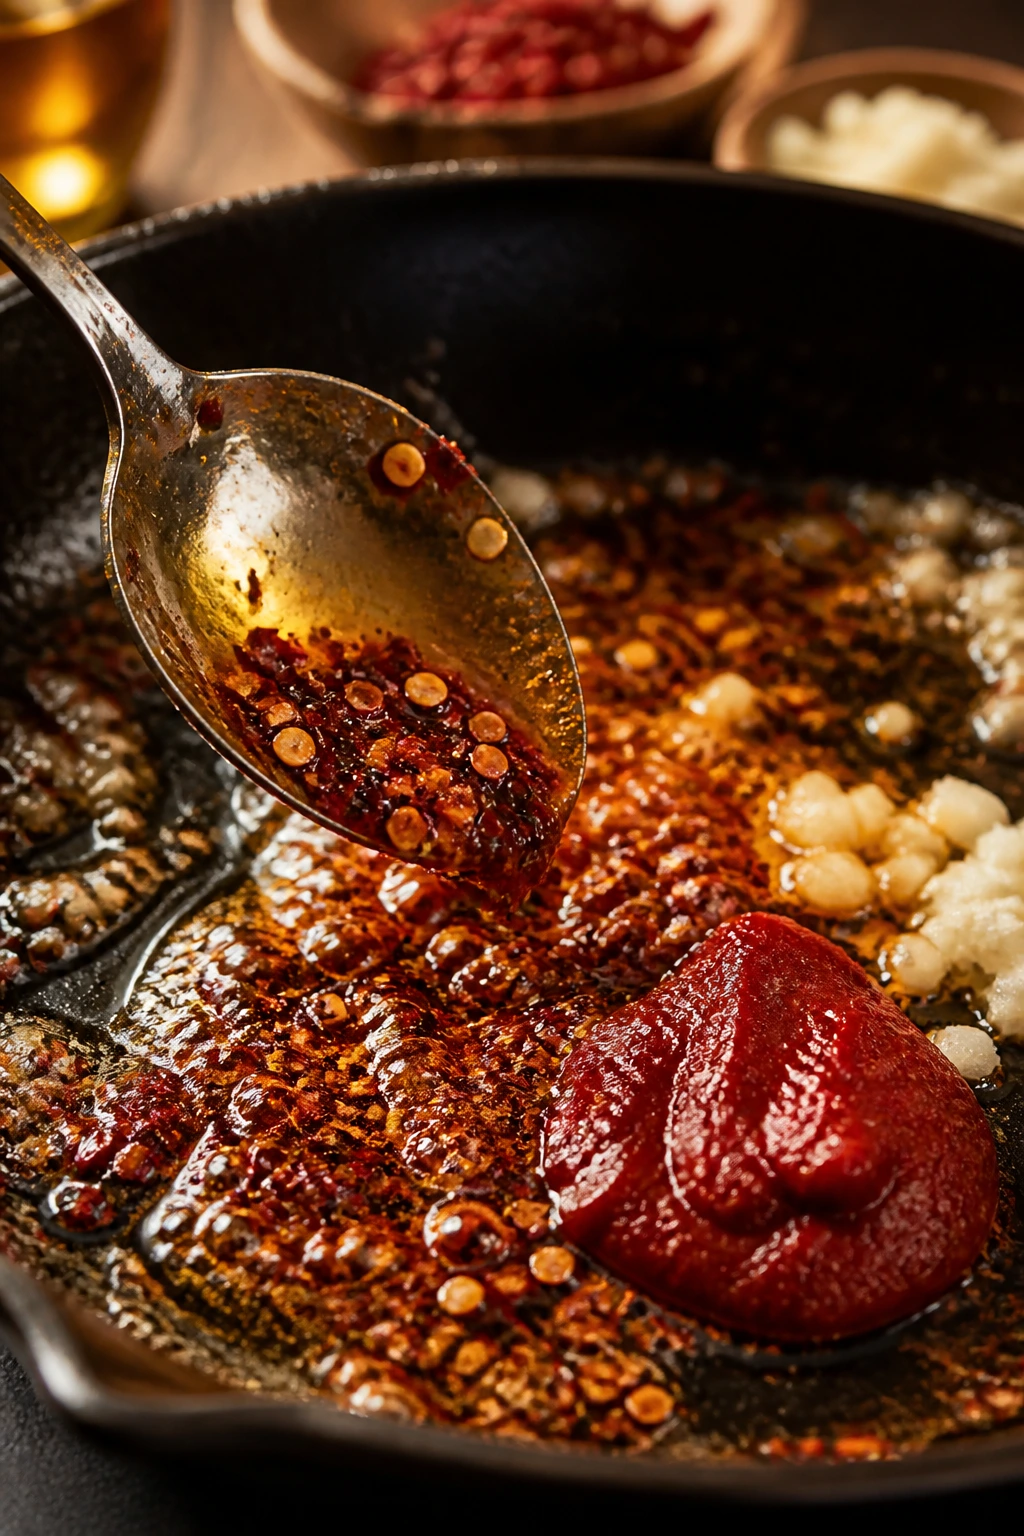
Why Blooming Them in Fat Changes the Whole Pot
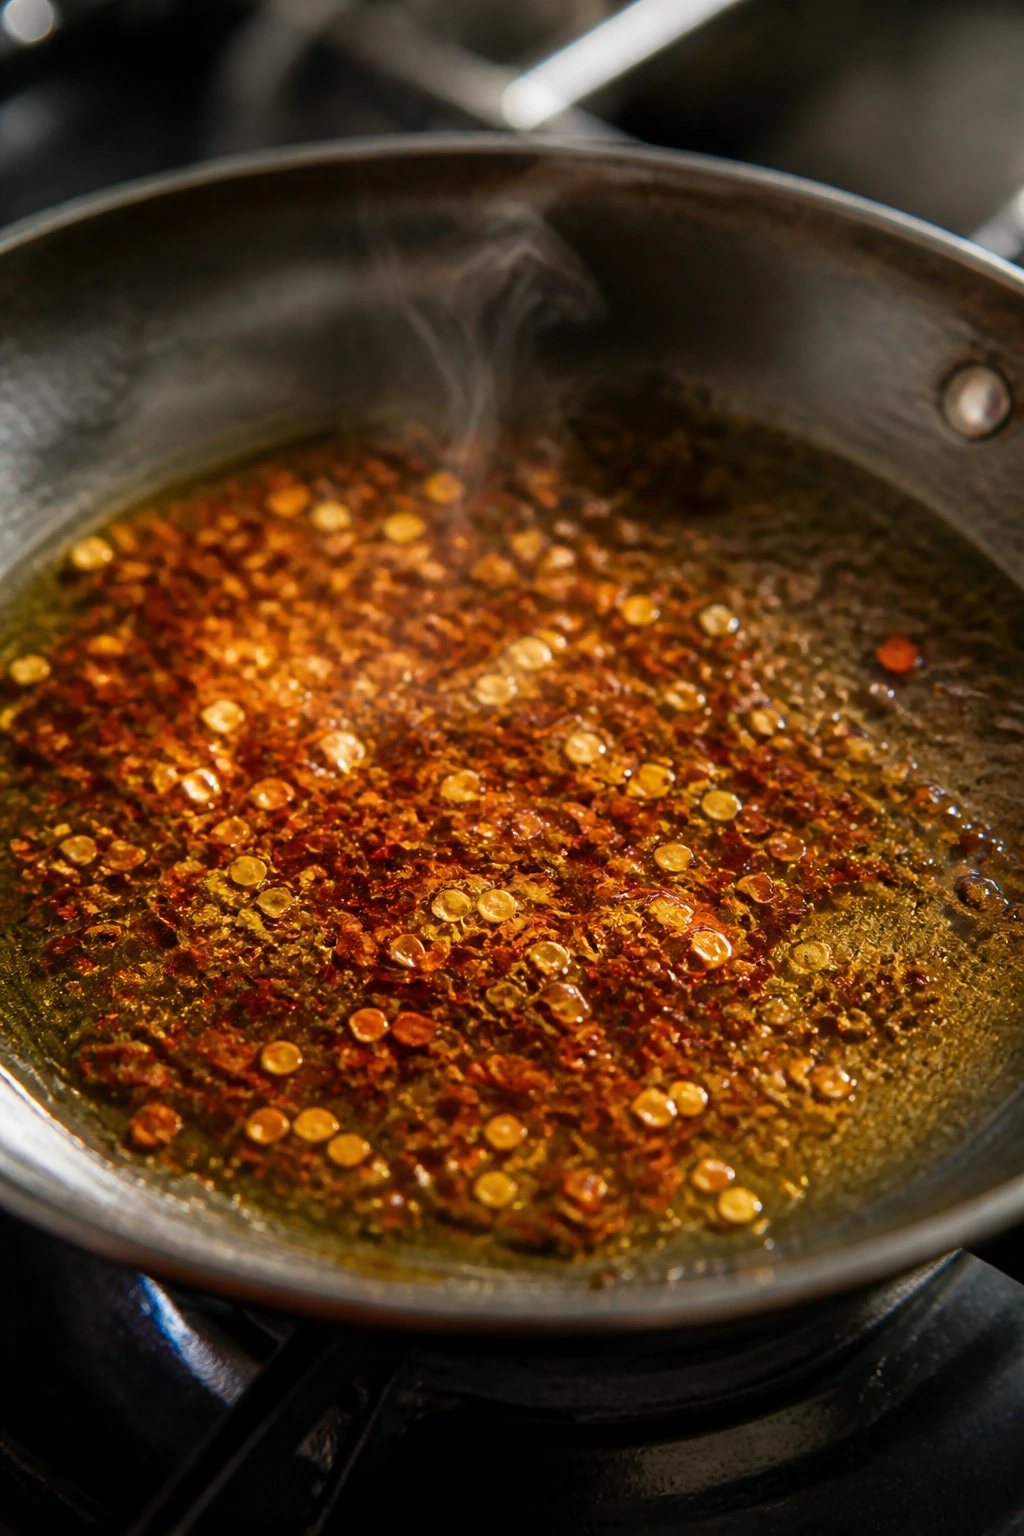
A dry pinch of chili flakes tossed straight into broth can work, but it usually lands as isolated flecks of heat. Blooming them in fat spreads the flavor through the pot. Oil, butter, bacon fat, sausage drippings, or even the fat that rises off a long-simmering stock all carry the pepper compounds in a way water cannot.
Tiny detail. Big difference.
When the flakes hit hot fat, the aroma changes fast — often within 15 to 30 seconds. That’s the sweet spot. You’ll smell pepper, toasted spice, and sometimes a little fruit. Wait too long and the flakes darken, which gives you bitterness instead of depth. No drama, just a few wasted seconds and a bitter edge that sits in the back of the throat.
The best fat for the job
Olive oil gives you a clean, peppery bloom. Butter adds a round, creamy note, but it can brown quickly, so keep the heat moderate. Bacon fat and sausage drippings are the loudest option; they’re useful in bean chili and kale soups where you want the heat to feel meaty. If you’re cooking a lean chicken soup, even a tablespoon of oil is enough to carry the flakes without making the bowl greasy.
What blooming does to the final bowl
Bloomed flakes don’t just taste hotter. They taste woven in. The heat spreads across the surface of the tongue instead of showing up as a sharp surprise in one bite and nothing in the next. That makes a long-simmered soup feel more deliberate, like someone paid attention to the seasoning instead of throwing spice at the pot and hoping.
Choosing a Jar That Tastes Like Pepper, Not Dust
A bright red jar is not enough. I’ve seen plenty of gorgeous flakes that smelled like a dry cabinet and tasted like faint smoke and regret. The label, the color, and the smell all need to agree with each other.
Read the label like someone who cooks
If the jar names the pepper type — chile de árbol, cayenne, Calabrian, marash, Aleppo-style — you usually get a better idea of what the flavor will do. “Crushed red pepper” is broader and less precise, which is fine for a general pantry jar, but it can hide a blend that’s hotter or flatter than you expected.
If you cook a lot of tomato-based chili, a red pepper with some fruitiness works better than one that only burns. If you lean on white bean soups, cabbage, or chicken stew, a cleaner, sharper flake can cut through the richness without muddying the broth.
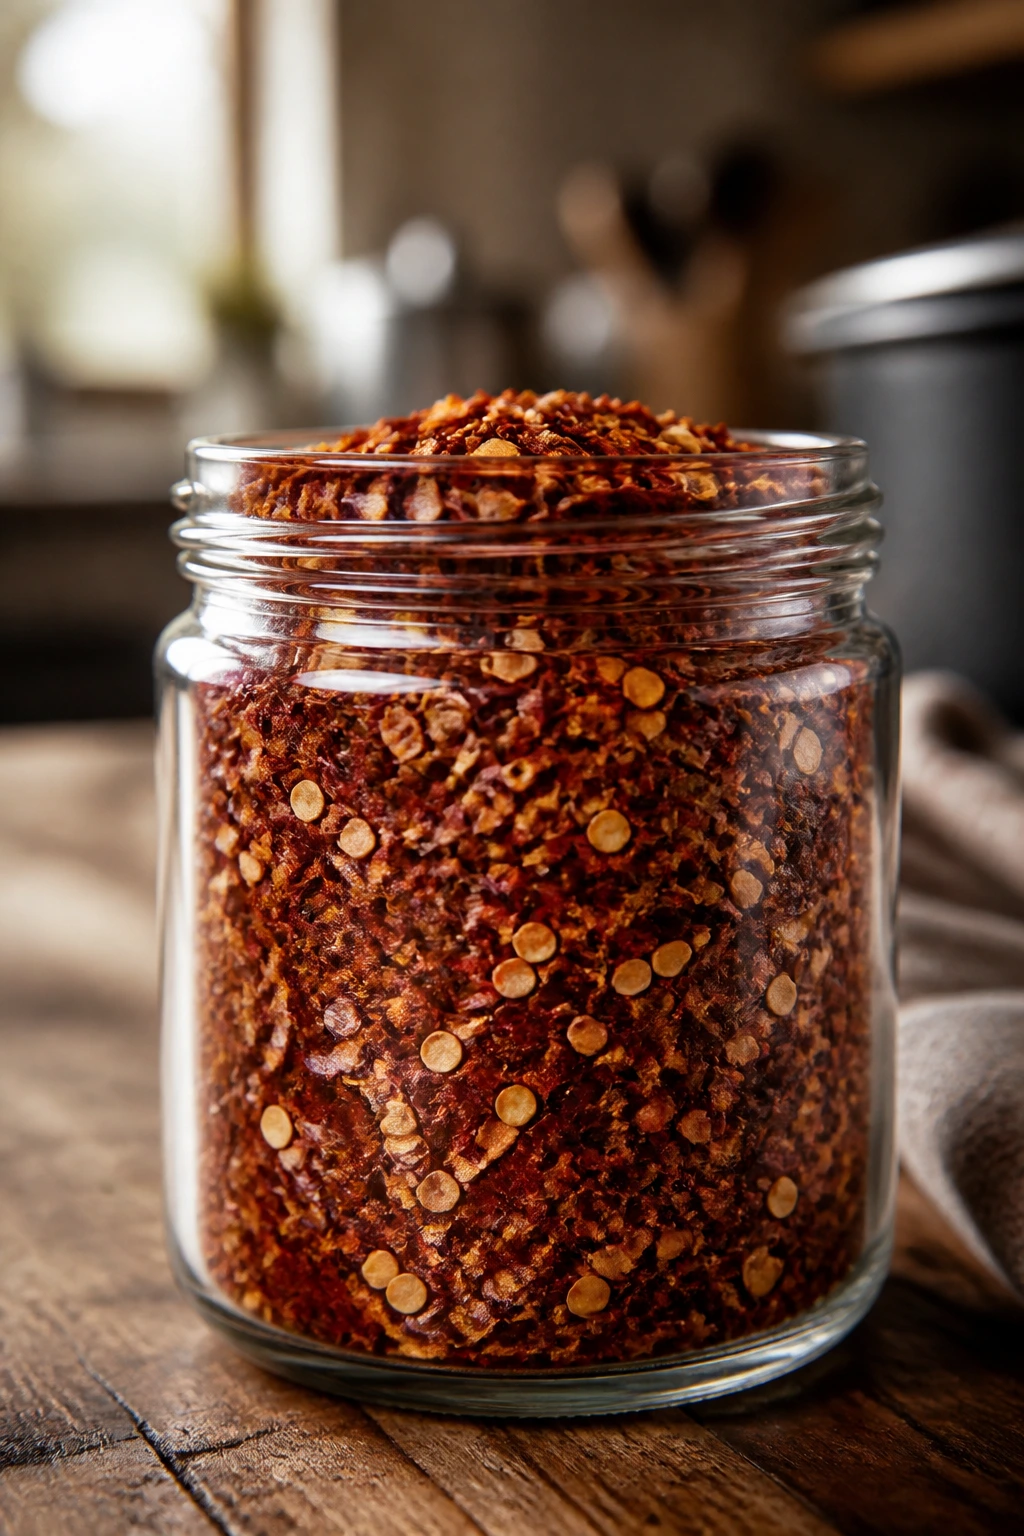
Color and texture tell their own story
Good flakes are bright red to brick red, not brown. A little variation in color is normal; a weirdly uniform jar often means it was ground and packaged a while ago. You also want some visible skin and a few seeds, not a bag of fine red powder. Powder loses aroma fast. Bigger flakes hold on longer and give you a better bloom in fat.
The heat level should match the job
For a full pot of chili, medium heat is easier to manage than extreme heat. You can always add more at the end. For a table-side finishing jar, hotter flakes can be fun because the cook controls the dose. Different jobs, different jars. That’s the part a lot of people skip, then wonder why one bowl feels balanced and the next tastes like a dare.
When to Add Chili Flakes to Soup, Stew, and Chili
The moment you add the flakes changes everything. Same jar. Same spoon. Different result.
At the beginning
Add the flakes with onion, garlic, celery, or ginger in hot fat. This is the move for chili, bean stew, and tomato-heavy soups. You get a deeper, rounder heat that settles into the base of the pot. For a 6-quart Dutch oven, 1 teaspoon is a sensible starting point if you want the spice to be present but not dominant.
In the middle
If the pot already has liquid in it, stir the flakes in after the stock or tomatoes go in, then let them simmer for at least 15 minutes. This is the safer choice when you’re cooking with a new jar or when the recipe already has a lot going on — smoked meat, cumin, canned tomatoes, maybe a little chocolate. Midway addition keeps the flakes from getting scorched while still letting them soften into the broth.
At the end
A pinch in the last 5 minutes preserves brightness. This works especially well in chicken soup, vegetable stew, or any bowl that tastes a bit too polite after simmering. The heat stays cleaner, and the pepper aroma sits on top of the bowl instead of sinking into the base.
At the table
Sometimes the best answer is to leave the pot milder and let people finish their own bowls. A small pinch over chili with cheddar, over lentil soup, or over a bowl of beef stew gives you control that no simmer can match. That’s useful when you’ve got a mixed crowd — one person wants a whisper, another wants the mouth-warm version.
How Red Chili Flakes Behave in Beans, Beef, Chicken, and Vegetables
Red chili flakes are not one-size-fits-all. Beans absorb flavor in one way. Beef needs another. Tender vegetables need another again. Once you notice that, the seasoning gets easier.
Beans and lentils
Beans love chili flakes because they can handle dry heat and keep tasting round. Black beans, pinto beans, navy beans, lentils, and split peas all welcome a little burn because their earthy base gives the flakes something to grab onto. Pair them with cumin, onion, and garlic if you want that steady, back-of-the-throat warmth that feels built in rather than sprinkled on top.
Beef and sausage
Fat magnifies heat. That’s good news and bad news. A chili built on ground beef or sausage can take more flakes than a lean soup, but the same tablespoon that feels mellow in bean soup may come on strong once the fat renders. I usually start with 1/2 teaspoon in the sauté stage, then taste after the simmer begins. It’s easier to add heat than to rescue an overdone pot.
Chicken and turkey
Poultry needs more restraint and more brightness. Red chili flakes work well with chicken soup, turkey chili, and broth-based stews, but they need help from lemon, vinegar, scallions, or parsley so the spice doesn’t feel dry. A light hand in the pot and a bolder finish at the bowl usually works best.
Squash, cabbage, and mushrooms
Sweet vegetables like butternut squash or carrots can take surprising amounts of heat because their sweetness cushions the burn. Mushrooms and cabbage are a different story: they need fat and salt to feel complete, so the flakes should be bloomed and then followed by a good broth or a little butter. Otherwise the spice feels suspended instead of grounded.
How to Balance Heat So the Bowl Stays Comfortable
Heat alone gets old fast. What keeps a bowl worth finishing is balance — the little adjustments that make the spice feel like part of the dish instead of a stunt.
Acid is the fastest fix. A splash of vinegar, a squeeze of lemon, or a spoonful of tomato paste can make chili flakes taste brighter and less blunt. If the pot is tomato-heavy already, use acid carefully. If it’s bean-based or creamy, a little acid wakes the whole thing up.
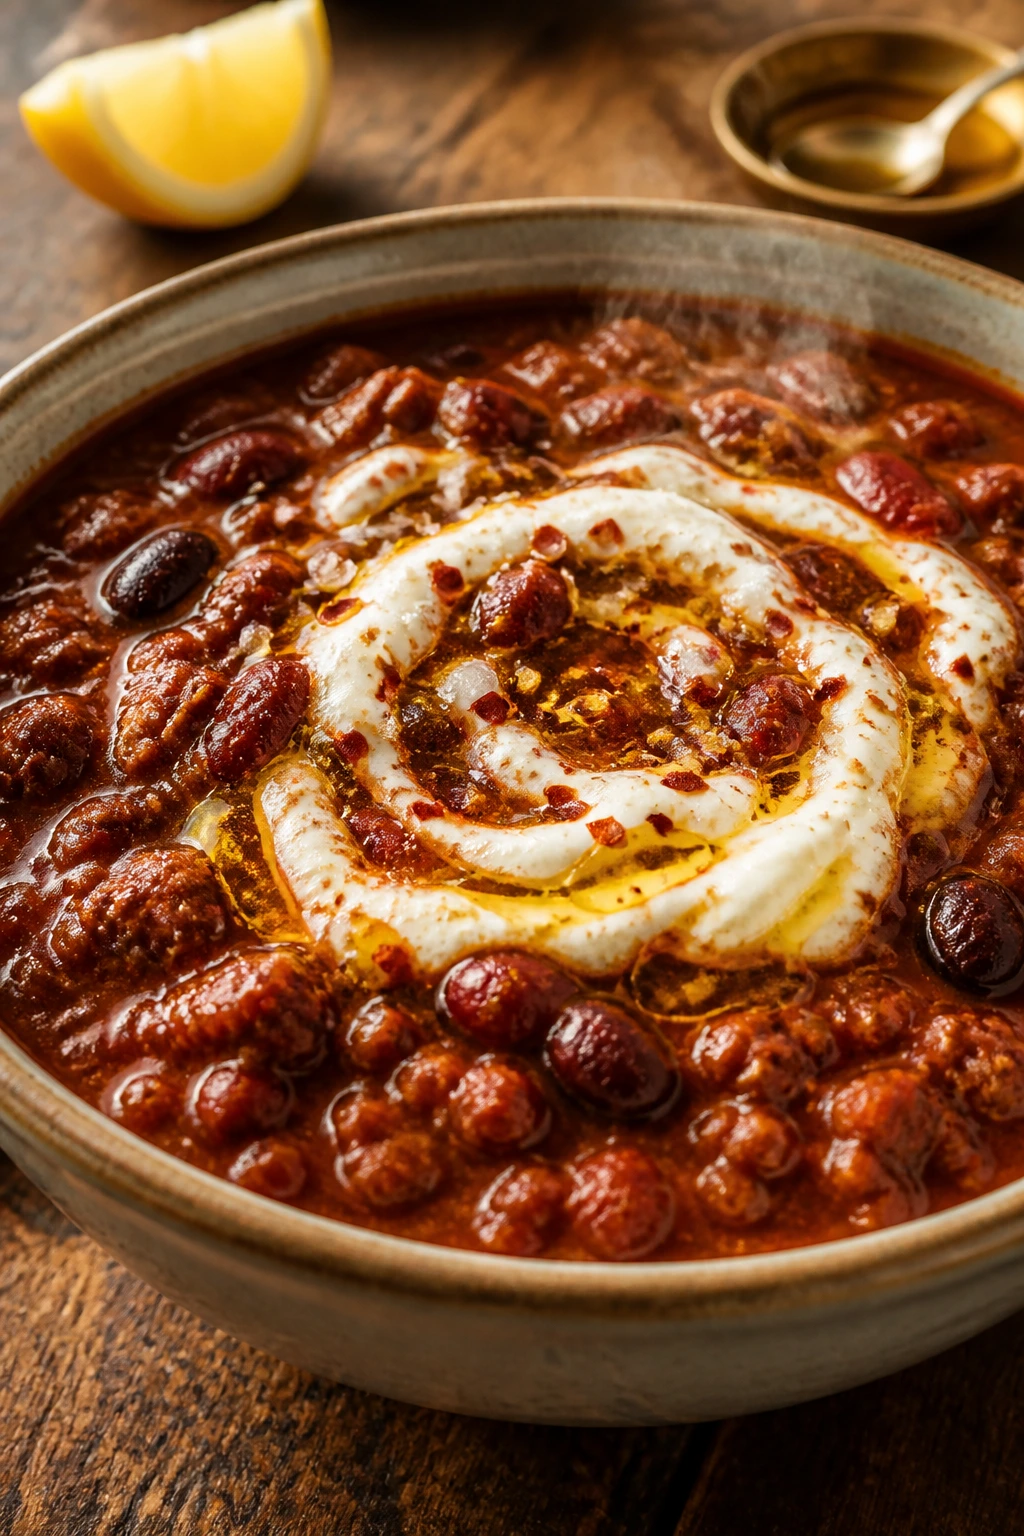
Fat softens the burn. Sour cream, Greek yogurt, crema, shredded cheese, a drizzle of olive oil, or a pat of butter all change how the heat lands. You are not “covering” the spice. You’re giving the mouth another texture and another flavor to hold onto.
Salt matters more than people want to hear. Under-salted chili makes the heat feel thin and aggressive. A properly salted pot can carry much more spice before it turns sharp. Taste after the simmer, then again just before serving. It’s tedious. It also works.
Sweetness has a place, but use it like a scalpel. Carrots, onions, roasted peppers, corn, or a little squash do the job better than dumping in sugar. One teaspoon of sugar can help a tomato pot if the tomatoes are harsh, but it shouldn’t be the first move. Better to let the vegetables do the balancing.
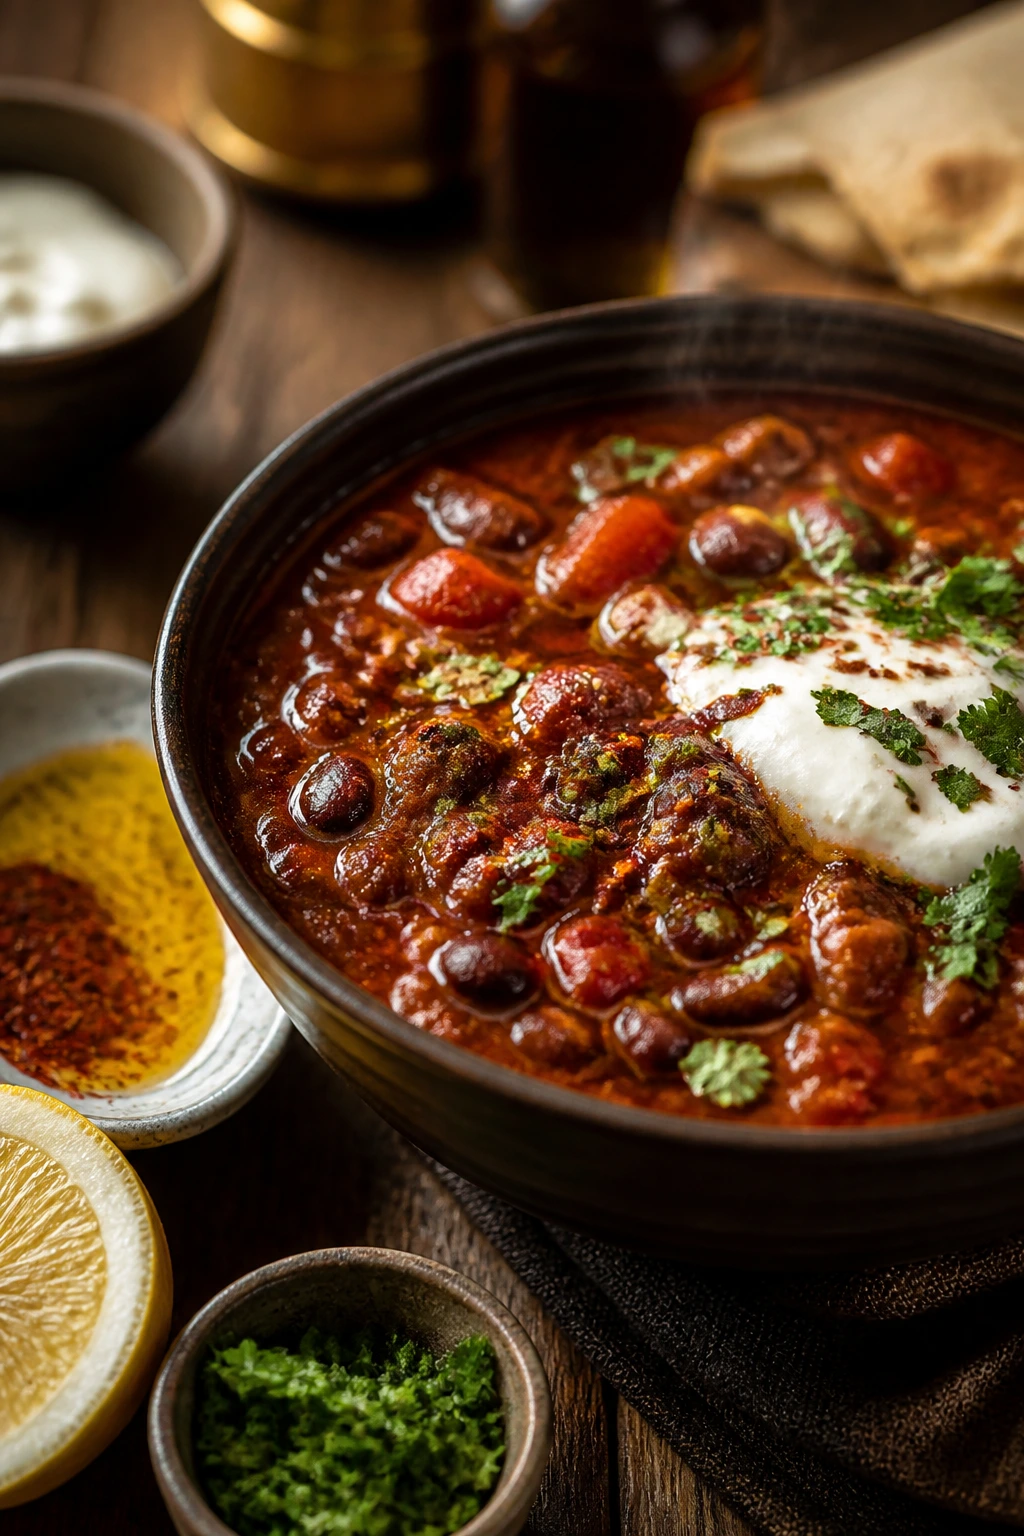
How I Like to Finish a Bowl at the Table
The final spoonful is where chili flakes can feel either flat or alive. I like the serving moment because it lets you decide how much of the heat belongs in the pot and how much belongs on the surface.
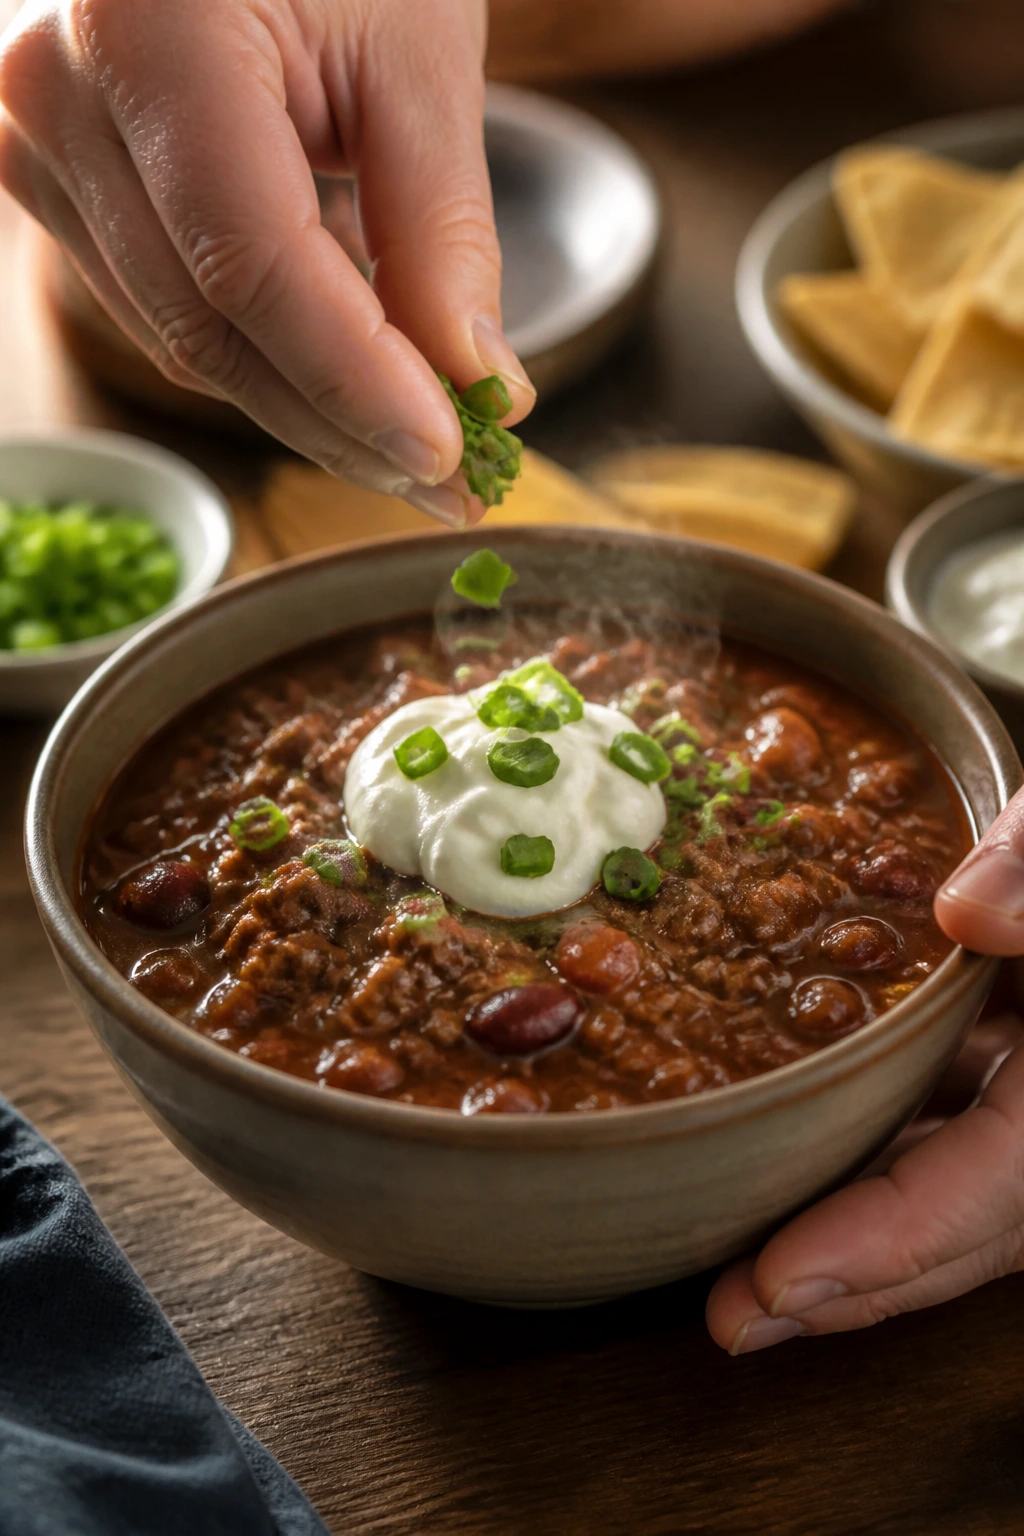
Presentation: Warm the bowls first if you can. Ladle the soup, stew, or chili so the top looks glossy rather than sloppy, then finish with a small rain of flakes, a spoon of yogurt, or a few chopped scallions. A dark bowl makes the red flecks pop, but a plain white bowl makes the color look even sharper. Either way, don’t bury the toppings under a pile of shredded cheese unless that’s the point.
Accompaniments: Cornbread, crusty sourdough, buttered toast, or a baked potato all make sense here. For bean soups and lentil stews, I like a sharp green salad with a vinegar dressing so the meal doesn’t stay heavy all the way through. If the bowl is tomato-based, pickled onions or pickled jalapeños bring a clean edge.
Portions: For a weekday pot, I think in bowls, not tiny tasting portions. Plan about 1 1/2 cups for soup, 2 cups for stew, and 1 1/2 to 2 cups for chili, depending on how much bread or rice sits beside it. If you’re serving a crowd, keep the base spice moderate and offer flakes at the table. That gives the latecomers the same control as the first person through the line.
Beverage Pairing: A malty amber beer, a dry cider, or a glass of cold milk all make sense, depending on the bowl. If you’re not drinking alcohol, unsweetened iced tea or sparkling water with a squeeze of lime works better than a sugary drink. Sweet drinks make the burn feel louder.
Essential Tools for Cooking With Chili Flakes
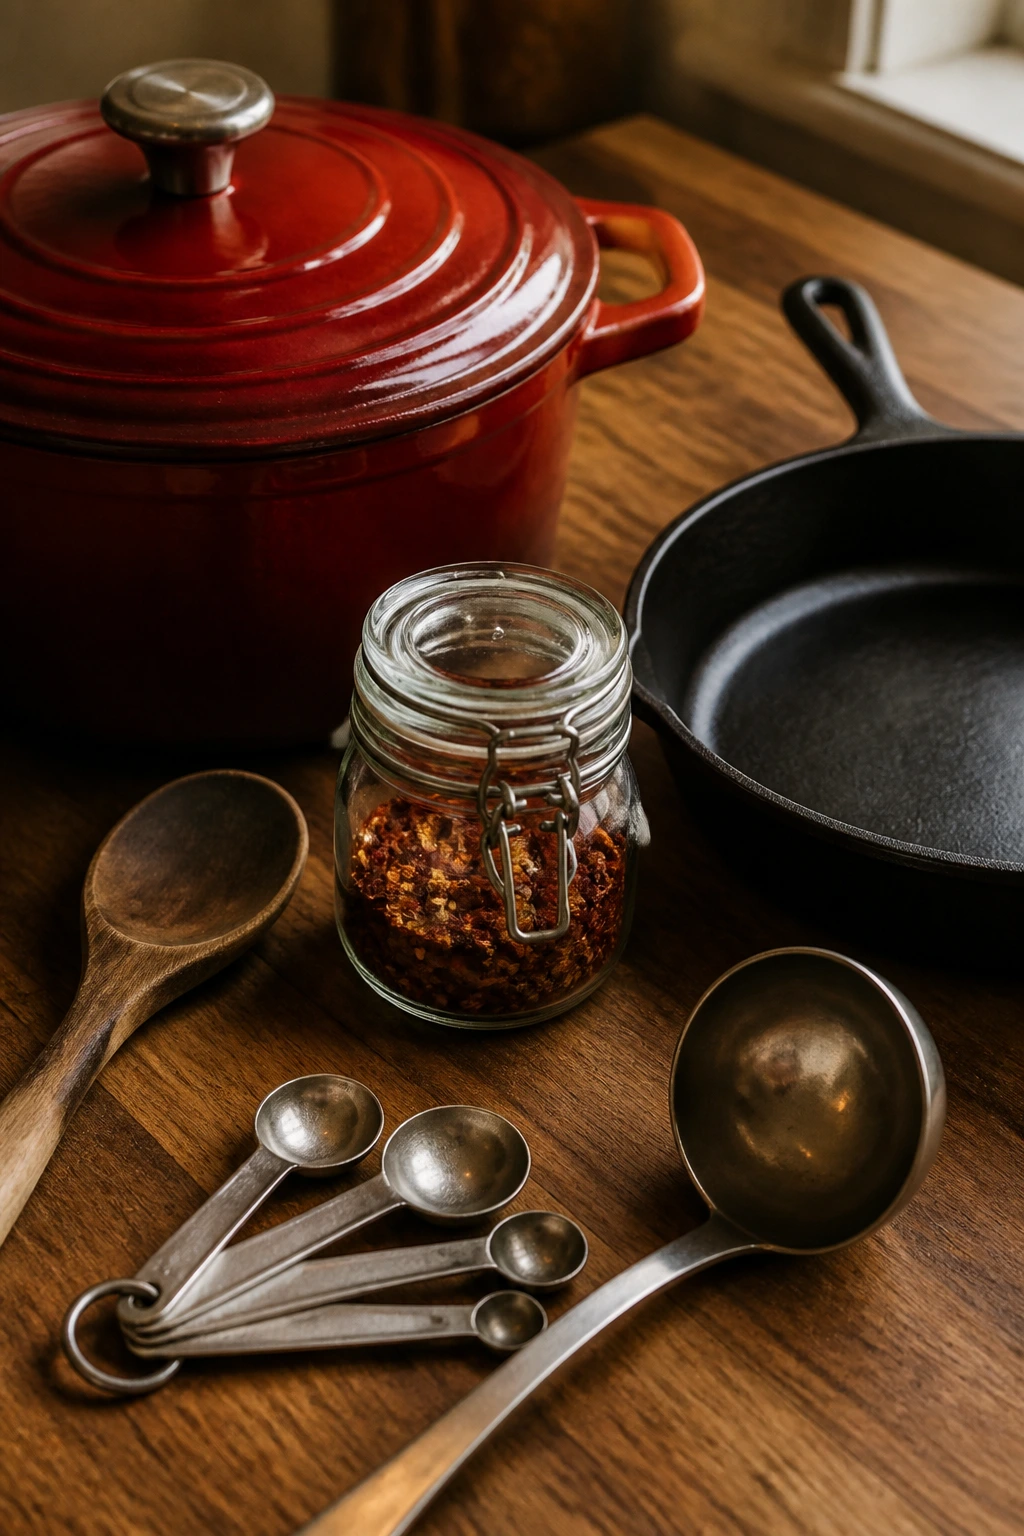
You do not need a drawer full of gear. A few specific tools make the whole thing easier and keep the flakes from going bitter or uneven.
- Dutch oven or heavy soup pot: The thick bottom keeps onions and flakes from scorching while the pot simmers for a long stretch.
- Small skillet: Handy if you want to bloom the flakes in oil before they go into the main pot.
- Wooden spoon or heatproof spatula: Lets you stir the flakes into fat without scraping the pan into a metallic mood.
- Measuring spoons: A half teaspoon matters here. Eyeballing spice is how pots drift from warm to harsh.
- Ladle: Useful for tasting from the middle of the pot, not just the top layer.
- Airtight spice jar: Keeps the flakes dry and protects the aroma from light and steam.
- Fine grater or microplane, optional: Not for the flakes themselves, but useful if you finish bowls with garlic, lemon zest, or fresh nutmeg alongside the spice.
Small Moves That Make the Flakes Work Harder
Flavor Enhancement: Bloom the flakes with a spoonful of tomato paste or minced garlic for 30 seconds before adding broth. That little paste-and-fat moment gives you a deeper color and a fuller pepper smell, especially in chili and bean soups.
Customization: If the jar is hot, tame it with smoked paprika, ground cumin, or a little extra onion. If it’s mild, add a pinch of cayenne or chopped fresh chile at the end. You can steer the bowl without starting over.
Serving Suggestions: Top creamy soups with a few flakes and a drizzle of olive oil. Top tomato chili with scallions and a spoon of sour cream. Top bean-heavy stews with chopped parsley, because the green color makes the red pepper read brighter and cleaner.
Time-Saver: Keep a small spoon in the spice jar only if the jar stays dry. Otherwise use a clean spoon every time. Wet spoons ruin dried flakes faster than most people expect, and once moisture gets in, the aroma fades.
Cost-Saver: Buy whole dried chiles if you cook spicy food often and crush them yourself in a mortar or clean spice grinder. You’ll get more fragrance per ounce, and you can choose the heat level by mixing peppers. A little chile de árbol with a milder dried pepper goes a long way.
Mistakes That Turn Cozy Heat Into Harsh Burn
Scorching the flakes in dry fat: The smell turns sharp and bitter fast, especially with butter or a hot Dutch oven. Fix it by lowering the heat and adding the flakes for only 20 to 30 seconds before liquid goes in.
Trusting a stale jar: If the flakes smell like old paper, you’ll keep adding more spice to chase flavor and end up with a harsh pot. Replace the jar when it’s lost its aroma; the heat may still be there, but the flavor is gone.
Adding all the heat at the end: The bowl burns on top but tastes empty underneath. Add some flakes early so the pot develops a base, then finish with a small pinch if you want more lift.
Using the same amount in every pot: A lean chicken soup and a greasy beef chili do not behave the same way. Fat carries heat, so start lower in richer pots and higher in brothy ones.
Forgetting acid and salt: A spicy pot without enough salt or brightness tastes flat and prickly. Taste, season, then taste again after a minute or two. The goal is a bowl that feels warm, not thin and mean.
Variations and Adaptations to Try
Smokehouse Bloom: Stir the flakes into olive oil with a spoonful of smoked paprika before they hit the pot. This works well in beef chili, black bean soup, and anything with tomato paste because the smoke gives the pepper more room to land.
Bright Pantry Heat: Use red chili flakes with a splash of vinegar or lemon at the end. I like this in chicken soup, lentil stew, and white bean pots where the broth needs a brighter edge rather than more weight.
Creamy Counterpoint: Add the flakes to squash soup, potato soup, or a creamy tomato pot, then finish each bowl with yogurt or sour cream. The cool dairy softens the burn and makes the pepper flavor feel round instead of jagged.
Table-Top Heat Station: Keep the pot mild and put the flakes in a little bowl with olive oil, flaky salt, and chopped herbs. This is the smartest option for families or mixed groups because everyone can season their own bowl without arguing over the pot.
Extra-Fragrant Blend: Mix the flakes with a small amount of crushed fennel seed, coriander, or cumin seed if you want a more layered spice profile. Use a light hand. The point is to support the pepper, not bury it under a spice cabinet.
Storage, Shelf Life, and Reheating Leftovers
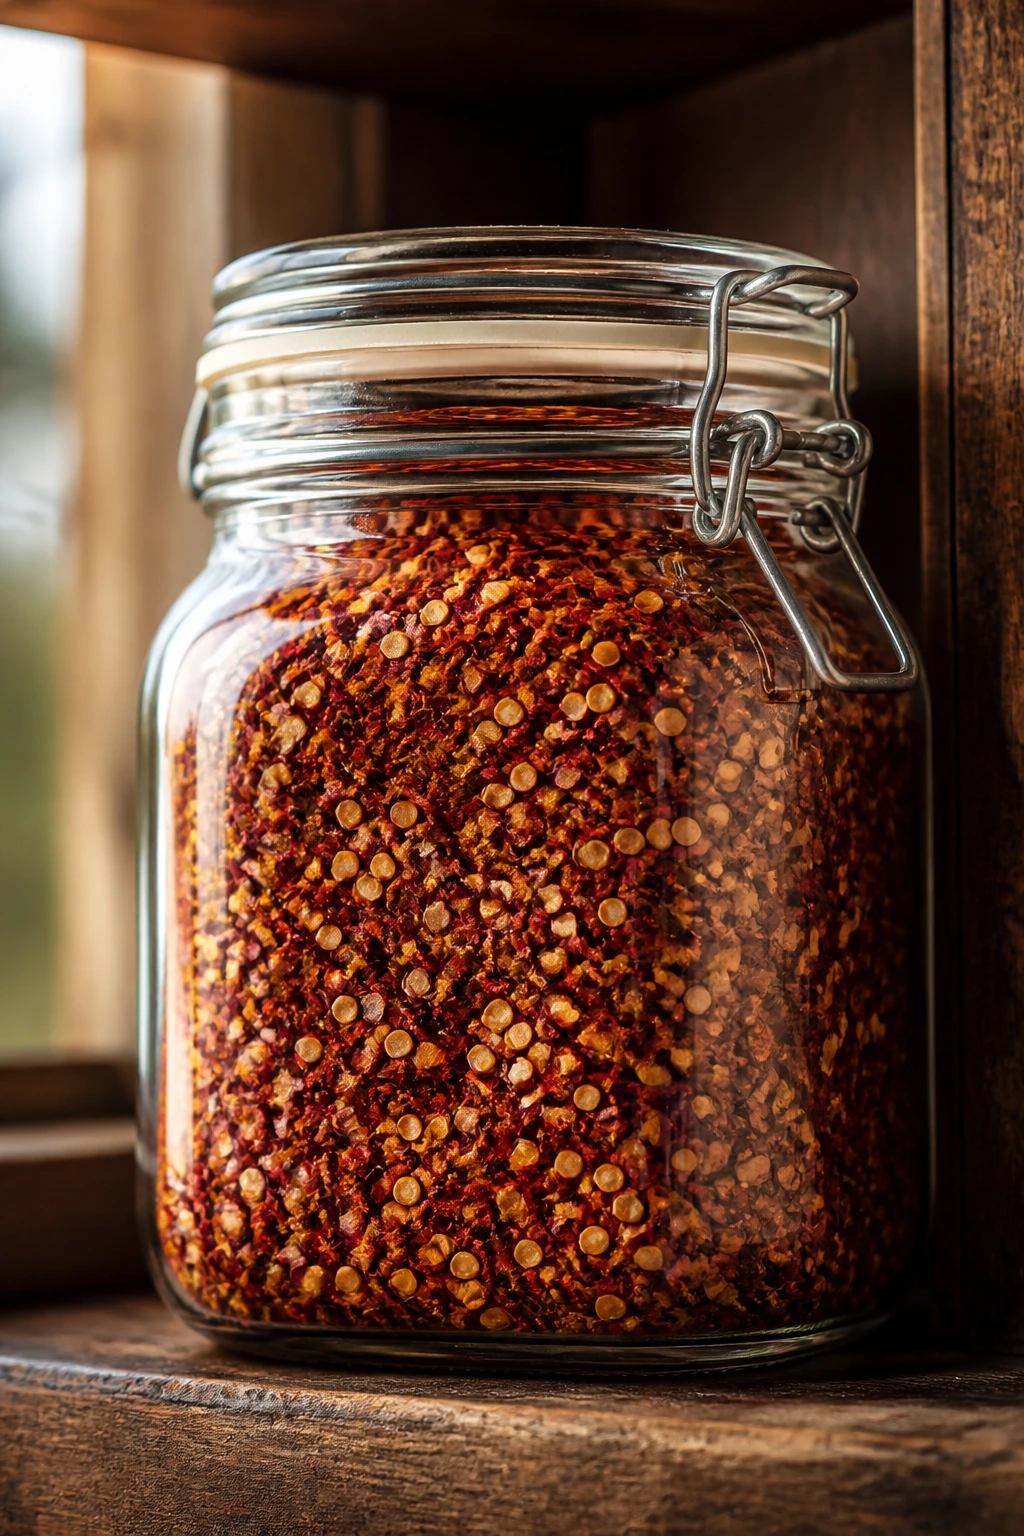
Dried red chili flakes keep best in an airtight jar away from heat, steam, and direct light. The cabinet next to the stove is a bad spot. So is the refrigerator, unless you’re dealing with a very humid kitchen. A cool, dry pantry shelf is the clean answer.
For the best flavor, use an opened jar within about 6 to 12 months. It won’t turn unsafe after that, but the aroma fades, and stale flakes are the fastest way to end up with a dull pot. If the color has shifted toward brown and the smell is faint even after rubbing a pinch between your fingers, it’s time to replace the jar.
Leftover soup, stew, or chili should be cooled within 2 hours, then stored in shallow containers. In the refrigerator, most of these dishes keep well for 3 to 4 days. In the freezer, 2 to 3 months is a good flavor window, especially for tomato-based chili and bean soups.
Reheat gently on the stove over medium-low heat, stirring now and then so the bottom doesn’t catch. Bring the dish to a simmer and, if you want to be exact about safety, to 165°F in the center. Thick chili often needs a splash of broth or water after thawing because the beans and starch soak up liquid while it sits. Cream-based soups can split if you blast them hard, so warm them slowly and avoid a rolling boil.
If you make a pot with dairy already in it, freezing can get tricky. It will still be safe, but the texture may go grainy. The better move is to freeze the base without cream or sour cream, then add those when you reheat.
Frequently Asked Questions

Are red chili flakes the same as crushed red pepper?
Often, yes in practice, but not always in flavor. “Crushed red pepper” is a broader label, and the mix may lean hotter, seedier, or more blunt than a jar labeled with a specific pepper type. If you want a cleaner flavor for soup or stew, look for a jar that names the pepper.
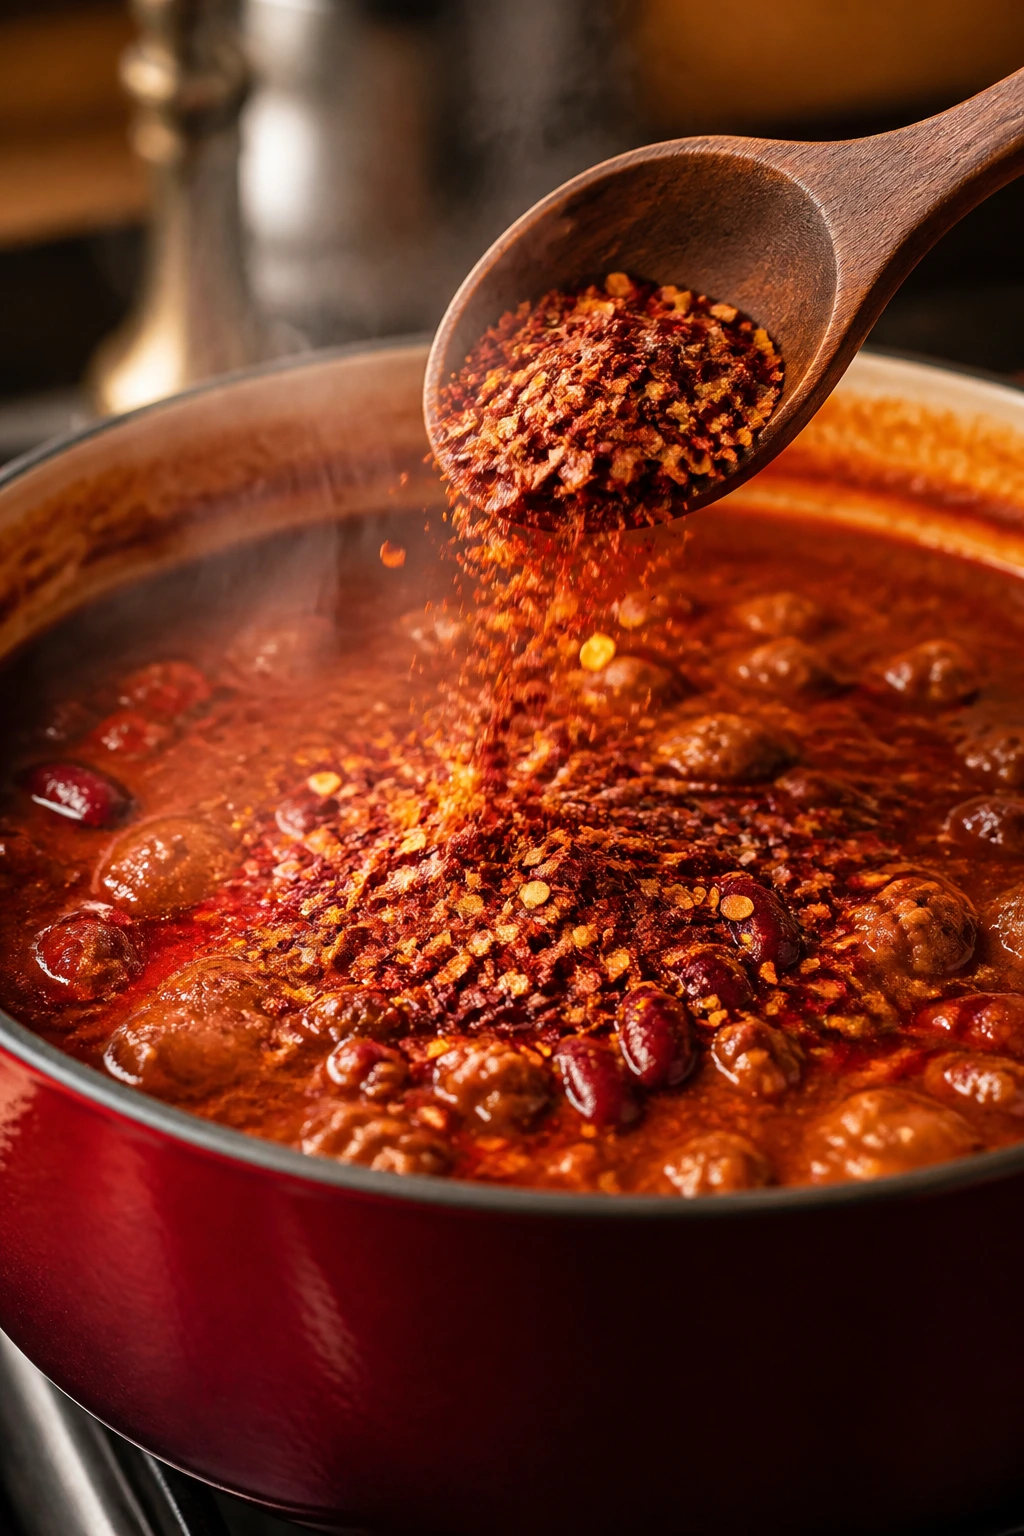
How much should I add to a big pot of chili?
For a 6-quart pot, start with 1/2 teaspoon if you want a gentle background warmth, 1 teaspoon for a noticeable but balanced heat, and 1 1/2 teaspoons if you know your crowd likes spice. Taste after the first simmer, because fat, tomatoes, and beans all change how the burn lands.
Do chili flakes get hotter when they simmer longer?
They get more integrated, not magically hotter. Long simmering spreads the flavor through the pot and can soften the sharp edge, while a late addition feels brighter and more immediate. That’s why many cooks use both: some early for depth, a pinch at the end for lift.
Can I use them in creamy soups?
Yes, and they work especially well with squash, potato, cauliflower, and tomato-cream soups. Use a lighter hand in the pot and finish with a little dairy or olive oil so the spice feels smooth instead of dry. Cream can tame heat, but it also blurs flavor if you overdo it.
What if I added too much heat?
Add more volume first: extra broth, beans, tomatoes, potatoes, or vegetables if the dish can take them. Then soften the burn with fat and acid — a spoon of yogurt, sour cream, or butter, plus a splash of vinegar or lemon if the pot can handle it. Sugar is usually the last resort, not the first.
Should I bloom the flakes in oil or add them straight to broth?
Blooming in oil gives you the best aroma and a rounder flavor. Straight-to-broth is fine when you want a leaner, cleaner heat or when the dish already has enough fat from meat or cream. If you care about flavor, bloom first whenever the recipe allows it.
Do the seeds matter?
Seeds do not carry most of the heat on their own, but they often arrive coated with the same spicy oils as the pepper flesh. They also change texture, which can matter in a bowl you want to finish cleanly. If you dislike seed texture, choose a finer flake or strain them out of a chili oil or broth finish.
How do I keep a jar from going stale?
Keep the lid tight, keep a dry spoon in the jar out of the question, and keep the jar away from the stove. Heat and steam are the enemies here. If you cook spicy food often, buy smaller jars so you finish them before the aroma disappears.
A Small Ritual for Cold Nights
A good pot doesn’t need to shout to be memorable. Sometimes it only needs a half teaspoon of red chili flakes blooming in oil, a little patience, and a bowl waiting next to bread that can mop up the last bit of broth.
That’s why I like keeping chili flakes where I can reach them without thinking. Not as a panic fix. As a habit. A cold-night pot tastes better when the pepper is treated like part of the structure, not a garnish you remember at the last second.
So the next time a soup, stew, or chili is simmering and the kitchen feels a little too quiet, reach for the jar, warm the flakes briefly in fat, and taste before you add more. The pot will tell you what it wants.