
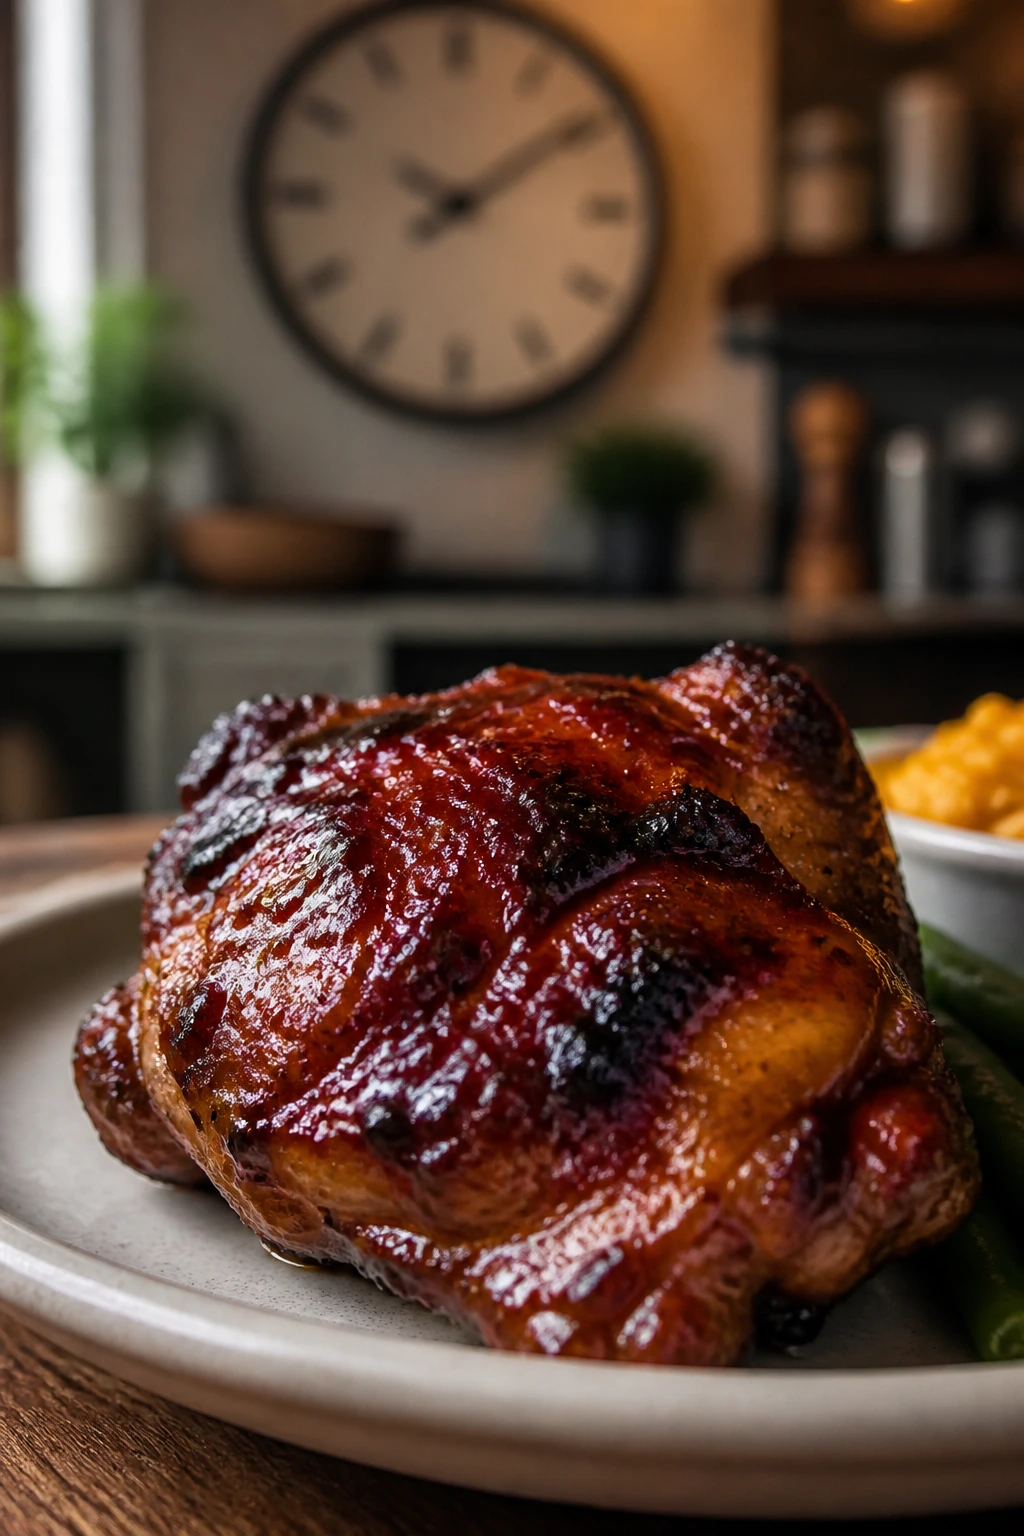
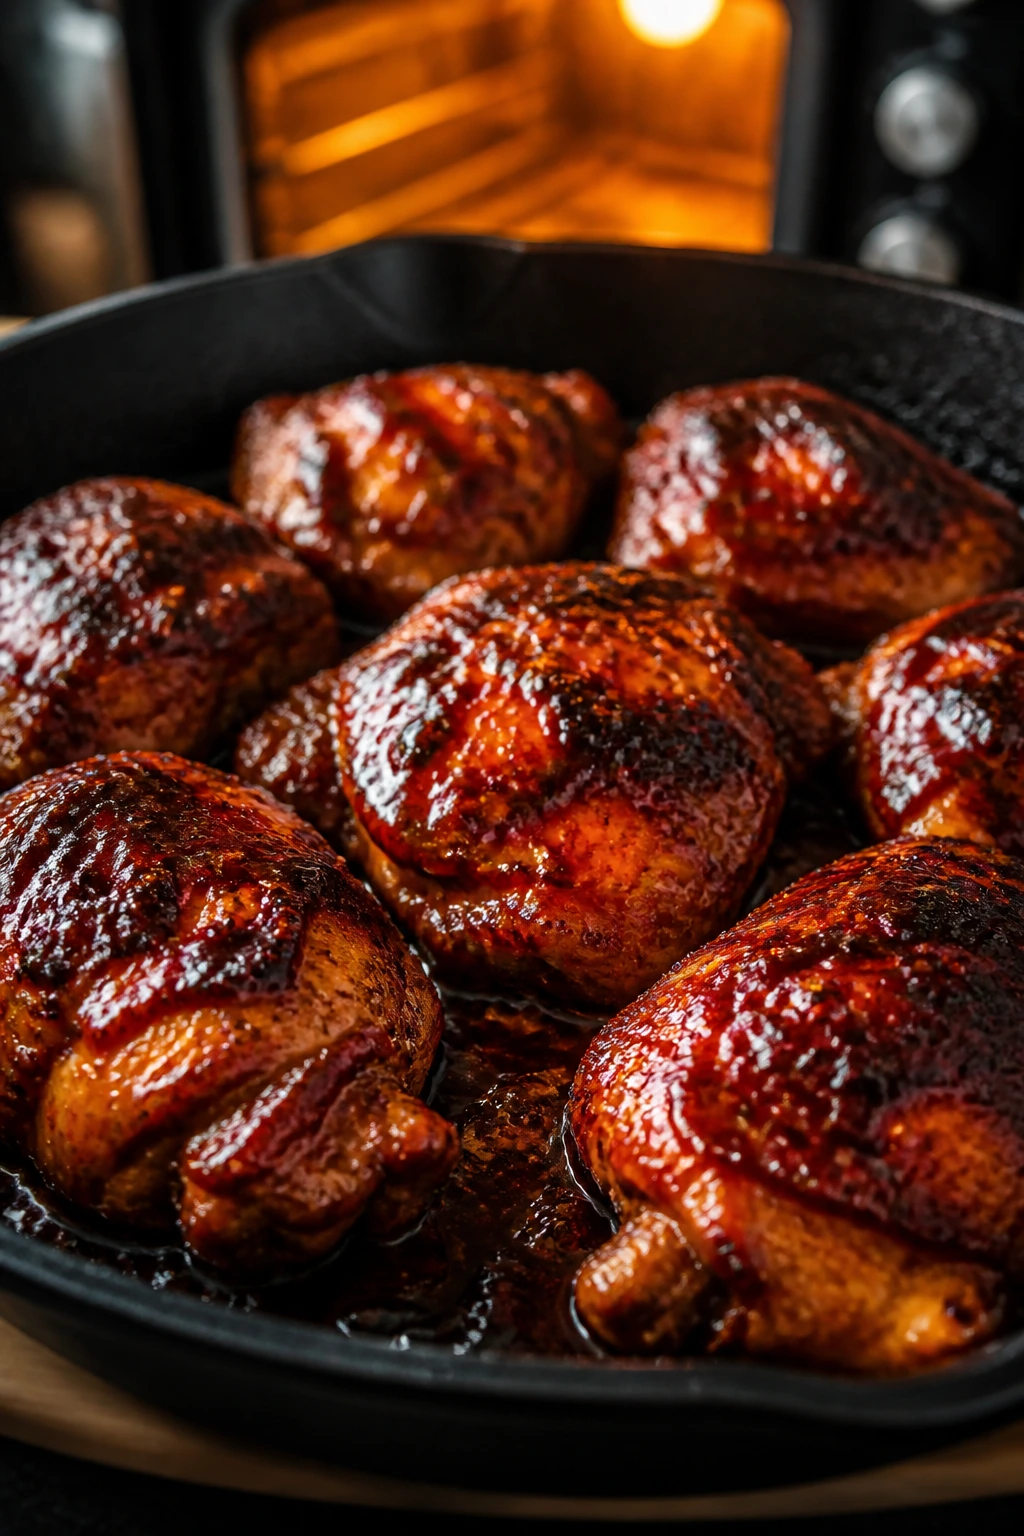
Dry barbecue chicken is a waste of good sauce.
That sounds harsh, but it’s true. A sticky, smoky glaze can carry dinner on its back, and then one small mistake — sauce too early, heat too high, chicken too crowded in the pan — turns the whole thing leathery, bitter, or both. A good BBQ chicken recipe for weeknight dinners has to earn its keep. It needs to move fast, stay juicy, and finish with sauce that clings instead of sliding off in a greasy puddle.
This version leans on boneless, skinless thighs because they forgive a lot. They brown well, stay tender, and don’t punish you for being ten minutes behind schedule. The method matters too: a quick sear, a short oven finish, and a last-minute glaze that turns glossy and sticky without burning into black sugar. That’s the difference between dinner that feels rushed and dinner that feels handled.
The details are small, but they make the whole plate. Use a thick barbecue sauce, not a watery one. Pull the chicken at the right temperature, not “when it looks done.” Let it rest for a few minutes before slicing. Those are the moves that keep the juices where they belong.
Why This BBQ Chicken Works on a Real Weeknight
- Fast enough for a weeknight: From skillet to table, this BBQ chicken recipe lands in about 35 to 40 minutes, and most of that time is the oven doing its job while you handle the side dish.
- Juicier than a straight bake: A short sear gives the thighs a browned crust before the sauce goes on, which keeps the meat from steaming itself dry in the oven.
- Sticky without burnt sugar: The glaze goes on late, so the sugars in the barbecue sauce caramelize instead of scorching into bitterness.
- Uses ingredients that already make sense: If you keep bottled BBQ sauce, garlic powder, paprika, and Worcestershire around, you’re halfway to dinner before the oven even preheats.
- Works for leftovers on purpose: Sliced chicken holds up well in rice bowls, sandwiches, and chopped salads the next day, especially if you save a spoonful of sauce for reheating.
The Clock, Yield, and What to Expect
A weeknight chicken dinner lives or dies by timing. This one stays within the range where you can still answer a text, slice a tomato, and set the table without the whole plan going sideways.
Yield: Serves 4
Prep Time: 15 minutes
Cook Time: 20 to 25 minutes
Total Time: 35 to 40 minutes
Difficulty: Beginner to Intermediate — the steps are straightforward, but an instant-read thermometer takes the guesswork out of the finish.
Best Served: Hot from the skillet after a 5-minute rest
The Ingredient List for Juicy BBQ Chicken
For the Chicken
- 2 pounds boneless, skinless chicken thighs, trimmed of excess fat
- 1 tablespoon olive oil
- 1 teaspoon kosher salt
- 1/2 teaspoon black pepper
- 1 teaspoon smoked paprika
- 1 teaspoon garlic powder
- 1 teaspoon onion powder
- 1/2 teaspoon dry mustard
- 1/4 teaspoon cayenne pepper, optional
For the BBQ Glaze
- 1 cup thick barbecue sauce
- 2 tablespoons apple cider vinegar
- 1 tablespoon honey or packed light brown sugar
- 1 tablespoon Worcestershire sauce
- 1 tablespoon unsalted butter, cut into pieces
For Serving
- 2 tablespoons chopped parsley or sliced scallions
What Each Ingredient Does in the Pan
Chicken Thighs
What to use: 2 pounds boneless, skinless chicken thighs, trimmed of loose fat and any ragged edges.
Preparation: Pat them dry with paper towels before seasoning. Dry surfaces brown better, and a dry thigh will actually pick up the spice rub instead of letting it slide around on the surface.
Substitutions: Boneless, skinless chicken breasts work if that’s what you have, but they need more care. Slice large breasts horizontally into thinner cutlets so they cook at the same pace as the sauce.
Tips: Thighs vary in thickness more than people expect. If one piece looks much thicker at one end, tuck the thinner end under itself before searing so the whole piece cooks more evenly.
BBQ Glaze
What to use: 1 cup thick barbecue sauce, 2 tablespoons apple cider vinegar, 1 tablespoon honey or brown sugar, 1 tablespoon Worcestershire sauce, and 1 tablespoon unsalted butter.
Preparation: Whisk the sauce ingredients together before the chicken goes into the pan. A smooth glaze brushes on more evenly, and it keeps you from fumbling with bottles while the chicken is already browning.
Substitutions: If your sauce already tastes sweet, use the vinegar and Worcestershire and skip the honey. If your barbecue sauce runs thin, simmer the glaze for a minute or two in a small pan before brushing it on.
Tips: Choose a sauce with body. Thin sauce runs off the chicken and ends up burning on the pan instead of clinging to the meat, which is a disappointing trade for something meant to taste sticky and glossy.
Seasoning Blend
What to use: 1 teaspoon kosher salt, 1/2 teaspoon black pepper, 1 teaspoon smoked paprika, 1 teaspoon garlic powder, 1 teaspoon onion powder, 1/2 teaspoon dry mustard, and 1/4 teaspoon cayenne if you want a little heat.
Preparation: Mix the seasonings together in a small bowl, then rub them over the chicken after oiling it lightly. That gives you more even coverage than sprinkling directly from the spice jars.
Substitutions: Sweet paprika can step in if smoked paprika isn’t in the cabinet. Chipotle powder can replace cayenne if you want a deeper, smoky heat instead of a sharp burn.
Tips: Dry mustard doesn’t taste like mustard in the finished dish. It tightens the flavor of the glaze and keeps the barbecue sauce from tasting flat, so it’s worth using if you have it.
Finishing Touches
What to use: 1 tablespoon unsalted butter and 2 tablespoons chopped parsley or sliced scallions.
Preparation: Keep the butter in small pieces so it melts quickly into the hot glaze at the end. Chop the herbs right before serving so they stay bright.
Substitutions: Olive oil can replace the butter if you want a dairy-free finish, though you’ll lose a little shine. A few thin slices of red onion or a squeeze of lemon can stand in for herbs if that’s what’s on hand.
Tips: A dark, sticky chicken dinner needs something fresh on top. The herbs are not decoration; they cut the sweetness and keep the plate from tasting one-note.
The Tools That Make This Easier
- 12-inch oven-safe skillet: Cast iron is ideal because it browns well and goes straight from stove to oven.
- Instant-read thermometer: The only reliable way to know when the thickest part of the chicken has reached 165°F.
- Tongs: Useful for flipping the chicken without tearing the crust.
- Small mixing bowl: Handy for whisking the glaze before cooking starts.
- Pastry brush or spoon: Either one works for coating the chicken with sauce.
- Paper towels: Dry chicken browns better, and this little detail matters more than people think.
- Foil-lined sheet pan, optional: If your skillet isn’t oven-safe, you can sear in a pan and finish in a baking dish.
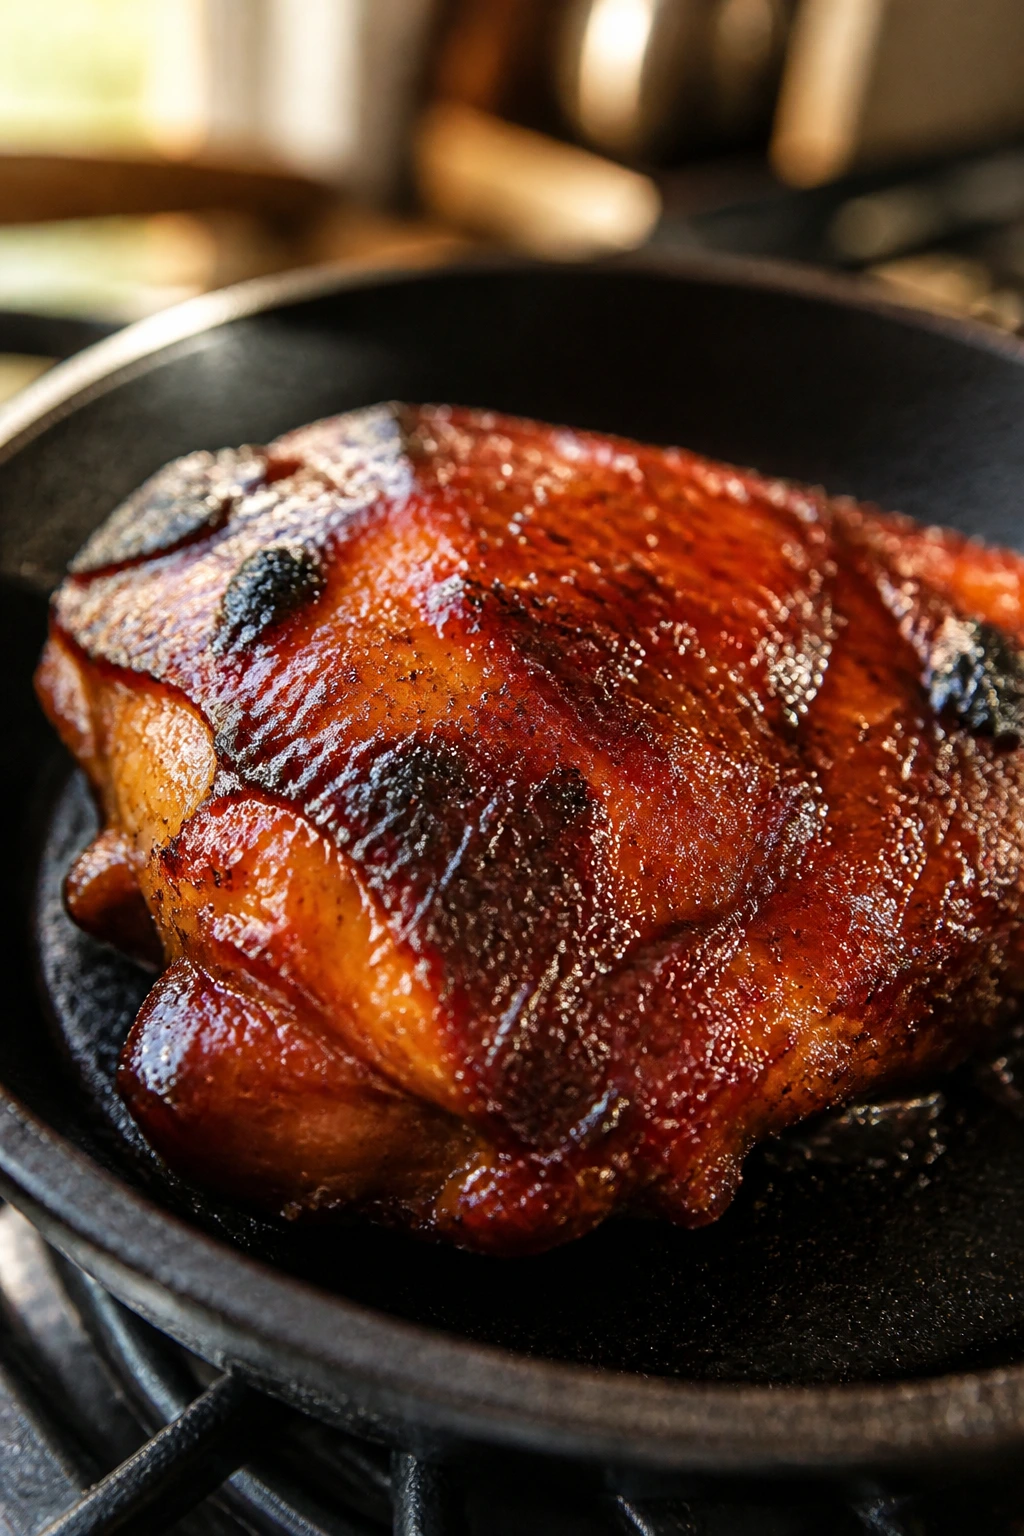
Why the Sear-Then-Bake Method Beats a Straight Oven Roast
A straight oven roast can work, but barbecue sauce asks for a little more control. The sugar in the glaze wants to brown fast, and chicken thighs need enough heat to render and cook through without turning tight and stringy. A hot skillet gives you that first layer of color, which brings a roasted note you can’t fake with sauce alone.
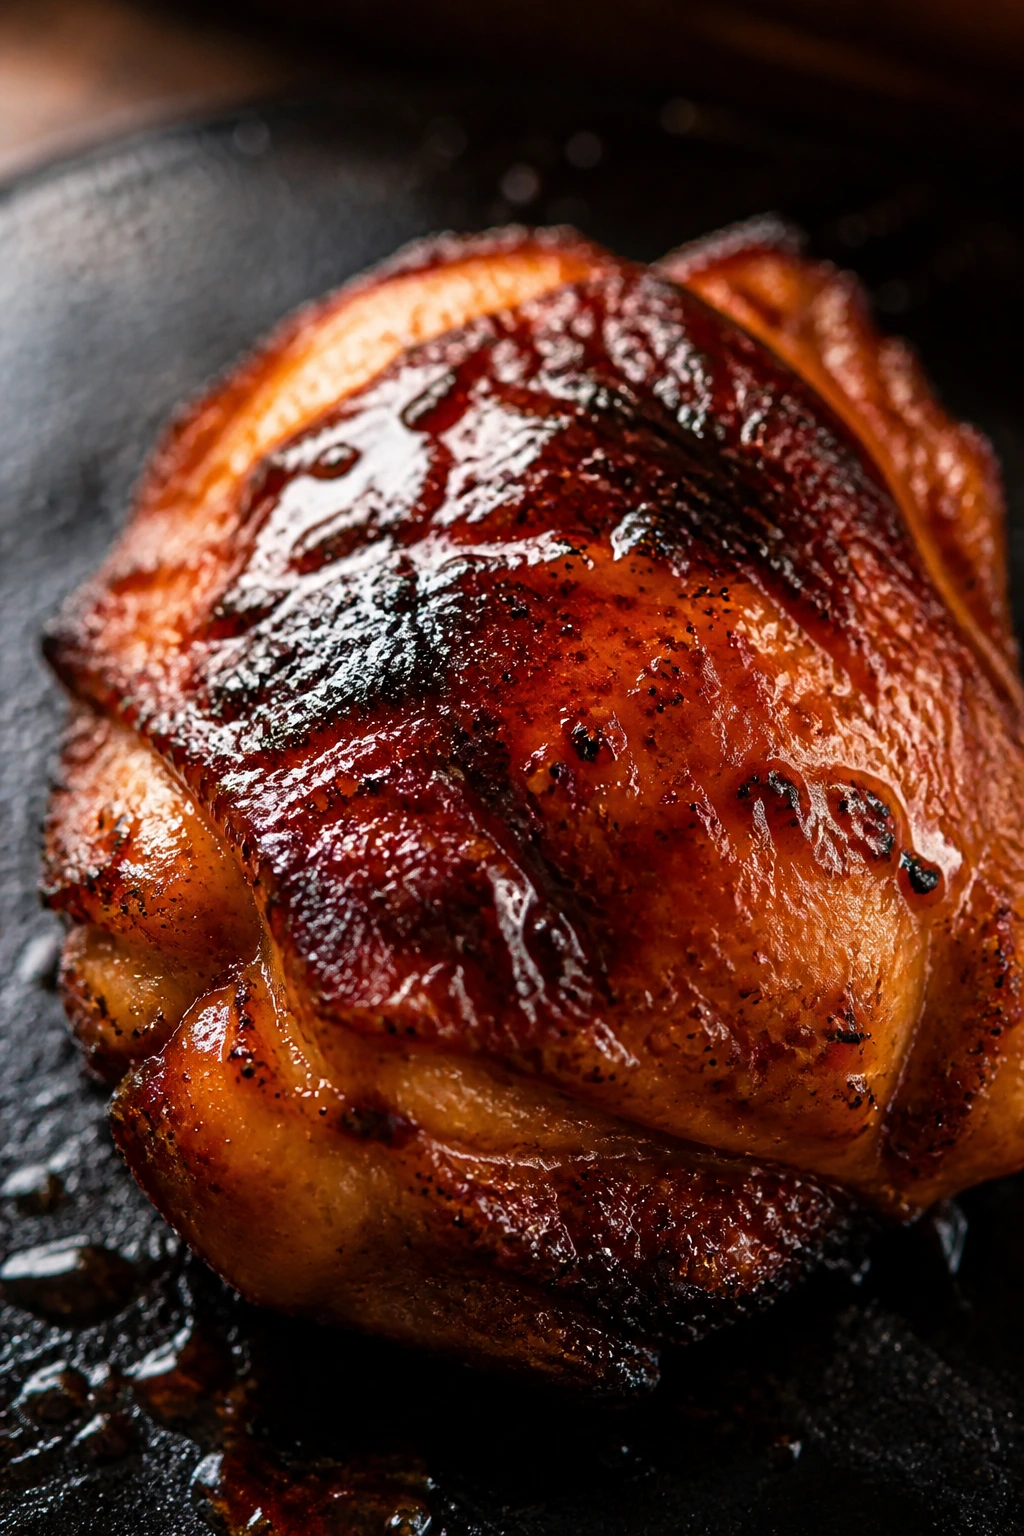
The oven then finishes the middle at a more even pace. That matters. High heat in the oven all the way through can dry the outer edges before the center catches up, especially if the pieces are uneven. A brief bake at 425°F gets the chicken to temperature without letting the glaze sit in one place long enough to blacken.
The last little broil is where the sauce earns its keep. You’re not trying to char it. You want that thin lacquer, the kind that bubbles in small blisters and clings when you drag a fork through it. A minute or two is enough. Walk away for five, and you’ll smell burnt sugar before you see it.
Thighs make this method easier because they tolerate a little extra heat. Breasts can work, but they ask for more attention and a shorter oven stay. That’s fine if you’re in the mood for precision. On a tired Tuesday, I want the version that forgives a slightly late timer alarm.
How to Cook the Chicken Step by Step
Make the Glaze
- Whisk the sauce. In a small bowl, combine the 1 cup barbecue sauce, 2 tablespoons apple cider vinegar, 1 tablespoon honey or brown sugar, 1 tablespoon Worcestershire sauce, and 1 tablespoon butter pieces. Stir until the glaze looks smooth and glossy.
Season the Chicken
-
Pat the chicken dry. Use paper towels to dry 2 pounds of chicken thighs on both sides. Do not skip this step — wet chicken steams in the skillet and loses the browned edges that make the glaze taste deeper.
-
Mix the spice rub. In another small bowl, stir together the kosher salt, black pepper, smoked paprika, garlic powder, onion powder, dry mustard, and cayenne if using. The color should look brick red and evenly speckled.
-
Coat the chicken. Rub the chicken thighs with 1 tablespoon olive oil, then season them on all sides with the spice mix. Press the seasoning in gently so it sticks instead of falling into the pan.
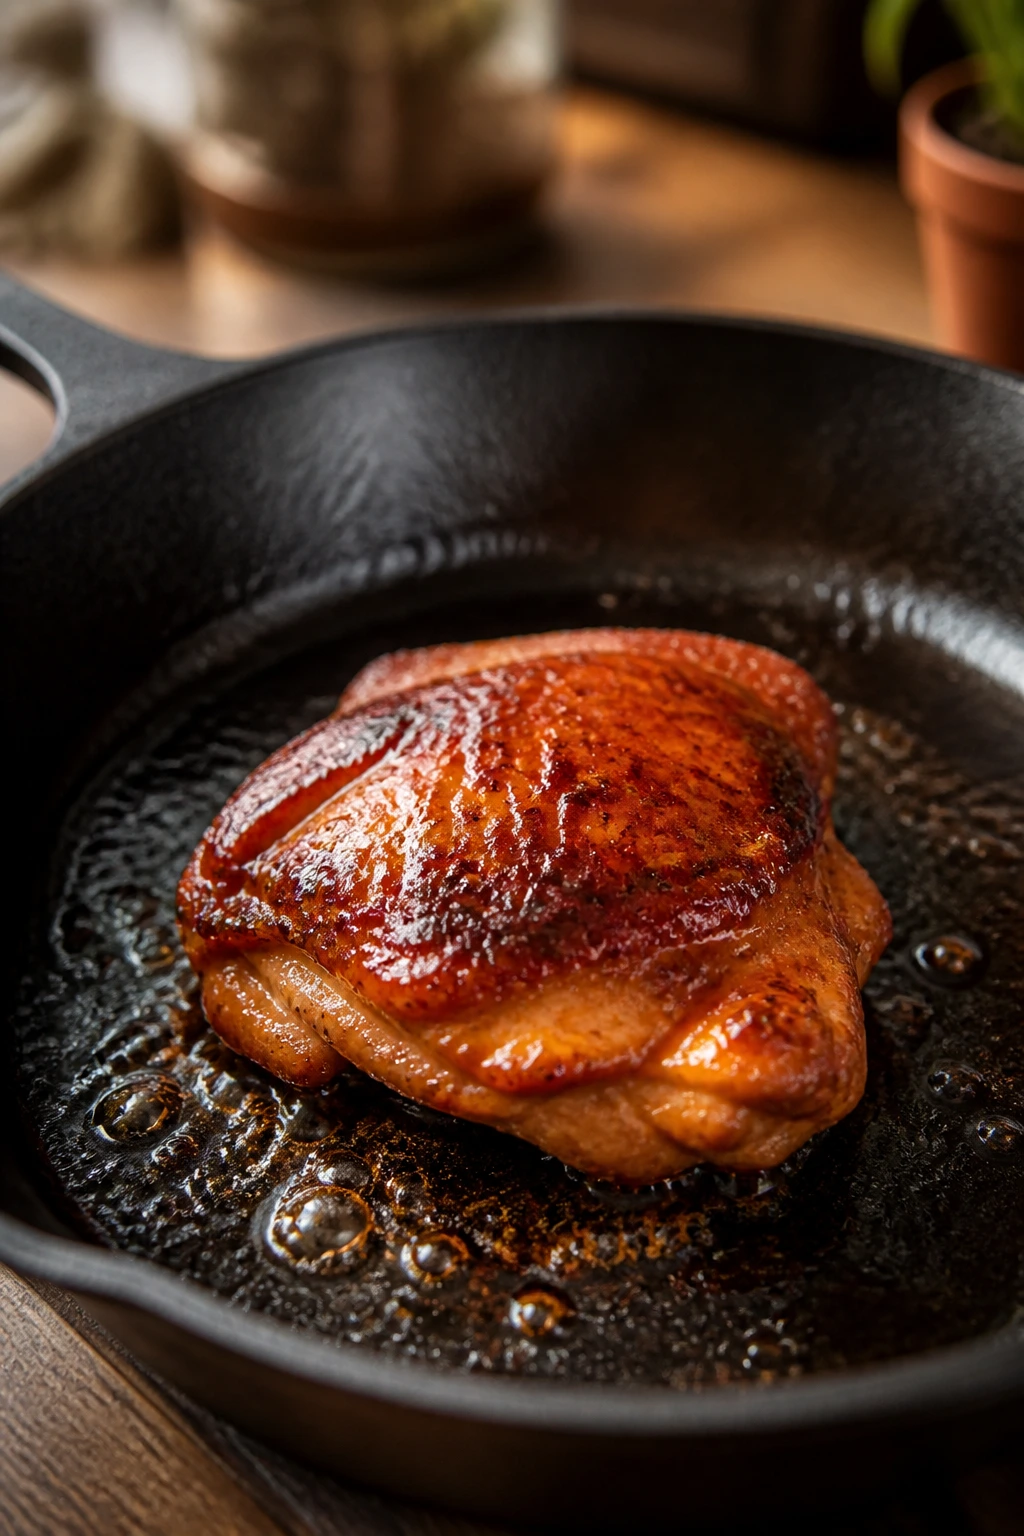
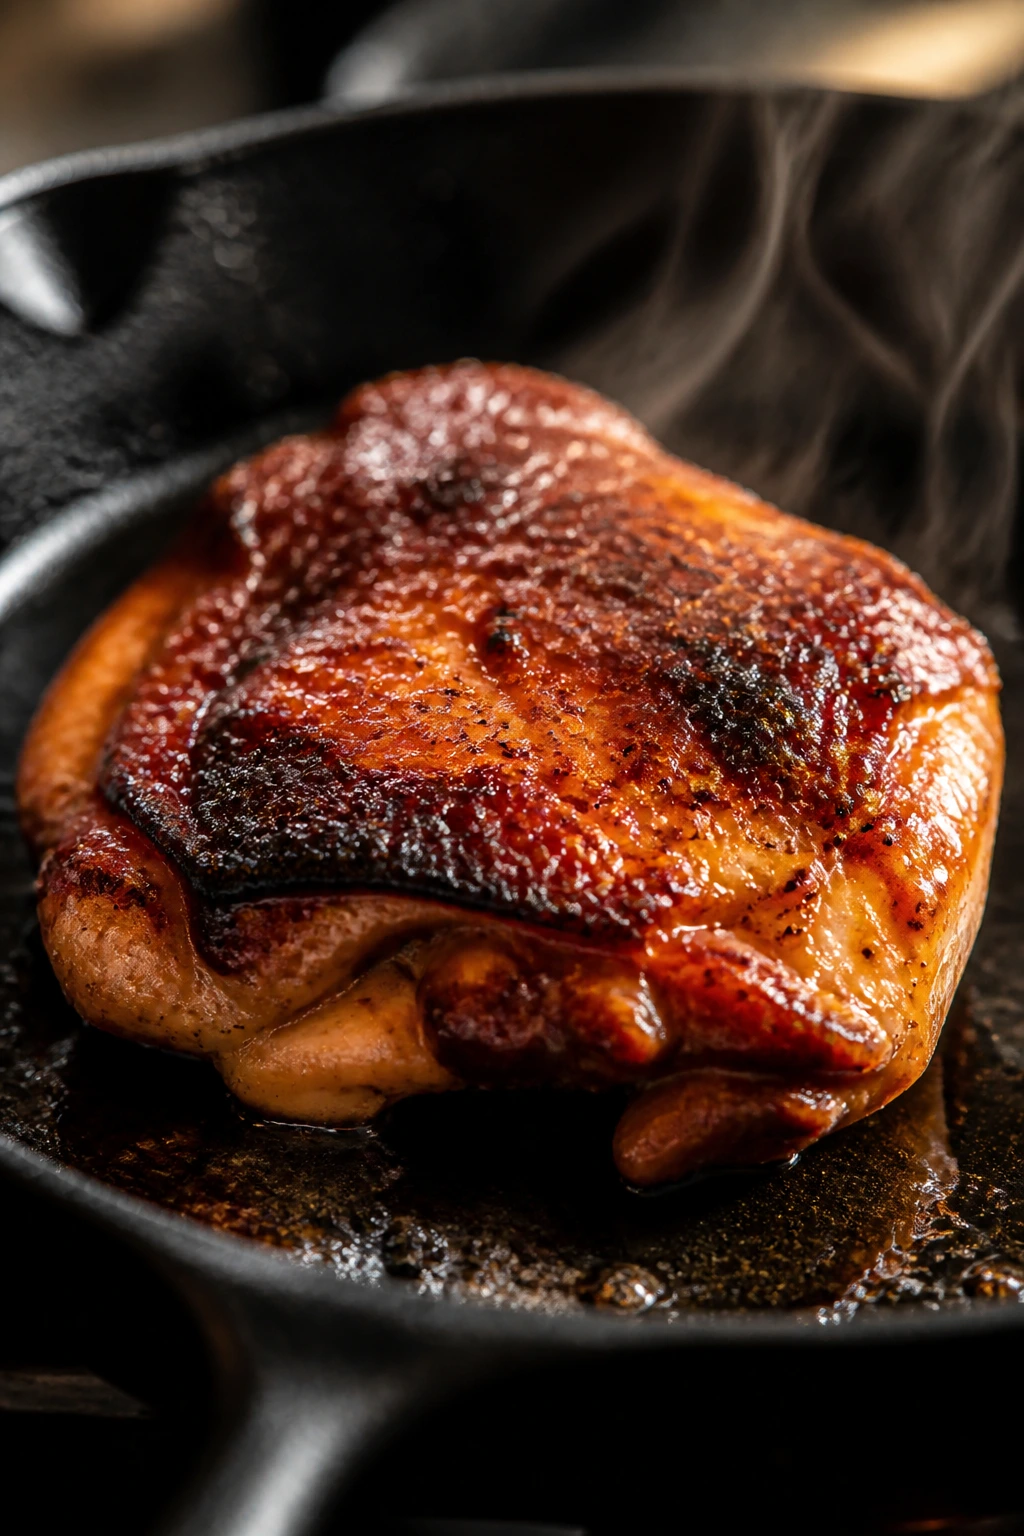
Sear and Build Color
-
Heat the skillet. Set a 12-inch oven-safe skillet over medium-high heat and let it get hot for about 2 minutes. The pan should feel serious when you hover your hand over it, and a drop of water should skitter across the surface.
-
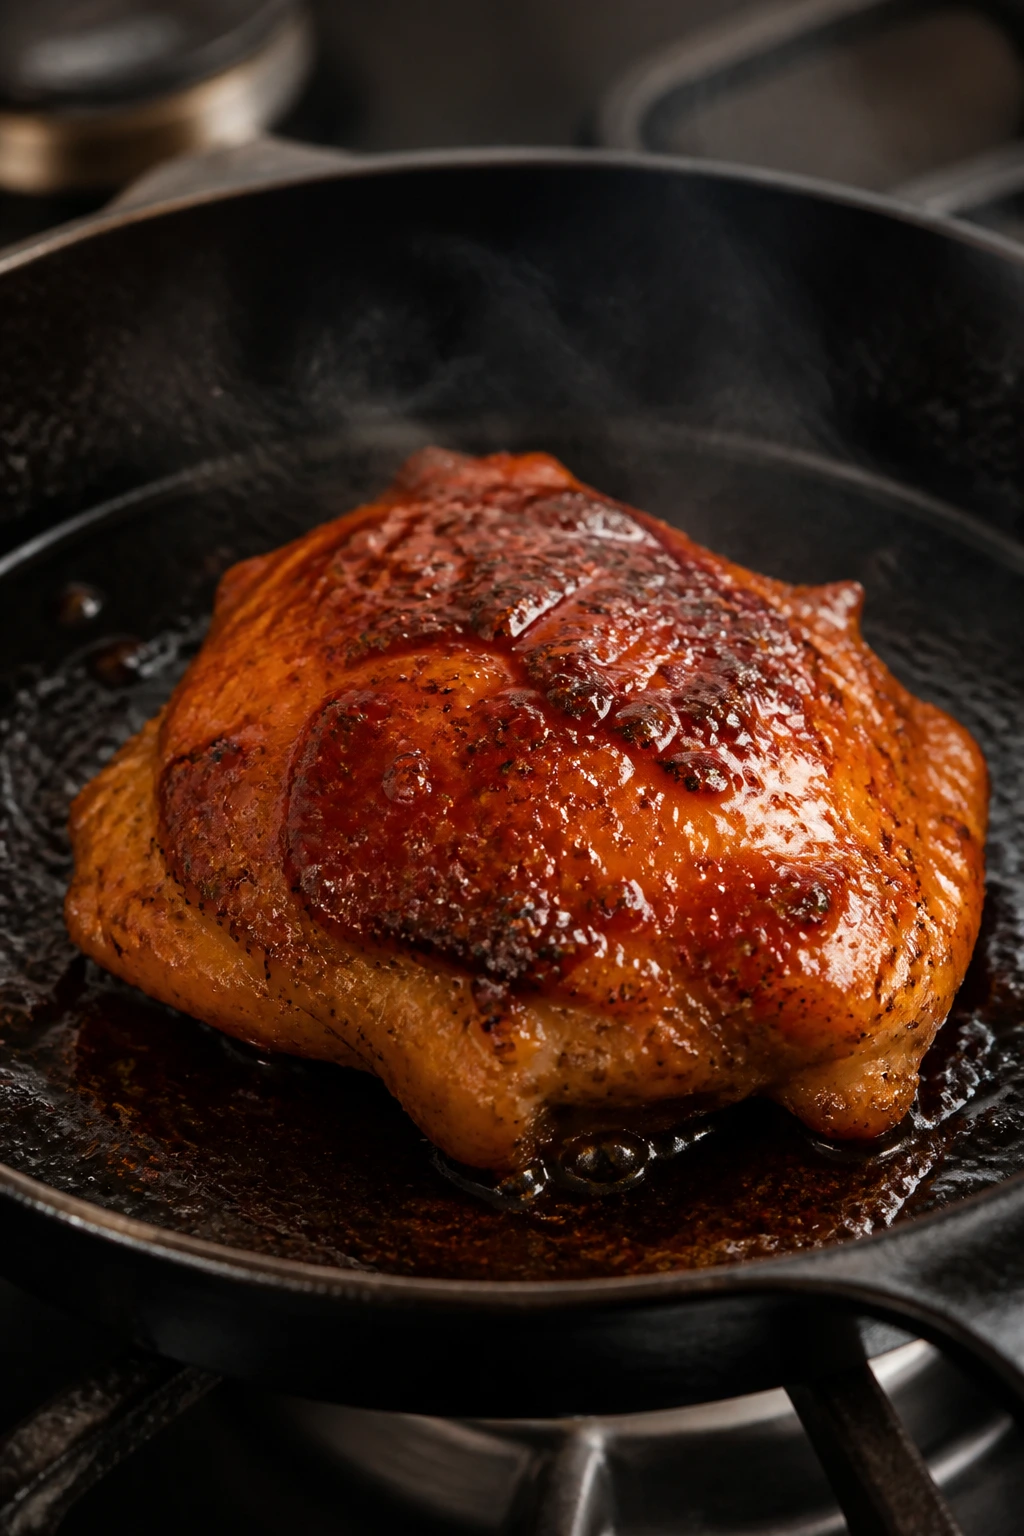
Sear the first side. Lay the chicken thighs in the skillet in a single layer. Cook for 3 minutes without moving them. The bottoms should turn deep golden brown and release cleanly from the pan when they’re ready.
-
Flip and sear the second side. Turn the chicken over and cook for 2 minutes more. The second side does not need as much color; it only needs enough browning to build flavor before the oven finish.
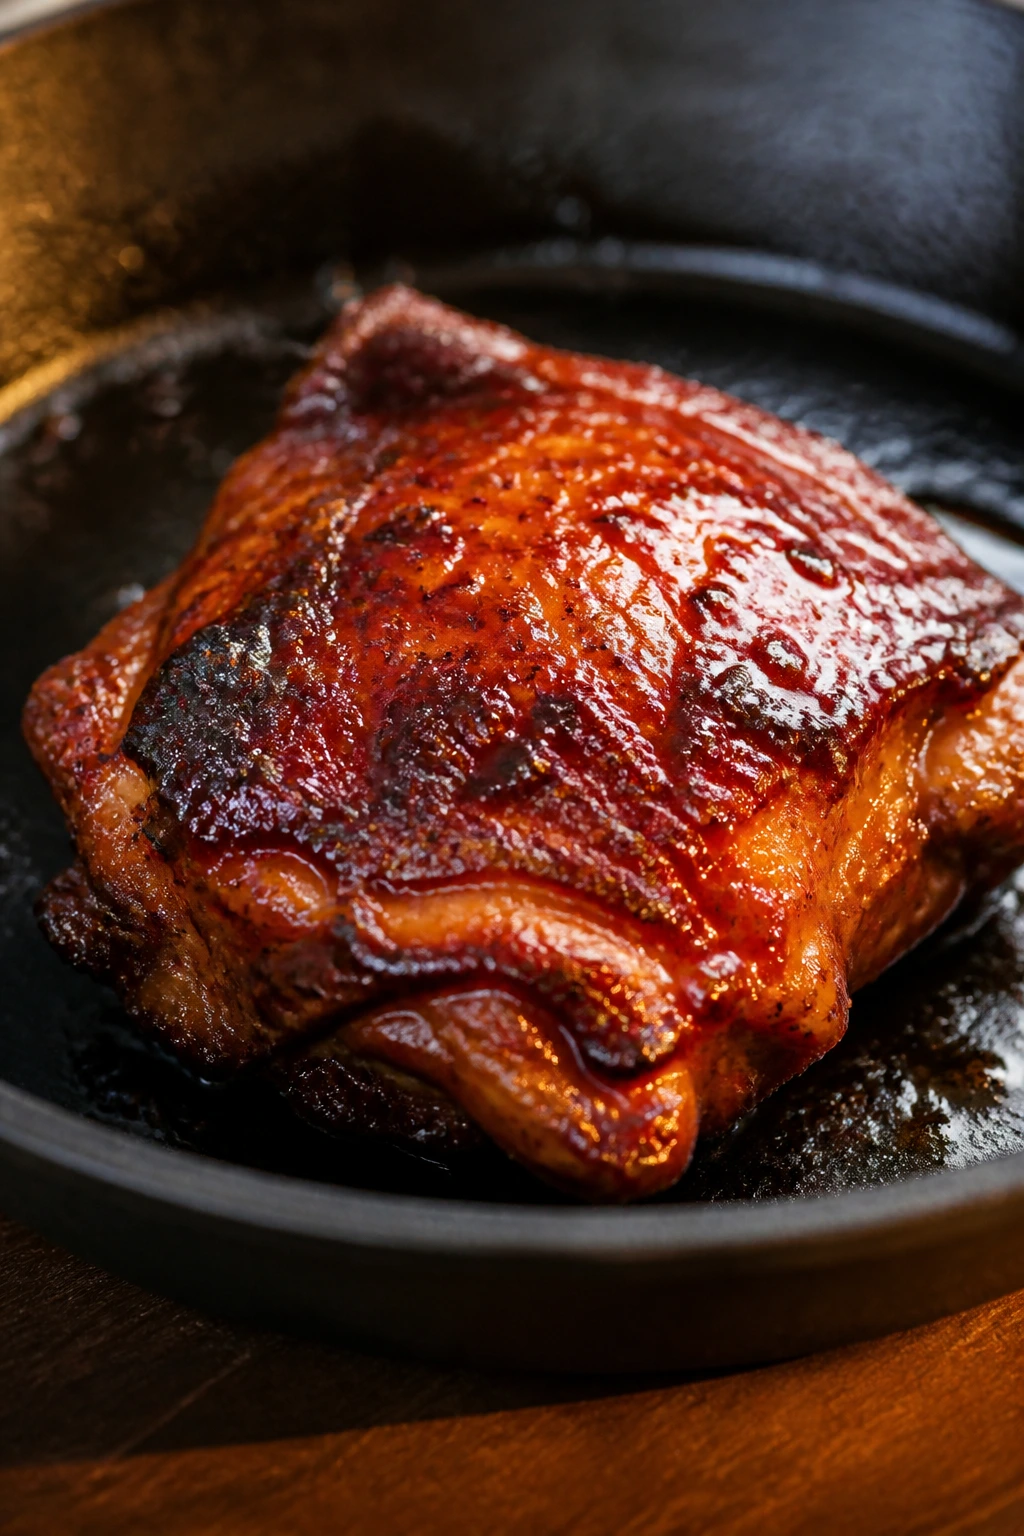
Glaze and Finish
-
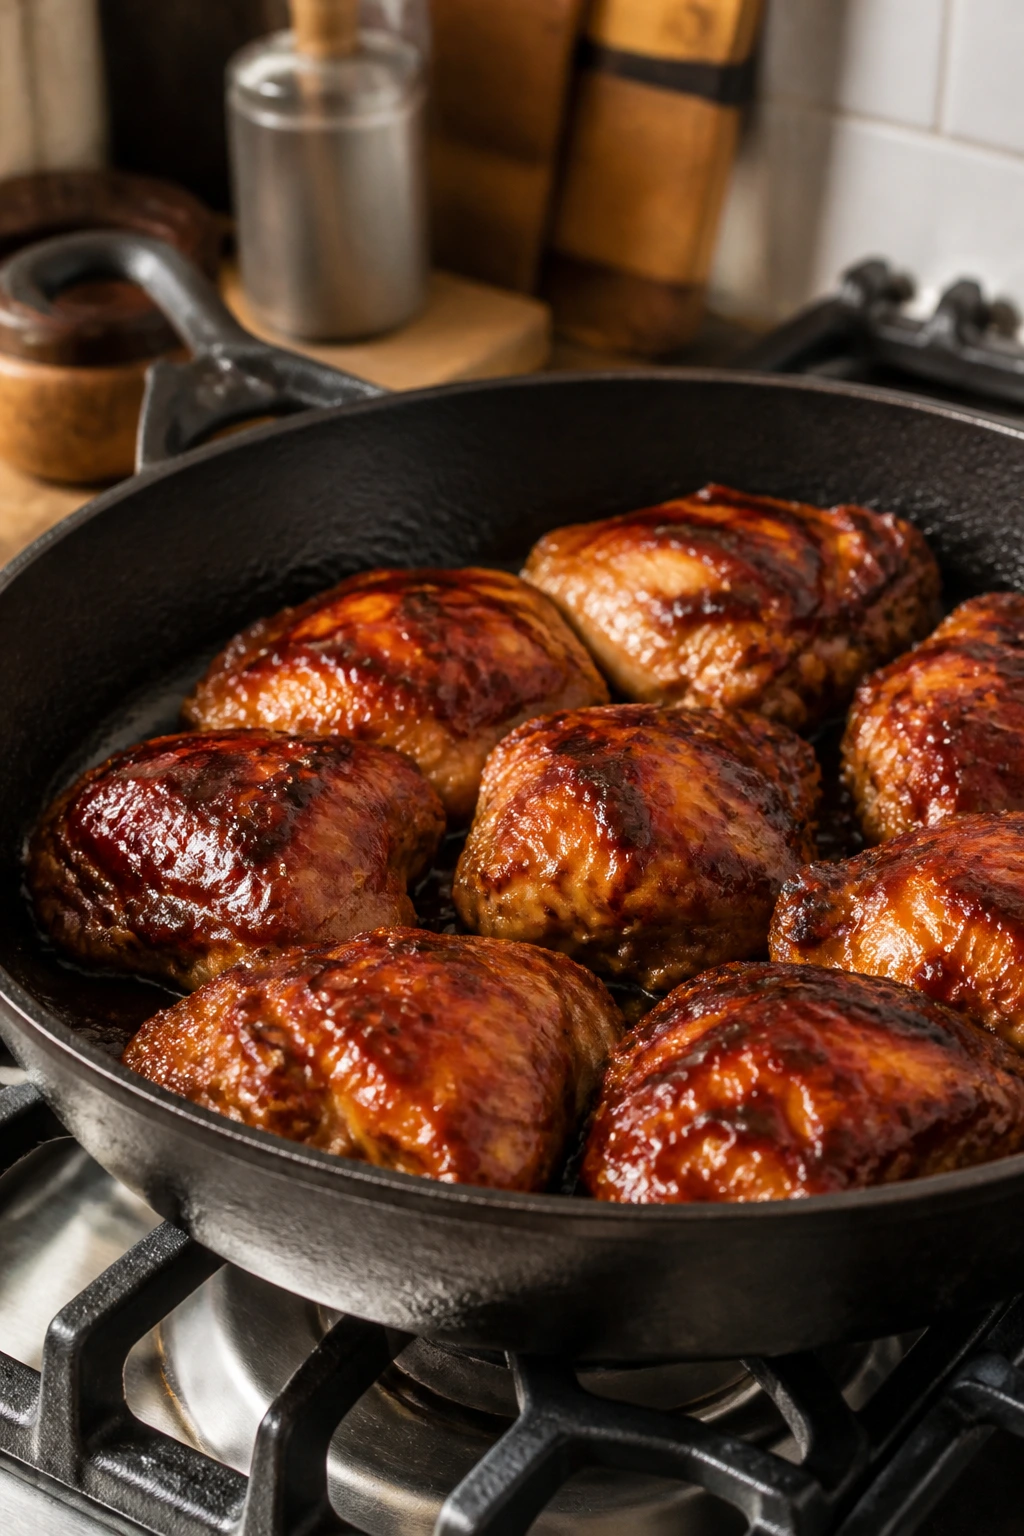
Brush on the sauce. Spoon or brush about half of the glaze over the chicken in the skillet. Keep the rest in reserve. You want a thin coating, not a swamp of sauce around the meat.
-
Transfer to the oven. Move the skillet to a 425°F oven and bake for 8 to 12 minutes, depending on the thickness of the thighs, until the thickest piece reads 165°F on an instant-read thermometer. The sauce should bubble at the edges and turn darker, but not black.
-
Broil for a sticky finish, if needed. Turn the oven to broil and cook for 1 to 2 minutes more, watching closely. Stay near the oven door. Sugar goes from glossy to burnt fast, and barbecue sauce gives you almost no warning before it crosses the line.
-
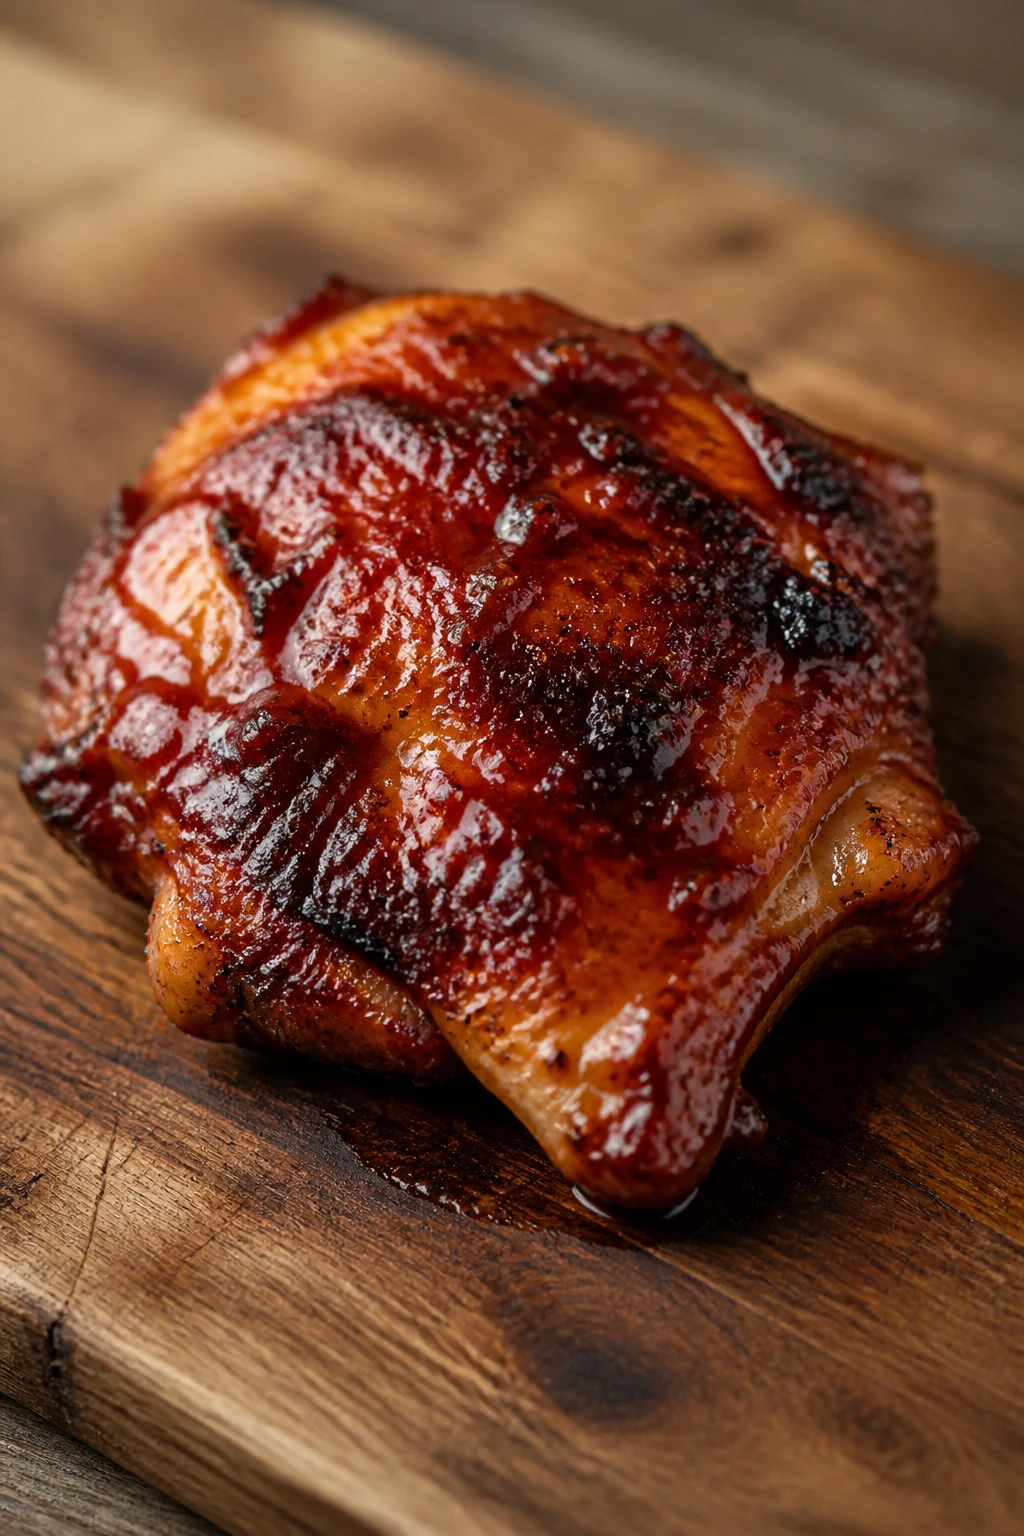
Rest and finish. Remove the skillet from the oven and let the chicken rest for 5 minutes. Spoon the remaining glaze over the top, then scatter with parsley or scallions. The juices settle during the rest, and the slices stay noticeably juicier.
How to Serve It at the Table
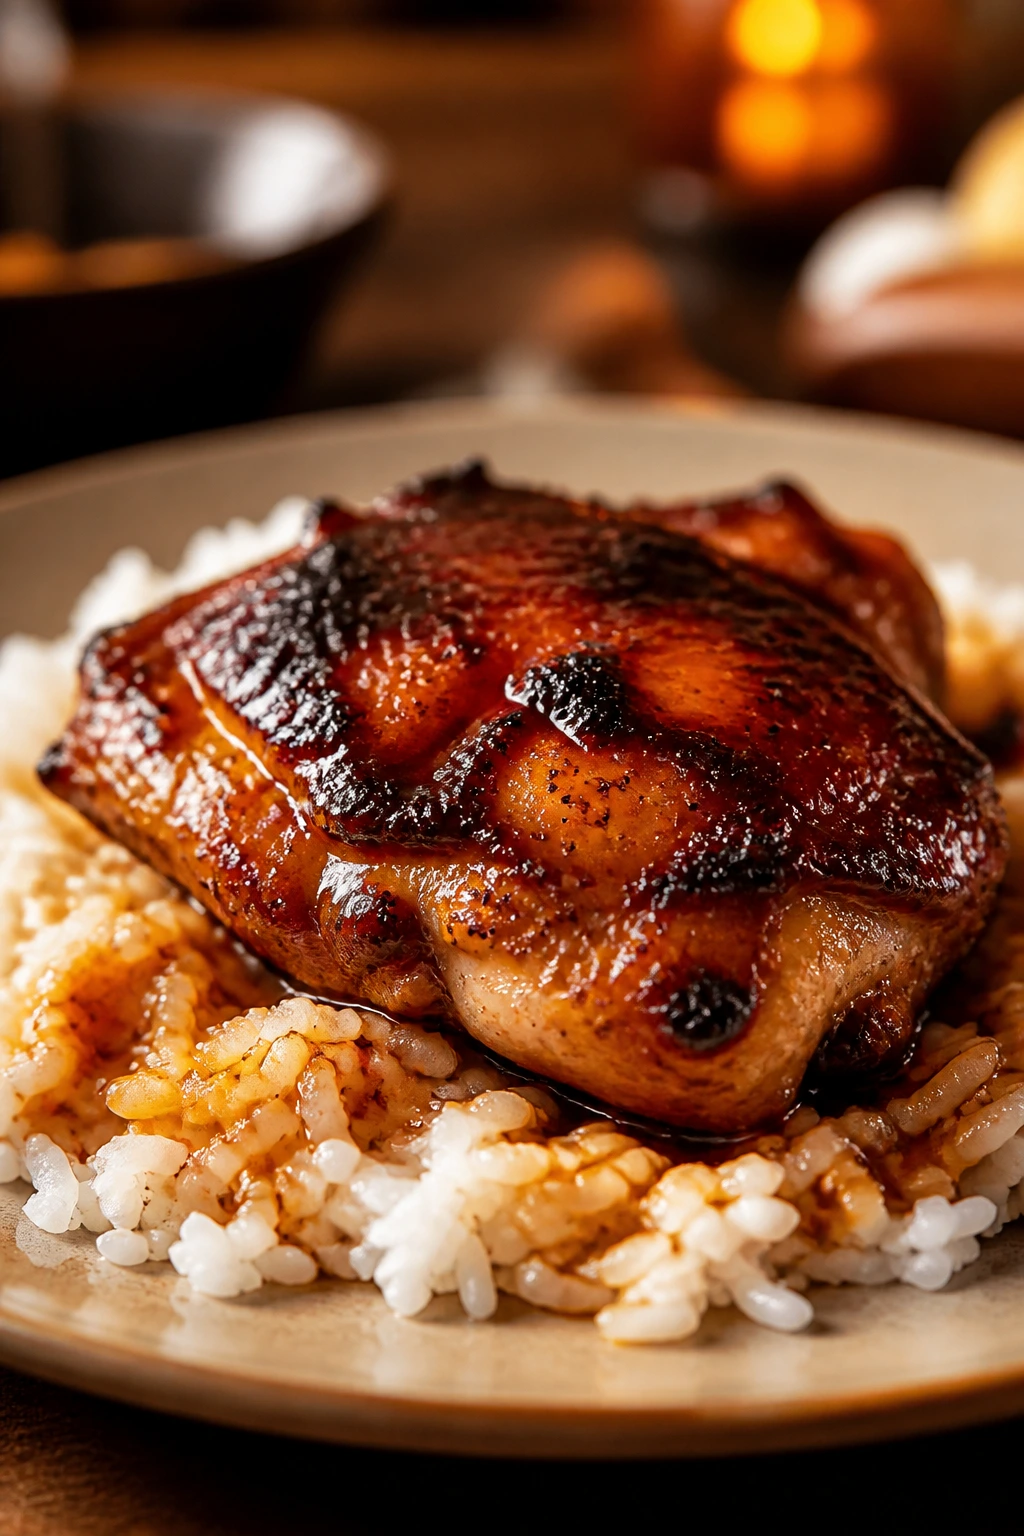
Presentation: Slide the chicken onto a warm platter or straight over a bed of steamed rice, then spoon the sticky pan glaze over the top so it runs into the grains. A few chopped scallions or parsley leaves give the plate a cleaner look and break up all that deep red-brown color.
Accompaniments: I like this with buttered rice, roasted broccoli, coleslaw, or a baked potato split open and salted well. Cornbread works if you want something soft for catching sauce, and a crisp green salad keeps the meal from feeling heavy.
Portions: Two thighs per adult is a solid serving if the side dishes are simple. If you’re serving hearty sides — potatoes, cornbread, slaw — one to one and a half thighs per person is plenty. With chicken breasts, plan on one breast per person if they’ve been sliced into cutlets.
Beverage Pairing: Unsweetened iced tea with lemon works because it cuts through the sweetness without stealing the show. A cold light lager or a sparkling water with lime also fits the smoky-sweet flavor. If you want something nonalcoholic with a little more snap, ginger beer is a good match.
Practical Tips for Better BBQ Chicken
Flavor Enhancement: Warm the barbecue glaze in a small saucepan for 2 to 3 minutes before brushing it on. A warm sauce spreads in a thinner, more even layer, and it caramelizes more predictably in the oven.
Time-Saver: Season the chicken in the morning or even the night before, then cover and refrigerate it. The chicken picks up a little extra flavor, and you get to skip one step when dinner time turns frantic.
Pro Move: If you want extra sticky edges, save the broil for the very end and keep the pan 6 inches from the heat source. One minute under the broiler can give you those dark, caramelized spots that taste almost like grilled chicken, without needing an actual grill.
Cost-Saver: Boneless thighs usually cost less than breasts and tolerate a wider cooking window. That means less waste from overcooked chicken, which matters more than people admit when you’re feeding a family on a normal night.
If You’re Using Breasts: Pound them to even thickness or slice them into cutlets before seasoning. Thick breasts dry out at the edges while the center finishes, and that uneven shape is where a lot of “why did this come out chalky?” complaints start.
Common Mistakes That Dry It Out
Putting the sauce on too early. The symptom is a dark, sticky coating that tastes bitter instead of sweet-smoky. The fix is simple: sear the chicken first, then brush on the glaze once the outside has enough color to hold it.
Crowding the pan. When the thighs sit too close together, they leak steam and the bottoms stay pale. Give the pieces some breathing room, even if that means cooking in two batches. A crowded skillet is one of those small shortcuts that makes dinner worse fast.
Skipping the thermometer. Guessing at doneness is how juicy chicken turns into dry, stringy chicken. Pull the chicken when the thickest part reads 165°F, and trust the rest time to finish the job. The thermometer is not extra equipment here; it’s the whole difference between luck and repeatable results.
Using a thin barbecue sauce. A watery sauce runs off the meat and burns on the pan before the chicken finishes. Thick sauce clings and caramelizes in a useful way. If your bottle is loose and runny, simmer it with the vinegar and honey for a couple of minutes before it touches the chicken.
Cutting the chicken the second it leaves the oven. Juices need a few minutes to settle back into the meat. If you slice right away, they spill onto the board, and the inside looks drier than it needs to. Five minutes feels like nothing. It matters.
Trying to force deep char with the broiler. A little blistering is good. A black top layer is not. Stay near the oven and stop when the glaze looks dark, shiny, and set.
Flavor Variations That Still Feel Like Dinner
Smoky Chipotle Skillet Chicken: Stir 1 to 2 chopped chipotles in adobo plus 1 tablespoon of the adobo sauce into the glaze. The heat lands slowly and adds a darker smoke note, which is excellent with rice and black beans.
Honey-Mustard Backyard Chicken: Add 1 tablespoon Dijon mustard to the glaze and use a touch more honey if you want it sweeter. The flavor turns brighter and sharper, which plays well with potato salad or a simple cabbage slaw.
Pineapple-Sticky Chicken: Replace 2 tablespoons of the barbecue sauce with pineapple juice and simmer the glaze for 2 to 3 minutes before brushing it on. The result tastes a little fruitier and works well if you want the chicken over rice with a few cucumber slices on the side.
Breast-Only Weeknight Version: Use 2 large boneless, skinless chicken breasts, sliced horizontally into cutlets or pounded to an even 3/4-inch thickness. Sear the same way, but shorten the oven time to about 6 to 8 minutes and start checking early with a thermometer.
Sheet-Pan Shortcut: If you do not have an oven-safe skillet, sear the chicken in a regular skillet, then move it to a foil-lined sheet pan for the oven finish. It loses a little of the fond from the skillet, but it still gives you sticky, browned chicken with less equipment drama.
Make-Ahead, Storage, and Reheating
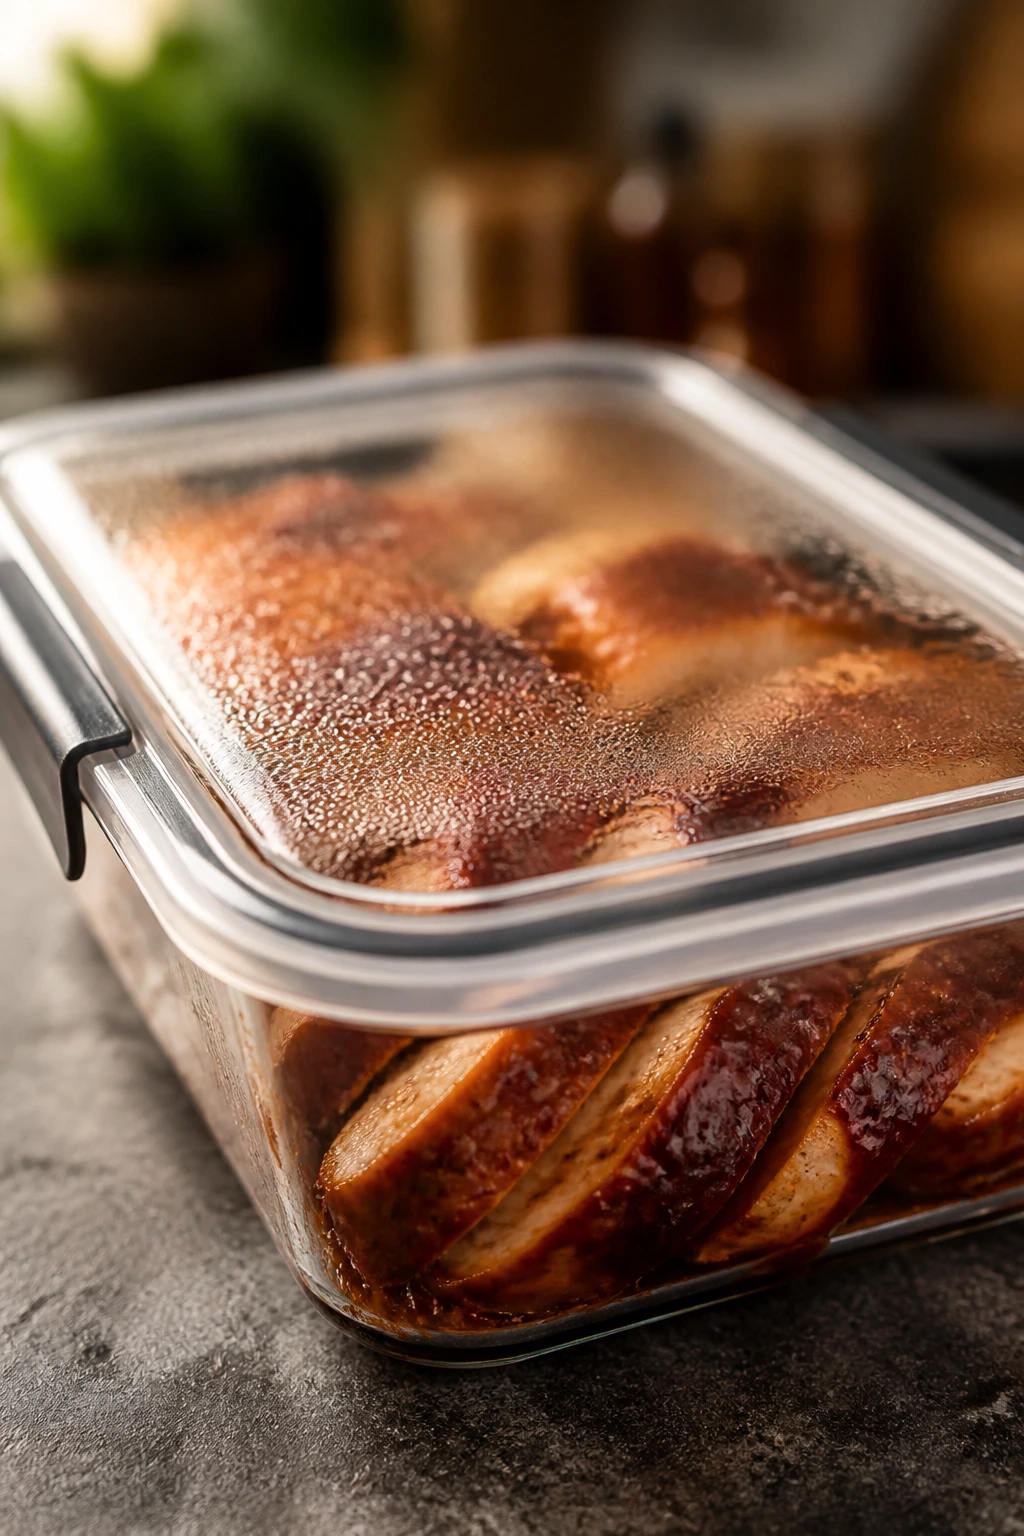
Cooked BBQ chicken keeps well in the fridge for 3 to 4 days in an airtight container. Let it cool for a short while before sealing it up; if you trap steam inside the container, the glaze turns wet and the chicken loses its edge. Store any extra pan sauce or drippings with the chicken if you can. That little bit of sauce helps the meat stay moist during reheating.
For the freezer, wrap the cooled chicken tightly or pack it in freezer-safe containers for up to 2 months. The texture will soften a bit after thawing, which is normal for sauced chicken, but it still works well for sandwiches, rice bowls, or chopped into tortillas. Thaw it in the fridge overnight rather than on the counter.
Reheat in a 325°F oven covered with foil for 10 to 15 minutes, or until the chicken reaches 165°F in the center. If the chicken looks dry on top, spoon a tablespoon or two of water or extra barbecue sauce over it before reheating. A skillet over low heat works too; keep the lid on for a few minutes and add a splash of water so the sauce loosens instead of scorching.
The sauce can be mixed up to 5 days ahead and kept in the fridge. The chicken can be seasoned up to 24 hours ahead, which makes the final cook feel even faster. If you’re making this for meal prep, slice the chicken after it cools, then pack it with rice or slaw so the sauce has something to soak into instead of drying out on its own.
Questions People Ask Before They Make It

Can I use chicken breasts instead of thighs?
Yes, and the method still works. Slice thick breasts in half horizontally or pound them to an even thickness so they cook at the same pace as the sauce. Start checking early, because breasts dry out faster than thighs and need a shorter oven stay.
Do I need to marinate the chicken first?
No. The spice rub and glaze do the work here, and the short cook time doesn’t leave much room for a long marinade to matter. If you want a head start, season the chicken a few hours ahead and let it sit covered in the fridge.
What kind of barbecue sauce works best?
A thick sauce with a little tang is the best fit. Very thin sauce runs off the chicken, and extremely sweet sauce can turn heavy once it caramelizes. If your favorite bottle tastes good on a spoon and has enough body to coat it, you’re in the right territory.
Can I grill this instead of using the oven?
Yes. Sear the chicken over direct heat, then move it to a cooler part of the grill so the sauce can set without burning. Brush on the glaze near the end, because sugar and open flames get messy in a hurry.
How do I know the chicken is done?
Use an instant-read thermometer in the thickest part of the largest piece. Boneless chicken is safe at 165°F, and thighs stay juicy even a little above that if you let them rest for a few minutes. Clear juices and firm meat are useful clues, but temperature wins.
Can I make this ahead for dinner later in the week?
You can make the sauce ahead, season the chicken ahead, and cook the chicken later the same day or the next. Fully cooked leftovers keep their best texture for 3 to 4 days in the fridge. Reheat with a spoonful of sauce so the edges don’t dry out.
What if the sauce gets too thick in the pan?
Add a tablespoon or two of water and stir it around the edges of the chicken. That loosens the glaze enough to spread without making the chicken soggy. If it starts to darken too fast under the broiler, stop there — sticky brown is the target, not a crust you need to scrape off.
Can I make this without an oven-safe skillet?
Yes. Sear the chicken in a regular skillet, then move it to a baking dish or sheet pan for the oven finish. You lose a little of the pan fond, but the method still gives you browned chicken and a glaze that sets cleanly.
The Chicken That Shows Up on Time
Barbecue chicken does not need a long list to be worth making. It needs heat control, a sauce with enough body to stick, and a cook method that respects both the meat and the sugar in the glaze. Those are small things on paper. On the plate, they’re the difference between chicken that tastes slapped together and chicken that tastes like someone paid attention.
I like this one because it behaves. It browns fast, finishes cleanly, and keeps its juiciness even when the evening is noisy and the rice is taking longer than expected. That’s a useful kind of recipe. Not flashy. Not fussy. Just a pan of chicken that shows up with dinner and doesn’t need apologies.
Juicy BBQ Chicken for Weeknight Dinners — Recipe Card

Recipe Name: Juicy BBQ Chicken for Weeknight Dinners
Description: Boneless chicken thighs are seasoned, seared, glazed with tangy barbecue sauce, and finished in the oven until the outside turns sticky and the inside stays juicy.
Prep Time: 15 minutes
Cook Time: 20 to 25 minutes
Total Time: 35 to 40 minutes
Course: Dinner, Main Course
Cuisine: American
Servings: 4 servings
Calories: About 430 kcal per serving
Ingredients
For the Chicken:
- 2 pounds boneless, skinless chicken thighs, trimmed of excess fat
- 1 tablespoon olive oil
- 1 teaspoon kosher salt
- 1/2 teaspoon black pepper
- 1 teaspoon smoked paprika
- 1 teaspoon garlic powder
- 1 teaspoon onion powder
- 1/2 teaspoon dry mustard
- 1/4 teaspoon cayenne pepper, optional
For the BBQ Glaze:
- 1 cup thick barbecue sauce
- 2 tablespoons apple cider vinegar
- 1 tablespoon honey or packed light brown sugar
- 1 tablespoon Worcestershire sauce
- 1 tablespoon unsalted butter, cut into pieces
For Serving:
- 2 tablespoons chopped parsley or sliced scallions
Instructions
-
Whisk together the barbecue sauce, apple cider vinegar, honey or brown sugar, Worcestershire sauce, and butter in a small bowl.
-
Pat the chicken thighs dry, then season them with olive oil and the salt, pepper, smoked paprika, garlic powder, onion powder, dry mustard, and cayenne if using.
-
Heat a 12-inch oven-safe skillet over medium-high heat. Sear the chicken for 3 minutes on the first side, then flip and sear for 2 minutes on the second side.
-
Brush about half of the glaze over the chicken, then transfer the skillet to a 425°F oven and bake for 8 to 12 minutes, until the thickest piece reaches 165°F.
-
Broil for 1 to 2 minutes, watching closely, until the glaze is dark, sticky, and lightly caramelized.
-
Rest for 5 minutes, spoon on the remaining glaze, and garnish with parsley or scallions before serving.
Notes: Thighs stay juicier than breasts and are more forgiving if dinner runs late. If you use chicken breasts, shorten the oven time and check them early with a thermometer. Reheat leftovers at 325°F covered with foil, with a spoonful of sauce to keep them moist.