
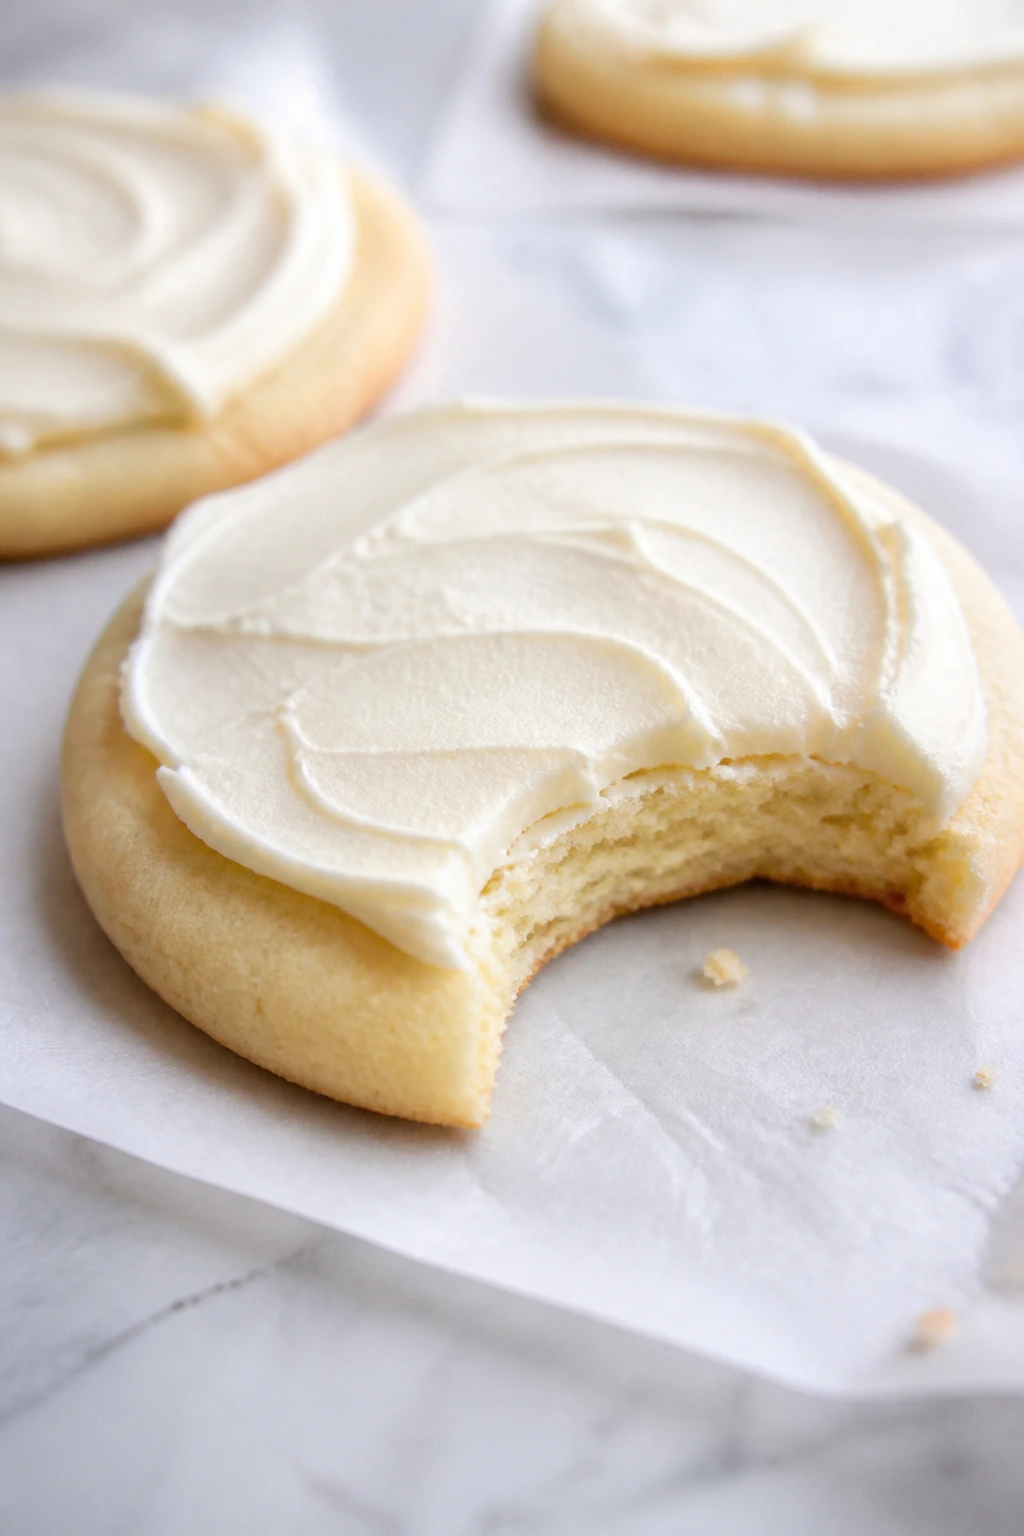
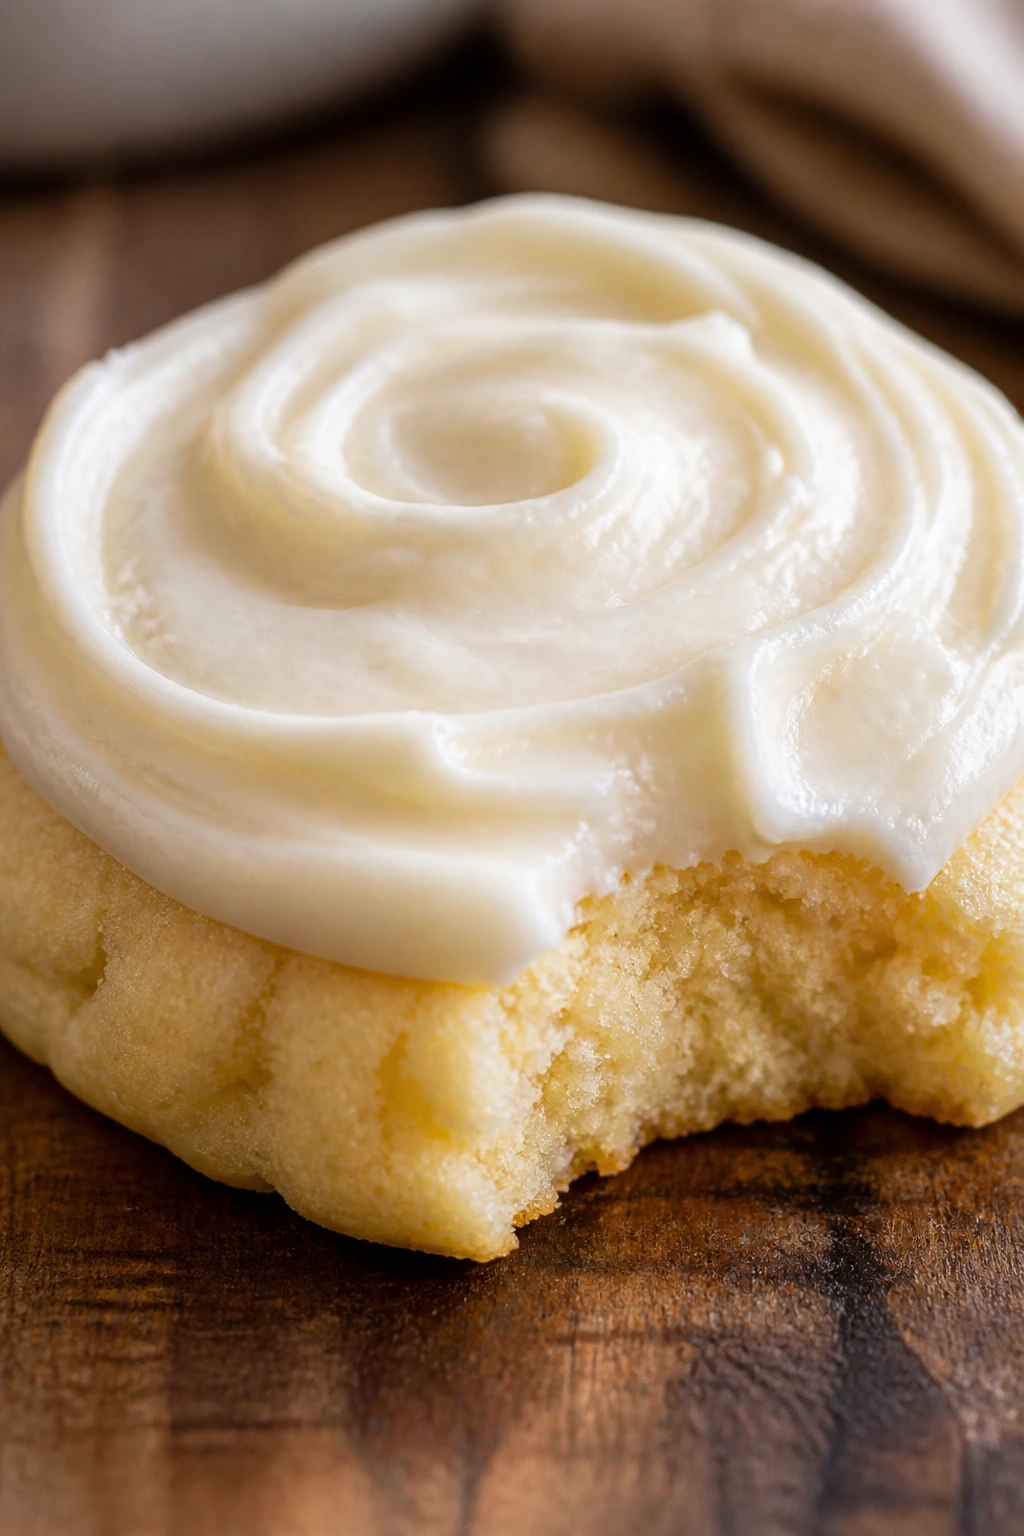
Dry decorated cookies are a letdown. You take the first bite, and instead of a soft crumb and a clean frosting finish, you get something sandy, brittle, and oddly tiring to chew. That is exactly why I keep coming back to moist cookie designs with cream cheese frosting: the cookie stays tender, the frosting brings a cool tang, and the whole thing feels like it was built for actual eating, not just a photo.
There’s a small trick here that makes a big difference. The cookie base should be soft enough to give slightly when you press it with your thumb, but not so airy that the frosting slides around. Cream cheese frosting is a little heavier than royal icing, and that is a gift, not a problem. It has enough body to hold swirls, borders, little rosettes, and messy-elegant swoops, but it still tastes like dessert instead of sweet paste.
What matters most is balance. A little sour cream in the dough, a short bake, and proper cooling keep the cookies plush without making them cakey. A block of cream cheese, softened butter, and a cautious hand with powdered sugar keep the frosting pipeable and clean. Get those two pieces right, and the rest becomes the fun part: stripes, dots, flowers, leaves, color blocks, and all the tiny finishing touches that make a tray look deliberate.
Why These Soft Cookies Stay Plush Under Frosting
The softness starts in the dough, not the frosting. That’s the part a lot of decorated-cookie recipes skip over, and then people wonder why the base tastes dry once the sugar goes on top. Here, the cookie leans on butter for flavor, an egg and extra yolk for richness, and a spoonful of sour cream for moisture. That combination gives you a cookie that bakes up flat enough to decorate but still keeps a tender center after it cools.
There’s also a reason the bake time is short. At 350°F, these cookies should come out when the edges are just set and the bottoms are barely kissed with gold. If you wait for a deep brown rim, you’ve gone too far. The middle will keep cooking on the sheet pan for a minute or two after it leaves the oven, so the goal is pale, set, and soft — not crisp.
Cream cheese frosting helps in a second way. Its slight tang cuts the sweetness, which means you do not need to pile it on as thickly as a buttercream glaze. That matters for structure. A heavy frosting cap can drag on a fragile cookie, especially if you’re piping borders or layering colors. A moderate swirl, held by chilled cookies and a properly thick frosting, sits neatly and eats cleanly.
One more thing: these cookies hold up better overnight than the average cut-out cookie. The frosting settles, the crumb relaxes, and the flavor gets rounder. Not soggy. Just less sharp, in the best way.
Why You’ll Keep Reaching for This Recipe
- Soft bite: The dough uses sour cream and an extra yolk, which keep the center tender instead of dry and crumbly.
- Easy to decorate: The cookie bakes flat enough for piping, so borders and shapes stay neat instead of sliding off a puffed surface.
- Tangy frosting: Cream cheese frosting balances the sugar with a cool, slightly sharp finish that keeps each cookie from tasting one-note.
- Flexible designs: One dough can become simple swirls, two-color stripes, floral borders, or a plain finish with sanding sugar.
- Good for advance prep: The dough chills well, the baked cookies freeze well, and the frosting can wait in the fridge for a few days.
- Less fussy than royal icing: You get decoration without the brittle shell and long drying time that royal icing demands.
Timing, Yield, and the Texture To Expect
Yield: 24 to 28 cookies, depending on the size of your cutter
Prep Time: 30 minutes
Cook Time: 10 to 12 minutes
Total Time: about 2 hours 15 minutes, including chilling and cooling
Difficulty: Intermediate — the baking itself is straightforward, but rolling, cutting, and frosting cleanly take a little care.
Chill/Rest Time: 1 hour 20 minutes total
Best Served: at room temperature, once the frosting has set enough to stack or plate
A finished cookie should look soft at the edge and still feel a little springy in the middle. If it browns all the way across, it will taste more like a plain sugar cookie than the plush base this recipe is aiming for. The frosting should spread smoothly, hold a piping line, and set just enough that a finger leaves a soft dent instead of a smear.
The Cookie Dough, Frosting, and Decorating Ingredients
For the Soft Cookie Base:
- 3 cups all-purpose flour, spooned and leveled
- 1 teaspoon baking powder
- 1/2 teaspoon fine salt
- 1 cup unsalted butter, softened to cool room temperature
- 1 cup granulated sugar
- 1 large egg, room temperature
- 1 large egg yolk, room temperature
- 2 tablespoons full-fat sour cream
- 2 teaspoons vanilla extract
- 1/2 teaspoon almond extract, optional but useful
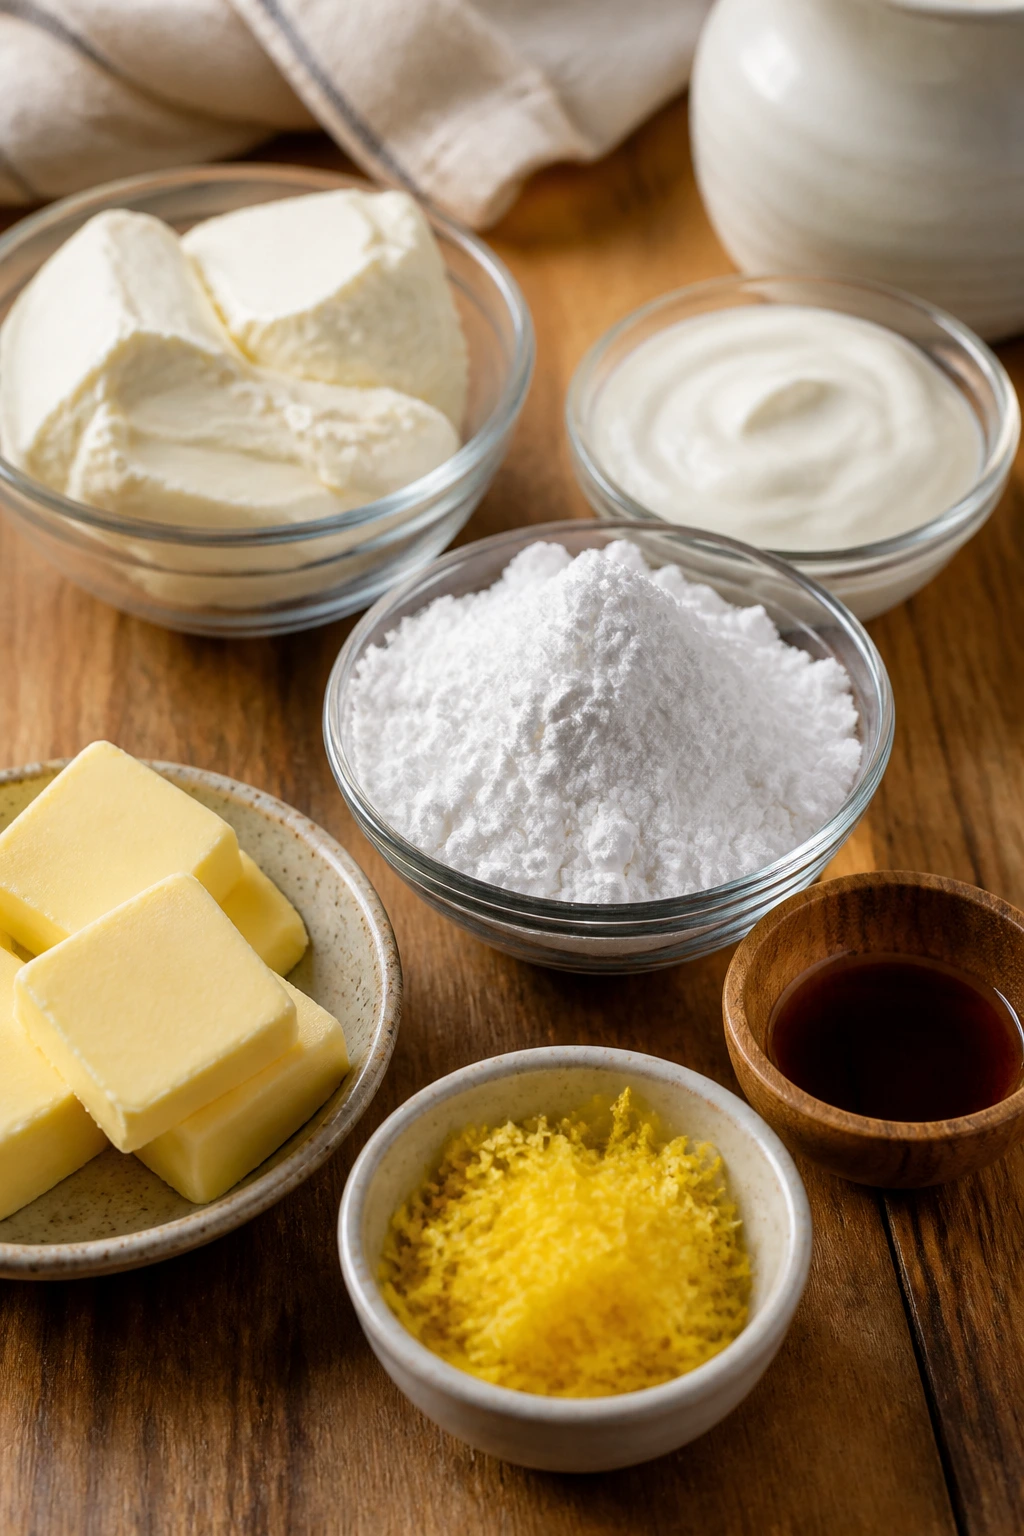
For the Cream Cheese Frosting:
- 8 ounces block cream cheese, softened
- 1/2 cup unsalted butter, softened
- 3 1/2 cups powdered sugar, sifted
- 1 teaspoon vanilla extract
- Pinch of fine salt
- 1 to 2 tablespoons heavy cream or milk, only if needed
For Decorating:
- Gel food coloring, as needed
- Sprinkles, sanding sugar, or edible pearls
- Lemon zest or extra vanilla, optional for finishing
What Each Ingredient Is Doing for the Final Cookie

The Cookie Base
What to use: 3 cups all-purpose flour, 1 teaspoon baking powder, 1/2 teaspoon fine salt, 1 cup butter, 1 cup sugar, 1 egg, 1 egg yolk, 2 tablespoons sour cream, 2 teaspoons vanilla, and a small splash of almond extract if you like that bakery-cookie flavor.
Preparation: Let the butter soften until it dents under a fingertip but still holds its shape. The egg and yolk should come to room temperature so the dough mixes smoothly instead of curdling at the edges.
Substitutions: Plain Greek yogurt can replace the sour cream, and the almond extract can be skipped if you want a pure vanilla cookie. If you need a slightly less rich dough, use one whole egg instead of the egg plus yolk, but the cookie will lose some softness.
Tips: The sour cream is small in quantity, but it matters more than it looks like it should. It keeps the cookie from drying out at the edges, especially after a night in the fridge.
The Cream Cheese Frosting
What to use: 8 ounces block cream cheese, 1/2 cup butter, 3 1/2 cups powdered sugar, vanilla, salt, and a little cream only if the frosting needs loosening.
Preparation: Soften the cream cheese and butter fully before you beat them. If either one is cold, the frosting will turn lumpy and you’ll keep chasing those little soft-white bits around the bowl.
Substitutions: Mascarpone gives a milder, richer frosting, though it costs more and tastes less tangy. For a dairy-free version, use plant-based cream cheese and plant butter, but expect a slightly softer finish.
Tips: Start with 3 cups powdered sugar, then stop and check texture. Too much sugar makes the frosting chalky and heavy, which is fine for thick borders but awkward for delicate piping.
The Decorations
What to use: Gel coloring, sanding sugar, and small sprinkles if you want texture or contrast.
Preparation: Portion the frosting into small bowls before coloring so you do not accidentally tint the whole batch navy when you meant to make pale blue.
Substitutions: Natural color powders can work, though they often mute the frosting’s brightness and may add a little grit. If you want a cleaner look, stick with gel color.
Tips: Use toothpicks to add color a little at a time. Liquid food coloring thins cream cheese frosting fast, and then the designs stop holding their edges.
The Tools That Make the Shapes Easier
- Stand mixer or hand mixer: Either one works; the frosting just needs enough air to turn smooth.
- Large mixing bowls: One for the dough, one for the frosting, and a spare if you’re dividing frosting by color.
- Whisk and rubber spatula: The whisk handles dry ingredients, and the spatula scrapes the bowl clean so nothing hides in the bottom.
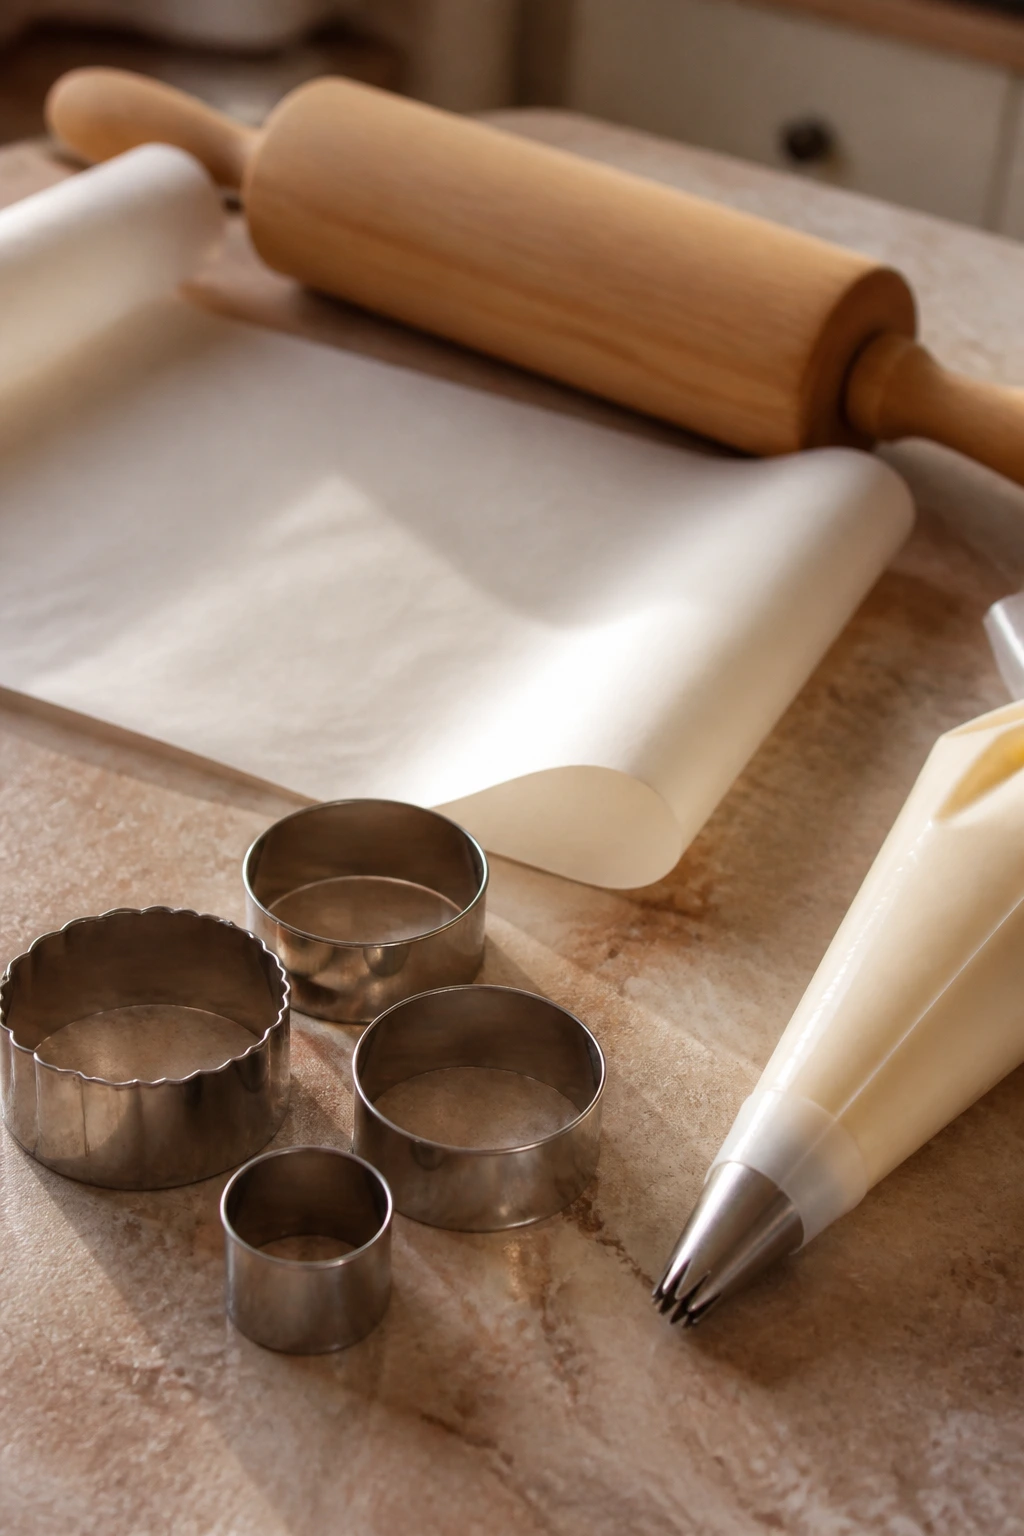
- Rolling pin: A straight, fairly heavy rolling pin gives you better control over thickness.
- Parchment paper: Use it under and over the dough when rolling; it saves you from adding too much flour.
- Cookie cutters, 2 to 3 inches wide: Smaller cutters are easier to frost neatly, but larger ones give more room for designs.
- Baking sheets: Rimmed sheets help prevent warping and make the pan easier to rotate.
- Cooling rack: Necessary. Frosting warm cookies is how you get sliding, smearing, and regret.
- Offset spatula or small butter knife: The offset spatula gives the cleanest frosting surface.
- Piping bags and tips: A round tip and a small star tip cover most designs; disposable bags make cleanup easier.
Mixing the Dough Without Making It Tough
Prep the pan and oven:
- Preheat the oven to 350°F (175°C) and place a rack in the center.
- Line two baking sheets with parchment paper. If you skip the parchment, the cookie bottoms can darken faster than the tops.
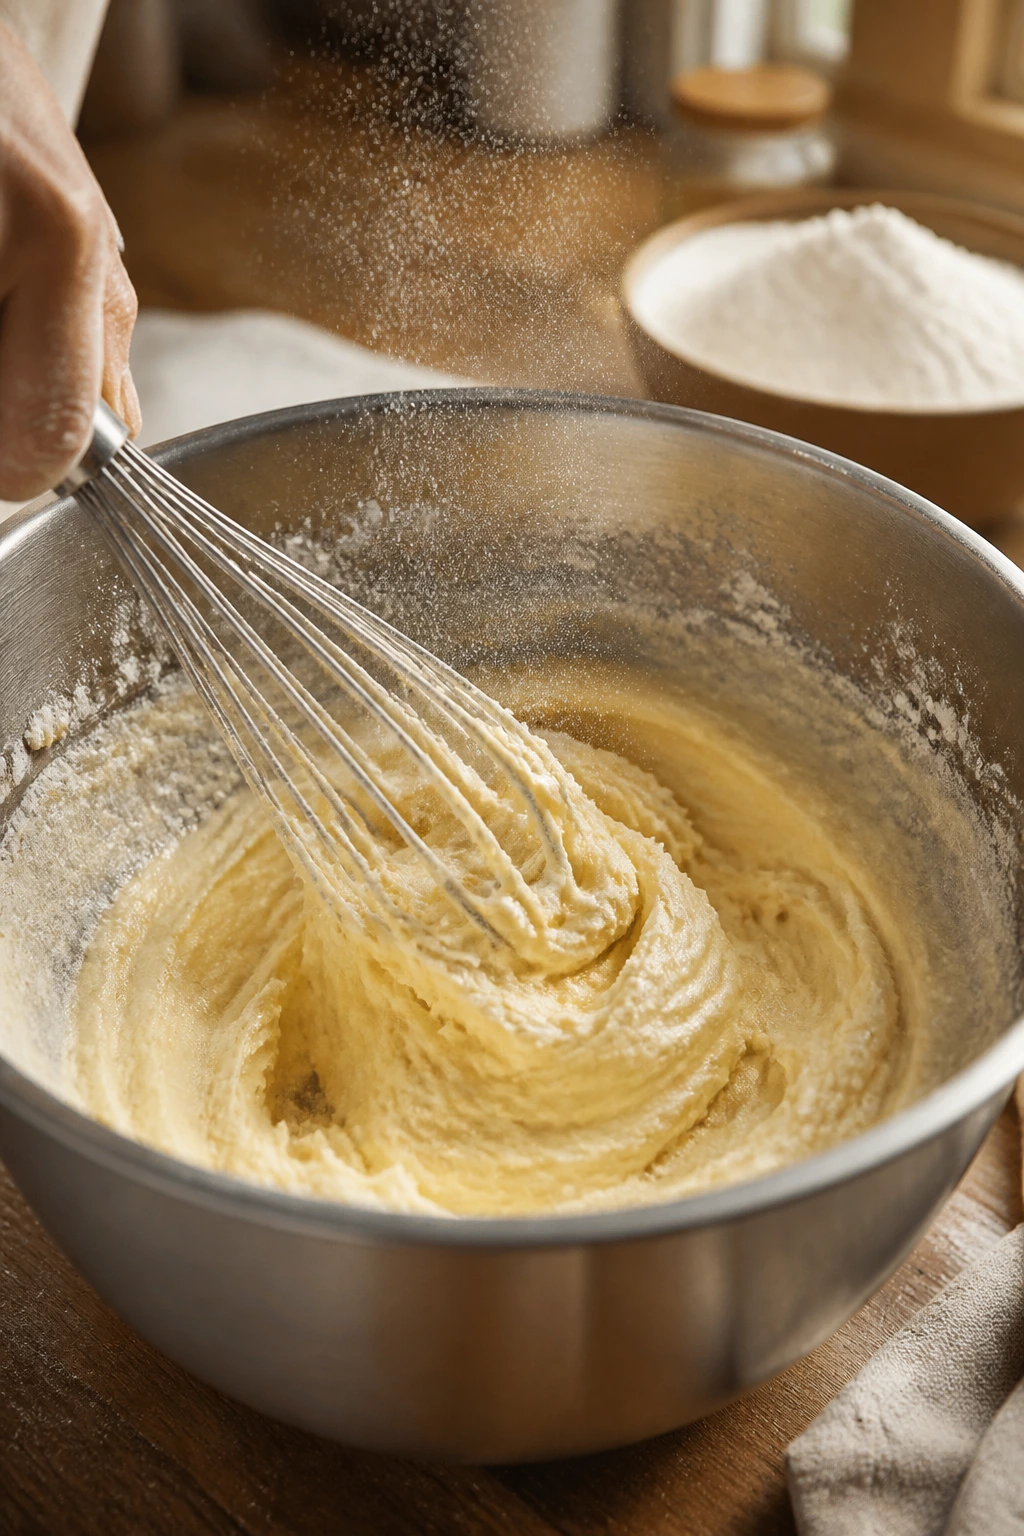
Build the dough: 3. In a medium bowl, whisk together the 3 cups flour, baking powder, and salt until the mixture looks even and no clumps of baking powder remain. 4. In a large bowl, beat the butter and sugar on medium speed for 2 to 3 minutes, until the mixture turns pale and fluffy. It should look a little billowy, not greasy. Do not rush this step — the air you beat in here helps the cookies stay light. 5. Beat in the egg, egg yolk, sour cream, vanilla, and almond extract just until smooth. Scrape the bowl once or twice so the butter mixture at the bottom does not stay streaky. 6. Add the dry ingredients in two additions and mix on low speed until the flour disappears. Stop as soon as the dough holds together. Overmixing at this stage makes the cookies dense and a little bready.
The dough should feel soft and slightly tacky, like modeling clay that has been left out for a minute. If it looks dry and shaggy, give it one more gentle mix, not a handful more flour. That extra flour is the fastest route to a dry cookie.
Rolling, Cutting, and Baking the Cookies

Chill and shape: 7. Divide the dough in half, flatten each half into a disk, wrap tightly, and chill for at least 1 hour. If the dough is very warm in your kitchen, give it a little longer. Cold dough cuts cleaner and spreads less. 8. Roll one disk between two sheets of parchment to about 1/4 inch thick. If you like thinner cookies for more delicate piping, go closer to 3/16 inch, but do not make them paper-thin or they will overbake around the edges. 9. Cut shapes with your cookie cutters and transfer them to the lined baking sheets, leaving about 1 inch between cookies. Re-roll the scraps once; after that, the dough gets tougher and starts to fight back. 10. Chill the cut shapes on the sheet pan for 10 to 15 minutes, then bake for 10 to 12 minutes, until the edges look set and the bottoms are only faintly golden. The centers should not brown. They should look just dry enough to hold their shape.
Let the cookies rest on the sheet pan for 5 minutes before moving them to a rack. They are fragile while hot, and one careless spatula slide can bend a fresh shape. Once they cool, the texture turns soft and even — the kind that makes the frosting feel like a finish instead of a cover-up.
Whipping Cream Cheese Frosting That Holds Its Shape
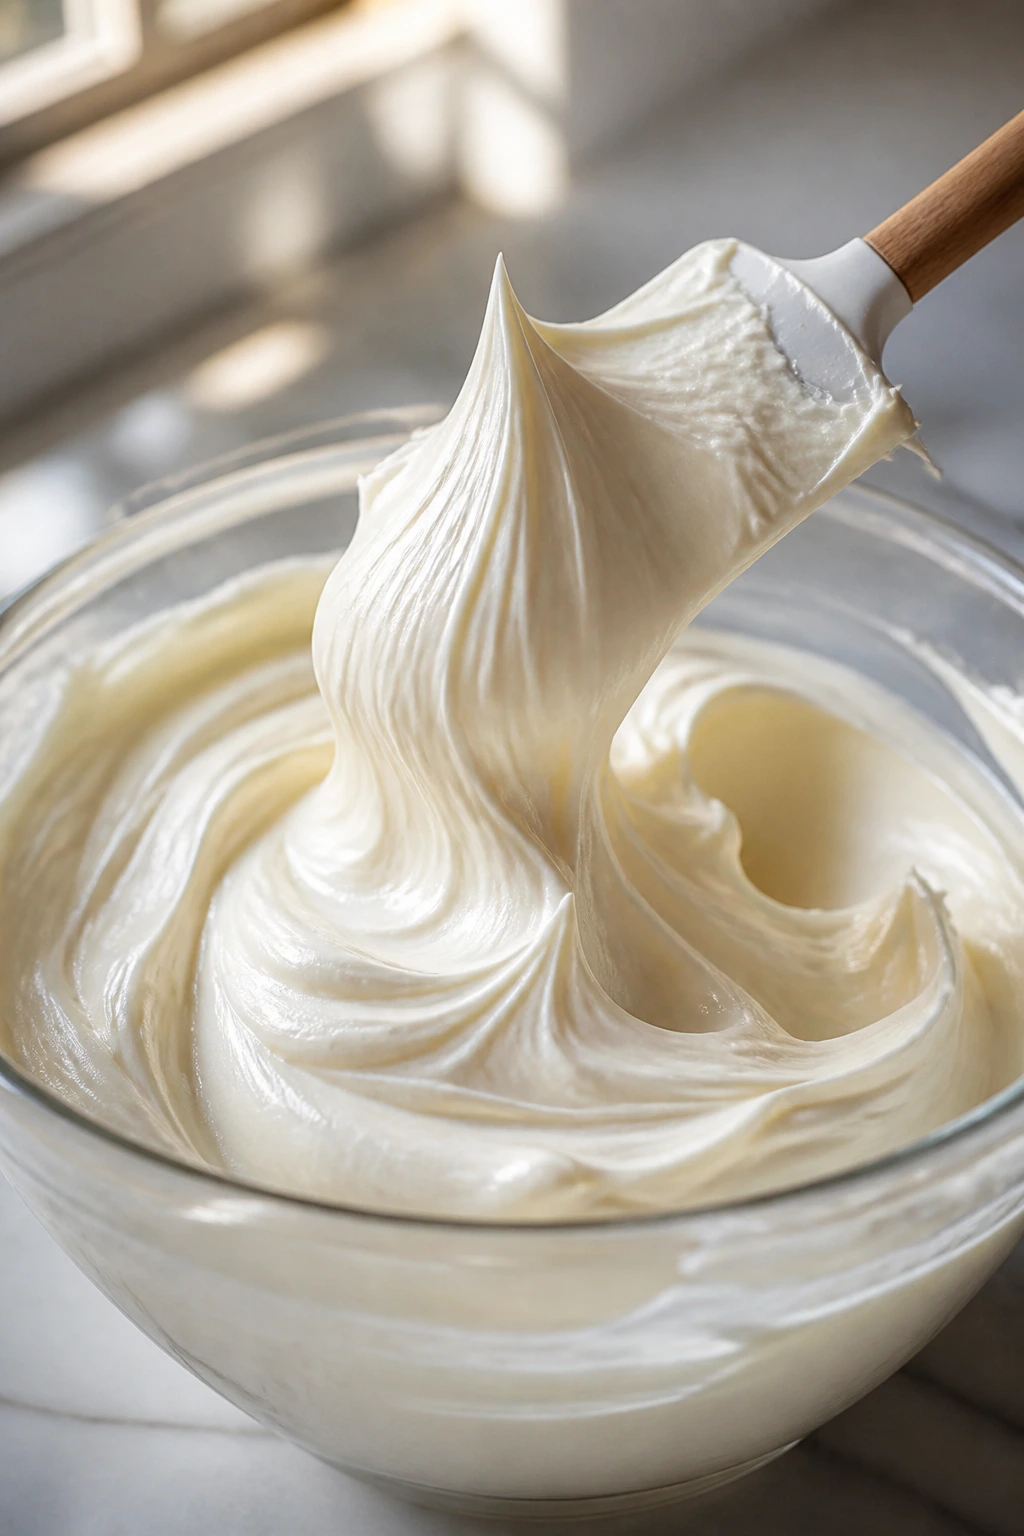
Make the frosting: 11. Beat the cream cheese and butter together on medium speed for 2 minutes, until the mixture is smooth and no pale lumps remain. Scrape the bowl well; cream cheese likes to hide in the corners. 12. Add 3 cups powdered sugar, vanilla, and salt. Beat on low for 30 seconds, then on medium for another minute, until the frosting looks thick and satiny. Add the remaining powdered sugar a little at a time if you want a firmer texture for piping. 13. If the frosting feels stiff enough to tear when you drag a spatula through it, add 1 teaspoon of cream at a time until it loosens just enough to spread. If it feels soft and glossy like pudding, chill it for 10 to 15 minutes before piping.
A good cream cheese frosting should be dense enough to hold a line and soft enough to spread without tearing the cookie. That middle ground matters. Too loose, and your border becomes a puddle. Too stiff, and the piping tip leaves sharp, brittle ridges instead of smooth curves.
Designing the Cookies: Swirls, Borders, Florals, and Lines
- Transfer the frosting to piping bags or keep it in bowls for spreading. For a clean, simple finish, use an offset spatula to spread a thin, even layer over each cooled cookie, then drag the spatula in one direction for a tidy surface.
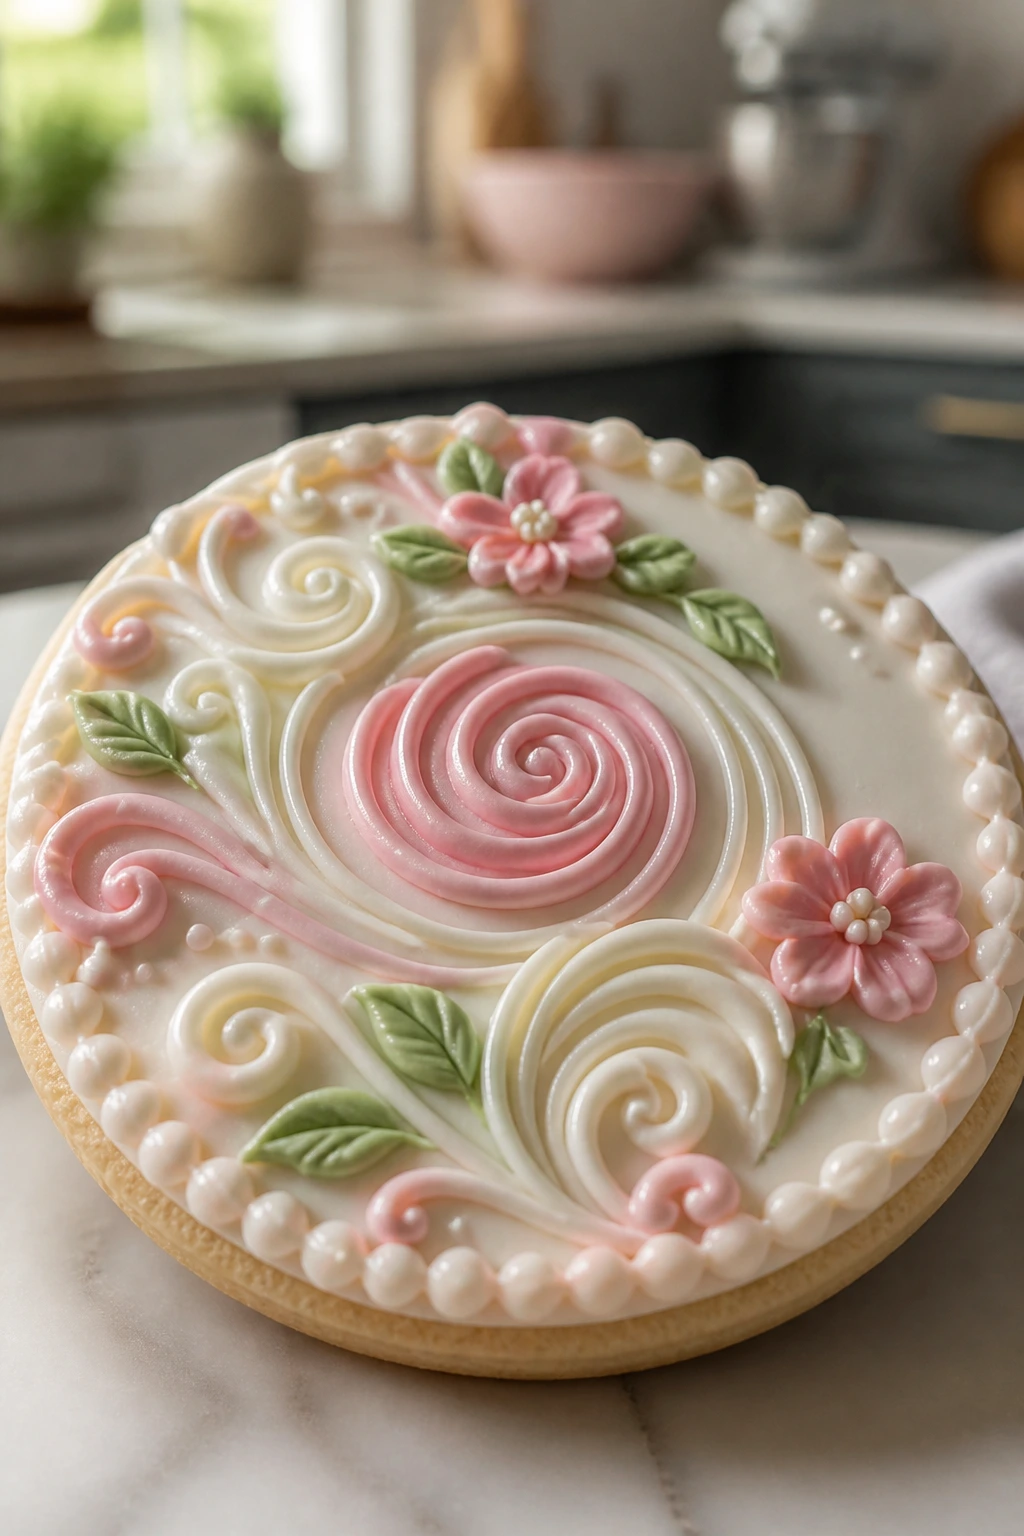
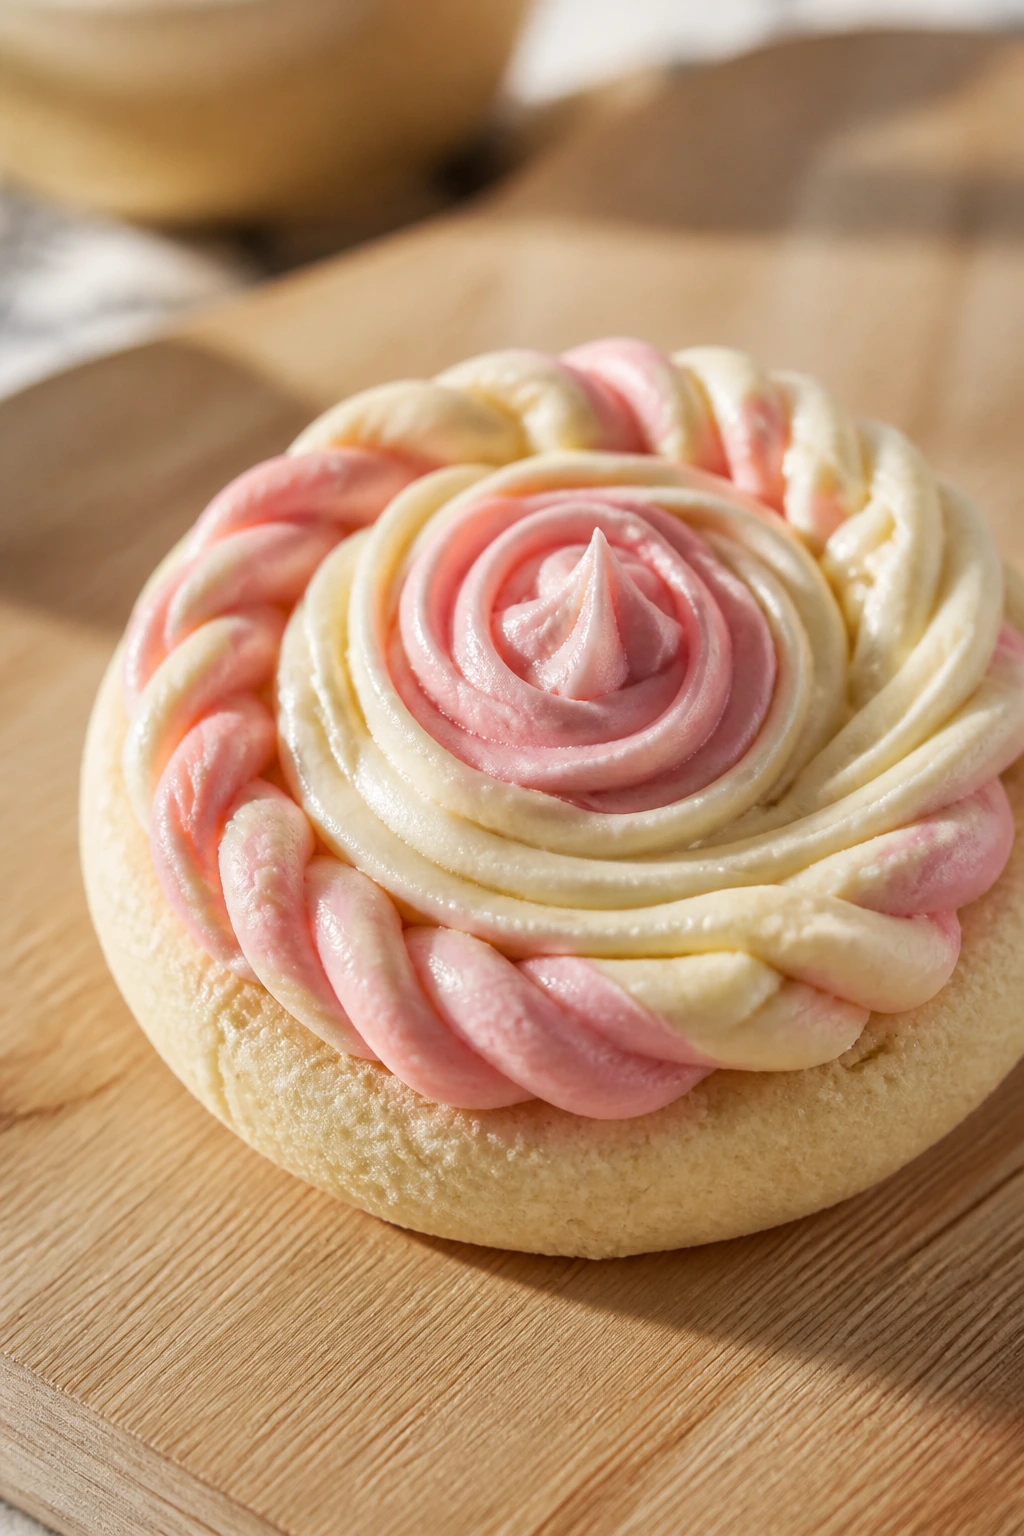
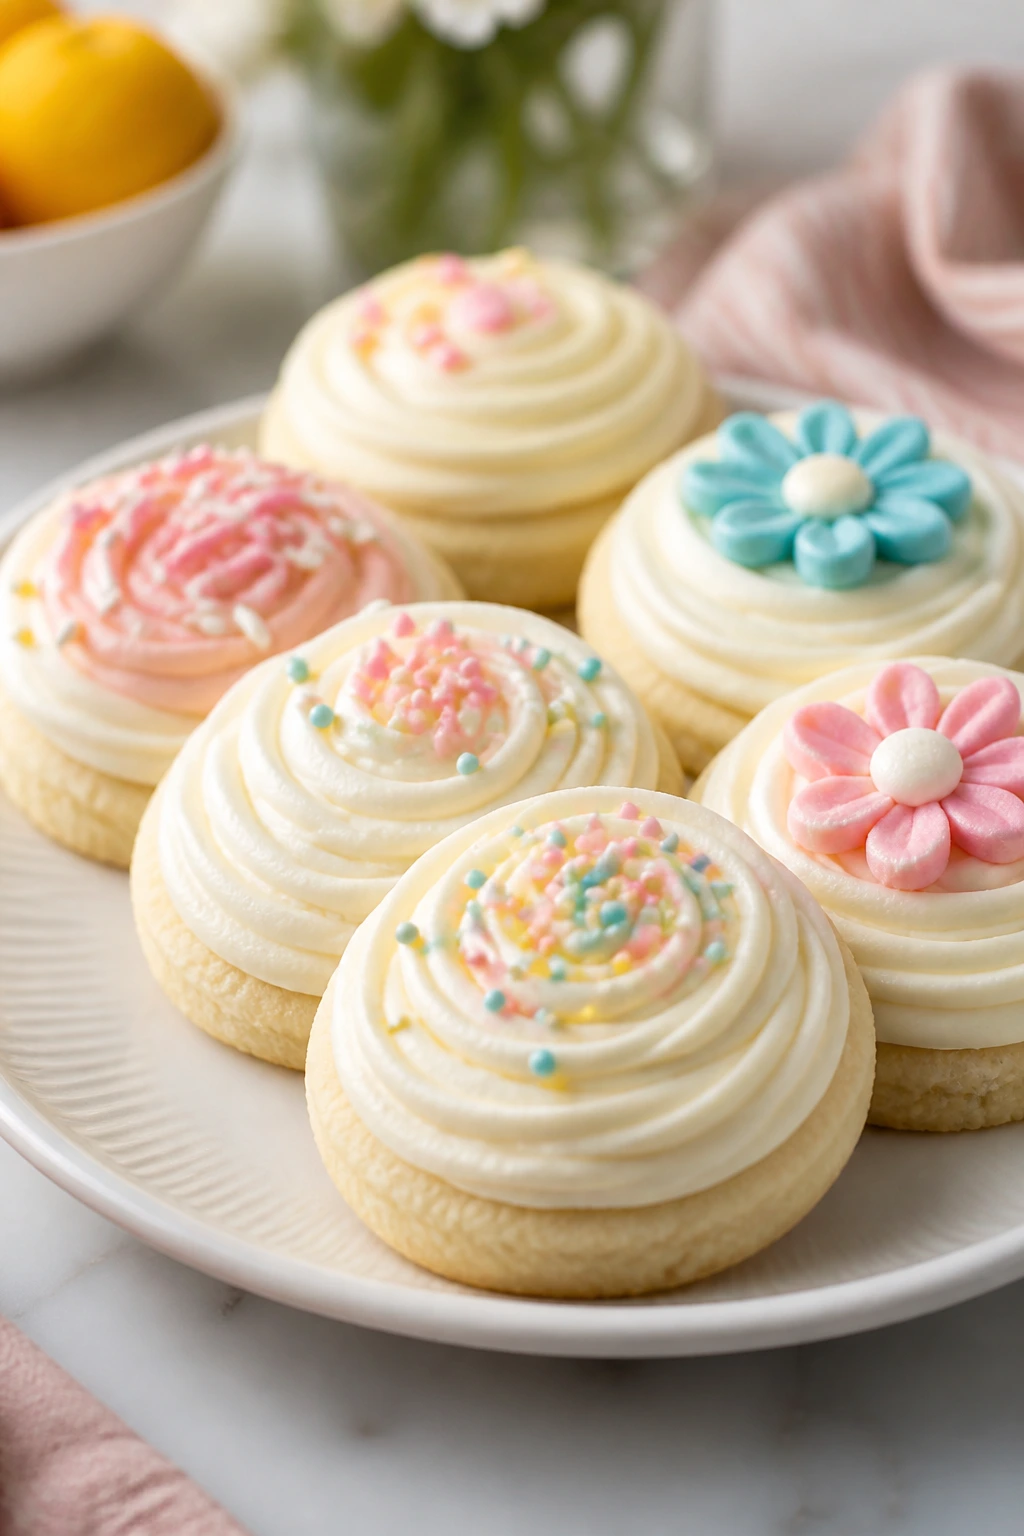
- For piped designs, tint small portions of frosting with gel color and pipe borders, dots, shells, or a quick spiral in the center. If you want a floral look, use a small star tip and pipe short petals around the edge, then finish with a dot of contrasting color in the center. Work on fully cooled cookies only — even a little warmth softens the frosting and destroys sharp lines.
I like to think of this part as the place where the cookie stops being a cookie and starts acting like a tiny plate. A plain white swirl feels clean and classic. A two-tone border looks more polished. A set of three colors — pale pink, cream, and a muted green — can make the tray feel almost too pretty to eat, which is a fine problem to have.
If you’re decorating with children or just want a looser look, keep it simple. Swirl on frosting with a spoon, drag through it with the back of the spoon to make ridges, and scatter a few sanding sugar crystals over the top. That still counts as a design. It just looks more relaxed.
How to Serve Them Without Smudging the Frosting
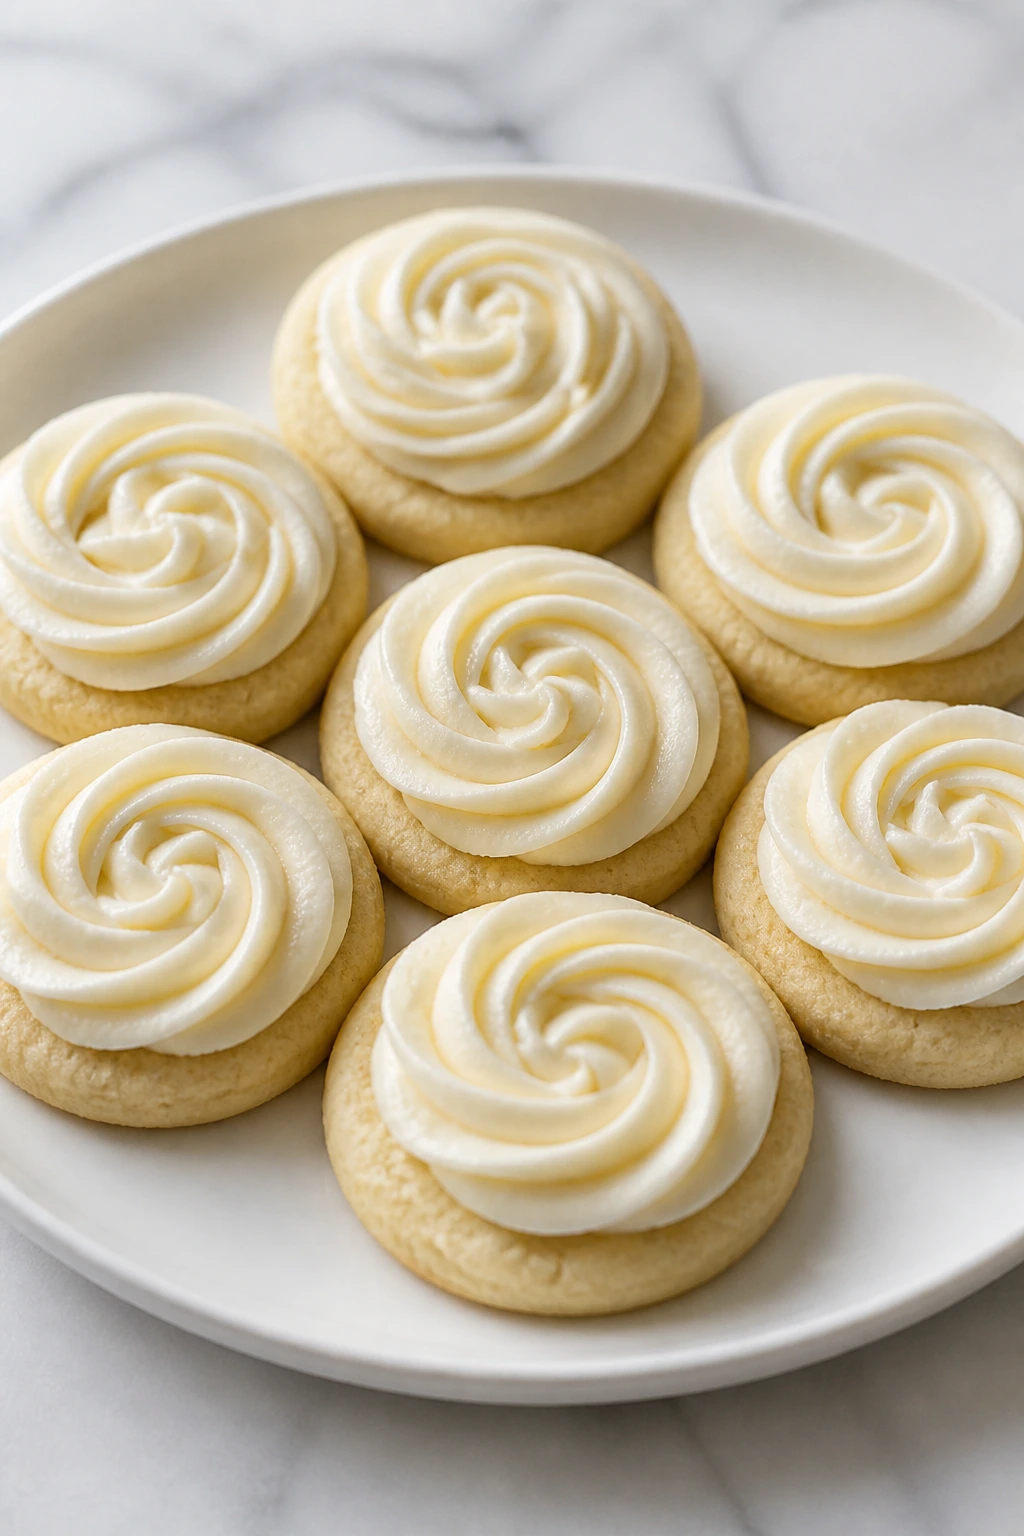
Presentation: Stack the cookies on a flat platter in a single layer if the frosting is freshly piped, or pile them into a shallow mound once the frosting has had 20 to 30 minutes to set. A white plate shows off color better than a patterned one, especially if you’ve used pale pastels or one clean shade of buttercream.
Accompaniments: Serve these with fresh berries, a small bowl of orange segments, or a pot of black tea. They also sit nicely beside espresso, hot chocolate, or a cold glass of milk if you want the simplest pairing possible. I especially like them after a savory meal with roast chicken or a creamy pasta; the tang in the frosting gives the finish a little lift.
Portions: Plan on 1 to 2 cookies per person if the cookies are around 3 inches wide. For a dessert tray, 24 cookies usually disappears faster than people expect, so if the cookies are for a crowd, make the larger yield and keep the shapes modest. Bigger cookies look generous, but they also need more frosting and more fridge space.
Beverage Pairing: Use dark coffee, chai, or cold milk for the standard route. If you’ve added lemon zest or a citrus garnish, a cup of Earl Grey makes a cleaner match than plain tea.
Practical Tips and the Common Mistakes That Flatten Soft Cookies
Flavor Boost: Add 1 teaspoon lemon zest to the frosting if you want the sweetness to feel lighter. It does not make the cookies taste lemony; it just keeps the cream cheese from reading flat.
Time-Saver: Roll the dough between parchment sheets before chilling. That saves you from wrestling a cold disk into a circle later, and the rolled dough also chills more evenly.
Pro Move: Chill the cut shapes on the baking sheet for 10 minutes before they go in the oven. That one small pause helps the outlines stay sharp, especially if your kitchen runs warm.
Color Control: Tint frosting in tiny amounts with gel color and mix slowly. If you whip the color hard, the frosting can loosen, and the shade often darkens after it sits for a few minutes.
Make-It-Yours: If you like a less sweet finish, leave the frosting on the thinner side and decorate with toasted coconut, crushed freeze-dried raspberries, or a dusting of sanding sugar instead of a full buttercream cap.
Common mistakes to avoid
- Butter too soft in the dough: If it is nearly melted, the cookies spread and lose crisp edges. The fix is simple: soften the butter until it dents, then stop.
- Adding too much flour while rolling: Extra flour looks harmless, but it dries the dough and creates a dusty, dull finish. Roll between parchment and use only a light bench dusting if needed.
- Baking until deeply golden: These are meant to stay pale. Once the edges brown all the way through, the cookie will taste dry under frosting.
- Frosting warm cookies: Warm cookies melt cream cheese frosting fast. The result is a glossy slide instead of a design, and there is no easy rescue except chilling the whole tray.
- Using tub cream cheese: Spreadable cream cheese contains extra moisture and stabilizers that make frosting soft and a little slippery. Block cream cheese gives a firmer, cleaner finish.
- Skipping the chill after cutting: The cut shapes spread, especially at the corners. Ten minutes in the fridge is a small price for neat edges.
Flavor Variations and Design Swaps That Still Taste Balanced

Lemon Meadow Cookies: Add 1 tablespoon lemon zest to the dough and another teaspoon to the frosting. The cookies taste brighter, and the tart edge works well with pale yellow piping or a simple white swirl.
Spiced Tea Cookies: Stir 1 teaspoon cinnamon and 1/4 teaspoon nutmeg into the flour, then decorate with a dusting of cinnamon sugar instead of bright sprinkles. This version feels warmer and a little more old-fashioned, which I like with dark coffee.
Chocolate Velvet Shapes: Replace 1/4 cup of flour with unsweetened cocoa powder and add an extra teaspoon of sour cream if the dough feels dry. The frosting can stay vanilla, or you can tint it softly pink for contrast. Do not overdo the cocoa, or the cookie loses its soft-buttery character.
Berry Pink Finish: Fold 1 to 2 teaspoons freeze-dried strawberry powder into the frosting for color and flavor without thinning it. This works especially well for hearts, flowers, or simple round cookies with a ring of piped dots.
Dairy-Free Frosted Cut-Outs: Use plant butter and a dairy-free cream cheese block, then chill the frosting a little longer before piping. It will not set quite the same way as the dairy version, but it still makes a tidy decorated cookie if the frosting stays cold.
Storing, Freezing, and Making Them Ahead
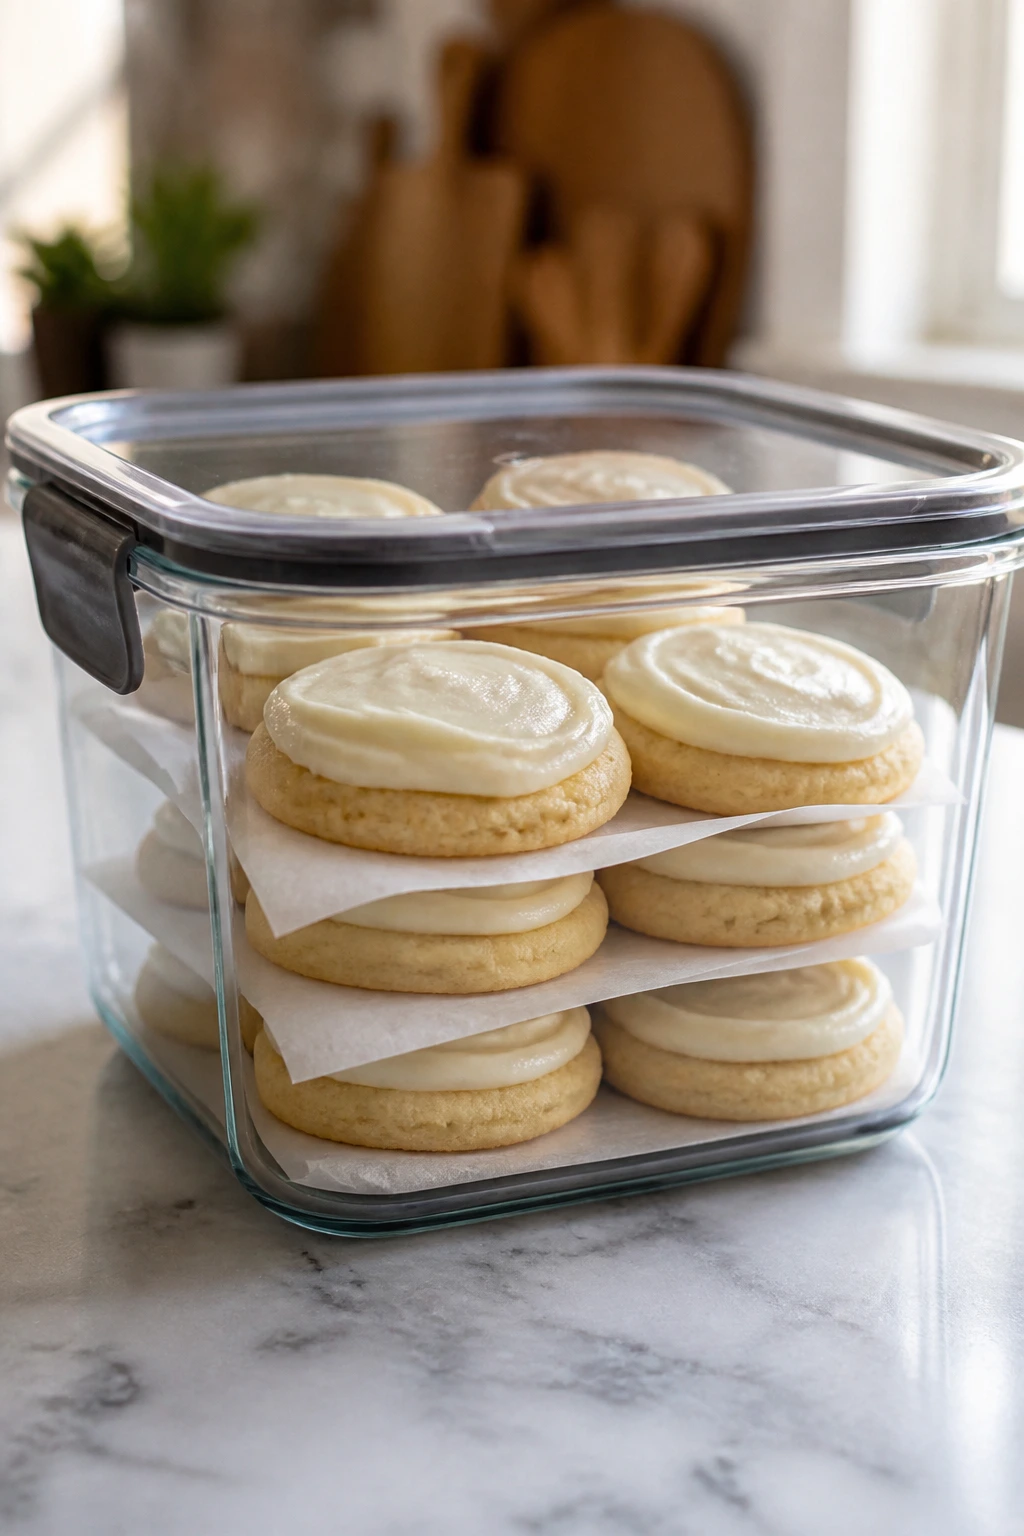
Cream cheese frosting changes the storage rules a little, and it’s better to be honest about that than to pretend the tray can sit on the counter forever. Unfrosted cookies keep well in an airtight container for 2 days at room temperature or up to 2 months in the freezer. Layer parchment between them so the edges do not scrape each other smooth.
Frosted cookies belong in the refrigerator if they are not being served within 2 hours. Once chilled, they keep for 3 to 4 days in a sealed container. Put parchment between layers, but wait until the frosting has firmed up first; otherwise, the paper will peel off the swirls when you remove it.
If you want to freeze frosted cookies, freeze them on a tray until the frosting hardens, about 1 hour, then stack them carefully in a freezer container with parchment between the layers. They keep for up to 1 month this way. Thaw them in the refrigerator first so the frosting does not sweat, then bring them to room temperature for about 20 minutes before serving.
The dough also makes ahead beautifully. You can refrigerate the wrapped dough disks for 48 hours before rolling, or freeze them for 2 months. Thaw overnight in the fridge before rolling. If you already cut the shapes, freeze them flat on a sheet pan and bake straight from frozen, adding 1 to 2 minutes to the bake time.
Questions Bakers Ask Before They Start Decorating
Can I make these cookies without sour cream?
Yes, but the texture changes a little. Plain Greek yogurt is the closest substitute and keeps the same gentle tang. If you leave it out entirely, the cookies lean drier and lose some of that soft middle that makes this recipe worth baking.
Why did my cookies spread?
The usual culprit is warm dough or butter that was too soft when you mixed it. Chilling the dough for the full hour, then chilling the cut shapes again before baking, usually fixes the problem. A warm baking sheet can also encourage spreading, so let pans cool between batches.
Can I pipe cream cheese frosting, or does it have to be spread?
You can pipe it if the frosting is thick enough. Use block cream cheese, keep the powdered sugar ratio high enough, and chill the bowl for 10 minutes if the frosting feels loose. Small round tips and star tips work better than large open tips, which can make the frosting slump.
Do these cookies need to be refrigerated after frosting?
Yes, if they will sit out longer than 2 hours. Cream cheese frosting is not a room-temperature all-day frosting, and it’s better to keep the tray chilled until just before serving. Let the cookies sit out briefly before eating so the frosting softens and the flavor opens up.
Can I freeze decorated cookies?
Yes, though they freeze best once the frosting is firm. Freeze them in a single layer first, then store them with parchment between layers. The designs will not be quite as crisp after thawing, but the flavor and texture hold up well.
What if my frosting is grainy?
That usually means the cream cheese was too cold or the powdered sugar was not sifted. Beat the cream cheese and butter until smooth before adding sugar, and sift the sugar if it tends to clump. If it still looks rough, a short rest at room temperature followed by a quick remix usually helps.
Can I make these as drop cookies instead of cut-outs?
Absolutely. Scoop rounded tablespoons of dough onto the sheet pan and flatten them slightly with your palm before baking. They’ll be a little more rustic and bake a minute or two faster, which is handy if you want the same flavor without the cutter step.
A Tray Worth Bringing Out

There’s a reason soft cookies with cream cheese frosting keep showing up at birthday tables, school parties, and family gatherings: they eat like a real dessert, not a sugar stunt. The cookie stays plush. The frosting brings tang and structure. And the whole thing gives you room to decorate without needing a graduate degree in piping.
I like recipes that give you a little control back, and this one does exactly that. You can keep it plain with a smooth vanilla swirl, or you can lean into color and make each cookie look like a tiny postcard. Either way, the important part is the bite — soft, cool, lightly sweet, and gone from the plate a little too quickly.
Moist Cookie Designs with Cream Cheese Frosting — Recipe Card
Recipe Name: Moist Cookie Designs with Cream Cheese Frosting
Description: Soft vanilla cut-out cookies with a plush crumb and a tangy cream cheese frosting that pipes cleanly or spreads into neat designs. The cookies stay tender for days and hold color, borders, and simple decorative finishes well.
Prep Time: 30 minutes
Cook Time: 10 to 12 minutes
Total Time: about 2 hours 15 minutes, including chilling and cooling
Course: Dessert, Cookie
Cuisine: American
Servings: 24 to 28 cookies
Calories: about 280 kcal per cookie
Chill/Rest Time: 1 hour 20 minutes
Best Served: at room temperature, after the frosting has set
Ingredients
For the Soft Cookie Base:
- 3 cups all-purpose flour, spooned and leveled
- 1 teaspoon baking powder
- 1/2 teaspoon fine salt
- 1 cup unsalted butter, softened to cool room temperature
- 1 cup granulated sugar
- 1 large egg, room temperature
- 1 large egg yolk, room temperature
- 2 tablespoons full-fat sour cream
- 2 teaspoons vanilla extract
- 1/2 teaspoon almond extract, optional
For the Cream Cheese Frosting:
- 8 ounces block cream cheese, softened
- 1/2 cup unsalted butter, softened
- 3 1/2 cups powdered sugar, sifted
- 1 teaspoon vanilla extract
- Pinch of fine salt
- 1 to 2 tablespoons heavy cream or milk, only if needed
For Decorating:
- Gel food coloring, as needed
- Sprinkles, sanding sugar, or edible pearls, optional
Instructions
- Preheat the oven to 350°F (175°C) and line two baking sheets with parchment paper.
- Whisk together the flour, baking powder, and salt in a medium bowl.
- Beat the butter and sugar in a large bowl for 2 to 3 minutes, until pale and fluffy.
- Beat in the egg, egg yolk, sour cream, vanilla, and almond extract until smooth.
- Mix in the dry ingredients on low speed until the dough just comes together.
- Divide the dough into two disks, wrap, and chill for 1 hour.
- Roll the dough between parchment to 1/4 inch thick and cut into shapes.
- Place the cut cookies on the sheet pans and chill for 10 to 15 minutes.
- Bake for 10 to 12 minutes, until the edges are set and the bottoms are just lightly golden.
- Cool on the sheet pan for 5 minutes, then transfer to a rack to cool completely.
- Beat the cream cheese and butter together until smooth.
- Add the powdered sugar, vanilla, and salt, then beat until thick and satiny; add cream only if needed.
- Tint the frosting with gel color, then spread or pipe onto the cooled cookies.
- Finish with sprinkles, sanding sugar, or simple piped designs, then let the frosting set before stacking.
Notes: Use block cream cheese, not spreadable tub cream cheese. Chill the cut shapes before baking for cleaner edges. Frost only fully cooled cookies, or the designs will slide.