
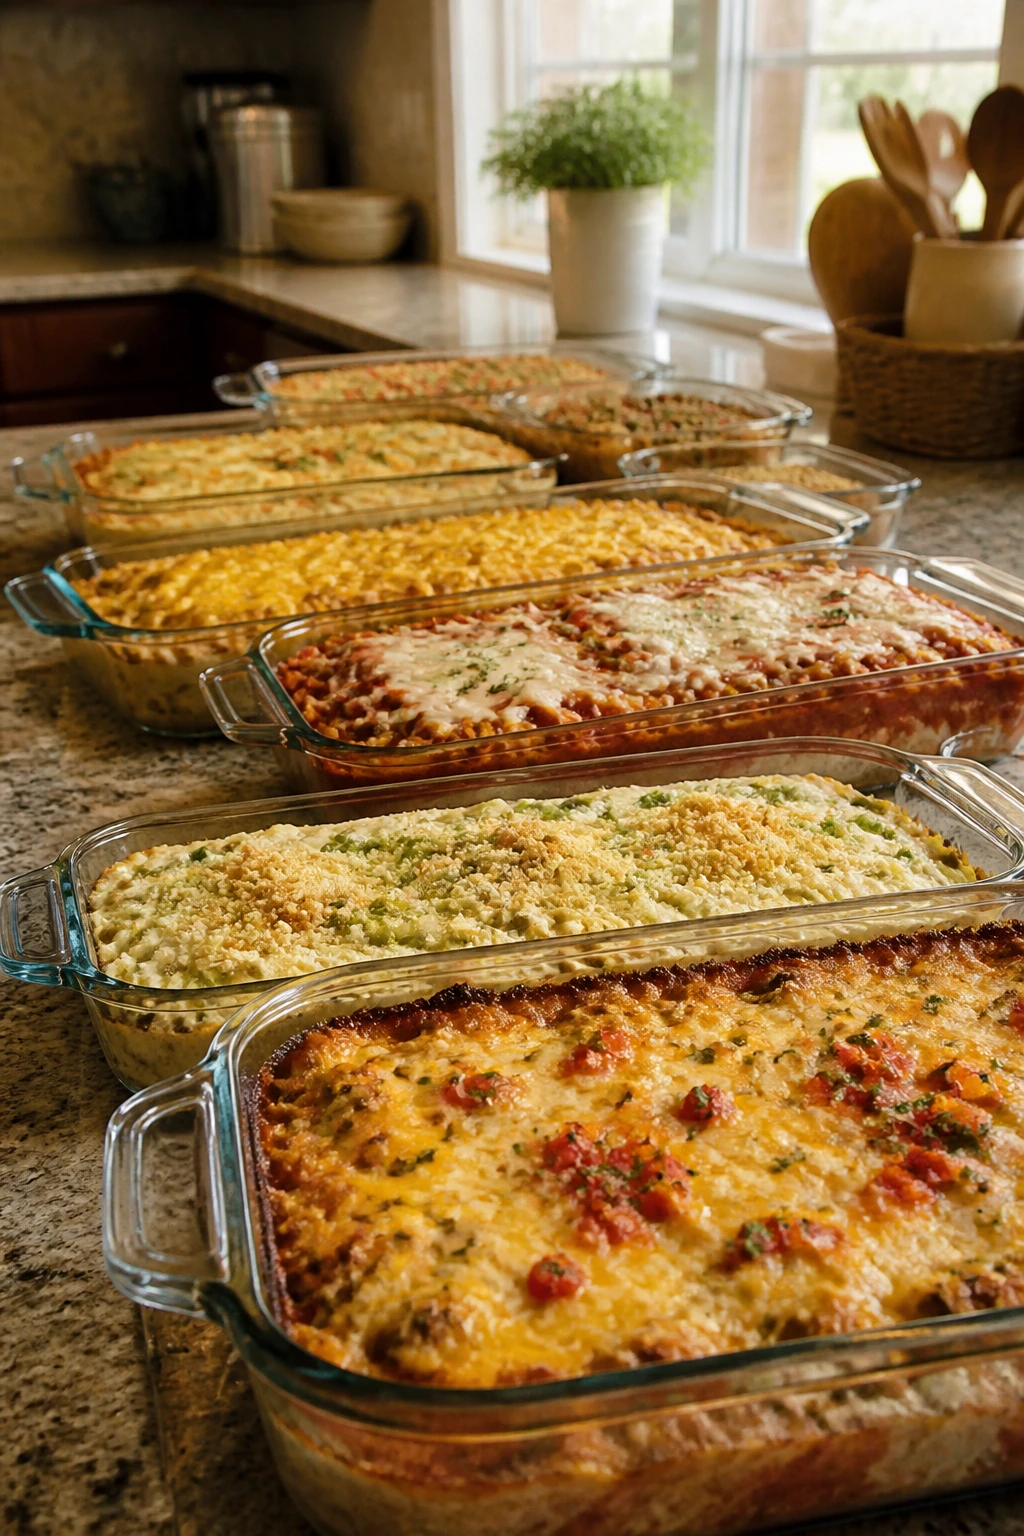
A freezer casserole earns its keep on the nights when one arm is holding a baby and the other is trying to find a clean fork. The best freezer casseroles for new moms are not fussy, not precious, and not trying to impress anybody. They just show up hot, filling, and familiar when the day has already taken more than it gave.
That matters more than people admit. A casserole that thaws badly or turns watery in the oven isn’t comfort food; it’s a disappointment in a beige dish. The recipes below are built with that in mind: thick enough to freeze, sturdy enough to reheat, and balanced enough that dinner doesn’t feel like a soft-serve version of whatever the fridge held yesterday.
One small detail separates the good ones from the forgettable ones. The filling has to be seasoned a little more boldly than you’d season a same-day dinner, because freezing dulls salt, herbs, and heat. That doesn’t mean making everything salty or loud. It means thinking ahead, which is a skill postpartum life quietly rewards.
Why This Collection Saves Real Sanity
-
Make-Ahead Peace of Mind: Every casserole here can be assembled before the meal pressure hits, so dinner is waiting in the freezer instead of living in your head.
-
Familiar Food, Less Effort: These lean on classic flavors—cheddar, marinara, enchilada sauce, potatoes, pasta—because familiar food is easier to eat when sleep is broken.
-
Built for Reheating: Each recipe uses sauces, cheeses, or mashed components that stay tender after freezing instead of drying out into cardboard territory.
-
Family-Friendly by Design: You can feed a partner, older kids, visitors, or yourself with one pan and a side salad. No separate kid meal required.
-
Flexible with What You’ve Got: Most of these casseroles forgive swaps like turkey for beef, spinach for broccoli, or rice for pasta, which is exactly what a half-stocked kitchen needs.
-
Easy to Portion: Several of them freeze well in slices or scoops, so you’re not committed to thawing an entire 9×13 pan for one hungry evening.
Why Freezer Casseroles Work So Well During the First Few Months
The freezer is doing more than storing dinner here. It’s acting like a buffer between a chaotic day and a decent meal, which is a very different job. A good freezer casserole buys time, and time is the scarce ingredient.
The trick is structure. Creamy sauces, cooked pasta that’s still a little firm, mashed potato tops, and saucy rice fillings all handle freezing better than delicate textures. If a casserole depends on crisp edges or a puff pastry shell staying airy for days, it is the wrong tool for this particular job.
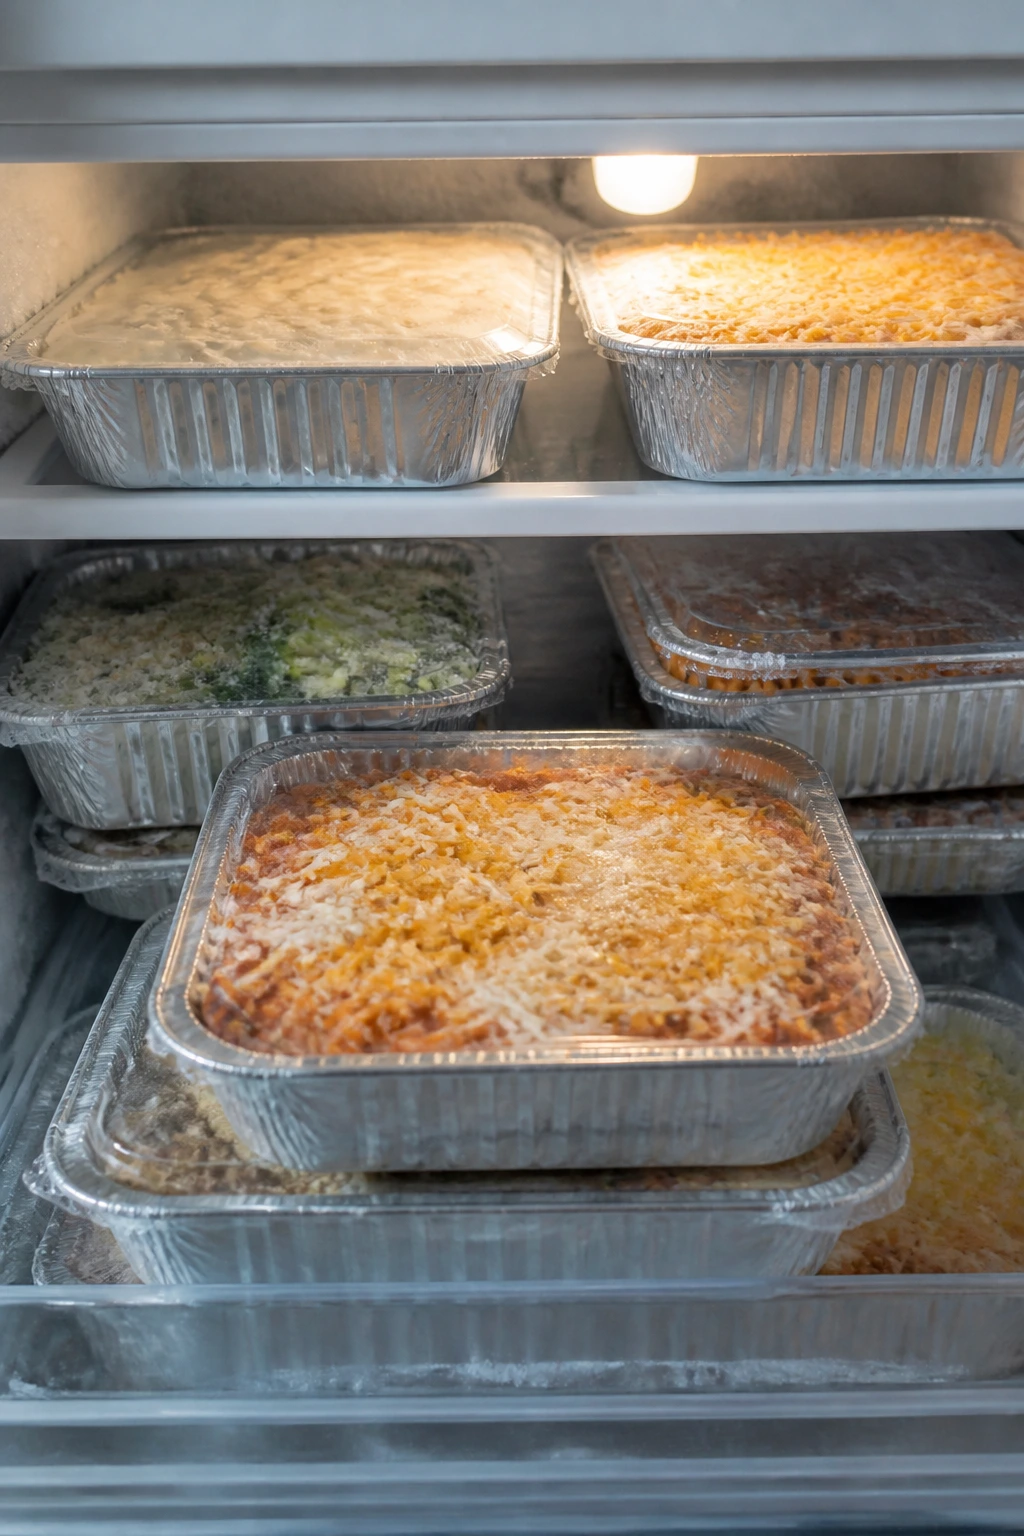
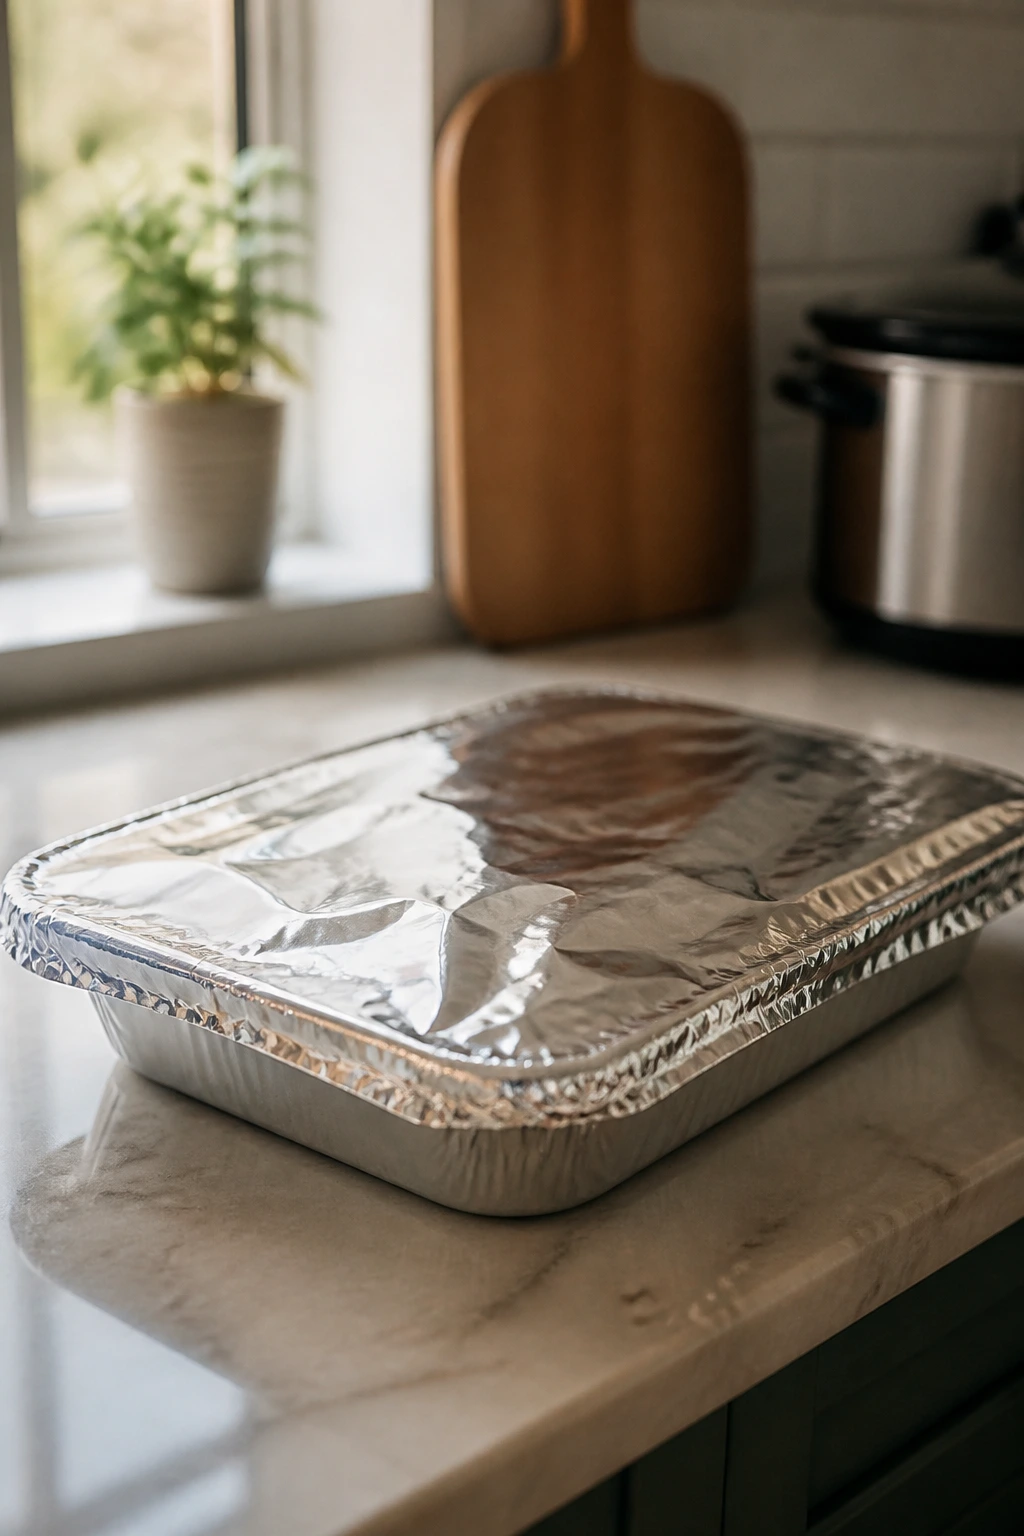
I’m also a believer in pans that leave no room for debate. Disposable aluminum trays are not glamorous, but they make labeling, stacking, and gifting far easier. If someone drops off a meal for you, you want it to be the kind they can freeze or bake without repackaging at midnight.
A final practical note: freeze casseroles flat, label them clearly, and cool them fully before wrapping. Warm food trapped under foil makes ice crystals, and ice crystals become water, and water makes a casserole taste tired.
1. Chicken Broccoli Rice Casserole

This is the casserole that looks like it has its life together, even when the cook definitely does not. Creamy rice, soft broccoli, shredded chicken, and a cheesy top make a pan that smells like dinner the second it starts bubbling. It’s cozy without being bland, and the broccoli gives enough freshness that the whole dish doesn’t feel heavy.
Why It Works
The sauce is thick enough to hold together after freezing, and the rice acts like a sponge in the best possible way. Frozen broccoli works here because it’s already been blanched, which means it softens without turning fibrous or bitter. A mix of sour cream, milk, and condensed soup keeps the casserole rich, while cheddar on top gives you that browned, salty finish people reach for first.
Key Ingredients
- 3 cups cooked shredded chicken
- 3 cups cooked white rice, cooled
- 4 cups frozen broccoli florets, thawed and squeezed dry
- 1 small yellow onion, diced
- 3 cloves garlic, minced
- 1 can (10.5 oz) cream of chicken soup
- 1 cup sour cream
- 1 cup whole milk
- 2 cups shredded sharp cheddar
- 1 teaspoon kosher salt
- 1/2 teaspoon black pepper
- 1/2 teaspoon paprika
Quick Steps
- Preheat and prep: Heat the oven to 375°F and grease a 9×13-inch baking dish.
- Soften the aromatics: Melt 2 tablespoons butter in a skillet over medium heat. Cook the onion for 4 to 5 minutes until translucent, then add the garlic for 30 seconds.
- Build the filling: In a large bowl, stir together the soup, sour cream, milk, salt, pepper, and paprika. Fold in the chicken, rice, broccoli, onion mixture, and 1 1/2 cups cheddar.
- Assemble: Spread the mixture into the prepared dish and smooth the top.
- Bake: Sprinkle on the remaining 1/2 cup cheddar. Bake for 25 to 30 minutes, until bubbling at the edges and hot through.
- Rest: Let it sit for 10 minutes before serving so the rice settles and the sauce thickens a little.
Tips and Variations
- Freezer note: Freeze unbaked, tightly wrapped, for up to 3 months. Thaw overnight before baking for the best texture.
- Texture fix: If the broccoli looks damp after thawing, pat it dry in a clean kitchen towel so the casserole doesn’t turn watery.
- Easy swap: Leftover rotisserie chicken works beautifully and saves a full cooking step.
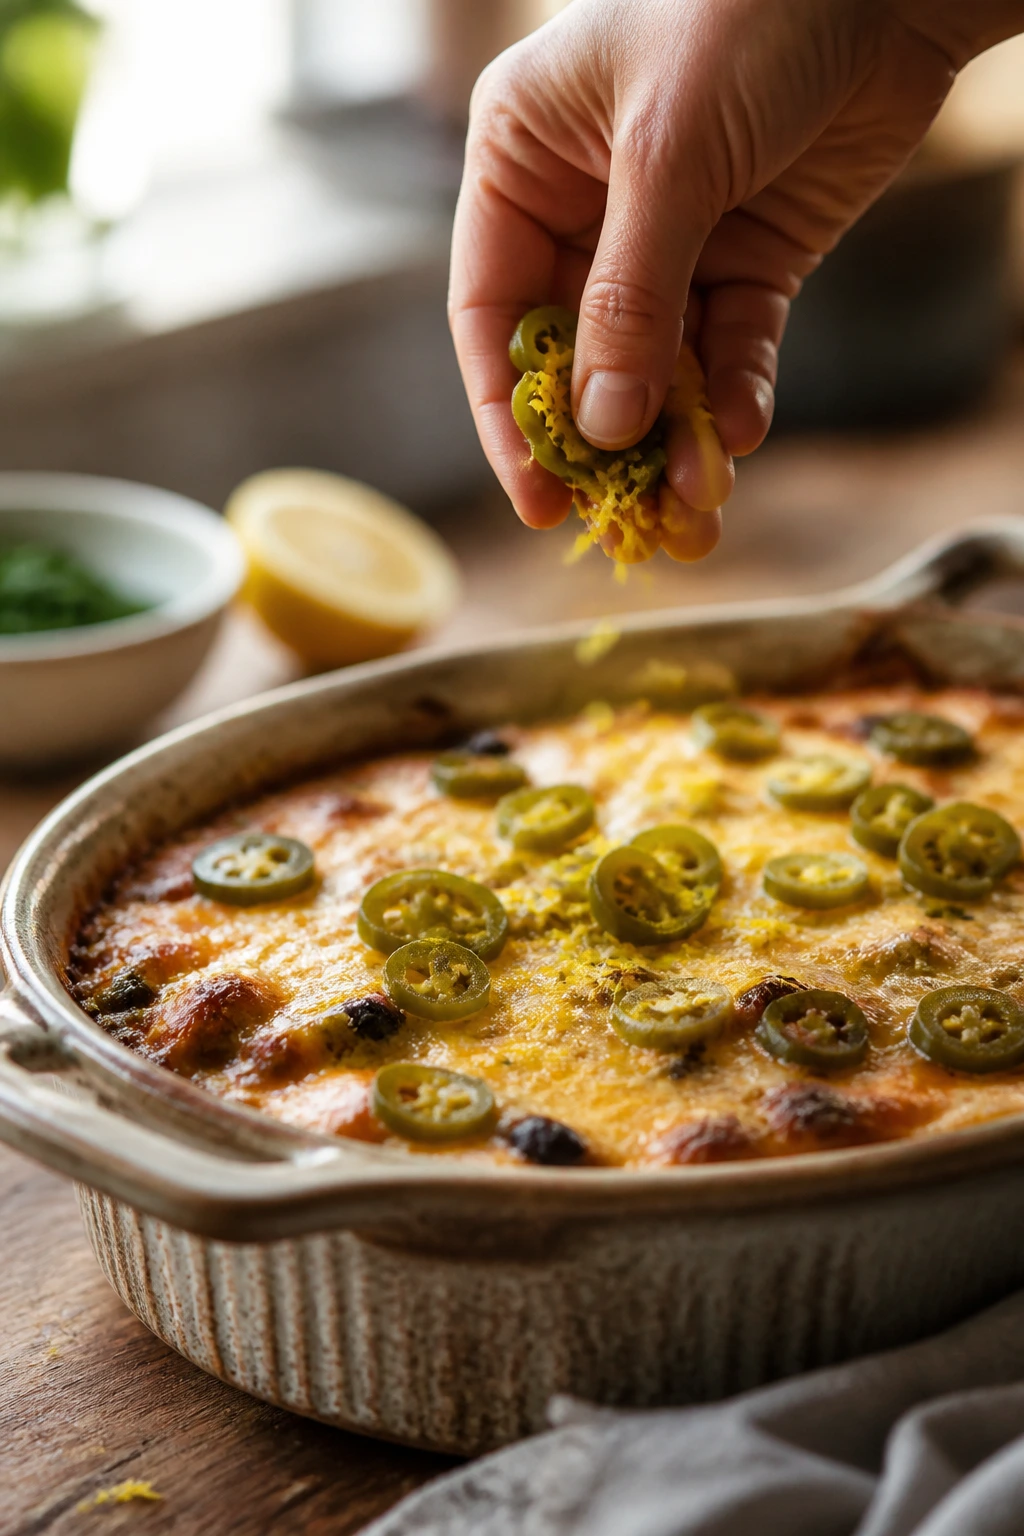
2. Turkey Enchilada Casserole
This one smells like a weeknight rescue. Spiced turkey, red enchilada sauce, melted cheese, and corn tortillas create layers that bake into something saucy and substantial. It has the kind of heat that wakes up a tired palate without pushing into scorched-earth territory.
Why It Works
Corn tortillas hold up better in the freezer than flour tortillas, which is half the battle here. The sauce keeps the layers from drying out, and black beans bring enough body that the filling doesn’t collapse when sliced. A little green chile adds depth without much effort, which is my favorite kind of cooking shortcut.
Key Ingredients
- 1 tablespoon olive oil
- 1 medium yellow onion, diced
- 1 pound ground turkey
- 2 cloves garlic, minced
- 1 tablespoon chili powder
- 1 teaspoon ground cumin
- 1 1/2 cups red enchilada sauce
- 1 cup canned black beans, rinsed and drained
- 1 cup frozen corn, thawed
- 1 can (4 oz) diced green chiles
- 8 corn tortillas, cut into strips
- 2 cups shredded Monterey Jack
- 1/4 cup chopped cilantro
Quick Steps
- Heat the oven: Set it to 375°F and grease a 9×13-inch pan.
- Brown the turkey: Warm the oil in a large skillet over medium-high heat. Cook the onion for 3 minutes, then add the turkey and cook until no pink remains.
- Season the filling: Stir in garlic, chili powder, cumin, salt, and pepper. Cook for 30 seconds, then add enchilada sauce, black beans, corn, and green chiles.
- Layer it up: Spread half the tortilla strips in the pan, top with half the turkey mixture and 1 cup cheese. Repeat the layers.
- Bake: Cover with foil and bake for 20 minutes. Uncover and bake 10 minutes more until the cheese is melted and the edges are bubbling.
- Finish: Rest for 10 minutes, then scatter cilantro over the top.
Tips and Variations
- Freezer note: Assemble and freeze before baking. Wrap tightly in foil, then freeze flat for up to 3 months.
- Flavor boost: Add a squeeze of lime after baking. It cuts the richness in a way that feels almost unfair.
- Make it milder: Use mild enchilada sauce and skip the green chiles if you’re feeding sensitive eaters.
3. Spinach Ricotta Baked Ziti
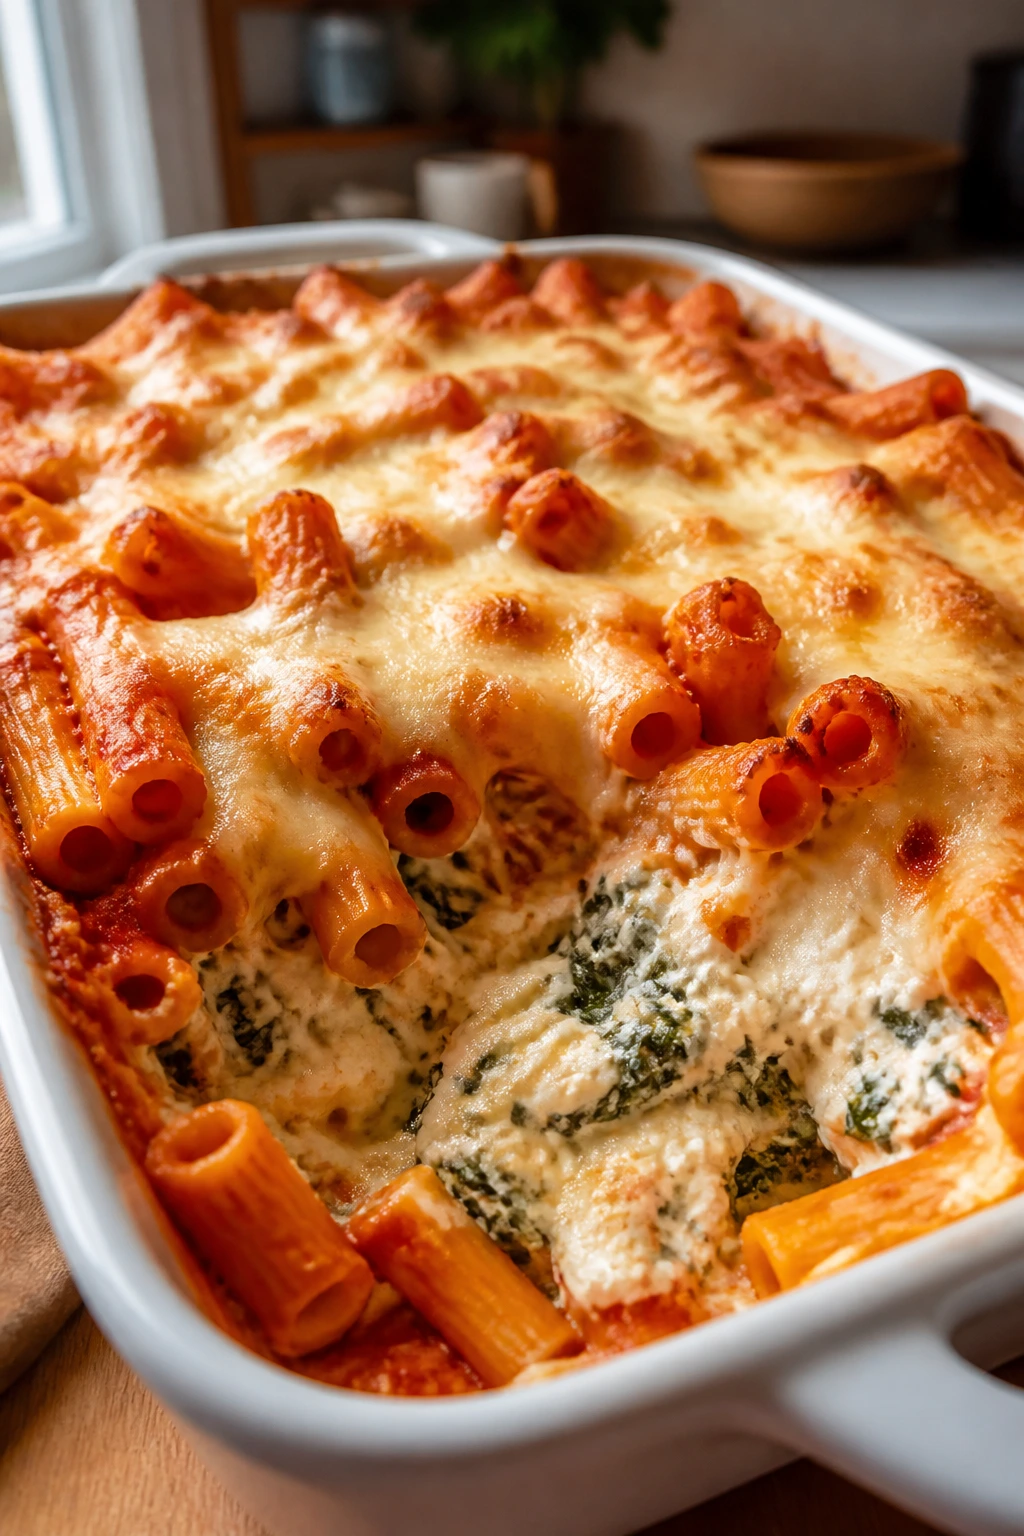
If there’s one pasta bake that refuses to act fragile, it’s baked ziti. The noodles hold sauce without going mushy, the ricotta stays creamy, and the spinach melts into the filling instead of shouting from the sidelines. It tastes like the casserole version of a deep breath.
Why It Works
Undercooking the pasta by a couple of minutes matters here. That little bit of firmness gives the ziti room to absorb sauce during baking without collapsing into a soft lump after thawing. Ricotta and mozzarella create a rich center, while marinara keeps the whole dish bright enough that it doesn’t feel like a brick of cheese.
Key Ingredients
- 1 pound ziti or penne
- 2 tablespoons olive oil
- 4 cloves garlic, minced
- 4 cups marinara sauce
- 15 ounces ricotta
- 1 large egg
- 5 ounces baby spinach
- 2 cups shredded mozzarella
- 1 cup grated Parmesan
- 1 teaspoon Italian seasoning
- 1/2 teaspoon crushed red pepper flakes, optional
- 1 teaspoon kosher salt
Quick Steps
- Cook the pasta: Boil the ziti in salted water until 2 minutes shy of al dente. Drain well.
- Make the sauce base: Warm the olive oil in a skillet over medium heat. Cook the garlic for 30 seconds, then stir in the marinara and Italian seasoning.
- Mix the filling: In a large bowl, combine ricotta, egg, spinach, 1 cup mozzarella, 1/2 cup Parmesan, salt, and pepper.
- Combine: Add the pasta and sauce to the ricotta mixture and fold gently until coated.
- Assemble: Spread into a greased 9×13-inch casserole dish. Top with the remaining mozzarella and Parmesan.
- Bake: Cover with foil and bake at 375°F for 30 minutes. Uncover and bake 10 to 15 minutes more until the cheese is browned in spots.
- Rest: Let it stand for 10 minutes before cutting.
Tips and Variations
- Freezer note: Freeze before baking for best results; baked ziti can also be frozen in individual squares.
- Shortcut: No-boil pasta works, but it needs a slightly looser sauce, so add 1/2 cup water or broth.
- Freshness trick: A handful of chopped basil after baking makes the whole pan taste more alive.
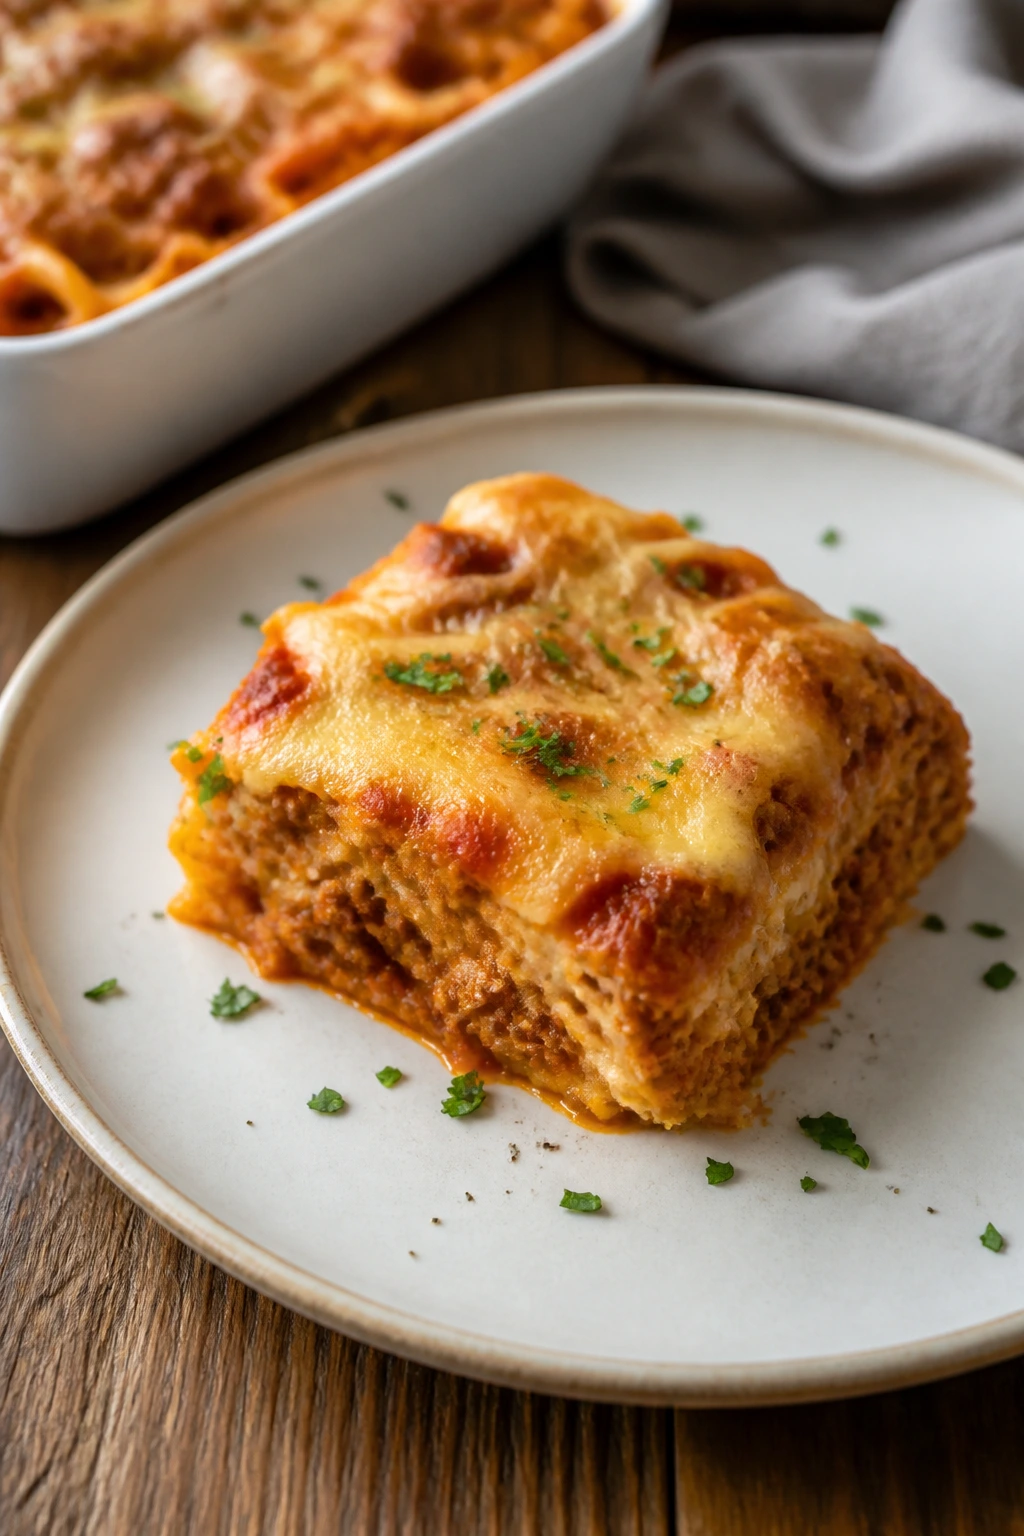
4. Classic Shepherd’s Pie
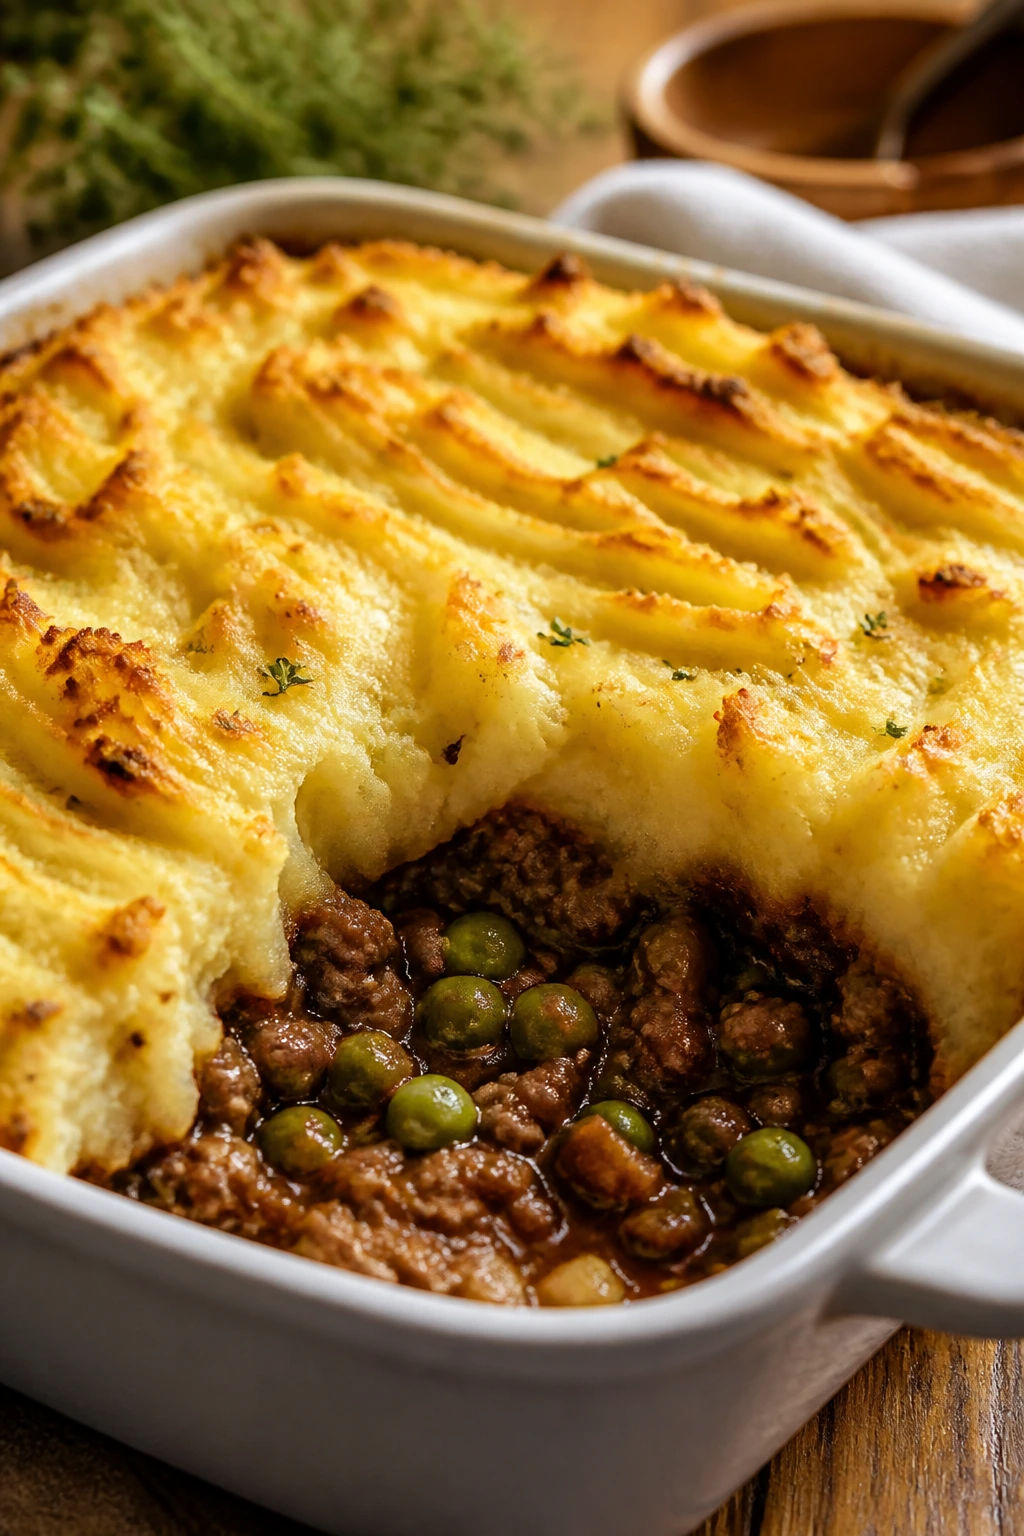
Shepherd’s pie is old-school in the best sense. It gives you a savory meat filling, a soft vegetable layer, and mashed potatoes on top that brown into a lid you can practically eat with a spoon. It’s hearty, familiar, and exactly the sort of thing that feels like care without ceremony.
Why It Works
Mashed potatoes freeze better than a lot of people expect, especially when they’re enriched with butter and a little milk. The meat filling stays saucy because flour and tomato paste thicken it before baking, which keeps the bottom from going soggy. Peas go in at the end so they keep some bite instead of turning gray and overcooked.
Key Ingredients
- 2 pounds russet potatoes, peeled and cut into chunks
- 6 tablespoons butter
- 1/2 cup milk, warmed
- 2 pounds ground beef or ground lamb
- 1 large yellow onion, diced
- 2 carrots, diced
- 2 celery stalks, diced
- 2 tablespoons flour
- 2 tablespoons tomato paste
- 1 cup beef broth
- 1 tablespoon Worcestershire sauce
- 1 cup frozen peas
- 1 teaspoon dried thyme
- 1 cup shredded cheddar, optional
Quick Steps
- Boil the potatoes: Simmer the potatoes in salted water for 15 to 18 minutes, until they fall apart easily.
- Mash: Drain well and mash with butter, warmed milk, salt, and pepper until smooth.
- Cook the filling: Brown the beef in a large skillet over medium-high heat. Add onion, carrots, and celery; cook until softened.
- Thicken: Stir in flour and tomato paste for 1 minute, then pour in broth, Worcestershire, thyme, and peas. Simmer until thickened.
- Assemble: Spread the filling in a casserole dish and top with mashed potatoes. Rough the surface with a fork so it browns nicely. Add cheddar if using.
- Bake: Bake at 400°F for 25 minutes, until the top is golden and the filling is bubbling at the edges.
- Cool: Rest for 10 minutes before serving or freezing.
Tips and Variations
- Freezer note: Freeze in a disposable foil pan for easy reheating and less cleanup later.
- Richness tip: A splash of cream in the potatoes helps them reheat with a softer, silkier texture.
- Variation: Swap in ground turkey and add 1 tablespoon soy sauce if you want a lighter but still savory filling.
5. Sausage, Egg, and Hash Brown Breakfast Casserole
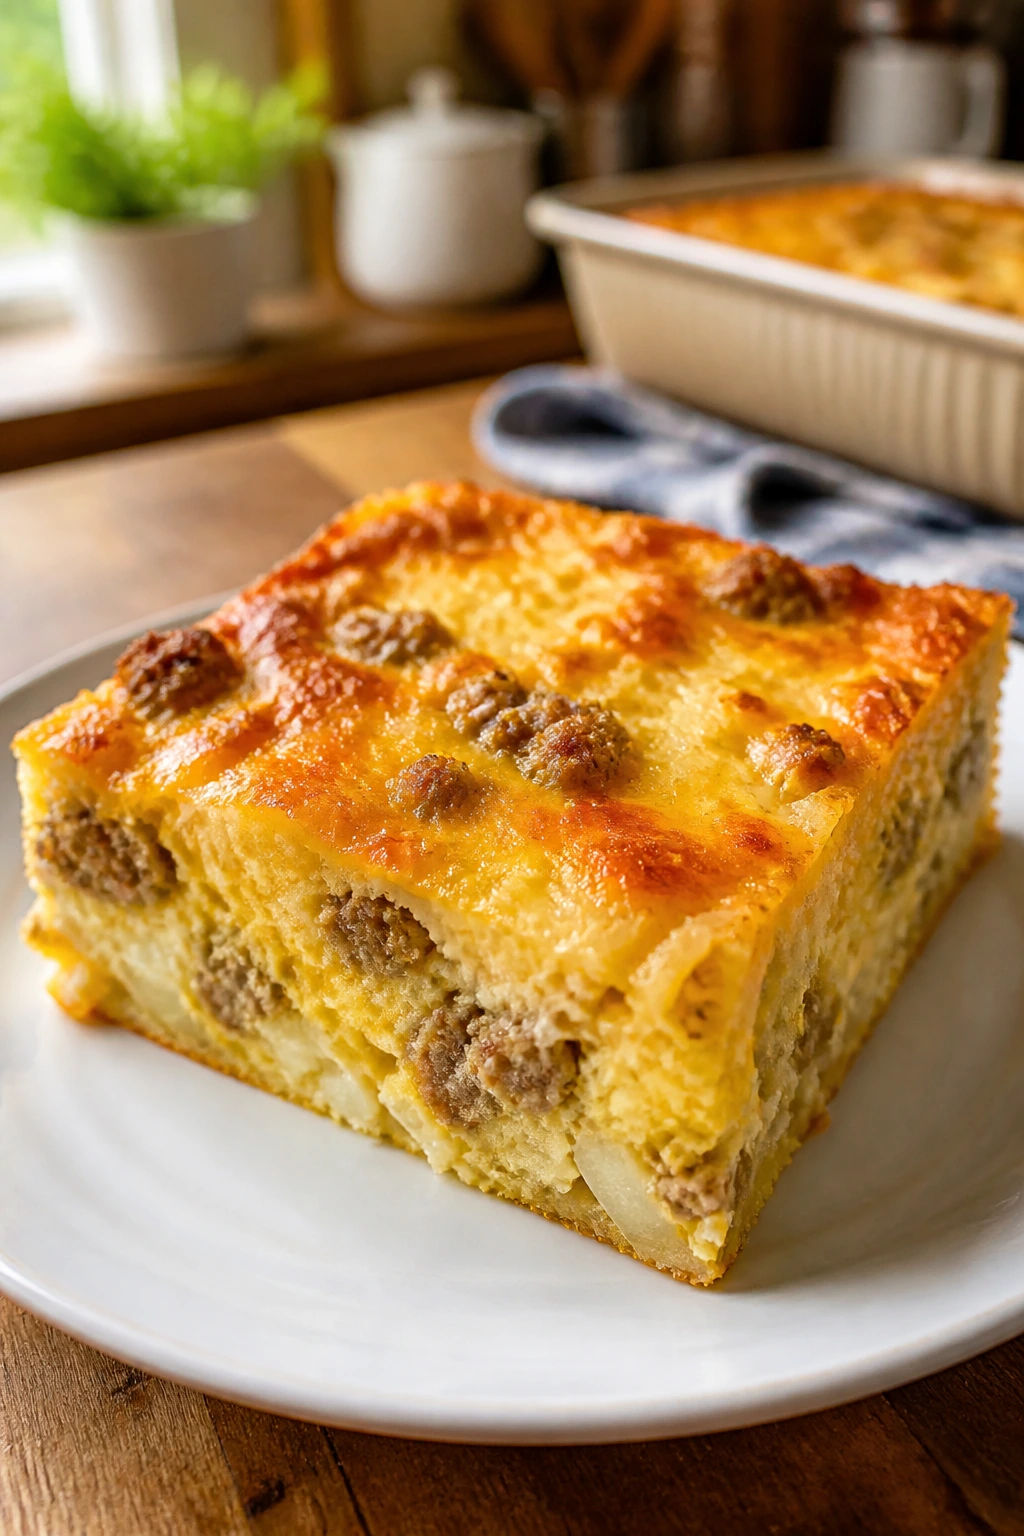
Breakfast casseroles are sneaky dinner heroes. They slice neatly, reheat well, and bring enough protein that the plate feels complete without sides. The hash browns make the bottom crisp in spots, and the eggs puff around the edges before settling into tender squares.
Why It Works
Egg casseroles are at their best when they’re not watery, and frozen hash browns need to be squeezed dry for that reason. Browning the sausage first adds flavor and removes extra grease, which matters after freezing because fat can separate in a sloppy way. The eggs set into a clean slice, and that makes the whole thing easy to pack into lunch containers or freezer bags.
Key Ingredients
- 1 pound breakfast sausage
- 1 tablespoon butter
- 1 small onion, chopped
- 1 red bell pepper, chopped
- 30 ounces frozen shredded hash browns, thawed and squeezed dry
- 10 large eggs
- 1 cup milk
- 2 cups shredded cheddar
- 1/2 teaspoon salt
- 1/2 teaspoon black pepper
- 1/2 teaspoon garlic powder
Quick Steps
- Preheat: Heat the oven to 375°F and grease a 9×13-inch dish.
- Cook the sausage: Brown the sausage in a skillet over medium heat, breaking it up as it cooks. Transfer to a plate and drain lightly if needed.
- Soften the vegetables: Melt the butter in the same skillet and cook the onion and bell pepper for 4 minutes until just softened.
- Build the base: Spread the hash browns in the casserole dish, then top with the sausage, vegetables, and 1 1/2 cups cheddar.
- Whisk the eggs: Beat the eggs with milk, salt, pepper, and garlic powder until smooth. Pour evenly over the casserole.
- Bake: Top with the remaining cheddar and bake for 35 to 40 minutes, until the center is set and the edges are lightly browned.
- Rest: Let it sit for 10 minutes before slicing.
Tips and Variations
- Freezer note: Freeze baked slices individually so you can reheat one portion at a time.
- Texture tip: Press the hash browns into the pan in an even layer; loose clumps stay pale and steam instead of browning.
- Add-on: A few chopped scallions on top after reheating wake up the whole pan.
6. Creamy Tuna Noodle Casserole
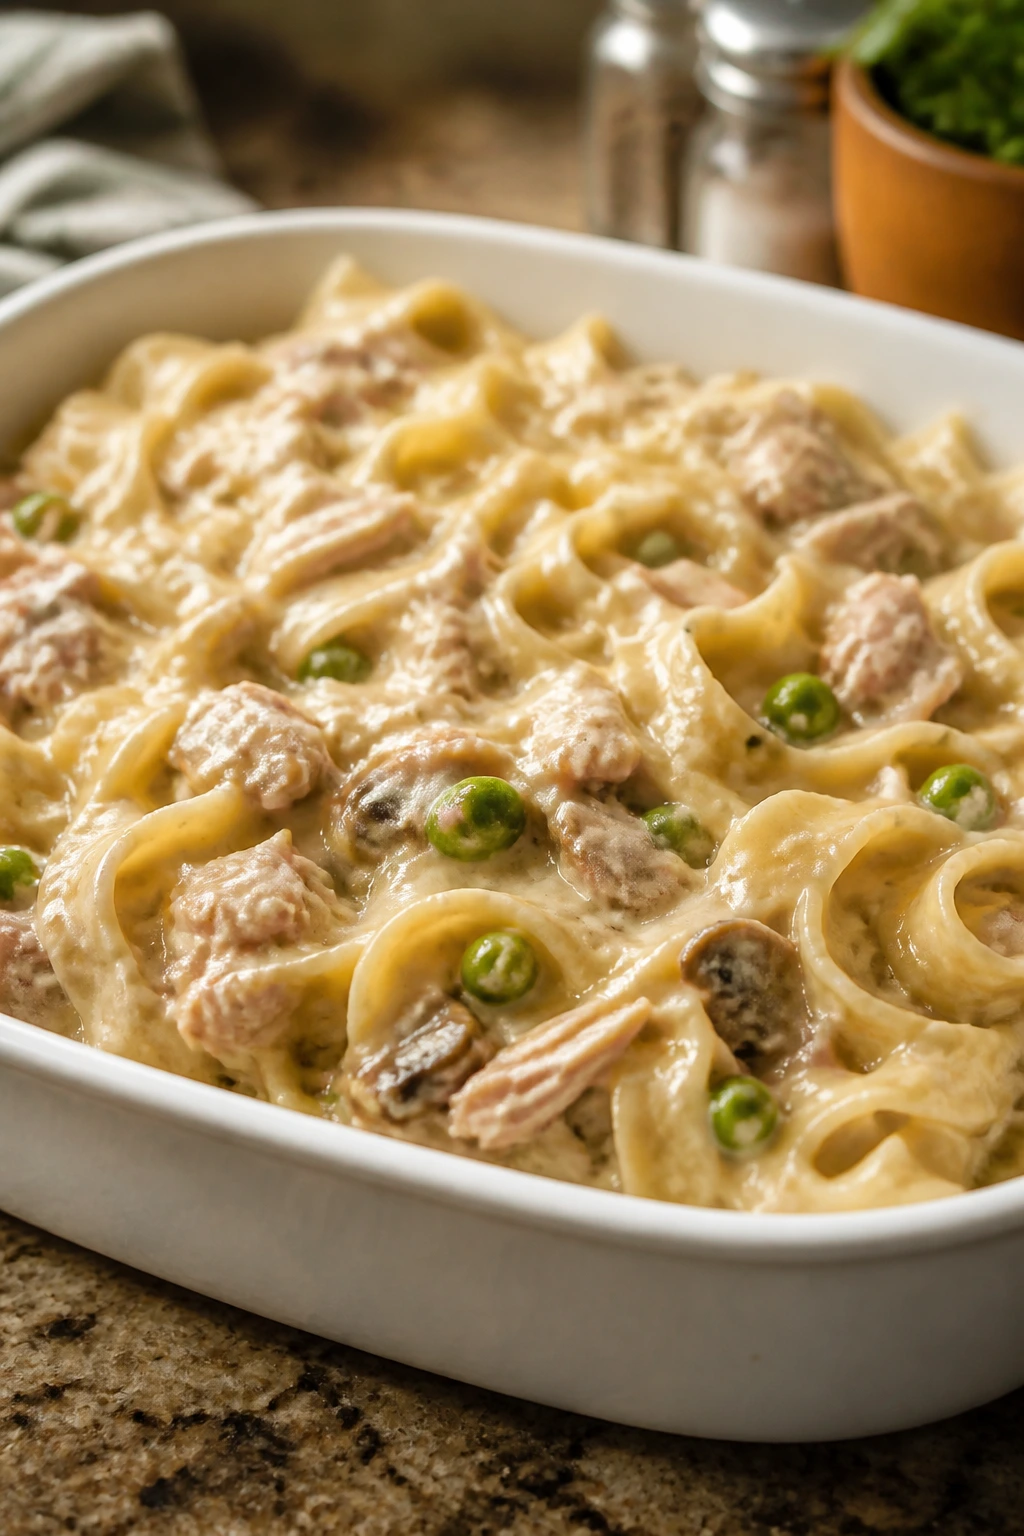
This is the dish people underestimate until they taste a hot, creamy forkful with peas and noodles tangled together. Tuna noodle casserole has a thrift-store reputation, but that’s mostly because it has spent decades being made badly. Done right, it’s salty, soft, and deeply practical.
Why It Works
The noodles need to be cooked just shy of done so they don’t turn pasty after freezing and reheating. A thick mushroom sauce clings to the tuna and peas, and the acidity from Dijon and lemon keeps the dish from tasting flat. The crunchy topping should go on close to baking time if you want any texture left at all.
Key Ingredients
- 12 ounces egg noodles
- 2 tablespoons butter
- 1 small onion, finely chopped
- 2 celery stalks, finely chopped
- 2 cans tuna in water, 5 ounces each, drained
- 1 can cream of mushroom soup
- 1 cup milk
- 1/2 cup sour cream
- 1 teaspoon Dijon mustard
- 1 teaspoon lemon juice
- 1 1/2 cups frozen peas
- 1 cup shredded cheddar
- 1 cup panko breadcrumbs
- 2 tablespoons melted butter
Quick Steps
- Cook the noodles: Boil the egg noodles in salted water until just shy of al dente. Drain well.
- Cook the vegetables: Melt the butter in a skillet over medium heat. Cook the onion and celery for 5 minutes until soft.
- Mix the sauce: In a large bowl, stir together soup, milk, sour cream, Dijon, lemon juice, tuna, peas, noodles, and 1/2 cup cheddar.
- Assemble: Spread into a greased casserole dish.
- Top: Stir the panko with melted butter and sprinkle over the casserole along with the remaining cheddar.
- Bake: Bake at 375°F for 25 to 30 minutes until bubbling and the top is golden.
- Cool: Rest for 10 minutes before serving.
Tips and Variations
- Freezer note: Freeze the casserole without the topping, then add panko and butter right before baking.
- Better flavor: A small pinch of black pepper goes farther than extra salt here.
- Swap: If tuna isn’t your thing, canned salmon or shredded chicken works in the same structure.
7. White Chicken Lasagna with Spinach
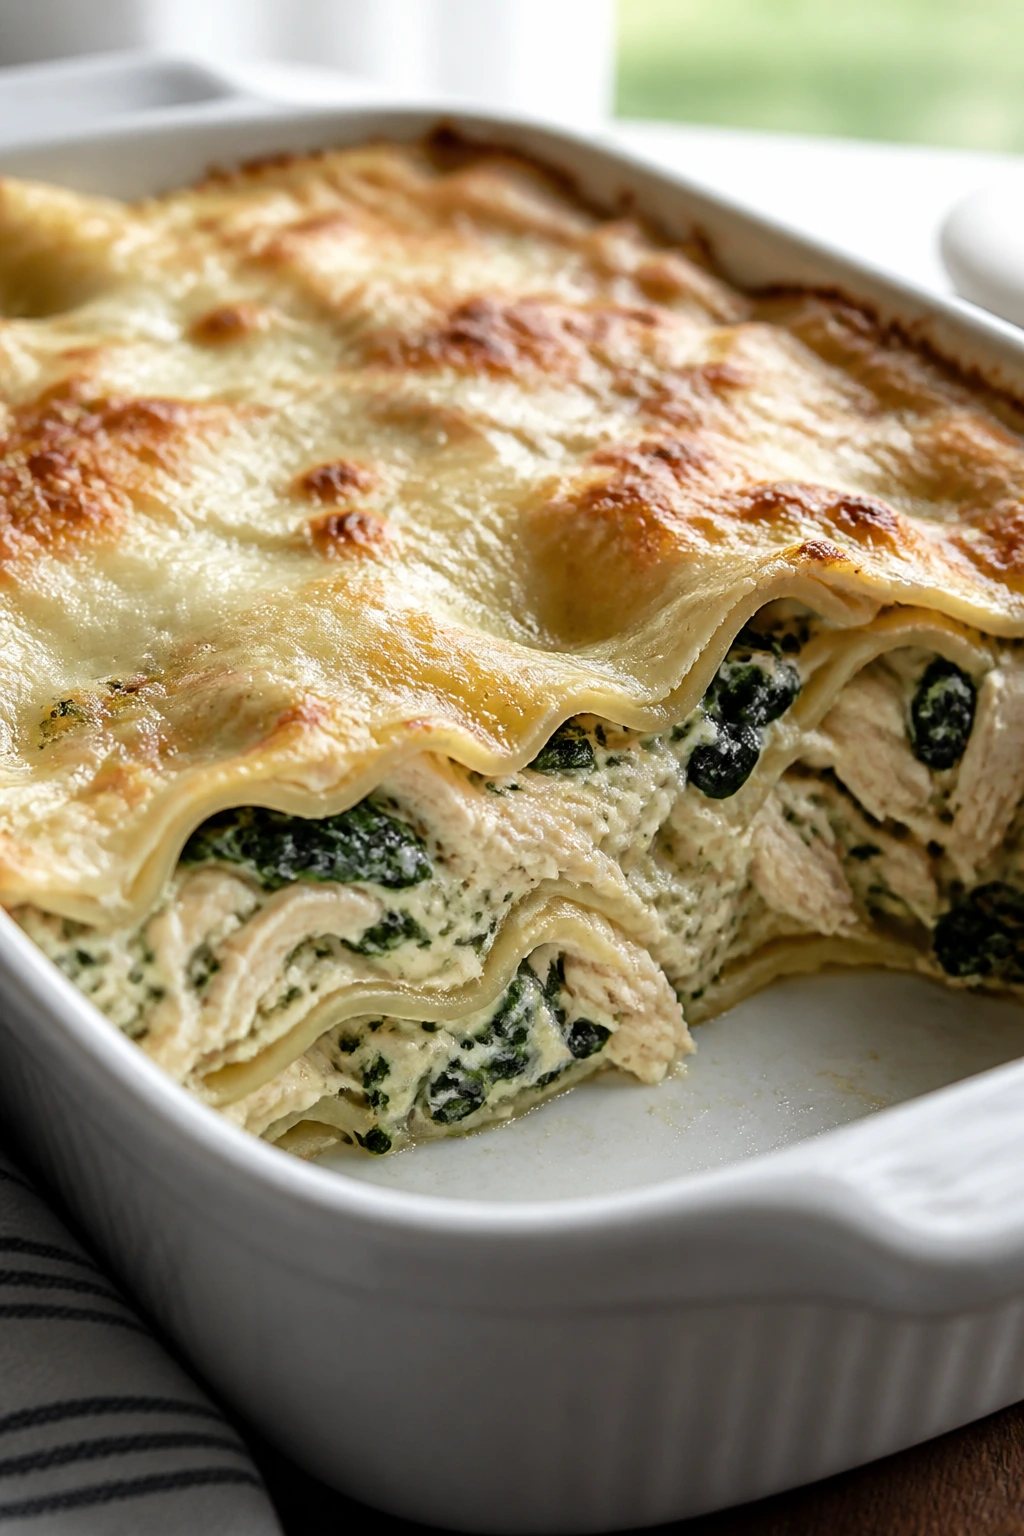
White lasagna has a softer, richer mood than tomato lasagna. It tastes like chicken, cheese, and garlic decided to behave like a proper comfort meal. The spinach tucks into the layers and keeps the whole dish from feeling too heavy, which matters when a casserole is supposed to feed people who are running on fumes.
Why It Works
Lasagna is one of the best freezer casseroles because the layers protect one another. Ricotta keeps moisture in the center, Alfredo sauce coats the noodles, and the chicken gives the dish enough protein that it doesn’t feel like pasta in formalwear. The trick is not to oversauce it; you want enough moisture to thaw cleanly, not so much that the bottom slumps.
Key Ingredients
- 9 lasagna noodles
- 3 cups cooked shredded chicken
- 15 ounces ricotta
- 1 large egg
- 5 ounces baby spinach
- 3 cups Alfredo sauce
- 3 cups shredded mozzarella
- 1 cup grated Parmesan
- 2 cloves garlic, minced
- 1 teaspoon Italian seasoning
- 1 teaspoon kosher salt
Quick Steps
- Cook the noodles: Boil lasagna noodles until just flexible. Drain and lay them flat so they don’t stick.
- Mix the ricotta layer: Stir ricotta, egg, spinach, garlic, Italian seasoning, salt, pepper, and 1/2 cup Parmesan together.
- Prepare the chicken sauce: Combine the chicken with Alfredo sauce in a bowl.
- Layer: Spread a little sauce in the bottom of a greased 9×13-inch dish. Add noodles, ricotta mixture, chicken sauce, and mozzarella. Repeat until everything is used, ending with sauce and cheese on top.
- Bake: Cover with foil and bake at 375°F for 35 minutes. Uncover and bake 10 to 15 minutes more until the top is bubbling and lightly browned.
- Rest: Let it stand for 15 minutes before slicing so the layers hold.
Tips and Variations
- Freezer note: Freeze unbaked in a foil pan. It reheats cleaner if you thaw it overnight before baking.
- Flavor boost: A little nutmeg in the ricotta layer gives the sauce a warm, almost hidden depth.
- Shortcut: Use rotisserie chicken and jarred Alfredo if the day is already too full.
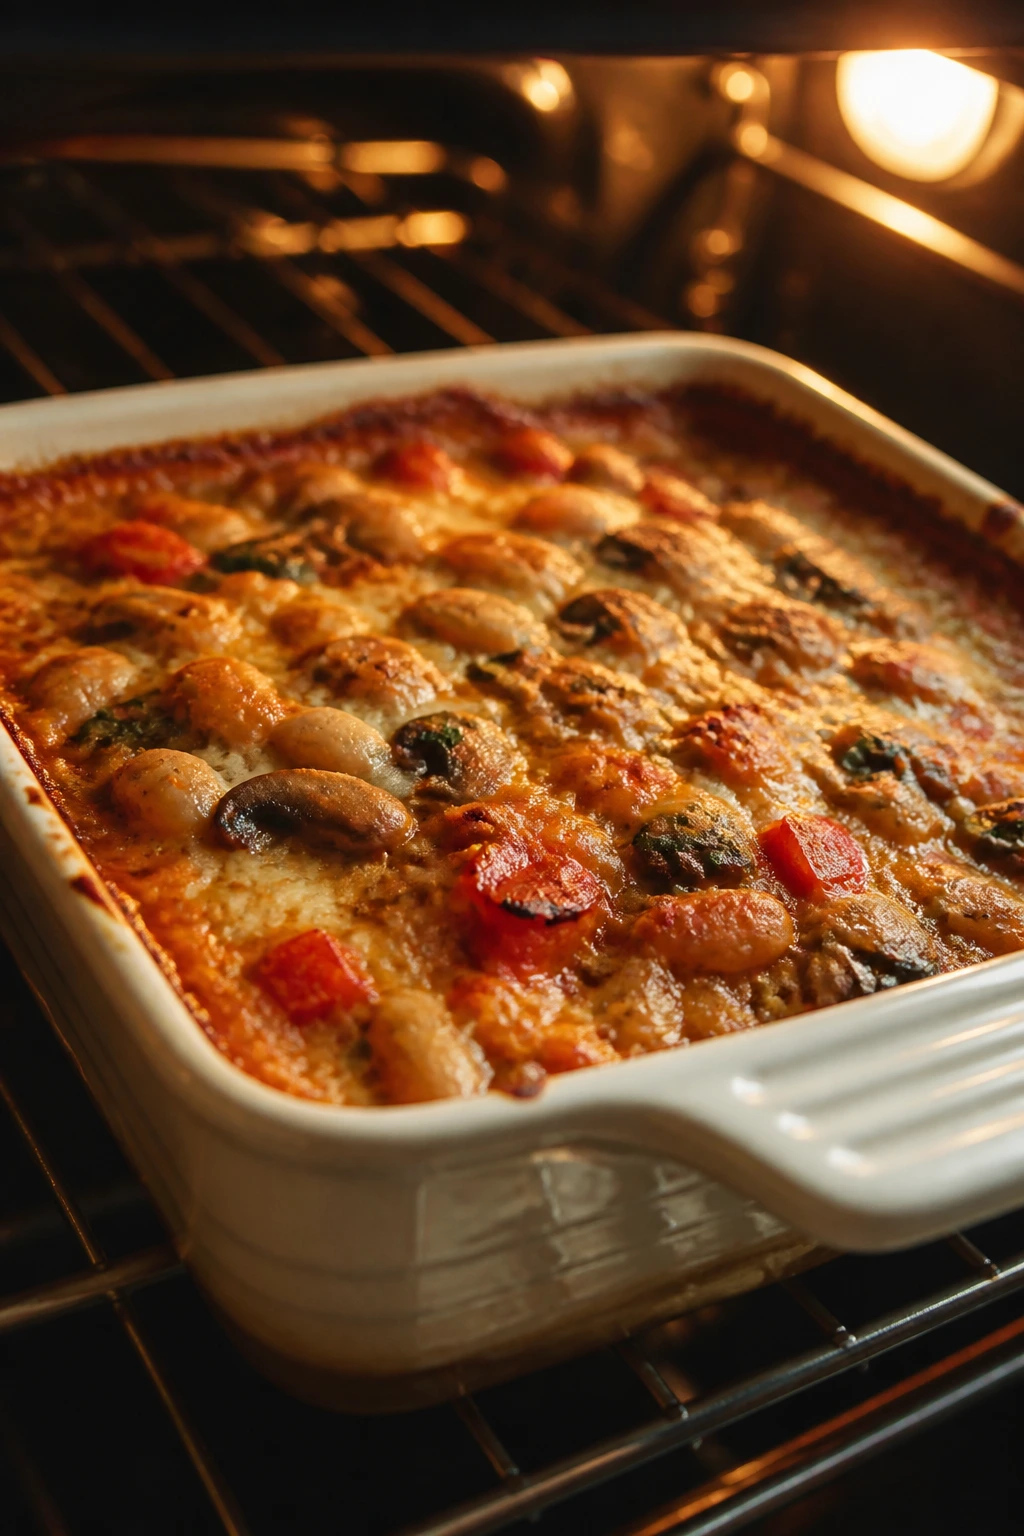
8. Stuffed Pepper Casserole
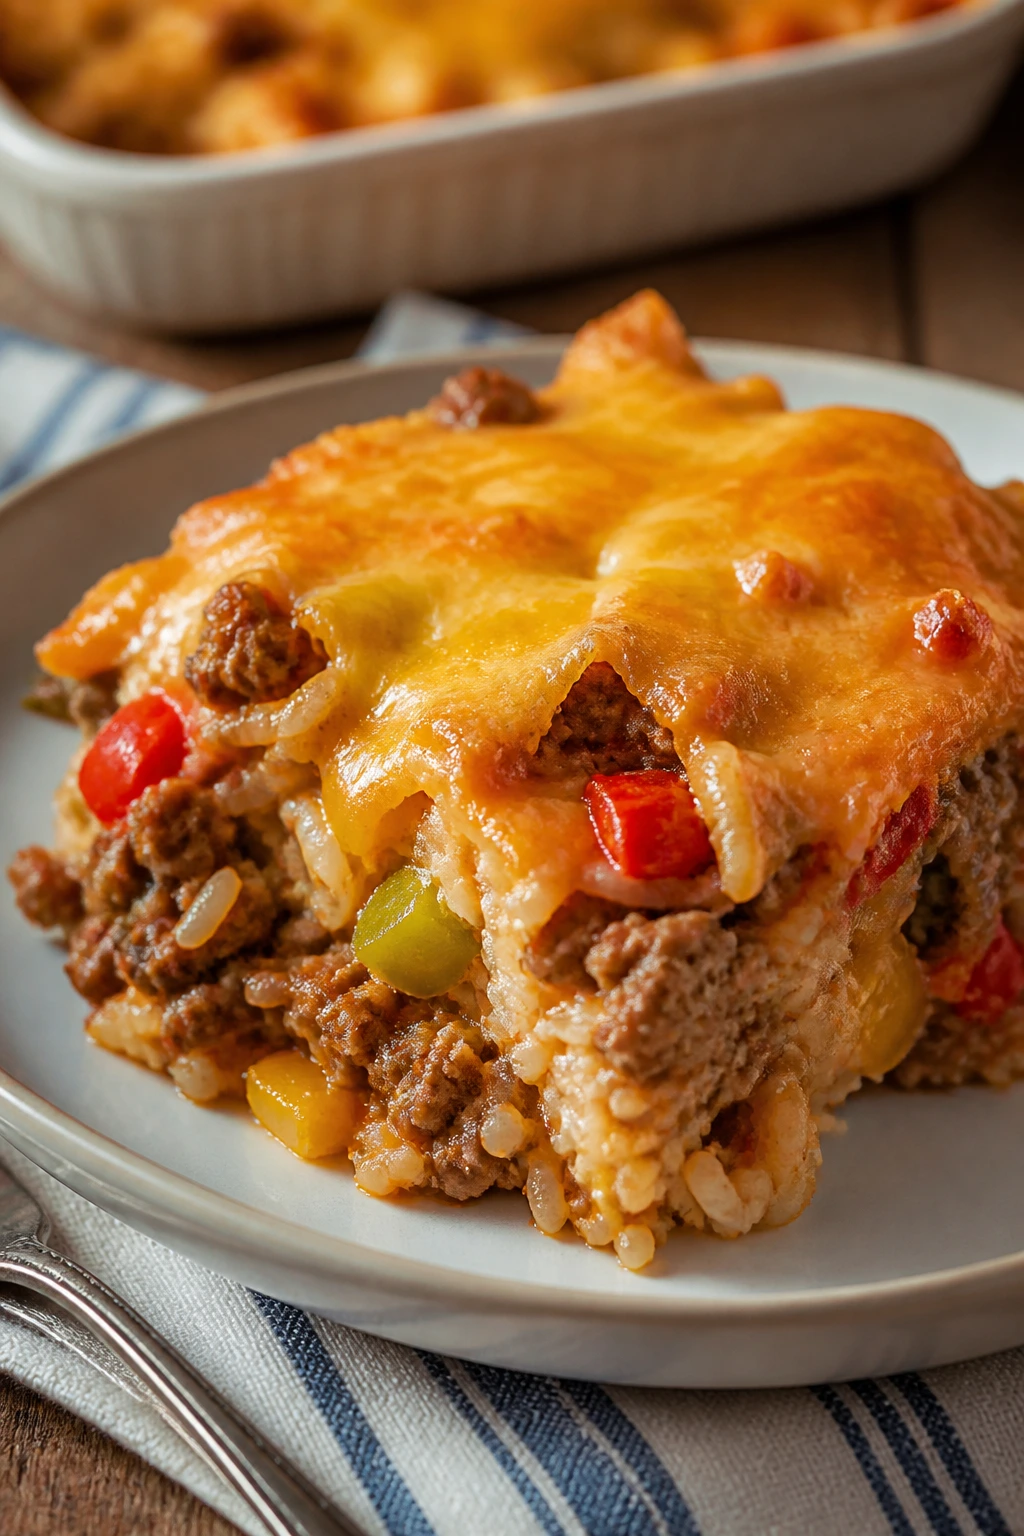
Stuffed peppers are good. Stuffed pepper casserole is better on a tired night because nobody has to balance a pepper like a tiny bowl. The flavors are all here—beef, tomato, rice, sweet pepper—but the work is cut down to one dish and a spoon.
Why It Works
Cooked rice is the key move. Raw rice can be finnicky in freezer casseroles, while cooked rice stays tender and absorbs the tomato sauce as it bakes. The peppers soften without disappearing, and tomato paste adds a deep, almost sweet backbone that keeps the filling from tasting thin after freezing.
Key Ingredients
- 1 1/2 pounds ground beef or ground turkey
- 1 tablespoon olive oil
- 1 large onion, diced
- 3 bell peppers, diced
- 3 cloves garlic, minced
- 3 cups cooked rice
- 1 can (15 oz) tomato sauce
- 1 can (14.5 oz) diced tomatoes
- 2 tablespoons tomato paste
- 1 cup beef broth
- 2 teaspoons Italian seasoning
- 1 teaspoon paprika
- 2 cups shredded mozzarella
Quick Steps
- Preheat: Set the oven to 375°F and grease a casserole dish.
- Brown the meat: Heat the oil in a large skillet. Cook the beef and onion over medium-high heat until browned and no pink remains.
- Add the peppers: Stir in the bell peppers and garlic. Cook for 3 to 4 minutes until the peppers soften slightly.
- Finish the filling: Add rice, tomato sauce, diced tomatoes, tomato paste, broth, Italian seasoning, paprika, salt, and pepper. Simmer for 5 minutes so the rice soaks up the sauce.
- Assemble: Transfer to the casserole dish and top with mozzarella.
- Bake: Bake for 20 to 25 minutes until bubbling and the cheese has melted.
- Rest: Let it stand for 10 minutes before serving.
Tips and Variations
- Freezer note: This one freezes well in portions, which makes weeknight thawing much easier.
- Vegetable boost: Fold in chopped zucchini or mushrooms with the peppers if you want more vegetables without changing the flavor much.
- Finish: A spoonful of sour cream on the side softens the tomato and makes each bite feel richer.
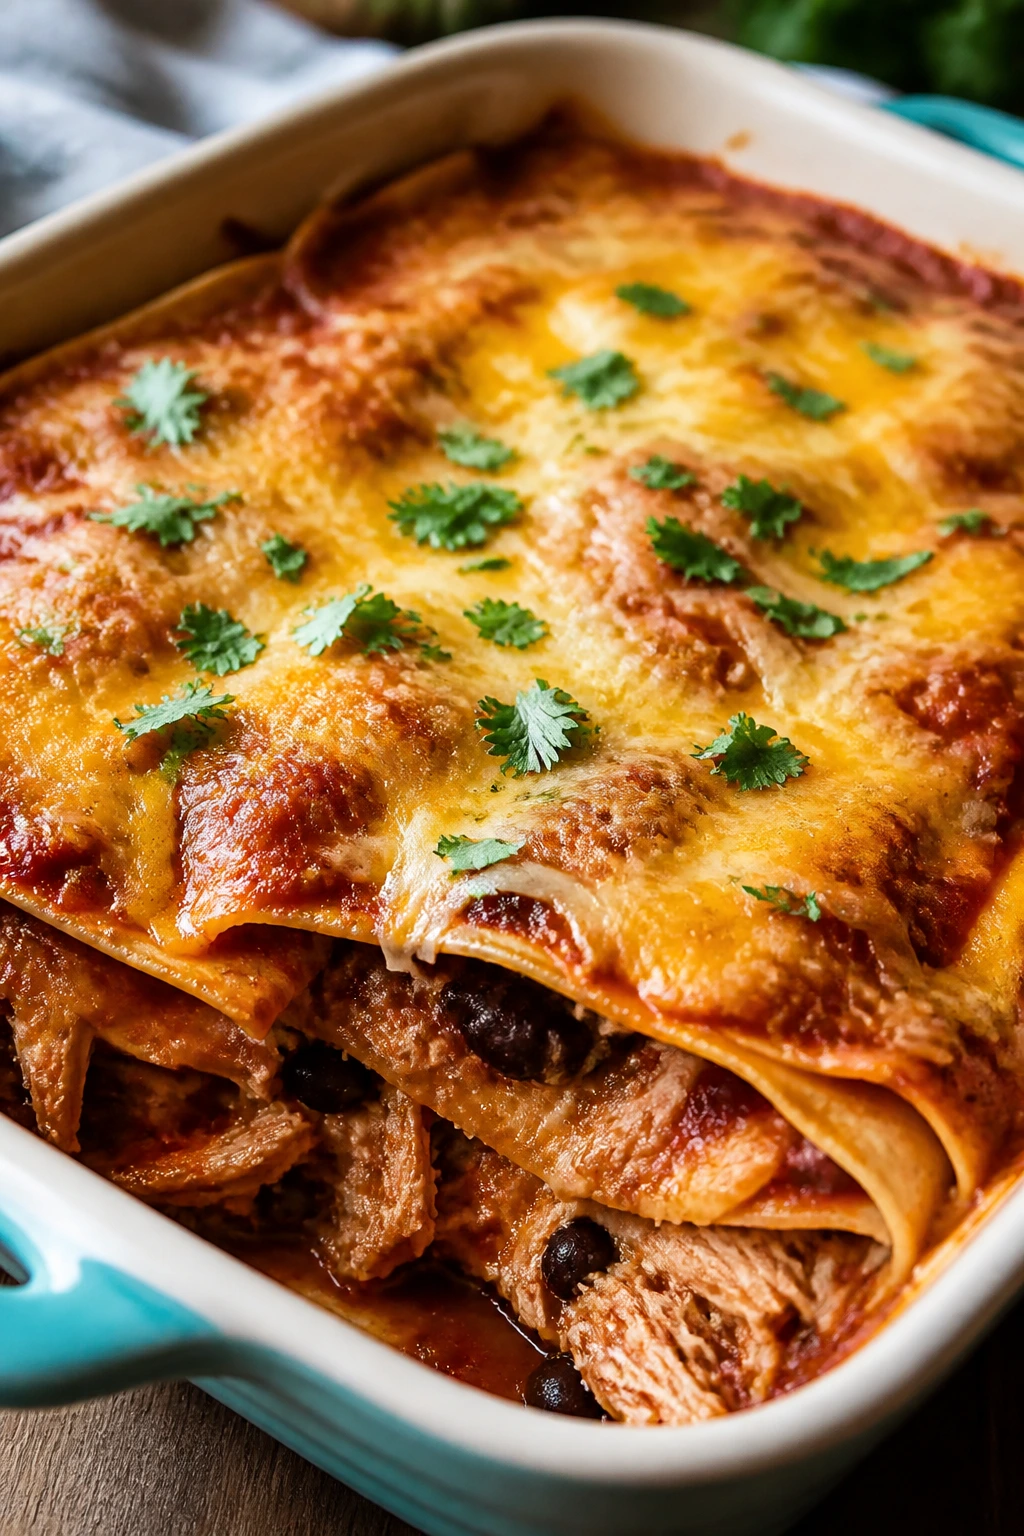
9. Sweet Potato Black Bean Enchilada Casserole
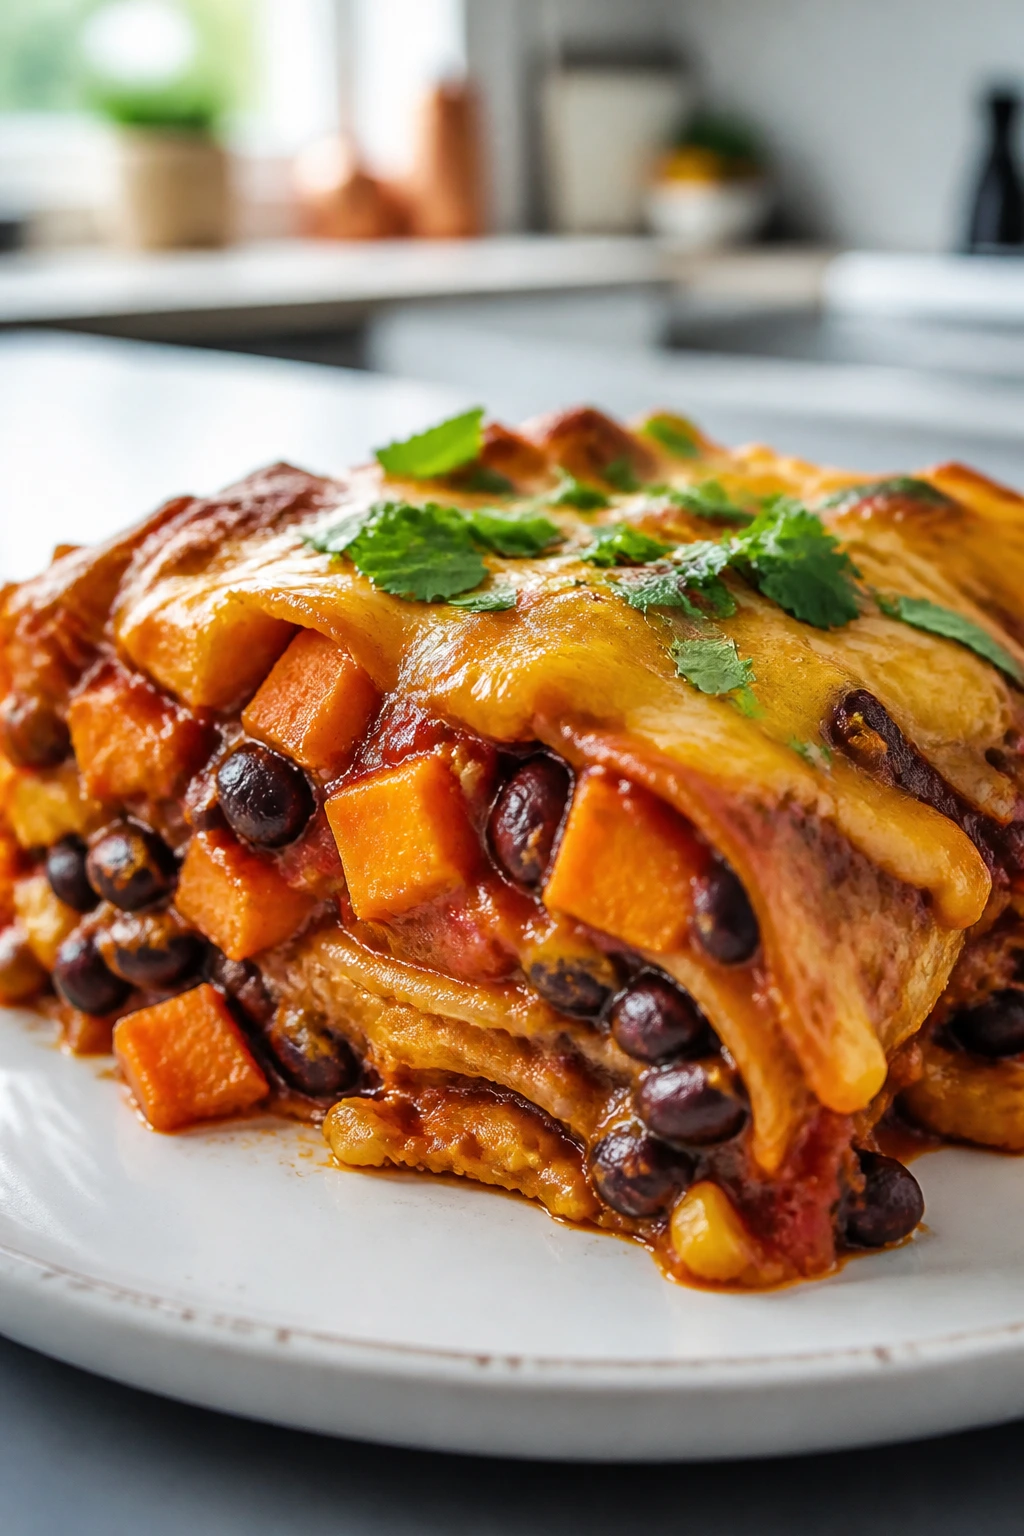
This is the vegetarian casserole that still eats like dinner, not a compromise. Roasted sweet potatoes bring a little sweetness, black beans add bulk, and enchilada sauce ties everything together so the layers taste intentional instead of random. It’s bright, filling, and sturdy enough for the freezer.
Why It Works
Sweet potatoes hold shape after freezing better than a lot of soft vegetables, especially when they’re roasted first. Corn tortillas and black beans give the casserole enough structure that slices cut cleanly, while pepper jack melts into the gaps and makes the whole pan feel cohesive. The mild sweetness from the potatoes keeps the chile sauce from tasting sharp.
Key Ingredients
- 2 large sweet potatoes, peeled and diced
- 2 tablespoons olive oil
- 1 medium onion, diced
- 2 cans black beans, rinsed and drained
- 1 cup frozen corn, thawed
- 2 cups enchilada sauce
- 10 corn tortillas, cut into strips
- 2 cups shredded pepper jack
- 1 teaspoon ground cumin
- 1 teaspoon chili powder
- 1/2 teaspoon kosher salt
- 1/4 cup chopped cilantro
Quick Steps
- Roast the sweet potatoes: Heat the oven to 400°F. Toss the diced sweet potatoes with olive oil, salt, and pepper, then roast for 20 minutes until tender at the edges.
- Build the filling: In a bowl, mix beans, corn, onion, cumin, chili powder, and 1 cup enchilada sauce.
- Layer: Spread a thin layer of sauce in a greased casserole dish. Add tortillas, sweet potatoes, bean mixture, and cheese. Repeat the layers once more.
- Bake: Cover with foil and bake at 375°F for 25 minutes. Uncover and bake 10 minutes more until the cheese is melted and the casserole is hot through.
- Rest: Let it sit for 10 minutes.
- Finish: Sprinkle with cilantro before serving.
Tips and Variations
- Freezer note: Assemble, cool, and freeze unbaked. The tortillas hold up best when the casserole is fully thawed before baking.
- Flavor move: Add a diced jalapeño to the bean mixture if you like a little heat.
- Serving tip: Lime wedges make the sweet potatoes taste brighter and keep the dish from feeling too soft.
10. Chicken Pot Pie Casserole
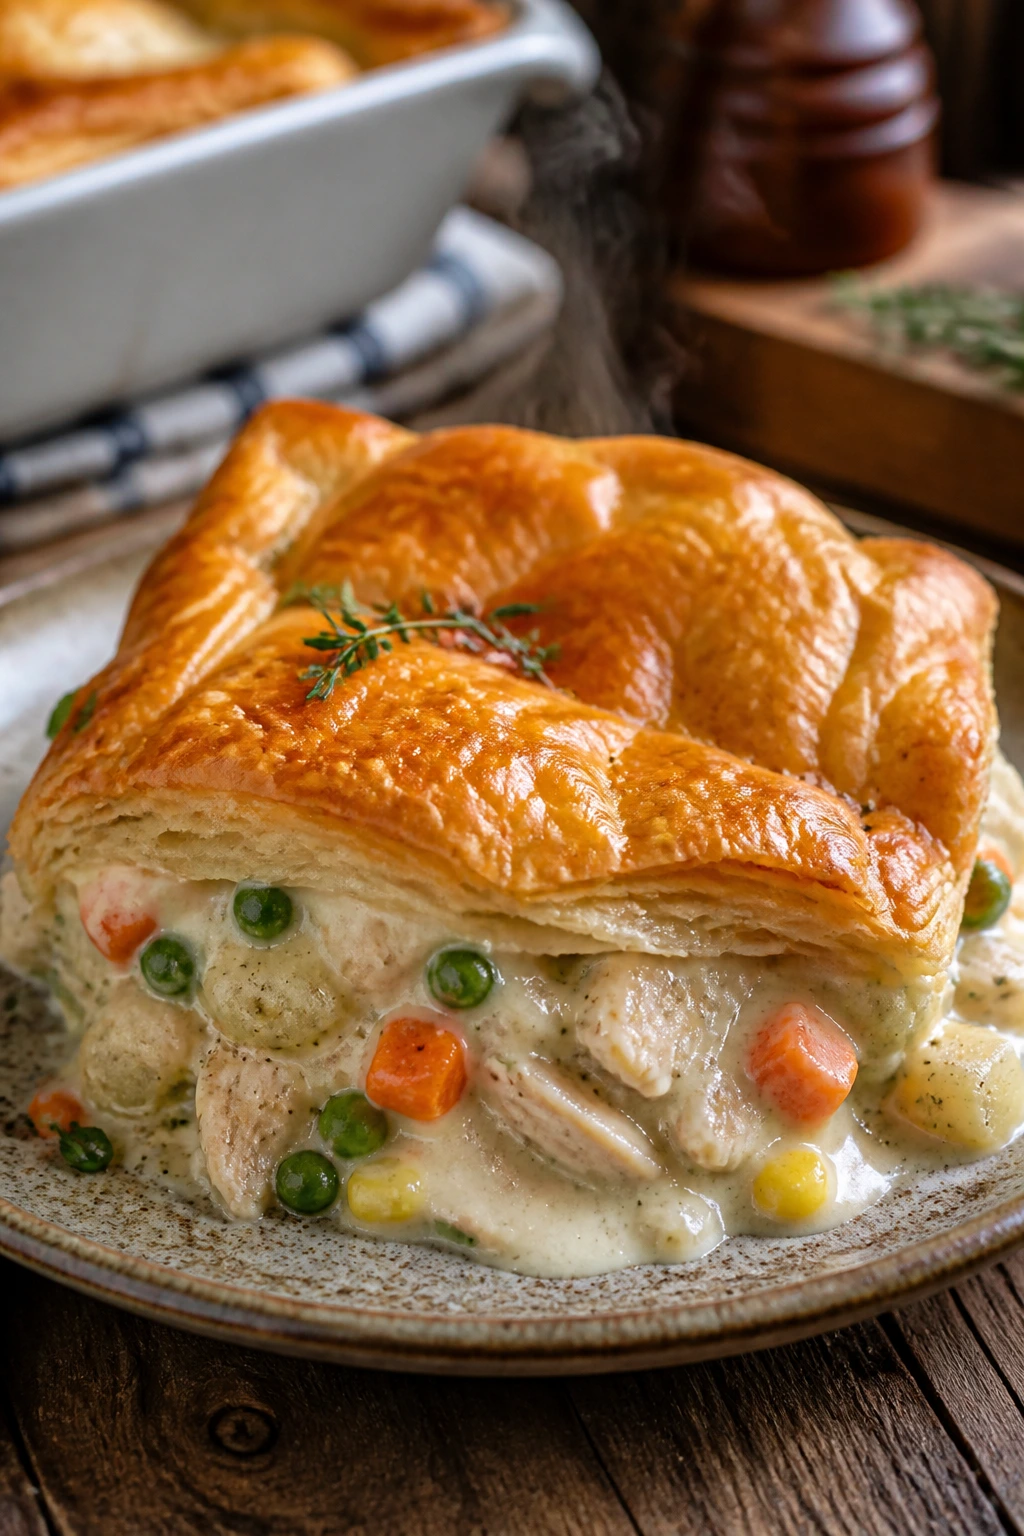
Chicken pot pie is one of those dishes people think is too much work because they picture a proper pie crust. A casserole version takes the same comforting filling and skips the part where you spend half the evening coaxing pastry into shape. The result is creamy chicken, soft vegetables, and a golden top that feels homey without asking too much.
Why It Works
The filling is the freezer-friendly part, which is why this works better when the topping is added on bake day. Thickened broth and milk stay smooth after thawing, and the vegetables keep some bite if you don’t overcook them before assembly. Puff pastry or biscuit topping gives you the familiar pot pie finish without making the whole thing soggy in the freezer.
Key Ingredients
- 3 cups cooked shredded chicken
- 1 tablespoon butter
- 1 large onion, diced
- 2 carrots, diced
- 2 celery stalks, diced
- 1/3 cup flour
- 2 1/2 cups chicken broth
- 1 cup milk
- 1 cup frozen peas
- 1 teaspoon dried thyme
- 1 sheet puff pastry, thawed
- 1 egg, beaten, for brushing, optional
Quick Steps
- Cook the vegetables: Melt the butter in a large skillet over medium heat. Cook onion, carrots, and celery for 6 to 8 minutes until softened.
- Thicken the filling: Sprinkle flour over the vegetables and stir for 1 minute. Slowly whisk in the broth and milk until smooth.
- Add chicken and peas: Stir in the chicken, peas, thyme, salt, and pepper. Simmer for 3 to 4 minutes until thick enough to mound on a spoon.
- Cool and freeze if needed: Transfer the filling to a casserole dish and cool completely before freezing.
- Top and bake: When ready to bake, place puff pastry over the filling, cut a few vents, brush with egg if using, and bake at 400°F for 25 to 30 minutes until the top is puffed and golden.
- Rest: Let it stand for 10 minutes before serving.
Tips and Variations
- Freezer note: Freeze the filling alone, then add the topping when you bake it. That’s the part that keeps the crust from turning limp.
- Shortcut: Rotisserie chicken and frozen mixed vegetables cut the prep time hard.
- Flavor boost: A splash of white wine in the pan before the broth goes in adds depth, though it is not required.
11. Mac and Cheese with Ham and Cauliflower
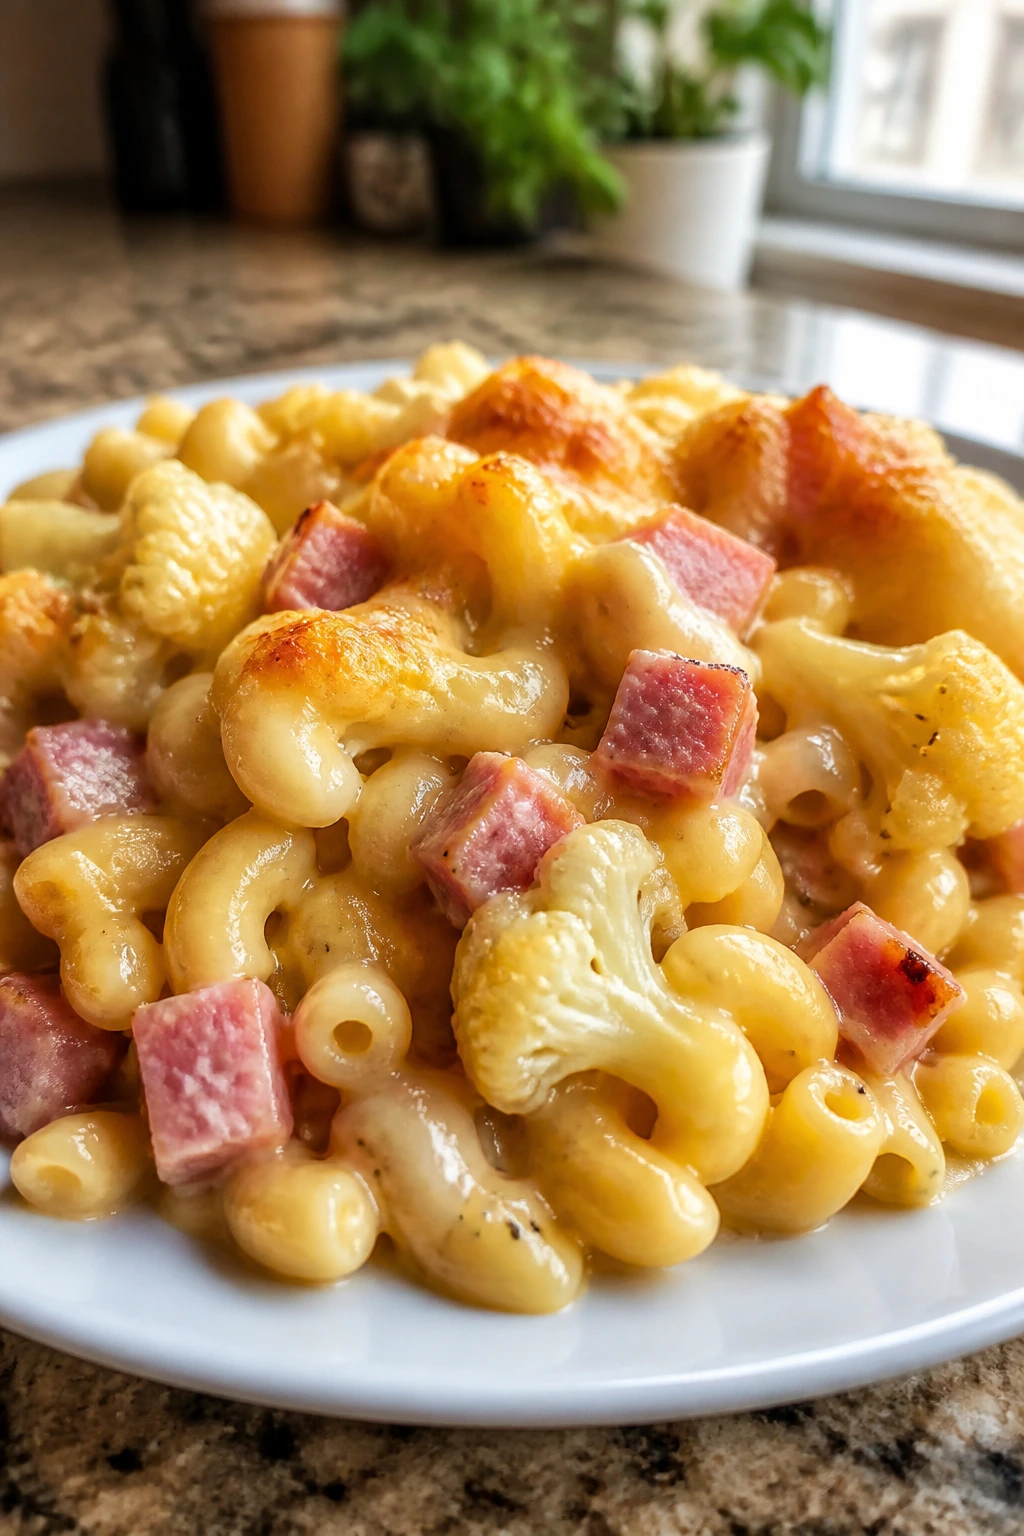
This is the casserole that wins over people who say they only like mac and cheese. The cauliflower disappears into the sauce if you dice it small enough, the ham adds salt and smoke, and the whole thing reheats into creamy, spoonable comfort. It’s rich, but not monotone.
Why It Works
Mac and cheese freezes best when the sauce is made with a flour-thickened base instead of depending on cheese alone. That keeps it from breaking into oil and grain after thawing. Cauliflower brings volume without much flavor intrusion, and ham gives the dish enough heft that it can stand alone as dinner.
Key Ingredients
- 1 pound elbow macaroni
- 1 small head cauliflower, cut into tiny florets
- 3 tablespoons butter
- 3 tablespoons flour
- 3 cups milk
- 2 teaspoons Dijon mustard
- 1 teaspoon mustard powder
- 3 cups shredded sharp cheddar
- 1 cup shredded Gruyère or Monterey Jack
- 2 cups diced ham
- 1 cup panko breadcrumbs
- 2 tablespoons melted butter
Quick Steps
- Cook the pasta: Boil the macaroni until just shy of al dente. Drain.
- Par-cook the cauliflower: Steam or microwave the cauliflower for 3 to 4 minutes until barely tender.
- Make the sauce: Melt the butter in a saucepan over medium heat. Whisk in the flour for 1 minute, then slowly add the milk. Cook until thickened enough to coat a spoon.
- Add cheese: Stir in Dijon, mustard powder, cheddar, and Gruyère until smooth.
- Combine: Fold in macaroni, cauliflower, and ham. Transfer to a greased casserole dish.
- Top and bake: Mix panko with melted butter and scatter over the top. Bake at 375°F for 25 minutes until bubbling and crisp on top.
- Rest: Let it sit for 10 minutes before serving.
Tips and Variations
- Freezer note: Freeze without the breadcrumb topping, then add it before baking for a better crunch.
- Texture tip: Cut the cauliflower small. Big florets stand out in a way the sauce cannot hide.
- Variation: Swap the ham for cooked bacon or leave it out and use extra cauliflower for a meatless pan.
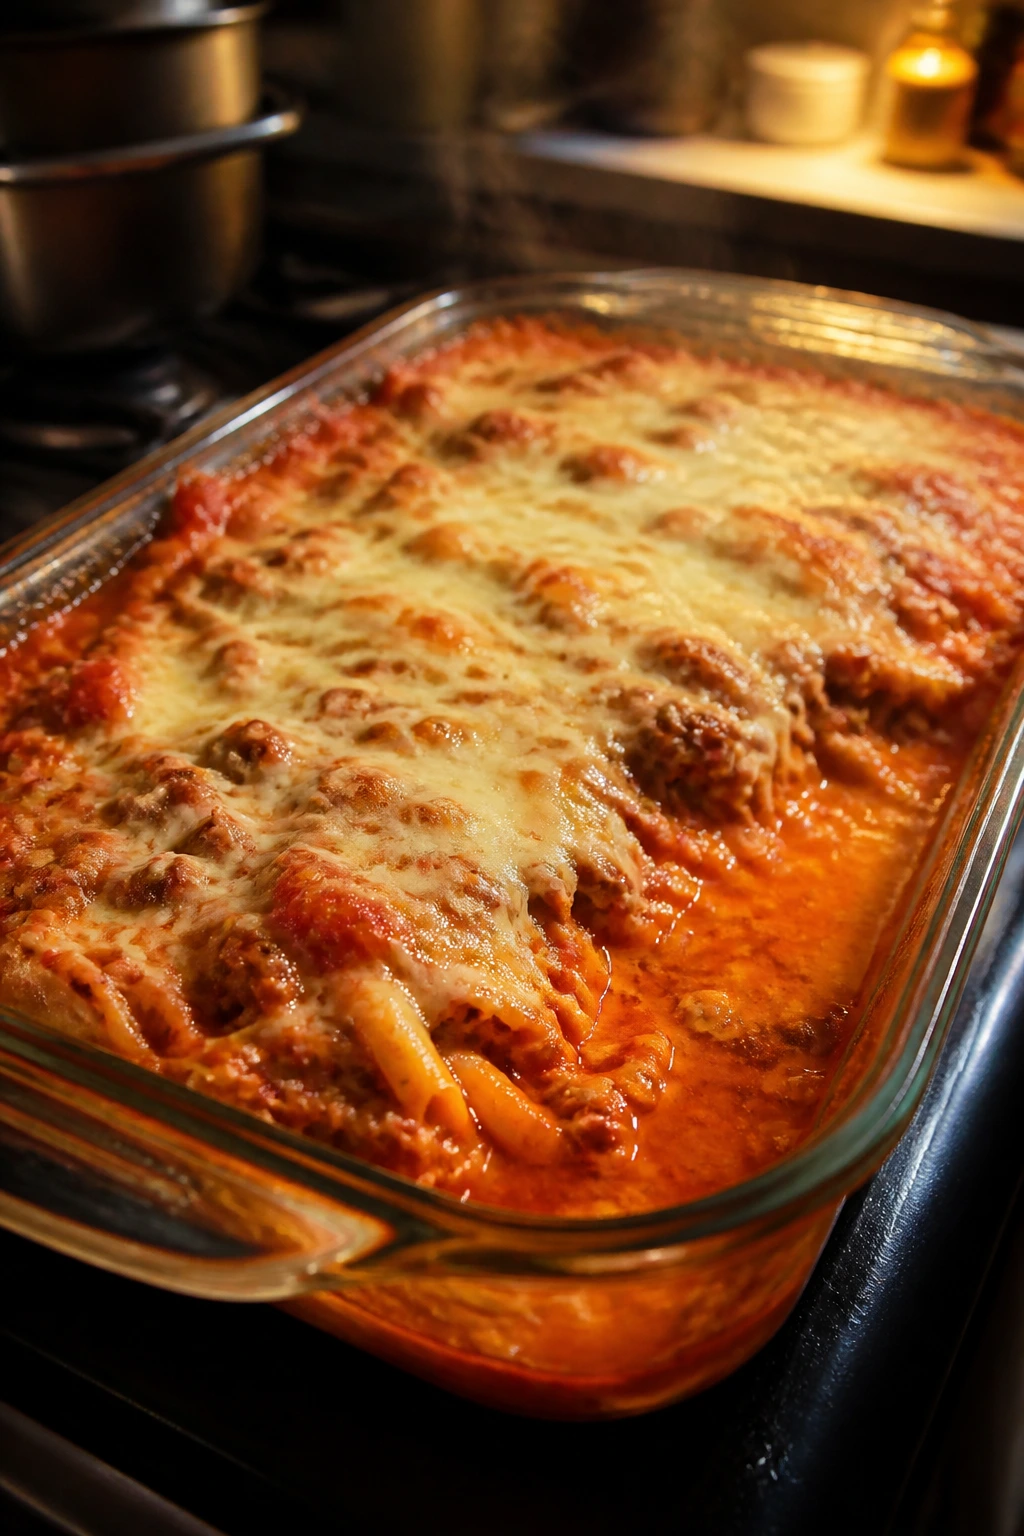
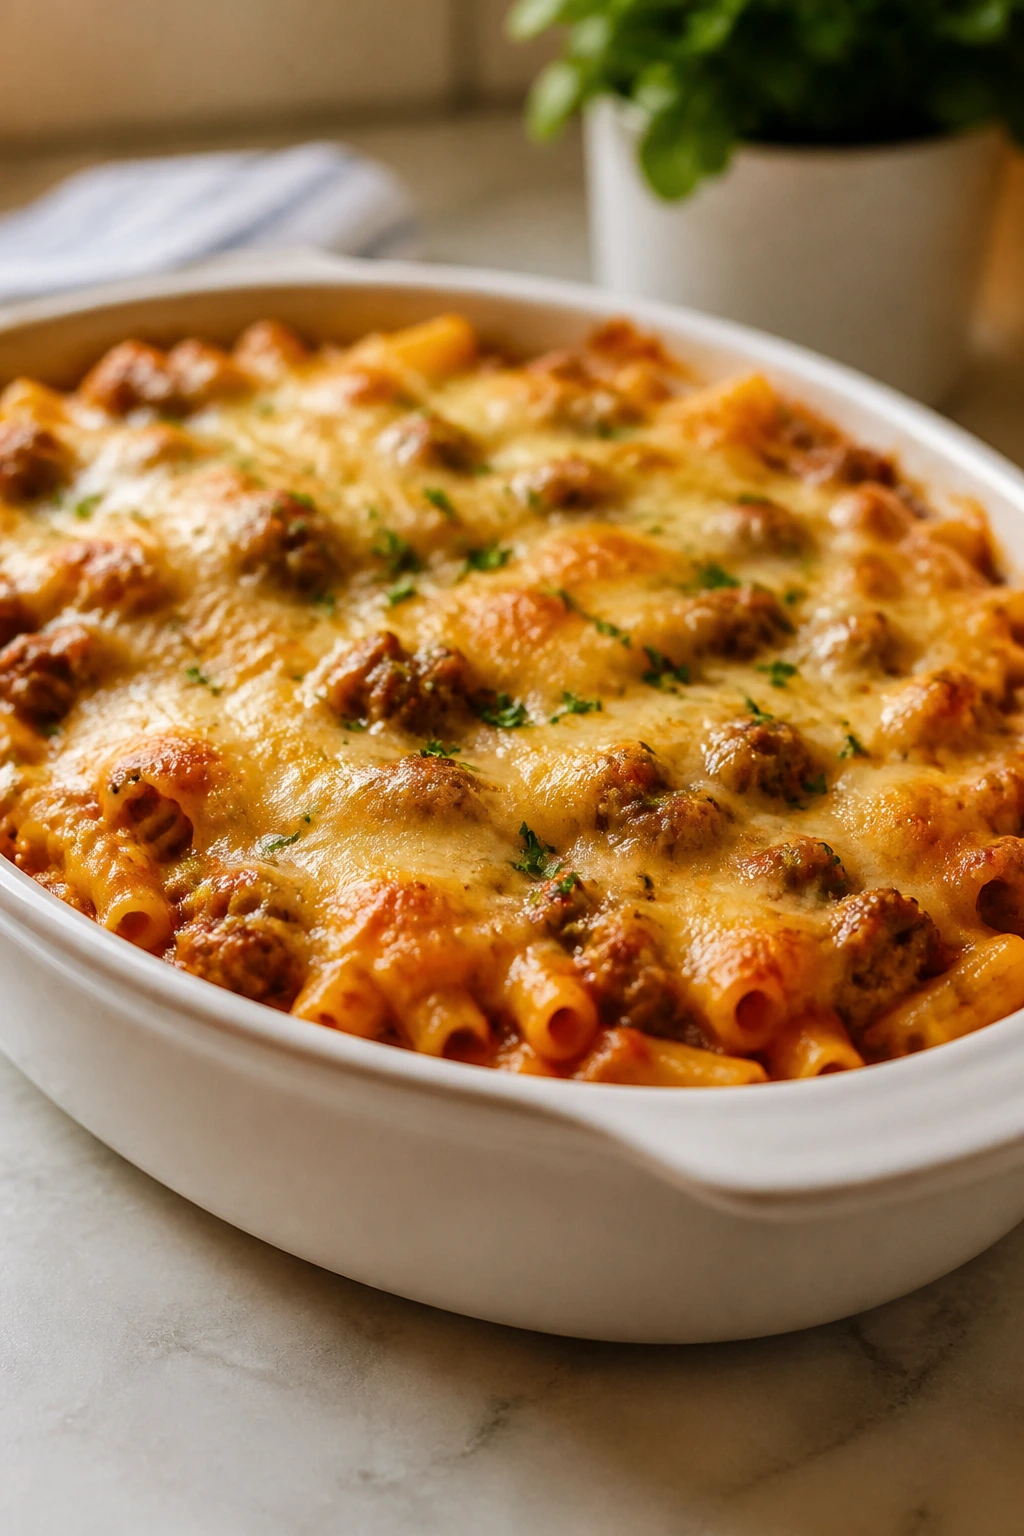
12. Meatball Parmesan Pasta Bake
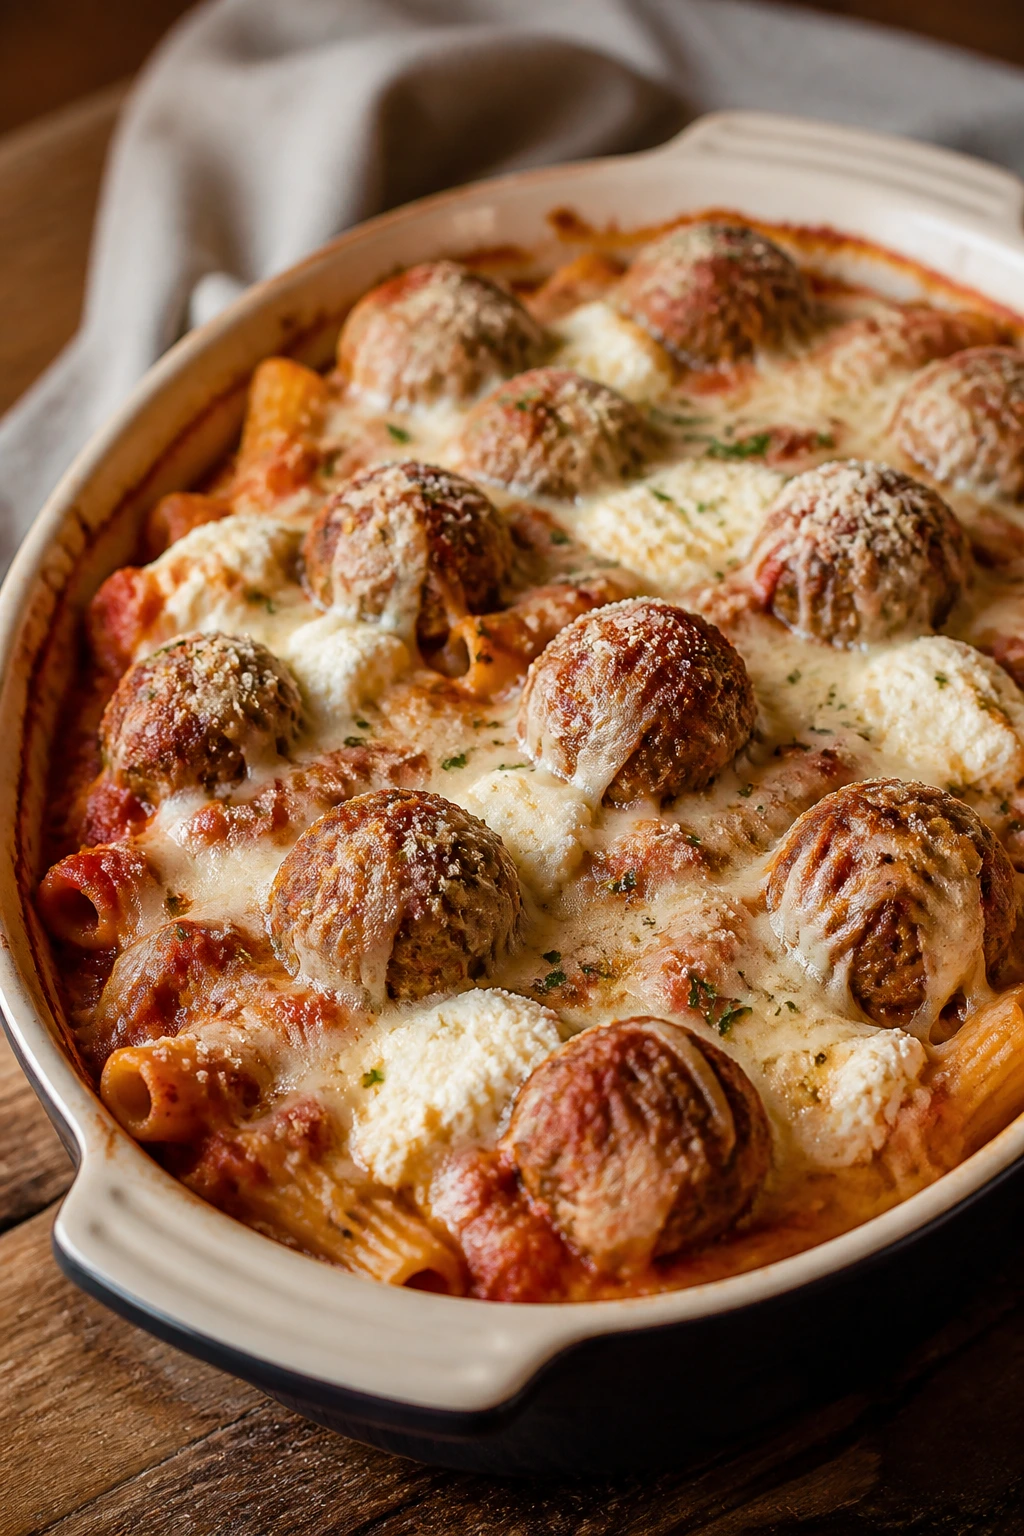
If you want a casserole that feels generous, this is it. Meatballs tucked into marinara, ricotta dollops, and a heavy layer of melted mozzarella make a pan that looks like feeding people was the whole point. It’s the sort of meal that gets stronger after a night in the fridge and even better after a freezer nap.
Why It Works
Meatballs freeze well because they’re already compact and protected by sauce. The pasta holds enough shape to survive reheating, while ricotta adds creamy pockets that keep each bite from being all noodles and tomato. This is one of those dishes where the freezer does less damage than expected, as long as you don’t overcook the pasta first.
Key Ingredients
- 1 pound rigatoni or penne
- 24 cooked meatballs, homemade or frozen
- 4 cups marinara sauce
- 2 cloves garlic, minced
- 1 teaspoon Italian seasoning
- 1 cup ricotta
- 3 cups shredded mozzarella
- 1 cup grated Parmesan
- 1/4 cup chopped basil
- 1 teaspoon kosher salt
Quick Steps
- Cook the pasta: Boil the rigatoni until just under al dente. Drain and set aside.
- Warm the sauce: In a large skillet, heat the marinara with garlic and Italian seasoning for 3 to 4 minutes.
- Combine: Stir the meatballs and pasta into the sauce until everything is coated.
- Assemble: Spread half the pasta mixture in a greased casserole dish. Dollop with half the ricotta, sprinkle with mozzarella, then repeat the layers. Finish with Parmesan.
- Bake: Cover with foil and bake at 375°F for 25 minutes. Uncover and bake 10 minutes more until the cheese is melted and spotty brown.
- Rest: Let it stand for 10 minutes, then scatter basil over the top.
Tips and Variations
- Freezer note: Freeze baked or unbaked. If freezing unbaked, thaw first so the pasta doesn’t go soft around the edges before the center heats.
- Easy upgrade: Add a pinch of red pepper flakes to the sauce if you like a little warmth.
- Make it stretch: Stir in sautéed mushrooms or chopped spinach if you need to turn one pan into more food.
Why This Freezer-Friendly Method Keeps Dinner Honest
The whole point of a freezer casserole is not elegance. It’s reducing friction. A pan that can be assembled in a quiet hour, frozen, and baked later without complaints is doing real work, and that work matters more than having a clever garnish or a photogenic crust.
There’s also a practical pattern hiding in these recipes. Thick sauces hold, cooked grains stay stable, and layered dishes survive the freezer better than fragile ones with crisp toppings or delicate eggs. That’s why some casseroles are baked now and frozen later while others do better as a fully assembled unbaked pan. The texture tells you what it wants if you pay attention.
Essential Equipment for These Recipes
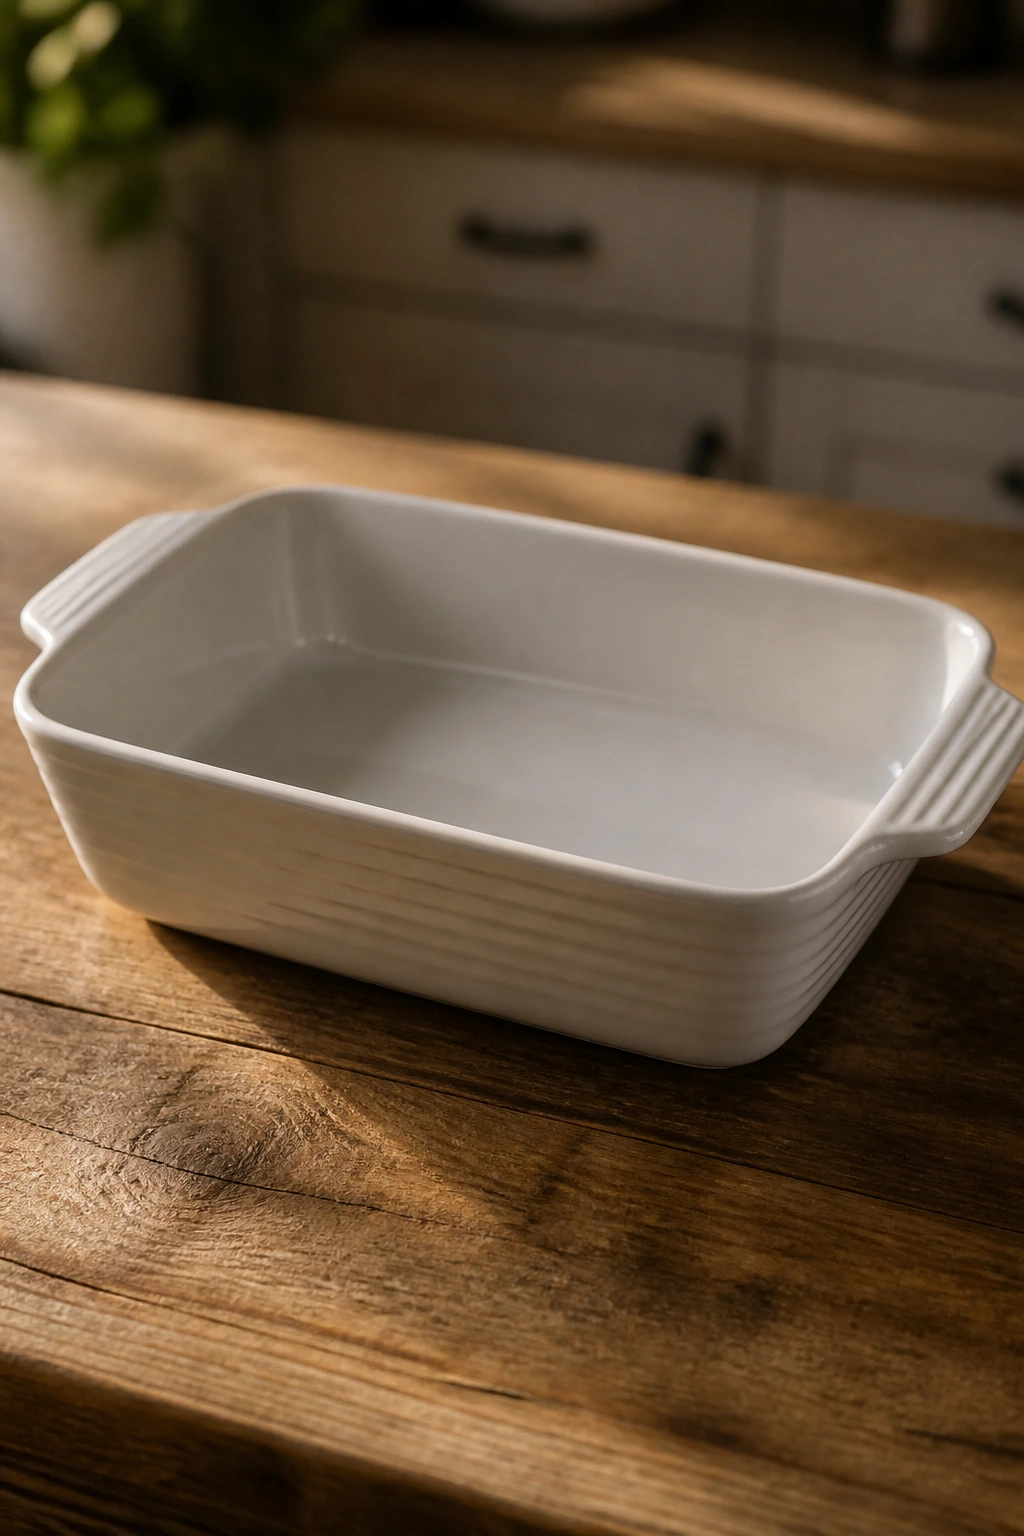
- 9×13-inch baking dishes: The standard size for most of these casseroles, and the easiest shape to freeze flat.
- Disposable aluminum pans: Handy for gifting, freezing, and avoiding dish retrieval later.
- Large skillet or sauté pan: Needed for browning meat and softening onions, celery, peppers, and garlic.
- Large mixing bowls: One for the filling, one for the cheese layer or egg mixture, because crowding leads to sloppy assembly.
- Measuring cups and spoons: Worth keeping precise, especially when freezing sauces that need balance.
- Foil or reusable casserole lids: A tight cover keeps freezer burn and ice crystals down.
- Plastic wrap: Use it under the foil for an extra barrier when freezing unbaked casseroles.
- Sharpie and masking tape: Label the dish with the recipe name and bake instructions. Future-you will be grateful.
- Box grater: Freshly grated cheese melts cleaner than the bagged stuff.
- Instant-read thermometer: Useful for reheating casseroles to 165°F without guessing.
- Large spoon or spatula: Best for folding fillings without crushing noodles or rice.
Smart Shopping and Ingredient Tips
Start with the ingredients that matter most after freezing, because not everything does. Cheese is one of the places where quality shows up fast. A block of cheddar, Monterey Jack, or mozzarella grated by hand melts smoother than most pre-shredded bags, which carry starches that can make a sauce feel grainy.
Choose low-sodium broth, enchilada sauce, and condensed soup when you can. Freezing mutes flavor, then reheating concentrates salt. Beginning with heavily salted ingredients can push a casserole into harsh territory by the time it comes back out of the oven.
For protein, rotisserie chicken and leftover roast chicken are the quiet heroes here. Ground turkey, ground beef, sausage, and meatballs all freeze well if they’re cooked through before assembly. If you’re buying turkey or beef, aim for something with enough fat to stay moist—extra-lean meat can turn dry once it’s been frozen and reheated.
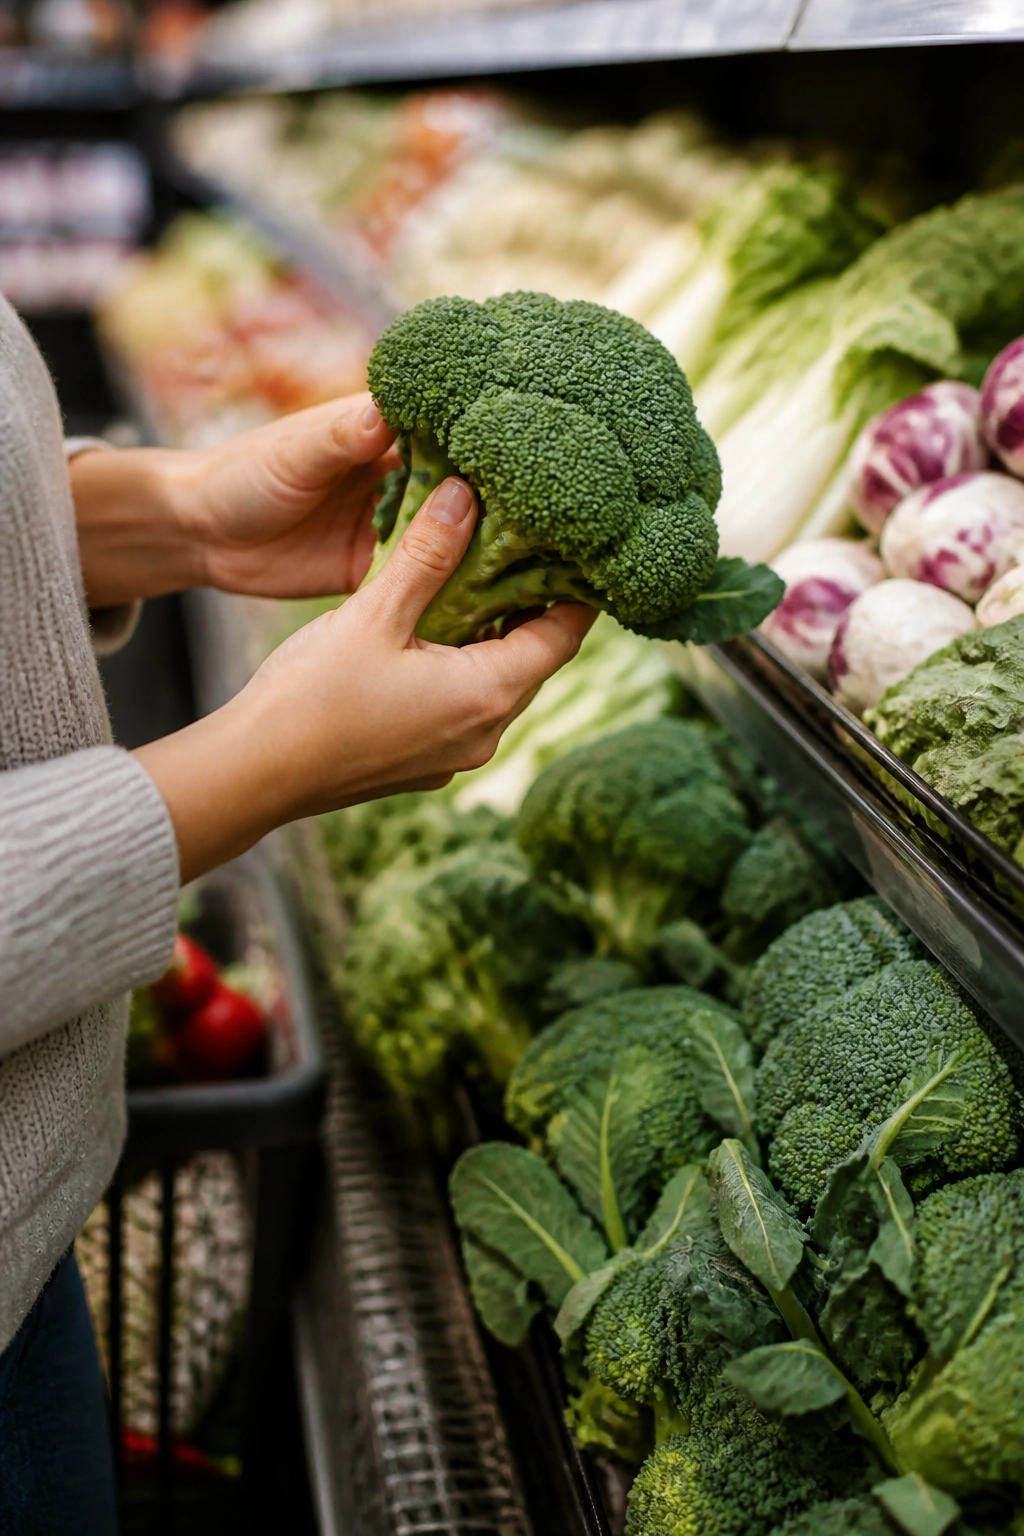
Frozen vegetables are not a compromise in these casseroles. Broccoli, peas, corn, and cauliflower often hold up better than fresh because they’re frozen at peak condition. Just thaw and drain them well. Any extra water ends up in the casserole, and no one wants a swampy center.
A last shopping habit worth stealing: buy more herbs and citrus than you think you need. A little chopped basil, cilantro, parsley, or a lemon wedge at the end turns a thawed casserole from merely useful into something that tastes finished.
How to Serve These Recipes
Presentation: Cut baked casseroles into clean squares after a 10-minute rest and serve them in shallow bowls or wide plates so the steam doesn’t collapse the top. A little chopped parsley, basil, cilantro, or scallion goes a long way and keeps the pan from looking beige.
Accompaniments: Keep the sides calm. A green salad with vinaigrette, steamed green beans, roasted carrots, fruit salad, or a hunk of crusty bread is enough. These casseroles already bring starch, protein, and sauce; the side should give the plate some crunch or freshness.
Portions: A 9×13-inch casserole usually feeds 6 to 8 adults, and closer to 6 if everyone is hungry. For a smaller household, bake in two 8×8 pans so one can go in the freezer while the other becomes dinner. That split is often more useful than making one giant tray and hoping for the best.
Beverage Pairing: Sparkling water with lemon, unsweetened iced tea, ginger ale, or a mug of herbal tea works with nearly every casserole here. If the meal is rich and cheesy, a cold citrus drink is the easiest way to keep the palate awake.
Additional Tips and Flavor Boosters
Flavor Enhancement: If a casserole tastes a little flat after thawing, finish it with acid instead of more salt. A squeeze of lemon over chicken bakes, a splash of vinegar in tomato casseroles, or a few chopped pickled jalapeños on enchilada night can wake the whole dish up.
Customization: Don’t be precious about the protein. Turkey can stand in for beef, rotisserie chicken can replace diced chicken breast, and black beans can stretch a meat casserole without making it taste vegetarian. The structure matters more than a perfect one-to-one ingredient match.
Serving Suggestions: Crunch helps. Toasted breadcrumbs, crushed tortilla chips, fried onions, or a handful of chopped nuts on the right casseroles add texture that survives better than delicate herbs. Sprinkle them on after baking so they stay crisp.
Make-It-Yours: For gluten-free versions, use corn tortillas, rice, polenta, or certified gluten-free pasta, and thicken sauces with cornstarch instead of flour. For dairy-light versions, use unsweetened oat milk or plain cashew cream, then reduce the total cheese a little and choose a sharper variety so the flavor still lands.
Make-Ahead, Storage, and Reheating Guidance
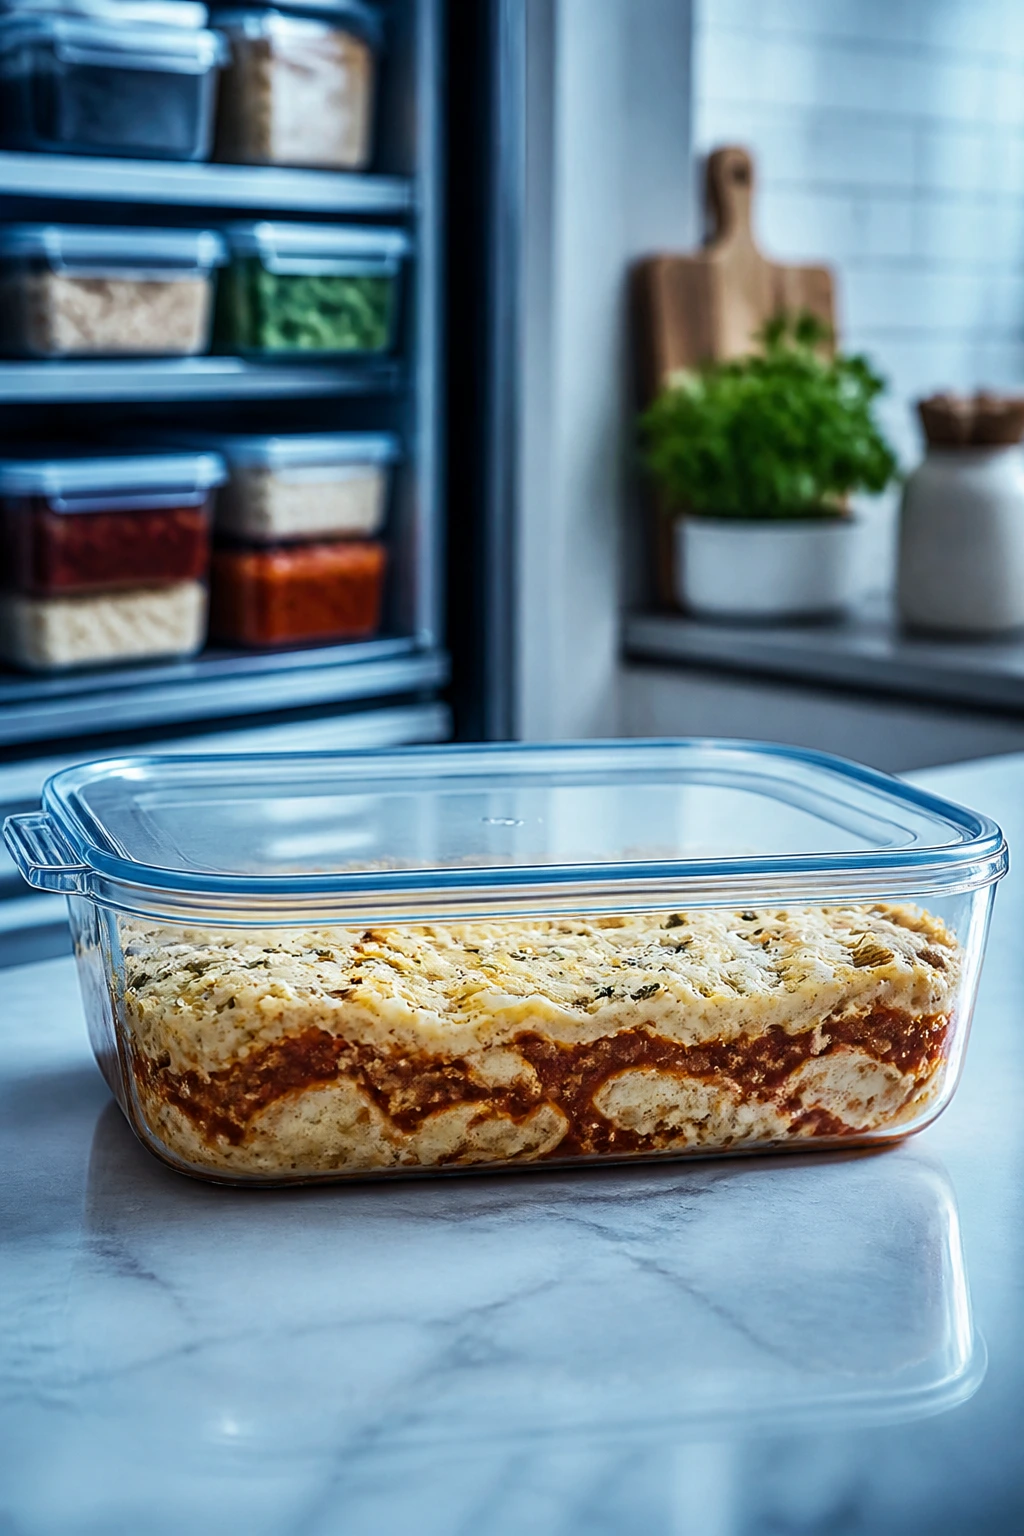
Unbaked casseroles keep well in the freezer for up to 3 months if wrapped tightly in plastic wrap and foil, or sealed in a freezer-safe lid. Creamy pasta bakes and egg casseroles are best used within 6 to 8 weeks for the nicest texture. Shepherd’s pie, enchilada casseroles, and meat-and-rice casseroles tend to hold up a little longer, but texture is still best before the 3-month mark.
Baked leftovers last 3 to 4 days in the refrigerator. Let the casserole cool first, then cover it and get it chilled within 2 hours. That guideline lines up with standard food safety advice and keeps the food from drifting into the lukewarm danger zone where both texture and safety get worse.
For reheating, thaw overnight in the refrigerator when you can. Bake covered at 325°F to 350°F until the center hits 165°F, which is the safe reheating temperature used for leftovers. If the top browns before the middle warms through, tent it loosely with foil and keep going. Remove the foil for the last 10 to 15 minutes if you want the top to crisp again.
Single portions are easier than people think. Cut casseroles into squares, wrap them individually, and reheat in the microwave in 60- to 90-second bursts, or in a 325°F oven until hot. Breakfast casserole and meatball pasta bake both do well this way. Creamier dishes may need a spoonful of milk or broth stirred in after reheating to bring the texture back.
Variations and Adaptations to Try
Lower-Sodium Comfort: Use low-sodium broth, reduced-salt cheese, and no-salt-added tomatoes where possible. Add flavor with herbs, garlic, citrus, and pepper instead of leaning on the salt shaker.
Vegetarian Pantry Switch: Turn chicken or turkey casseroles into bean-based versions by swapping in black beans, white beans, lentils, or mushrooms. You’ll still get a filling casserole, and the texture stays satisfying if you keep the sauce thick.
Gluten-Free Swap-Ins: Use rice, corn tortillas, gluten-free pasta, or mashed potatoes as the base. Replace flour with cornstarch or a gluten-free flour blend for thickening, and check broth and condensed soup labels carefully.
Dairy-Lighter Bake: Use oat milk or unsweetened almond milk in creamy casseroles, then cut the cheese by a quarter and add nutritional depth with Dijon, herbs, and a little extra garlic. The dish will be less rich, but still satisfying if you keep the sauce full-bodied.
Freezer-First Mini Pans: Divide big recipes into two 8×8-inch pans or foil loaf pans. Smaller pans freeze faster, reheat more evenly, and make it much easier to feed one or two people without pulling out a full family tray.
Common Mistakes to Avoid
Freezing while hot: A casserole that goes into the freezer still warm traps steam under the wrap, which turns into ice and then watery sauce. Cool it fully on the counter, then chill it before freezing if the pan is large.
Under-seasoning the filling: Freezing dulls flavor. If the mixture tastes a little shy before it goes into the oven, it will taste even quieter after thawing. Season each component as you cook, not just the final bowl.
Using too much liquid: A loose filling seems harmless until it thaws into a puddle. Make the sauce slightly thicker than you think you need, because pasta, rice, noodles, and vegetables all release a little moisture during baking.
Forgetting to drain vegetables: Frozen broccoli, corn, spinach, and peas can carry extra water. Pat them dry or let them steam off in a colander before mixing them in, or the casserole will slump.
Baking from frozen without a plan: A frozen casserole straight from the freezer needs a lower-and-longer approach. Cover it, bake until hot through, then uncover near the end. If the top is already dark, foil is your friend.
Choosing the wrong topping: Crisp toppings are fragile in the freezer. Breadcrumbs, chips, and pastry do better when added fresh at bake time rather than packed in for a long wait.
Frequently Asked Questions

Can I freeze a casserole before baking it?
Yes, and that’s usually the best method for these recipes. Assemble the casserole in a freezer-safe dish, cool it fully, wrap it tightly, and label it with the name and baking instructions.
Do I have to thaw a freezer casserole before baking?
Thawing overnight in the refrigerator gives the best texture, but some casseroles can bake from frozen if you add extra time and keep them covered for most of the bake. Pasta and egg casseroles usually behave better when thawed first.
How do I keep a casserole from getting watery?
Use a thick sauce, drain vegetables well, and avoid packing in extra liquid just because the filling looks dry before freezing. Also, let the casserole rest after baking; the sauce thickens as it sits.
What pan is best for freezing casseroles?
Disposable aluminum pans are the easiest for freezer storage, especially if you want to give a meal away or avoid getting your good dishes back later. Glass works for same-day baking, but let it thaw in the fridge before it goes into a hot oven.
Can I use fresh vegetables instead of frozen ones?
Absolutely, but cook or blanch them first so they don’t release too much water in the casserole. Fresh broccoli, peppers, carrots, and spinach all work if they’re prepped properly.
How long do leftovers keep in the fridge?
Most baked casseroles keep for 3 to 4 days refrigerated. For best texture, reheat only what you plan to eat that day instead of warming the whole pan over and over.
What if the center is still cold but the top is getting dark?
Cover the top loosely with foil and lower the oven temperature to 325°F. The foil protects the surface while the center finishes heating, and it’s a much better fix than pulling the dish early.
Which casseroles are easiest to portion for one person?
Shepherd’s pie, breakfast casserole, mac and cheese, and meatball pasta bake all slice well and reheat cleanly in single servings. If you know you’ll be eating alone often, freeze them in smaller pans or individual containers from the start.
A Little Breathing Room at Dinner
The point of a freezer casserole is not to make life charming. It’s to make one hard part of the day easier without adding work somewhere else. A pan that reheats into real dinner—hot, filling, and familiar—has already done more than enough.
These 12 casseroles cover the angles that matter most: chicken, turkey, beef, vegetarian, pasta, rice, potatoes, breakfast-for-dinner, and a couple of old favorites that still deserve a place in the freezer. Pick the ones that fit your kitchen, label them well, and stack them before the next long week starts.