
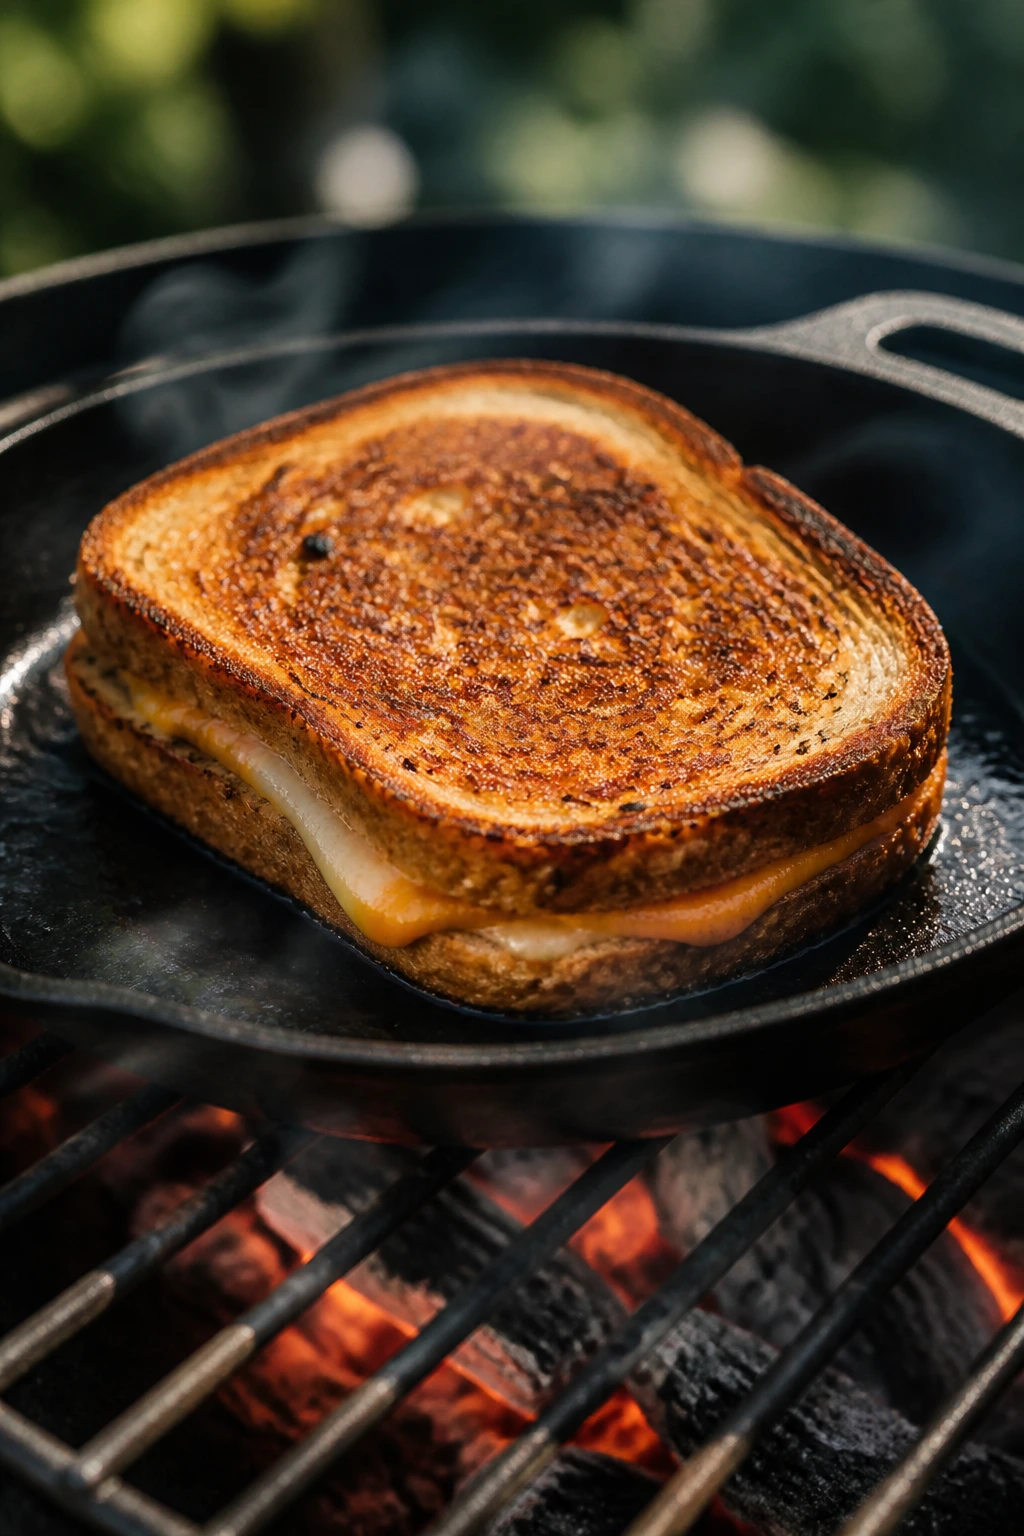
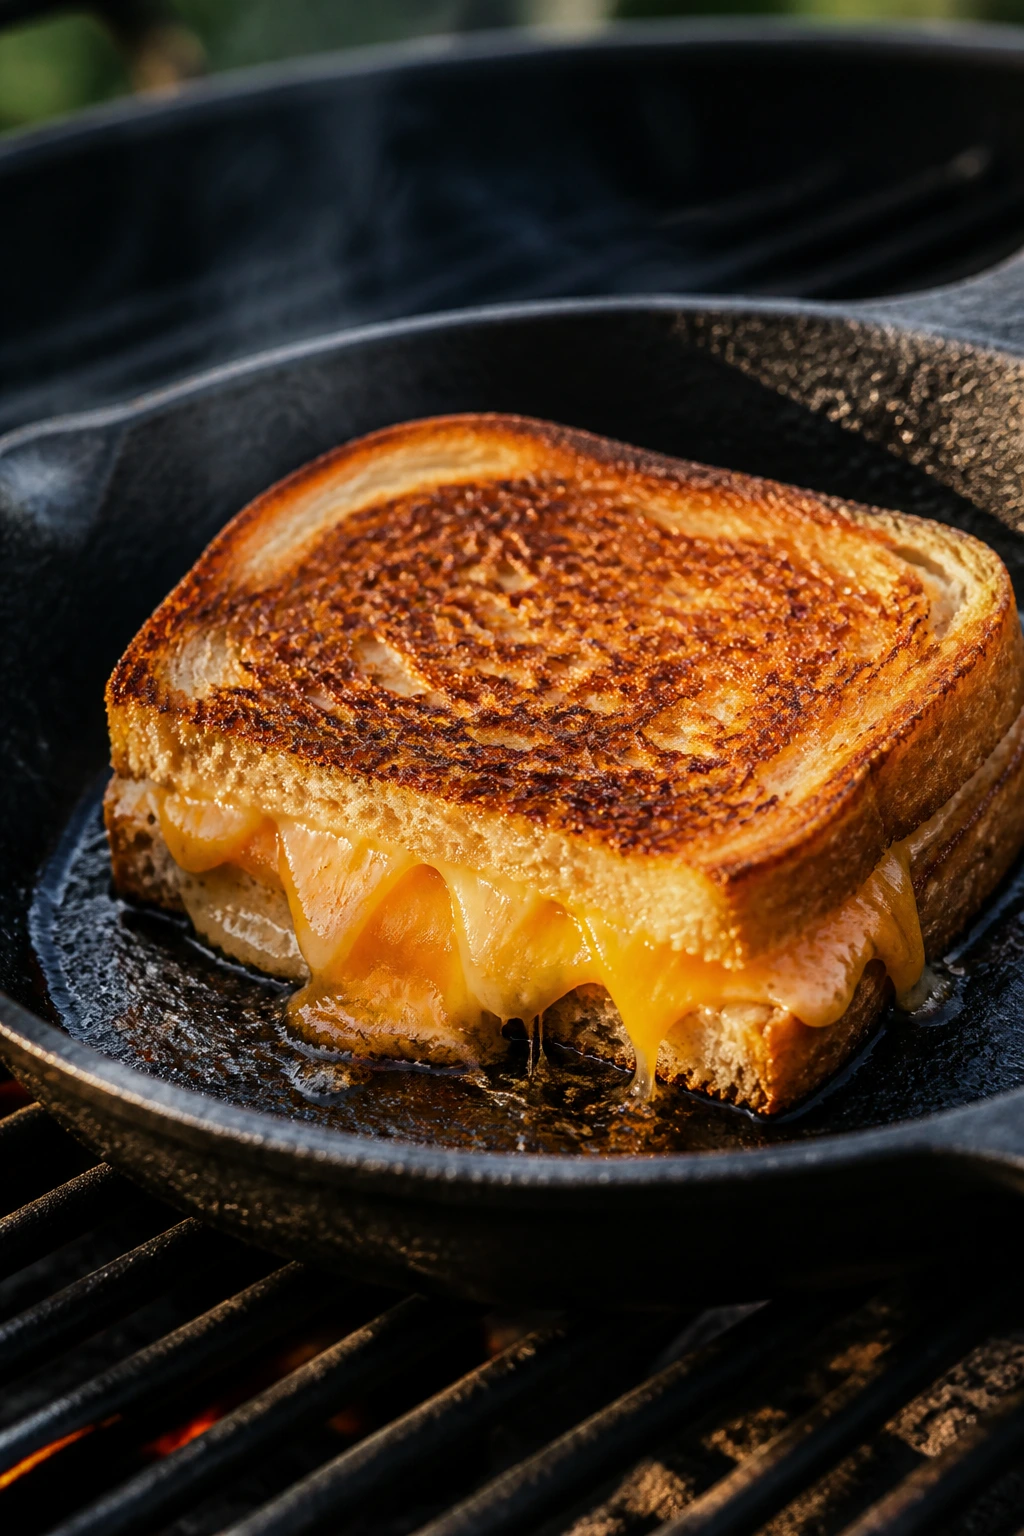
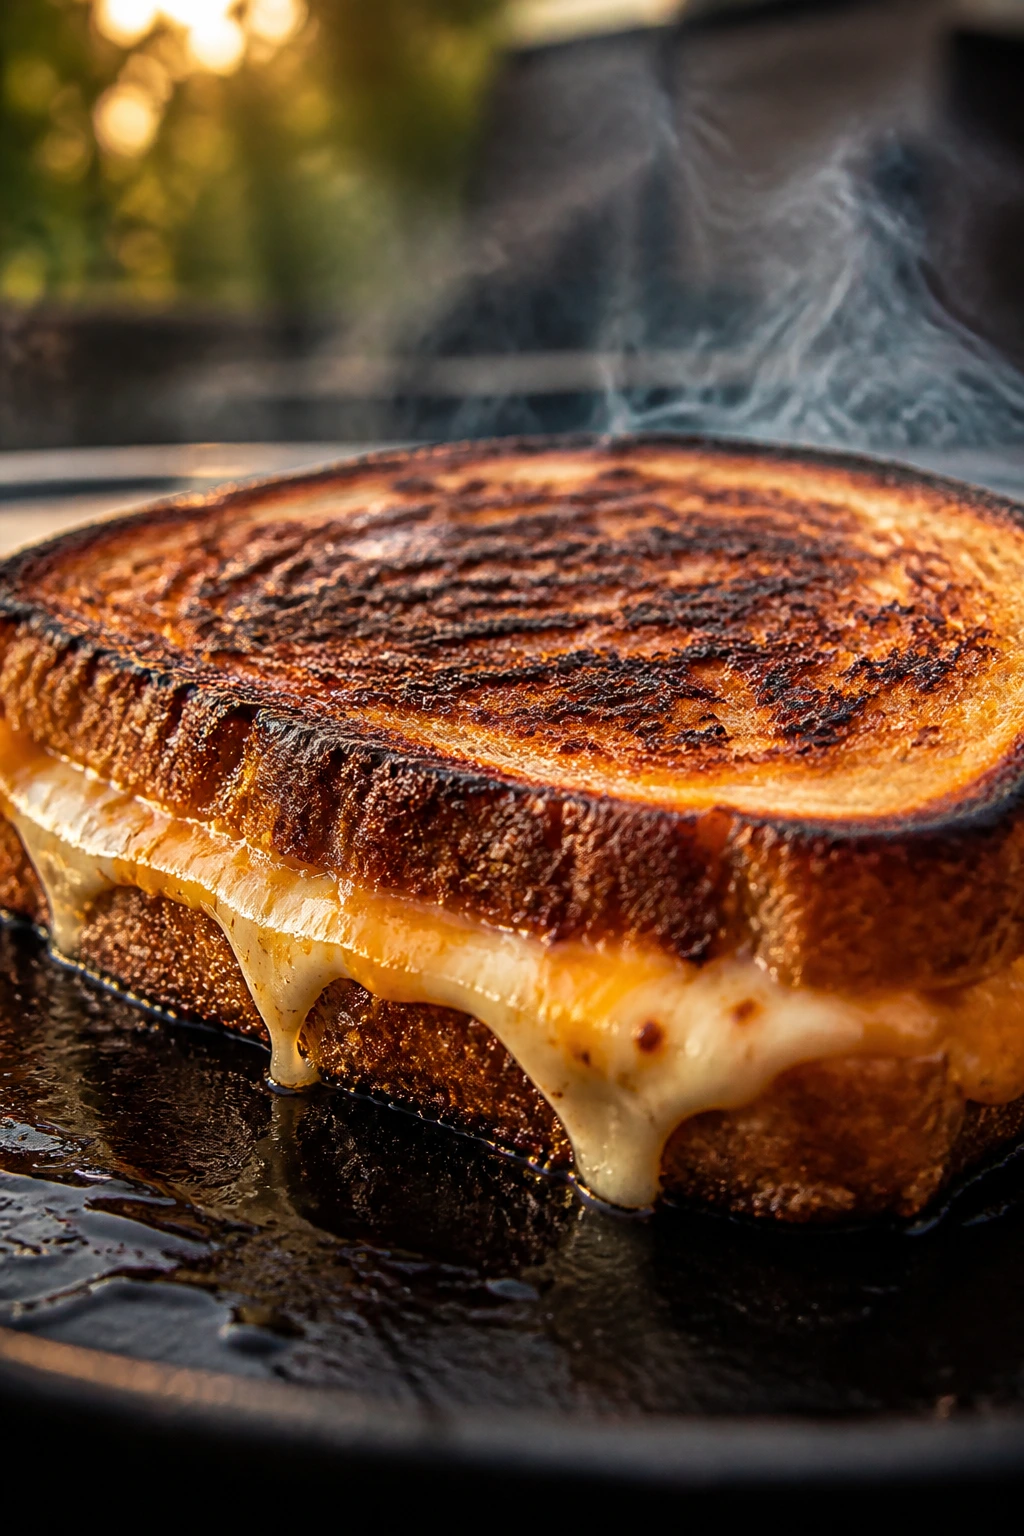
A charred classic grilled cheese tastes like a lunch sandwich that wandered into a backyard cookout and came back better for it. The bread picks up smoky freckles, the butter goes nutty at the edges, and the cheese inside turns soft enough to pull in long, glossy strands without leaking out the sides.
The trick is not brute fire. It’s medium heat, a cast-iron skillet or griddle, and bread that can take a little abuse. If you try to treat grilled cheese like a burger, the crust goes black before the center loosens. If you treat it like a small, hot piece of toast with a molten filling, the whole thing behaves.
I like the cheddar-and-American blend for that reason. Cheddar brings the sharp, familiar bite; American gives the sandwich its smooth, steady melt. Put those against sturdy bread and a well-seasoned skillet, and the result is plain in the best way: crisp edges, a soft middle, and that faint grill scent that makes people drift toward the table before you even call them over.
Why Charred Classic Grilled Cheese Works Better Over Live Heat
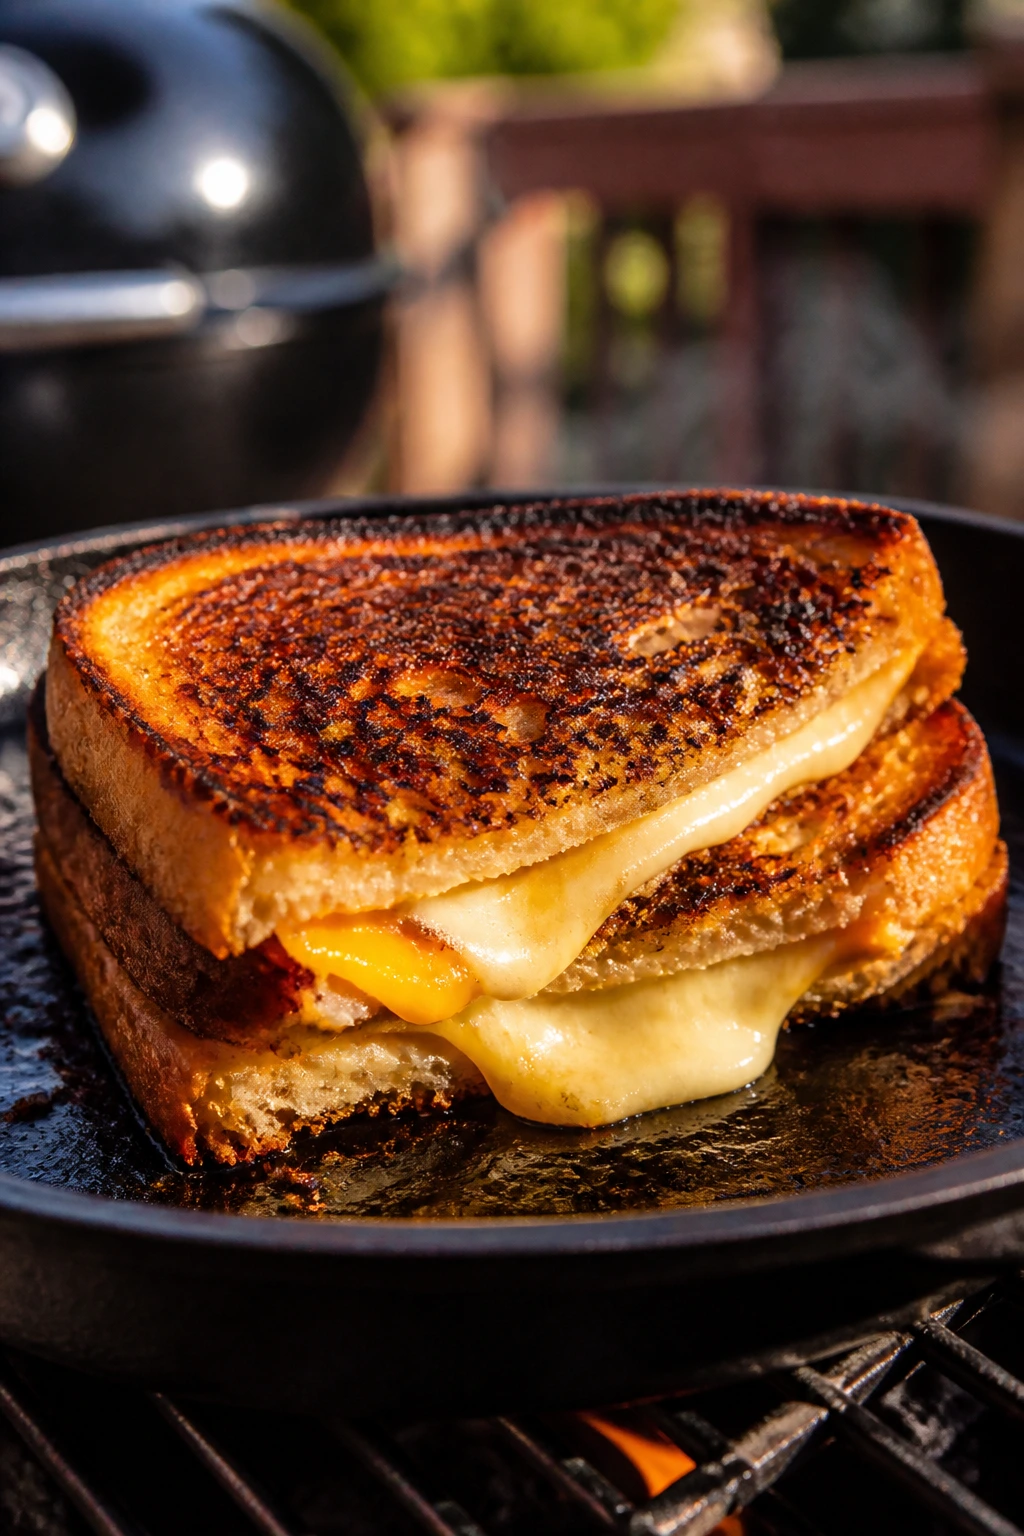
The grill changes this sandwich in a way that sounds small and turns out to matter a lot. A stove gives you steady heat from below, which is fine, but a backyard grill adds a little smoke and a little volatility. That volatility is the point. The bread gets a deeper, darker crust because the heat is wider and slightly drier, and the cheese seems to relax faster when the top of the sandwich sits under a closed lid.
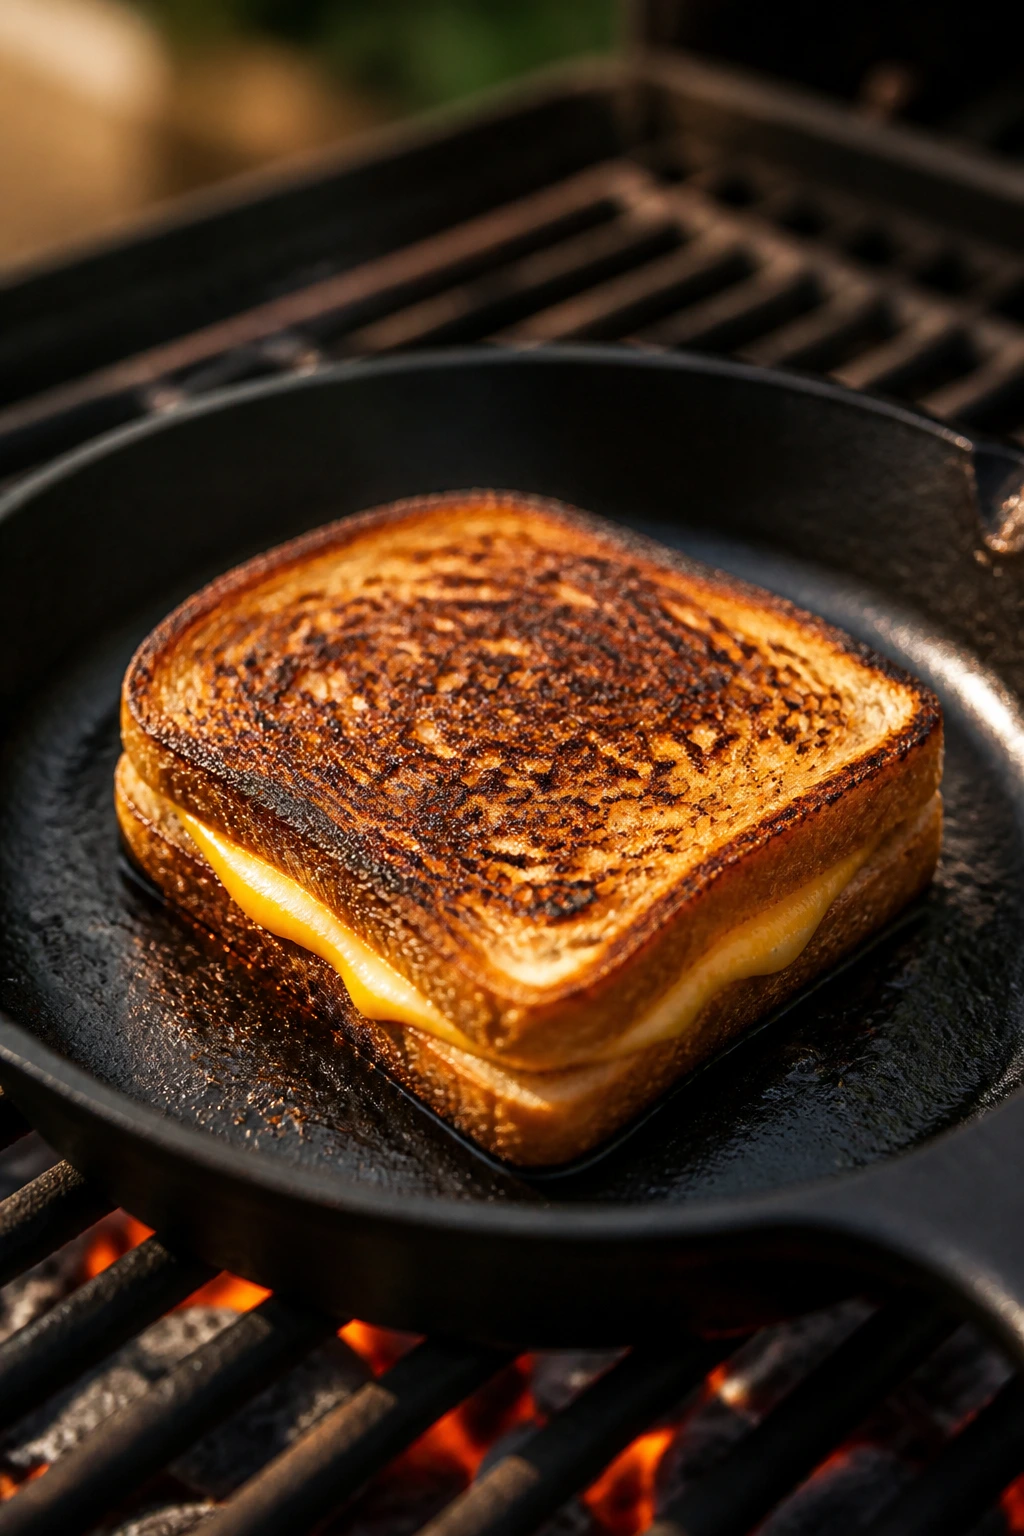
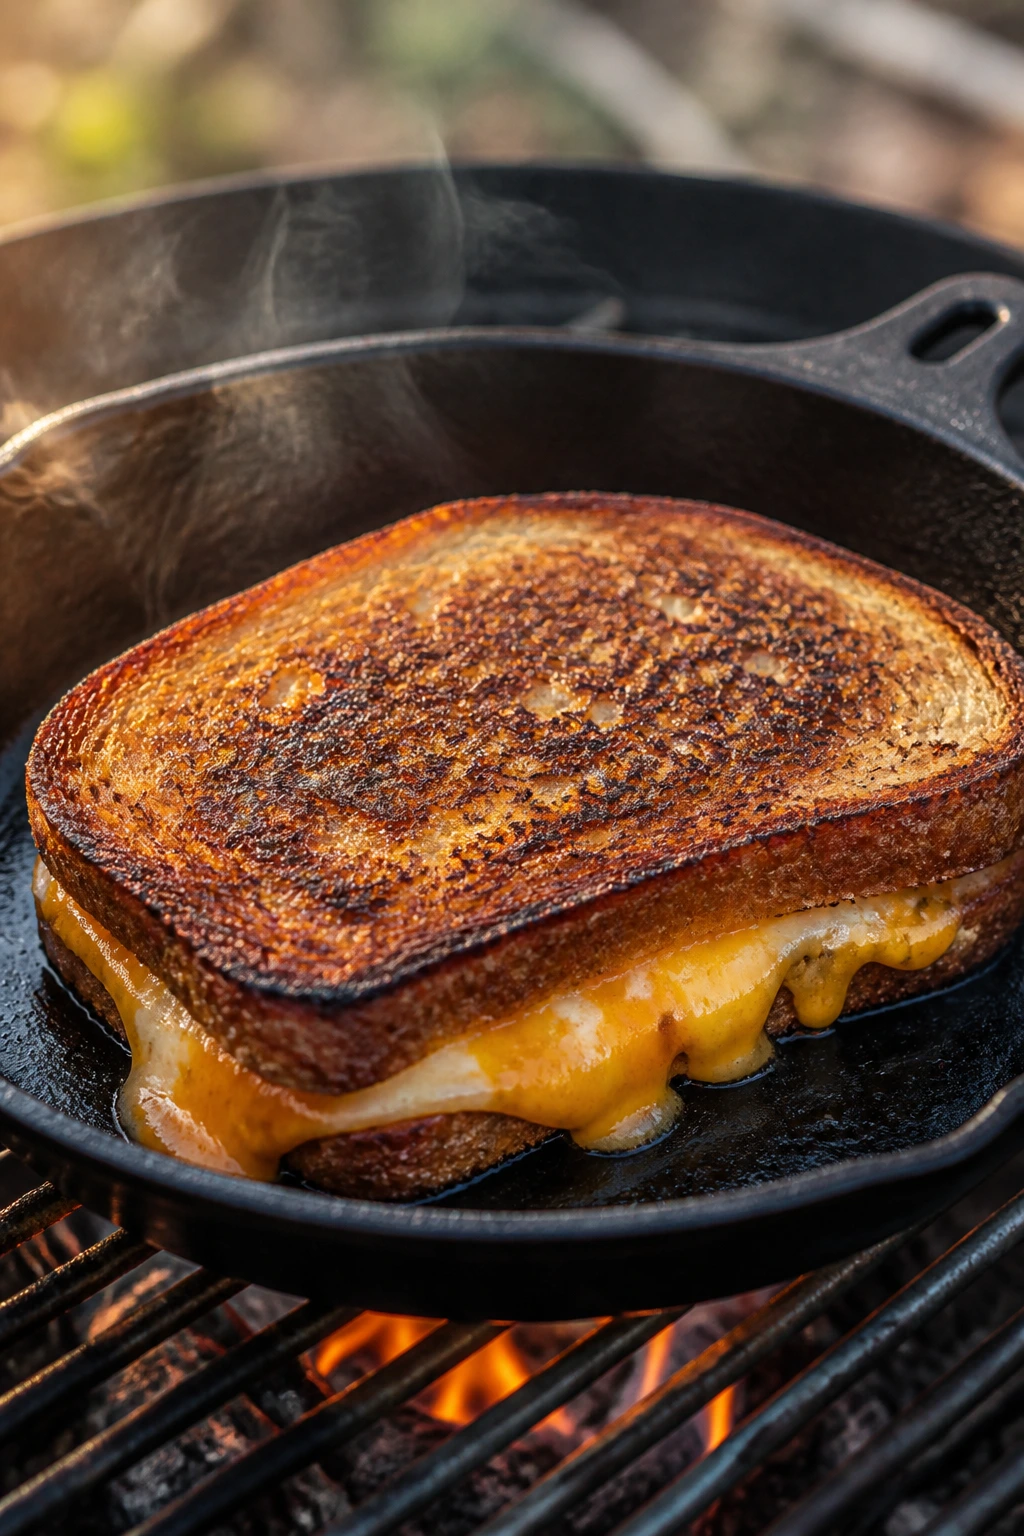
A cast-iron skillet on the grates is the move I reach for most. It gives you the control of stovetop cooking with the flavor of outdoor heat, and it keeps the butter from dropping through the grate or flaring up like a bad idea. You still get char, but it’s the controlled kind: dark freckles, toasty corners, and a crust that crackles instead of shattering.
Directly grilling the bread on grates can work, but it is fussy. Thin bread dries out fast. Too much butter drips. Cheese escapes and lands in the fire, which is never charming. The skillet keeps the whole thing calm. That calm is why a grilled cheese belongs at a cookout just as much as corn, burgers, or a plate of sliced tomatoes with salt.
Why You’ll Love This Recipe
- Smoke without drama: The grill gives the bread a faint smoky edge, but the cast-iron skillet keeps the sandwich from falling into the flame.
- Melts cleanly: Sharp cheddar brings flavor, while American cheese keeps the center soft and stretchy instead of oily or grainy.
- Fast enough for a cookout: The hands-on work takes about 15 minutes, so you can build the sandwiches while everything else rests.
- No fancy prep: There’s no sauce simmering, no marinating, and no long ingredient list. Bread, butter, cheese. Done.
- Easy to scale: One skillet makes four sandwiches without changing the method, and a flat griddle can handle more if you need to feed a crowd.
- Better than a plain stovetop version: The bread gets a deeper crust and a more pronounced toasty smell, which makes the whole sandwich feel more deliberate.
Timing, Yield, and Difficulty
The numbers here are simple, and that’s one reason I keep coming back to this sandwich when I’m cooking outside. It’s quick, it’s steady, and it doesn’t ask for much more than a hot skillet and a little attention.
Yield: 4 sandwiches
Prep Time: 15 minutes
Cook Time: 12 minutes
Total Time: 27 minutes
Difficulty: Beginner — the steps are straightforward, but the heat management matters, so you still need to watch the skillet.
Chill/Rest Time: 1 minute resting after cooking
Best Served: Right off the grill, while the cheese is still soft and the crust is audibly crisp
The Shopping List I Trust
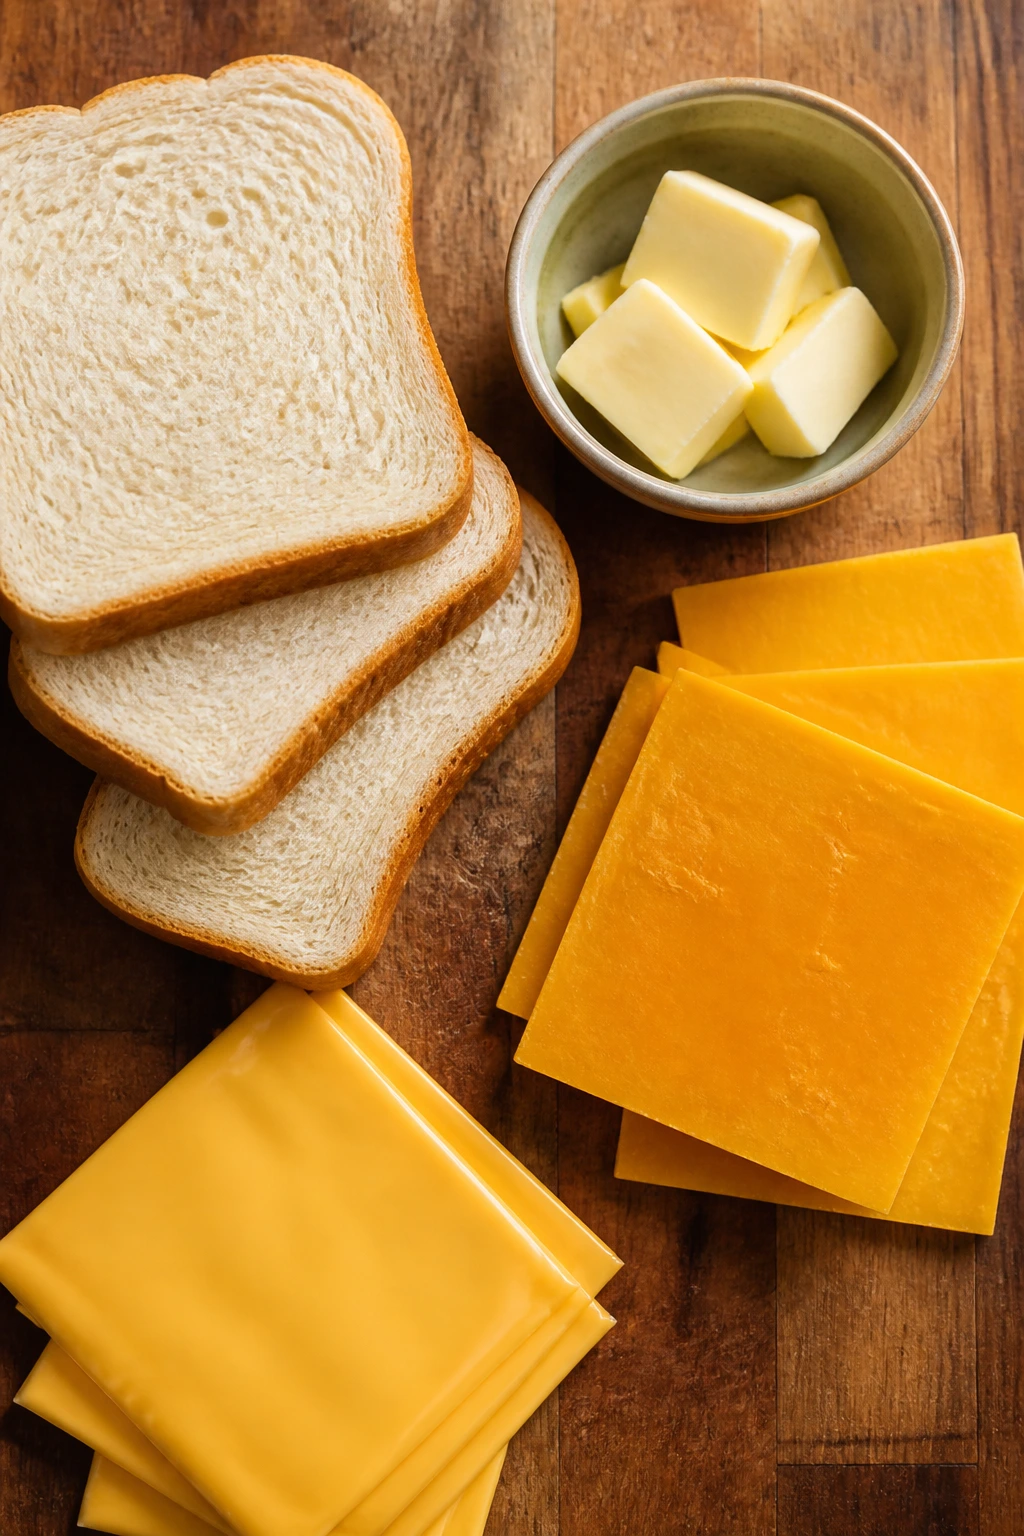
For the Sandwiches:
- 8 slices sturdy white bread or sourdough, about 1/2-inch thick
- 4 tablespoons unsalted butter, softened
- 8 slices sharp cheddar cheese, about 6 ounces total
- 4 slices American cheese, about 2 ounces total
That’s the whole list. No garnish parade. No breadcrumb project. The sandwich works because the ingredients know their jobs and stay in their lanes.
Why Each Ingredient Pulls Its Weight
Bread
What to use: 8 slices sturdy white bread or sourdough, cut about 1/2-inch thick. You want slices that can hold their shape on the skillet and still toast evenly at the corners.
Preparation: If the bread is very fresh and soft, leave it out for 10 to 15 minutes before building the sandwiches. A slightly drier surface browns more evenly and is less likely to collapse when you flip it.
Substitutions: Texas toast, Pullman loaf, country-style sandwich bread, or a sturdy gluten-free sandwich bread all work. Brioche can be lovely, but it browns fast and can taste sweet next to sharp cheddar.
Tips: Thin, floppy sandwich bread is where grilled cheese dreams go to die. It tears, it buckles, and it burns before the cheese gets a chance. Sourdough gives the best structure if your grill runs hot.
Cheese
What to use: 8 slices sharp cheddar cheese and 4 slices American cheese. I like the blend because cheddar gives you the flavor that tastes like grilled cheese, while American gives you the silky melt that keeps the filling from turning grainy.
Preparation: If you start with a block of cheddar, slice it thin, about 1/8 inch thick. Thin slices melt faster and more evenly than fat shards or rough chunks.
Substitutions: Monterey Jack, Colby, fontina, provolone, or smoked Gouda can step in for part of the cheese. If you skip American entirely, use a very melt-friendly cheese or the middle can get a little stubborn before the bread is ready.
Tips: Pre-shredded cheese isn’t my first choice here. The anti-caking coating can slow the melt and leave the filling slightly sandy. Slices behave better, which matters when the outside is getting dark over live heat.
Butter
What to use: 4 tablespoons unsalted butter, softened enough to spread without tearing the bread. You need enough to coat the outside face of each slice in a thin, even layer.
Preparation: Let the butter sit on the counter until it spreads like thick frosting. If it’s cold, it drags the bread and leaves pale gaps that brown unevenly.
Substitutions: Salted butter works if that’s what you keep on hand. Ghee can handle heat well, and a thin swipe of mayonnaise on the outside can create a deeper brown crust if your grill dries bread out fast.
Tips: Butter the outside, not the inside. Butter between the cheese and the bread makes the filling slippery and can leak onto the skillet. The crust is where the butter belongs.
The Gear That Makes It Easy
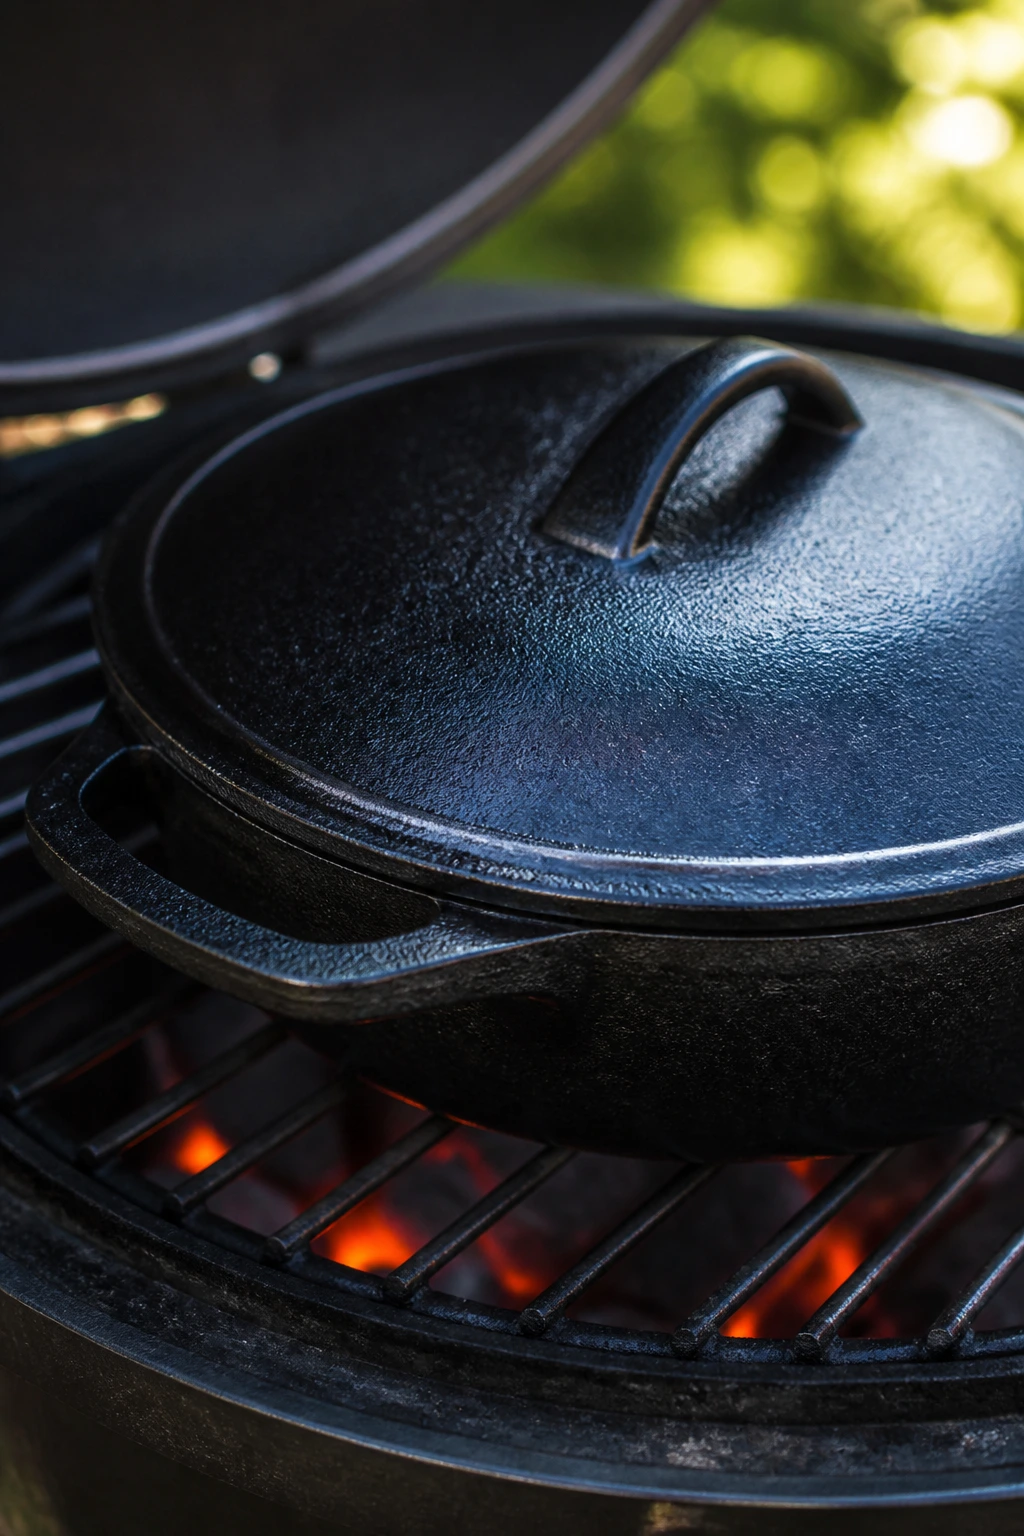
A grilled cheese on a backyard fire is not the place for gimmicky tools. A few solid pieces of equipment do the job without fuss.
- 10- or 12-inch cast-iron skillet or flat griddle: This is the heart of the method. Cast iron holds heat evenly and gives the bread those dark brown freckles without scorching one spot.
- Long-handled spatula: A wide, thin metal spatula makes flipping easier and helps you get under the crust cleanly.
- Grill lid: Closing the lid traps heat around the sandwich and helps the cheese melt before the bread over-browns.
- Tongs: Useful for adjusting the skillet, shifting coals, or moving the pan to a cooler side of the grill.
- Cutting board: A sturdy board gives the sandwich a place to rest for a minute before slicing.
- Sharp knife or serrated bread knife: Clean cuts matter. A dull knife squashes the bread and pushes the filling out.
How the Grill Changes the Sandwich
What makes this worth the trouble? The answer is not just “smoky flavor,” although that’s part of it. The real reason is the way heat behaves in a skillet sitting over a grill. You get a wider, more forgiving heat field, which means the bread can brown with a little more character before the cheese is fully molten.
A burger can handle aggressive fire because it has thickness and mass. A grilled cheese has neither. It is all edge. All surface. That makes the cooking surface more important than the filling, which feels backward until you’ve made one that came out with a soft center and a crust that sounds like a whisper when you tap it.
I also like the sense of timing this sandwich brings to a cookout. Burgers may need resting. Ribs need patience. A grilled cheese is more immediate. It gives you something hot and golden in under half an hour, and it fills the gap between the first round of food and whatever comes off the fire next. That’s not a small thing when people are standing around with paper plates.
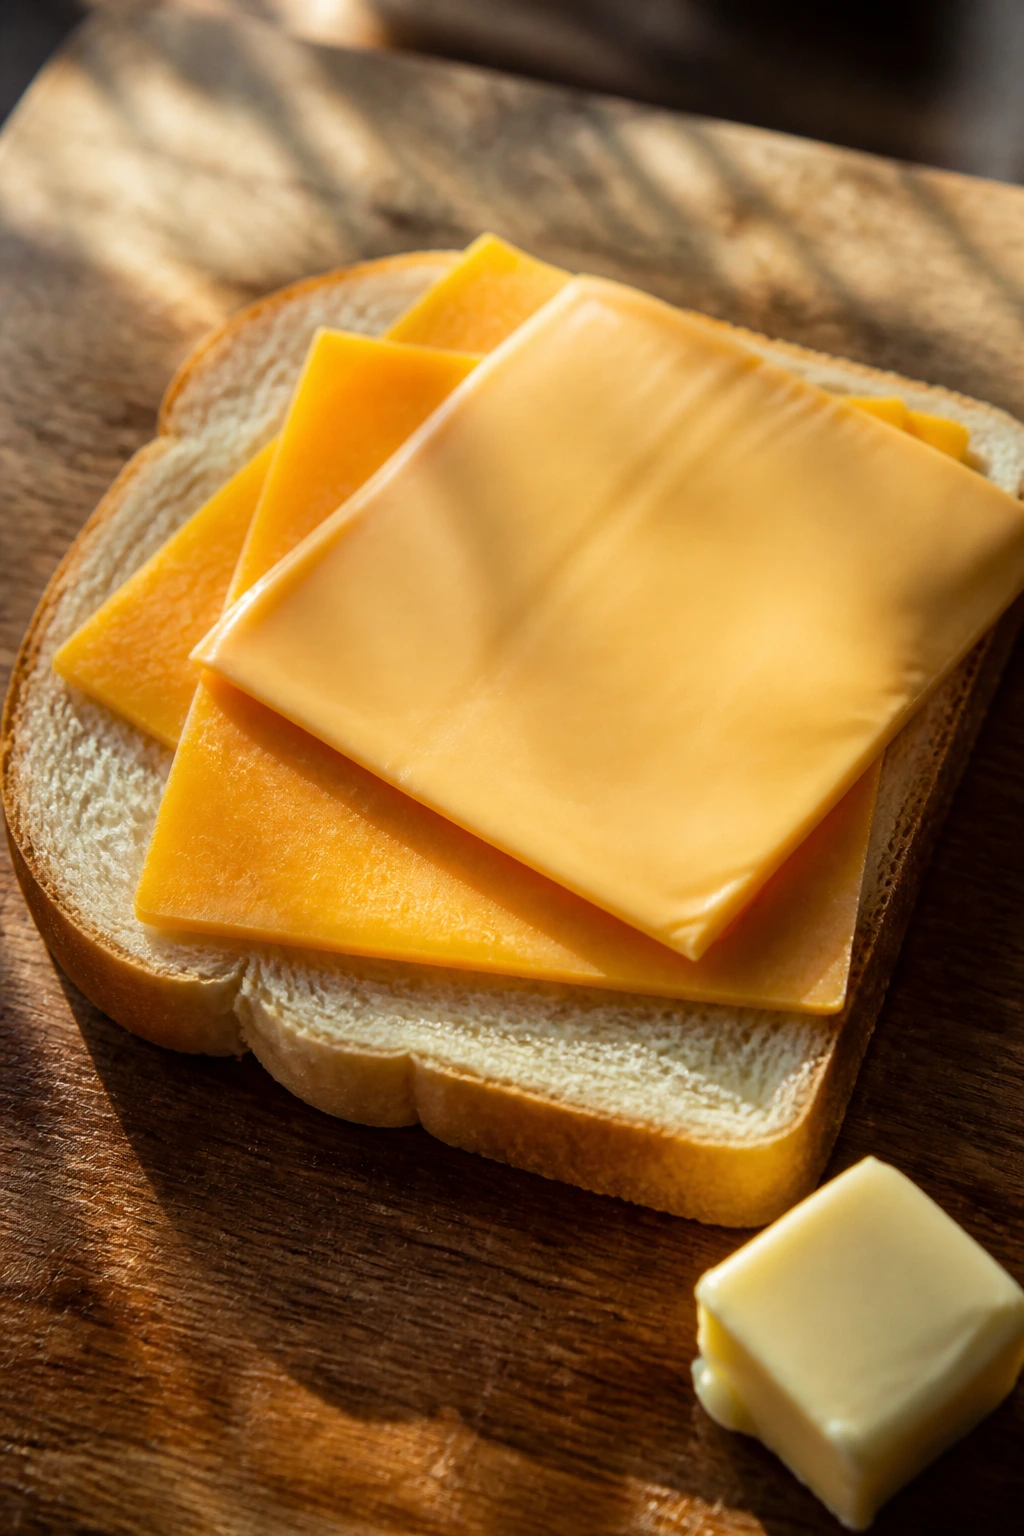
How to Build the Sandwich So It Melts Cleanly
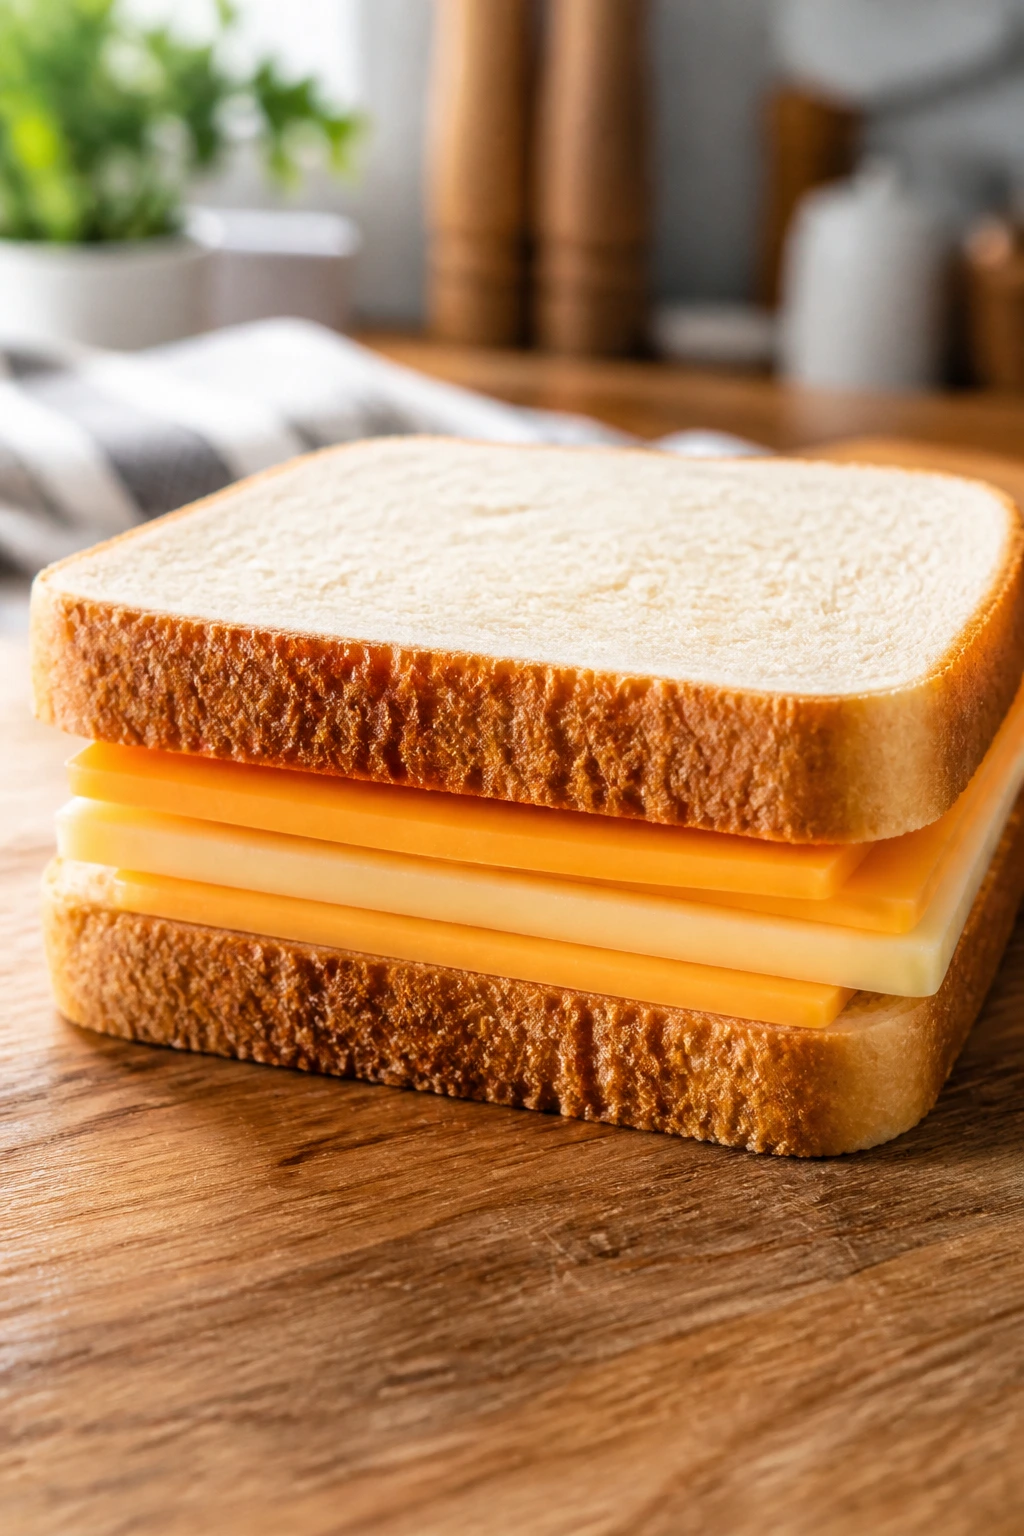
There’s a cleaner way to stack grilled cheese than just shoving slices between bread and hoping for the best. The cheese wants to melt outward, so the bread needs a little border to catch it. Leave about 1/4 inch of space between the cheese and the edge of the bread. That tiny margin keeps the filling from welding itself to the skillet.
I also like to build the cheese in layers rather than piling it in one thick slab. Put two slices of cheddar under one slice of American, or sandwich the American in the middle if you want a smoother center. The American acts like a melting bridge. It softens quickly and pulls the cheddar along with it, which is a nicer result than a pocket of half-melted cheddar sitting under a crust that’s already done.
If your bread is delicate, press the assembled sandwich once with the flat of your hand before it hits the skillet. Not hard. Just enough to settle the layers. You’re not flattening a burger. You’re persuading the sandwich to hold together for a few minutes while the heat does the rest.
How to Cook Charred Classic Grilled Cheese Without Burning the Bread
Set Up the Grill
-
Preheat a gas grill to medium heat, about 350°F to 375°F, or build a charcoal fire with the coals banked to one side for a two-zone setup. Set a 10- or 12-inch cast-iron skillet or flat griddle on the grates and let it heat for 5 minutes.
-
Lay out the 8 slices of bread on a board or tray. Spread 1/2 tablespoon of softened butter over one side of each slice, going all the way to the edges so the corners brown instead of drying out.
Assemble the Sandwiches
-
Place 4 slices of bread buttered-side down. On the unbuttered side of each slice, layer 2 slices sharp cheddar and 1 slice American cheese. Keep the cheese inside the edges by a small margin so it does not melt onto the skillet.
-
Top each sandwich with the remaining bread, buttered side facing out. Press each one lightly so the layers settle and the top and bottom slices sit flat.
Grill and Finish
-
Set the sandwiches in the hot skillet. Cook for 3 to 4 minutes on the first side, until the bread is deep golden with scattered dark char marks and the underside releases cleanly when you lift a corner.
-
Flip each sandwich with a wide spatula and cook for 2 to 3 minutes on the second side. Close the grill lid to trap heat. If the bread browns faster than the cheese melts, move the skillet to a cooler part of the grill or lower the heat immediately.
-
If the cheese still needs a little help, cover the skillet for the final 30 to 60 seconds. The sandwiches are done when the cheese is soft at the edges, the bread is crisp, and the filling gives a slow, stretchy pull when you lift one corner.
-
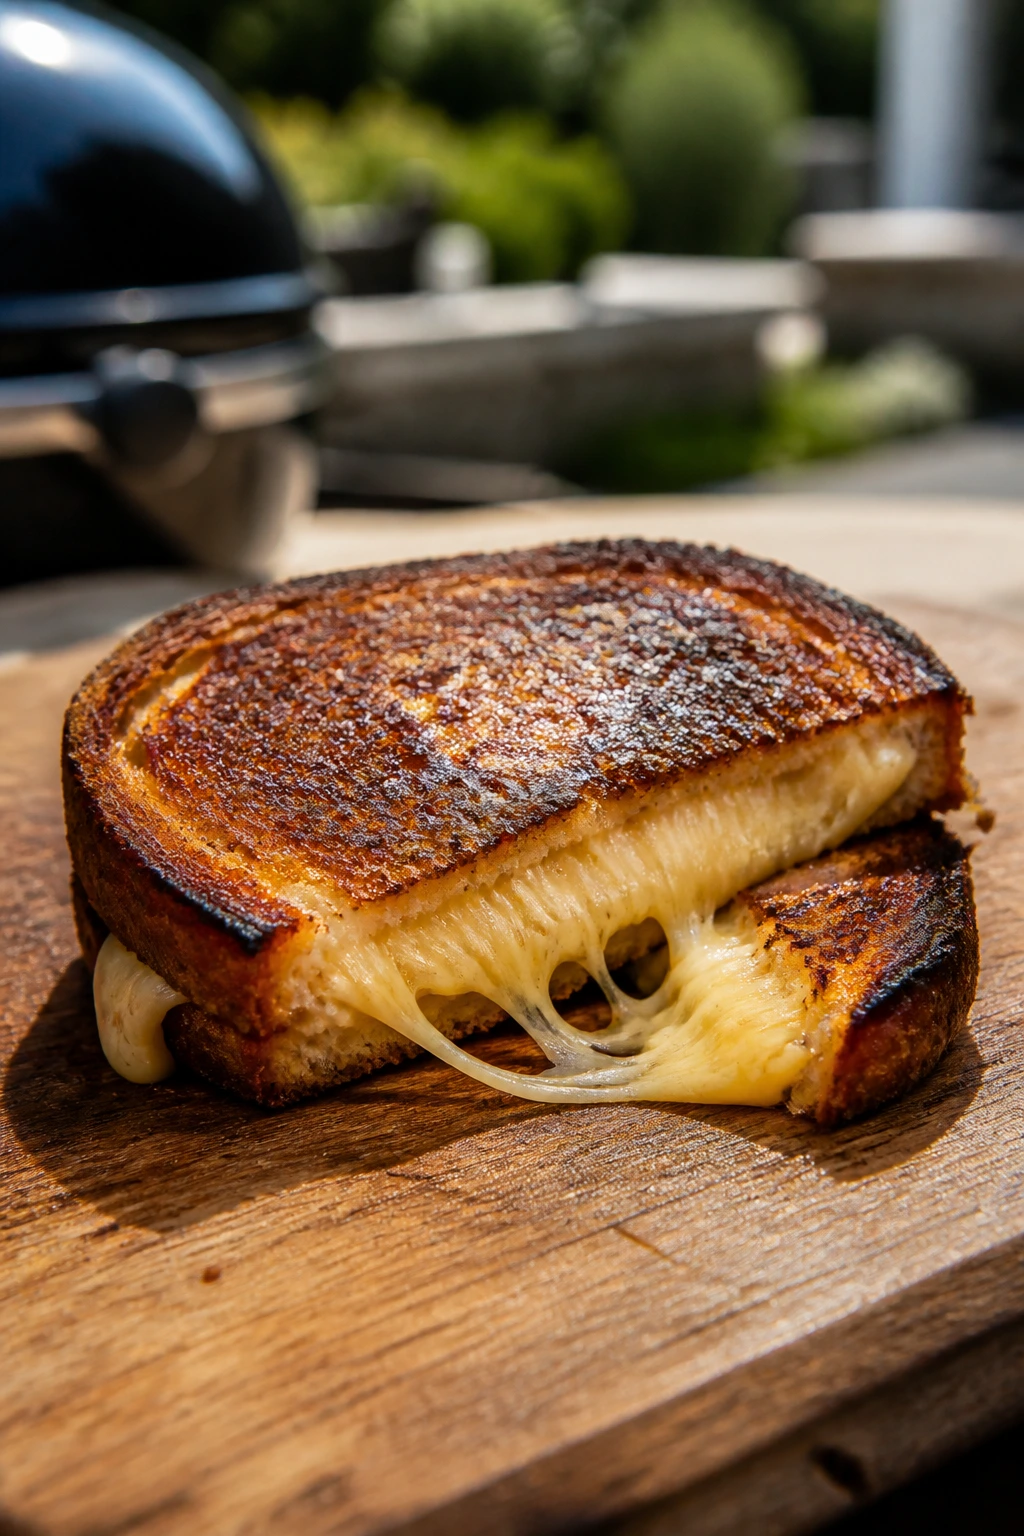
Transfer the sandwiches to a cutting board and rest for 1 minute. Slice diagonally with a sharp knife and serve while the crust is still audibly crisp.
How to Serve It at a Cookout
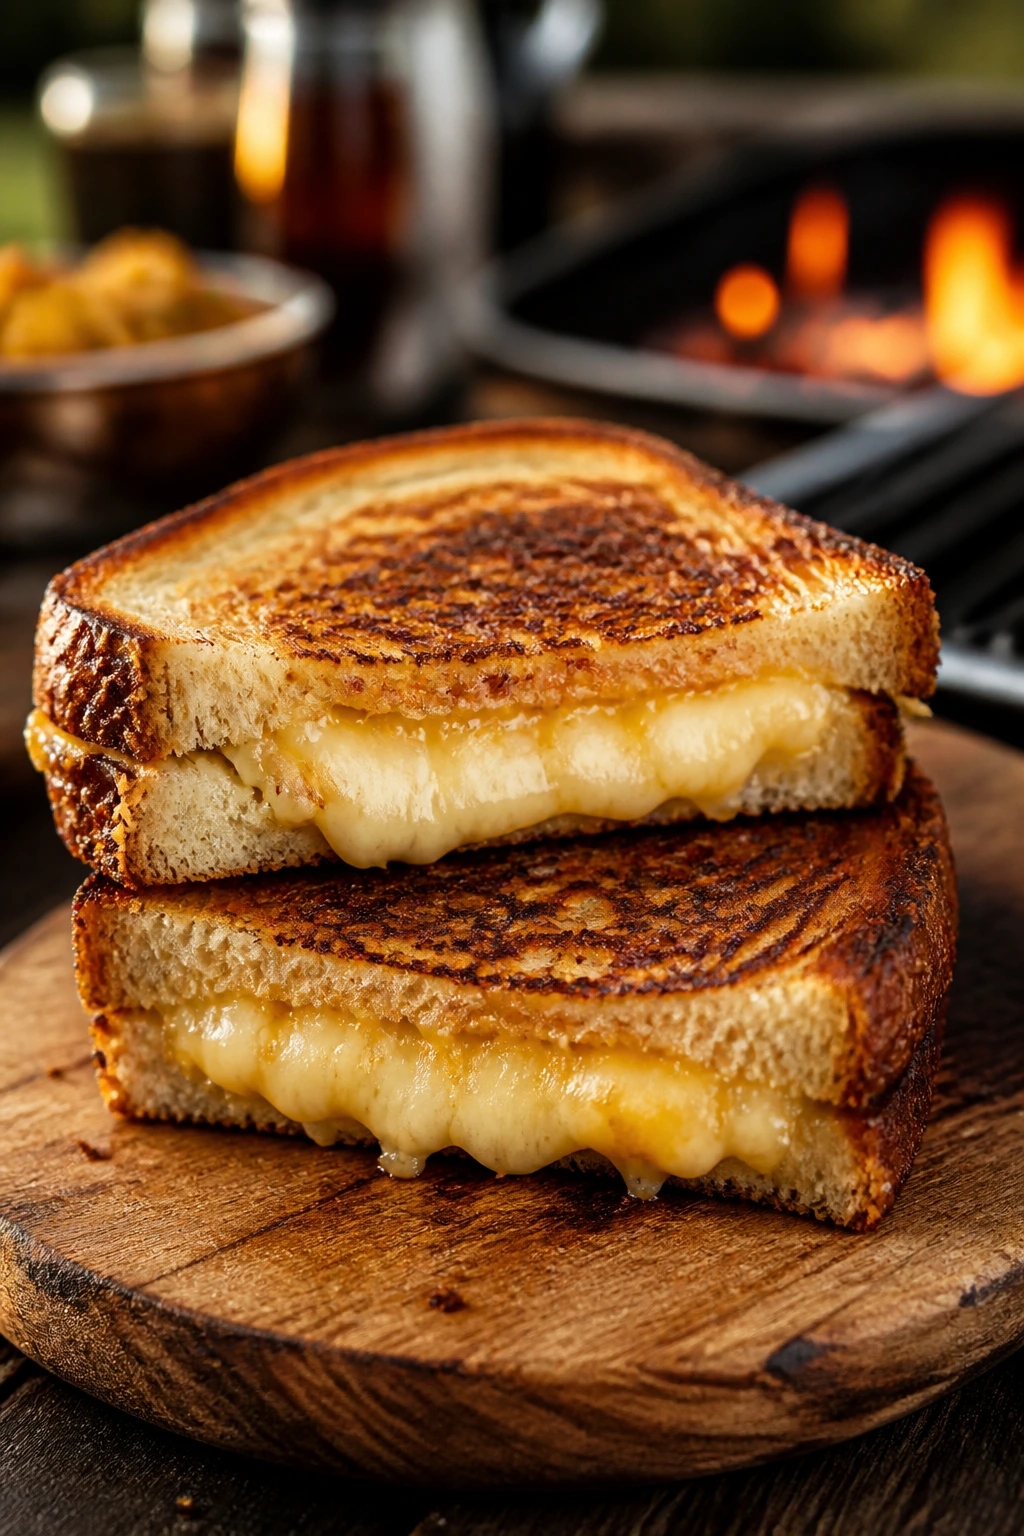
Presentation: Cut each sandwich in half on the diagonal and stack the halves with the cut side facing out. That shows off the melted cheese, which is half the pleasure here. If you’re feeding a crowd, line the halves on a wooden board instead of piling them on a plate; stacked sandwiches steam each other and soften the crust.
Accompaniments: Dill pickles belong here. So do kettle chips, a chopped iceberg salad with sharp vinaigrette, grilled corn, sliced tomatoes with flaky salt, or a bowl of tomato soup if you want the sandwich to lean diner-style. I also like a little vinegar slaw beside it because the acidity cuts the butter and cheese better than another creamy side.
Portions: One full sandwich feeds one hungry adult. Half a sandwich works well as a side dish next to ribs, burgers, or grilled chicken. If you’re serving a mixed crowd, cut each sandwich into quarters and pass them as an appetizer; people always grab grilled cheese pieces faster than they admit they will.
Beverage Pairing: Cold lager, iced tea with lemon, or sparkling lemonade all fit the job. A crisp beer handles the butter best, while a not-too-sweet drink keeps the sandwich from feeling heavy.
Tips, Fixes, and Little Upgrades
Flavor Enhancement: If you want a darker crust without moving away from the classic feel, brush one outer face with a paper-thin layer of mayonnaise and butter the other side as usual. Mayo browns fast because of the oil and egg, and it can rescue a sandwich when the grill air feels too dry.
Time-Saver: Butter all eight slices before the skillet even goes on the grill. Once the bread is ready, assembly takes about two minutes, and you won’t be juggling a butter knife while the pan heats up.
Pro Move: Use the grill lid like a low oven. Closing it for the last minute or two gives the cheese a push without forcing you to leave the sandwich in the skillet long enough to burn the crust.
Cost-Saver: Buy one block of sharp cheddar and one small package of American. The cheddar does the talking; the American does the melting. You do not need a fancy cheese lineup to make this work.
Serving Suggestion: A few cracks of black pepper over the cut face of the sandwich can wake it up. So can a sliced pickle on the plate or a tiny spoonful of tomato relish if you’ve got it.
Common Mistakes That Make Grilled Cheese Annoying
-
Running the grill too hot: If the bread blackens in under two minutes, the cheese will still be stiff in the middle. Fix it by backing down to medium heat and using the lid to trap warmth instead of chasing color.
-
Using bread that is too soft or too thin: Flimsy bread tears when you flip it and goes limp once the butter melts. Use a sturdy loaf cut about 1/2 inch thick so the sandwich has enough structure to handle the skillet.
-
Overfilling the center: More cheese is not always better. A mound that rises too high leaks out the sides, hits the pan, and turns into a sticky mess. Keep the cheese in a single even layer and leave a narrow border around the edge.
-
Pressing the sandwich too hard: A light press helps the layers settle. Smashing it with the spatula pushes cheese out and leaves the center sparse. You want contact, not compression.
-
Cutting it the second it leaves the skillet: Hot cheese moves fast. If you slice immediately, it runs across the board instead of staying inside the bread. Give it a 1-minute rest so the filling firms just enough to stay put.
-
Starting with cold cheese straight from the fridge: Cold slices take longer to melt, which tempts you to overbrown the bread. Let the cheese sit out while the grill preheats so it softens a bit and melts in step with the crust.
Variations Worth Trying
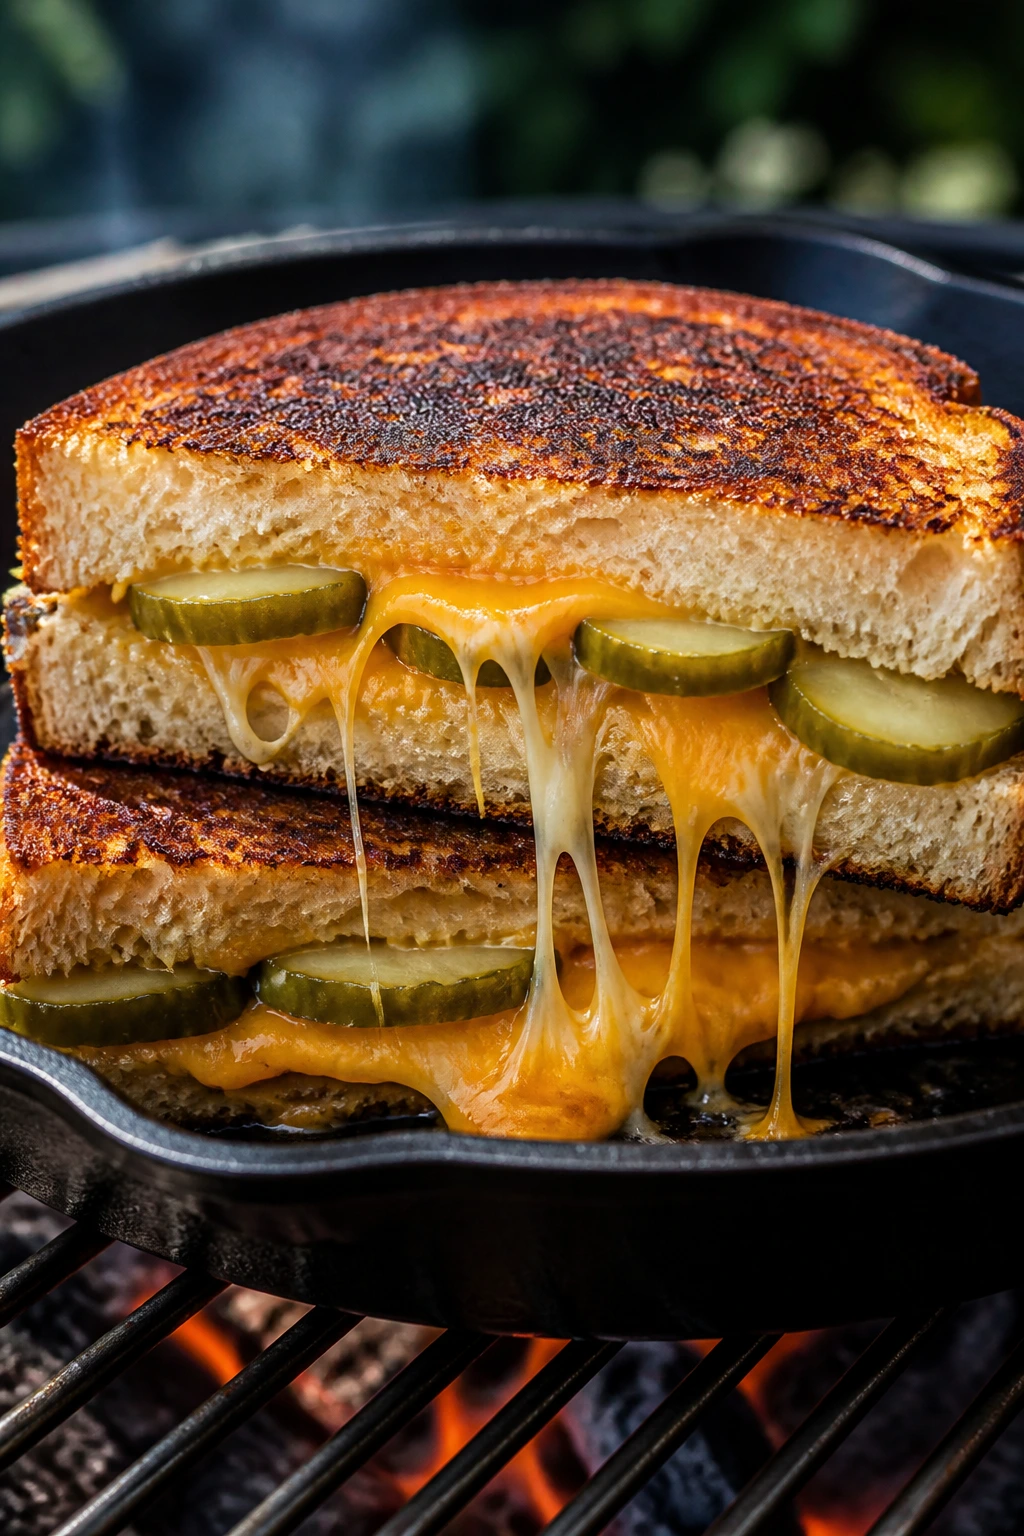
The Dill-Pickle Melt: Slide 3 or 4 thin dill pickle chips into each sandwich, tucked between the cheddar slices. Pat them dry first. Wet pickles steam the bread, and that soft, damp crust is a shame.
Tomato-Basil Porch Version: Add two thin tomato slices and a few torn basil leaves. Blot the tomatoes with paper towels and keep the slices thin so the sandwich doesn’t turn soggy or slide apart when you flip it.
Smokehouse Bacon Stack: Add 2 cooked bacon strips to each sandwich and swap one slice of American for smoked provolone. The bacon brings salt and crunch, while the smoked cheese echoes the grill without making the whole thing taste busy.
Gluten-Free Griddle Toast: Use a sturdy gluten-free sandwich bread and keep the filling a little thinner than usual. Gluten-free bread often browns faster at the edges, so use medium-low heat and give the sandwich the full lid-closed finish so the center catches up.
Pepper Jack Heat: Replace the American cheese with pepper jack if you want a little burn. That version works best with a few pickled jalapeño slices and a very patient hand on the heat, because pepper jack melts quickly but can go oily if the skillet runs too hot.
Make-Ahead, Storage, and Reheating Notes
Assembled sandwiches can be built a few hours ahead and kept in the refrigerator, tightly wrapped or tucked between sheets of parchment in a covered container. I would not leave them overnight unless the bread is sturdy and the filling is dry; once the cheese sits against the bread too long, the edges can go damp.
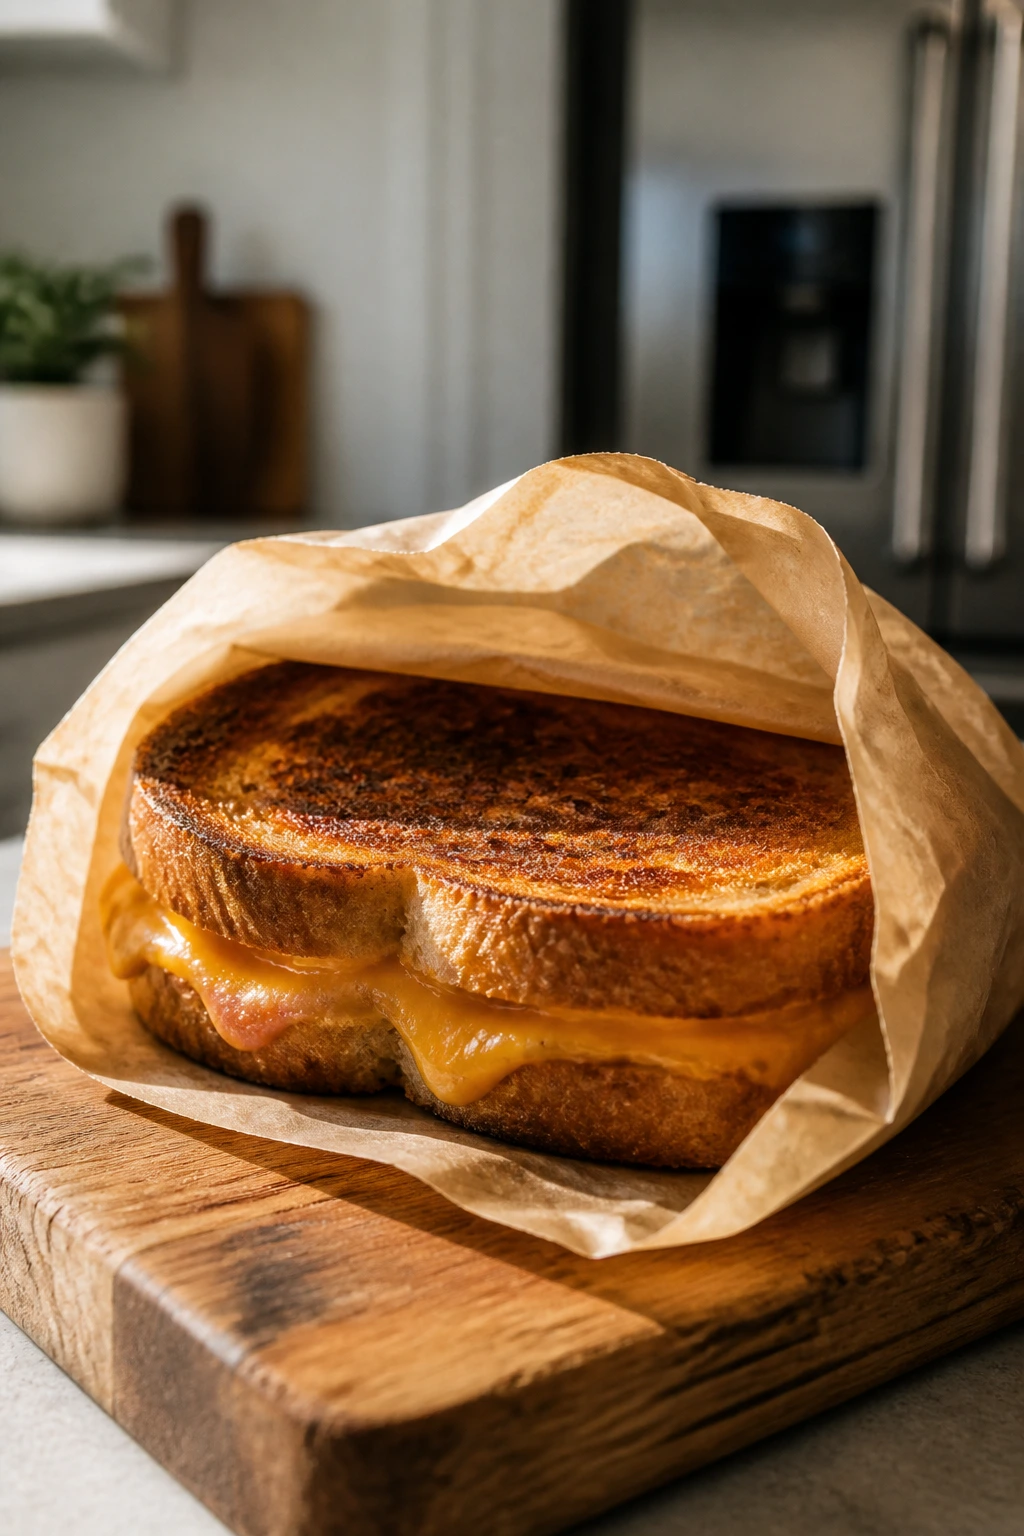
Cooked grilled cheese is at its best immediately. If you need to hold it, keep it on a wire rack for a few minutes rather than piling it on a plate. A plate traps steam and softens the crust faster than you’d think.
For leftovers, wrap each sandwich in foil once it has cooled, then refrigerate for up to 2 days. Freeze for up to 1 month if you want to salvage them, though the bread will be softer after thawing. The freezer is a backup plan, not the happy path.
Reheat in a dry skillet over medium-low heat for 3 to 4 minutes per side, or warm in a 375°F oven for 8 to 10 minutes on a wire rack set over a sheet pan. An air fryer at 350°F for 4 to 5 minutes also works. The microwave does what microwaves always do here: it makes the bread limp and the crust sad.
Backyard Grilled Cheese FAQs
Can I make this directly on the grill grates instead of in a skillet?
Yes, but the sandwich needs sturdier bread and a close eye. Grates give you faster char and more smoke, but they also create more risk of tearing, dripping cheese, and flare-ups. A cast-iron skillet is steadier and gives you a cleaner result.
What cheese melts best for a grilled cheese on the grill?
American cheese is still the easiest melt, which is why I keep it in the mix. Sharp cheddar brings the flavor, but if you use cheddar alone, choose thin slices and keep the heat gentle so the crust does not outrun the center.
How do I keep the bread from burning before the cheese melts?
Lower the heat, close the lid, and give the cheese a head start by letting it warm slightly before assembling. If the bread is browning too quickly, move the skillet to a cooler part of the grill or slide it briefly off direct heat.
Can I use mayonnaise instead of butter?
Yes. A thin coat of mayonnaise on the outside browns faster and can give you a slightly darker crust, especially on a grill that runs dry. Use it thinly, though. A thick layer gets greasy and can taste heavy.
How do I stop the sandwich from falling apart when I flip it?
Use sturdy bread, keep the filling inside the edges, and wait until the first side has set before moving it. A wide spatula helps. If the sandwich still feels loose, give it one light press before the first flip, not a hard smash.
Can I make these for a crowd at the same time?
Yes, and a flat griddle makes that easier than a small skillet. If you need to hold finished sandwiches for a short time, place them on a wire rack in a 200°F oven for about 10 minutes. Stack them and the crust softens fast.
Is sourdough better than white bread here?
Sourdough gives more structure and a sharper edge, which I like for the grill. White sandwich bread gives that classic diner texture. Both work; the real difference is thickness and sturdiness, not snob appeal.
A Sandwich Worth the Smoke
A grilled cheese like this earns its place at the cookout because it doesn’t try to act like a burger. It’s smaller, simpler, and a little fussier about heat, which is exactly why it rewards attention. Medium heat, a skillet with some weight, and a cheese blend that knows how to melt — that’s the whole trick.
Once you get the bread browned and the center soft at the same time, the sandwich stops feeling like a fallback and starts feeling like part of the plan. Not an afterthought. Not a kid-only plate filler. Just a hot, crisp, buttery sandwich that happens to taste even better with a faint edge of smoke.
Charred Classic Grilled Cheese for Backyard Cookouts — Recipe Card
Recipe Name: Charred Classic Grilled Cheese for Backyard Cookouts
Description: A smoky backyard grilled cheese with a crisp, charred crust and a soft cheddar-American center, cooked in cast iron over medium grill heat.
Yield: 4 sandwiches
Prep Time: 15 minutes
Cook Time: 12 minutes
Total Time: 27 minutes
Course: Lunch, Main Course
Cuisine: American
Servings: 4 servings
Calories: About 490 kcal per serving
Difficulty: Beginner — the method is simple, but the heat needs a careful eye.
Chill/Rest Time: 1 minute after grilling
Best Served: Immediately while hot and crisp
Ingredients
- 8 slices sturdy white bread or sourdough, about 1/2-inch thick
- 4 tablespoons unsalted butter, softened
- 8 slices sharp cheddar cheese, about 6 ounces total
- 4 slices American cheese, about 2 ounces total
Instructions
- Preheat a grill to medium heat, about 350°F to 375°F, and set a 10- or 12-inch cast-iron skillet or griddle on the grates to heat for 5 minutes.
- Spread the softened butter over one side of each bread slice, going to the edges.
- Place 4 slices of bread buttered-side down and top each with 2 slices cheddar and 1 slice American cheese.
- Top with the remaining bread, buttered-side up, and press lightly to settle the layers.
- Cook in the hot skillet for 3 to 4 minutes on the first side, until deep golden with scattered char marks.
- Flip and cook for 2 to 3 minutes on the second side with the grill lid closed, covering briefly if needed to finish melting the cheese.
- Rest for 1 minute, slice diagonally, and serve hot.
Notes: Keep the heat at medium, not high. If the bread browns too quickly, move the skillet to a cooler part of the grill and close the lid to finish the melt.