
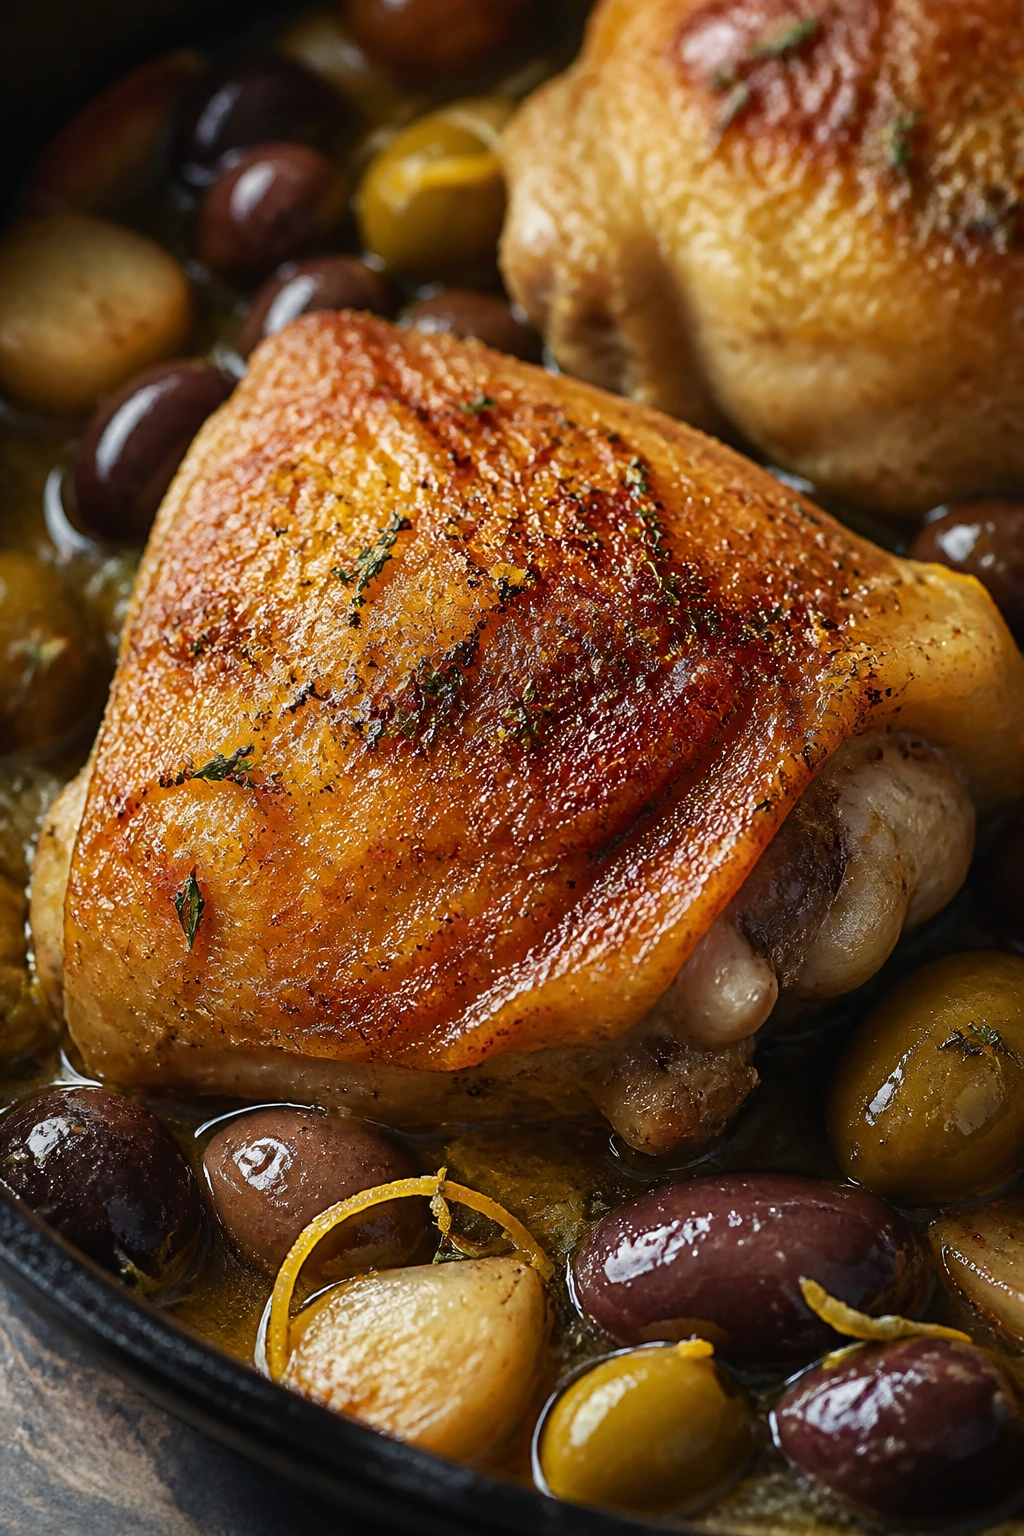
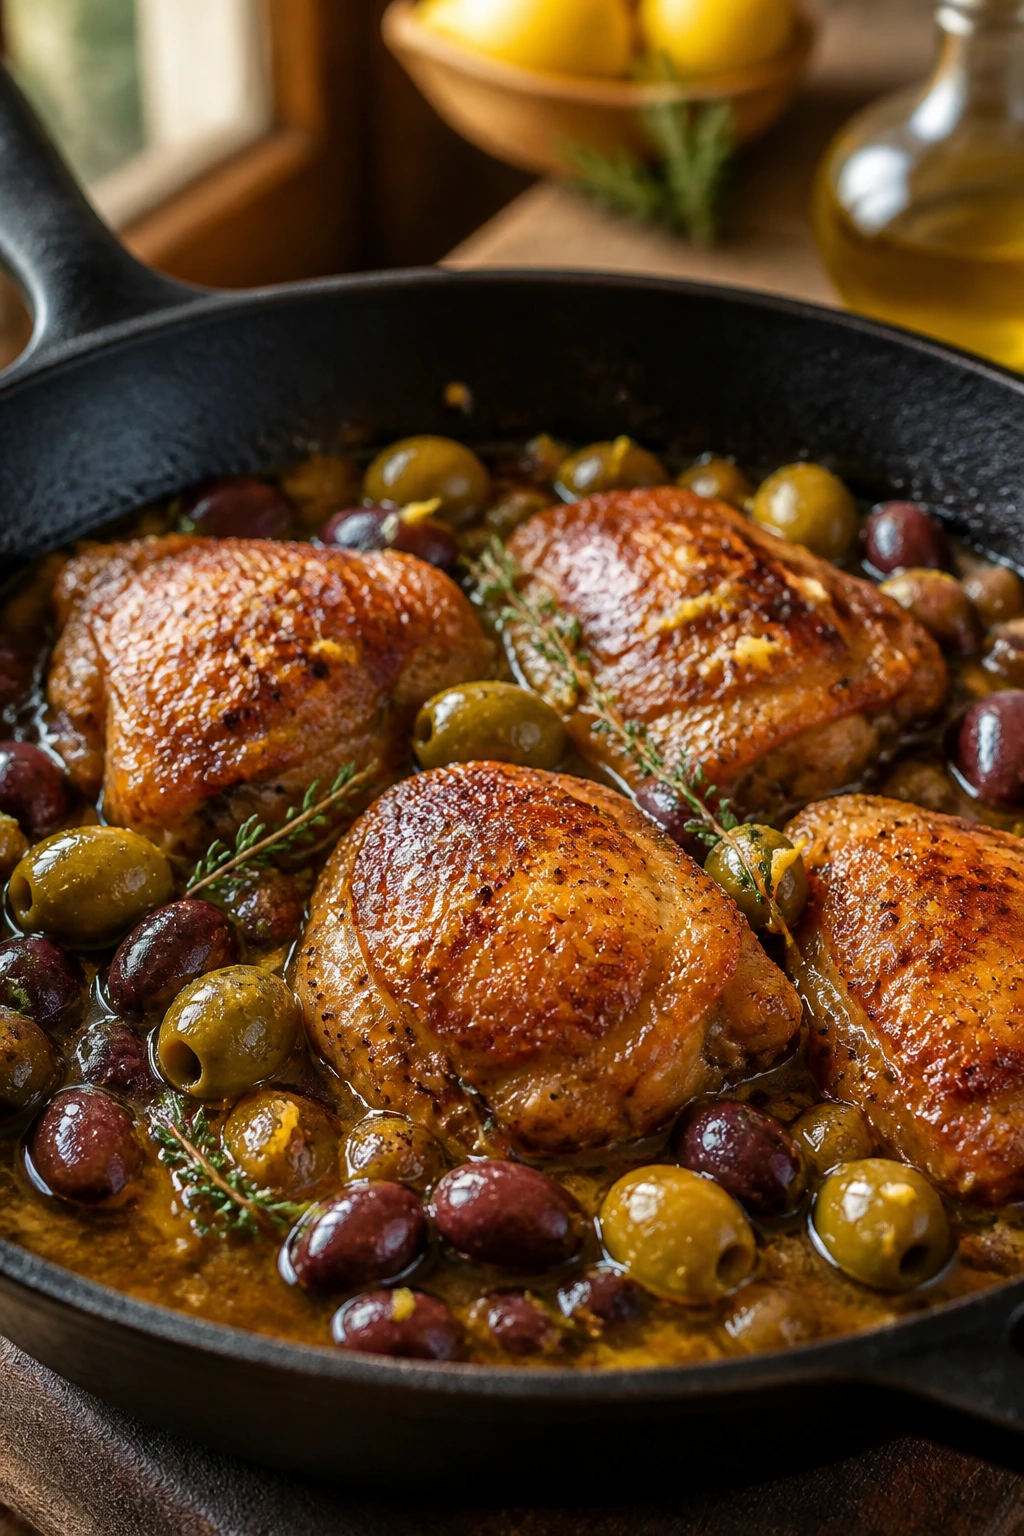
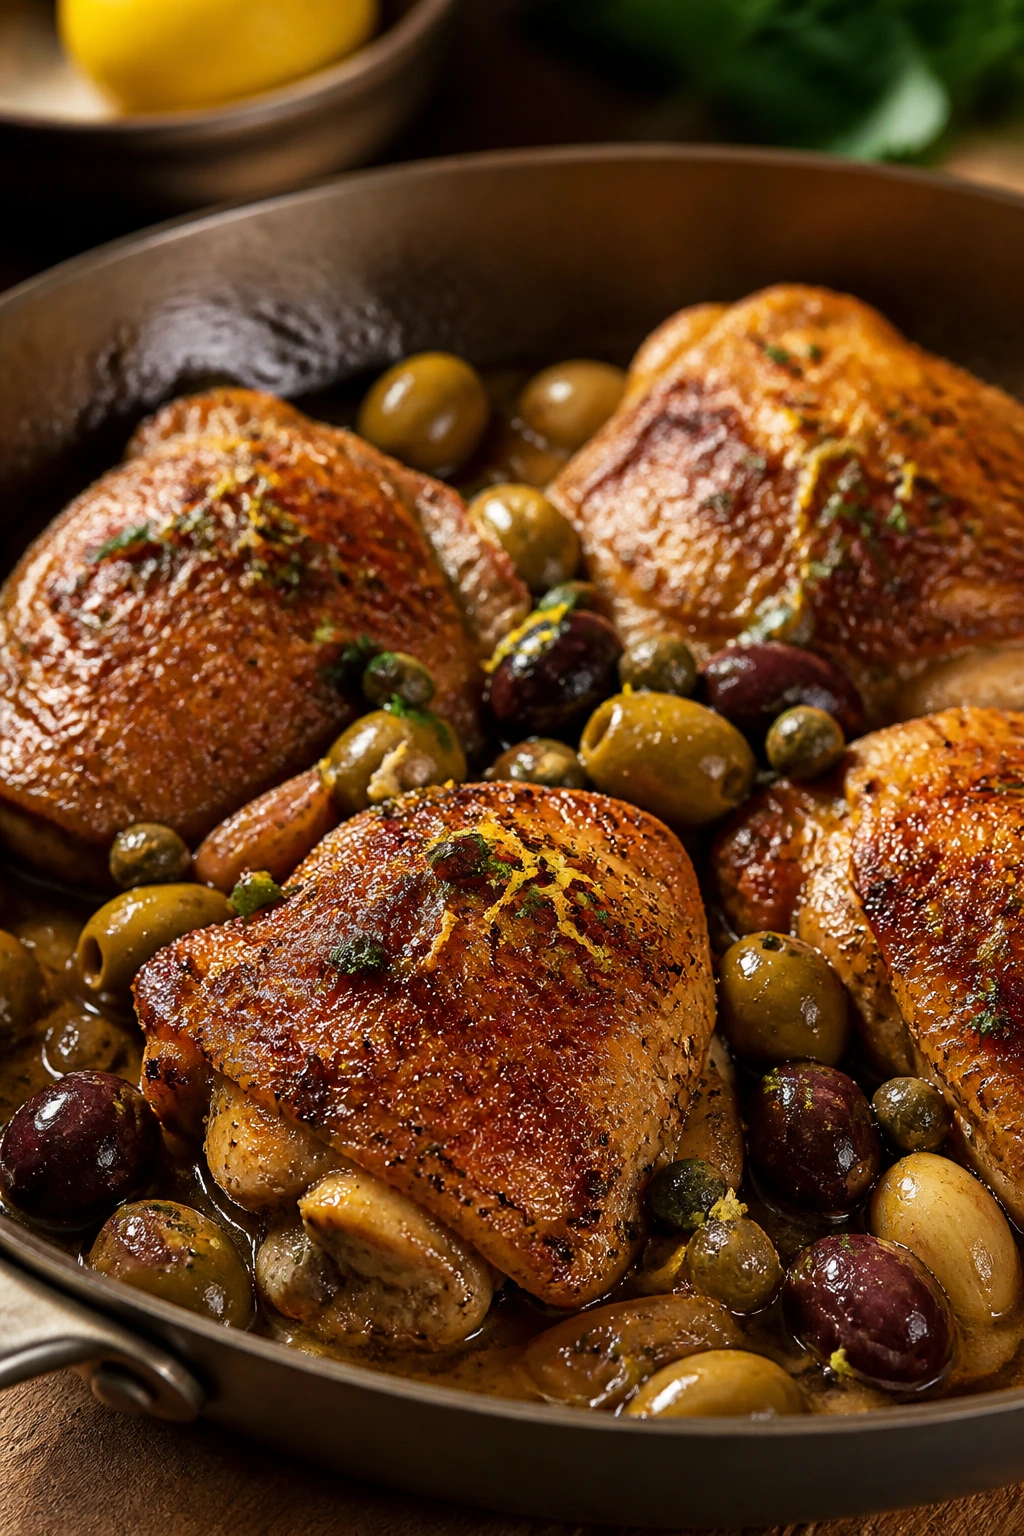
A skillet of crispy chicken with olives has a way of making a Tuesday feel less like a compromise. The skin goes deep gold in the pan, the olives turn glossy and warm, and the whole kitchen starts smelling like garlic, lemon peel, and browned chicken fat — which is a far more useful smell than a bottle of takeout sauce.
What I like about this kind of dinner is how little nonsense it asks for. No breading station. No long marinating session. No frantic juggling of three pans while the chicken cools off on a plate. You get a crisp top, a briny sauce, and enough savory depth that nobody at the table starts asking where the “real side dish” is.
The trick is timing, not effort. Let the skin render slowly, build the sauce in the same pan, and keep the chicken’s top side exposed while everything finishes together. Get that part right and you end up with a weeknight chicken dinner that tastes like you paid attention, even if you started it after a long day and a half-empty refrigerator.
Why This Chicken-and-Olive Skillet Earns Its Place on a Tuesday
Crisp skin, no breading: The chicken skin does the crunchy work here, so you get texture without flouring, egging, or frying anything in a pool of oil.
One skillet, real flavor: The browned bits left in the pan turn into the sauce, which means the olives, wine, lemon, and garlic pick up the chicken’s own savory drippings instead of tasting separate.
Briny, not blunt: Olives can go wrong fast if you dump them into a dish without a plan. Here, they season the sauce in layers, so every bite has a little salt, a little fat, and a little citrus.
Fast enough for an ordinary evening: Bone-in thighs need time, but not a ton of it. The whole thing lands in about 50 minutes, and most of that is hands-off while the skillet and oven do the heavy lifting.
Built for pantry and fridge leftovers: A half-jar of olives, a shallot, some broth, and a lemon are enough to make the sauce feel complete. That’s useful cooking, not decoration.
Easy to adjust without wrecking it: Change the herbs, shift the olives, add capers, skip capers, turn the heat up with red pepper flakes — the structure stays steady, which is why this recipe keeps working.
Yield: Serves 4
Prep Time: 15 minutes
Cook Time: 35 minutes
Total Time: 50 minutes
Difficulty: Intermediate — the method is straightforward, but crisp skin depends on patient heat and a little attention to the pan.
Best Served: Right away, while the skin is still crackly and the sauce is hot.
The Short Ingredient List That Still Tastes Layered
For the Chicken
- 4 bone-in, skin-on chicken thighs, 2 to 2½ pounds total
- 1½ teaspoons kosher salt
- 1 teaspoon freshly ground black pepper
- 1 teaspoon smoked paprika
For the Pan Sauce
- 1 tablespoon extra-virgin olive oil
- 1 small shallot, thinly sliced
- 4 garlic cloves, thinly sliced
- 1 cup pitted mixed olives, about 5 ounces, drained and patted dry
- 1 tablespoon capers, drained
- 1 teaspoon chopped fresh rosemary or thyme
- ½ teaspoon red pepper flakes
- ½ cup dry white wine
- ½ cup low-sodium chicken broth
- 1 teaspoon lemon zest
- 2 tablespoons fresh lemon juice
- 1 tablespoon cold unsalted butter
- 2 tablespoons chopped flat-leaf parsley
What Each Ingredient Is Doing in the Pan
Chicken Thighs
- What to use: 4 bone-in, skin-on chicken thighs, about 2 to 2½ pounds total. Thighs are the right cut here because they stay juicy while the skin renders and crisps.
- Preparation: Pat them dry with paper towels and season them well on both sides. Dry skin is the difference between skin that browns and skin that steams.
- Substitutions: Bone-in drumsticks work if that’s what you have, and bone-in skin-on chicken breasts can work too, though the timing changes. Boneless skinless thighs will cook faster but won’t give you the same crackly top.
- Tips: Let the thighs sit for 10 minutes after seasoning if you can. That short rest pulls moisture to the surface, which you then blot away one more time before the pan.
Olives
- What to use: 1 cup pitted mixed olives, ideally a mix of green Castelvetrano and dark Kalamata. The mix gives you a softer, buttery note and a deeper, more briny note in the same bite.
- Preparation: Drain them well and pat them dry so they don’t water down the sauce. If they’re huge, split a few of them in half.
- Substitutions: Use all green olives if you want the sauce brighter, or all black olives if you want more mellow depth. Avoid anything stuffed with blue cheese or peppers unless you want those flavors running the whole pan.
- Tips: Taste one before you cook. Some jars are salty enough to need no extra capers; others are mild and need the capers to wake them up.
Aromatics
- What to use: 1 small shallot and 4 garlic cloves. That’s enough to give the sauce sweetness without turning it into a garlic paste.
- Preparation: Slice the shallot thinly and the garlic thinly so they soften quickly in the rendered fat. Thick chunks can burn before the sauce comes together.
- Substitutions: A small yellow onion can stand in for the shallot, and if garlic is scarce, use ½ teaspoon garlic powder mixed into the broth instead of trying to stretch one clove too far.
- Tips: Keep the heat medium once the garlic goes in. Garlic turns bitter fast when it goes from pale gold to brown, and bitter garlic can make the whole sauce taste rough.
Liquid and Acid
- What to use: ½ cup dry white wine, ½ cup low-sodium chicken broth, 1 teaspoon lemon zest, and 2 tablespoons lemon juice. That combination gives you body, salt control, and enough acid to keep the olives from tasting flat.
- Preparation: Measure everything before you start the sauce. Once the chicken is out of the pan, the sauce moves fast.
- Substitutions: Use extra broth and 1 tablespoon white wine vinegar if you don’t cook with wine. You can also swap in a light dry vermouth if that’s what sits on your shelf.
- Tips: Use low-sodium broth. Olives and capers already bring plenty of salt, and it is easier to add salt at the end than to rescue an overbriny pan.
Finishing Ingredients
- What to use: 1 tablespoon cold unsalted butter, 2 tablespoons chopped parsley, plus the capers and red pepper flakes. The butter gives the sauce a slight gloss; the parsley keeps it from tasting heavy.
- Preparation: Keep the butter cold until the end and chop the parsley right before finishing.
- Substitutions: If you want a dairy-free finish, skip the butter and whisk in a teaspoon of olive oil off heat. Dill can stand in for parsley if you want a sharper herb note.
- Tips: Don’t skip the final acid check. A last squeeze of lemon is often what makes the sauce taste finished instead of merely cooked.
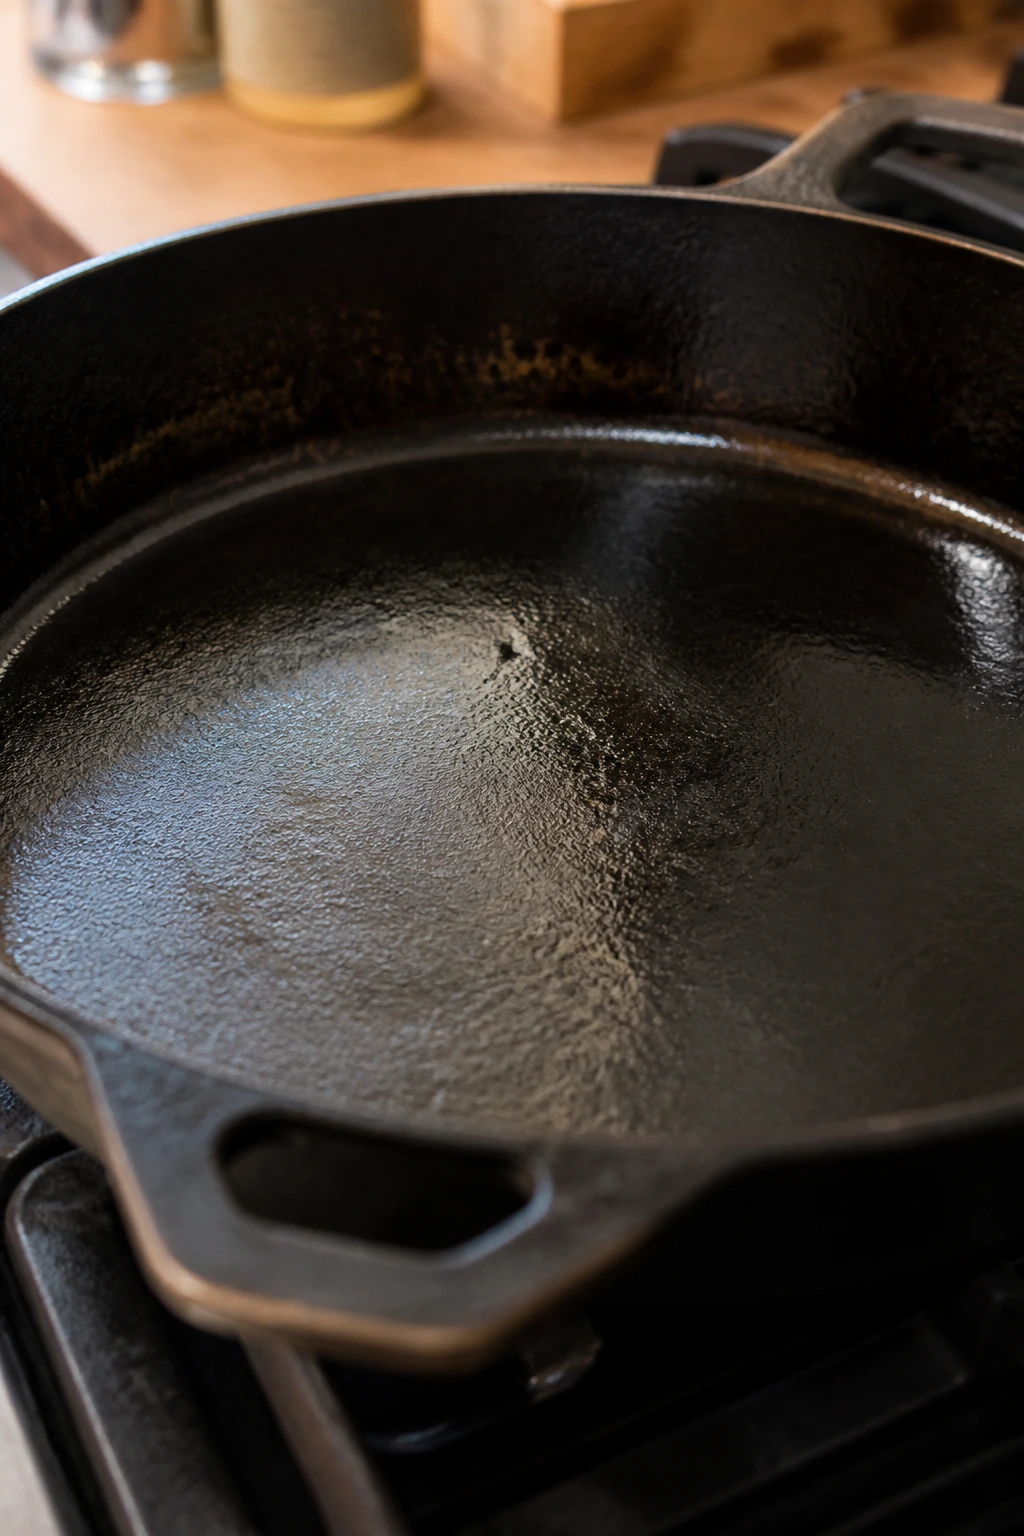
The Pan Setup That Gives You Crackly Skin
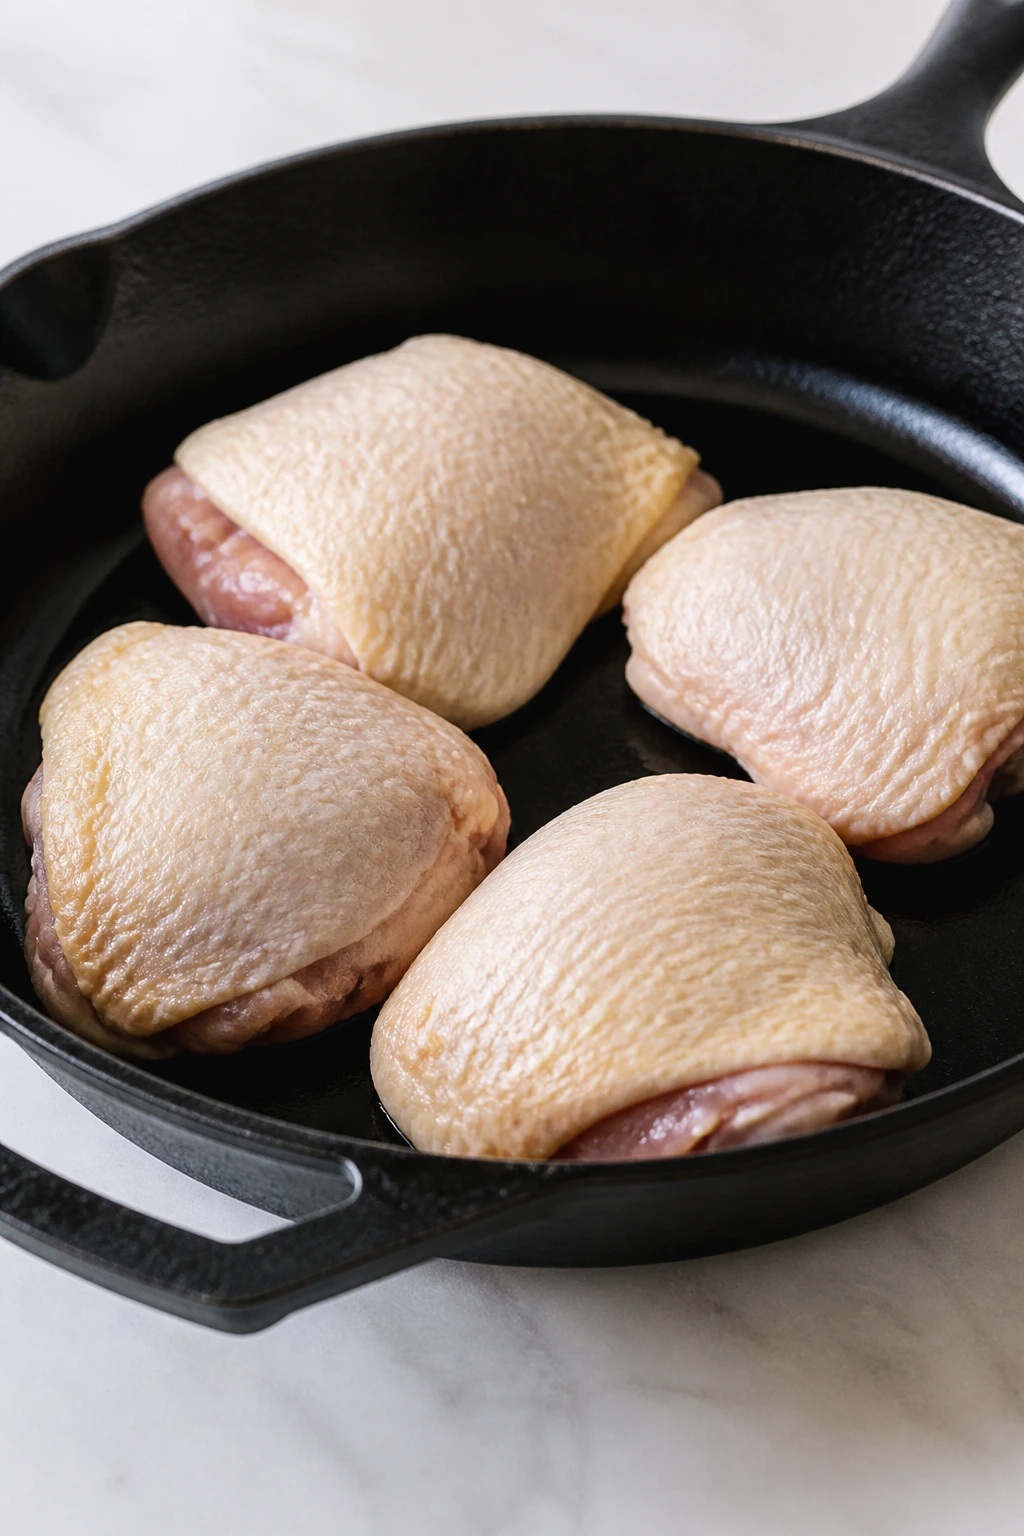
A cold start is the whole trick. You do not need to preheat the skillet for the chicken. In fact, starting the thighs in a cold pan lets the fat melt slowly from the skin before the outside has a chance to seize up. That slow render is what gives you crisp edges instead of pale, rubbery skin.
A 12-inch cast-iron skillet is my first choice because it holds heat well and gives the skin steady contact. A heavy stainless skillet works too if that’s what you have. Thin nonstick pans are a poor fit here; they lose heat too quickly, and most of them don’t love the oven temperature this recipe uses.
The other piece people miss is crowding. Four thighs fit comfortably in a single layer in a 12-inch skillet. If your pan is smaller, use two pans or cook in batches. Squeezing them together forces the skin to steam, and once that happens, you’ve traded crispness for compromise.
Drying the chicken matters more than most people think. Not “a little dry.” Dry-dry. Paper towels on both sides, then a short rest while the salt starts to do its work. If the surface feels tacky instead of damp, you’re heading in the right direction.
Step-by-Step: From Raw Chicken to Dinner
Prep the Chicken
-
Pat the chicken thighs dry on both sides with paper towels, then season them evenly with the salt, black pepper, and smoked paprika. Press the seasoning into the skin lightly so it sticks instead of falling into the pan.
-
Let the thighs sit for 10 minutes while you slice the shallot, garlic, and herbs. If a little moisture beads on the skin, blot it again before it goes into the skillet.
Crisp the Skin
-
Arrange the chicken skin-side down in a cold 12-inch cast-iron or heavy stainless skillet. Set the skillet over medium heat and, if the pan looks bone-dry, drizzle in the olive oil around the edges of the chicken — do not pour oil over the skin or you’ll slow the browning.
-
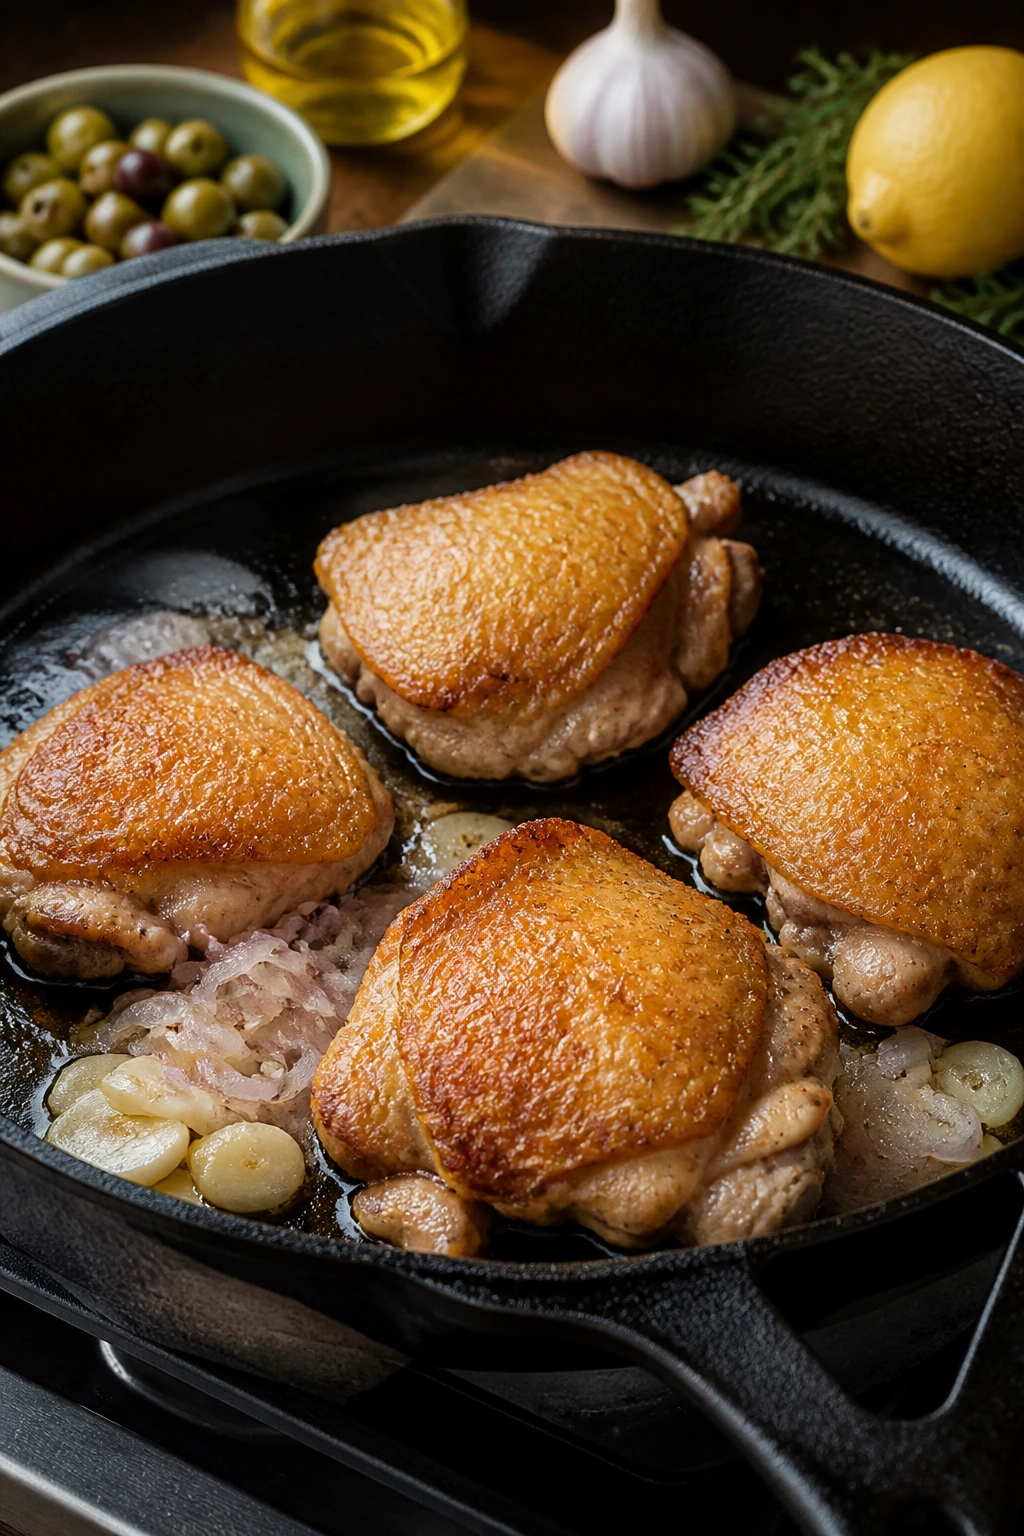
Cook the chicken skin-side down for 12 to 14 minutes without moving it. Press it gently with a spatula for the first 20 seconds so the skin lies flat. The skin should turn deep golden, and the chicken will release more easily when the fat has rendered enough.
-
Flip the thighs and cook them on the second side for 2 minutes. Transfer the skillet to a preheated 425°F (220°C) oven and roast for 12 to 15 minutes, until the thickest part of the thigh reaches 175°F (79°C).
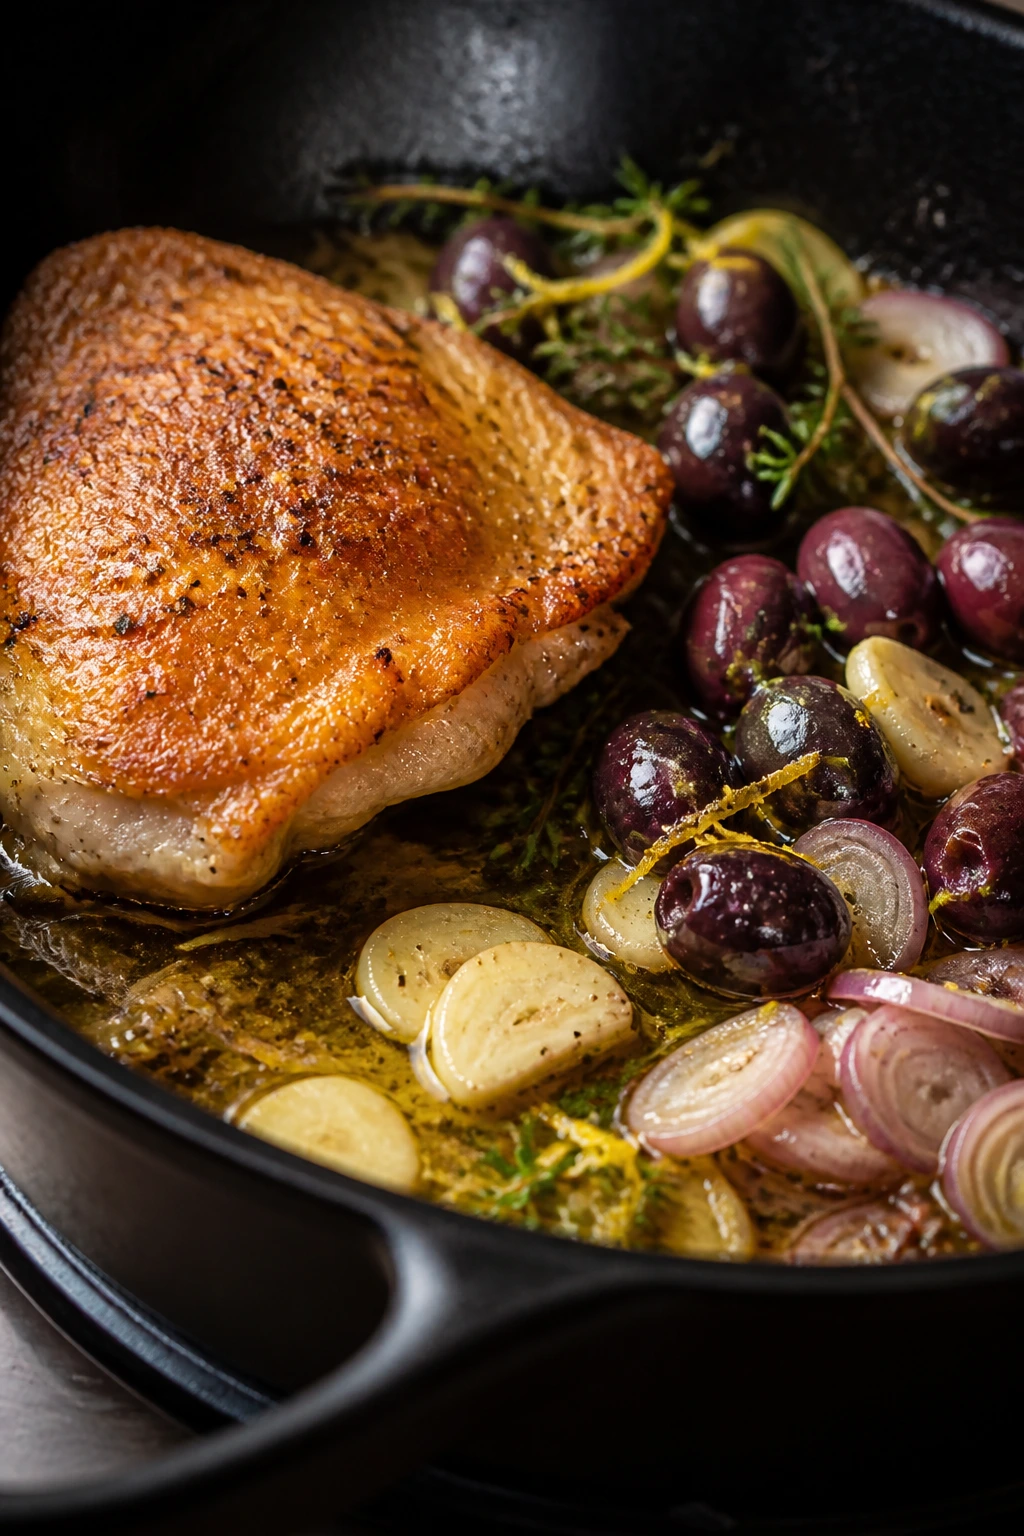
Build the Olive Sauce
-
Remove the chicken to a plate and leave about 1 tablespoon of fat in the skillet. Set the pan back over medium heat. Add the shallot and cook for 1 minute, stirring, until it looks softened and glossy, not browned.
-
Add the garlic, capers, rosemary or thyme, and red pepper flakes. Cook for 30 seconds, just until the garlic smells sweet and sharp at the same time. Stir in the olives and let them warm through for 1 minute.
-
Pour in the white wine and chicken broth, scraping the bottom of the pan with a wooden spoon to lift the browned bits. Simmer for 3 to 4 minutes, until the sauce reduces slightly and smells bright rather than boozy.
-
Add the lemon zest and lemon juice, then turn the heat down to low. Whisk in the cold butter until the sauce looks glossy and lightly thickened. Stir in the parsley.
Finish and Rest
- Return the chicken to the skillet, skin-side up, and spoon the sauce around the thighs instead of over the top. Let everything rest for 5 minutes so the juices settle and the sauce clings to the pan instead of running everywhere. Serve warm.
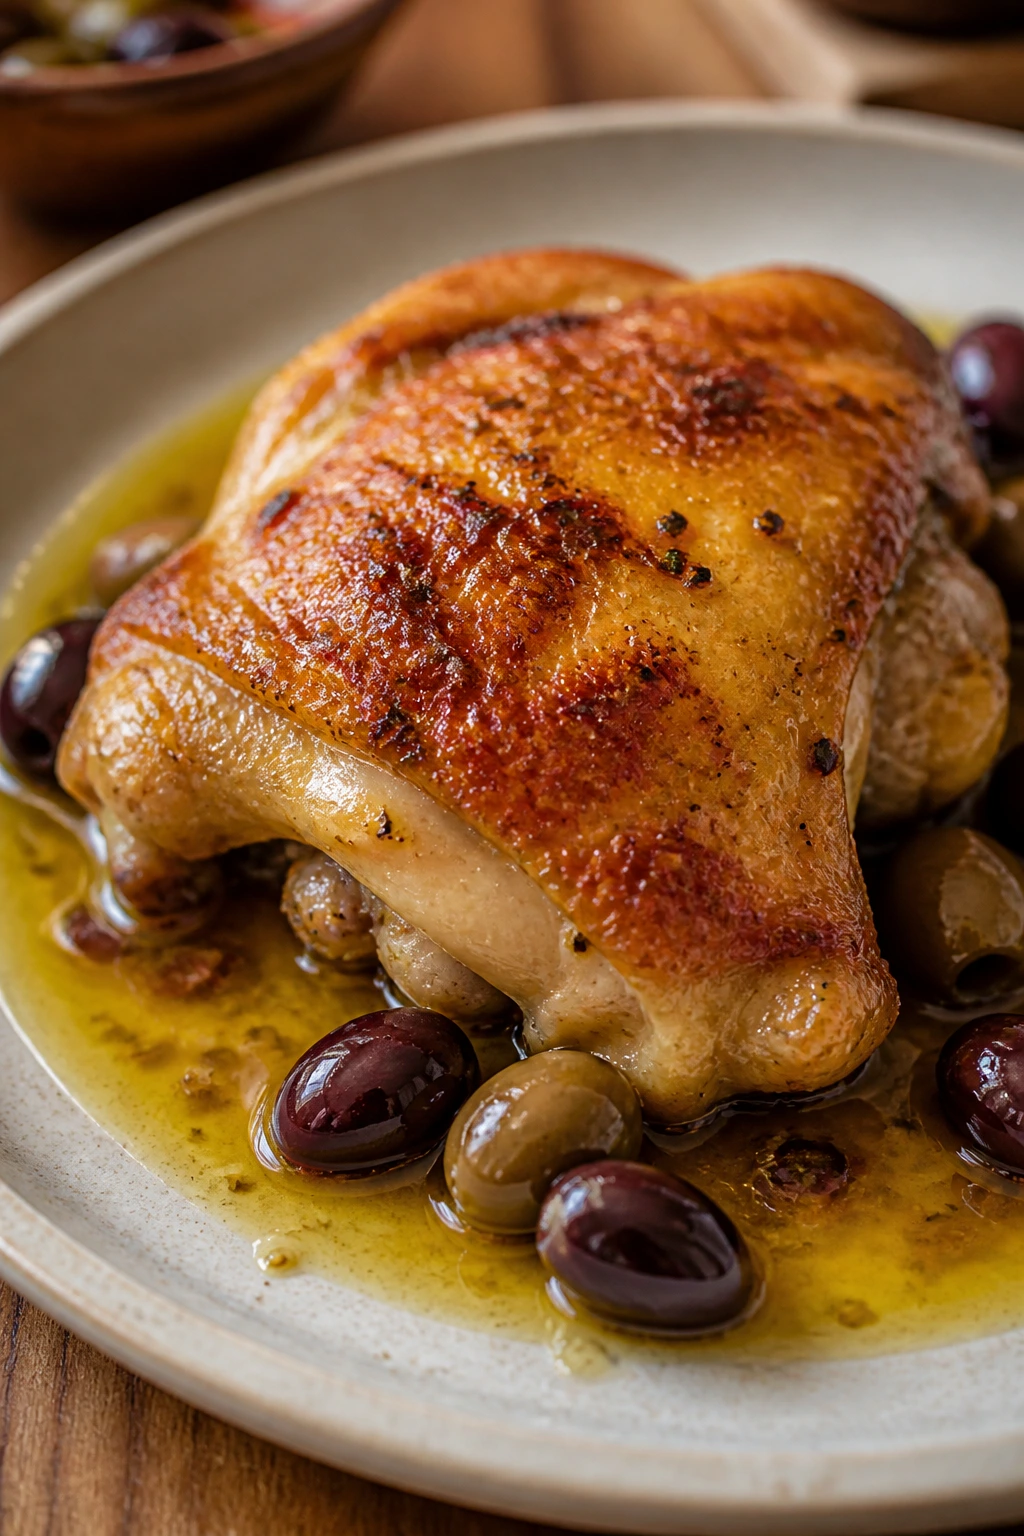
How to Serve It So the Olives Don’t Take Over

Presentation: Put one thigh on each warm plate, then spoon the olives and sauce around the chicken instead of burying the skin under it. A few parsley leaves and a little lemon zest on top make the plate look finished without dressing it up beyond recognition.
Accompaniments: I like this with buttery couscous, mashed potatoes, or a chunk of crusty bread that can drag through the sauce. A bitter green salad — arugula, radicchio, shaved fennel — keeps the briny richness from feeling heavy. Plain rice works too, especially if you want the sauce to soak in.
Portions: One thigh per person is enough if you add a side and maybe bread. If the dinner table includes big eaters or you’re skipping starch, plan on two thighs for the hungrier plates. The sauce is enough for four decent servings without becoming soupy.
Beverage Pairing: A dry white wine like Sauvignon Blanc, Vermentino, or a lean Pinot Grigio fits the lemon and olive notes without making the chicken taste flat. If you want something nonalcoholic, sparkling water with a lemon wedge or a crisp bitter orange soda does the job better than anything sweet.
Small Upgrades That Make a Noticeable Difference
Flavor Enhancement: A strip of preserved lemon rind in the sauce gives the whole skillet a deeper citrus edge than extra juice alone. I toss it in with the olives, then fish it out before serving because it can be a little intense if someone bites into it whole.
Time-Saver: Slice the shallot and garlic while the chicken sits with its seasoning. That tiny overlap saves time and keeps you from standing over a hot skillet searching for a knife while the skin is already where it needs to be.
Pro Move: Warm the serving plates for 2 minutes in the turned-off oven. Hot plates help the sauce stay glossy and stop the chicken skin from going soft the second it leaves the pan.
Cost-Saver: Buy the chicken thighs in a family pack and freeze the extras in pairs. Thighs handle freezing better than breasts, and they’re usually the cut that gives you the most margin when dinner needs to work on the first try.
Mistakes That Turn Crisp Chicken Soft

-
Starting with damp skin: If the thighs go into the pan wet, the first thing you’ll see is steam, not browning. The fix is annoyingly simple: pat them dry twice, and if you have an extra 10 minutes, let them sit on the counter while you prep the other ingredients.
-
Moving the chicken too early: If you try to flip before the skin has rendered enough, it will stick. Wait until the chicken releases easily; that’s the pan telling you it’s ready, and the release often happens a minute or two later than people expect.
-
Making the sauce too salty: Olives, capers, broth, and seasoning can pile up fast. Use low-sodium broth, taste the sauce before adding anything else, and if your olives are very briny, rinse them under cool water and pat them dry.
-
Pouring sauce over the skin: The chicken can be crisp and still go limp if you drown it in liquid. Spoon the olives and sauce around the thighs, not on top, and let each person drag a little sauce onto the bite as they eat.
-
Skipping the rest: Cut the chicken the second it leaves the oven and the juices run out into the pan. Give it 5 minutes, and the meat stays juicier while the sauce settles into a more balanced texture.
Variations for Different Kitchens and Moods
Castelvetrano Bright Skillet: Use all green Castelvetrano olives instead of a mix, and add an extra teaspoon of lemon zest at the end. The sauce comes out softer, butterier, and a little less briny, which is the version I’d make for people who say they “don’t usually love olives.”
Harissa Heat Version: Stir 1 to 2 teaspoons of harissa into the pan right after the shallot softens. It gives the sauce a warm chili depth that works well with couscous or rice, and it turns the dish into something a little more assertive without making it fiery.
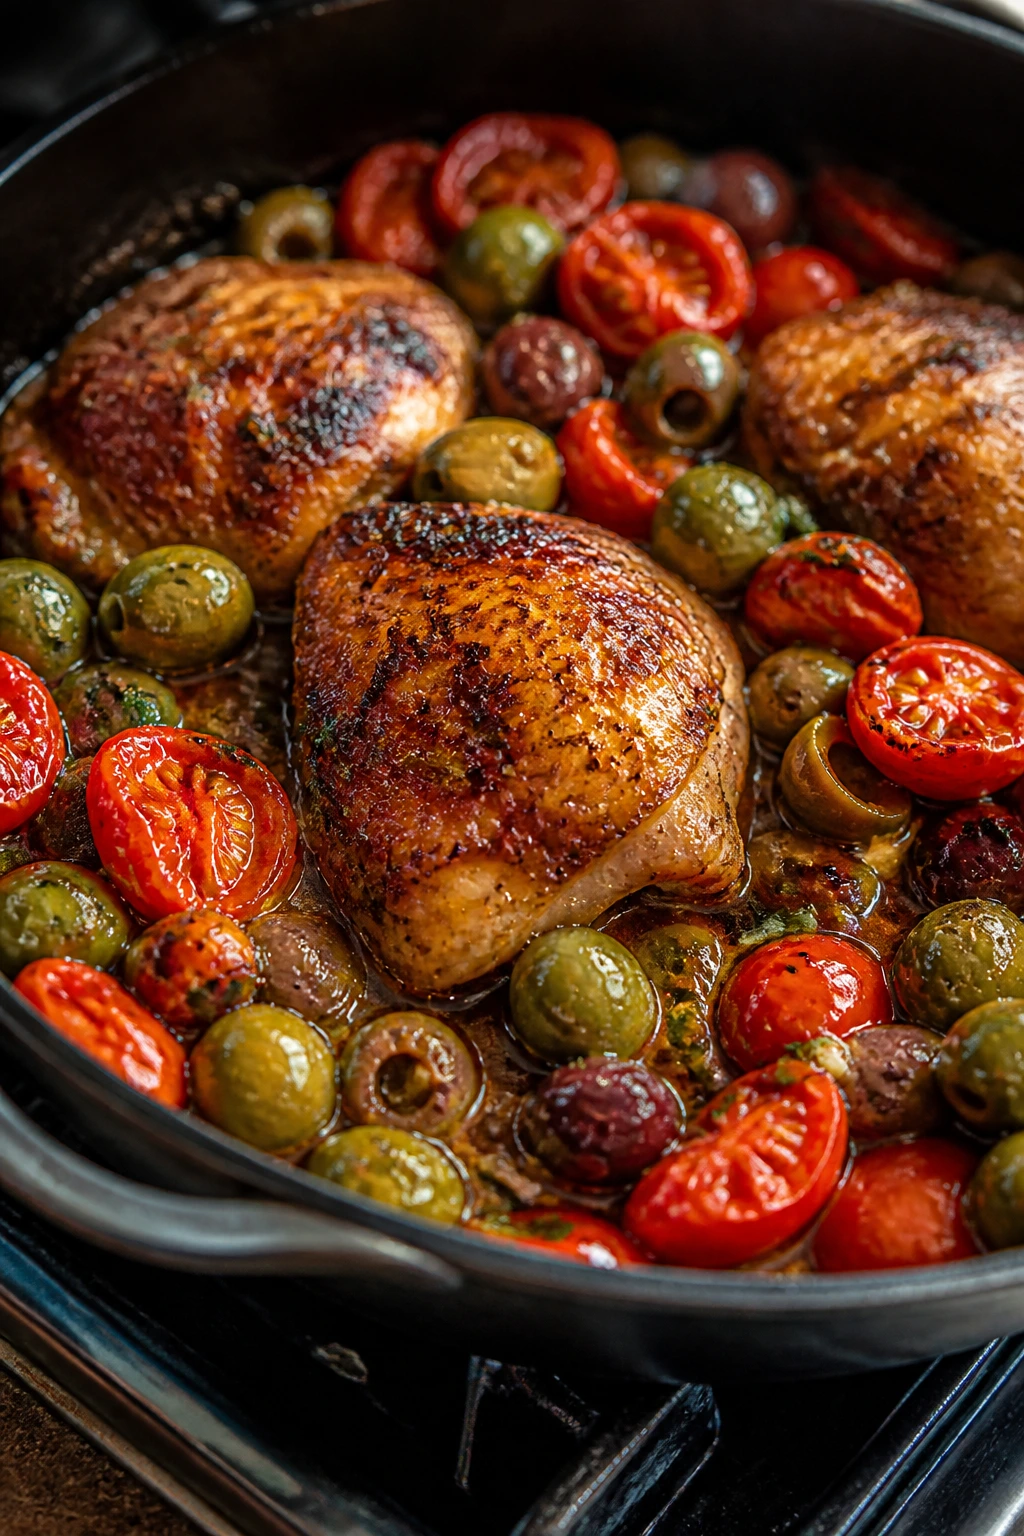
Tomato-and-Olive Skillet: Add 1 cup halved cherry tomatoes after the garlic, then cook them just until they collapse and leak into the pan. The tomatoes soften the olive brine and make the sauce a little rounder, almost stew-like, which is useful when you want more spoonable sauce for bread.
Rosemary-Free Pantry Version: If rosemary isn’t in the drawer, use thyme plus a pinch of dried oregano. That combination keeps the chicken from tasting flat and still reads as bright and herb-driven without needing a trip to the store.
Boneless Thigh Shortcut: Use boneless, skin-on chicken thighs if you can find them, and cut the oven time down to about 8 minutes after the sear. They cook quickly and still crisp nicely, though you lose some of the juicy protection that bone-in thighs bring.
Tools and Equipment You’ll Want Nearby
- 12-inch cast-iron skillet or heavy oven-safe stainless skillet: This is the pan that gives the skin steady heat and can move from stove to oven without drama.
- Tongs: Useful for flipping the thighs without piercing the skin.
- Instant-read thermometer: The cleanest way to know the thighs are done; aim for 175°F in the thickest part.
- Thin metal spatula or fish spatula: Helpful if the skin clings a little and you need to nudge it loose gently.
- Paper towels: Not optional. Dry skin is the whole game here.
- Cutting board and sharp knife: You’ll want both for the shallot, garlic, and herbs.
- Wooden spoon: Best for scraping up the browned bits without scratching the skillet.
- Microplane or fine grater: Handy for the lemon zest if you want a fine, even finish.
Make-Ahead, Storage, and Reheating Without Ruining the Skin
You can season the chicken thighs up to 24 hours ahead and keep them uncovered on a plate in the refrigerator. That dry rest helps the skin lose surface moisture, which is exactly what you want. If you’re planning ahead even more, slice the shallot and garlic a few hours early and keep them in separate small containers, but don’t cook the sauce until you’re ready to serve.
Leftovers keep well in the refrigerator for 3 to 4 days in a covered container. If you know the chicken will be reheated, store the thighs and sauce separately. The chicken skin will soften in the fridge either way, but it softens less if it isn’t sitting in the sauce.
For reheating, use a 300°F (150°C) oven and place the chicken on a wire rack set over a baking sheet. Heat it for 15 to 20 minutes, until the internal temperature reaches 165°F and the skin is hot through. Warm the sauce gently in a small pan over low heat, then spoon it around the chicken after the skin is hot again.
Freezing works, though the texture changes a bit. Freeze the cooked chicken and sauce for up to 2 months in airtight containers. Thaw overnight in the refrigerator, then reheat in the oven as above. If you want the best skin possible, freeze the sauce alone and cook fresh chicken another night.
Questions People Ask Before Cooking This Dish
Can I use boneless chicken thighs instead of bone-in thighs?
Yes, and they’ll cook faster, but you’ll need to watch the timing closely because boneless thighs can go from juicy to dry quickly. Sear them until the skin is deep golden, then finish them in the oven for a shorter stretch, usually around 6 to 8 minutes.
What kind of olives work best here?
A mix of green and black olives gives the sauce more range, and I like Castelvetrano paired with Kalamata. If you only have one type, use it — just taste first, because some olives are saltier and sharper than others.
Do I need capers?
No, but they do add a sharp little pop that wakes up the sauce. If you leave them out, add another teaspoon of lemon juice and taste the pan before deciding whether to salt it further.
Can I make this without wine?
Absolutely. Use extra chicken broth and add 1 tablespoon of white wine vinegar or an extra squeeze of lemon at the end. The sauce will be a touch lighter, which is fine as long as you still deglaze the pan well.
How do I keep the chicken skin crisp after adding the sauce?
Keep the sauce around the chicken, not on top of it, and return the thighs skin-side up at the very end. If you want the skin to stay as crisp as possible, serve immediately and don’t let the finished dish sit covered on the stove.
What if the chicken isn’t done after the oven time?
Thighs can vary in size, and a larger piece may need a few extra minutes. Keep roasting in 2- to 3-minute increments until the thickest part reaches 175°F; the skin can handle that extra time better than breasts can.
Can I make this spicier?
Yes. Double the red pepper flakes or add a spoonful of chopped Calabrian chili to the sauce after the garlic cooks. That heat fits the olives well, but don’t add so much that it covers the lemon.
Why did my skin stick to the pan?
Usually the chicken was moved too early or the pan temperature climbed too fast. Keep the heat at medium, let the skin render slowly, and wait for the chicken to release on its own before trying to flip it.
A Skillet Worth Repeating
There’s something deeply satisfying about a dinner that feels this composed without being fussy. Crispy chicken with olives gives you salt, crunch, and a sauce with enough brightness to keep each bite moving. It tastes like the kind of meal that came together on purpose, even when the real story was a clean skillet, a few good ingredients, and a little patience at the stove.
The part I keep coming back to is how little the recipe asks for in exchange for the payoff. If you dry the chicken well, let the skin render, and keep the sauce around the meat instead of over it, the whole dish behaves. That’s the sort of cooking I trust on a busy evening — not because it’s effortless, but because the method makes sense.
Crispy Chicken with Olives — Recipe Card
Recipe Name: Crispy Chicken with Olives
Description: Bone-in chicken thighs sear until the skin turns deeply crisp, then finish in a bright olive pan sauce with shallot, garlic, lemon, and herbs. The sauce stays briny and glossy, while the skin stays crackly if you spoon it around the chicken instead of over it.
Prep Time: 15 minutes
Cook Time: 35 minutes
Total Time: 50 minutes
Course: Dinner, Main Course
Cuisine: Mediterranean-Inspired
Servings: 4 servings
Calories: 410 kcal per serving
Ingredients
For the Chicken:
- 4 bone-in, skin-on chicken thighs, 2 to 2½ pounds total
- 1½ teaspoons kosher salt
- 1 teaspoon freshly ground black pepper
- 1 teaspoon smoked paprika
For the Pan Sauce:
- 1 tablespoon extra-virgin olive oil
- 1 small shallot, thinly sliced
- 4 garlic cloves, thinly sliced
- 1 cup pitted mixed olives, about 5 ounces, drained and patted dry
- 1 tablespoon capers, drained
- 1 teaspoon chopped fresh rosemary or thyme
- ½ teaspoon red pepper flakes
- ½ cup dry white wine
- ½ cup low-sodium chicken broth
- 1 teaspoon lemon zest
- 2 tablespoons fresh lemon juice
- 1 tablespoon cold unsalted butter
- 2 tablespoons chopped flat-leaf parsley
Instructions
-
Pat the chicken thighs dry, then season them all over with salt, black pepper, and smoked paprika. Let them sit for 10 minutes while you prep the other ingredients.
-
Place the chicken skin-side down in a cold 12-inch skillet and set the pan over medium heat. Cook for 12 to 14 minutes without moving it, until the skin is deep golden and releases easily.
-
Flip the chicken and cook for 2 minutes more, then transfer the skillet to a 425°F (220°C) oven. Roast for 12 to 15 minutes, until the thickest part reaches 175°F (79°C).
-
Remove the chicken to a plate and leave about 1 tablespoon of fat in the pan. Add the shallot and cook for 1 minute, then add the garlic, capers, rosemary or thyme, and red pepper flakes.
-
Stir in the olives, then pour in the white wine and chicken broth, scraping up the browned bits. Simmer for 3 to 4 minutes, until the sauce reduces slightly.
-
Add the lemon zest and lemon juice, then whisk in the cold butter. Stir in the parsley.
-
Return the chicken to the skillet skin-side up, spoon the sauce around the thighs, and rest for 5 minutes before serving.
Notes: Keep the sauce off the skin if you want the crust to stay crisp. If your olives are very salty, rinse them quickly and taste the sauce before adding any more salt.