
A chicken breast can look perfect in the skillet and still go dry before you’ve found a plate. That’s the part nobody likes admitting, because chicken feels like it ought to be easy. It isn’t, not when you want juicy chicken for weeknight dinners and you’ve got rice boiling, a green vegetable in a second pan, and exactly one chance to get the meat off the heat at the right moment.
The fix is not a pile of ingredients. It’s a handful of small, boring moves that add up fast: salt the meat before it cooks, keep the pieces even, use enough heat to brown but not scorch, and stop at the right internal temperature. I trust chicken thighs when the night is messy and chicken breasts when I want neat slices for salads or bowls, but the same rules help both.
What you do not need is a complicated marinade or a long list of spices pretending to be a fix. A damp cutting board, a heavy skillet, a thermometer, and five minutes of patience will do more than a jar of mystery sauce ever will. The sections ahead stay focused on what actually changes the result, because dry chicken is usually the result of one tiny miss, not a disaster.
Why Juicy Chicken for Weeknight Dinners Works When Time Is Short
The reason chicken dries out on busy nights is usually plain: the pieces are uneven, the heat is too aggressive, or the pan is crowded and steaming instead of searing. None of that is mysterious. It just happens fast when you’re trying to get dinner on the table and every burner is occupied.
Even thickness: A breast pounded to a half-inch cooks before the edges toughen, which is why cutlets feel like a cheat code when you need dinner in under 15 minutes.
Salt in advance: Fifteen to 30 minutes with salt on the surface gives you better browning and seasoning all the way through, and the chicken looks slightly tacky before it goes into the pan.
Medium-high, not maximum heat: A steady hot pan gives you color without turning the outer layer tight and chalky. The difference between those two is often one dial turn.
A thermometer ends the guessing: Pulling at 160°F for breast meat and 175°F or a bit higher for thighs is the difference between tender and stringy. Color alone lies all the time.
A short rest keeps the cutting board dry: Five minutes under loose foil lets the juices settle back into the meat instead of flooding the board the second you slice.
A sauce gives the plate some insurance: Even a spoonful of pan juices, lemon butter, or yogurt sauce makes lean chicken feel richer and keeps leftovers from tasting flat the next day.
The Cuts of Chicken That Stay Tender Fastest
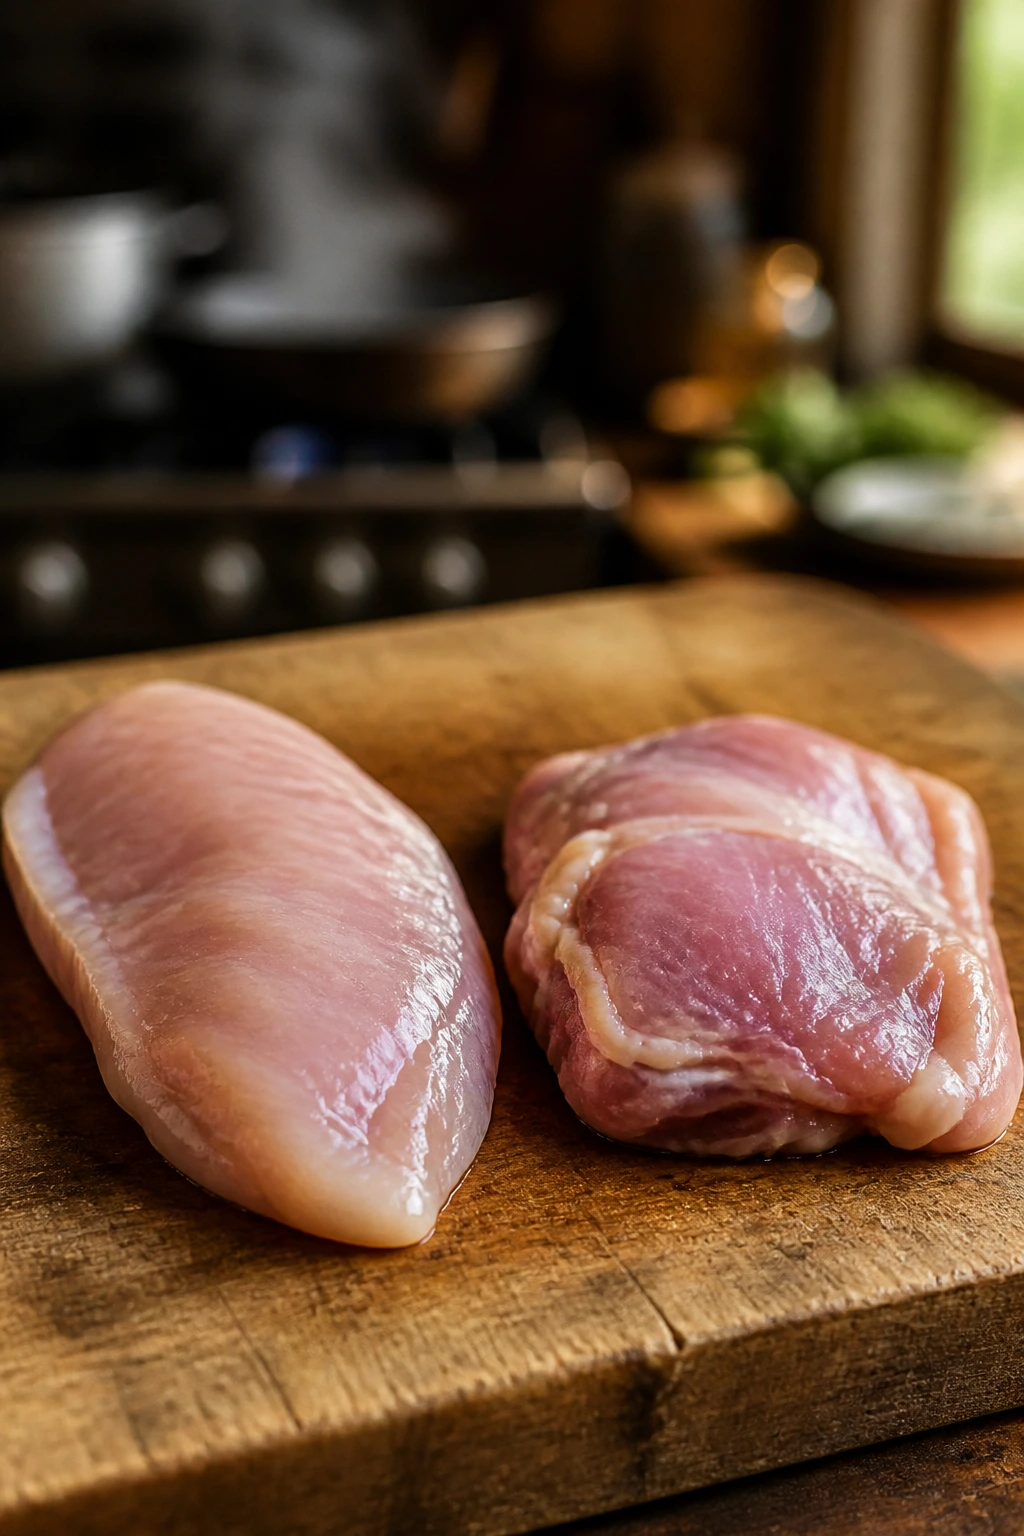
Chicken thighs forgive mistakes. Breasts do not. That’s the blunt version, and it’s the one I keep coming back to because it saves dinner when the rest of the meal is already spinning.
Boneless, Skinless Breasts
Breasts are the leanest, fastest option if you want neat slices for bowls, pasta, or salad. They need more help than thighs, which usually means pounding the thick end to match the thin end, drying the surface well, and pulling them before they go past done. I like breasts best when they’re about 1/2 to 3/4 inch thick after pounding; anything thicker drags the cook time and makes the edges overdo before the middle catches up.
A lot of people buy giant supermarket breasts and cook them whole because that feels simpler. It isn’t. It’s slower, and it usually tastes worse. Butterflying or slicing them into cutlets takes less than 2 minutes and saves the whole meal.
Thighs
Thighs are the closest thing chicken has to a safety net. They have more fat and connective tissue, so they stay tender even when the timing slips by a minute or two. I reach for boneless, skinless thighs when I know the stove will be busy, because they brown quickly and still taste good if I get distracted by the rice or the kid asking where the charger went.
They also take seasoning well. Paprika, garlic, cumin, lemon, soy, herbs — thighs do not get moody about flavor.
Cutlets and Tenderloins
Cutlets are the weeknight short cut I use most often when I want the meal to feel deliberate without requiring much effort. A cutlet is just a breast sliced or pounded thin, and that smaller thickness means it cooks fast enough to stay juicy without hovering over the stove. Tenderloins are faster still, though they can dry out if you walk away.
Tenderloins make sense when you want chicken for wraps, salads, or pasta and you don’t need dramatic browning. They’re the easiest cut to overcook by accident, so keep the heat moderate and the timing tight.
Bone-In Pieces
Bone-in thighs and drumsticks hold moisture nicely, but they are not the fastest route to dinner. I use them when I want a little more flavor and I have enough time for the oven to do the work. The bone helps protect the meat, but you pay for that with longer cooking.
If the goal is juicy chicken for weeknight dinners and you need it on the table fast, boneless pieces usually win. Bone-in pieces are for evenings that are only slightly busy.
Salt, Dry Brine, and the Short Wait That Pays Off
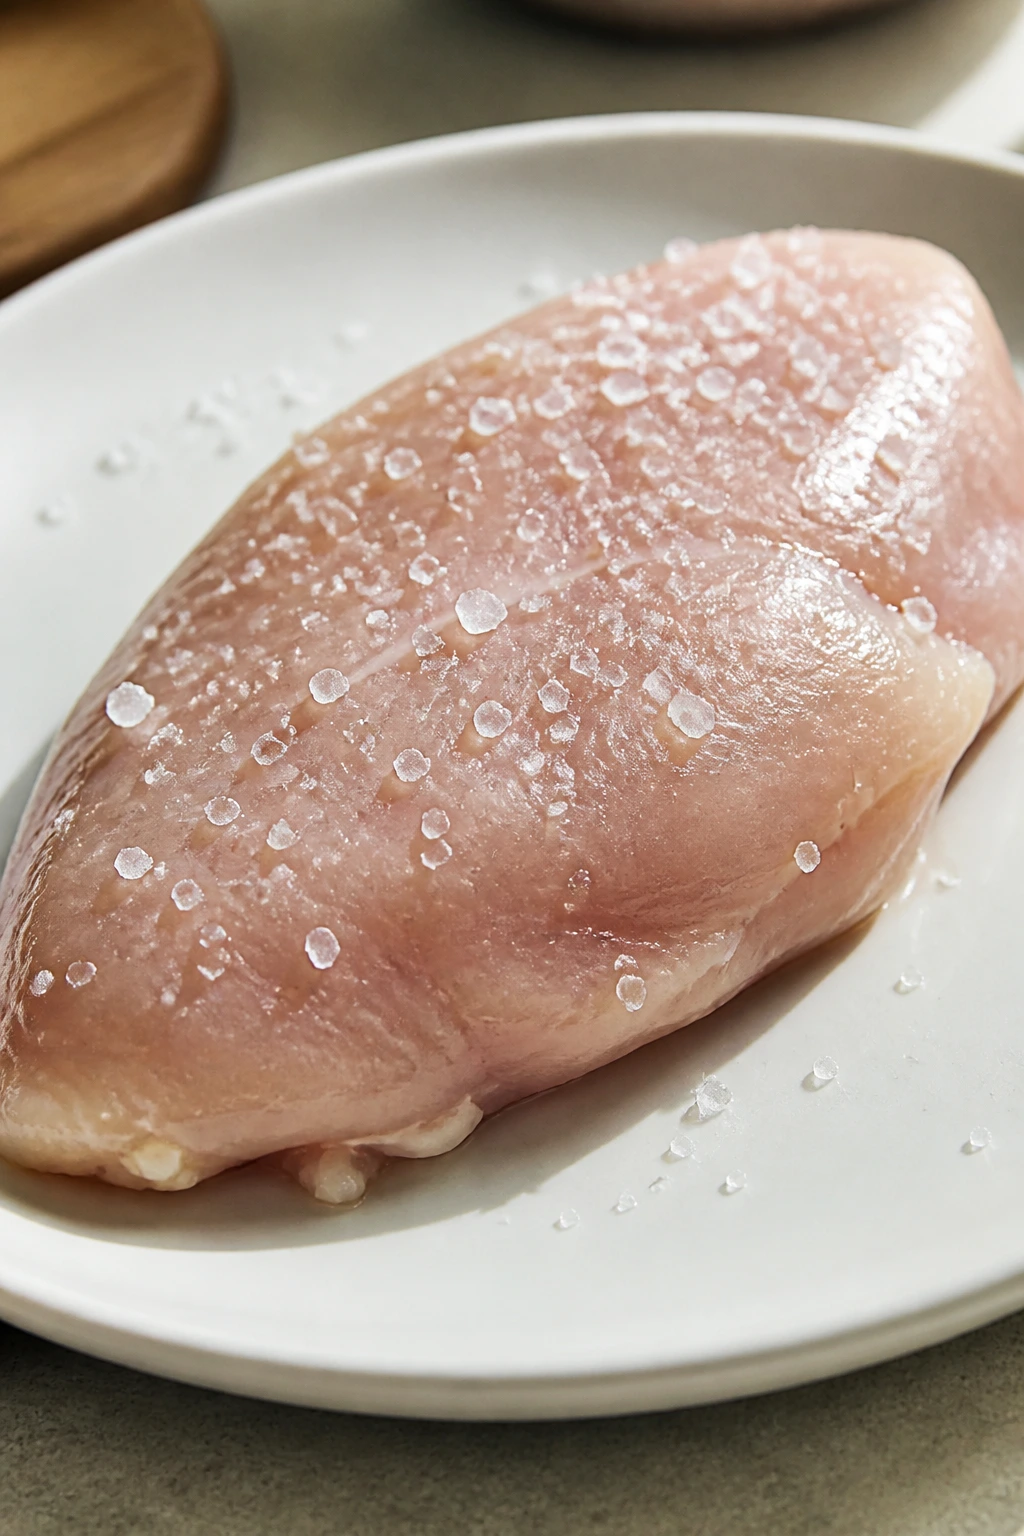
Why does a simple sprinkle of salt change the whole pan? Because salt doesn’t just sit on the surface and do nothing. It pulls a little moisture out first, then that moisture dissolves the salt and gets drawn back into the meat. The chicken tastes seasoned deeper than the outside layer, and the surface dries enough to brown instead of steaming.
For a pound of chicken, I usually think in terms of a light even sprinkle rather than a hard crust of salt. If you use kosher salt, about 1/2 teaspoon per pound is a reasonable place to start, with a little less if you’re using fine salt. The exact amount matters less than the evenness. Salt the top, flip, salt the bottom, and let it sit.
Dry Brine
A dry brine is the best move when you have 15 to 30 minutes before cooking. Set the chicken on a plate or rack, salt it, and leave it uncovered so the surface can dry slightly. On a fridge shelf, uncovered, it can sit for several hours or even overnight, which gives breasts a firmer texture and a better crust.
The surface should look tacky, then dry again. That’s the sweet spot. If it still looks wet and shiny, give it a few more minutes.
Wet Brine
A wet brine still has a place, especially for very lean breasts or when you’re using a plain cooking method that needs insurance. A simple cold-salt water bath for 30 to 60 minutes can help, but it also adds another container, another cleanup, and another thing to remember. On a Tuesday, that matters.
Wet brines are better when you know you’ve got time to spare or when you’re cooking a larger batch. For a random weeknight, dry brining usually wins because it’s simpler and less fussy.
When to Skip Brining
If the chicken is going into a salty sauce, a highly seasoned marinade, or a dish with a lot of broth reduction, go lighter on the brine. Too much salt in too many places is how dinner starts tasting sharp instead of savory.
And if you only have 10 minutes, salt the chicken right before it goes in the pan. It’s not perfect, but it still helps.
The Skillet Method That Gives You Browned Edges and a Juicy Center
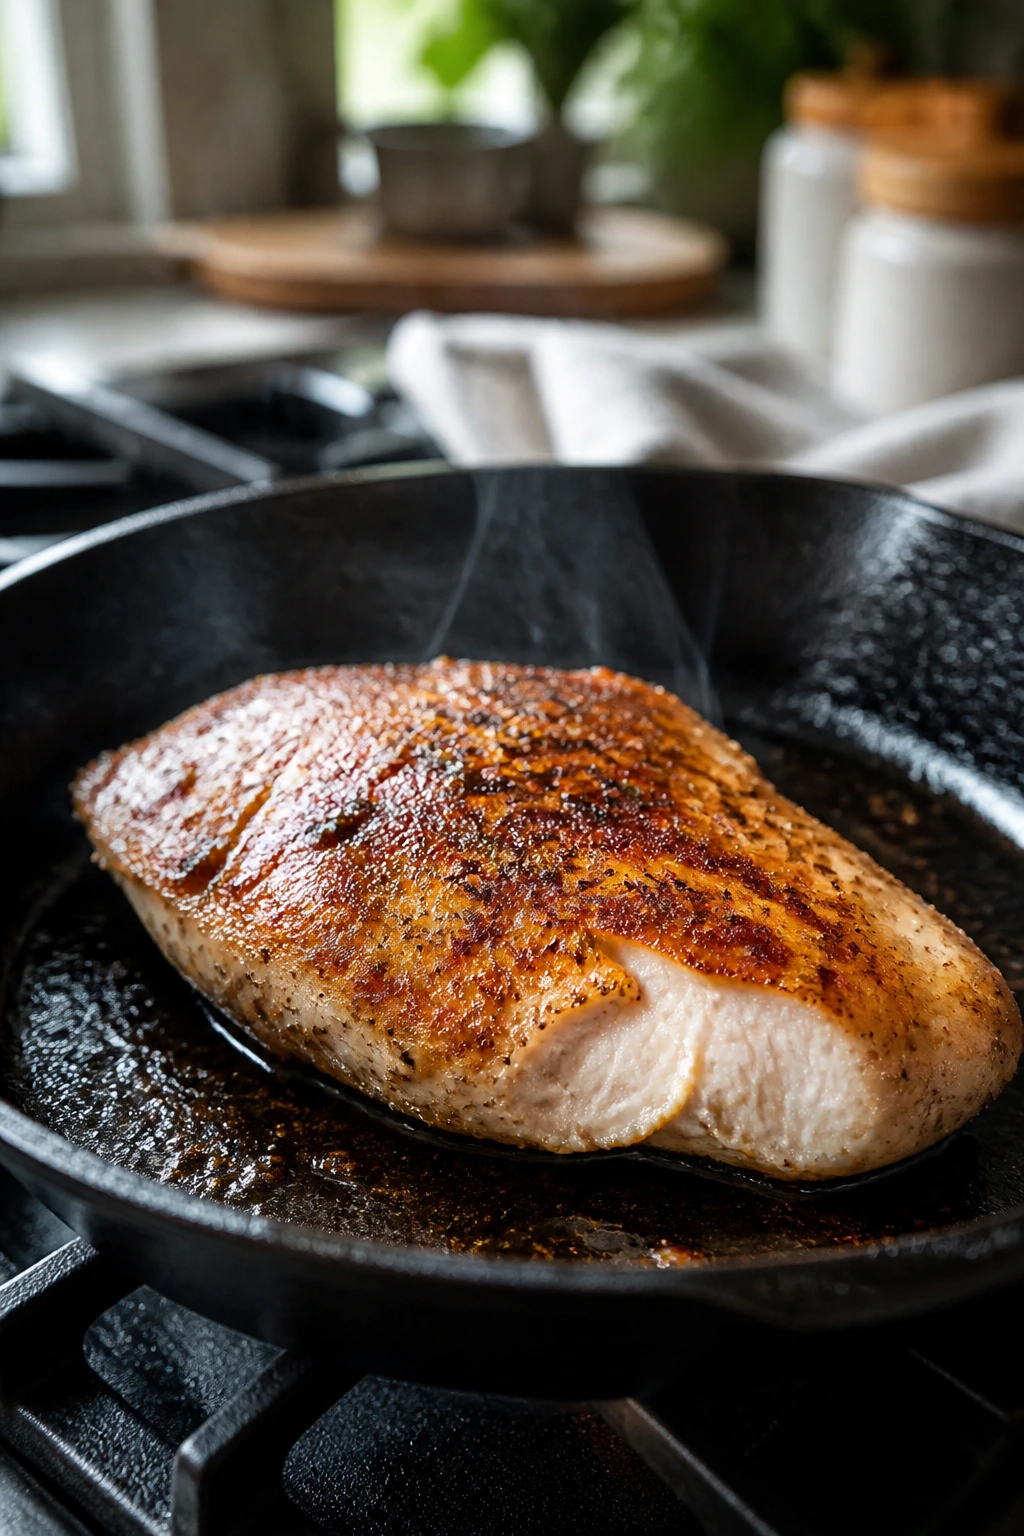
A hot skillet still beats a lot of clever shortcuts. There’s a reason. You get direct contact, a crust, and the chance to make a quick pan sauce from the browned bits. That matters when you want dinner to taste like more than a protein plus a side.
Step 1: Dry and even the chicken
Pat the chicken dry with paper towels. If you’re using breasts, pound the thick end so the whole piece is the same thickness; a rolling pin and a zip-top bag do the job if you don’t have a mallet. Season both sides with salt, pepper, and whatever else you like — garlic powder, paprika, or a little onion powder all behave well here.
Step 2: Heat the pan properly
Use a heavy skillet, ideally cast iron or stainless steel, and heat it over medium-high for a couple of minutes. Add a thin layer of neutral oil. When the oil shimmers and moves fast but doesn’t smoke hard, the pan is ready.
If the oil smokes before the chicken goes in, the heat is too high. Back it off. Burnt oil tastes bitter, and that flavor clings.
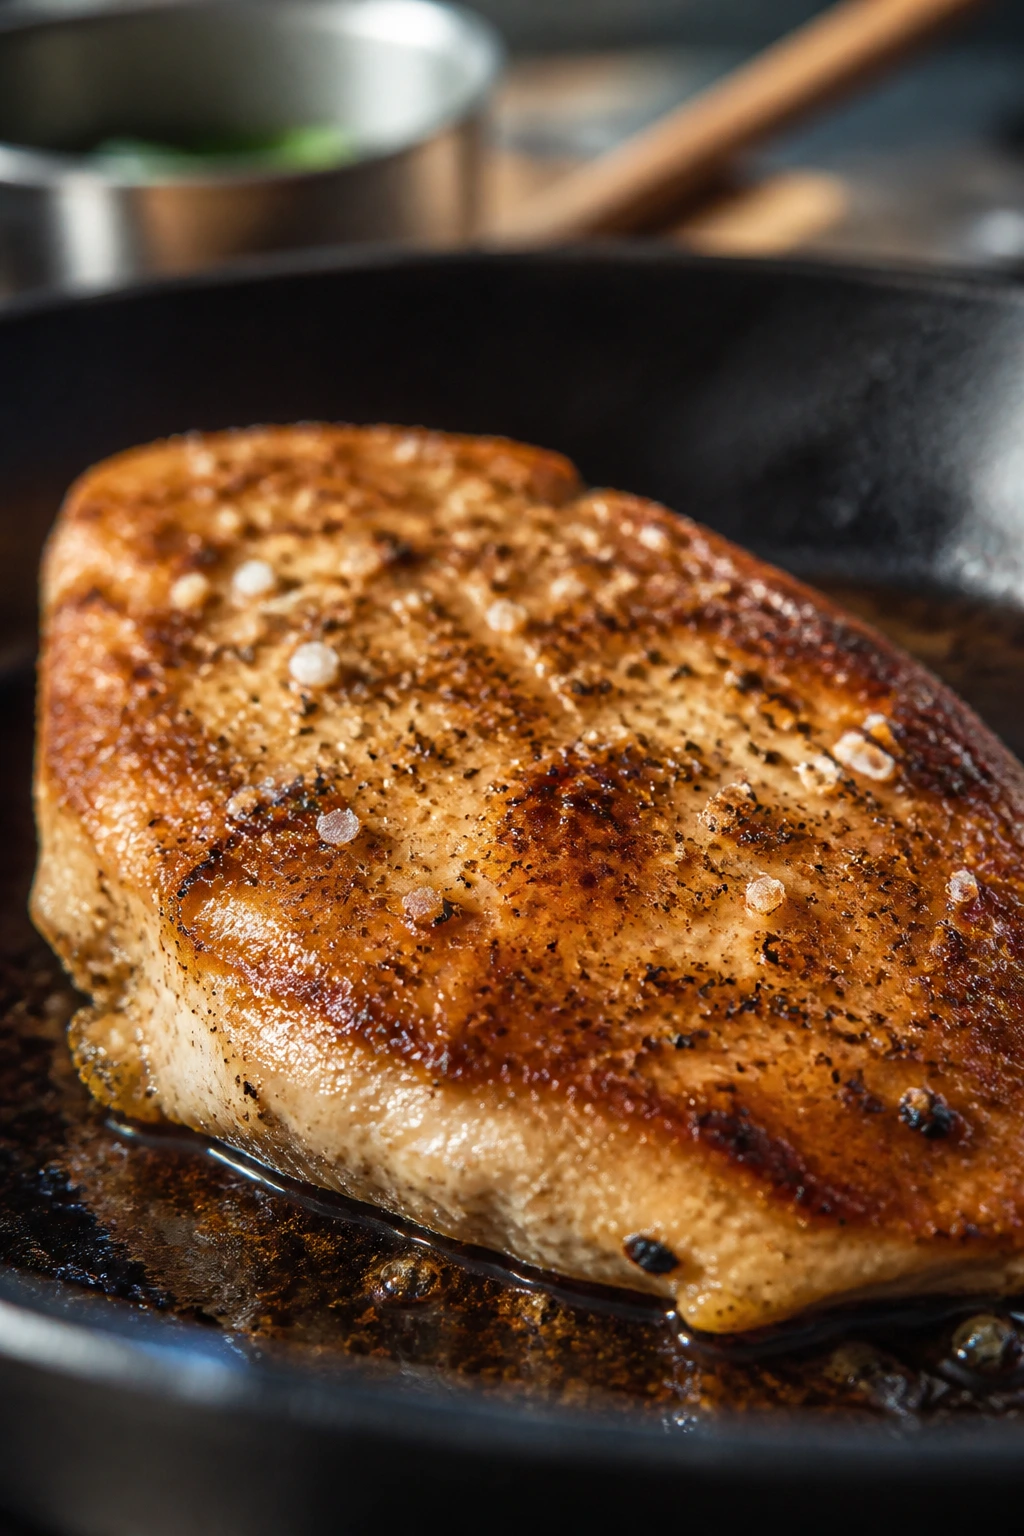
Step 3: Sear without fiddling
Lay the chicken in the pan away from you so the oil doesn’t spit at your wrist. Do not move it around. Let the first side cook until it releases on its own and turns deep golden brown, usually 4 to 5 minutes for cutlets or thin breasts, 5 to 7 minutes for thighs.
That waiting is the whole trick. If the chicken sticks, it is not ready yet.
Step 4: Flip and finish more gently
Flip the pieces, lower the heat to medium, and cook the second side until the center reaches temperature. For breasts, I usually start checking at 155°F and pull around 160°F because carryover heat will finish the job. For thighs, I let them go to 175°F or a touch higher, which gives the connective tissue time to soften.
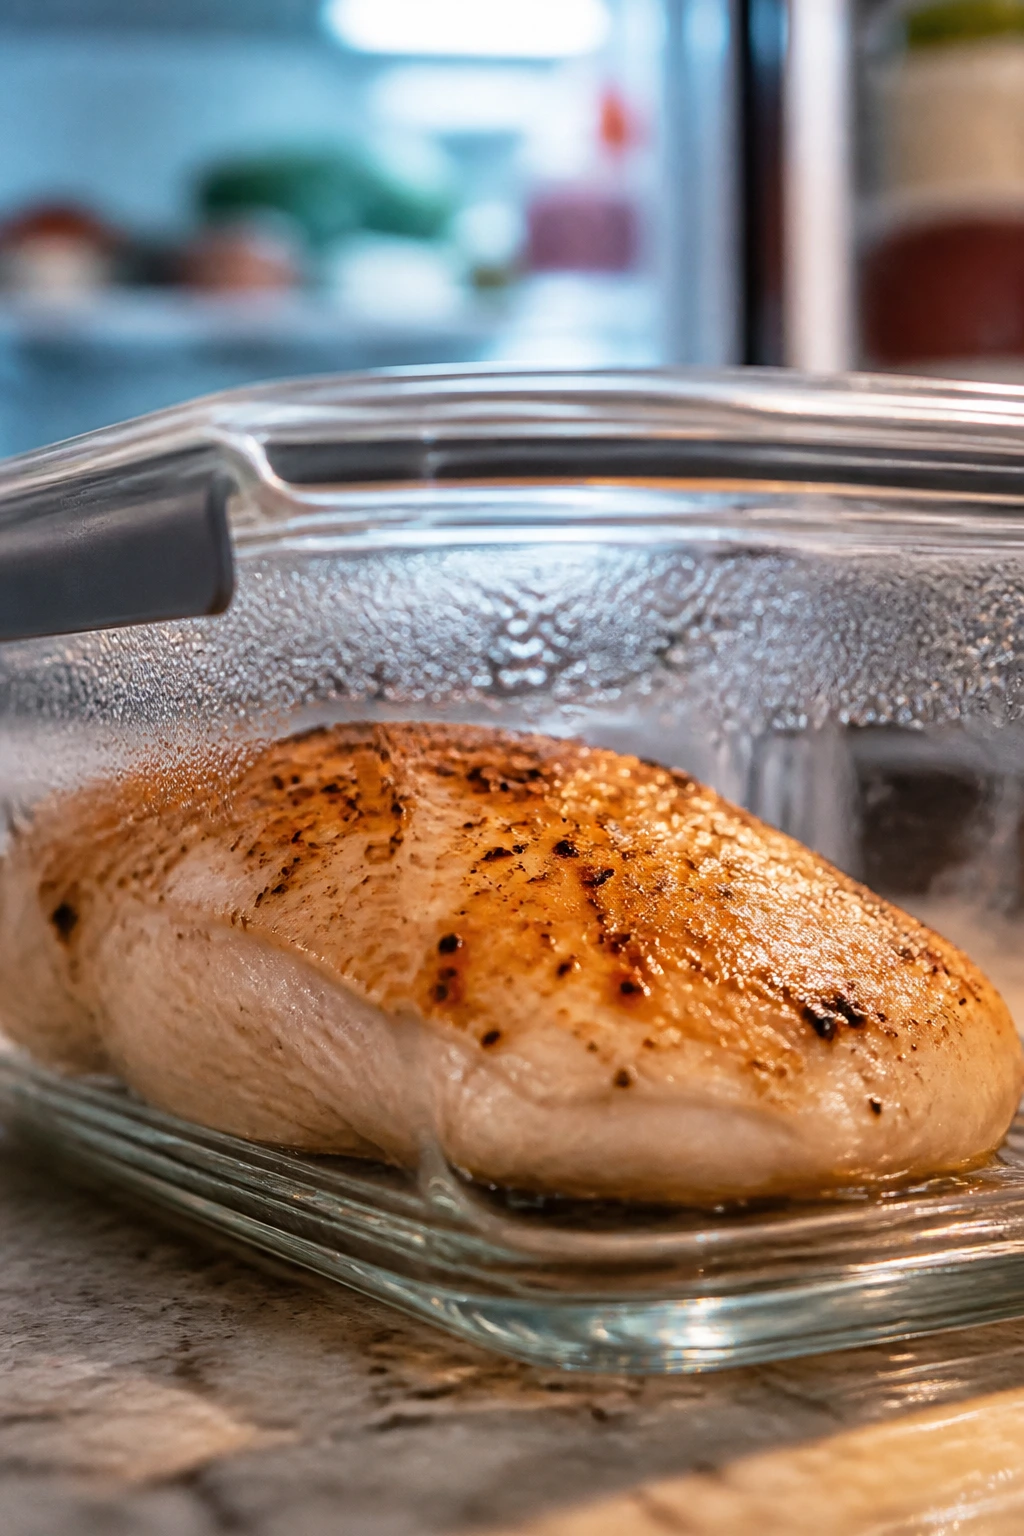
If the pieces are thick and the center is lagging, add a tablespoon or two of broth, cover the pan for a minute, and let the steam help. That little burst of moisture is useful. Too much, and you’ll lose the crust.
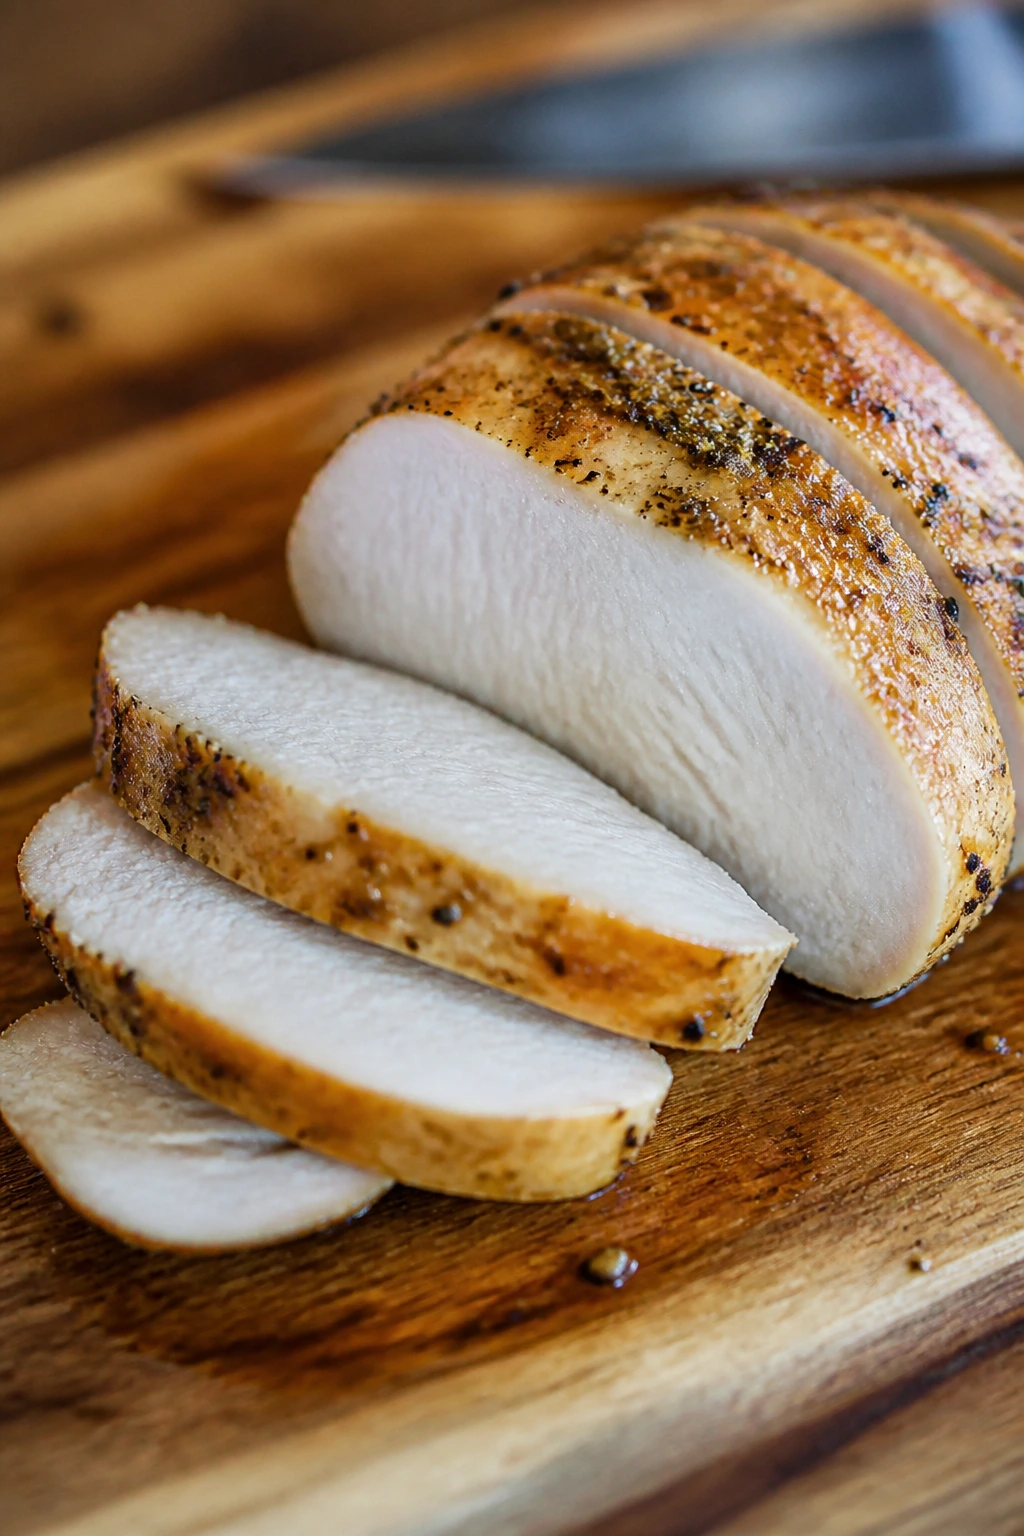
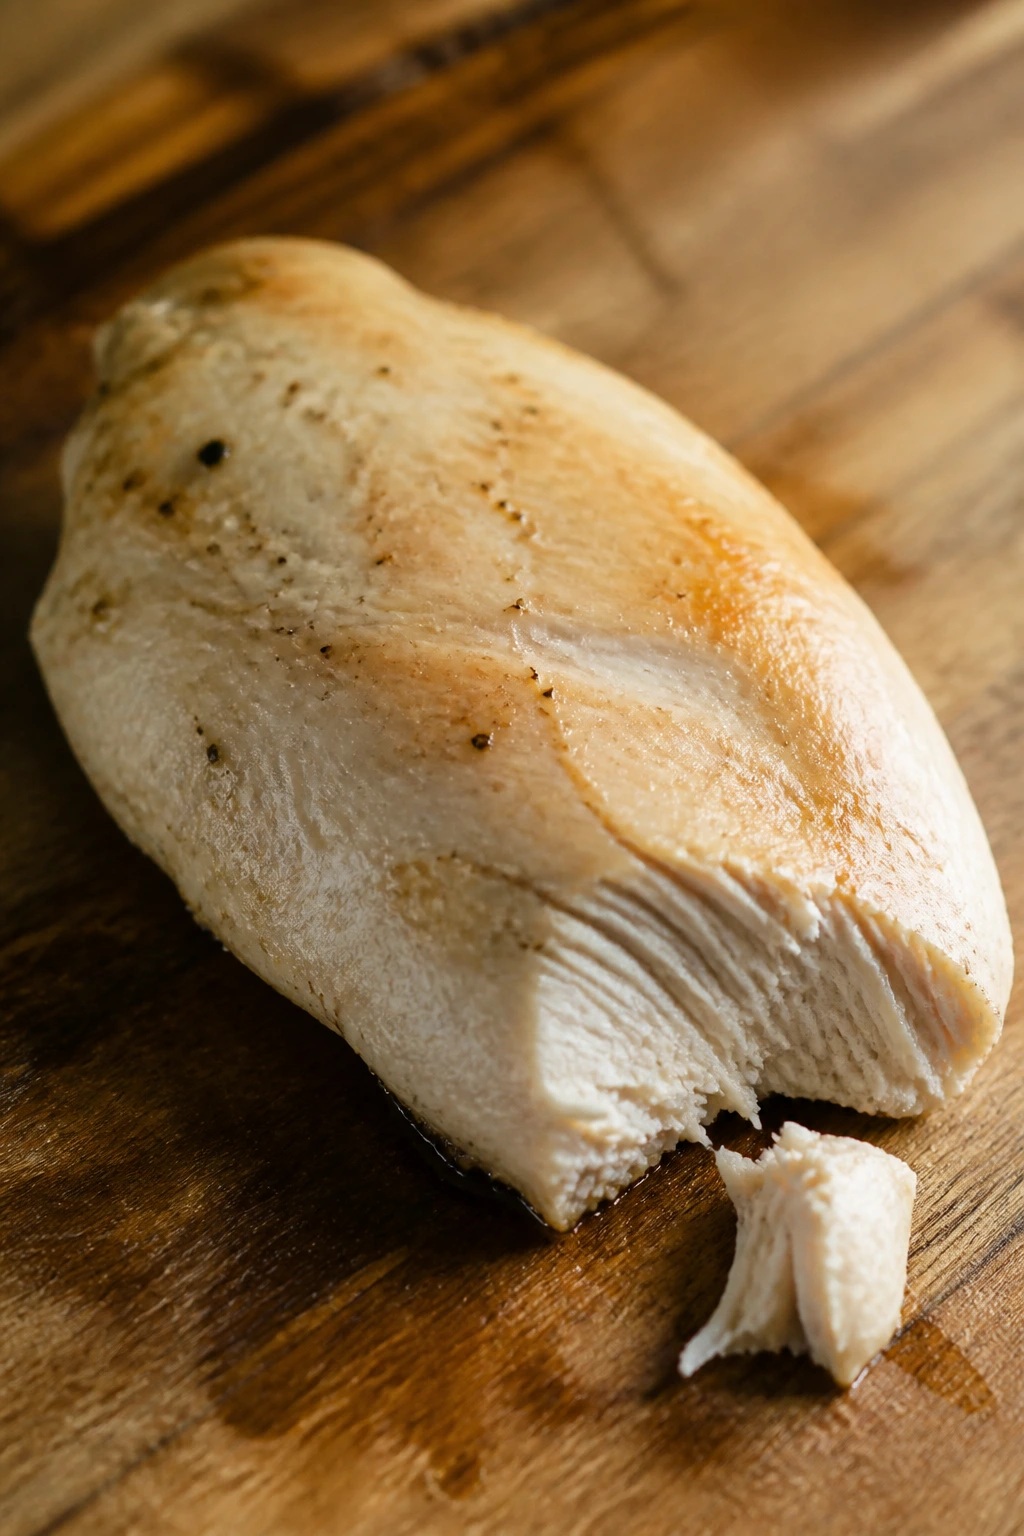
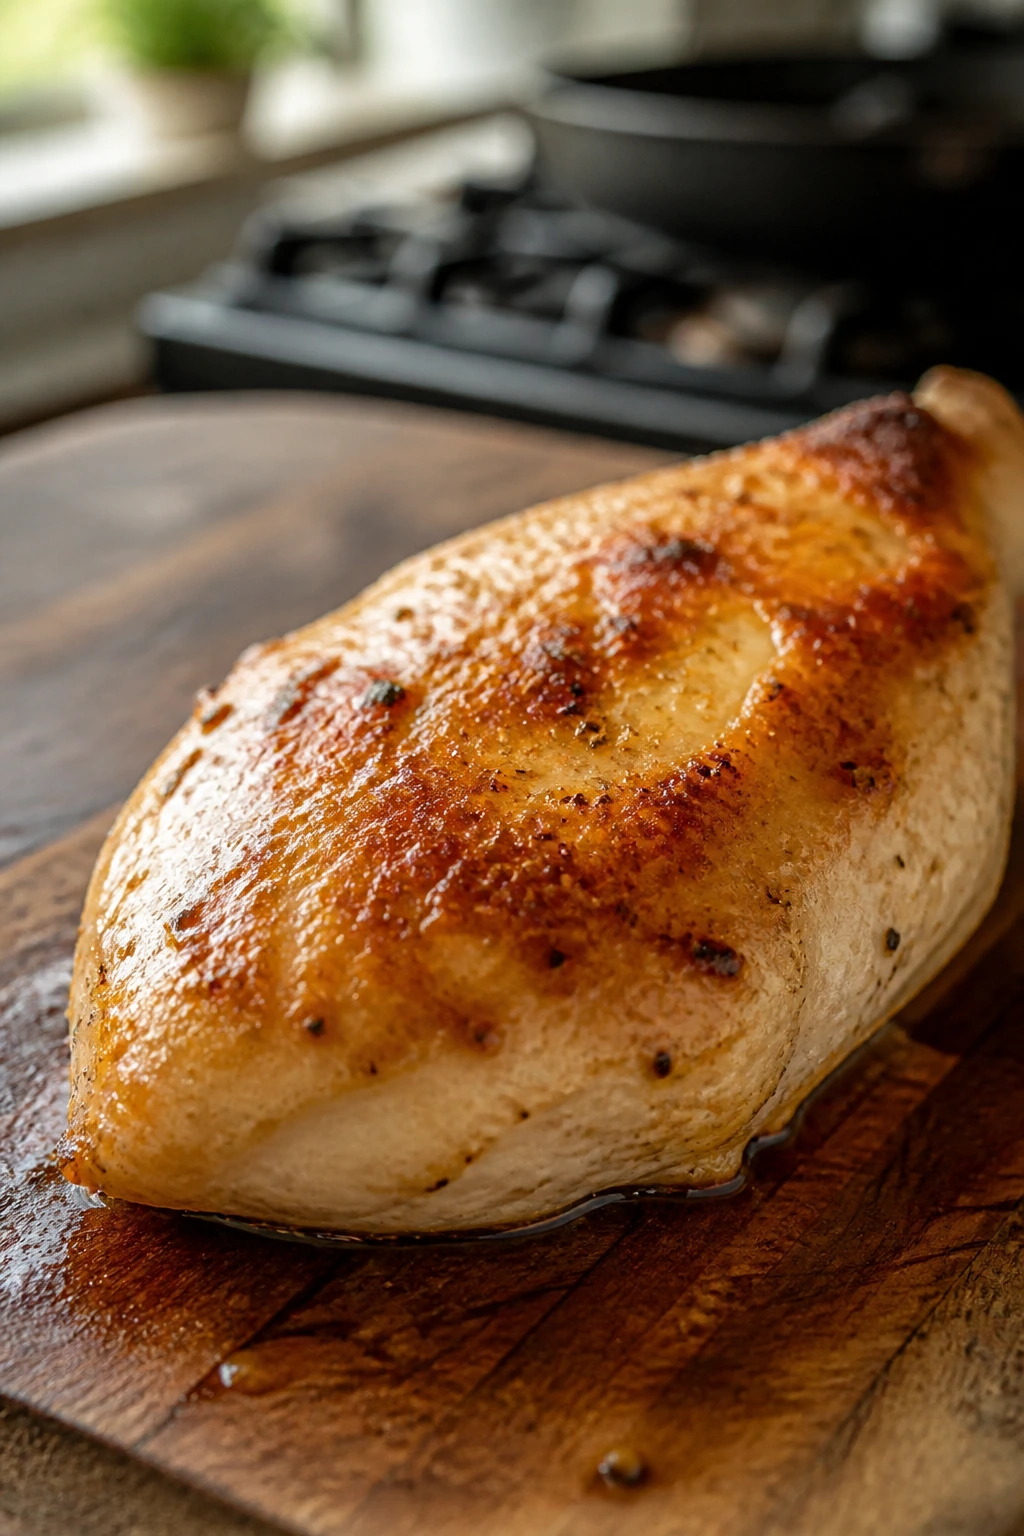
Step 5: Rest before slicing
Move the chicken to a board and rest it for 5 minutes. Not 30 seconds. Not “while I plate the vegetables and then cut it.” Five minutes. Loose foil is fine if the kitchen is cool.
Breasts stay cleaner when you slice them against the grain. Thighs can be sliced or served whole, but if you’re making bowls or wraps, slicing them after resting keeps the juices where you want them.
Oven-Baked Chicken for Nights When the Stove Is Full
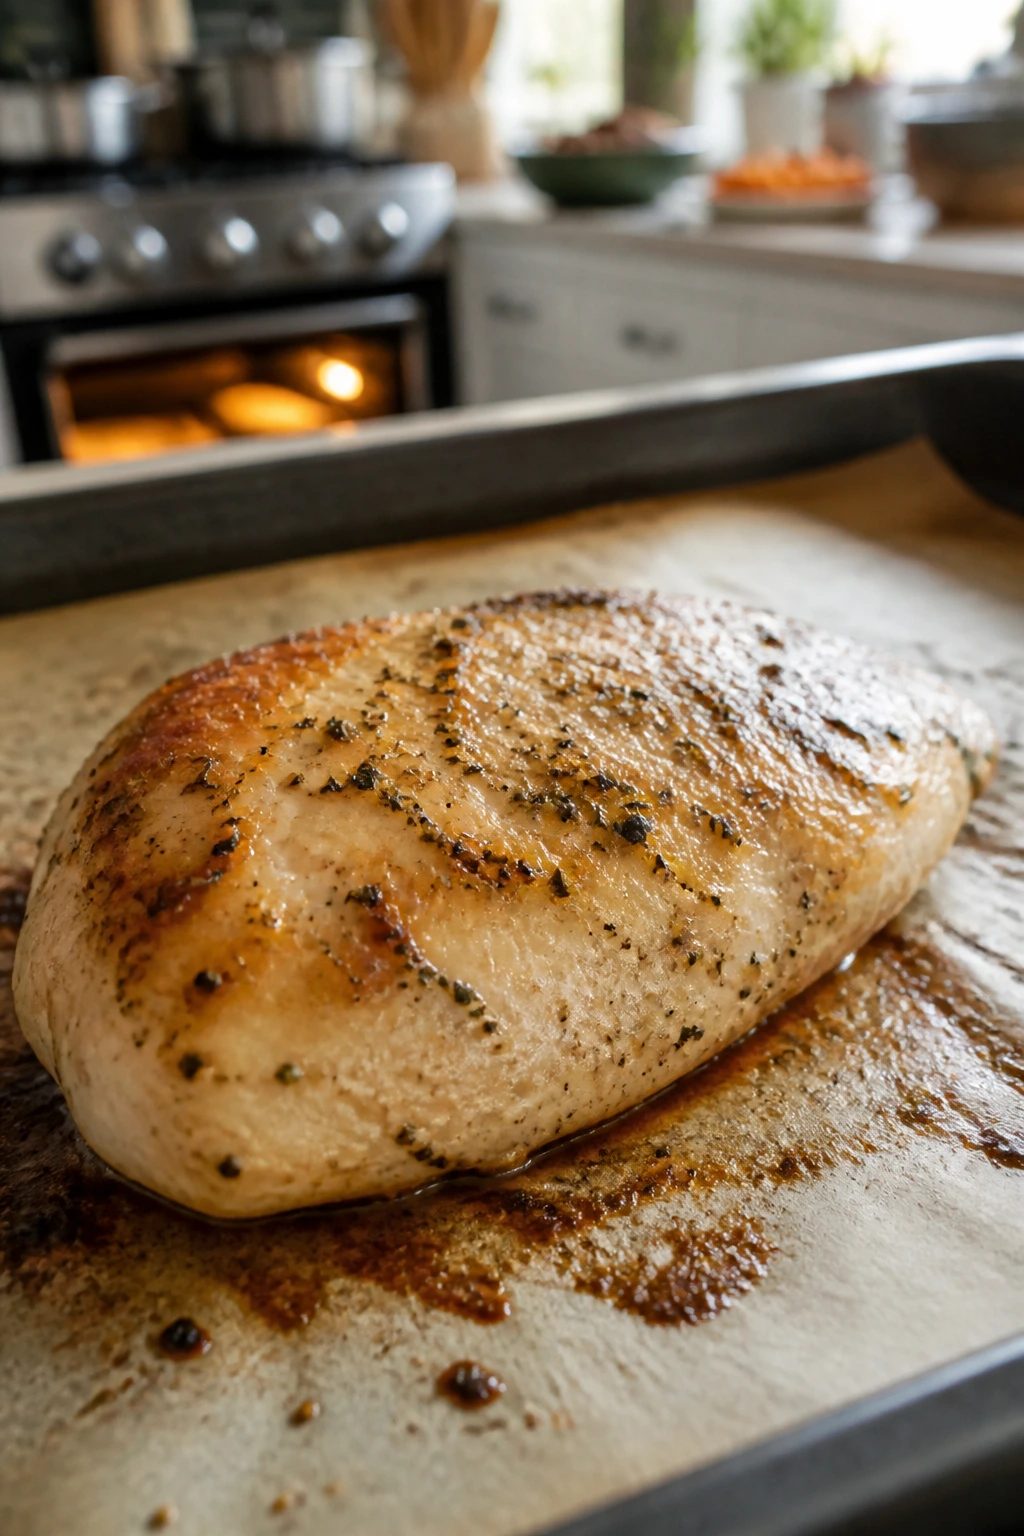
If you have a pot of rice going, green beans on the side, and a pan that’s already doing something else, the oven takes over nicely. I use this method when I want chicken and a tray of vegetables to finish at roughly the same time, which is what weeknight sanity looks like in my house.
The oven needs enough heat to brown the outside before the meat dries out. I like 425°F for most boneless pieces because it cooks fast enough to stay tender and hot enough to pick up some color. Lower temperatures can work, but they often make chicken pale and a little sleepy.
Boneless pieces on a sheet pan
Line a rimmed sheet pan with parchment if you want easy cleanup, or set a wire rack on top if you want more airflow under the chicken. The rack helps browning a bit, but I’ll be honest: I skip it more often than I use it. Parchment is easier, and that matters on a busy night.
Space the chicken pieces apart. If they touch, they steam. If they steam, they go soft instead of browned. You can roast boneless breasts at 425°F for about 16 to 20 minutes depending on thickness, and boneless thighs usually need 18 to 22 minutes.
Bone-in pieces on the tray
Bone-in thighs and drumsticks need more time, usually 25 to 35 minutes, and they’re happiest with a little oil and a simple seasoning rub. Turn them skin side up if the skin is on. Leave room around each piece so the skin can dry and crisp instead of clinging to its own moisture.
If you want a little extra color, run the pan under the broiler for a minute or two at the end. Stay close. Broilers go from helpful to annoying in a blink.
Why the oven works when you’re multitasking
The oven gives you a wider window than the skillet. You still need a thermometer, but you’re not hovering over a pan with tongs in one hand and a spatula in the other. That alone makes dinner feel less fragile.
And if you’re roasting potatoes or carrots on the same tray, cut them smaller than you think. Chicken waits for no one, but a tray of chunky vegetables certainly will.
Air Fryer Chicken Without the Cardboard Texture
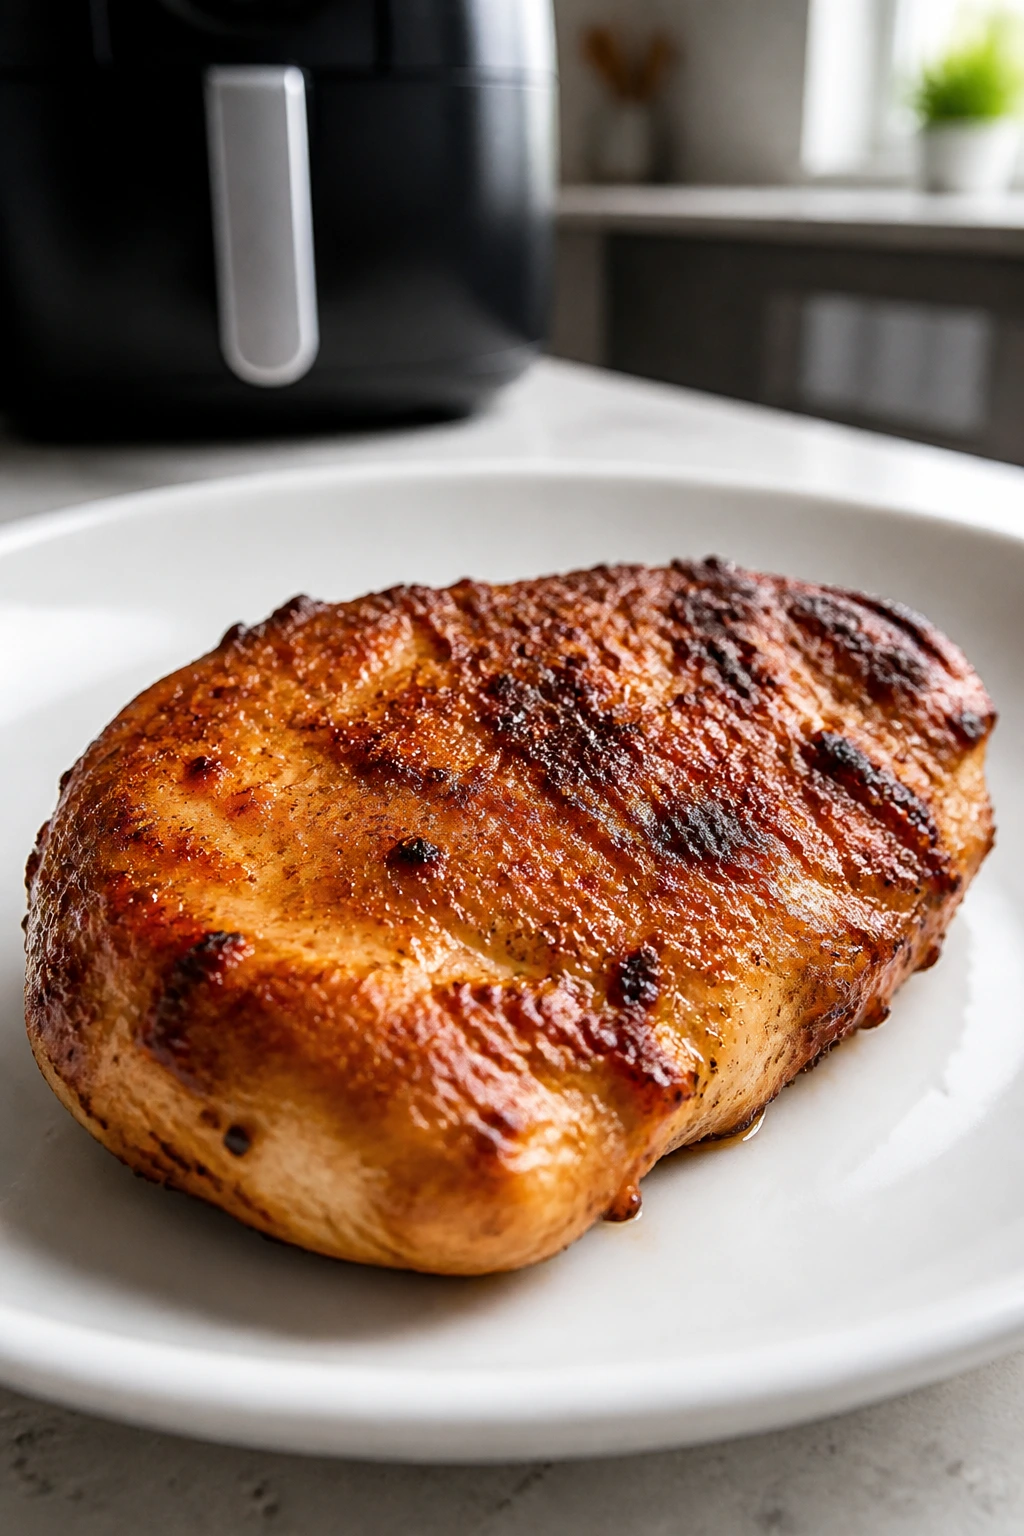
The air fryer can make chicken fast. It can also turn it into leather if you crowd the basket or leave it in for “just one more minute” because the outside still looks pale. The machine rewards attention, not faith.
Use the air fryer for cutlets, tenderloins, and small boneless thighs when you want speed with a little crispness. I like 375°F for breasts and cutlets because it’s gentler, and I move up to 400°F for thighs when I want more browning. If your machine runs hot, check early. Air fryers vary enough that the timer is a suggestion, not a promise.
Best cuts for the basket
Cutlets are the best fit. They cook through before the outer surface dries, and they’re easy to season or coat lightly with oil and spices. Tenderloins work too, though they cook so fast that one distracted phone glance can push them past their best texture.
Boneless thighs are the forgiving choice if you want a little more leeway. They still benefit from a light oil coating and a single layer in the basket.
What makes the difference
A light spray of oil matters. So does space. If the basket is packed, the hot air can’t move around the pieces, and you end up with spots that are chewy and spots that are pale.
Flip halfway through and start checking a minute or two before you think you should. For thin cutlets, that can mean 8 to 10 minutes total. For breasts, 10 to 14 minutes depending on thickness. For thighs, it may be 12 to 18 minutes. The thermometer decides. Not the clock.
Where the air fryer falls short
It is not the tool I reach for when I want a dark fond for a pan sauce. It is the tool I reach for when the stove is occupied and I need chicken done now. Different job. Different trade-offs.
What to Serve Beside Juicy Chicken on a Busy Night
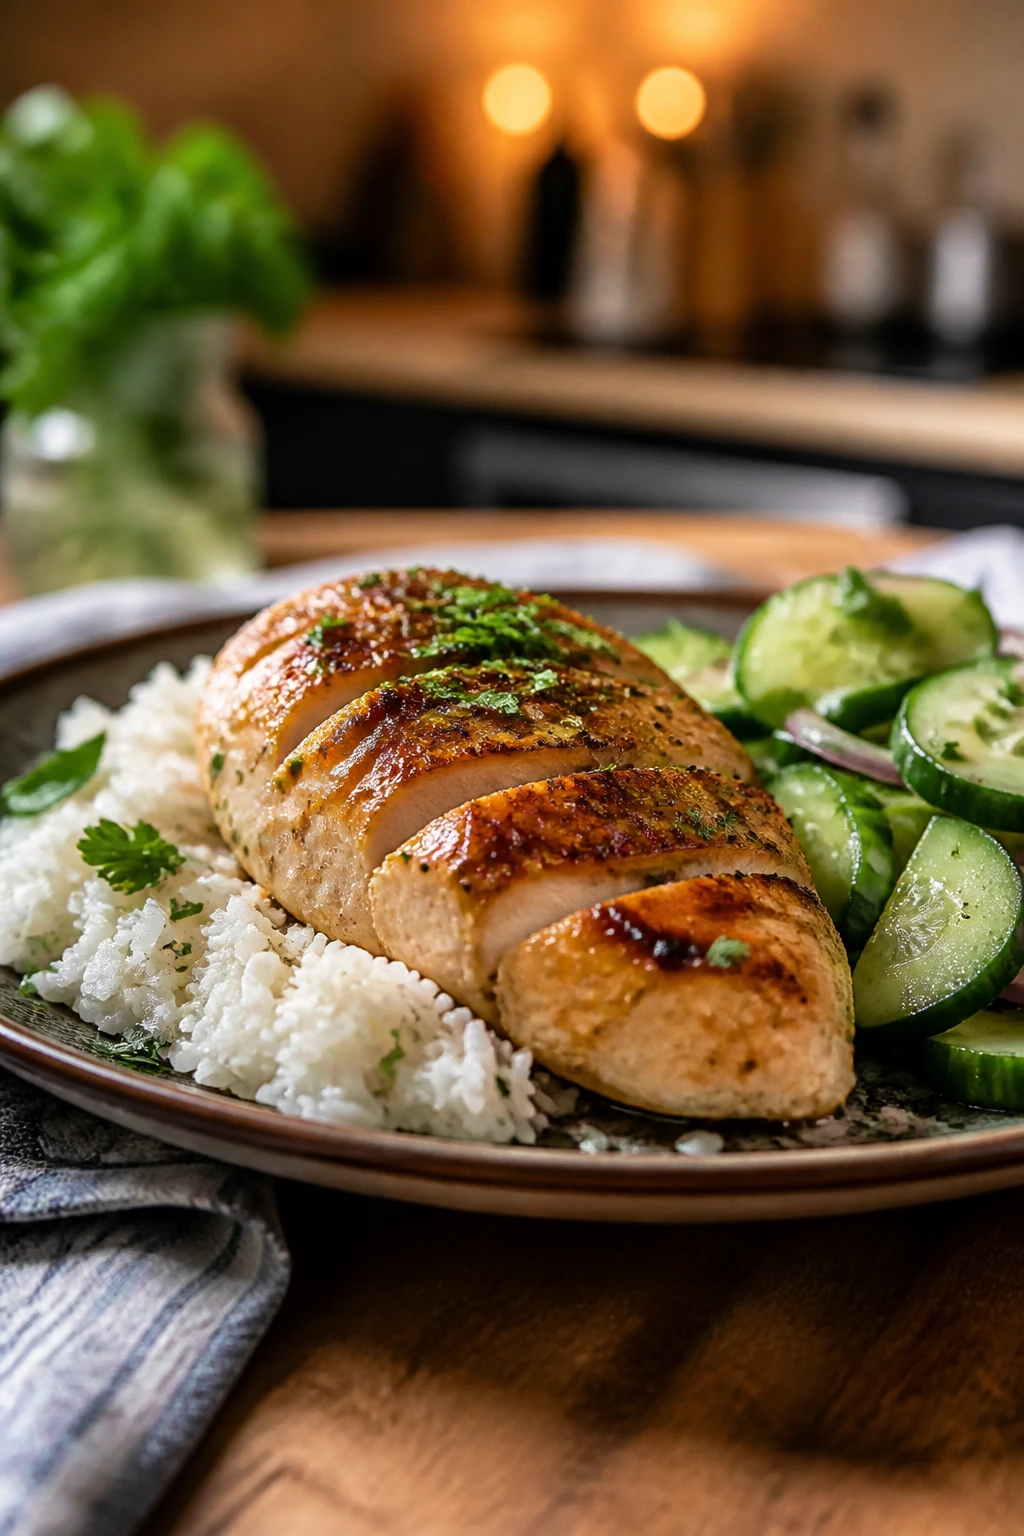
A good weeknight plate usually needs three things: chicken, one starch, and one vegetable. Add a sauce or a squeeze of acid, and the whole thing stops tasting like separate parts. That’s not fancy. It’s just how dinner eats better.
If the chicken is sliced breast, I like it over rice, couscous, or buttered noodles with something crisp on the side — cucumber salad, green beans, or a pile of shredded cabbage dressed with lemon and oil. If you’re using thighs, mashed potatoes, roasted carrots, or crispy potatoes can handle the richer meat without getting lost.
A simple plate formula
- Breasts: rice, quinoa, or pasta; something bright and crunchy like celery salad or slaw.
- Thighs: potatoes, polenta, or couscous; something green and lightly bitter like broccoli rabe or sautéed greens.
- Cutlets: salad, noodle bowls, or sandwich rolls; they want speed and contrast.
Portions that make sense
For adults, 5 to 6 ounces of cooked chicken is a solid serving when it’s the main event. If there’s pasta or rice under it, 4 ounces can be plenty. For kids, 3 to 4 ounces usually does the job unless they’re in a phase where every dinner becomes a negotiation, which is a different problem entirely.
What to drink with it
A crisp sparkling water with lemon works more often than people admit. If you want something with a little more personality, an unsweet iced tea or a dry ginger beer keeps the meal bright. If you drink alcohol, a light lager or a dry white wine sits nicely next to lemony or herb-heavy chicken.
Keep the side dishes plain if the chicken is already sauced. When everything is loudly flavored, the plate gets tired.
Sauces, Butters, and Finishes That Keep the Plate from Eating Dry
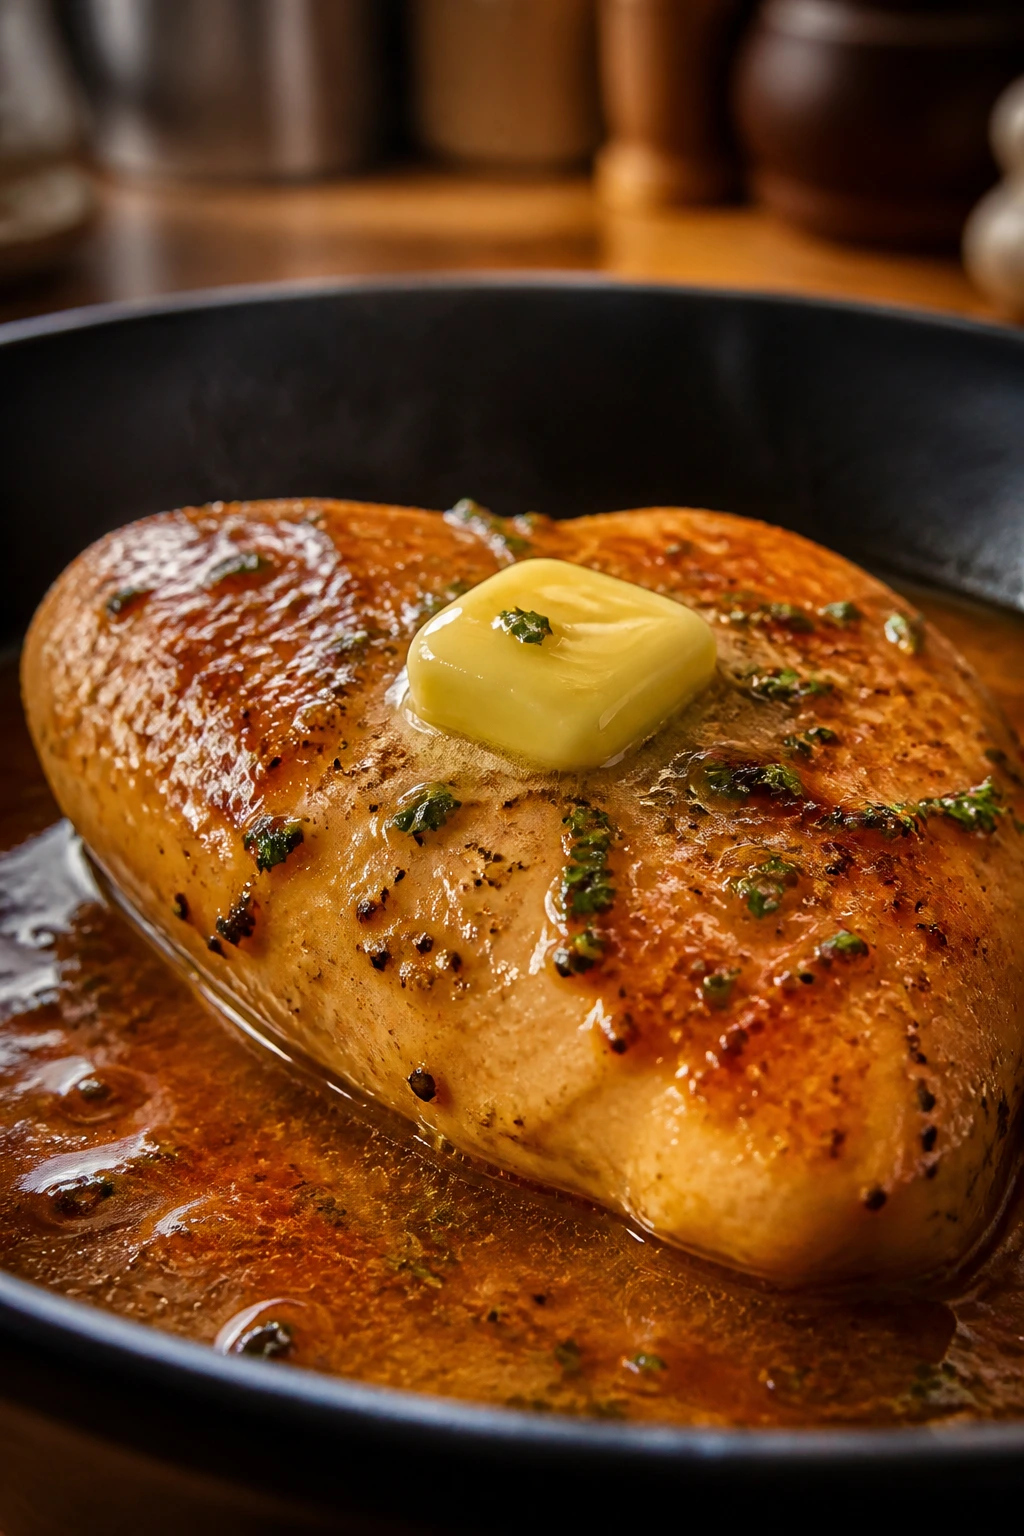
A sauce cannot rescue chicken that was cooked to dust. It can, however, make properly cooked chicken taste richer and keep leftovers from feeling like punishment. That is a real job, and one worth doing.
Pan sauce in five minutes
After the chicken comes out of the skillet, pour off excess fat and leave the browned bits behind. Add about 1/3 cup chicken broth or water, scrape the pan, and let it bubble for a minute. Whisk in a teaspoon of Dijon or a squeeze of lemon, then finish with a small knob of butter off the heat.
That sauce is especially good with breasts because it adds the richness lean meat needs. It’s also a nice rescue for any juices on the cutting board. Don’t throw those away.
Yogurt and herb sauces
Plain Greek yogurt, lemon juice, garlic, and chopped herbs make a cool, sharp sauce that likes spicy chicken, smoky paprika rubs, and air-fried cutlets. It works because the creamy texture balances browned meat without smothering it.
If you want a thinner drizzle, whisk in a spoonful of water or olive oil. If you want more punch, add dill, parsley, mint, or chives.
Glazes and jarred shortcuts
A quick glaze made from soy sauce, honey, and ginger works best when brushed on during the last minute or two of cooking, not at the start. Sugar burns. It always burns faster than people expect.
Jarred pesto, salsa verde, chimichurri, or even a good store-bought barbecue sauce can work after cooking, too. I prefer those as finishes rather than marinades because they taste cleaner that way. You keep the chicken’s own flavor instead of burying it.
How to Tell Chicken Is Done Before It Turns Stringy
The thermometer matters more than the recipe. That sounds blunt because it is. You can follow every other step and still end up with dry chicken if you guess at doneness.
The USDA’s safety line for poultry is 165°F, and that’s the number I trust when I’m teaching someone the basics. For breasts, I usually pull them from the heat at 160°F and let carryover cooking bring them up the rest of the way while they rest. For thighs, I go higher — 175°F to 185°F — because dark meat gets better as the connective tissue softens.
Where to measure
Insert the thermometer into the thickest part of the meat, not touching the pan and not resting against bone. If you hit a bone, the reading can look wrong. If you check the edge, the reading can look done while the center is still lagging.
A good thermometer is faster than guessing and cheaper than throwing out dry chicken.
What carryover cooking does
When chicken comes off the heat, the center keeps climbing for a few minutes. That’s why rest matters. A breast that reads 160°F at the stove can finish around 165°F by the time you slice it.
If you cut too soon, the juices run straight out. If you wait five minutes, the meat settles and slices cleaner. Small difference. Big payoff.
What pink juices mean
Pink juices are not always a problem. Sometimes they’re just protein and pigment from the meat, especially if you’ve used spice rubs or cooked chicken that came from the bone-in side of the aisle. Temperature tells you more than color does.
Texture helps too. Safe, juicy chicken feels firm but still yields a little when you press it. If it feels hard and tight, you’ve gone too far.
The Tools and Pantry Staples That Make Chicken Easier
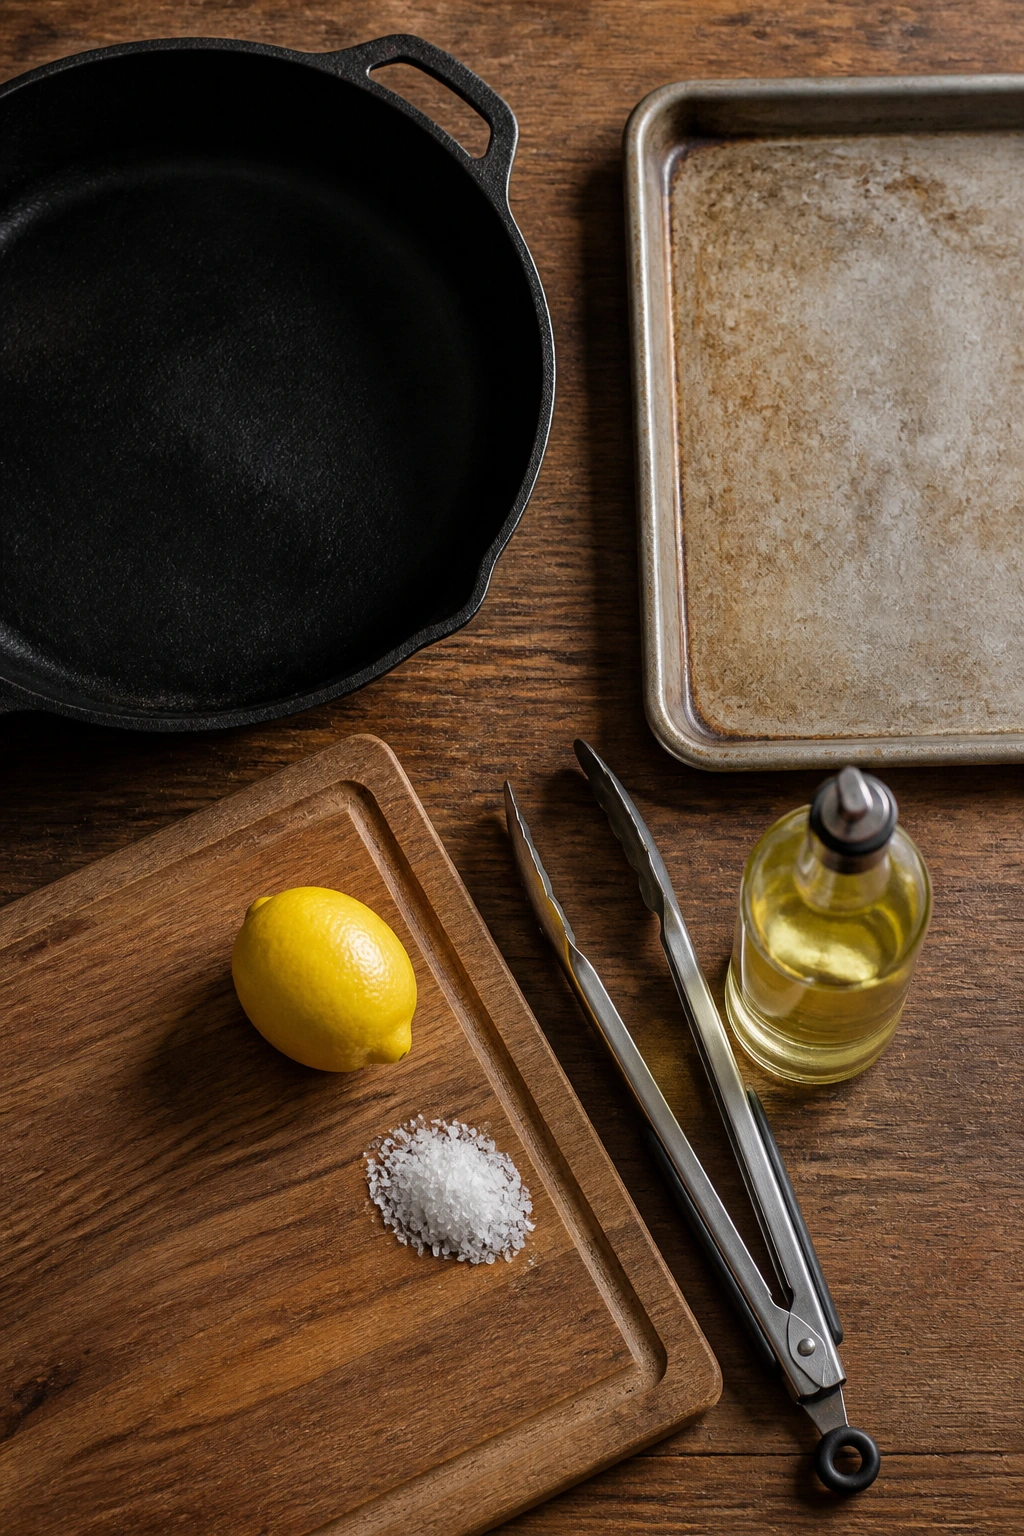
A handful of basic tools make juicy chicken for weeknight dinners much easier to repeat. I would start here before buying any special gadget that promises to fix your life and then ends up in a cabinet.
- Instant-read thermometer: This is the one tool I would not skip. It keeps breasts from crossing the line between juicy and dry.
- Heavy skillet, preferably cast iron or stainless steel: Heats evenly and gives you the browning a thin pan can’t manage.
- Rimmed sheet pan: Essential for oven cooking and useful for keeping juices contained.
- Tongs: Better than a fork for turning chicken without poking holes in it.
- Meat mallet or rolling pin: Handy for flattening breasts into even cutlets.
- Paper towels: Dry meat browns better. Wet meat steams.
- Cutting board with a groove: Keeps the juices from running all over the counter.
- Wire rack: Optional, but useful for air fryer-style airflow in the oven.
- Small bowl or measuring cup: Good for quick pan sauces and simple glazes.
- Zip-top bags or shallow containers: Useful for brining, marinating, or storing leftovers flat.
Pantry staples matter too. Keep kosher salt, black pepper, garlic powder, paprika, neutral oil, broth, lemon, and Dijon around. Those ingredients cover a surprising amount of ground without turning dinner into a project.
Practical Tips for Juicy Chicken Every Time
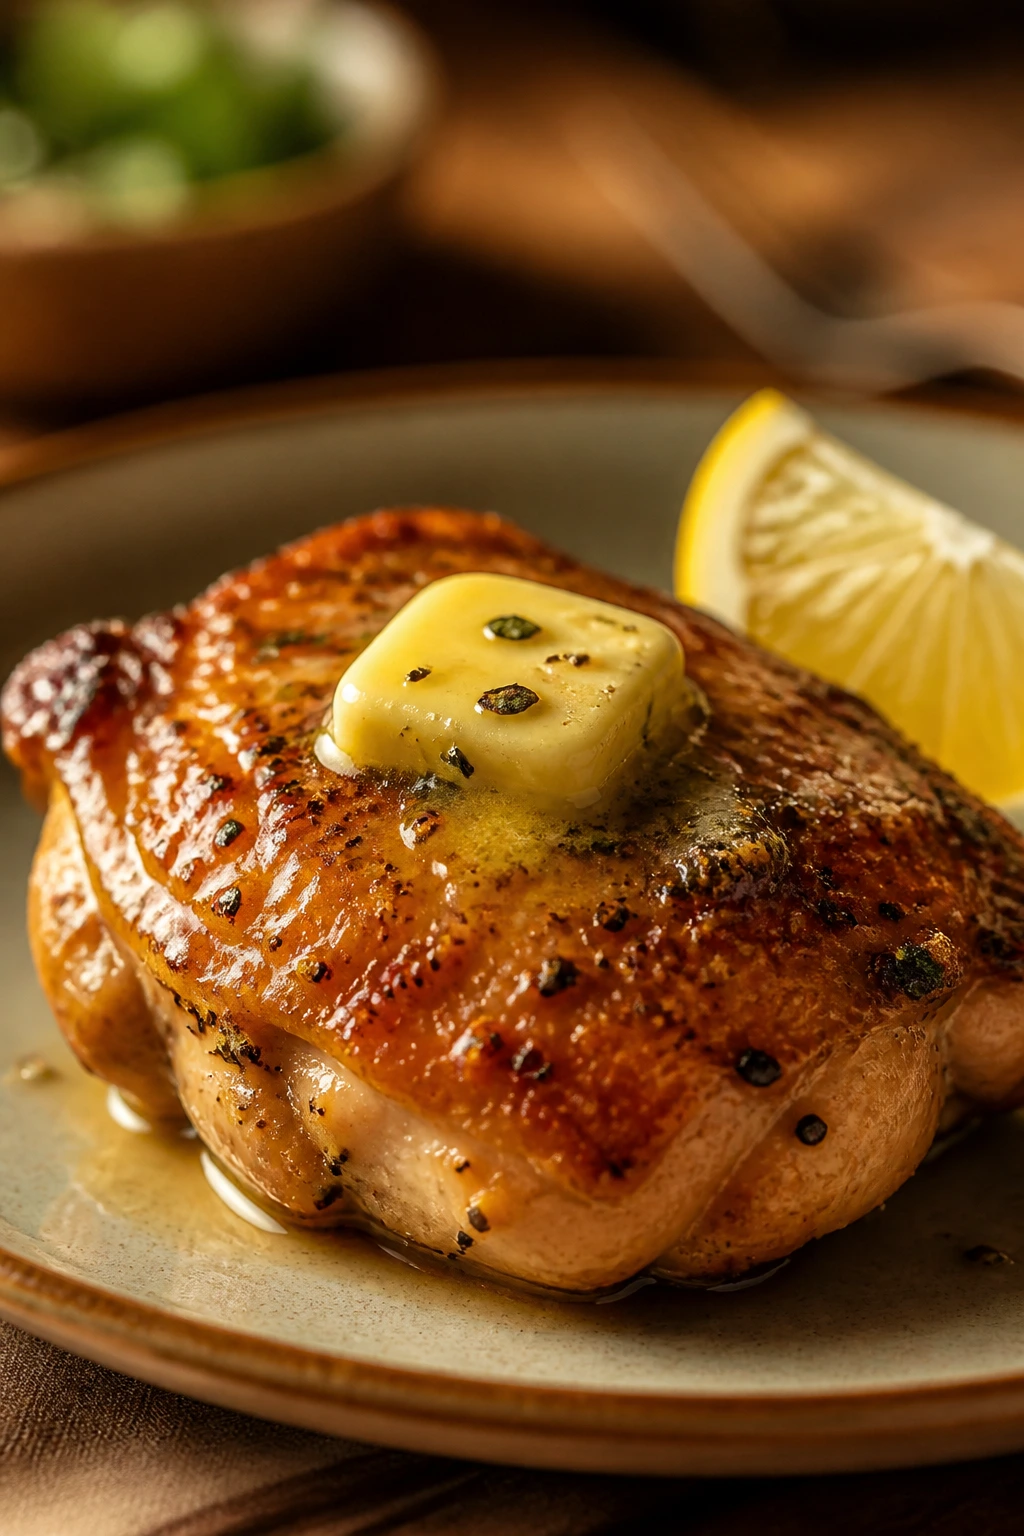
Flavor Enhancement: Finish chicken with acid and fat, not only seasoning. A squeeze of lemon, a spoon of pan juices, or a dab of butter over the hot meat makes the surface taste fuller and keeps lean breast meat from feeling dry on the tongue. Zest works even better than juice if you want brightness without adding extra liquid.
Time-Saver: Buy cutlets when you know the evening will be messy. They cook fast, slice easily, and don’t demand as much babysitting as whole breasts. If the store only has large breasts, slice them horizontally yourself. Two thinner pieces are easier to cook than one thick one, and the difference is obvious on the plate.
Cost-Saver: Thighs usually give you more flavor per dollar and forgive small mistakes. They also freeze better than breasts, in my experience, because the extra fat keeps the texture from going dry when reheated. If you buy family packs, portion them into flat freezer bags and press the air out before freezing. They thaw faster and take up less space.
Pro Move: Salt the chicken while the pan heats, then blot the surface one more time right before it goes in. That tiny extra step dries the outer layer enough to brown cleanly. If you do only one thing to improve your chicken, do this and stop moving the pieces once they hit the pan.
Make-It-Your-Own: For gluten-free cooking, lean on tamari, mustard, herbs, and citrus instead of flour-heavy coatings. For dairy-free dinners, finish with olive oil and lemon instead of butter. For lower-sodium meals, season the chicken itself lightly and push flavor into the sauce, herbs, and aromatics.
Mistakes That Dry Chicken Out Fast
Most bad chicken is not bad chicken. It’s chicken that got one small detail wrong. That’s the irritating part, because the fix is usually simple once you know where the problem started.
-
Leaving the pieces at different thicknesses: Thick breasts and thin tails finish at different times, so one end dries while the other still catches up. Fix it by pounding or butterflying the meat before it ever touches heat.
-
Crowding the pan or tray: If the chicken is packed in too tightly, it steams in its own released moisture. The symptom is pale, soft surface color and a pan that sounds wet instead of sharp. Cook in batches or use a larger pan.
-
Cooking by color alone: Golden outside does not always mean safe inside, and white flesh does not always mean juicy. Use a thermometer, then stop cooking when the number says stop.
-
Slicing too soon: The second chicken leaves the heat, the juices are moving. Cut it right away and they leave with the knife. Rest the meat for at least 5 minutes, longer for thicker pieces.
-
Using a sugary glaze too early: Honey, maple syrup, and barbecue sauce scorch quickly. The outside darkens, the center still needs time, and the whole thing tastes bitter. Brush sweet sauces on near the end.
-
Skipping the dry surface: Wet chicken in a wet pan is a steam bath. Dry the surface with paper towels first, then season. It sounds boring, and it works.
Easy Variations for Different Tastes and Dietary Needs
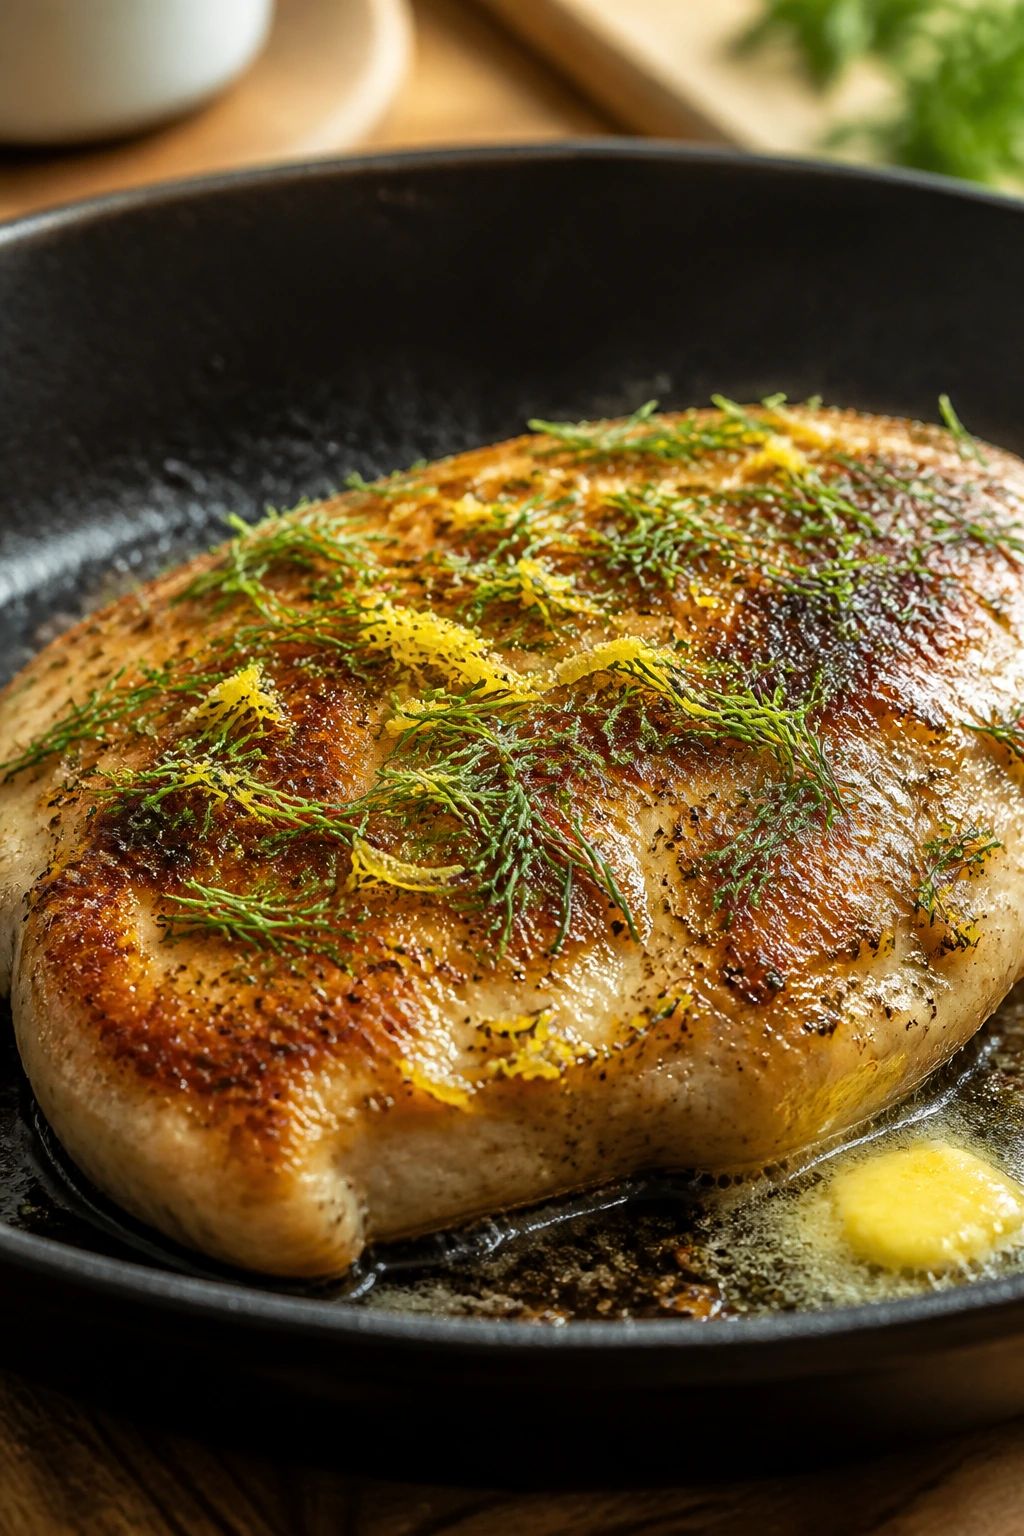
Lemon-Dill Skillet Chicken: Use boneless breasts or thighs with lemon zest, dill, garlic, and black pepper, then finish with a little butter or olive oil. This one tastes bright without being sharp, and it’s the version I’d pick for rice, potatoes, or a simple cucumber salad.
Smoky Paprika Cutlets: Add smoked paprika, garlic powder, onion powder, and a pinch of cumin to cutlets before searing. The result is deeper and warmer, especially if you serve it with yogurt or sour cream on the side. Good night for this one: when you want dinner to taste intentional without doing extra work.
Soy-Ginger Weeknight Chicken: Brush cooked chicken with tamari, grated ginger, garlic, and a little honey in the last minute of cooking. Swap tamari for coconut aminos if you need a gluten-free or lower-sodium path. This version works well over rice or noodles and holds up nicely in leftovers.
Creamy Dijon Pan Chicken: After searing, build a quick pan sauce with broth, Dijon, and a small splash of cream. Keep the simmer gentle so the sauce stays smooth. I like this one with mushrooms, green beans, or mashed potatoes because the sauce wants something starchy under it.
Dairy-Free Herb Chicken: Finish with olive oil, parsley, lemon, and a little cracked pepper instead of butter. The flavor stays clean and bright, which is useful when the rest of dinner is already rich. This is the variation I make when I want the plate to feel lighter without becoming dull.
Make-Ahead, Storage, and Reheating Without Losing Juiciness
Cooked chicken keeps best when you treat it gently after the pan. Let it cool for no more than 2 hours, then get it into a shallow airtight container. Piling hot chicken into a deep container traps steam and makes the texture soft in a bad way.
In the fridge, cooked chicken lasts 3 to 4 days. Whole pieces hold up better than sliced ones, so if you know you’ll use leftovers for another meal, keep them whole until the last minute. If the chicken has sauce or pan juices, store those with it. Moisture helps during reheating.
Freezing
Chicken freezes well for about 2 to 3 months if wrapped tightly or sealed in freezer bags with as much air removed as possible. I like to freeze it in meal-size portions so I don’t have to thaw a giant block just to make one lunch. Sliced chicken is fine for bowls and wraps, but whole pieces usually stay a little juicier.
Reheating
The oven is the gentlest route for larger pieces. Put chicken in a covered baking dish with a spoonful of broth or water, then warm it at 300°F until heated through. A skillet works well too: add a splash of liquid, cover, and warm over low heat until the chicken is just hot.
The microwave can work if it has to, but keep the power around 50% and cover the chicken with a damp paper towel. Short bursts are better than one long blast. Stop early. The meat keeps warming for a minute after the cycle ends.
Make-ahead timing
Dry-brine raw chicken up to 24 hours ahead if you want better seasoning and a drier surface for browning. Cooked chicken can be made a day ahead and reheated gently, though the texture is best when it’s fresh. If you’re meal prepping, keep the sauce separate and add it right before serving.
Frequently Asked Questions About Juicy Chicken for Weeknight Dinners
What cut is the juiciest for weeknight dinners?
Boneless, skinless thighs are the easiest cut to keep juicy because they have more fat and more tolerance for extra heat. Breasts can be just as good when you pound them evenly, salt them ahead, and pull them at the right temperature. If you want the least amount of babysitting, thighs usually win.
Do I really need an instant-read thermometer?
Yes, if you want repeatable results. Chicken changes a lot between 160°F and 170°F, and the thermometer is the only tool that tells you which side of that line you’re on. One decent thermometer saves more dry dinners than any spice blend ever will.
Can I marinate chicken overnight?
You can, but the type of marinade matters. Oil-based or yogurt-based marinades are usually fine, while very acidic ones with lots of lemon or vinegar can start to change the texture in a way that feels soft or a little cured. For quick chicken, salt often does more useful work than a long marinade.
Can I cook chicken from frozen and still keep it juicy?
You can cook it safely from frozen in the oven or air fryer if needed, but the texture is usually better when it’s thawed first. Frozen chicken tends to cook unevenly, so the outside can dry out before the center catches up. If juiciness matters, thaw it in the fridge first.
Why does chicken sometimes look done but still feel tough?
That usually means it went a few degrees too far or rested too little. Overcooked chicken turns tighter and more fibrous, even when the center is fully cooked. Let it rest for 5 minutes and slice it against the grain so the texture feels softer on the plate.
Can I use the same method for breaded chicken?
Mostly, yes. Breaded chicken still benefits from even thickness, moderate heat, and careful timing, but the coating needs oil or spray so it browns instead of staying pale and dry. Keep sugary dips or glazes off the coating until the end so they do not burn.
What if I only have a slow cooker?
A slow cooker makes tender shredded chicken, which is useful for tacos, soup, or enchiladas. It does not give you the browned, juicy slices you get from skillet, oven, or air fryer cooking. Different tool, different job.
How do I reheat leftovers without turning them rubbery?
Use low heat and a little moisture. A covered skillet with a splash of broth or a 300°F oven does a better job than blasting the chicken in the microwave. If you do use the microwave, keep the power low and stop before the meat feels hot all the way through; the last bit of heat arrives after the timer stops.
The Better Habit
Juicy chicken for weeknight dinners is not about luck, and it is not about owning ten sauces or memorizing a fancy technique. It comes from a few choices that repeat well: the right cut, a little salt, enough heat to brown, and a thermometer you actually trust.
That sounds plain because it is plain. The nice part is that plain habits scale. Once you know how a breast behaves in a skillet and how a thigh behaves in the oven, the whole week gets easier. You stop hoping the chicken will behave and start cooking it the way it wants to be cooked.
The next time you open the fridge and pull out chicken, you do not need a rescue plan. You need one good method, a little patience, and the nerve to stop at the right minute.