
Frozen vegetables only get called boring when they’re cooked like they’re already tired.
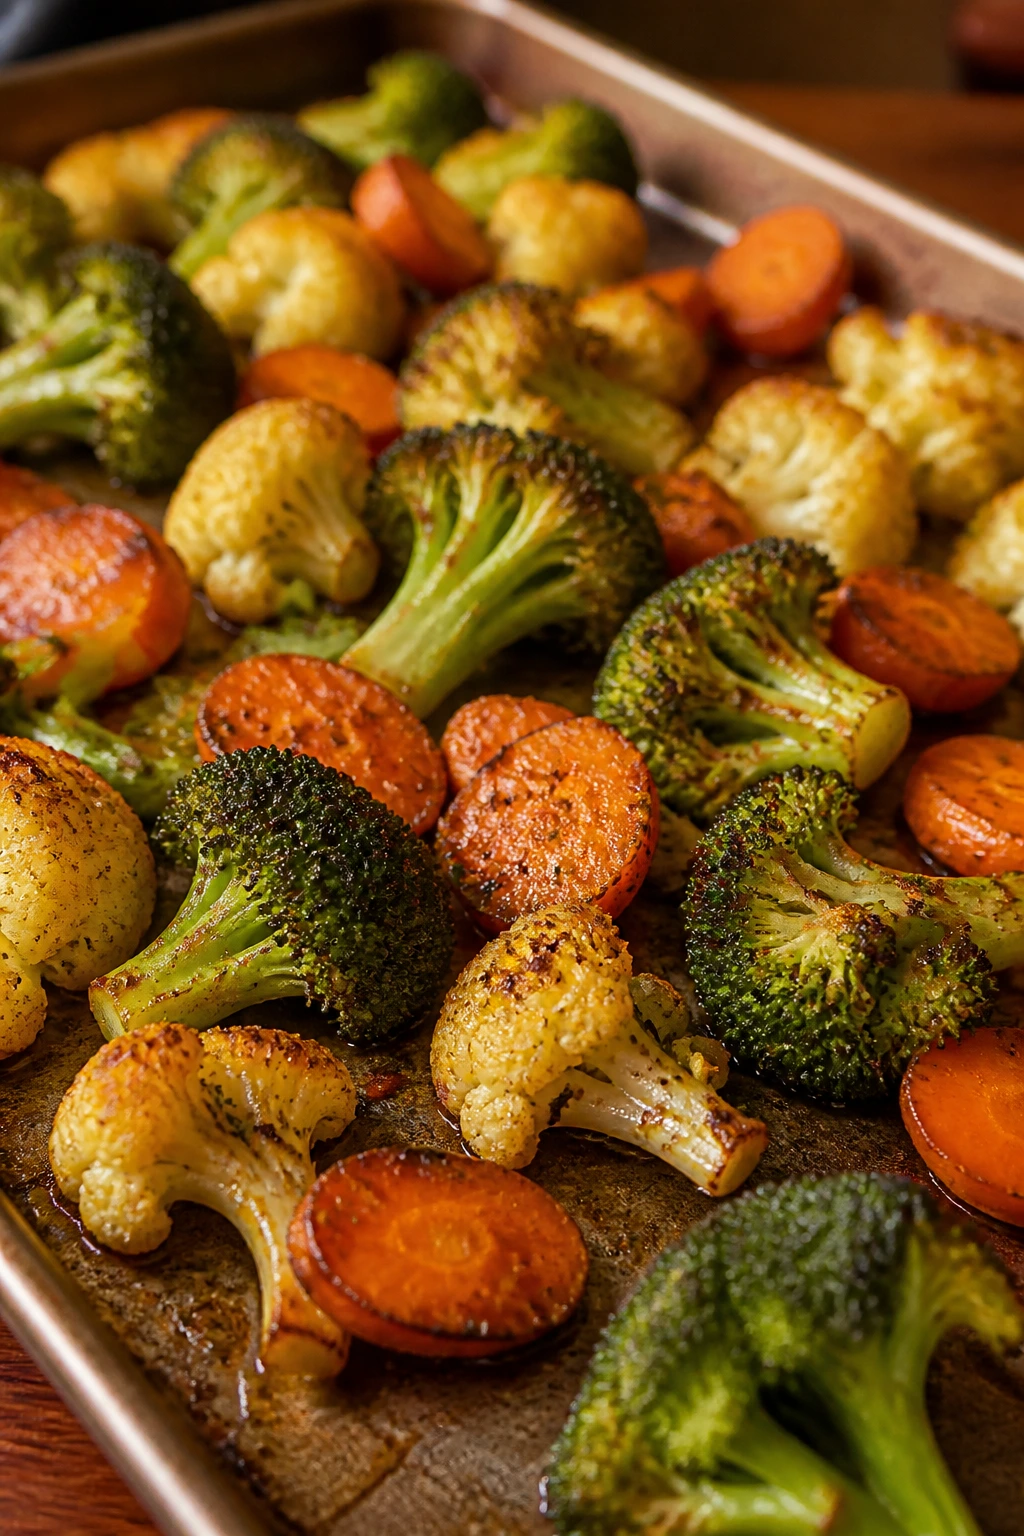
Give them a hot sheet pan, enough room to breathe, and a seasoning mix that knows when to step back, and you get something with browned edges, tender centers, and a little crackle where the florets kissed the metal. That’s the whole trick behind crispy frozen vegetables: not mercy, not magic — just heat management and restraint.
I reach for this method when dinner needs to be useful more than it needs to be fussy. A bowl of rice, some tofu, maybe a fried egg, and suddenly the vegetable side is acting like the main event instead of the thing everyone leaves behind. The freezer aisle earns its keep in moments like that.
Why This Method Earns Its Keep
- No Thawing, No Drama: The vegetables go straight from freezer bag to bowl, which means you skip the soggy middle stage that ruins most frozen-veg recipes.
- Browning You Can Actually See: A hot pan and a thin coating of oil push the surface moisture off fast enough to leave dark, crisp edges instead of pale steam.
- A Short Ingredient List: You’re mostly paying attention to heat, not shopping for a sauce that needs half the pantry.
- Easy Cleanup: One bowl, one sheet pan, and a spatula are usually enough; if you use parchment, cleanup becomes a quick wipe.
- Flexible Enough for Dinner: The same pan can sit next to quinoa, chickpeas, tofu, eggs, or a simple grain bowl without feeling repetitive.
A Hot Pan and a Short Roast
Yield: Serves 4 as a side, or 2 to 3 as a light dinner
Prep Time: 10 minutes
Cook Time: 22 to 25 minutes
Total Time: 32 to 35 minutes
Difficulty: Beginner — the process is straightforward, and the oven does most of the work.
Best Served: Right away, while the edges are crisp and the lemon is still bright
Why Frozen Vegetables Need Heat, Not Patience
Frozen vegetables get a bad reputation because people keep asking them to behave like fresh produce. They aren’t the same thing. Most are blanched before freezing, which helps hold color and slows down the enzyme action that makes produce fade or get limp in storage. That’s useful, but it also means you’re starting with vegetables that carry a little extra surface moisture and a head full of ice crystals.
That moisture is the enemy of crisp edges. Not the freezer itself — the water.
Why the freezer helps, not hurts
The freezer isn’t what makes vegetables soft. The trouble starts when they’re thawed slowly, crowded into a pan, or roasted at a timid temperature. In those conditions, the vegetables release water faster than the oven can burn it off, so they steam themselves into surrender. A hot sheet pan changes the whole story. It gives the cold vegetables immediate contact with heat, and that first blast is what starts the browning process before the moisture can pool.
I like this method because it respects the vegetable instead of trying to disguise it. You still taste broccoli like broccoli, cauliflower like cauliflower, green beans like green beans — just with a little roasted edge and a much better texture. That’s a fair trade.
Why the oven has to run hot
Low heat is the silent killer here. At 375°F, frozen vegetables spend too long sweating before they brown. At 450°F, the outside dries fast enough to crisp while the inside stays tender. If your oven runs cool, give it a full preheat, not a lazy five-minute warmup, and use the upper-third rack so the top edges can pick up color.
This is also why I favor a sheet pan over a saucy skillet for this recipe. A skillet can work for smaller batches, but the sheet pan gives each piece a little daylight. That space is what makes the browning look deliberate instead of accidental.
The Ingredient List That Brings the Crunch

Keep the list lean. The vegetables do the heavy lifting, and the rest is there to sharpen the edges.
For the Vegetables
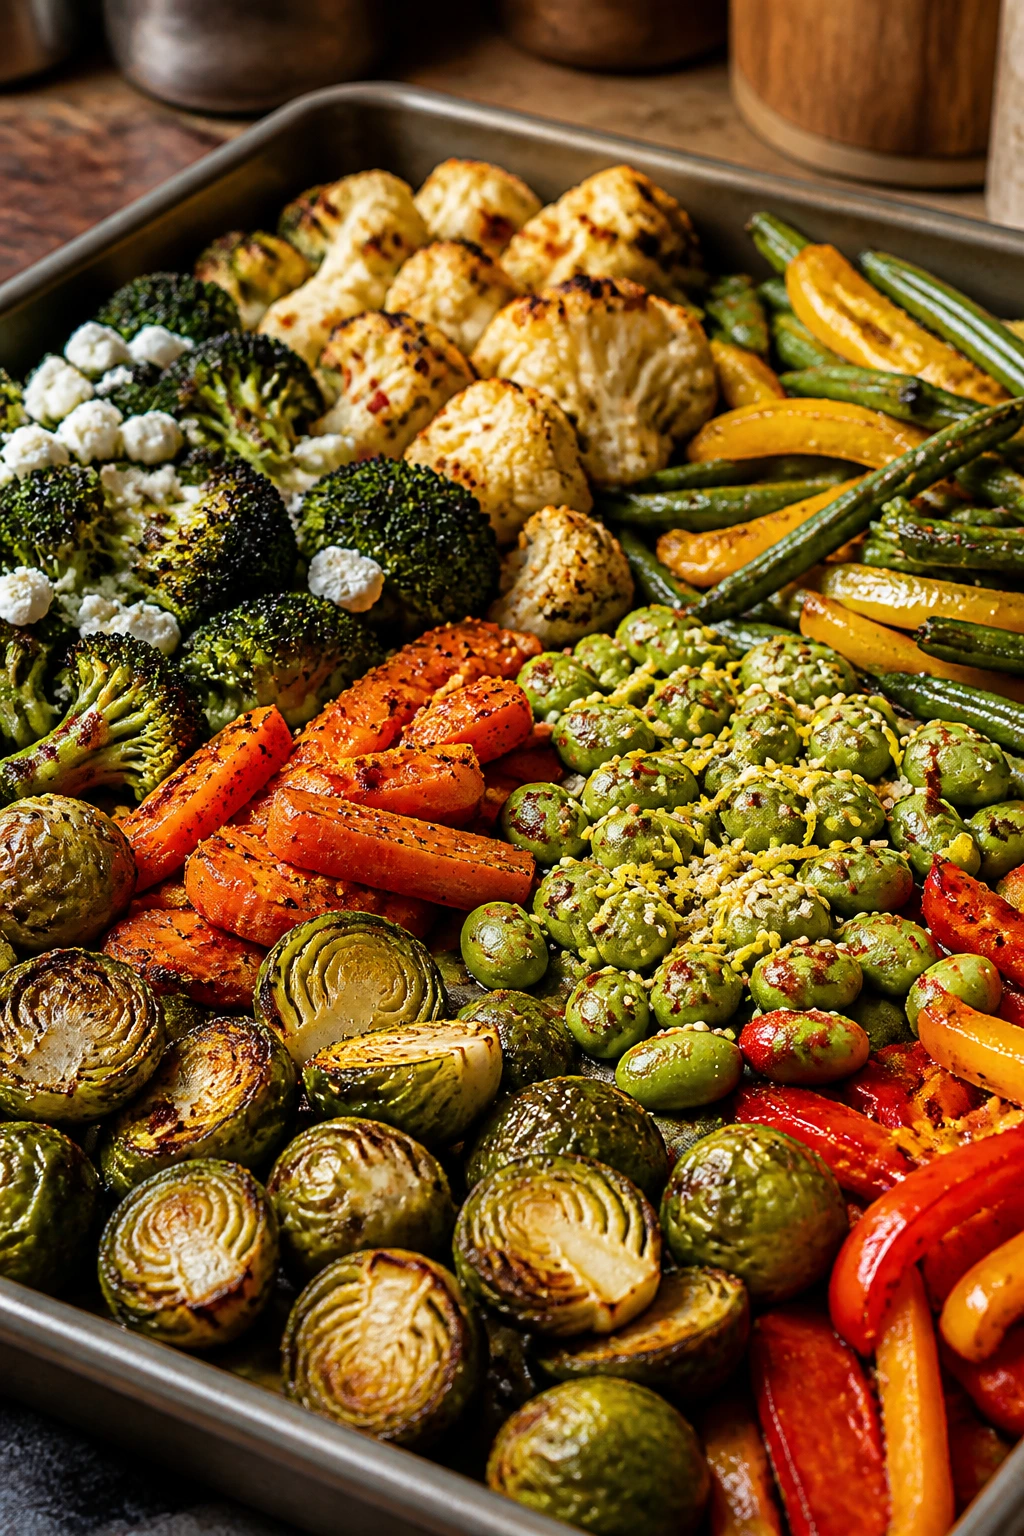
- 2 pounds frozen sturdy vegetables, such as broccoli florets, cauliflower florets, halved Brussels sprouts, or green beans; keep them frozen until the moment they hit the bowl
- 2 tablespoons olive oil, divided
- 1 tablespoon cornstarch
- 1 teaspoon kosher salt
- 1/2 teaspoon black pepper
- 1 teaspoon garlic powder
- 1 teaspoon onion powder
- 1 teaspoon smoked paprika
- 1/4 teaspoon red pepper flakes, optional
For the Finish
- 2 tablespoons grated Parmesan or nutritional yeast, optional
- 1 tablespoon lemon juice
- 1 tablespoon chopped fresh parsley
What Each Ingredient Does on the Pan
Frozen Vegetables
What to use: 2 pounds of sturdy frozen vegetables — broccoli, cauliflower, Brussels sprouts, and green beans are the best place to start.
Preparation: Keep the vegetables frozen until the last second, then break up any clumps with your hands so the seasoning can coat them more evenly.
Substitutions: Frozen asparagus pieces can work, and a broccoli-cauliflower blend is my favorite all-around option when I want varied texture.
Tips: Avoid pea-heavy mixes, corn, and spinach for this method; they don’t brown the same way and tend to go soft before they pick up color.
Olive Oil and Cornstarch
What to use: 2 tablespoons olive oil and 1 tablespoon cornstarch.
Preparation: Toss the vegetables with the oil first, then add the cornstarch and seasonings so the starch can cling to the lightly coated surface.
Substitutions: Avocado oil stands up well to the high oven heat, and arrowroot powder can replace cornstarch if that’s what you keep in the pantry.
Tips: More starch does not mean more crunch. Too much and the vegetables end up with a dusty coating instead of a light, crisp edge.
Garlic, Onion, and Smoked Paprika
What to use: 1 teaspoon garlic powder, 1 teaspoon onion powder, 1 teaspoon smoked paprika, 1 teaspoon kosher salt, 1/2 teaspoon black pepper, and 1/4 teaspoon red pepper flakes if you want a little heat.
Preparation: Mix the dry seasonings together before they touch the vegetables so they distribute evenly and don’t clump in one corner of the bowl.
Substitutions: Italian seasoning works if you want a more herb-forward profile, and za’atar gives the vegetables a more lemony, savory finish.
Tips: Garlic powder beats fresh garlic here. Fresh garlic can burn at 450°F before the vegetables are fully browned, and burned garlic tastes sharp in the wrong way.
Parmesan, Lemon, and Parsley
What to use: 2 tablespoons grated Parmesan or nutritional yeast, plus 1 tablespoon lemon juice and 1 tablespoon chopped parsley.
Preparation: Add the cheese or nutritional yeast at the end, then finish with lemon juice and parsley once the pan comes out of the oven.
Substitutions: Fresh dill, chives, or cilantro can replace parsley depending on what you’re serving with it, and lime juice works if that’s what you have.
Tips: Acid should come in after roasting. If you add lemon too early, the vegetables taste flatter and the pan loses some of the roasted depth you worked to build.
The Tools That Make Browning Easier
- Heavy rimmed baking sheet: A sturdy half-sheet pan browns more evenly than a thin, flimsy one that warps in high heat.
- Large mixing bowl: You need enough room to toss the vegetables without knocking half of them onto the counter.
- Metal spatula or thin turner: A wide spatula lifts browned pieces cleanly without smashing the soft centers.
- Oven mitts: The pan gets hot fast, and hot metal is unforgiving.
- Parchment paper, optional: It makes cleanup easier, though a bare oiled pan gives a little more browning on the underside.
- Second sheet pan, optional but useful: If your vegetables are generous or the pan looks crowded, divide the batch instead of forcing it all onto one tray.
From Frozen Bag to Crisp Edges
Preheat and prep
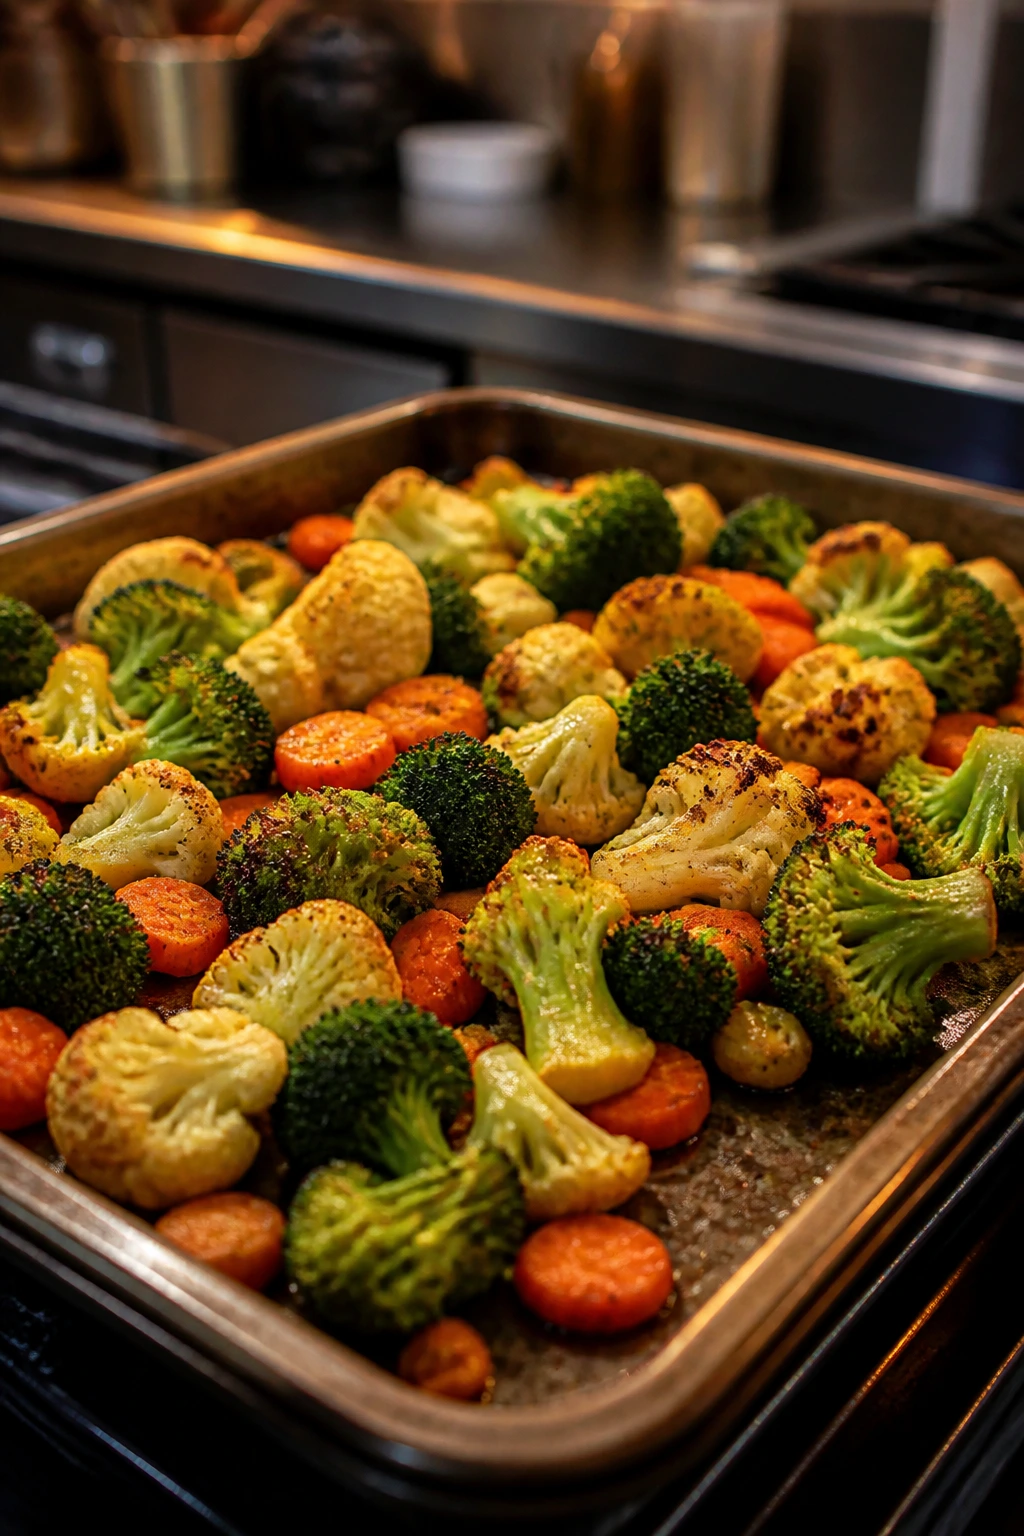
- Heat the oven and the pan: Position a rack in the upper third of the oven and preheat to 450°F (232°C). Place a heavy rimmed baking sheet in the oven while it heats so the metal is hot by the time the vegetables are ready.
- Mix the dry seasonings: In a small bowl, stir together the cornstarch, salt, black pepper, garlic powder, onion powder, smoked paprika, and red pepper flakes. You want a dry, even blend with no clumps.
Season and spread 3. Toss the vegetables with oil: Put the frozen vegetables in a large bowl and drizzle with 1 tablespoon of the olive oil. Toss fast, just until the pieces look lightly coated and a little glossy. 4. Add the seasoning mix: Sprinkle the dry seasoning over the vegetables and toss again until the coating looks even. Do not thaw the vegetables first. A little unevenness is fine; the oven will sort that out. 5. Prepare the hot pan: Carefully remove the sheet pan from the oven and drizzle on the remaining 1 tablespoon olive oil. Swirl it around or brush it across the surface so the vegetables don’t land on a dry pan.
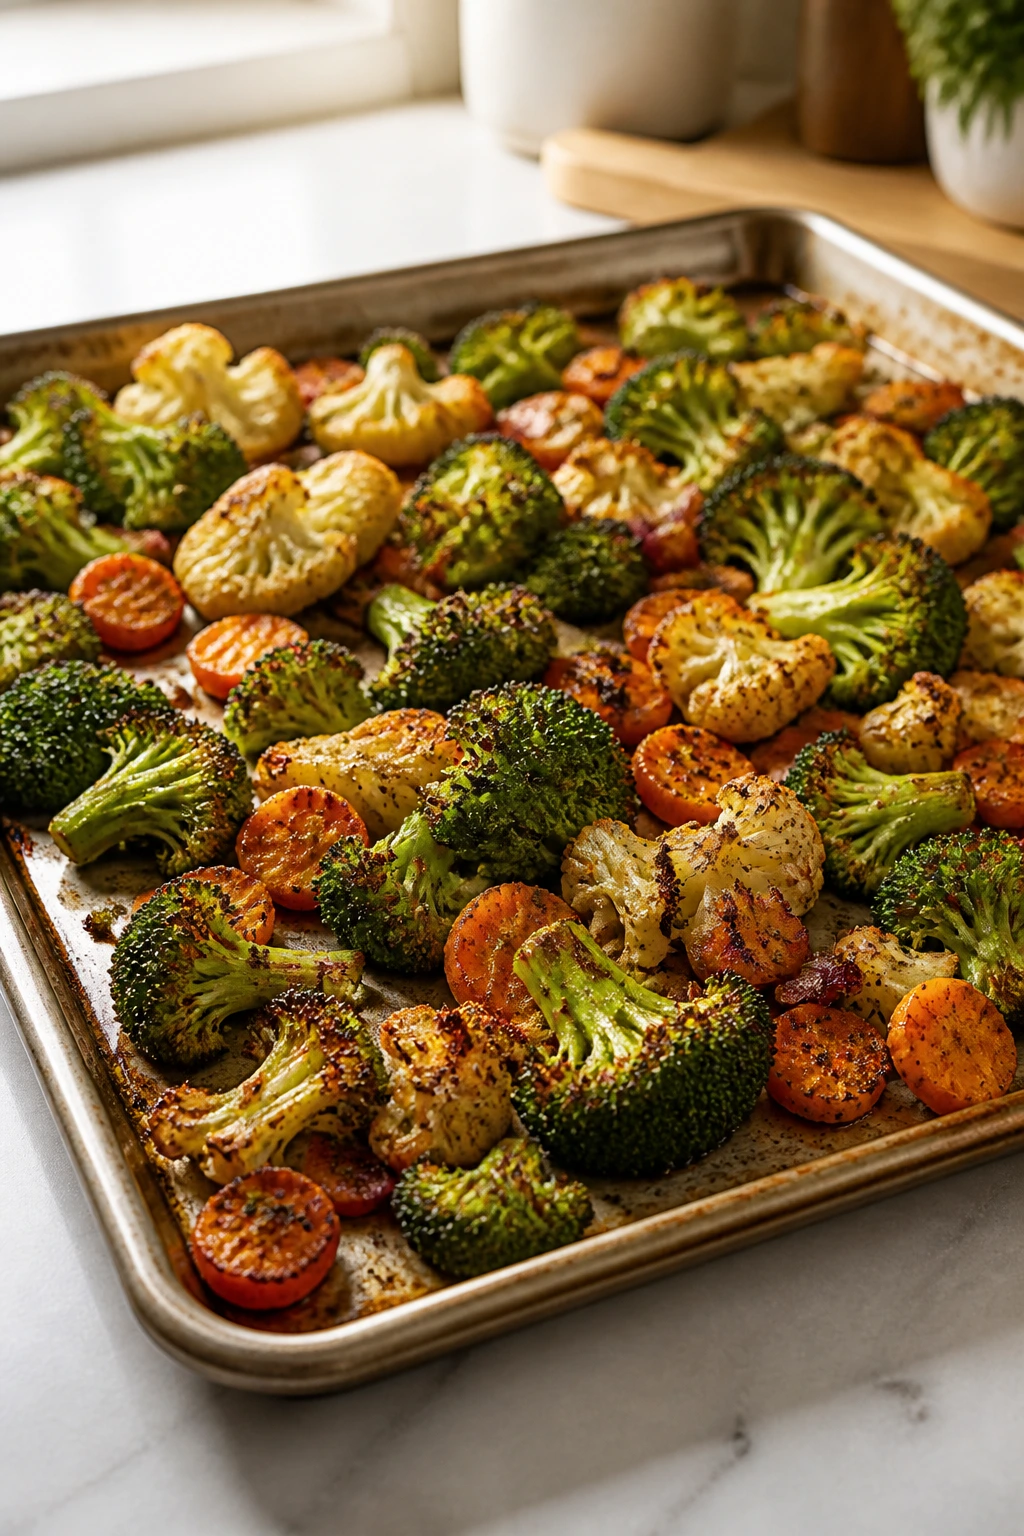
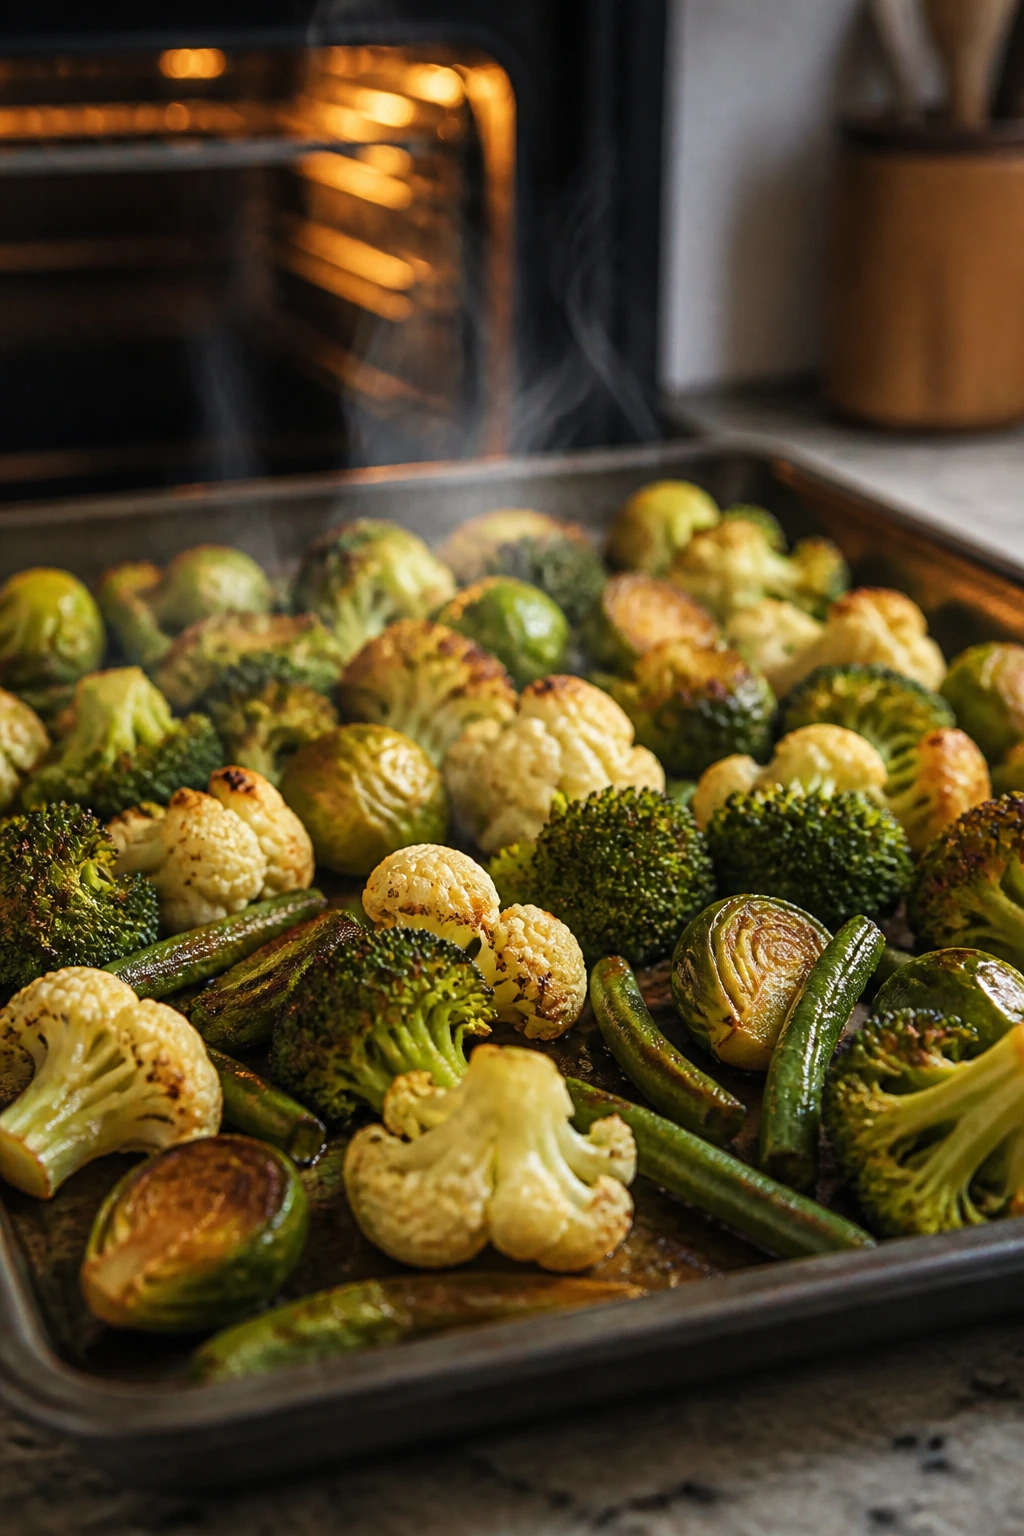
Roast and finish 6. Spread in a single layer: Tip the vegetables onto the hot pan and arrange them so most pieces sit flat with some space between them. If the pan looks crowded, split the vegetables between two pans. Crowding turns crisping into steaming. 7. Roast without touching: Bake for 12 minutes, then use a spatula to turn the vegetables and scrape up any browned bits that cling to the pan. Return them to the oven for 10 to 12 minutes more, until the edges are browned and the centers are tender. 8. Add the finish: Sprinkle the Parmesan or nutritional yeast over the hot vegetables and return the pan to the oven for 1 to 2 minutes if you want it to melt or settle in. Remove from the oven, drizzle with lemon juice, scatter the parsley on top, and taste for salt before serving. The vegetables should look browned at the corners, not pale and shiny.
How to Turn the Pan Into Dinner
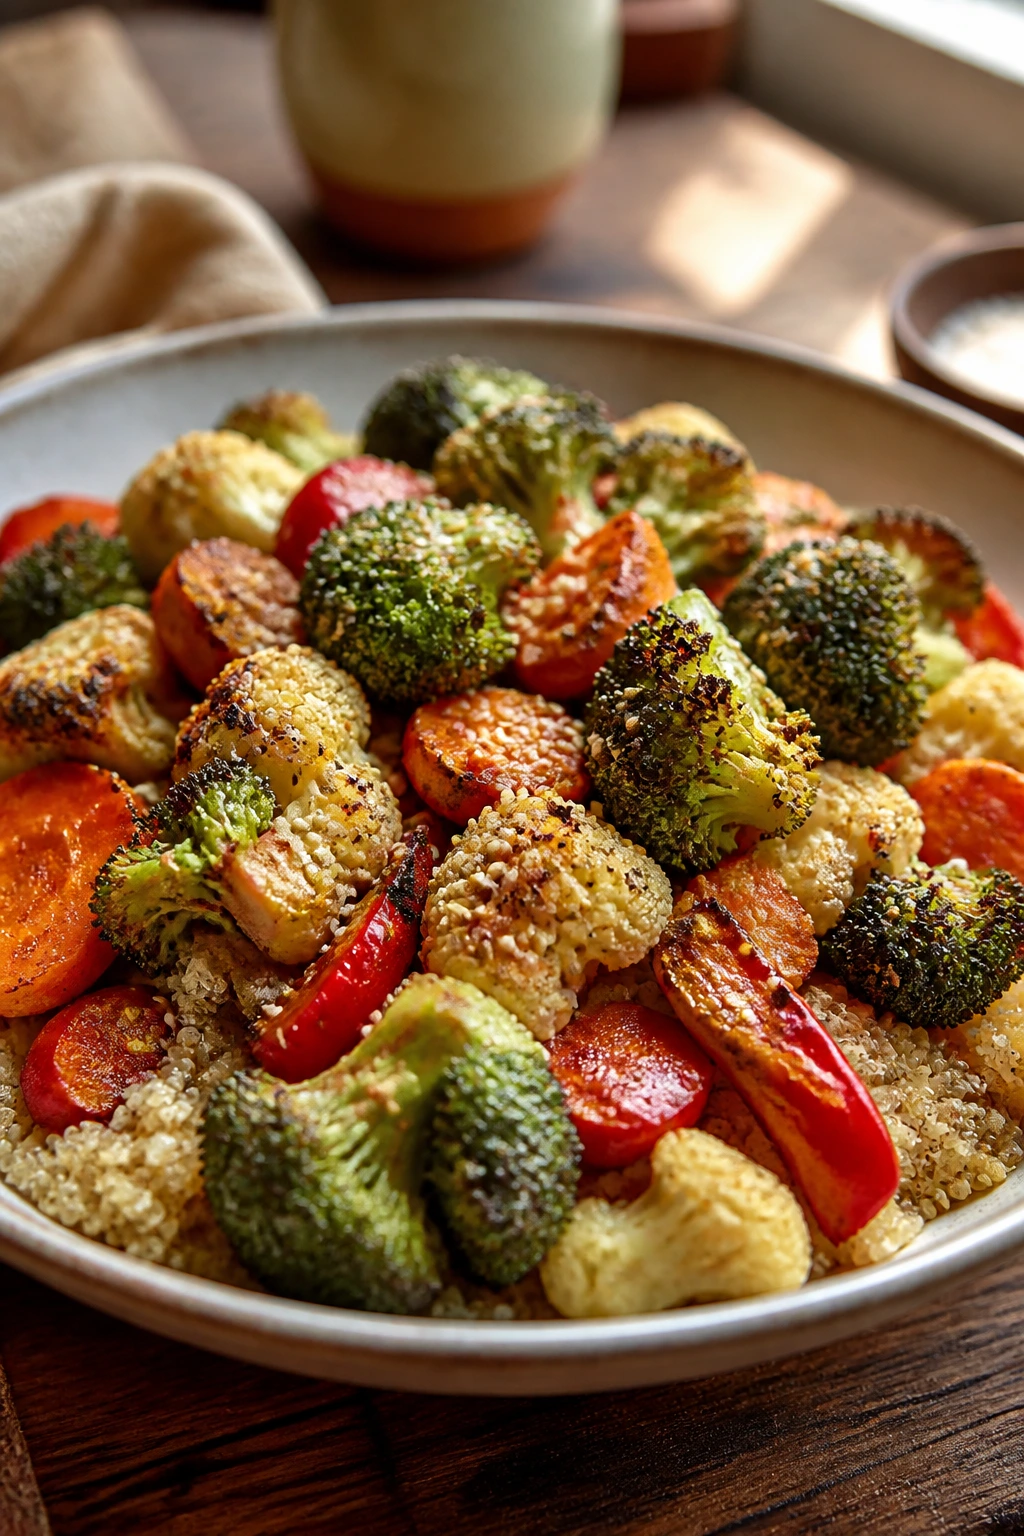
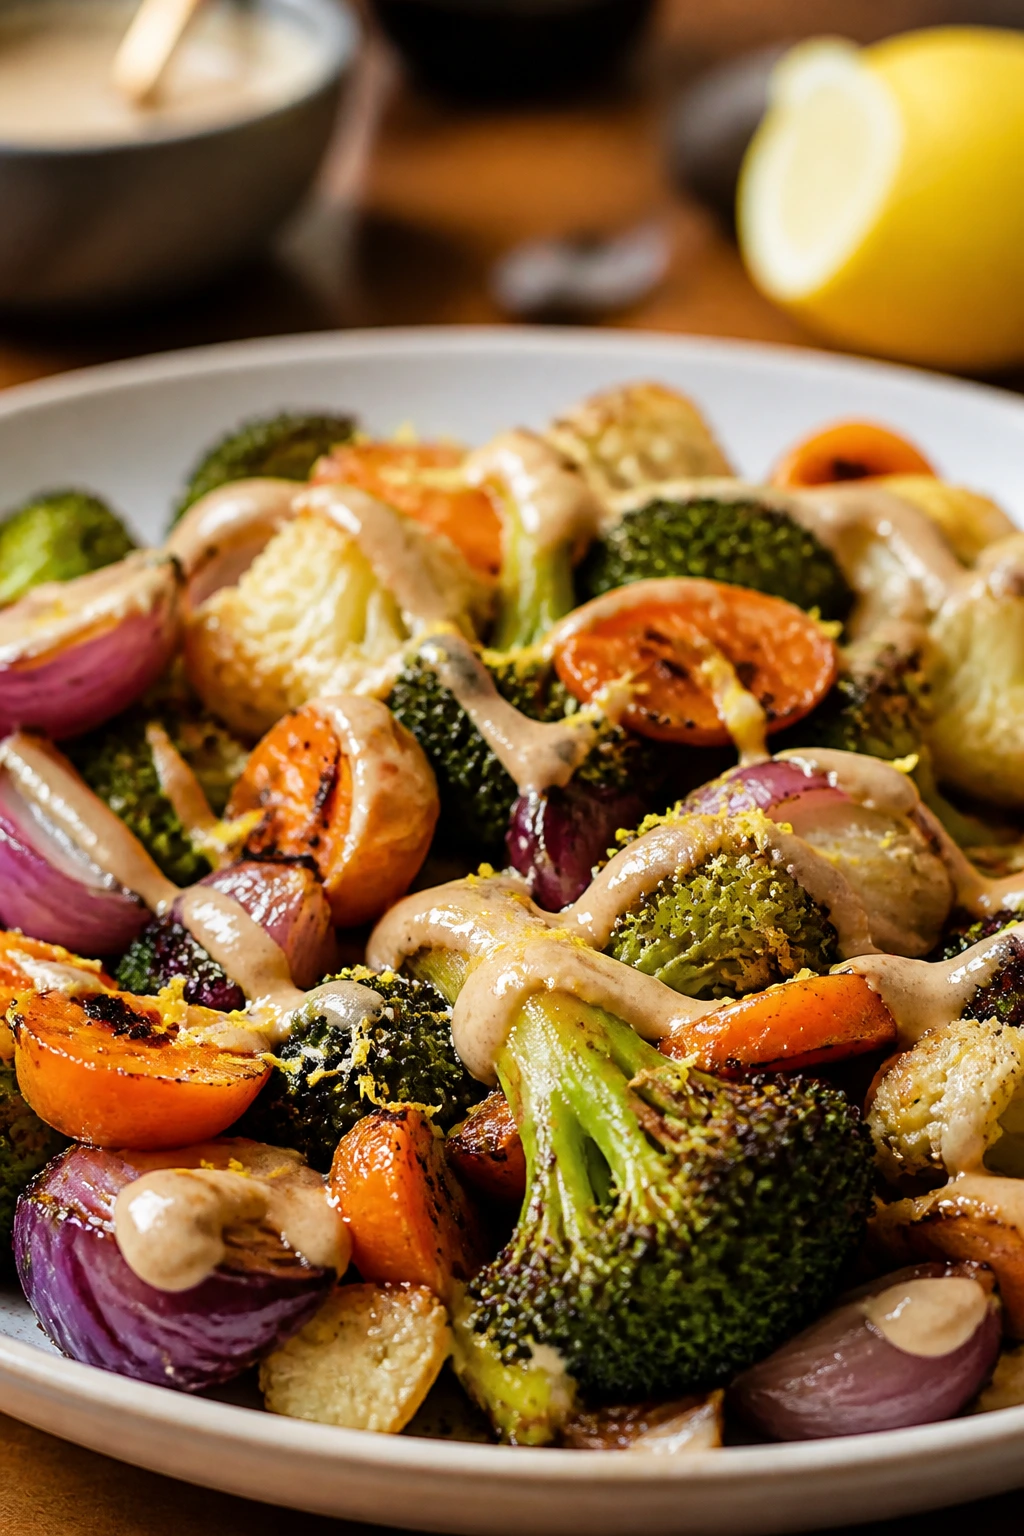
Presentation: Spoon the vegetables into a wide shallow bowl or onto a platter instead of piling them high in a deep dish. That keeps the browned bits visible, and those browned bits are half the point.
Accompaniments: For a fuller dinner, serve the vegetables over quinoa, brown rice, farro, or couscous, then add chickpeas, a fried egg, tofu, or a spoonful of Greek yogurt mixed with lemon. Warm pita or crusty bread works well if you want something to mop up the lemony oil.
Portions: Plan on about 1/2 pound of frozen vegetables per person if the pan is carrying dinner with grains or protein. As a side dish, 1/3 to 1/2 pound per person is usually enough, depending on whether the rest of the plate is rich or light.
Beverage Pairing: Sparkling water with lemon keeps the meal clean and bright. If you want wine, a dry Sauvignon Blanc or Pinot Grigio handles the garlic and lemon without getting heavy.
Small Tweaks That Change the Flavor
Flavor Enhancement: A teaspoon of lemon zest stirred in after roasting makes the whole pan taste sharper without adding liquid. If you like a nutty finish, a teaspoon of tahini thinned with a little water can be drizzled over the top right before serving.
Time-Saver: Mix the dry seasoning blend in a jar and keep it in the pantry. Then the whole recipe becomes a shake, toss, and roast job, which is exactly what you want on a night when dinner is already running behind.
Pro Move: If your oven has a convection setting, use it and shave off about 2 to 3 minutes from the second roast. The moving air helps dry the surface faster, which means more browning and less waiting.
Make-It-Yours: Add a can of drained chickpeas to the pan during the last 8 minutes for a more complete vegetarian dinner, or top the finished vegetables with a soft-boiled egg if you want something richer. A few toasted sesame seeds or chopped dill also change the mood fast.
The Mistakes That Keep Vegetables Soft
- Thawing the vegetables first: The pan ends up with a puddle of water, and the vegetables go limp before they have a chance to brown. Roast them straight from frozen.
- Crowding the sheet pan: If the vegetables sit in a thick pile, steam gets trapped between them and the bottoms stay pale. Use a second pan if you need one.
- Roasting at a low temperature: A timid oven gives you tender vegetables, but not crisp edges. Stick with 450°F, or the vegetables spend too long releasing moisture instead of browning.
- Using too much oil: A heavy hand leaves the vegetables greasy, which reads as slick rather than crisp. Two tablespoons for two pounds is enough.
- Picking the wrong frozen mix: Tiny peas, corn, spinach, and zucchini pieces don’t behave like broccoli florets or green beans. They can still taste good, but they won’t give you the same browned, crisp finish.
- Adding lemon too early: Acid before roasting dulls the browning and can make the pan taste flat. Finish with lemon after the vegetables come out of the oven.
Flavor Swaps and Alternate Versions
Mediterranean Lemon-Oregano Pan
Swap the smoked paprika for 1 teaspoon dried oregano and add 1/2 teaspoon dried thyme. Finish with lemon zest and crumbled feta instead of Parmesan, and serve it with couscous or a tomato-cucumber salad.
Sesame-Ginger Small Batch
Use avocado oil, replace the paprika with 1 teaspoon ground ginger, and add 1 teaspoon toasted sesame seeds at the end. A light drizzle of soy sauce mixed with a splash of rice vinegar gives the vegetables a savory edge without turning them soggy.
Smoky Chili-Lime Roast
Keep the garlic powder, but replace the paprika with 1 teaspoon chili powder and 1/2 teaspoon cumin. Finish with lime juice and chopped cilantro for a sharper, slightly warmer flavor profile.
Parmesan Pepper Finish
Increase the black pepper to 3/4 teaspoon and use Parmesan instead of nutritional yeast. This version works best with broccoli and cauliflower because those vegetables hold the salty finish in their little ridges.
Air-Fryer Small Batch
For a smaller portion, cook the seasoned vegetables in an air fryer at 390°F for 10 to 14 minutes, shaking the basket once halfway through. It’s quicker, but the batch size is limited, so I only use it when I’m cooking for one or two.
Keeping Leftovers Worth Eating
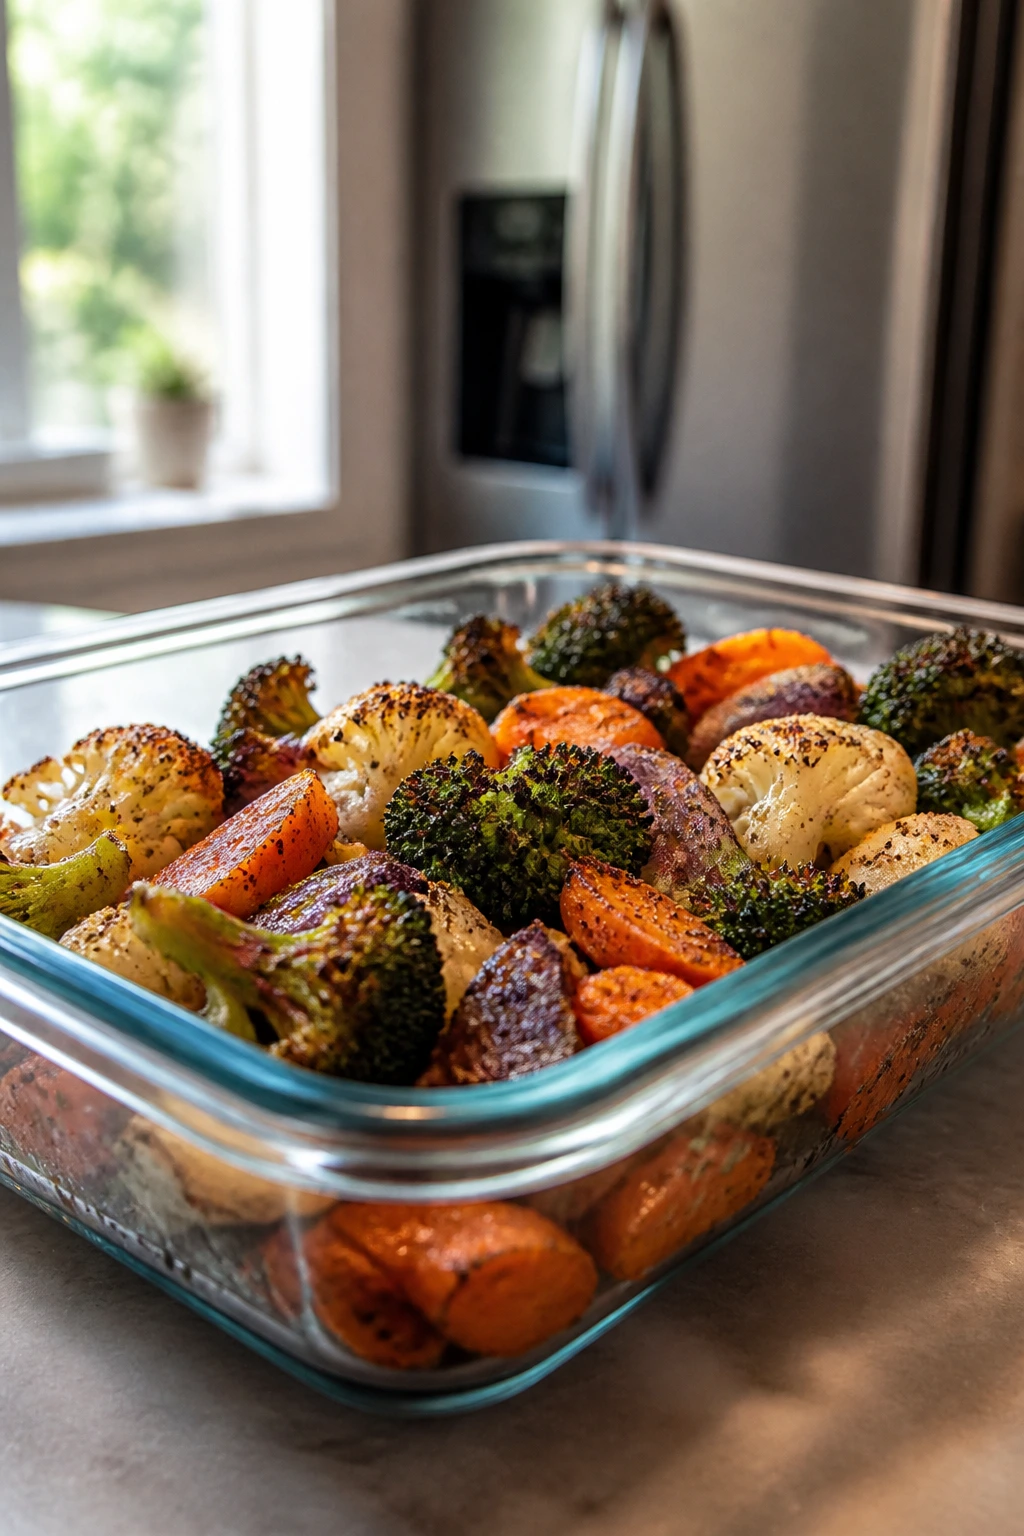
Refrigerator life
Let the vegetables cool for about 15 minutes, then pack them into an airtight container and refrigerate for up to 3 to 4 days. They will soften a little in the fridge, which is normal. If you know you’ll have leftovers, undercook the first batch by a minute or two so the reheated vegetables don’t collapse.
Freezer life
Freezing the cooked vegetables is possible, but the texture takes a hit. If you want to freeze them anyway, spread them on a tray first, freeze until firm, then transfer to a freezer bag for up to 1 month. Expect a softer result after reheating; they’re better for grain bowls, omelets, or soups than for a crisp side dish.
Reheating
The best reheat is the oven. Spread the leftovers on a sheet pan and bake at 425°F for 6 to 8 minutes, just until they’re hot and the edges wake back up. A skillet over medium-high heat also works in 3 to 5 minutes if you don’t mind standing there and stirring once or twice. The microwave is the last resort; if you use it, heat in short bursts and finish in a hot skillet for a minute so the vegetables don’t end up soggy.
Make-ahead
You can mix the dry seasoning blend up to 2 weeks ahead and keep it in a jar. The vegetables themselves should stay frozen until the day you cook them. If you’re making a dinner bowl, cook the grain and mix the sauce ahead, then roast the vegetables at the last minute so the texture stays alive.
Questions People Ask Before They Start
Can I roast frozen vegetables without thawing them?
Yes, and that’s the whole point of this method. Thawing releases too much water, which makes the vegetables slump before the oven can browning the edges.
Why do my frozen vegetables still come out soft?
Usually it comes down to one of three things: the oven wasn’t hot enough, the pan was crowded, or the vegetables were holding too much ice from the bag. A hot preheated pan and a single layer make the biggest difference.
Which frozen vegetables get the crispiest?
Broccoli, cauliflower, Brussels sprouts, and green beans give the best results because their shapes hold oil and dry heat well. Smaller vegetables like peas and corn are fine, but they behave more like add-ins than crisp roast vegetables.
Do I really need cornstarch?
No, but it helps. A tablespoon of cornstarch on two pounds of vegetables gives the surface a thin dry coating that browns faster and looks less slick in the oven.
Can I make this in an air fryer?
Yes, though you’ll need to cook in smaller batches so the basket isn’t packed. The air fryer is fast, but it’s less forgiving if you try to crowd in a big pile of frozen vegetables.
Can I use fresh vegetables with the same method?
You can, but fresh vegetables need a slightly different hand. They usually need less time and a little less oil, and you don’t need to fight the same level of surface ice, so the timing will be shorter.
How do I turn this into a full vegetarian dinner?
Add chickpeas, tofu, a fried egg, or a grain like quinoa or farro. The vegetables already bring salt, smoke, and acid; the extra protein and starch turn that into a plate that stands on its own.
A Better Way to Use the Freezer Aisle
A bag of frozen vegetables is only a compromise if you cook it like one. Give it heat, space, and a proper finish, and it turns into the kind of dinner-side that actually makes the rest of the plate easier to love.
That’s why I keep coming back to this method. It doesn’t ask for much, but it pays off in browned edges, a clean lemon finish, and enough texture that you stop thinking about what the vegetables used to be. Keep a bag or two in the freezer, and you’ve got a better answer when dinner needs to happen without a scene.
Crispy Frozen Vegetables with Garlic, Paprika, and Lemon — Recipe Card

Recipe Name: Crispy Frozen Vegetables with Garlic, Paprika, and Lemon
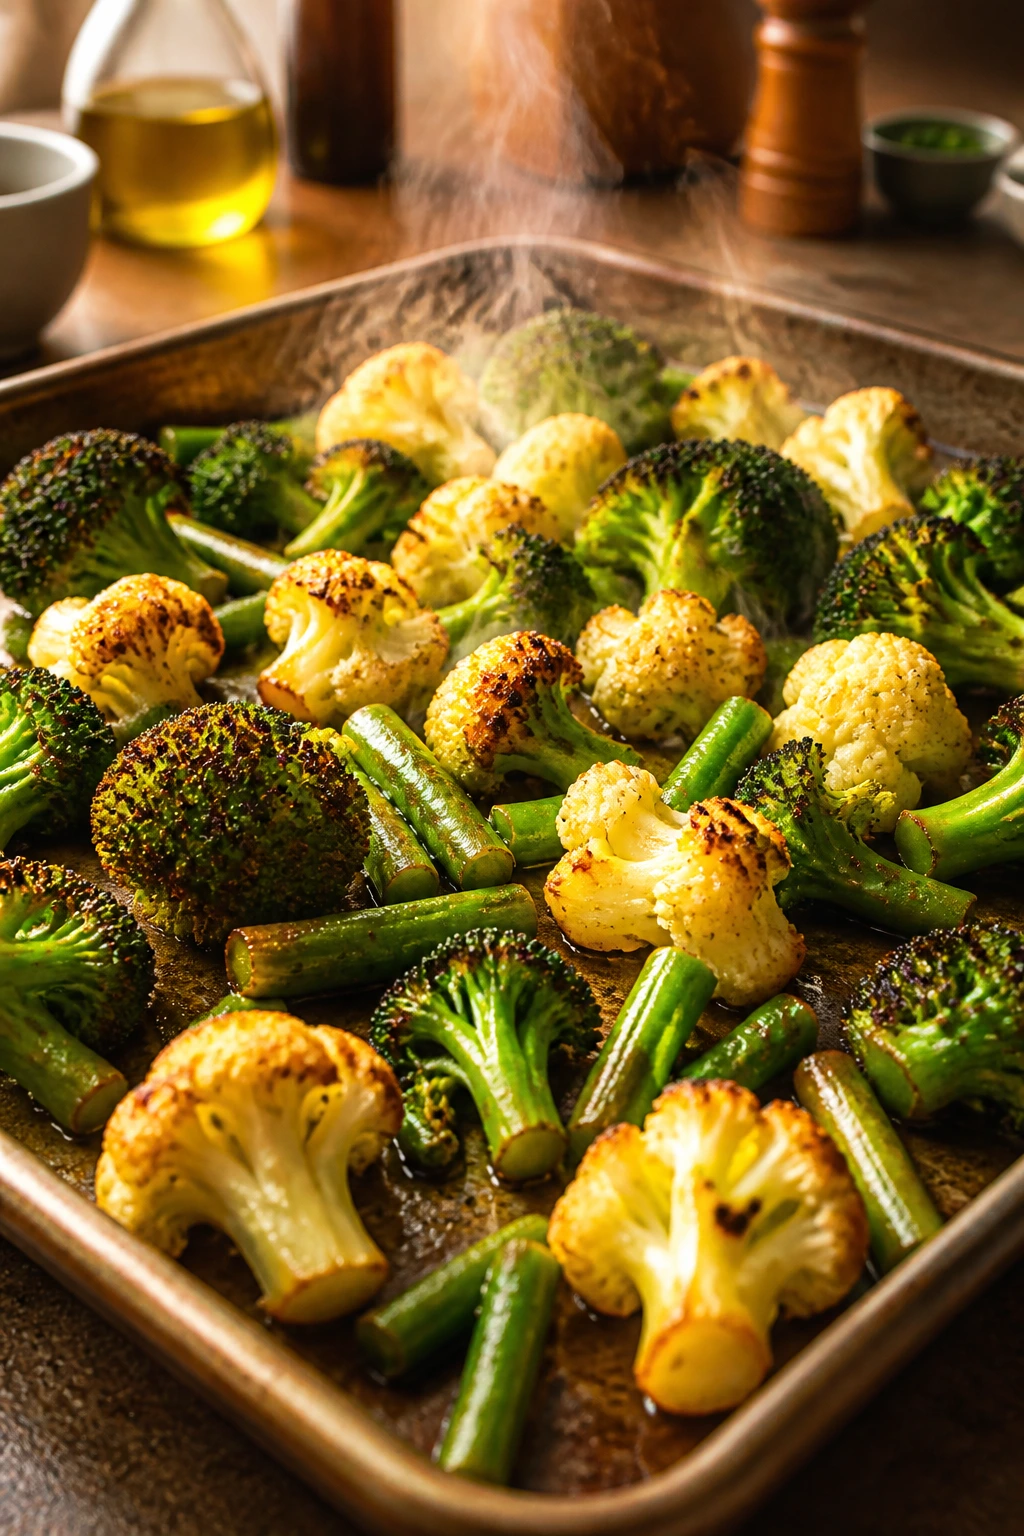
Description: Frozen broccoli, cauliflower, Brussels sprouts, or green beans roast on a hot sheet pan until the edges brown and the centers stay tender. A light coating of oil and cornstarch helps the vegetables crisp, and lemon keeps the finish bright.
Prep Time: 10 minutes
Cook Time: 22 to 25 minutes
Total Time: 32 to 35 minutes
Course: Dinner / Side Dish
Cuisine: American
Servings: 4 servings
Calories: about 120 kcal per serving
Ingredients
For the Vegetables
- 2 pounds frozen sturdy vegetables, such as broccoli florets, cauliflower florets, halved Brussels sprouts, or green beans; keep them frozen until cooking
- 2 tablespoons olive oil, divided
- 1 tablespoon cornstarch
- 1 teaspoon kosher salt
- 1/2 teaspoon black pepper
- 1 teaspoon garlic powder
- 1 teaspoon onion powder
- 1 teaspoon smoked paprika
- 1/4 teaspoon red pepper flakes, optional
For the Finish
- 2 tablespoons grated Parmesan or nutritional yeast, optional
- 1 tablespoon lemon juice
- 1 tablespoon chopped fresh parsley
Instructions
-
Preheat the oven to 450°F (232°C) and place a heavy rimmed baking sheet in the oven while it heats.
-
In a small bowl, mix the cornstarch, salt, black pepper, garlic powder, onion powder, smoked paprika, and red pepper flakes.
-
In a large bowl, toss the frozen vegetables with 1 tablespoon of the olive oil. Add the seasoning mixture and toss again until lightly coated.
-
Carefully remove the hot baking sheet, drizzle on the remaining 1 tablespoon olive oil, and spread the vegetables in a single layer.
-
Roast for 12 minutes, then flip the vegetables with a spatula and roast for 10 to 12 minutes more, until browned at the edges and tender in the center.
-
Sprinkle with Parmesan or nutritional yeast, if using, and return to the oven for 1 to 2 minutes.
-
Remove from the oven, drizzle with lemon juice, sprinkle with parsley, and serve immediately.
Notes: Use two sheet pans if the vegetables crowd the pan. Best results come from broccoli, cauliflower, Brussels sprouts, and green beans. Add lemon only at the end so the vegetables keep their roasted flavor.