
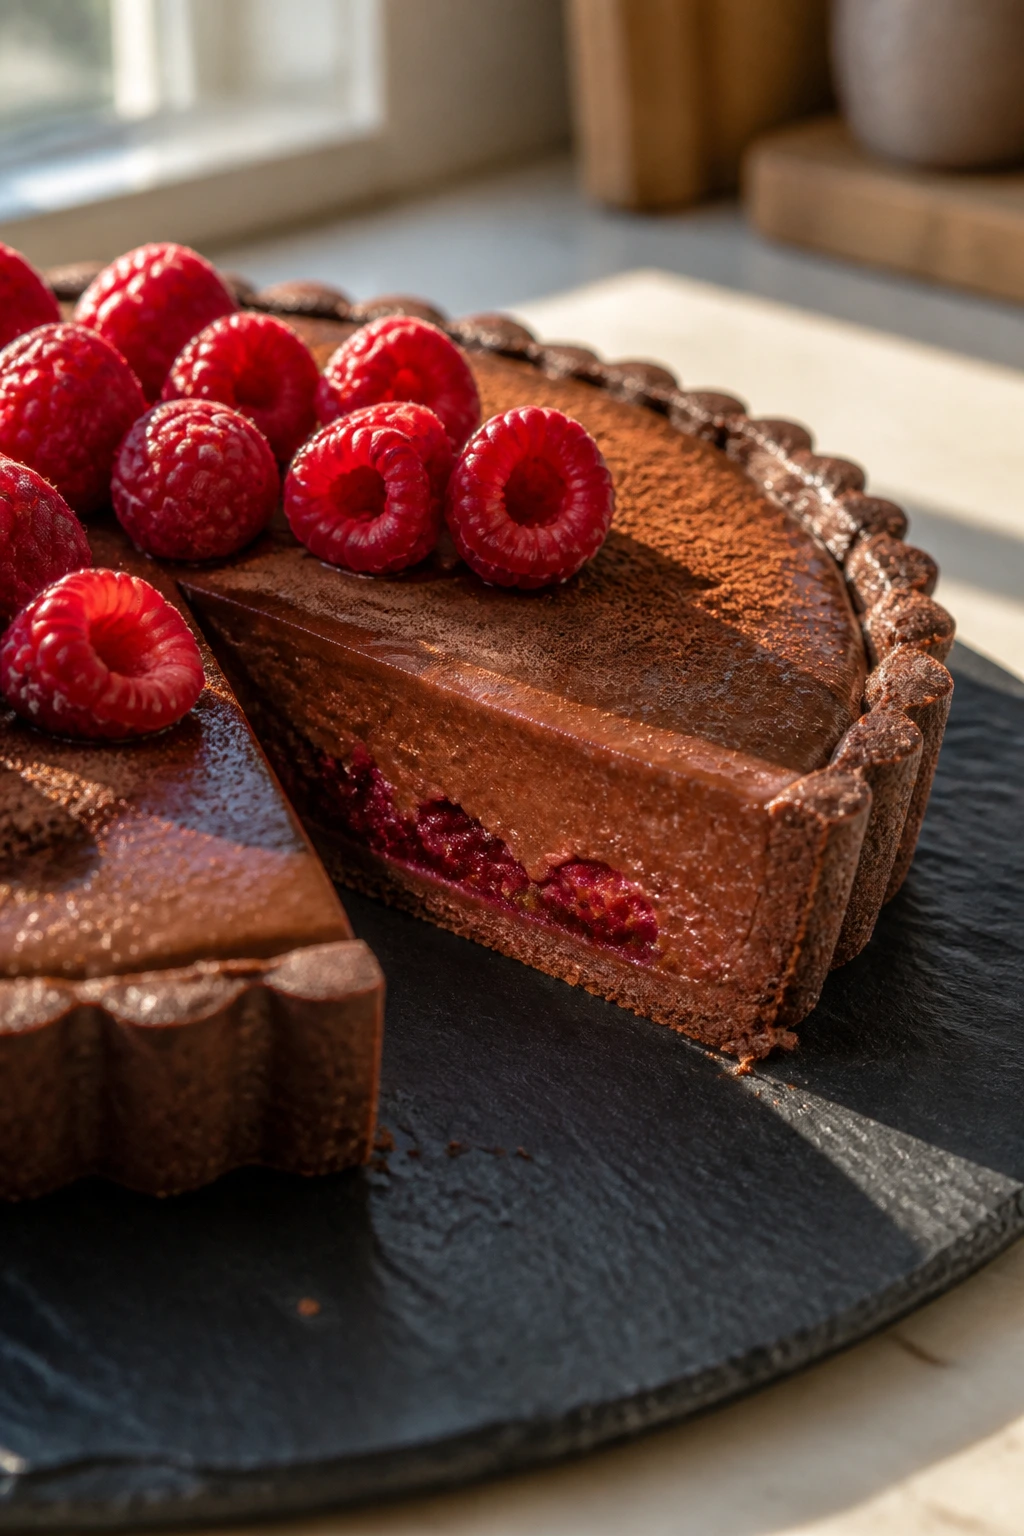
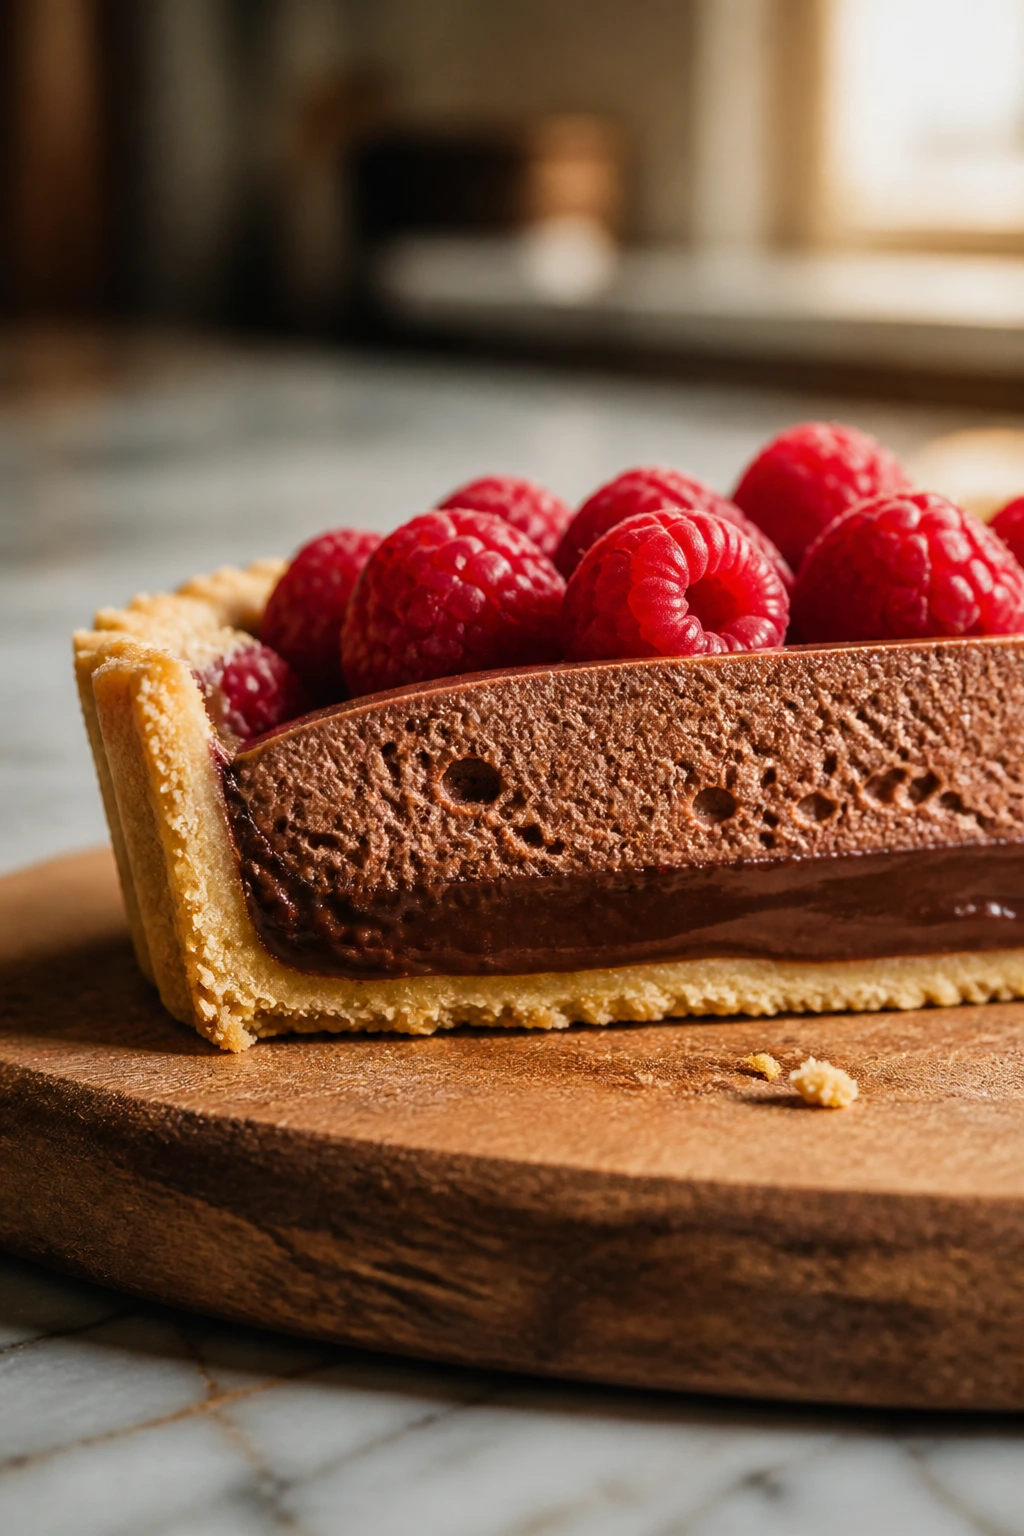
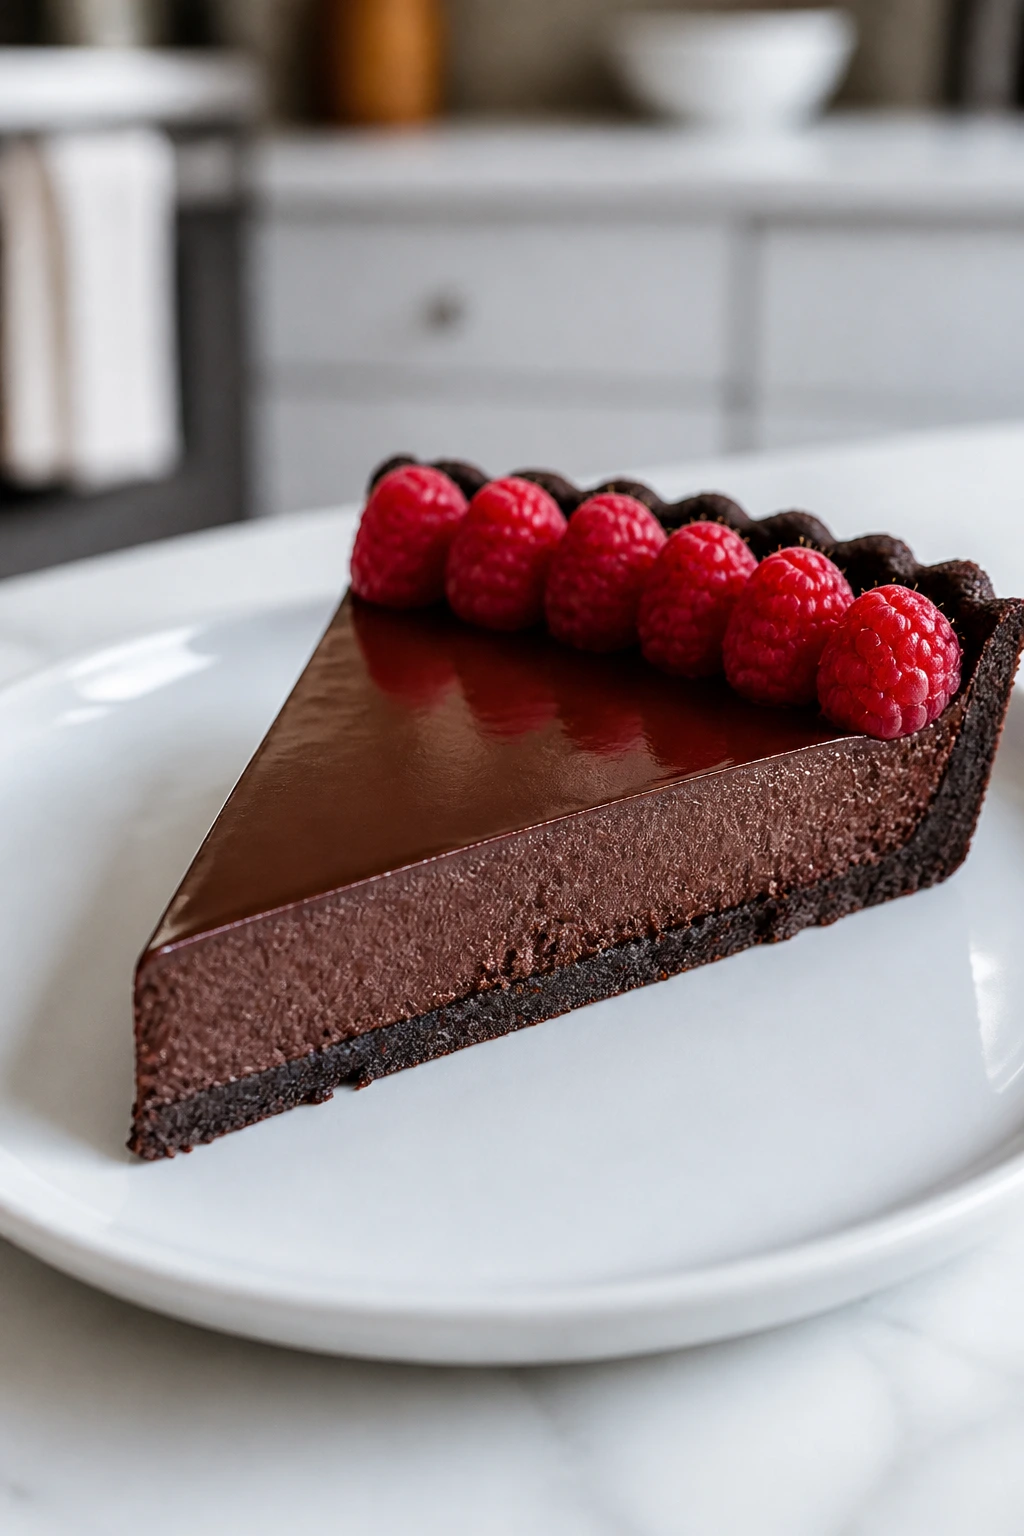
A fluffy chocolate and raspberry tart recipe lives or dies on texture. Get the balance right, and the first bite gives you a thin crack of pastry, a cool chocolate filling that lands somewhere between ganache and mousse, and a sharp raspberry hit that keeps the whole thing from sinking into sweetness. Get it wrong, and you end up with a tart that feels heavy, wet, or flat. There’s not much middle ground here.
That’s why I like this style of tart so much. It looks polished on the plate, but the real appeal is practical: a crisp shell, a filling that sets cleanly, and fruit that cuts through the richness instead of sitting on top like an afterthought. I’ve made enough chocolate desserts to say this plainly — chocolate alone can get dull fast. Raspberries wake it up. They bring the tartness, the color, and that slightly jammy aroma that makes the whole dessert feel more alive.
The trick is sequence. Blind-bake the shell until it’s dry at the bottom, cool the chocolate base before folding in the whipped cream, and add the berries only after the filling has firmed up. That sounds fussy on paper. In practice, it’s the difference between a tart that slices like a bakery piece and one that slumps onto the plate in a glossy puddle.
Why This Fluffy Chocolate and Raspberry Tart Recipe Earns a Repeat Bake
-
The filling stays light without losing chocolate depth: Whipped cream folded into ganache gives you a mousse-like texture that still tastes like real chocolate, not sweetened air.
-
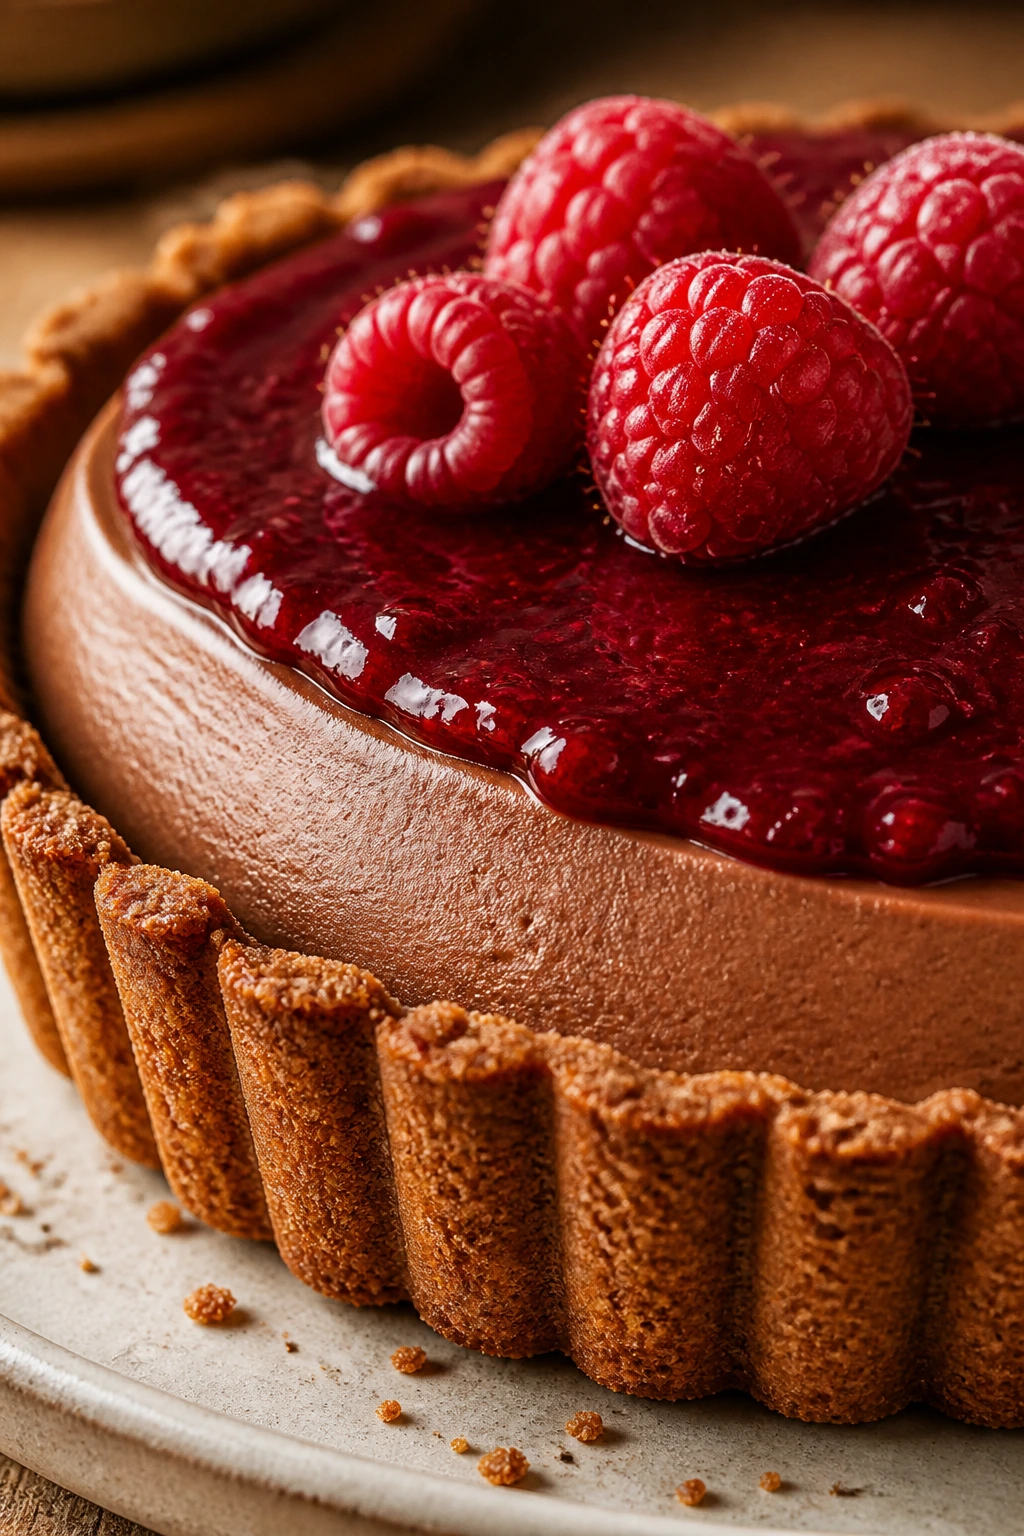
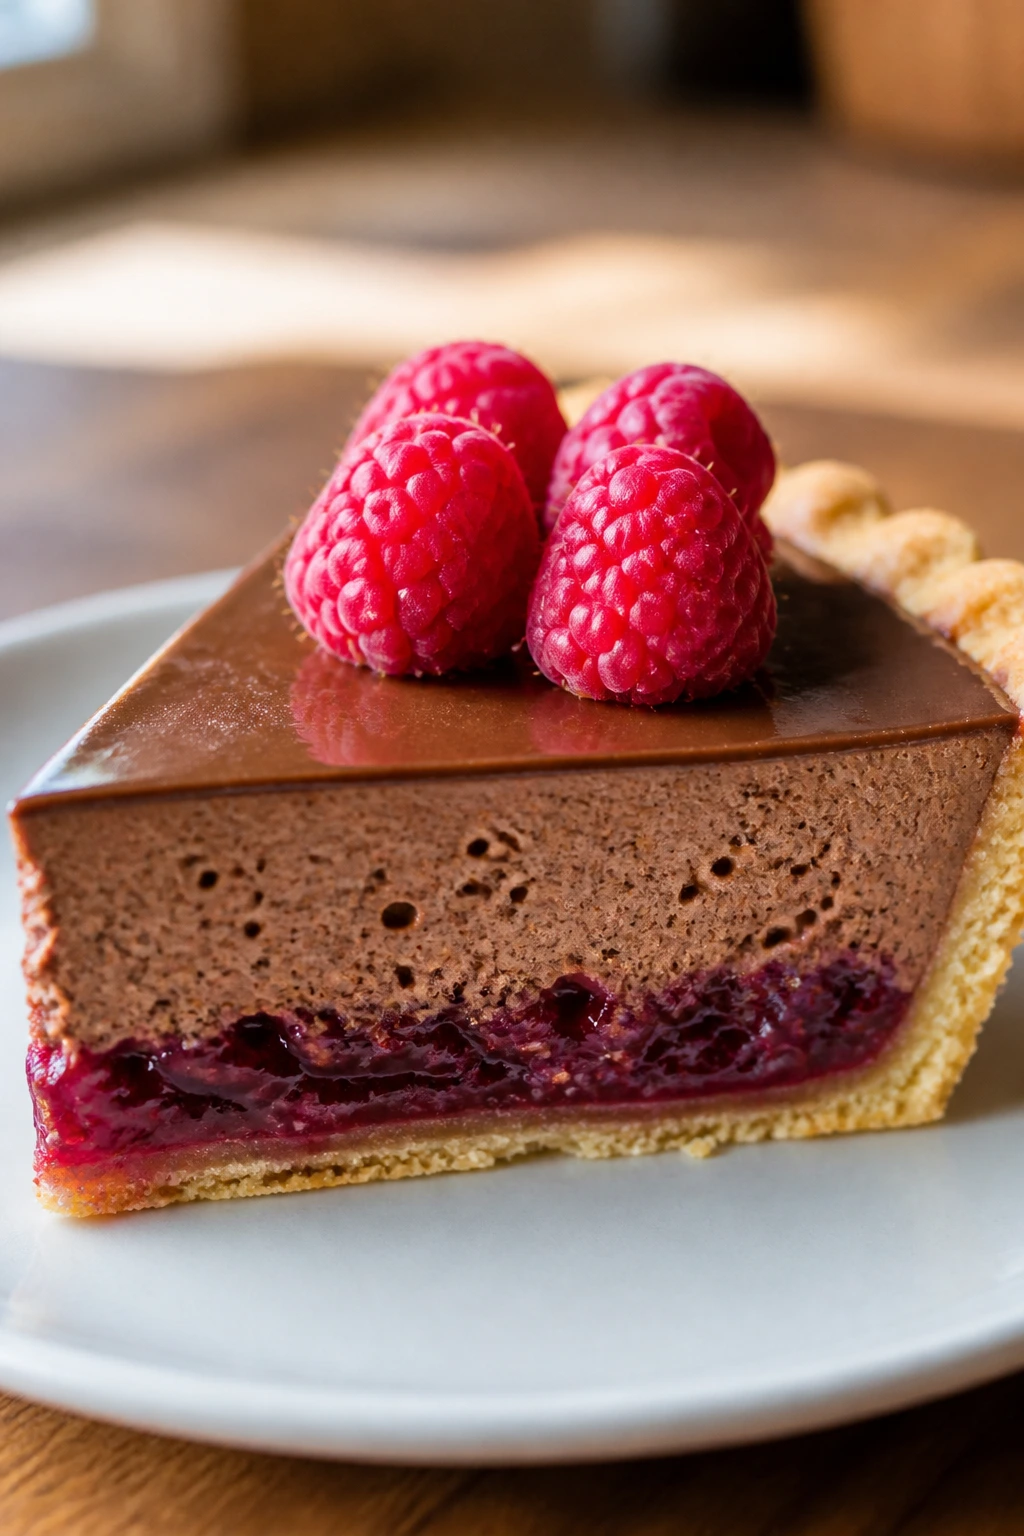
The raspberry layer pulls its weight: A thin swipe of raspberry preserves under the filling and fresh berries on top add acidity in two places, which keeps each bite from tasting one-note.
-
The crust matters here, and it shows: A powdered sugar tart shell bakes up short and sandy, with enough structure to hold the filling without turning bready.
-
It slices cleanly after chilling: Once the tart spends a few hours in the fridge, the knife goes through in neat wedges instead of dragging chocolate across the plate.
-
It can be staged ahead: You can bake the shell, make the ganache base, and even prep the raspberry glaze before assembly, which saves a lot of last-minute scrambling.
-
It looks more complicated than it is: The finished tart has that bakery-window look, but the methods are straightforward if you respect the cooling times.
Yield, Timing, and the Small Details That Matter
Yield: Serves 8 to 10
Prep Time: 35 minutes
Cook Time: 25 minutes
Total Time: 1 hour active, plus 4 hours chilling
Difficulty: Intermediate — the steps are manageable, but blind baking and folding the whipped cream both reward a careful hand.
Chill/Rest Time: 30 minutes for the dough, 4 hours minimum for the finished tart
Best Served: Chilled, then set out for 10 to 15 minutes before slicing
The Ingredients for the Crisp Shell, Whipped Chocolate, and Raspberry Top
For the Sweet Tart Crust:
- 1 1/4 cups all-purpose flour
- 1/2 cup powdered sugar
- 1/4 teaspoon fine salt
- 1/2 cup unsalted butter, cold and cut into cubes
- 1 large egg yolk
- 1 teaspoon pure vanilla extract
- 1 to 2 tablespoons ice water
For the Chocolate Filling:
- 8 ounces semisweet chocolate, finely chopped
- 1 cup heavy cream
- 1 tablespoon unsalted butter
- 1 teaspoon pure vanilla extract
- 1/4 teaspoon fine salt
- 1 cup cold heavy cream, whipped to soft peaks
For the Raspberry Layer and Finish:
- 1/3 cup seedless raspberry preserves
- 1 tablespoon water or fresh lemon juice
- 1 1/2 to 2 cups fresh raspberries
- 1 to 2 tablespoons shaved chocolate, optional
Why Each Ingredient Pulls Its Weight in This Tart
Sweet Tart Crust
What to use: 1 1/4 cups all-purpose flour, 1/2 cup powdered sugar, 1/4 teaspoon fine salt, 1/2 cup cold unsalted butter, 1 egg yolk, 1 teaspoon vanilla, and 1 to 2 tablespoons ice water.
Preparation: Keep the butter cold enough that it still feels firm when you press it, then mix only until the dough starts to hold together. If you warm the butter too much, the crust loses that short, crumbly bite.
Substitutions: A 1:1 gluten-free flour blend works if it contains xanthan gum; for a slightly nuttier shell, swap 2 tablespoons of the flour for finely ground almond flour.
Tips: Powdered sugar gives the crust a finer crumb than granulated sugar, and the egg yolk helps it brown without turning tough. That extra bit of tenderness matters because the filling is already soft.
Chocolate Filling
What to use: 8 ounces semisweet chocolate, 1 cup heavy cream for the ganache, 1 tablespoon butter, 1 teaspoon vanilla, 1/4 teaspoon salt, and 1 cup cold heavy cream whipped separately.
Preparation: Chop the chocolate finely so it melts evenly when the hot cream hits it. Big chunks take too long to soften, and by the time you whisk them smooth, the base can start to cool unevenly.
Substitutions: Bittersweet chocolate gives a darker, less sweet tart; milk chocolate makes a softer, sweeter filling, but it also needs a longer chill. If you only have chocolate bars, use those instead of chips — bar chocolate usually melts more cleanly.
Tips: I prefer semisweet chocolate around the 55% to 65% range here. It holds its shape in the fridge but still tastes rich once the raspberries come in and pull the sweetness back.
Raspberry Layer and Finish
What to use: 1/3 cup seedless raspberry preserves, 1 tablespoon water or lemon juice, 1 1/2 to 2 cups fresh raspberries, and a little shaved chocolate if you want a sharp finish.
Preparation: Warm the preserves with just enough liquid to make them brushable, then strain if they’re even slightly lumpy. Dry the raspberries well before you set them on the tart.
Substitutions: Strawberry preserves can work in a pinch, though the flavor becomes softer and less sharp. Frozen raspberries are better used in the glaze or as a quick sauce than piled on top, because they release too much juice.
Tips: Seedless preserves keep the glaze smooth and easy to brush over the berries. The whole point is to add shine and a tart little echo of fruit, not a sticky layer that fights the knife.
The Tools That Make the Tart Easier
-
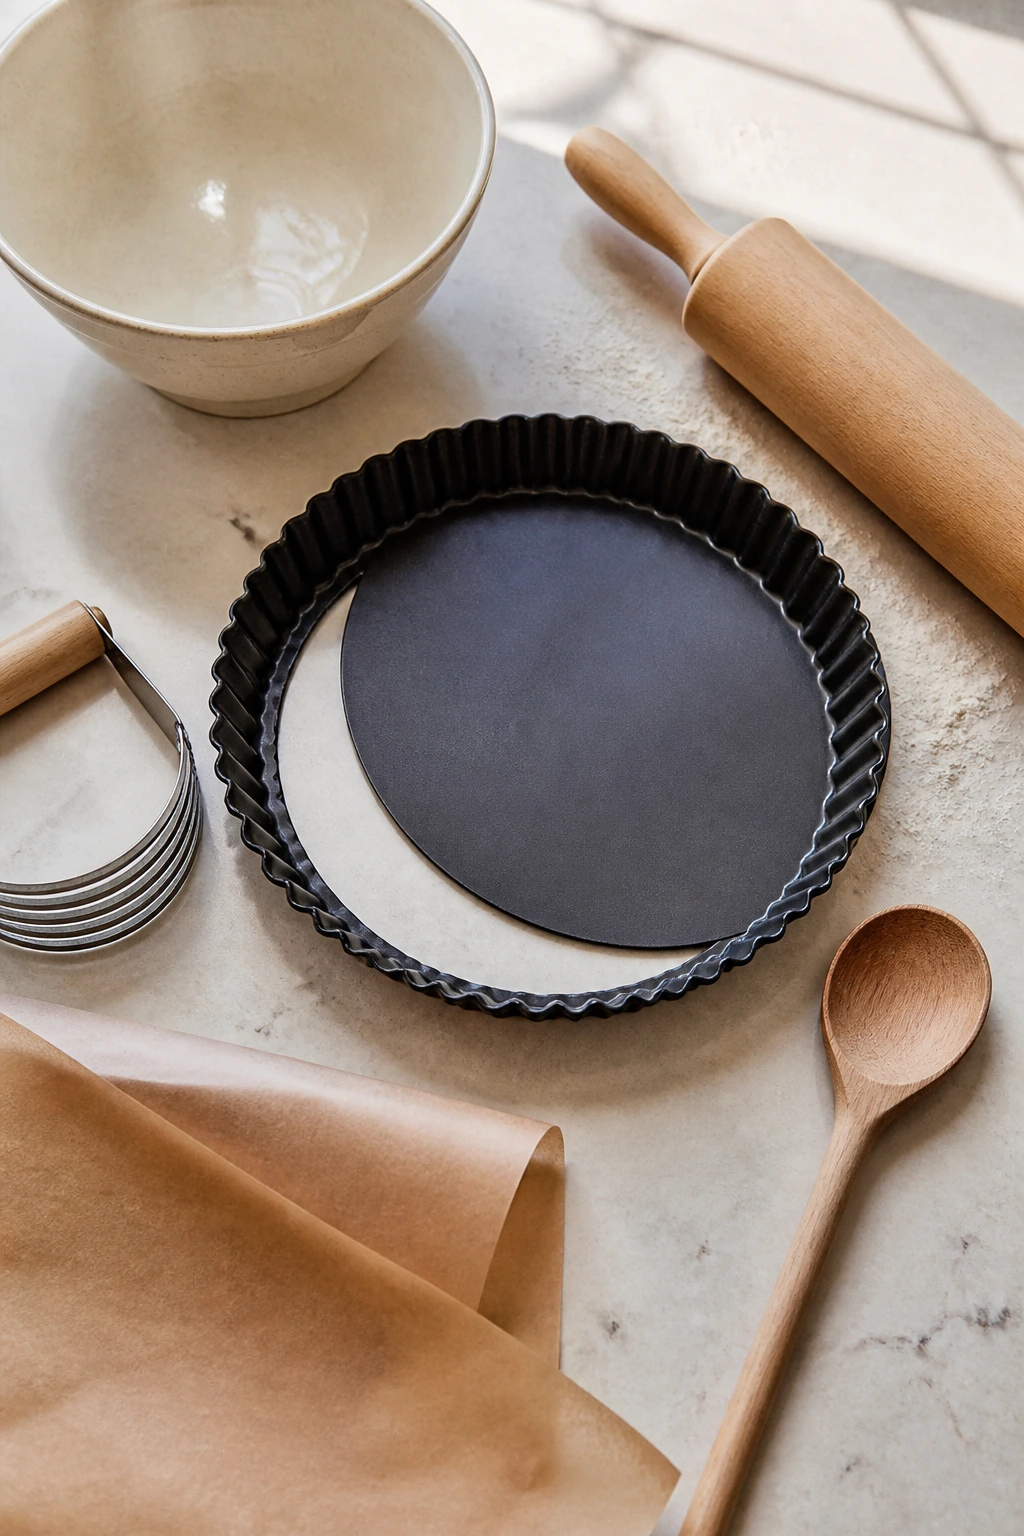
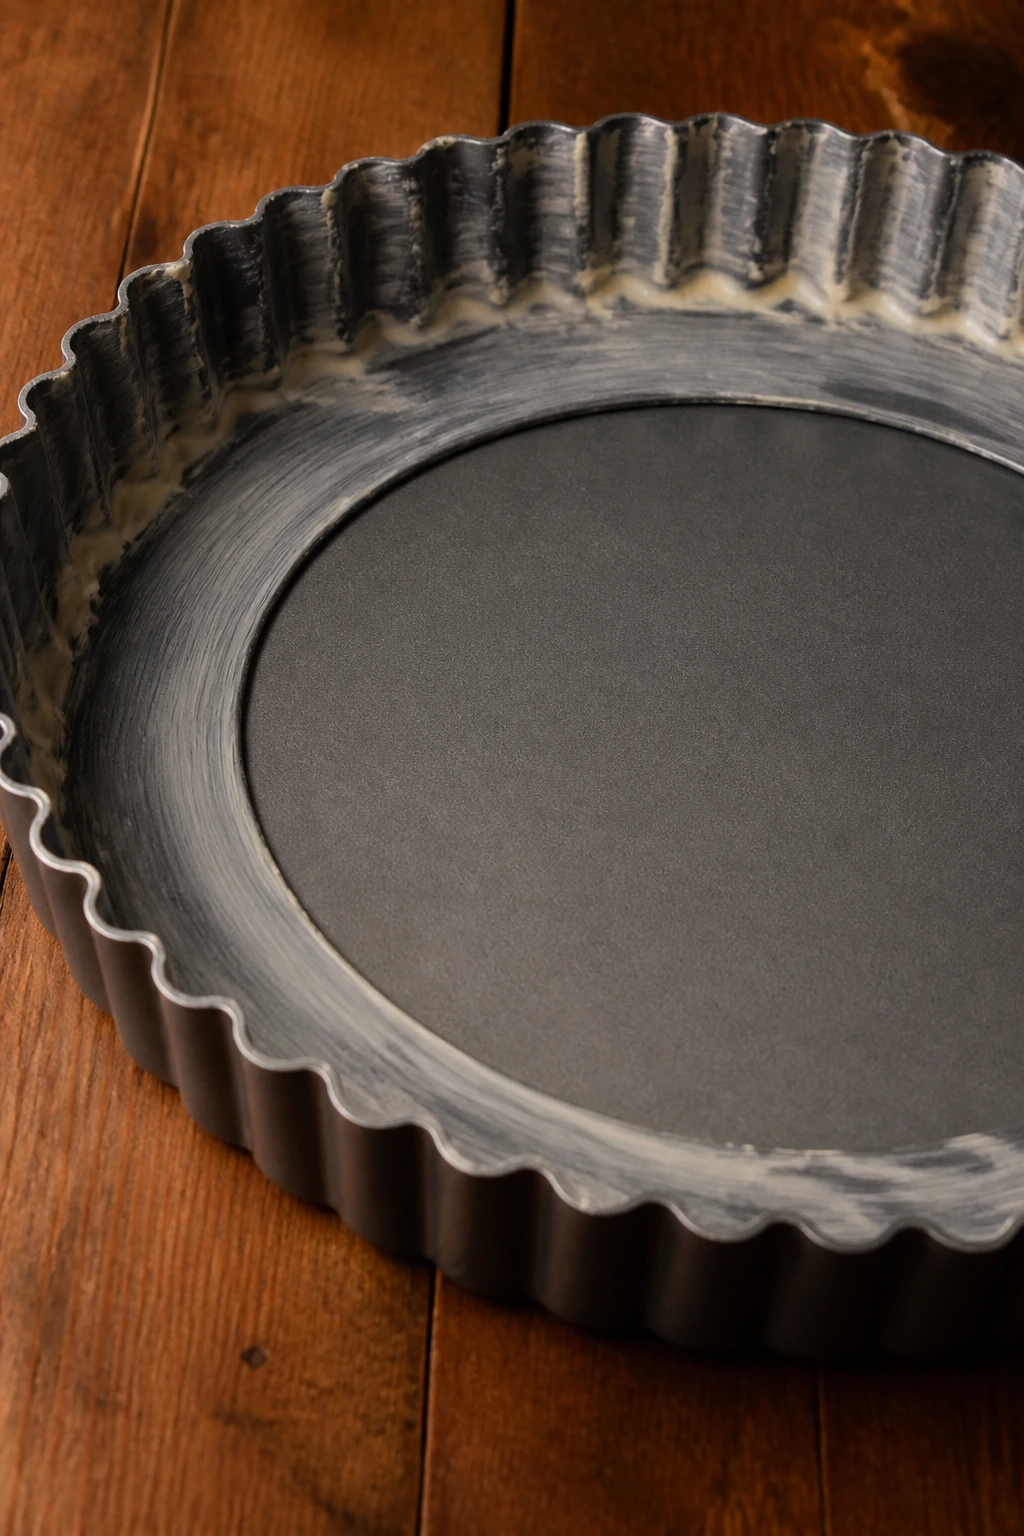
9-inch tart pan with a removable bottom: This is the one tool I would not skip; it makes unmolding and slicing much cleaner.
-
Mixing bowls in two sizes: You’ll need one for the crust and one for the chocolate filling, and it helps if one is wide enough for folding.
-
Pastry blender, fork, or food processor: Any of these will work for cutting the butter into the crust.
-
Rolling pin or straight-sided glass: A rolling pin is faster, but a glass is fine if you press the dough into the pan by hand.
-
Parchment paper: Use a wide sheet so the pie weights lift out in one go.
-
Pie weights, dried beans, or uncooked rice: The crust needs weight while it blind bakes, and dried beans are perfectly good here.
-
Saucepan: Needed for warming the cream and loosening the raspberry glaze.
-
Wire rack: This keeps the shell from sweating while it cools.
-
Hand mixer or stand mixer: Whipping the cream by hand is possible, but it is a workout.
-
Offset spatula or the back of a spoon: Useful for smoothing the filling without dragging it out of the shell.
How to Build the Shell, Ganache, and Fluffy Filling
The steps here are simple, but the order matters. Rush the cooling, and the texture falls apart. Give the tart the pauses it asks for, and you get that clean, airy slice that makes the whole thing worth doing.
Phase 1: Make and chill the crust
-
Whisk the dry ingredients. In a medium bowl, whisk together the flour, powdered sugar, and salt until the mixture looks evenly pale and there are no clumps of sugar hiding in the corners.
-
Cut in the butter. Add the cold butter cubes and work them in with a pastry blender, fork, or food processor until the mixture looks like coarse crumbs with some pea-sized bits still visible. Do not let the butter melt; those little pieces are what give the crust its crisp, tender bite.
-
Add the yolk and vanilla. Stir in the egg yolk and vanilla, then sprinkle in 1 tablespoon of ice water. Mix just until the dough starts clumping; add the second tablespoon only if the dough still looks dry and won’t hold together when you press it.
-
Shape and chill the dough. Turn the dough onto plastic wrap or parchment, press it into a flat disk, and chill it for at least 30 minutes. If you’re in a hurry, a short freeze works too, but the dough should feel firm before you press it into the tart pan.
Phase 2: Blind bake the shell
-
Heat the oven and line the tart pan. Set the oven to 375°F (190°C). Press the chilled dough into a 9-inch tart pan with a removable bottom, working it into the fluted edges without stretching it. Trim the top cleanly with a knife or rolling pin, then freeze the shell for 10 minutes.
-
Bake with weights first. Line the shell with parchment and fill it with pie weights, dried beans, or rice. Bake for 16 minutes, until the edges look set and the bottom no longer looks wet.
-
Finish the crust. Lift out the parchment and weights, then bake for another 8 to 10 minutes, until the shell turns pale gold and the bottom feels dry to the touch. If any area puffs, press it down gently with the back of a spoon while it is still warm.
-
Cool completely. Set the tart shell on a wire rack and let it cool all the way down before adding filling. A warm shell softens the chocolate layer and steals the crispness you worked for.
Phase 3: Make the fluffy chocolate filling
-
Warm the cream and melt the chocolate. Heat 1 cup of heavy cream in a saucepan over medium heat until steaming and just starting to bubble at the edges. Pour it over the chopped chocolate, butter, salt, and vanilla in a bowl, then let it sit for 2 minutes before whisking until smooth and glossy.
-
Cool the chocolate base. Set the bowl aside and let the ganache cool for 15 to 20 minutes, stirring once or twice. You want it thickened slightly, not warm; it should feel just above room temperature, not hot on your finger. If you fold in whipped cream too soon, the filling will loosen and lose volume.
-
Whip the remaining cream. In a clean bowl, whip the cold heavy cream to soft peaks. The cream should hold shape when you lift the whisk, but the tip should still curl over instead of standing stiff.
-
Fold with a light hand. Stir one-third of the whipped cream into the cooled chocolate base to loosen it, then fold in the remaining cream in two additions. Stop as soon as the mixture turns evenly light and no streaks of plain cream remain. A few pale swirls are fine; aggressive folding knocks out the air.
Phase 4: Assemble and chill
-
Brush the crust with preserves. Warm the raspberry preserves with the water or lemon juice over low heat until they loosen into a brushable glaze. Spread a thin layer over the cooled crust. It does not need to be thick — just enough to add fruit flavor and keep the shell from feeling dry.
-
Fill and smooth the tart. Spoon the chocolate filling into the crust and spread it into an even layer with an offset spatula. Tap the pan gently on the counter once or twice to settle any small air pockets.
-
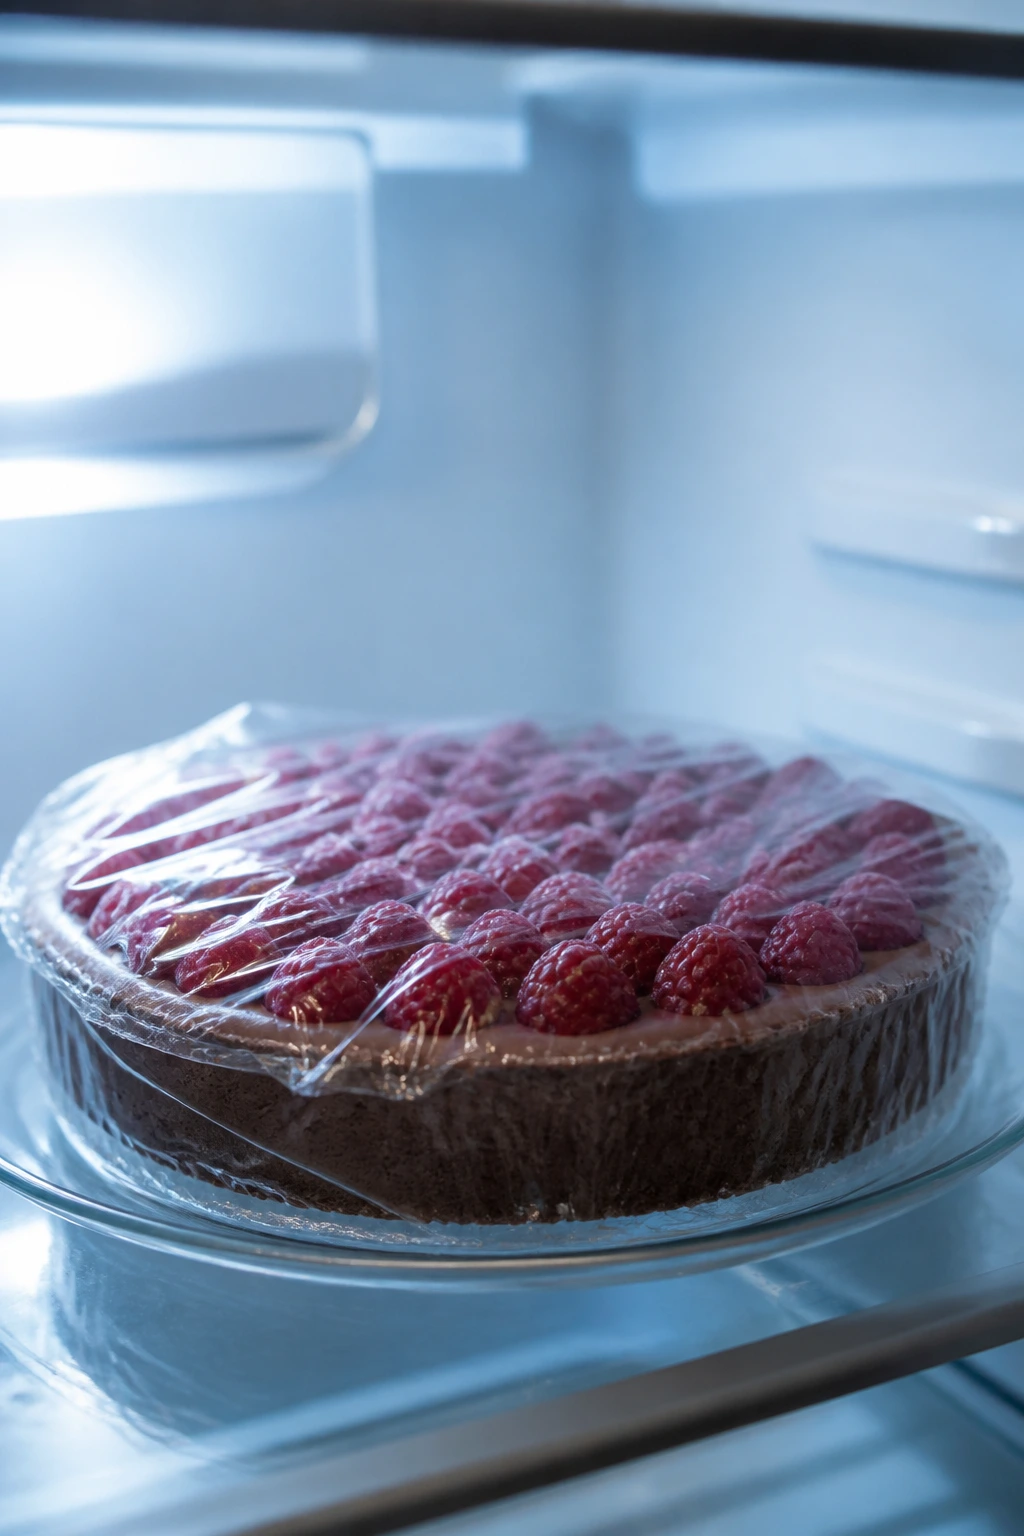
Chill until set. Refrigerate the tart for at least 4 hours, or until the filling is firm enough to slice cleanly. Overnight is even better if you want the neatest wedges.
Phase 5: Top and finish
-
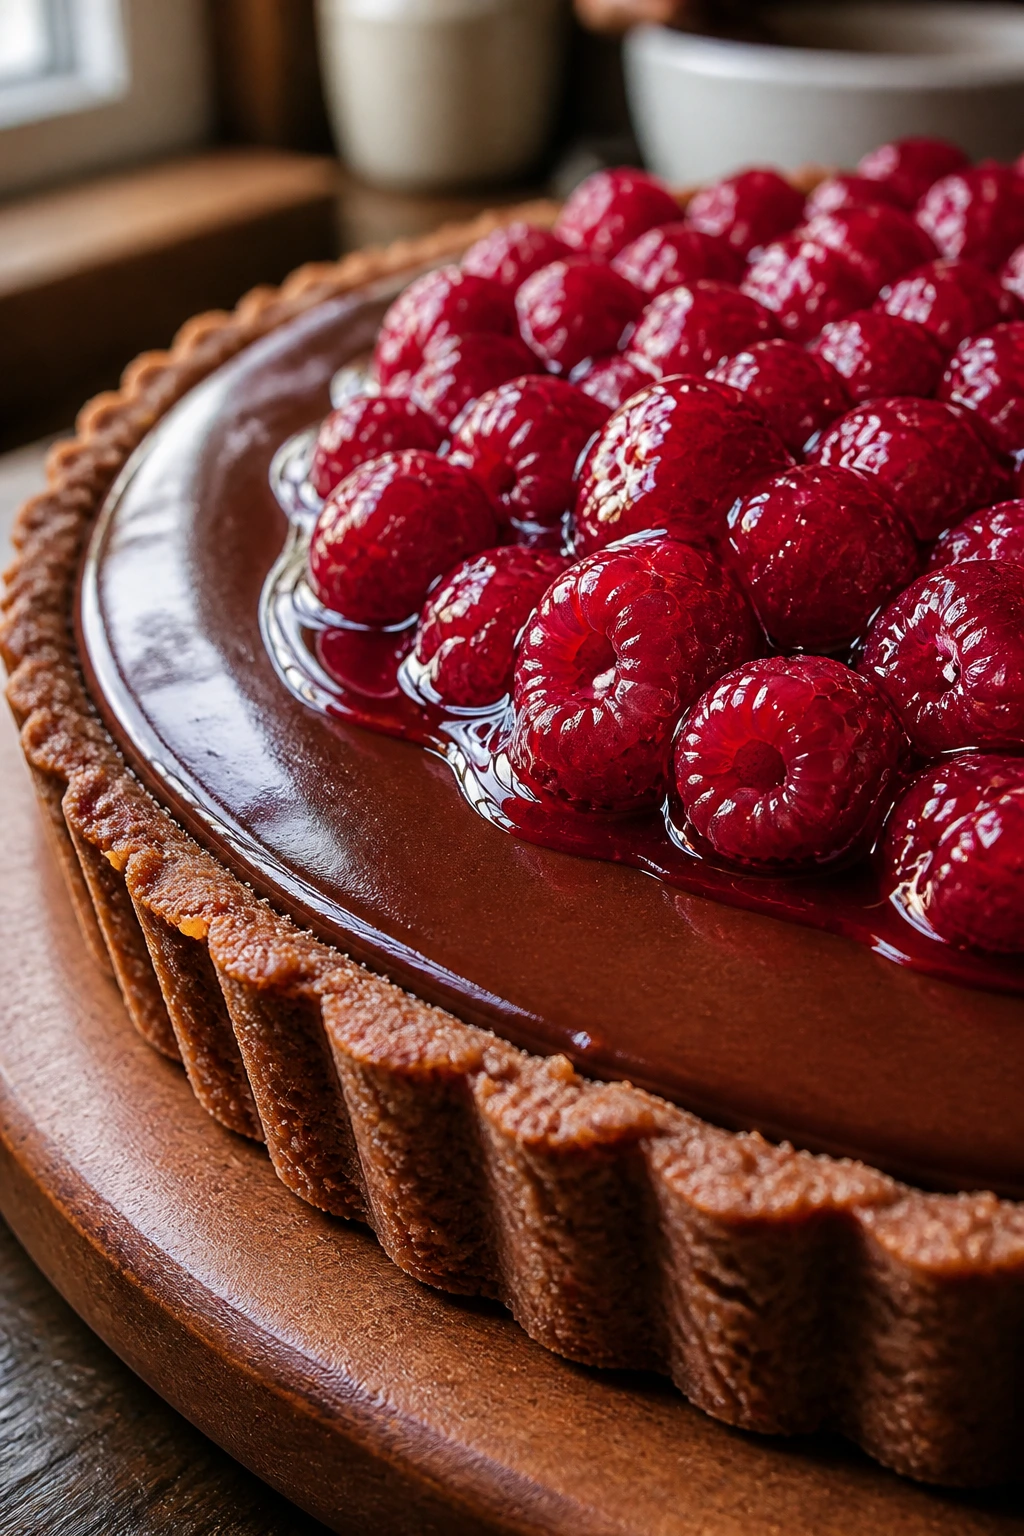
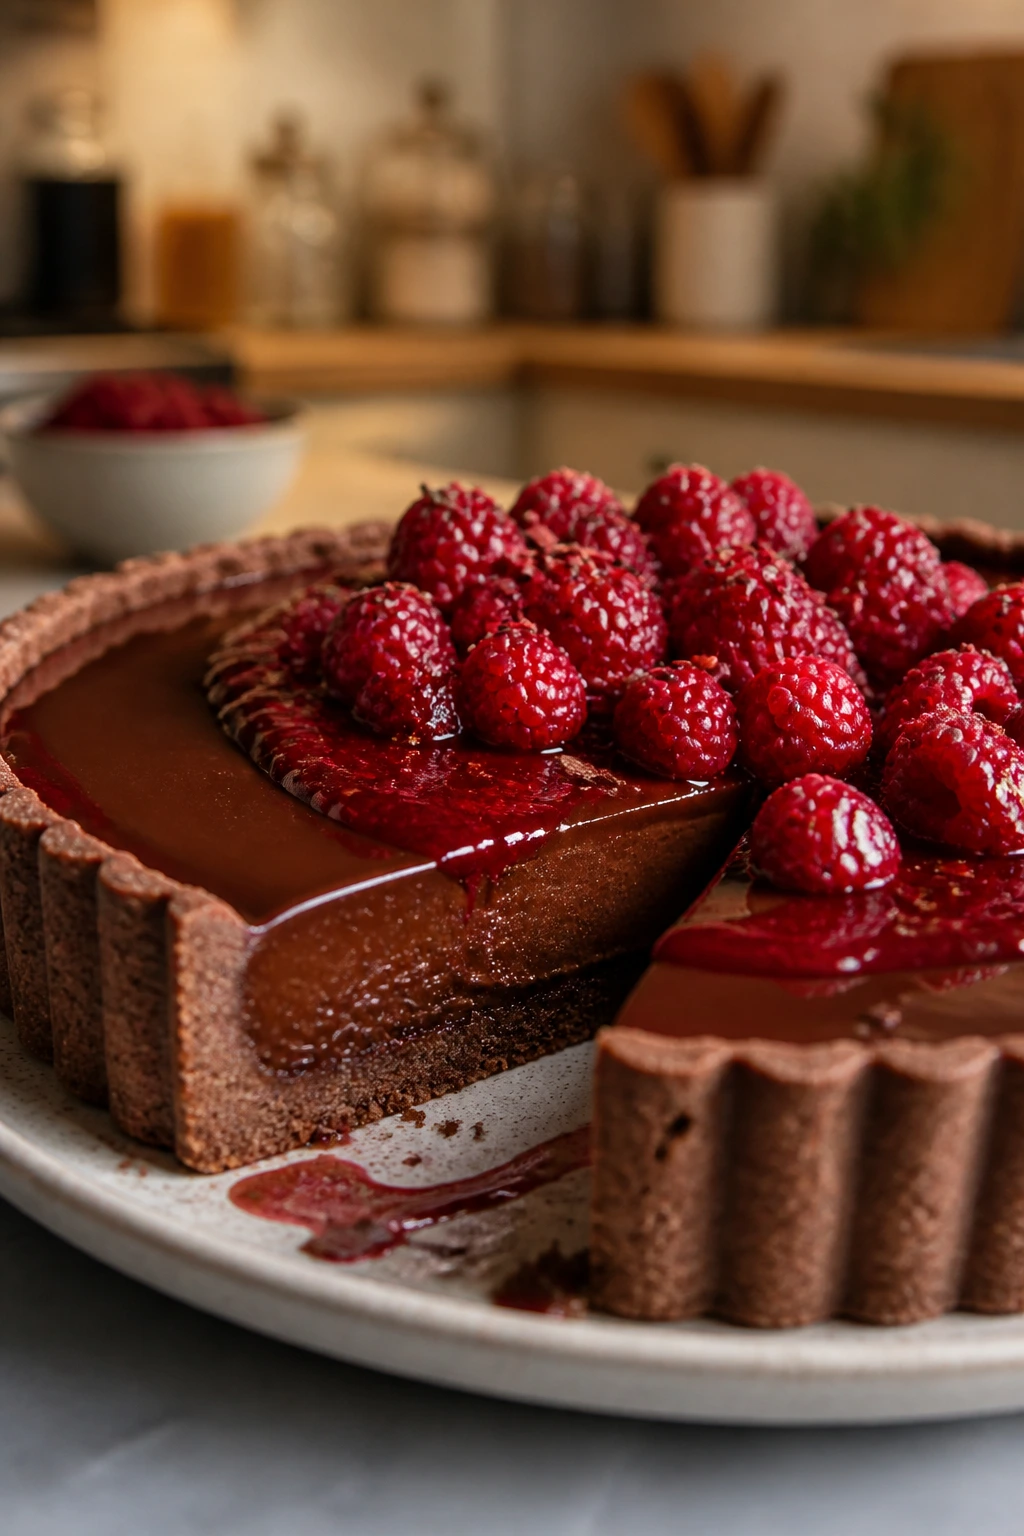
Arrange the raspberries. Just before serving, place the raspberries over the tart in tight clusters or tidy rows. Press them in lightly so they sit in the surface instead of rolling around.
-
Brush the berries and finish. Warm the remaining preserve glaze again if needed, then brush it lightly over the raspberries. Add shaved chocolate if you want a bit of contrast. Slice with a hot, dry knife, wiping it clean between cuts.
Serving the Tart So It Looks Intentional on the Plate
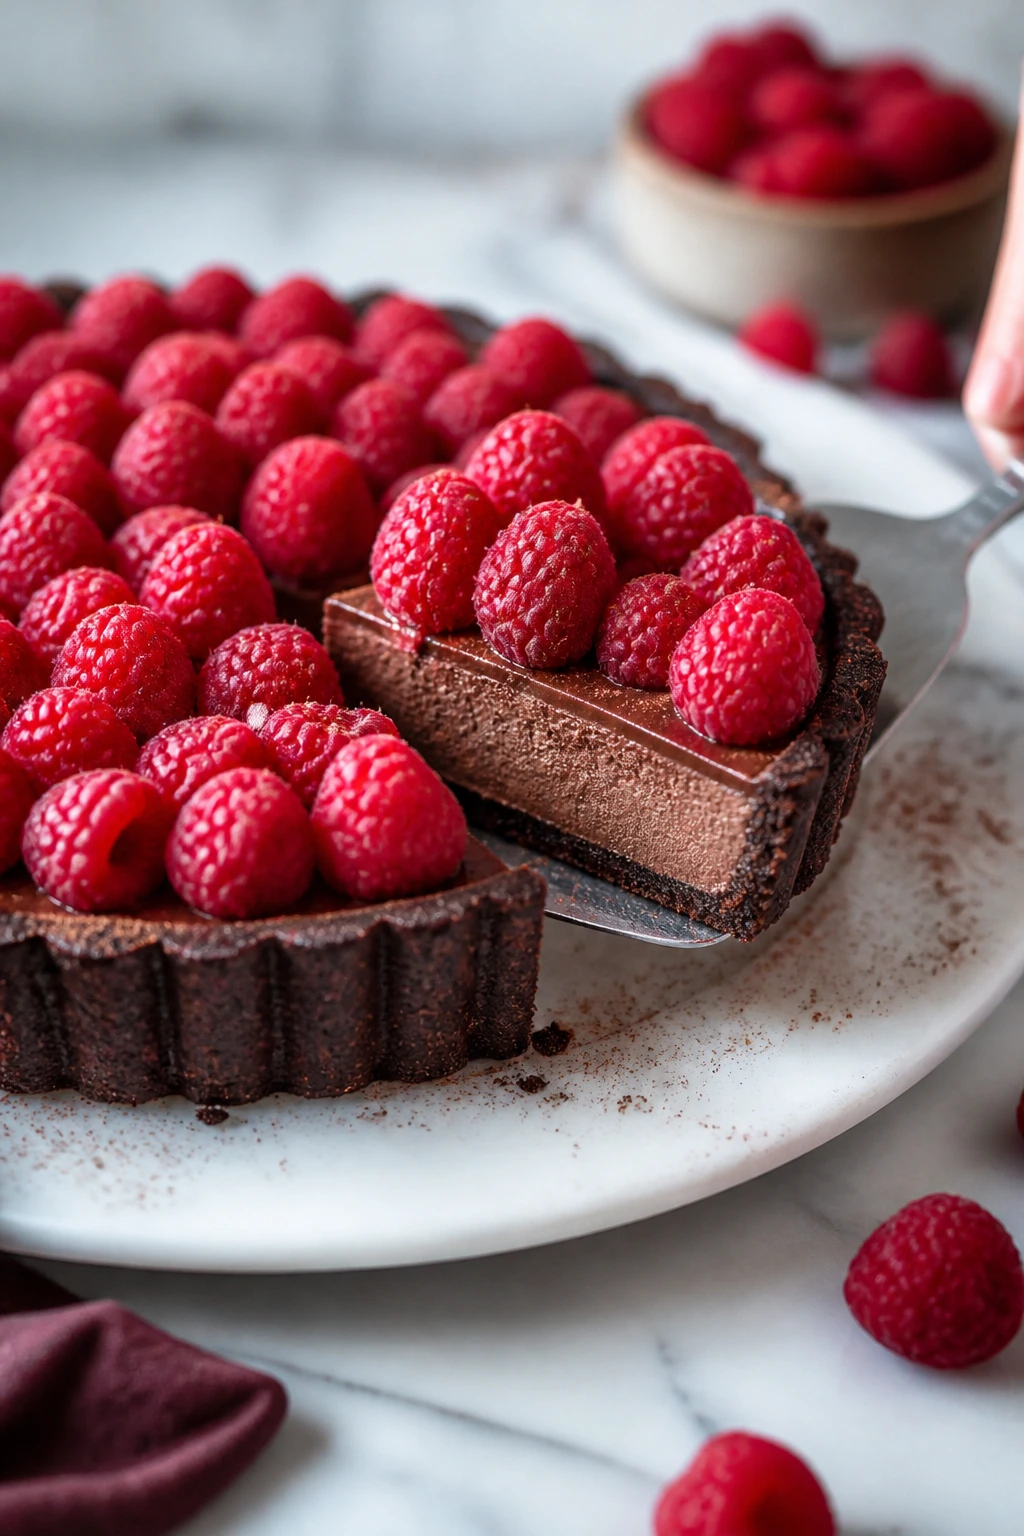
Presentation: Unmold the tart onto a flat serving board or cake stand, then move it to a chilled plate for slicing. I like to keep the berries close together instead of scattering them around the tart; it gives the top a denser, more deliberate look and helps each wedge carry a few berries of its own.
Accompaniments: A spoonful of unsweetened whipped cream works if you want a little extra softness, but the tart does not need much help. Fresh mint leaves, a few extra raspberries, or a small spoon of raspberry coulis are enough. If you’re serving this after a heavy meal, leave the side dishes simple — a bowl of berries is plenty.
Portions: Eight slices gives you a rich dessert portion. Ten smaller wedges make more sense if the tart follows a multi-course meal or if you are serving other sweets nearby. The filling is dense enough that thin slices hold their shape, which is useful if you want the whole tart to look tidy after the first cut.
Beverage Pairing: Strong coffee, black tea, or an espresso cut through the sweetness cleanly. If you want something colder, an iced latte or a glass of dry sparkling wine works well because the bubbles and acidity keep the chocolate from feeling too heavy.
Extra Tips That Make the Flavor Brighter

Flavor Enhancement: Stir 1 teaspoon of instant espresso powder into the hot cream before you pour it over the chocolate. It does not turn the tart into coffee dessert; it just deepens the chocolate so the raspberry tastes sharper and cleaner.
Texture Control: If the whipped cream gets past soft peaks, stop and switch to folding immediately. Overwhipped cream leaves tiny grainy bits in the filling, and those bits show up when you slice the tart.
Time-Saver: Bake the tart shell a day ahead and keep it wrapped at room temperature once it has cooled. That leaves you with nothing but the filling and the berries on the day you serve it, which cuts the active work in half.
Make-It-Yours: A little orange zest in the chocolate base gives the tart a darker, brighter edge, while a few chopped toasted hazelnuts around the rim add crunch. If you like a less sweet dessert, use bittersweet chocolate and keep the raspberries generous.
Common Mistakes That Flatten the Tart
-
Using a shell that never baked fully: If the crust is pale and soft on the bottom, the filling softens it into a damp layer. Bake until the bottom feels dry, even if that means a few extra minutes after removing the weights.
-
Adding whipped cream to warm ganache: Warm chocolate melts the air right out of the cream and leaves you with a loose filling. Wait until the base feels barely warm before folding.
-
Whipping the cream too stiff: Stiff peaks sound helpful, but they make the final filling less silky and more grainy. Soft peaks fold in better and set into a smoother slice.
-
Putting wet berries on top: If the raspberries still carry rinse water, the glaze slides and the berry juices leak into the chocolate surface. Dry them carefully on paper towels before arranging them.
-
Slicing before the filling is firm: A tart that has only chilled for an hour will smear and slump, even if the top looks set. Four hours is the minimum; longer is safer.
Named Variations That Still Taste Like This Tart
Midnight Espresso Tart: Add 1 teaspoon of espresso powder to the hot cream and use a slightly darker semisweet chocolate. The result tastes less sweet and a little more grown-up, which suits the raspberry even better.
White Chocolate Cloud Tart: Swap the semisweet chocolate for white chocolate and keep the raspberry layer in place. Because white chocolate is sweeter and softer, use a heavier hand with the fresh berries and chill it a little longer before slicing.
Almond-Scented Shell: Replace 2 tablespoons of the flour in the crust with finely ground almond flour and add 1/2 teaspoon almond extract to the dough. The shell comes out a little nuttier and brings out the fruit without crowding the chocolate.
Gluten-Free Hazelnut Base: Use a good 1:1 gluten-free flour blend and add 1/4 cup finely ground hazelnuts to the crust mixture. Blind bake it well; gluten-free shells need that dry, crisp finish to support the filling.
Mixed Berry Finish: Use half raspberries and half blackberries on top, then brush them with the same preserve glaze. The blackberries add deeper juice and a softer bite, which makes the top taste a little darker and less sharply tart.
Make-Ahead, Storage, and Leftover Care
The easiest way to handle this tart is to split the work across a day or two. The crust dough can sit in the fridge for 2 days, tightly wrapped, or in the freezer for about 1 month if you flatten it first so it thaws quickly. The baked shell is happiest at room temperature for a day, wrapped well so it does not dry out, and it will hold in the fridge for up to 3 days if you need more time.
The assembled tart keeps in the refrigerator for 2 to 3 days, though the berries are brightest during the first 24 hours. After that, the chocolate filling stays fine, but the fruit starts to soften and the glaze loses a little shine. If you know you’ll be serving it later, hold the raspberries and glaze until the last possible moment.
Freezing the fully assembled tart is possible, but it changes the berries in a way I don’t love. The better move is to freeze the baked shell alone or freeze the chocolate filling before the whipped cream goes in. If you do freeze the whole tart, chill it until firm, wrap it tightly, and thaw it overnight in the refrigerator; add fresh berries after thawing if you want the top to look clean.
Reheating is not part of the game here. This is a chilled dessert, and warming it softens the filling too much. If a slice feels too cold straight from the fridge, let it sit at room temperature for 10 to 15 minutes before serving. That gives the chocolate a softer texture without losing the slice shape.
For leftovers, keep the tart covered so the fridge does not dry the top. A cake dome works, but a loose layer of foil over the pan is fine if you are careful not to crush the berries. If you have a naked wedge left on the plate, wrap it tightly and eat it the next day; the crust will soften a little, but the flavor stays good.
Questions People Ask Before Baking It
Can I make this tart a day ahead?
Yes, and I usually would. The crust can be baked ahead, and the finished tart slices more cleanly after an overnight chill. If you want the berries at their brightest, wait to add them until the day you serve it.
Do I need a tart pan with a removable bottom?
You do not absolutely need one, but it makes the tart much easier to unmold and slice. A springform pan can work in a pinch if you line the base carefully, though the fluted edge will not look quite the same.
Can I use frozen raspberries on top?
I would not pile frozen berries directly onto the tart because they thaw into puddles. Save them for the glaze or for a quick sauce, where the juice is useful instead of messy.
What if my chocolate filling seems too loose?
That usually means the ganache was too warm when you folded in the cream or the cream was underwhipped. Chill the bowl for 15 to 20 minutes, then fold in a few more spoonfuls of softly whipped cream if needed. It should thicken enough to mound slowly, not pour like sauce.
Can I use milk chocolate instead of semisweet?
Yes, but the tart will be sweeter and softer. If you go that route, chill it longer and expect a lighter chocolate flavor; it works, but it changes the balance a lot.
How do I keep the crust from shrinking?
Press the dough into the pan without stretching it, then chill it well before baking. A cold shell is less likely to slide down the sides, and the pie weights help hold the shape while the butter sets.
What if I only have jam with seeds?
Warm it, then push it through a fine-mesh sieve before brushing it onto the shell or berries. The flavor stays the same, but the glaze looks smoother and cuts cleaner.
Can I make the filling without a mixer?
Yes. Whisk the ganache base by hand, then use a balloon whisk and some patience for the cream. The process takes longer, but it works, and the texture is still good as long as you stop at soft peaks.
A Tart Worth Chilling For
A dessert like this rewards patience in the smartest possible way. You do a little careful work up front — blind-baking the shell, cooling the chocolate, folding the cream gently — and the tart gives it all back in texture. Crisp crust. Plush center. Sharp berries. Nothing gets lost.
I reach for this kind of tart when I want a finished-looking dessert without the drama that a layer cake tends to bring. It slices neatly, holds its shape, and still tastes alive on the plate. Make it once, and the method settles into your hands faster than you’d expect.
Fluffy Chocolate and Raspberry Tart Recipe — Recipe Card
Recipe Name: Fluffy Chocolate and Raspberry Tart Recipe
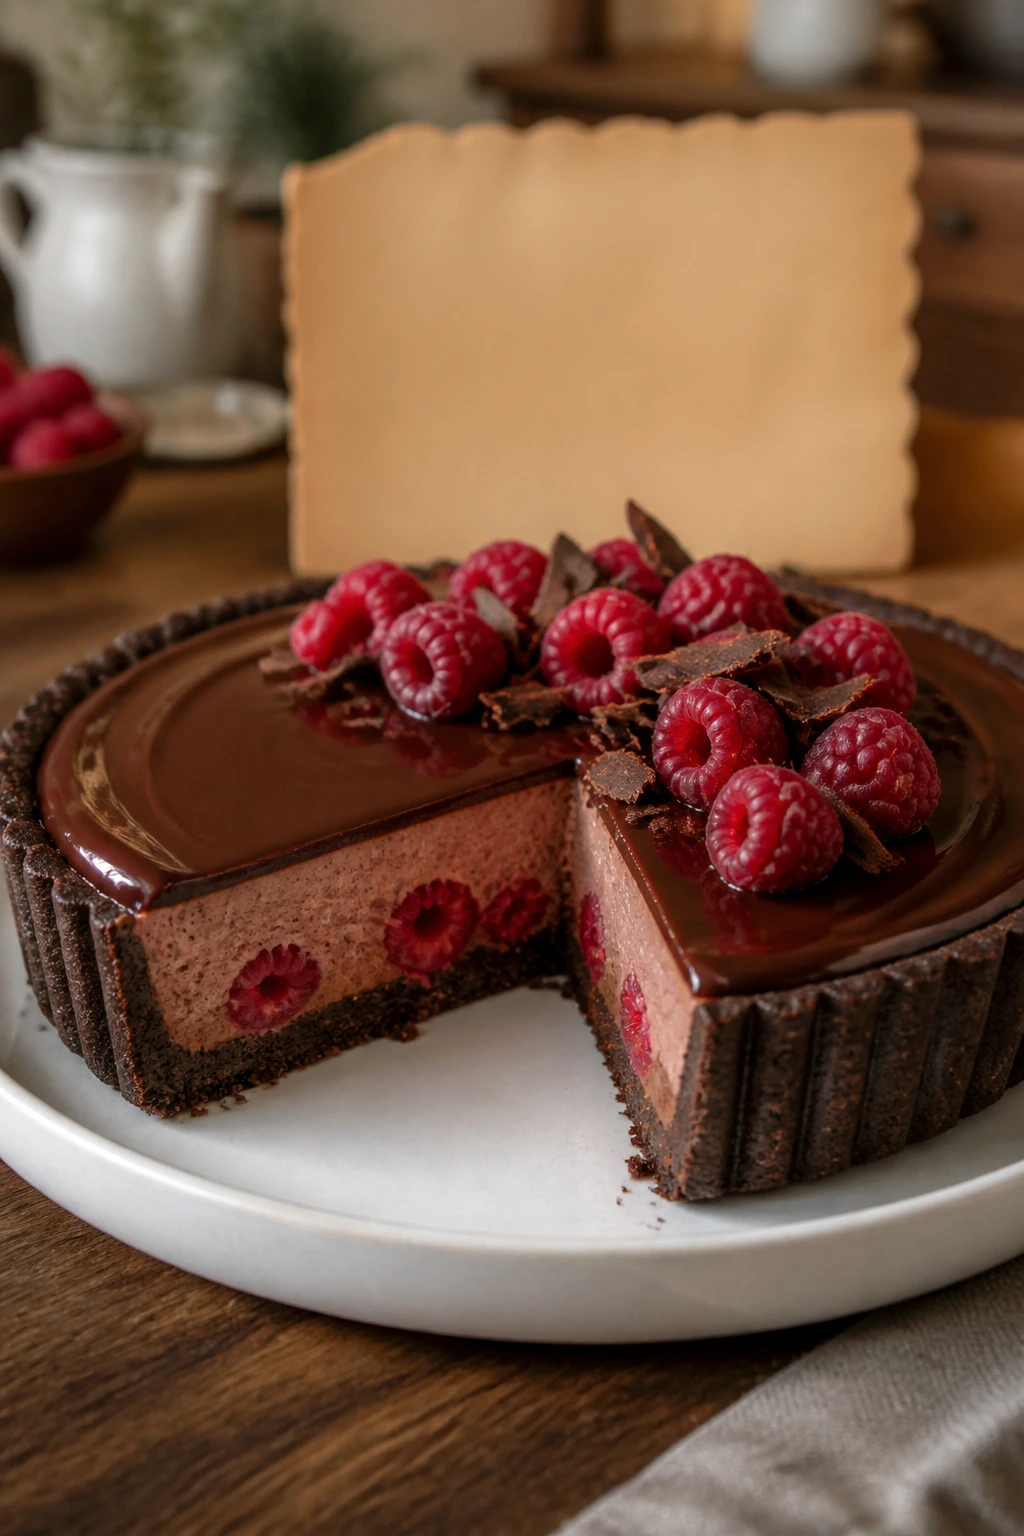
Description: A crisp sweet tart shell filled with fluffy chocolate ganache mousse, finished with seedless raspberry glaze and fresh raspberries. The filling is rich but light, and the fruit keeps every slice bright.
Prep Time: 35 minutes
Cook Time: 25 minutes
Total Time: 1 hour active, plus 4 hours chilling
Course: Dessert
Cuisine: American
Servings: 8 to 10 servings
Calories: About 560 kcal per serving
Ingredients
For the Sweet Tart Crust:
- 1 1/4 cups all-purpose flour
- 1/2 cup powdered sugar
- 1/4 teaspoon fine salt
- 1/2 cup unsalted butter, cold and cut into cubes
- 1 large egg yolk
- 1 teaspoon pure vanilla extract
- 1 to 2 tablespoons ice water
For the Chocolate Filling:
- 8 ounces semisweet chocolate, finely chopped
- 1 cup heavy cream
- 1 tablespoon unsalted butter
- 1 teaspoon pure vanilla extract
- 1/4 teaspoon fine salt
- 1 cup cold heavy cream, whipped to soft peaks
For the Raspberry Layer and Finish:
- 1/3 cup seedless raspberry preserves
- 1 tablespoon water or fresh lemon juice
- 1 1/2 to 2 cups fresh raspberries
- 1 to 2 tablespoons shaved chocolate, optional
Instructions
-
Whisk together the flour, powdered sugar, and salt.
-
Cut in the cold butter until the mixture looks like coarse crumbs with some pea-sized bits.
-
Mix in the egg yolk, vanilla, and 1 tablespoon ice water, adding the second tablespoon only if needed. Shape into a disk and chill for 30 minutes.
-
Heat the oven to 375°F (190°C). Press the dough into a 9-inch tart pan with a removable bottom, freeze for 10 minutes, line with parchment, and fill with pie weights.
-
Bake for 16 minutes. Remove the weights and parchment, then bake for 8 to 10 minutes more, until the shell is lightly golden and dry. Cool completely.
-
Heat 1 cup heavy cream until steaming. Pour it over the chopped chocolate, butter, vanilla, and salt. Let sit for 2 minutes, then whisk until smooth.
-
Cool the chocolate mixture for 15 to 20 minutes. Whip the remaining 1 cup cold cream to soft peaks.
-
Fold one-third of the whipped cream into the chocolate, then fold in the rest until light and evenly mixed.
-
Warm the raspberry preserves with the water or lemon juice until brushable. Spread a thin layer over the cooled crust.
-
Spoon the chocolate filling into the shell and smooth the top. Chill for at least 4 hours, or until set.
-
Arrange the fresh raspberries on top, brush lightly with more glaze if needed, and finish with shaved chocolate if using. Slice with a hot, dry knife.
Notes: Chill the tart overnight if you want the cleanest slices. Add the berries right before serving for the freshest look. Do not skip the blind bake if you want a crisp crust.