
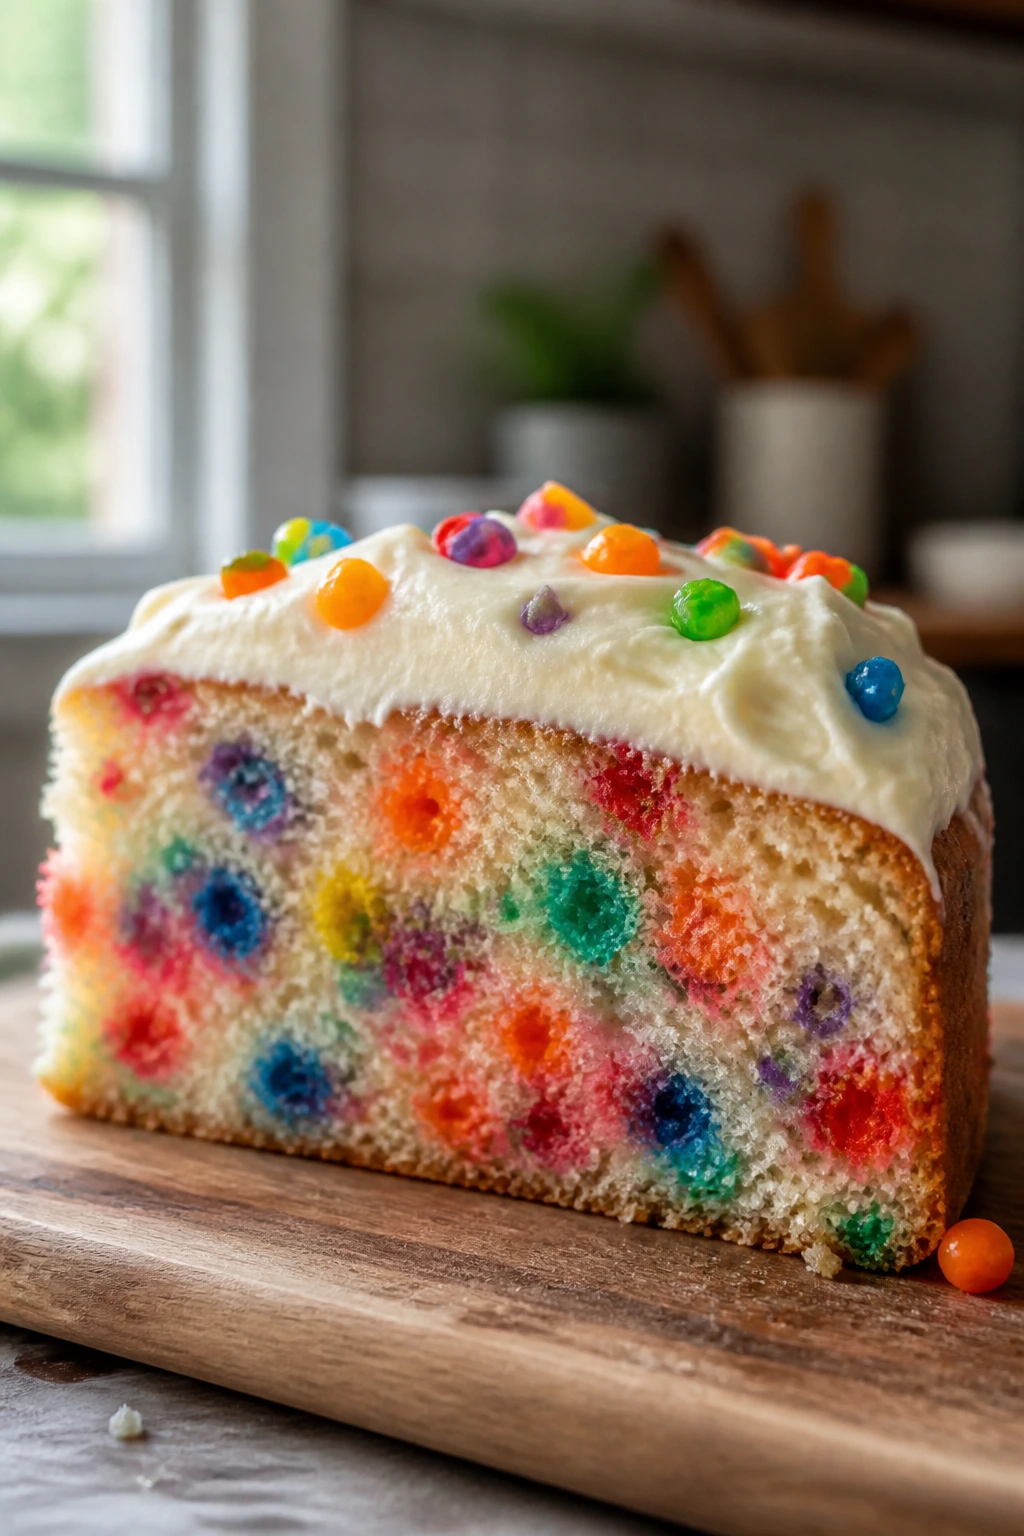
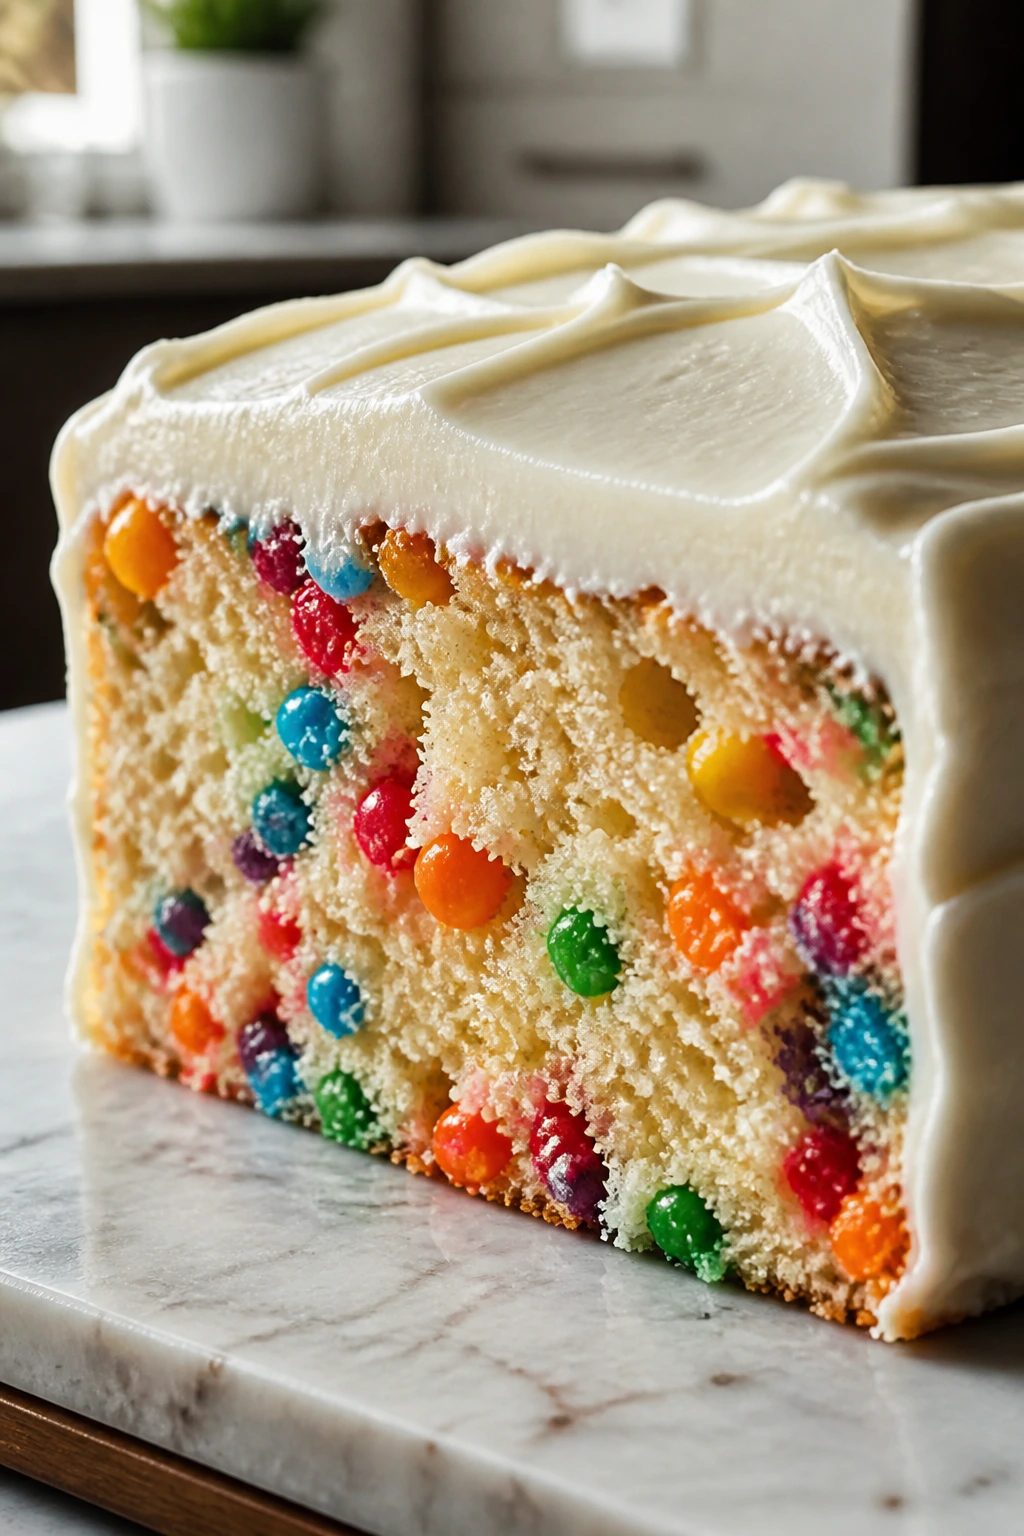
Cut into a rainbow candy cake and two things matter immediately: the crumb has to stay soft, and the candy has to look like candy, not like colored shrapnel sunk into the bottom crust. If the cake is dry, the whole idea falls apart. If the batter is too thick, the candy disappears. If the frosting is too sweet, the whole slice turns into a sugar dare instead of dessert.
That balance is why this version leans on buttermilk, sour cream, and a cream cheese frosting with enough salt to keep it awake. The cake bakes up pale and tender, with little pockets of color scattered through the middle. The frosting lands cool and tangy on top, which is exactly what you want when the base already has candy baked into it.
I also like that the whole thing is a little less fussy than people expect. One 9×13 pan. No stacking. No piping flowers unless you want them. A sturdy rainbow candy mix-in, a clean vanilla crumb, and frosting you can spread with an offset spatula while the cake is still in the pan. That’s enough. It should be enough.
Why This Rainbow Candy Cake Works So Well
A candy cake only earns its keep if the texture behaves. This one does, because the batter is rich without being heavy and the mix-ins are chosen to stay visible. Candy-coated chocolate pieces hold their shape in the oven, so you get bright little spots all the way through the slice instead of melted color streaks at the bottom.
Tender crumb: The combination of buttermilk and sour cream keeps the cake soft even after chilling, which matters because cream cheese frosting asks for refrigeration.
Candy that stays put: Tossing the candy pieces with a little flour helps keep them suspended through the batter instead of sinking into one dense layer.
Frosting with bite: Cream cheese frosting brings a sharp, tangy edge that keeps the cake from tasting flat or overly sugary.
No layer-cake drama: A 9×13 pan bakes more evenly than a tall stack, and it’s much easier to slice cleanly when you’re dealing with candy pieces.
Party-friendly by design: The colors do the decoration for you, so you don’t need anything fancy on top to make the cake read as fun.
Better after a short chill: The crumb firms slightly in the fridge, which means cleaner slices and fewer broken candy bits dragging through the frosting.
Timing, Yield, and the Texture to Expect
Yield: 12 to 15 slices, depending on how generous your cuts are
Prep Time: 25 minutes
Cook Time: 32 to 38 minutes
Total Time: about 1 hour 25 minutes active, plus about 1 hour of cooling and 20 to 30 minutes of chilling before slicing
Difficulty: Intermediate — the method itself is simple, but the batter, candy, and frosting all behave better when you handle them with a light hand
Best Served: slightly chilled or after sitting at room temperature for 20 to 30 minutes, when the frosting softens just enough to slice cleanly
The cooling time is not filler. It is part of the recipe. A warm cake smears cream cheese frosting into a glossy slide, and a cake that hasn’t set yet will drag candy pieces through the crumb instead of showing them off.
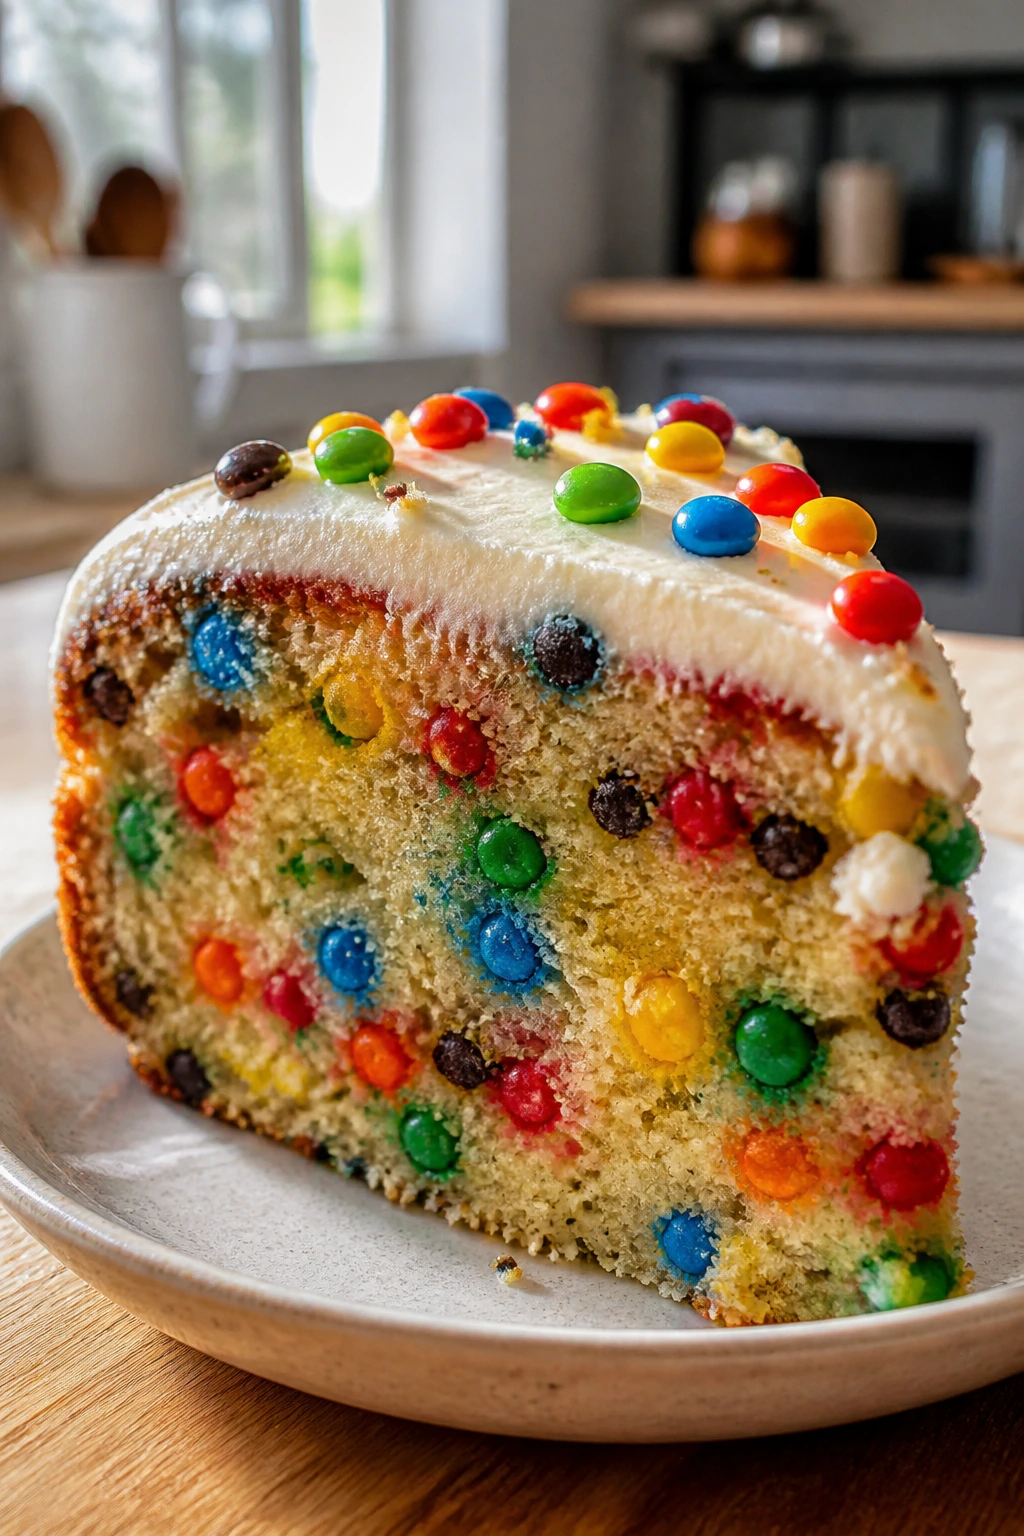
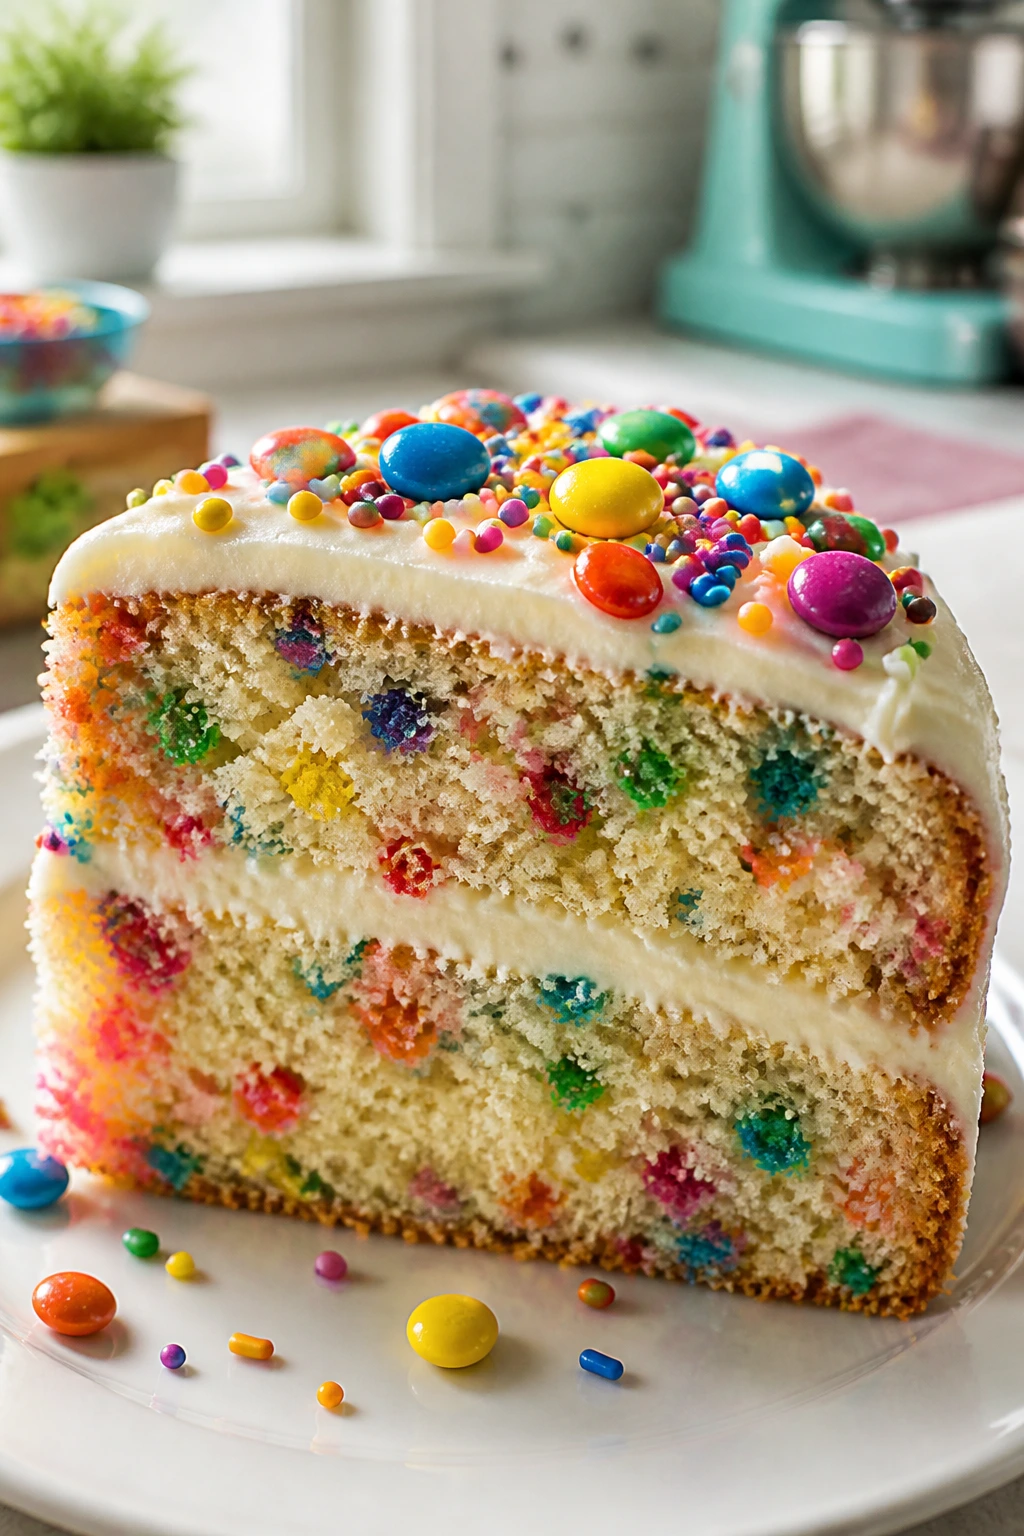
Expect a soft, fine crumb with a few colored pockets from the candy pieces. The frosting should spread thickly, not pour. If it looks loose, chill it. If the cake looks a little pale coming out of the oven, that’s fine; this is not the kind of cake that needs deep browning to taste done.
The Ingredient List, Clean and Measured
For the Cake:
- 2 1/2 cups all-purpose flour
- 2 1/2 teaspoons baking powder
- 1/2 teaspoon baking soda
- 3/4 teaspoon fine sea salt
- 1 cup unsalted butter, softened to cool room temperature
- 1 3/4 cups granulated sugar
- 4 large eggs, room temperature
- 1 tablespoon pure vanilla extract
- 1 cup buttermilk, room temperature
- 1/2 cup full-fat sour cream, room temperature
- 1 cup rainbow candy-coated chocolate pieces, divided
- 2 tablespoons all-purpose flour, for tossing the candy pieces that go inside the batter
For the Cream Cheese Frosting:
- 8 ounces block cream cheese, softened but still cool
- 1/2 cup unsalted butter, softened
- 3 1/2 to 4 cups powdered sugar, sifted
- 1 teaspoon pure vanilla extract
- 1/4 teaspoon fine sea salt
- 1 to 2 tablespoons heavy cream or whole milk
For the Finish:
- 1/4 cup extra rainbow candy-coated chocolate pieces
If you want the cake to read as bright rather than just sweet, do not reduce the salt. That little bit of salt is what keeps the vanilla and dairy from tasting one-note. It matters more than people think.
Why Each Ingredient Matters
For the Cake Base
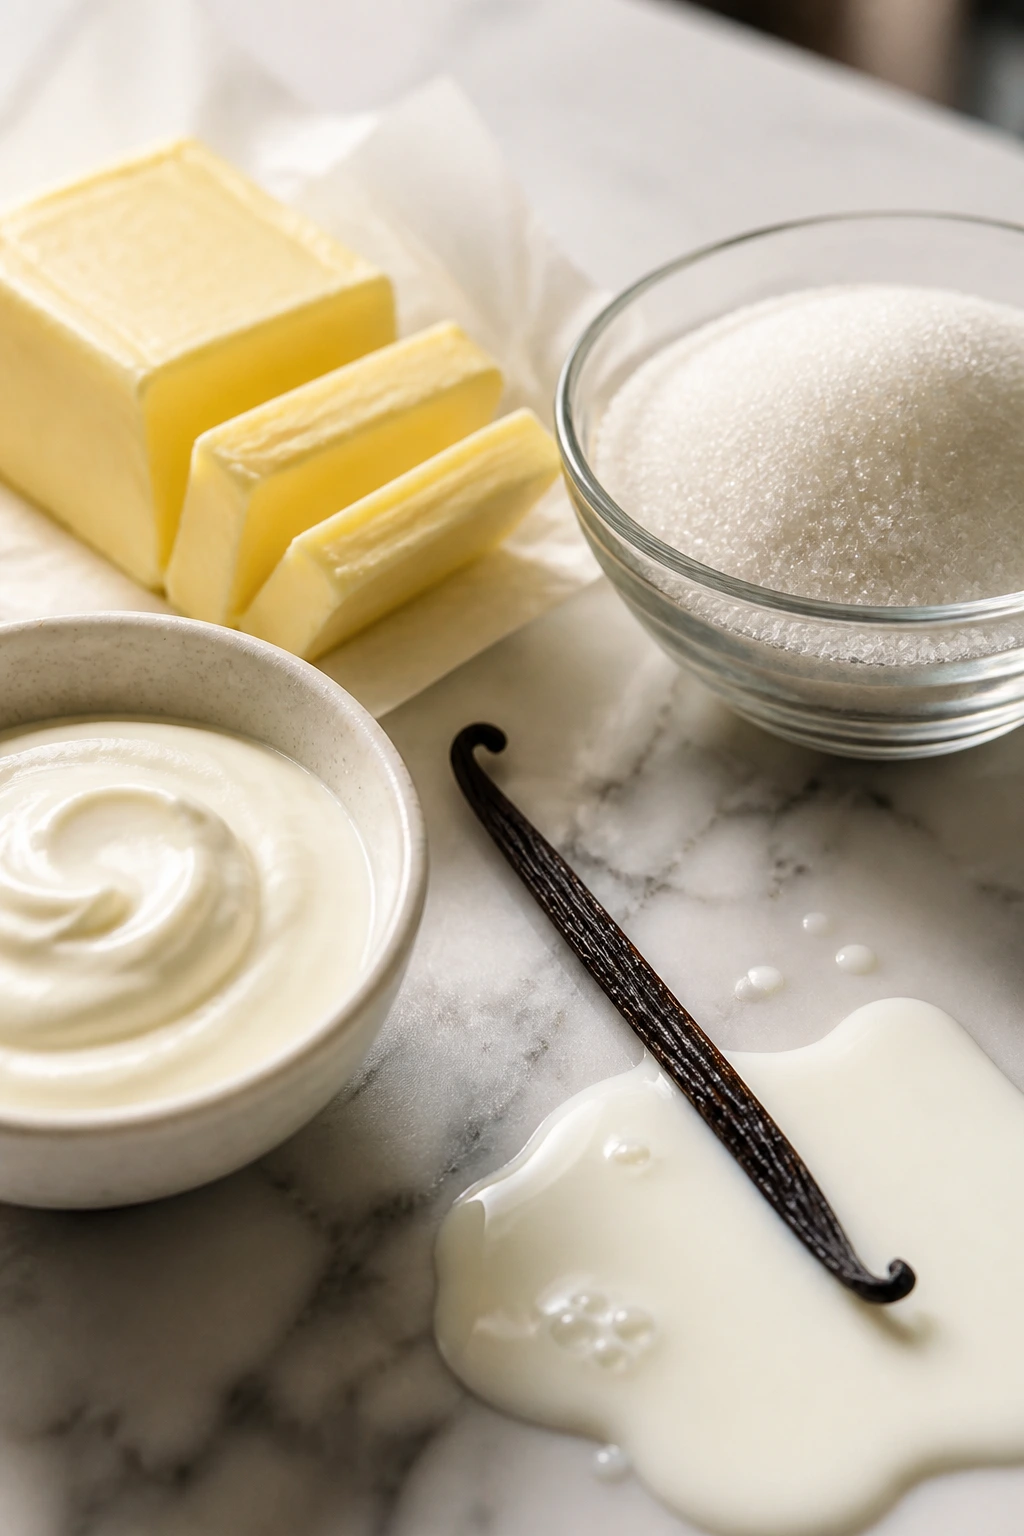
What to use: 2 1/2 cups all-purpose flour, 2 1/2 teaspoons baking powder, 1/2 teaspoon baking soda, 3/4 teaspoon fine sea salt, 1 cup unsalted butter, 1 3/4 cups granulated sugar, 4 eggs, 1 tablespoon vanilla, 1 cup buttermilk, and 1/2 cup sour cream.
Preparation: Bring the eggs, buttermilk, and sour cream to room temperature before you start. The butter should be soft enough to indent under a fingertip, but not greasy or half-melted.
Substitutions: You can use cake flour for a slightly finer crumb, but keep the same total amount. Plain Greek yogurt can step in for the sour cream, and whole milk plus 1 tablespoon lemon juice can stand in for the buttermilk after a 5-minute rest.
Tips: The texture comes from the balance of fat, acid, and air. If the butter is too warm, the cake bakes up greasy; if it’s too cold, the sugar won’t cream properly and you lose lift.
For the Rainbow Candy Pieces
What to use: 1 cup rainbow candy-coated chocolate pieces, divided, with 3/4 cup going into the batter and 1/4 cup saved for the top.
Preparation: Toss the 3/4 cup meant for the batter with 2 tablespoons flour so the pieces get a thin coating. That dry dusting helps them cling to the batter instead of dropping straight to the bottom.
Substitutions: Mini candy-coated chocolates work well if you want smaller bites. If you insist on soft chewy rainbow candy, freeze it first and chop it into tiny pieces, but expect some color bleed and softer pockets.
Tips: Hard candies are a bad fit here. They melt, scorch, or turn glassy in the oven. Candy-coated chocolate pieces give you the color without ruining the crumb.
For the Cream Cheese Frosting
What to use: 8 ounces block cream cheese, 1/2 cup unsalted butter, 3 1/2 to 4 cups powdered sugar, 1 teaspoon vanilla, 1/4 teaspoon salt, and 1 to 2 tablespoons heavy cream or milk.
Preparation: Let the cream cheese and butter soften just enough to beat smooth, then stop. If either one gets too warm, the frosting turns loose and stays loose.
Substitutions: A little mascarpone can replace part of the cream cheese if you want a milder tang. For a dairy-free version, use a block-style cream cheese substitute, but expect a softer set.
Tips: Block cream cheese works better than tub cream cheese because tub versions carry extra water. That extra water is why some frostings slump the minute they hit warm cake.
For the Finish
What to use: 1/4 cup extra rainbow candy-coated chocolate pieces for the top.
Preparation: Add the topping after the frosting is spread. Press only lightly so the pieces sit on the surface instead of sinking into the frosting.
Substitutions: Rainbow sprinkles, sanding sugar, or chopped white chocolate can work if you want a different look.
Tips: If your kitchen is warm, finish the top right before serving. Candy pieces can lose their shine if they sit on soft frosting for hours.
The Tools Worth Pulling Out
- 9×13-inch metal baking pan: A light-colored metal pan browns more evenly than a dark nonstick pan, which can overcook the edges before the center sets.
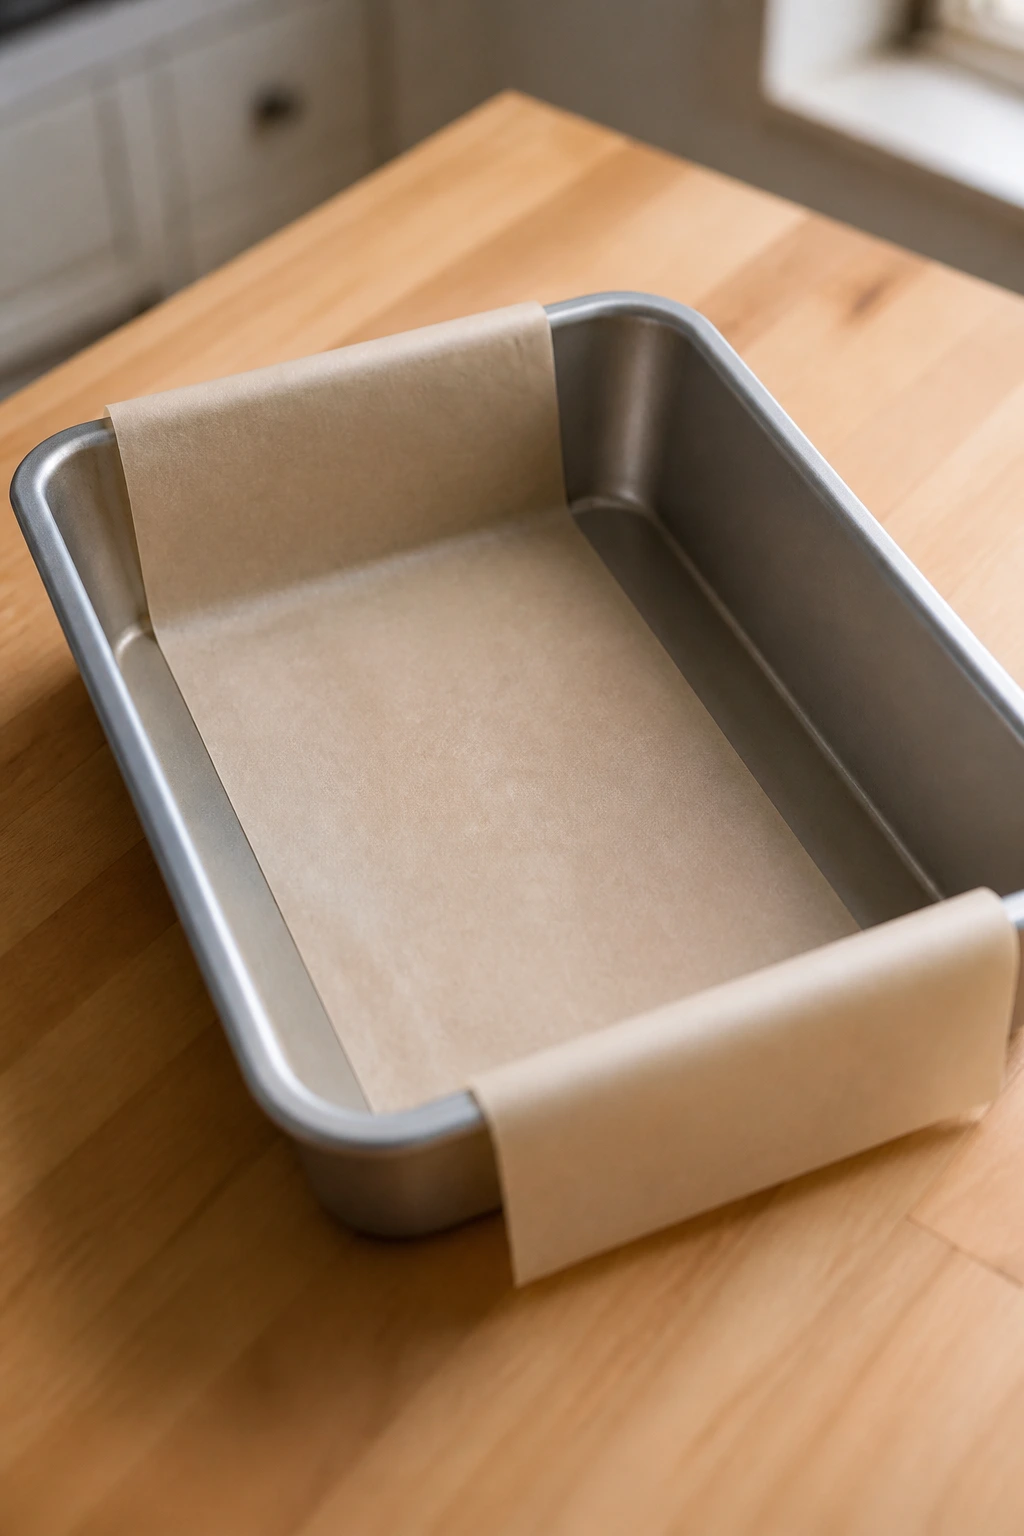
- Parchment paper sling: Leave enough overhang on the long sides to lift the cake out cleanly if you want perfect squares.
- Stand mixer or hand mixer: The butter-and-sugar step goes faster with a mixer, and the frosting is much easier to make smooth that way.
- Large mixing bowls: You’ll want at least two, one for dry ingredients and one for the batter.
- Rubber spatula: This is the tool that saves the cake. Use it for the final folds so you do not beat the batter into toughness.
- Offset spatula: Not required, but it spreads cream cheese frosting with less tearing and fewer crumbs.
- Wire rack: Cooling the cake on a rack keeps the bottom from sweating and turning sticky.
- Fine-mesh sieve: Helpful for sifting powdered sugar into the frosting, especially if the bag has clumps.
Mixing the Batter Without Making It Tough
Prepare the Pan and Candy:
- Preheat the oven to 350°F (175°C). Grease a 9×13-inch metal baking pan, line it with parchment paper if you want a sling, and grease the parchment too. The corners should sit flat, not bunched up, or the batter will bake unevenly there.
- In a medium bowl, whisk together the flour, baking powder, baking soda, and salt until the mixture looks even and pale. No streaks. No clumps hiding in the corners.
- In a small bowl, toss the 3/4 cup candy pieces meant for the batter with the 2 tablespoons flour until every piece looks lightly dusted. Keep the remaining 1/4 cup aside for the top. Do not skip this if you want the candy suspended instead of sinking.
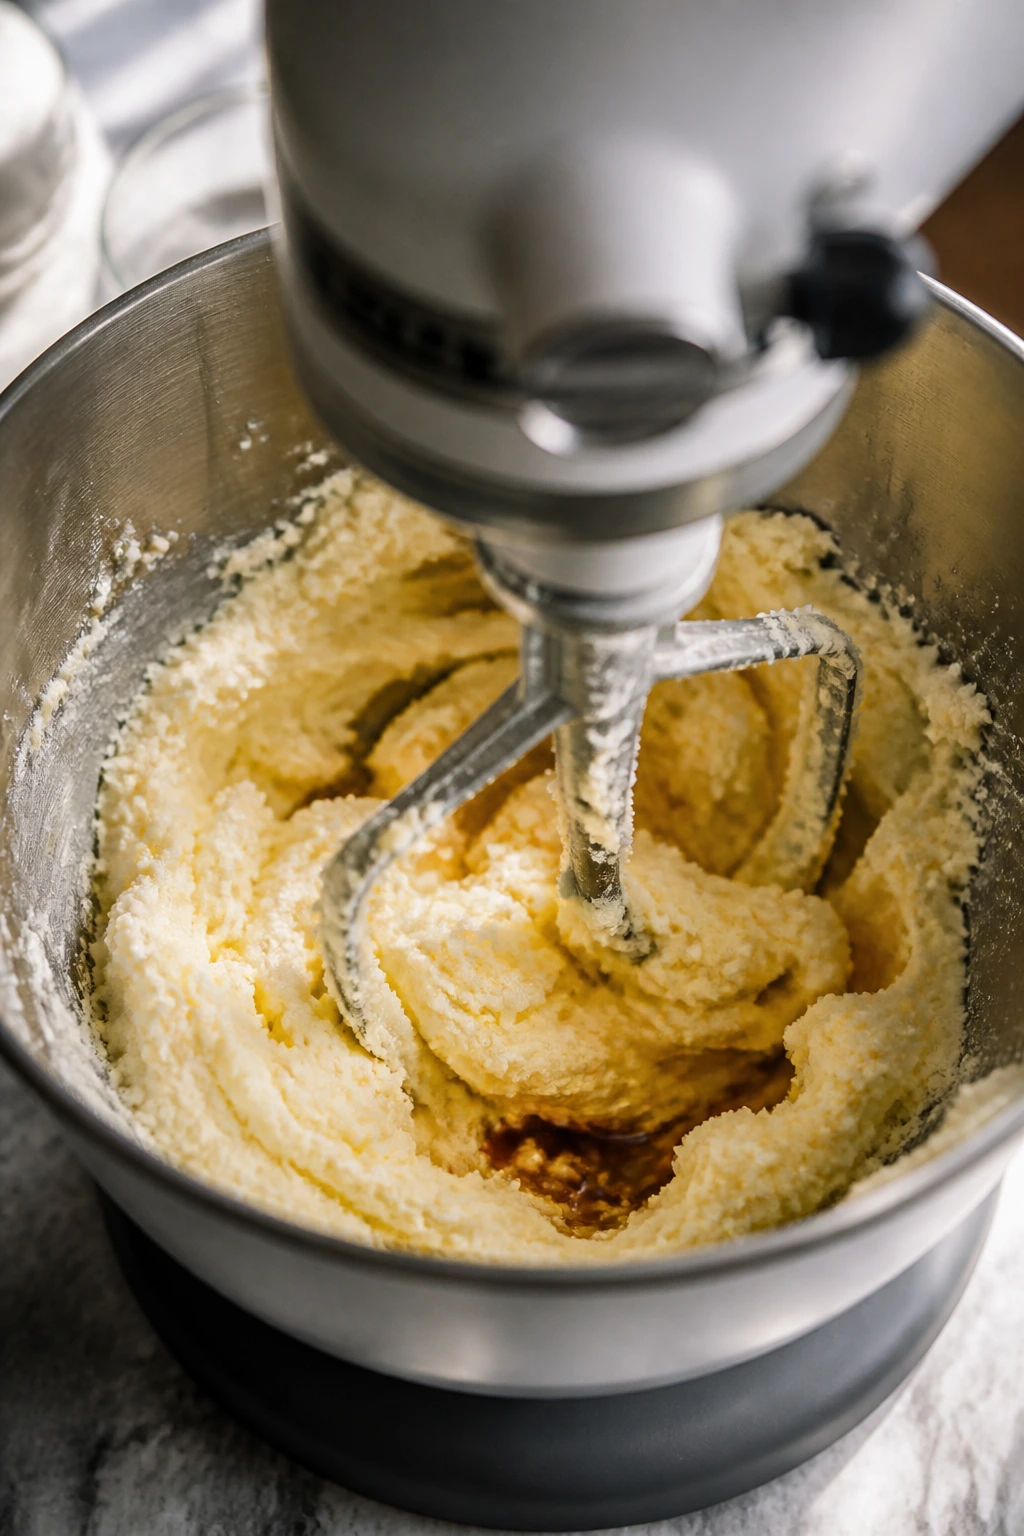
Build the Batter: 4. In a large mixing bowl, beat the softened butter and granulated sugar on medium speed for 3 to 4 minutes, until the mixture looks paler, fluffier, and slightly increased in volume. It should smell like sweet butter, not just look like yellow paste. 5. Add the eggs one at a time, beating for about 20 seconds after each addition and scraping the bowl once or twice. The batter may look a little curdled. That’s normal. 6. Beat in the vanilla extract, then mix the buttermilk and sour cream together in a measuring cup. Reduce the mixer to low speed and add the dry ingredients in 3 additions, alternating with the buttermilk-sour cream mixture in 2 additions, beginning and ending with the dry ingredients. Stop as soon as the flour disappears. If you keep mixing after that, the crumb gets tight. 7. Use a rubber spatula to fold in the flour-dusted candy pieces by hand. Spread the batter into the prepared pan and smooth the top. Tap the pan once on the counter to release any large air pockets.
The batter should look thick but spreadable, not pourable. If it’s so stiff that you have to drag it across the pan in clumps, something is off — usually cold dairy, overflour, or both. A properly mixed batter will settle into the pan with a few swipes of the spatula.
Baking, Cooling, and Frosting the Cake

Bake and Cool: 8. Bake for 32 to 38 minutes, rotating the pan once around the 20-minute mark if your oven has hot spots. The top should spring back when touched lightly in the center, and a toothpick should come out with a few moist crumbs, not wet batter. If the top is browning too fast, tent it loosely with foil after 25 minutes. 9. Set the pan on a wire rack and cool the cake in the pan for at least 1 hour. If you used parchment, lift the cake out after 15 to 20 minutes and let it finish cooling on the rack. Do not frost it while it is warm. The frosting will slide, and the candy pieces on top will turn messy fast.
Make the Frosting and Finish: 10. In a clean mixing bowl, beat the cream cheese and butter on medium speed for 2 to 3 minutes until the mixture looks smooth and creamy with no lumps. If you see pale flecks of cream cheese, keep beating until they disappear. 11. Add the powdered sugar in 2 additions, mixing on low speed at first so the kitchen doesn’t fog with sugar. Beat in the vanilla, salt, and heavy cream or milk, then increase to medium speed for 1 minute until the frosting is thick and spreadable. If it looks too soft, chill it for 10 to 15 minutes before frosting the cake. 12. Spread the frosting over the completely cooled cake in wide swirls or smooth strokes, whichever mood you’re in. Scatter the remaining 1/4 cup candy pieces over the top and press them in gently so they stay visible. 13. Chill the finished cake for 20 to 30 minutes before slicing. Use a hot knife wiped dry between cuts if you want neat squares with sharp edges.
The frosting should hold soft peaks, not slump like pudding. If it seems loose, the fix is almost always a short chill, not more sugar. More sugar can make it too sweet and oddly grainy.
How to Serve It So the Candy Still Pops
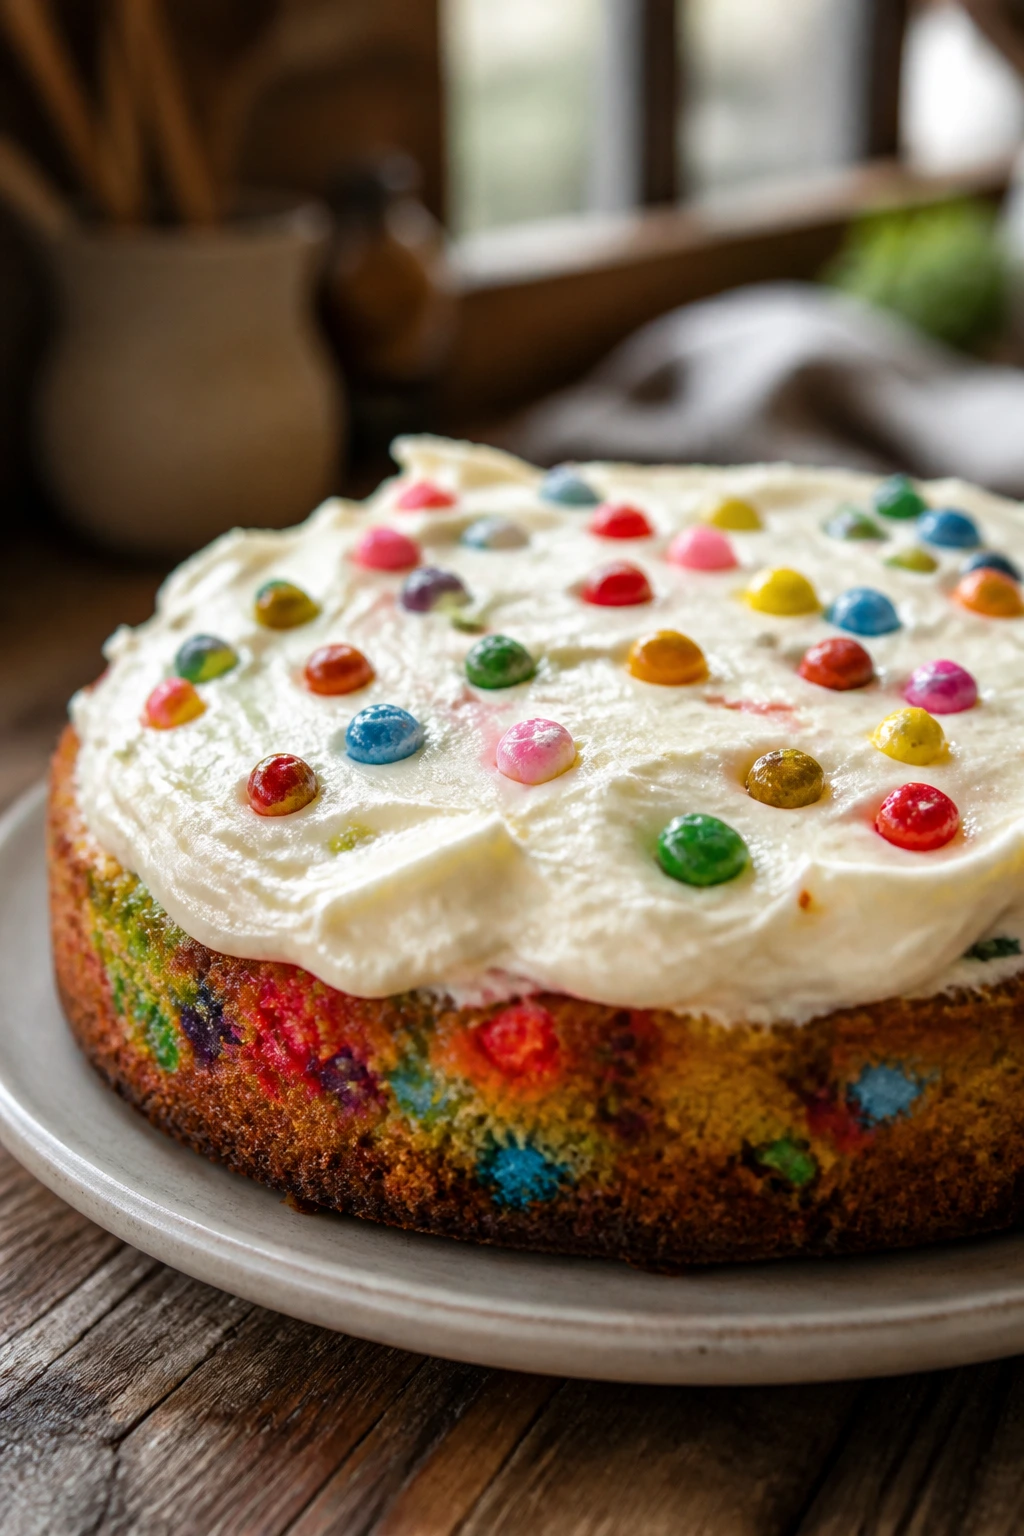
Presentation: I like to leave the frosting a little rustic rather than smoothing it to a bakery-perfect finish. A few loose swirls catch the candy and keep the whole cake from looking stiff. If you want especially clean squares, chill the frosted cake for 20 to 30 minutes and slice with a long, hot knife wiped dry between each cut.
Accompaniments: A plain glass of cold milk is the obvious call, and it earns that spot because the tangy frosting and sweet candy both need something clean alongside them. Strong coffee works too, especially if you cut the slices generously. If you want a dessert plate, add a small handful of fresh berries or a spoonful of raspberry sauce; the acid sharpens the cream cheese.
Portions: Twelve big pieces feel right for a casual dinner table. Fifteen smaller squares make more sense for birthdays, potlucks, or a buffet where people may come back for seconds. If you’re feeding kids, cut the pieces a little smaller than you think you should; the candy and frosting are richer than they look.
Beverage Pairing: Cold brew, black coffee, or sparkling lemonade all work. The coffee cuts the sweetness, while lemonade gives you a sharp, fizzy contrast that keeps the cake from feeling heavy.
Small Tweaks That Improve Flavor and Slicing
Flavor Enhancement: A teaspoon of lemon zest in the frosting makes a bigger difference than people expect. It sharpens the cream cheese and keeps the candy from tasting flat. If you like almond flavor, replace 1/2 teaspoon of the vanilla with almond extract for a more bakery-style finish.
Texture Control: Keep the candy inside the batter to 3/4 cup and save the rest for the top. That ratio gives you enough color in the crumb without overloading the cake with sugar. If you want a finer, more uniform slice, chop the candy pieces a little smaller before tossing them with flour.
Time-Saver: Bake the cake a day ahead and frost it once it has fully cooled. A slightly chilled cake is easier to frost neatly, and the flavor settles overnight. I actually prefer it that way.
Make-It-Yours: If you want a less sweet slice, use half candy-coated chocolate pieces and half white chocolate chips on top, then lean harder on the salt in the frosting. If you want more color, add a pinch of rainbow sprinkles only after the frosting is spread, not into the batter, where they can bleed.
Mistakes That Flatten the Crumb or Soften the Frosting
- Using soft chewy candy straight from the bag: It can melt into sticky streaks and sink in ugly clumps. If you want chewy candy in the cake, freeze it first and chop it tiny.
- Overmixing after the flour goes in: The cake turns tight and a little rubbery, especially around the edges. Stop the mixer the second the last flour streak disappears, then finish by hand.
- Frosting a warm cake: The frosting slides, the candy on top drifts, and the whole surface looks wet. Let the cake cool completely, even if that means waiting longer than you want to.
- Using tub cream cheese: The frosting gets loose and can taste a little watery. Block cream cheese gives the frosting the thick, spreadable texture it needs.
- Waiting for the toothpick to come out bone-dry: That usually means the cake has gone a little far. Pull it when the tester shows a few moist crumbs, not when it’s spotless.
- Skipping the flour toss on the candy: Candy pieces sink, gather at the bottom, and leave the middle looking empty. That thin flour coat makes a real difference.
Variations That Change the Personality of the Cake
Birthday Confetti Sheet Cake: Swap half of the candy-coated pieces for 1/2 cup rainbow sprinkles, but keep the candy pieces on top for structure. This version reads more like classic birthday cake and less like a candy bar in cake form. It’s the one I’d make for a kid’s party with a room full of sticky hands.
Citrus Spark Version: Add 1 tablespoon lemon zest to the cake batter and another teaspoon to the frosting. The citrus wakes up the cream cheese and gives the candy a cleaner finish. It’s a better choice if you do not want the cake to lean too sweet.
Chocolate Candy Crunch: Fold 1/2 cup mini chocolate chips into the batter along with the rainbow candy pieces. The chocolate adds a darker, more familiar flavor and gives the cake a little more backbone. This version is less bright-looking, but it eats beautifully.
Cupcake Parade: Bake the batter in lined muffin tins at 350°F for 18 to 20 minutes. Frost each one with a small swirl and top with a few candy pieces. That route makes the recipe easier to serve at a party where people are walking around with plates.
Chewy Candy Swap: If you want soft rainbow candy in the crumb, freeze it first, chop it very small, and fold in only 3/4 cup. Expect some color bleed and a few gooier pockets. That is the tradeoff, and it’s fine if that’s the texture you want.
Make-Ahead, Storage, and Freezing Notes
Room Temperature: Because of the cream cheese frosting, keep the finished cake out for no more than 2 hours if the room is warm, or up to about 3 hours in a cool room. After that, it belongs in the refrigerator. No argument.
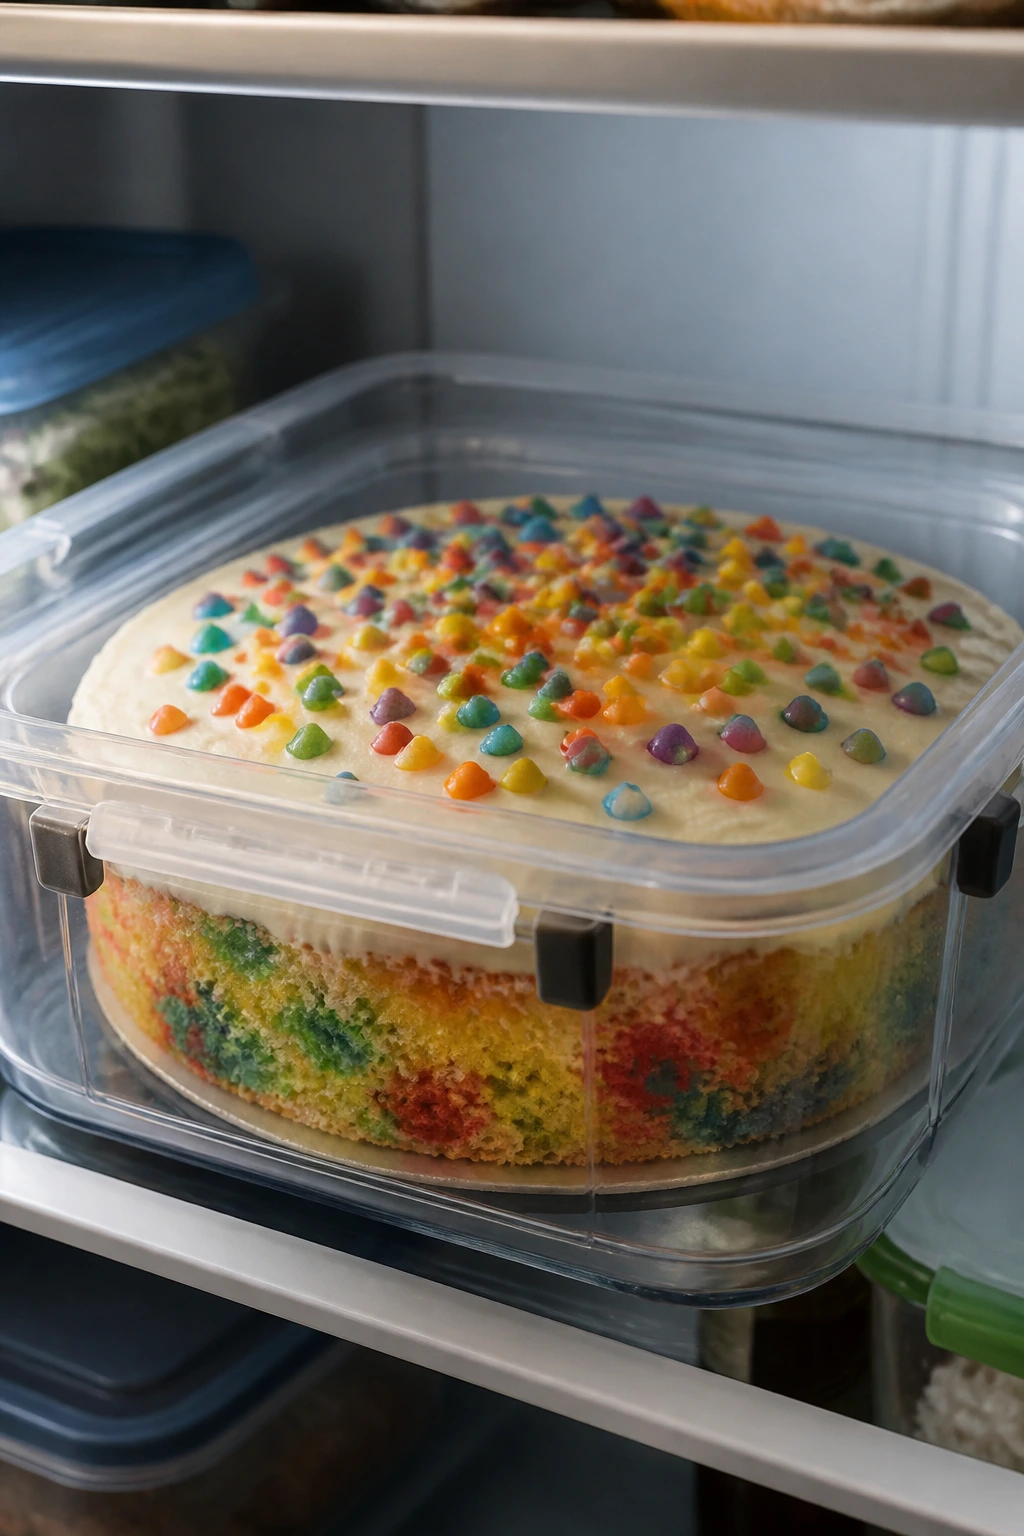
Refrigerator: Store the frosted cake covered in the fridge for up to 4 days. A cake dome works well, but plastic wrap pressed loosely over the pan is fine too. The crumb firms up a little in the cold, which is why I like letting slices sit at room temperature for 20 to 30 minutes before serving.
Freezer: Unfrosted cake freezes better than frosted cake. Wrap the cooled cake tightly in plastic wrap and then foil, and freeze for up to 2 months. If you need to freeze a frosted cake, cut it into slices first, freeze the slices on a tray until firm, then wrap each slice separately. That gives you a month or so of decent texture without crushing the frosting.
Make-Ahead: Bake the cake layer a day ahead, keep it tightly covered at room temperature once it is fully cool, and frost it the next day. The frosting itself can be made 2 days ahead and kept refrigerated; beat in a teaspoon or two of cream before spreading if it stiffens too much. Add the candy topping close to serving time so it stays bright.
Reheating / Bringing It Back: You do not need to heat the cake unless you want a soft slice from the freezer. For a chilled slice, let it sit at room temperature for 20 to 30 minutes. If you want to warm an unfrosted slice, 8 to 10 seconds in the microwave is enough; any longer and the frosting gets oily and unpleasant.
Questions People Ask About Rainbow Candy Cake
Can I use a different kind of candy?
Yes, but choose candy that behaves in the oven. Candy-coated chocolate pieces are the safest bet because they hold their shape and color. Soft chewy candy can work if you freeze and chop it first, while hard candy usually melts badly or turns sticky.
Can I turn this into cupcakes instead of a sheet cake?
You can, and the batter behaves nicely in cupcake liners. Fill each cup about two-thirds full and bake at 350°F for 18 to 20 minutes, or until the tops spring back lightly. Frost them only after they are fully cool, or the cream cheese frosting will slide off the domes.
Why did my candy sink to the bottom?
The candy was probably too heavy, too warm, or not coated well enough in flour. Tossing the pieces with 2 tablespoons flour and folding them in at the end helps a lot. Also, a batter that’s overmixed or too thin can’t hold mix-ins very well.
Do I have to refrigerate the cake?
Yes, once it is frosted with cream cheese frosting. The cake can sit out for a short serving window, but it should go back into the fridge after that. If you want a cake that can sit on a buffet all afternoon, use a buttercream instead.
Can I make it a day ahead?
Absolutely, and I think it slices better after an overnight rest. The crumb sets, the frosting firms slightly, and the candy pieces on top stay put. Just keep it covered so the edges do not dry out in the fridge.
How do I keep the frosting from getting runny?
Use block cream cheese, not tub cream cheese, and keep both the cream cheese and butter softened but not warm. If the frosting feels too soft after mixing, chill it for 10 to 15 minutes before spreading. Adding more powdered sugar can help, but it can also push the frosting into cloying territory, so chill first.
Can I freeze slices after the cake is frosted?
Yes, though the texture is better if you freeze slices individually instead of the whole cake. Wrap each slice tightly, freeze until firm, and thaw overnight in the refrigerator. Let it sit at room temperature for 20 minutes before serving so the frosting softens again.
A Bright Slice Worth Repeating
A cake like this doesn’t pretend to be subtle. It shows up with color in the crumb, tang in the frosting, and enough sugar to feel celebratory without tipping into chaos. That balance is what makes it work. The candy is there for texture and fun, but the cake itself still has to taste like a real cake, not a novelty.
That is why the details matter: room-temperature ingredients, a light hand after the flour goes in, candy coated in a little flour, and a frosting that stays thick instead of sliding off the pan. Get those pieces right and the cake cuts cleanly, keeps its color, and tastes better the next day than you might expect.
Keep a bag of candy-coated pieces in the pantry and this turns into the kind of dessert you can make without much planning, which is exactly how a good party cake should behave.
Moist Rainbow Candy with Cream Cheese Frosting — Recipe Card
Recipe Name: Moist Rainbow Candy with Cream Cheese Frosting
Description: A soft buttermilk vanilla sheet cake studded with rainbow candy-coated chocolate pieces and finished with tangy cream cheese frosting. The crumb stays tender, the candy stays visible, and the frosting keeps the sweetness in check.
Prep Time: 25 minutes
Cook Time: 32 to 38 minutes
Total Time: about 1 hour 25 minutes active, plus about 1 hour cooling and 20 to 30 minutes chilling
Course: Dessert
Cuisine: American
Servings: 12 to 15 servings
Calories: about 430 kcal per serving
Ingredients
For the Cake:
- 2 1/2 cups all-purpose flour
- 2 1/2 teaspoons baking powder
- 1/2 teaspoon baking soda
- 3/4 teaspoon fine sea salt
- 1 cup unsalted butter, softened to cool room temperature
- 1 3/4 cups granulated sugar
- 4 large eggs, room temperature
- 1 tablespoon pure vanilla extract
- 1 cup buttermilk, room temperature
- 1/2 cup full-fat sour cream, room temperature
- 1 cup rainbow candy-coated chocolate pieces, divided
- 2 tablespoons all-purpose flour, for tossing the candy pieces going into the batter
For the Cream Cheese Frosting:
- 8 ounces block cream cheese, softened but still cool
- 1/2 cup unsalted butter, softened
- 3 1/2 to 4 cups powdered sugar, sifted
- 1 teaspoon pure vanilla extract
- 1/4 teaspoon fine sea salt
- 1 to 2 tablespoons heavy cream or whole milk
For the Finish:
- 1/4 cup extra rainbow candy-coated chocolate pieces
Instructions
-
Preheat the oven to 350°F (175°C). Grease a 9×13-inch metal baking pan and line it with parchment if you want an easy lift-out.
-
Whisk the flour, baking powder, baking soda, and salt together in a medium bowl.
-
Toss 3/4 cup of the rainbow candy pieces with the 2 tablespoons flour until lightly coated. Reserve the remaining 1/4 cup for the top.
-
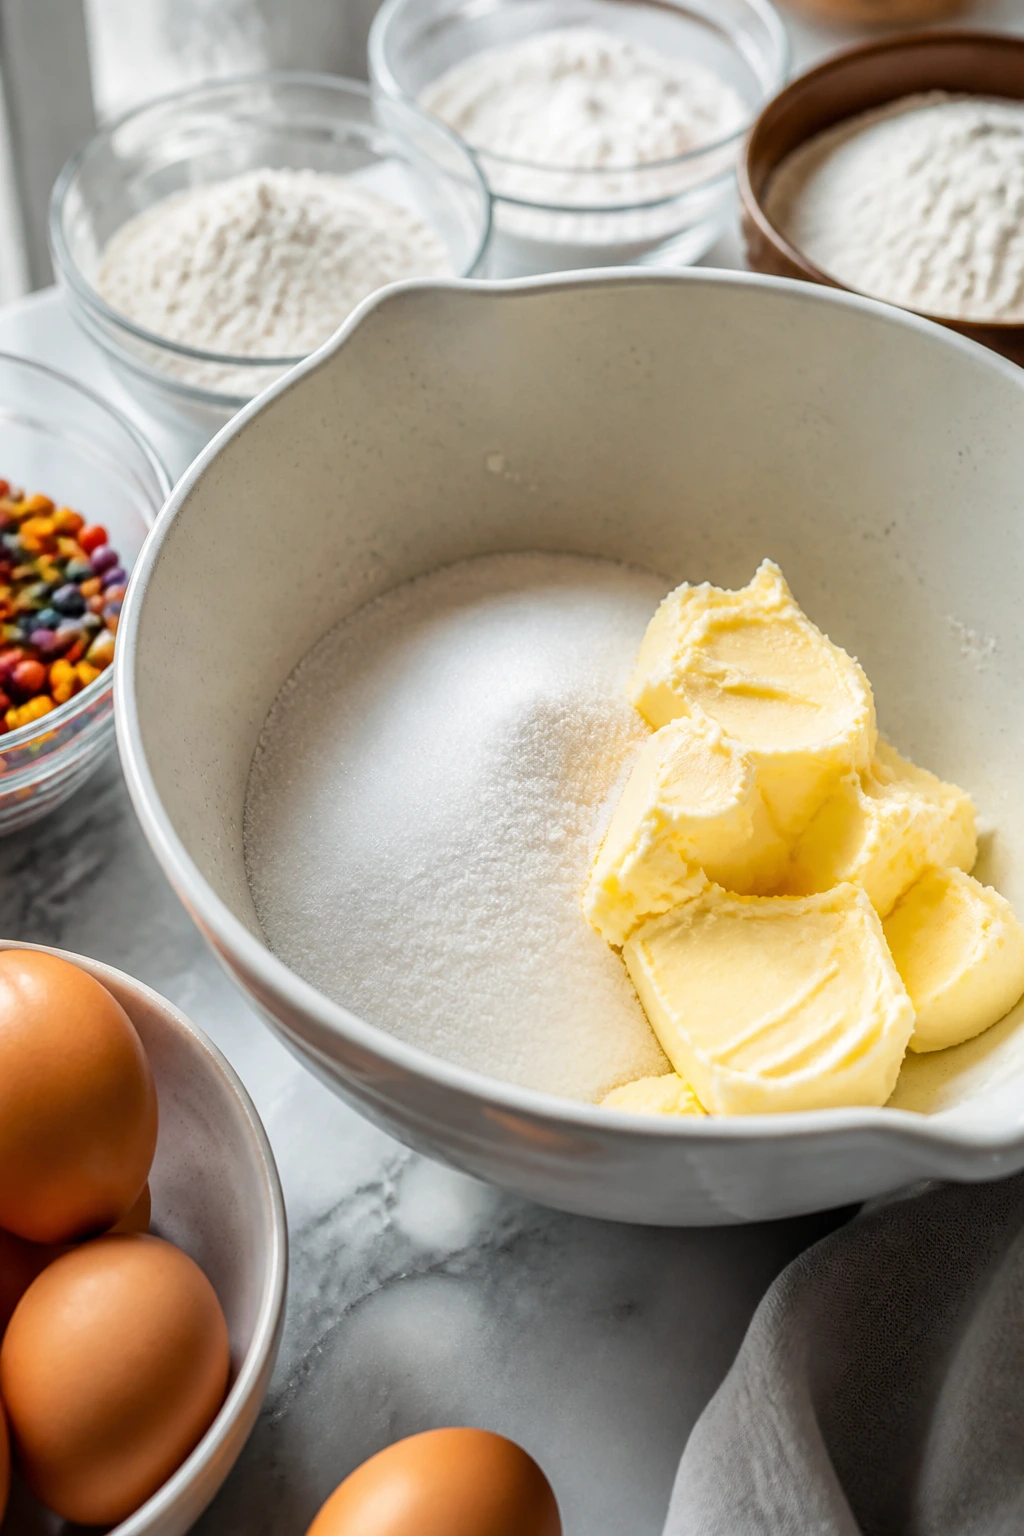
Beat the butter and sugar on medium speed for 3 to 4 minutes, until pale and fluffy.
-
Add the eggs one at a time, beating briefly after each one, then mix in the vanilla.
-
Whisk the buttermilk and sour cream together. Add the dry ingredients in 3 additions, alternating with the buttermilk mixture in 2 additions, mixing on low only until combined. Fold in the flour-coated candy pieces.
-
Spread the batter into the pan and smooth the top.
-
Bake for 32 to 38 minutes, until the center springs back lightly and a toothpick comes out with a few moist crumbs.
-
Cool the cake completely in the pan on a wire rack, about 1 hour.
-
Beat the cream cheese and butter until smooth. Add the powdered sugar, vanilla, salt, and cream, then beat until thick and spreadable.
-
Frost the cooled cake and scatter the remaining candy pieces over the top.
-
Chill for 20 to 30 minutes before slicing for the neatest cuts.
Notes: Use block cream cheese, not tub cream cheese. If the frosting feels loose, chill it before spreading. For the cleanest slice, serve the cake slightly chilled, then let each piece sit 20 minutes at room temperature.