
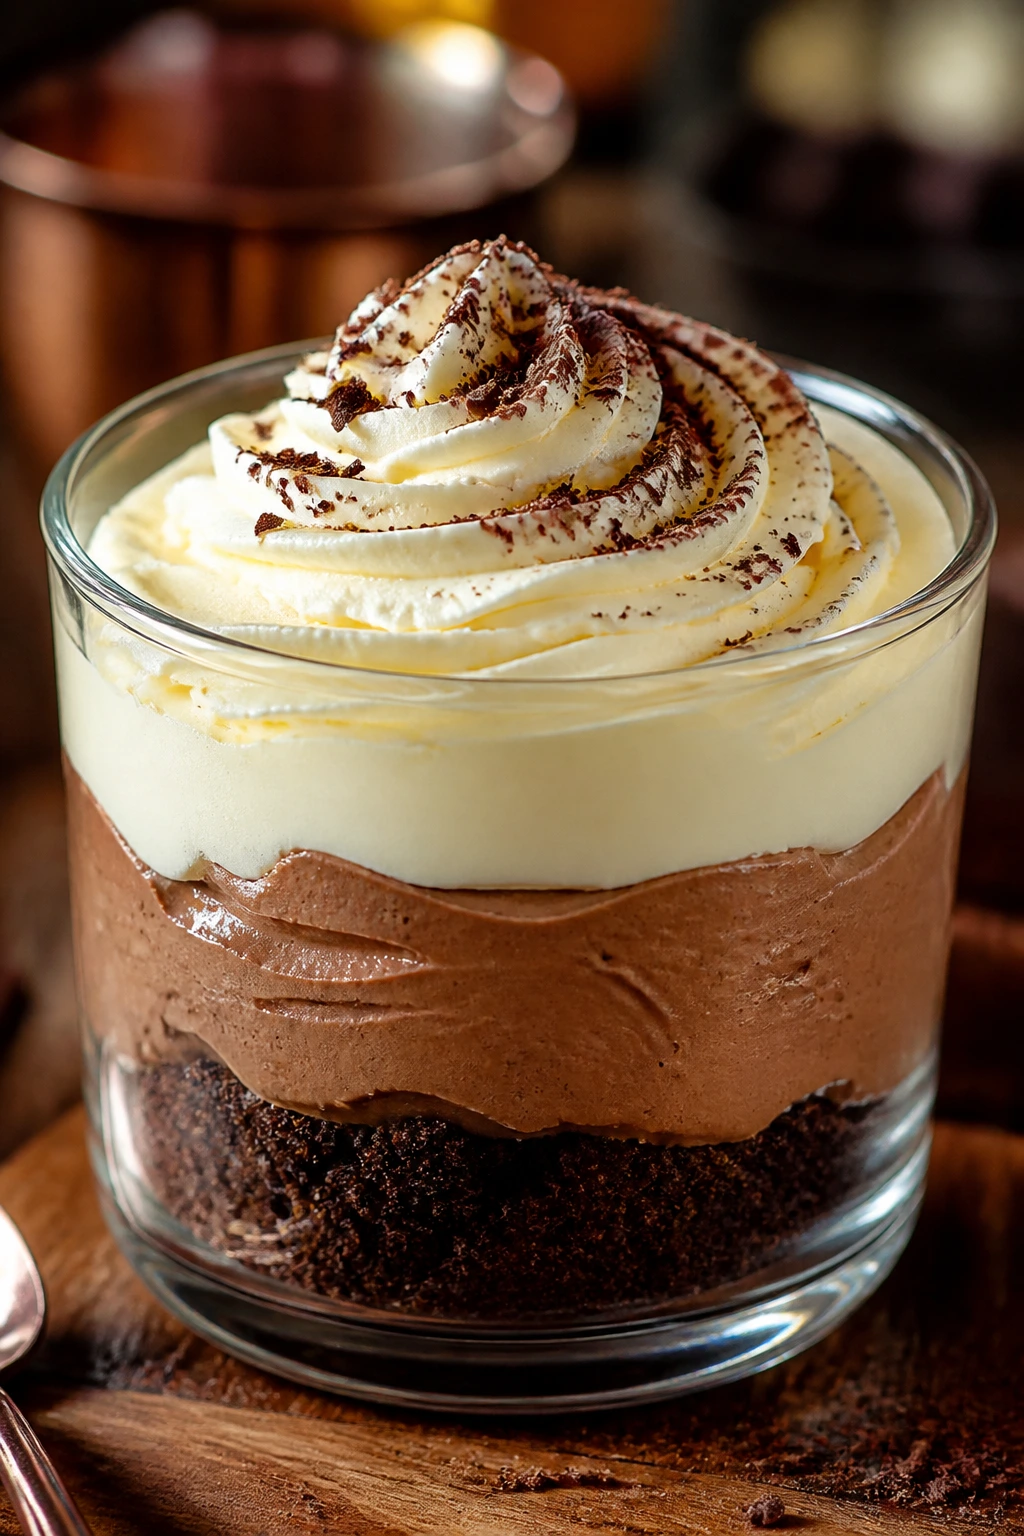
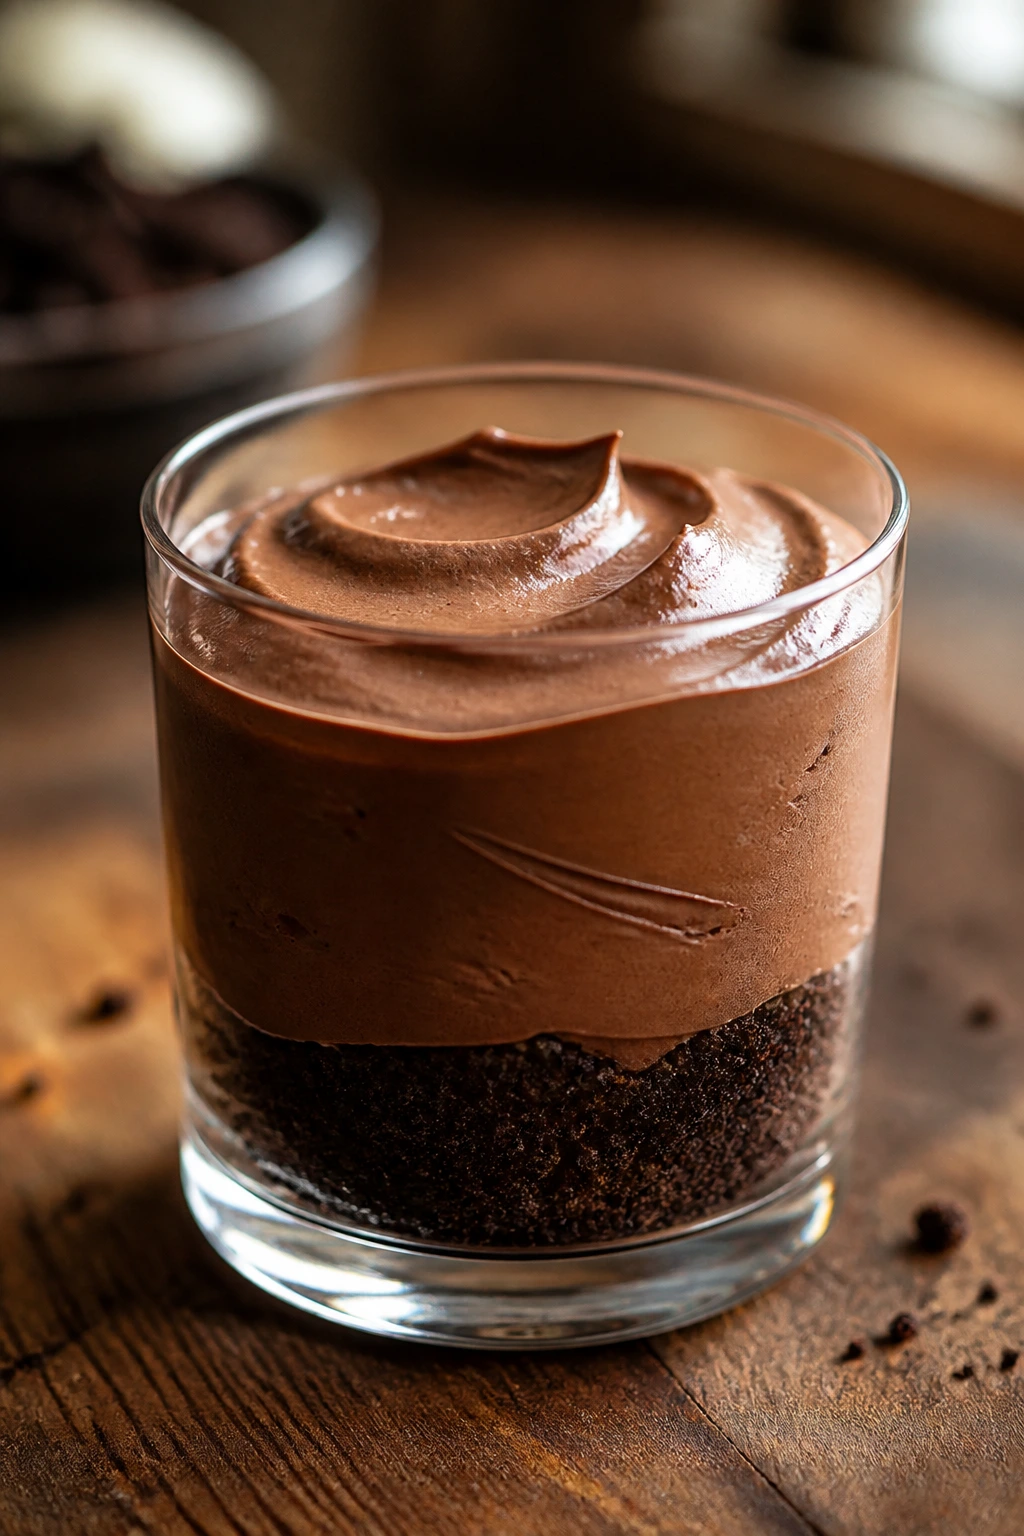
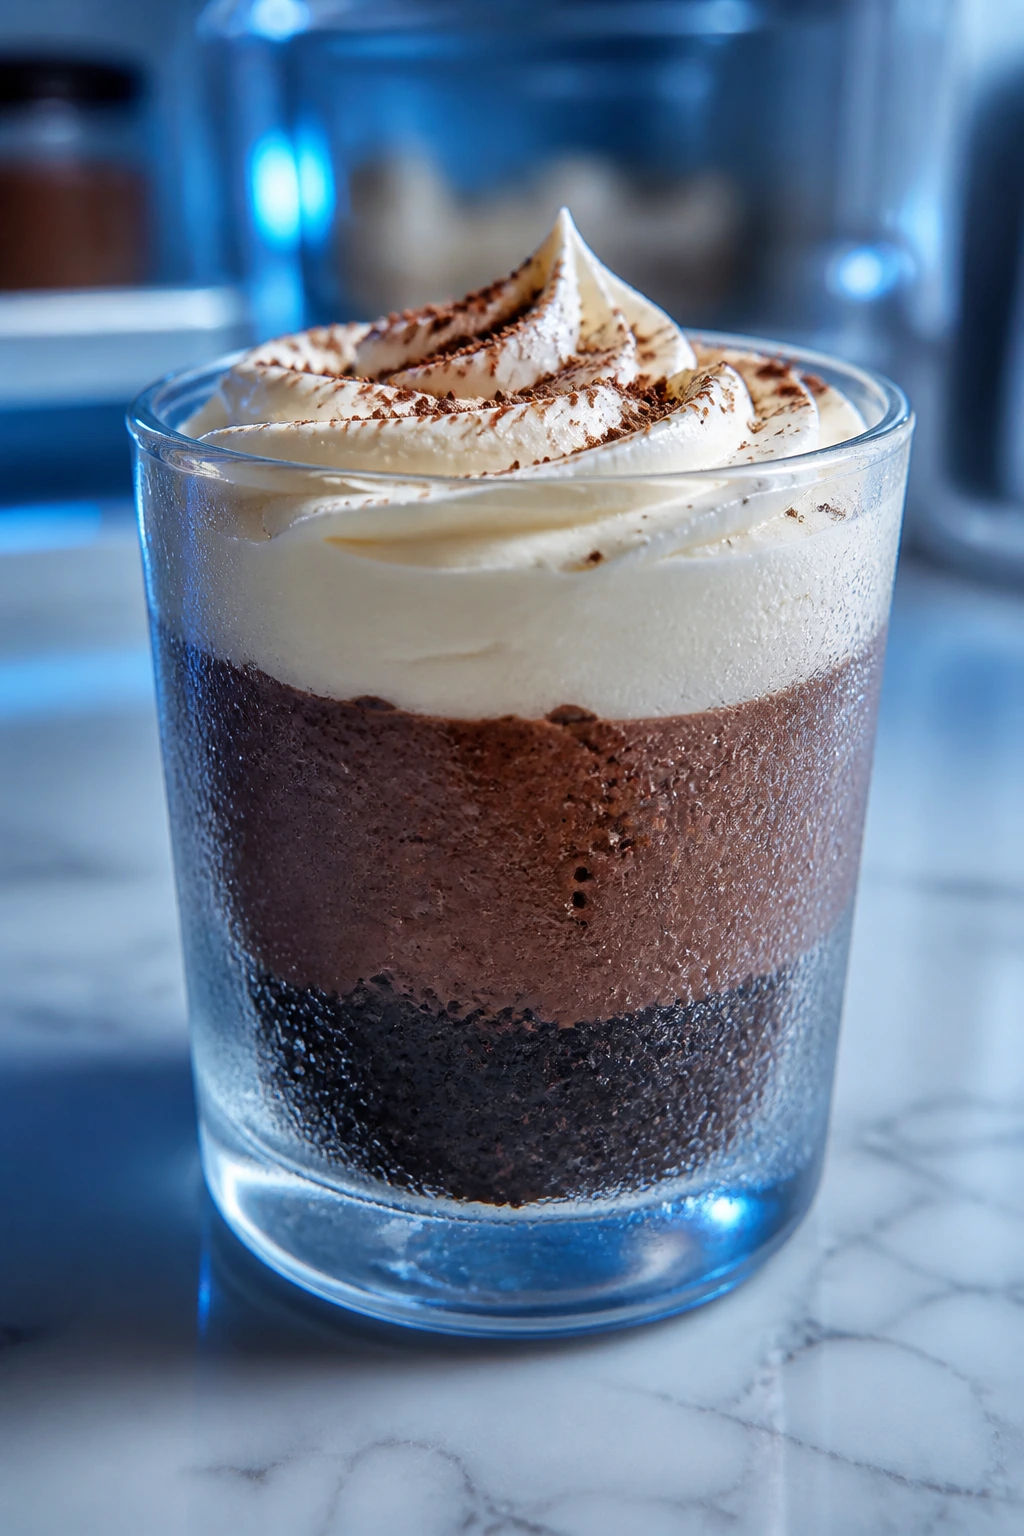
Rich Chocolate Mousse Cups with Cream Cheese Frosting are the kind of dessert that makes a fridge shelf feel a little ceremonial. You get a chocolate crumb base, a mousse that tastes dark and cool without turning heavy, and a cream cheese topping with that small tang that keeps each spoonful from collapsing into sugar. The first bite is all texture: soft crumbs, silky chocolate, then a cold, creamy finish that hangs around for a second before disappearing.
If you’ve ever made chocolate mousse that went grainy, soupy, or oddly flat after chilling, this version sidesteps most of that drama. There are no eggs to temper, no custard to babysit, and no stovetop panic once the chocolate starts to thicken. The work happens in the temperature control: melted chocolate that’s cooled enough to fold, cream whipped to soft peaks instead of stiff ones, and frosting beaten until it loses the chalky edge that cream cheese can carry if you rush it.
I like desserts in cups for one simple reason: the layers stay honest. You can see what you’re getting, and you can chill them until the base sets instead of hoping a slice survives the plate. These cups also travel well, which matters more than people admit. A dessert that can sit in small glasses and still look composed after a long chill earns its place.
Why These Chocolate Mousse Cups Keep Getting Made
-
The chocolate tastes darker than the ingredient list suggests: A little espresso powder and a pinch of salt make the mousse read richer, not sweeter, which is exactly what this dessert needs.
-
The texture stays clean in a cup: The crumb base gives you a little structure, the mousse stays airy, and the frosting sits on top instead of sliding off the sides.
-
You do not need an oven: That sounds obvious, but it matters when the stove is already busy or you want a dessert that can wait in the fridge until the last minute.
-
The cream cheese top cuts the richness: Without that tang, the mousse can feel one-note after a few spoonfuls. The frosting keeps each bite bright.
-
Portion control happens naturally: Small cups make the dessert feel generous without turning into a heavy slab. Two or three spoonfuls is enough to feel satisfied.
The Texture Story: Cool Mousse, Tangy Frosting, Crunchy Base
Chocolate mousse has always been about air. That’s the whole trick, and it’s the part people miss when they rush it. Classic mousse often leans on whipped eggs or a custard base, but this cup version uses whipped cream and melted chocolate to get the same lightness with less fussy timing. The result is softer than ganache, richer than pudding, and a lot more stable once it chills.
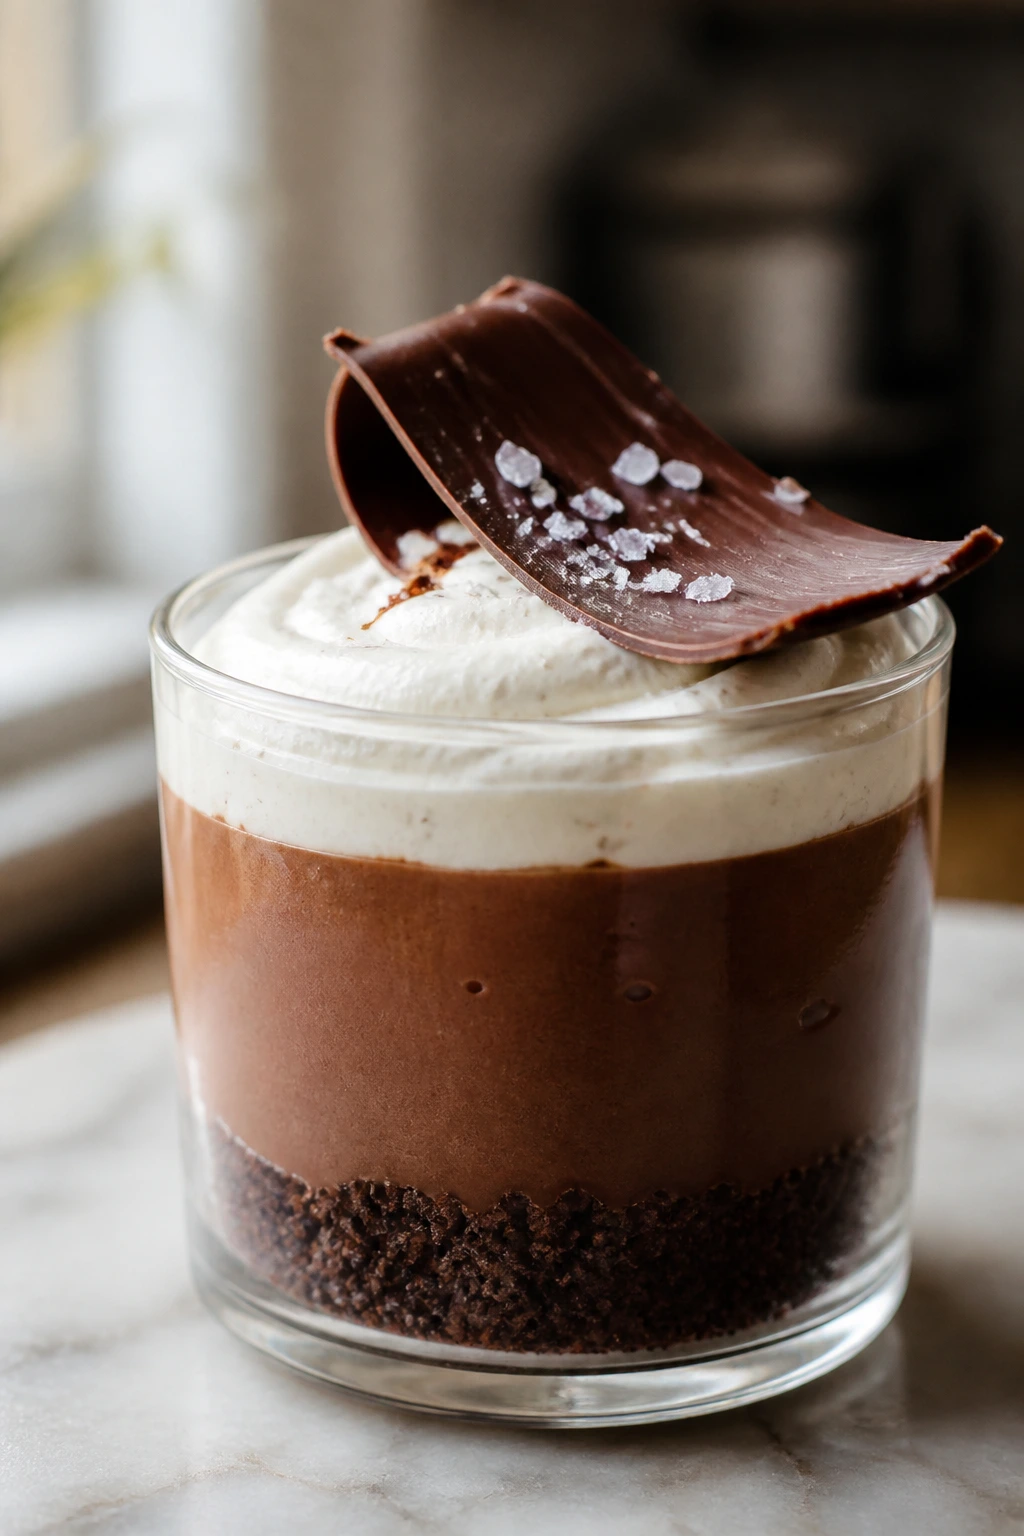
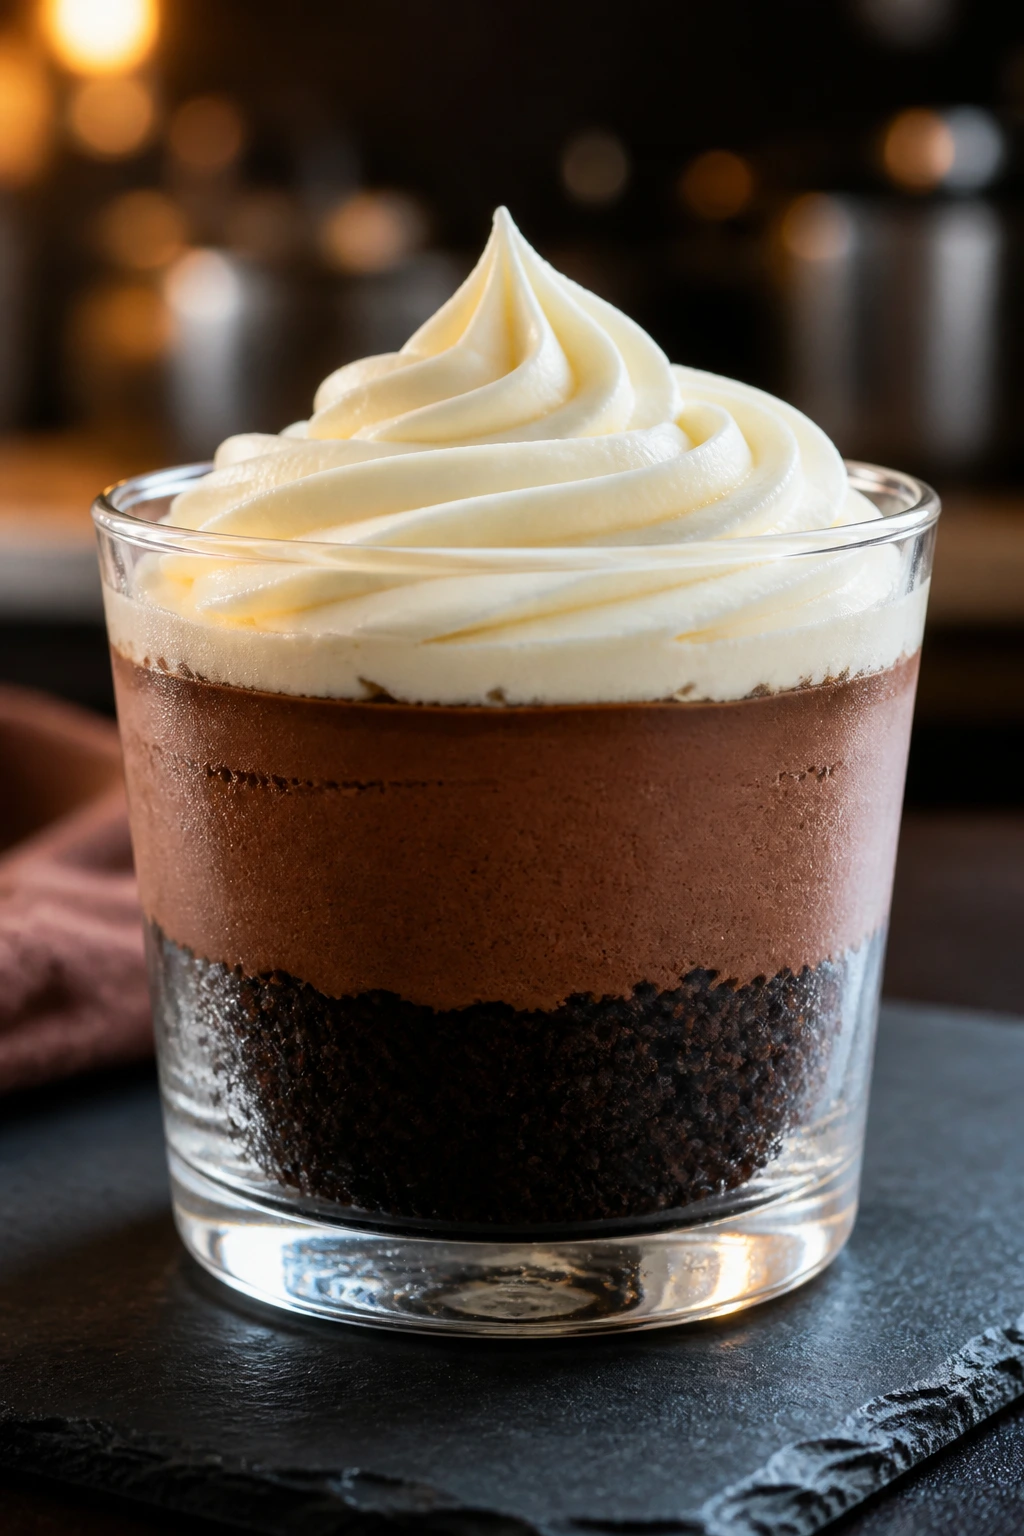
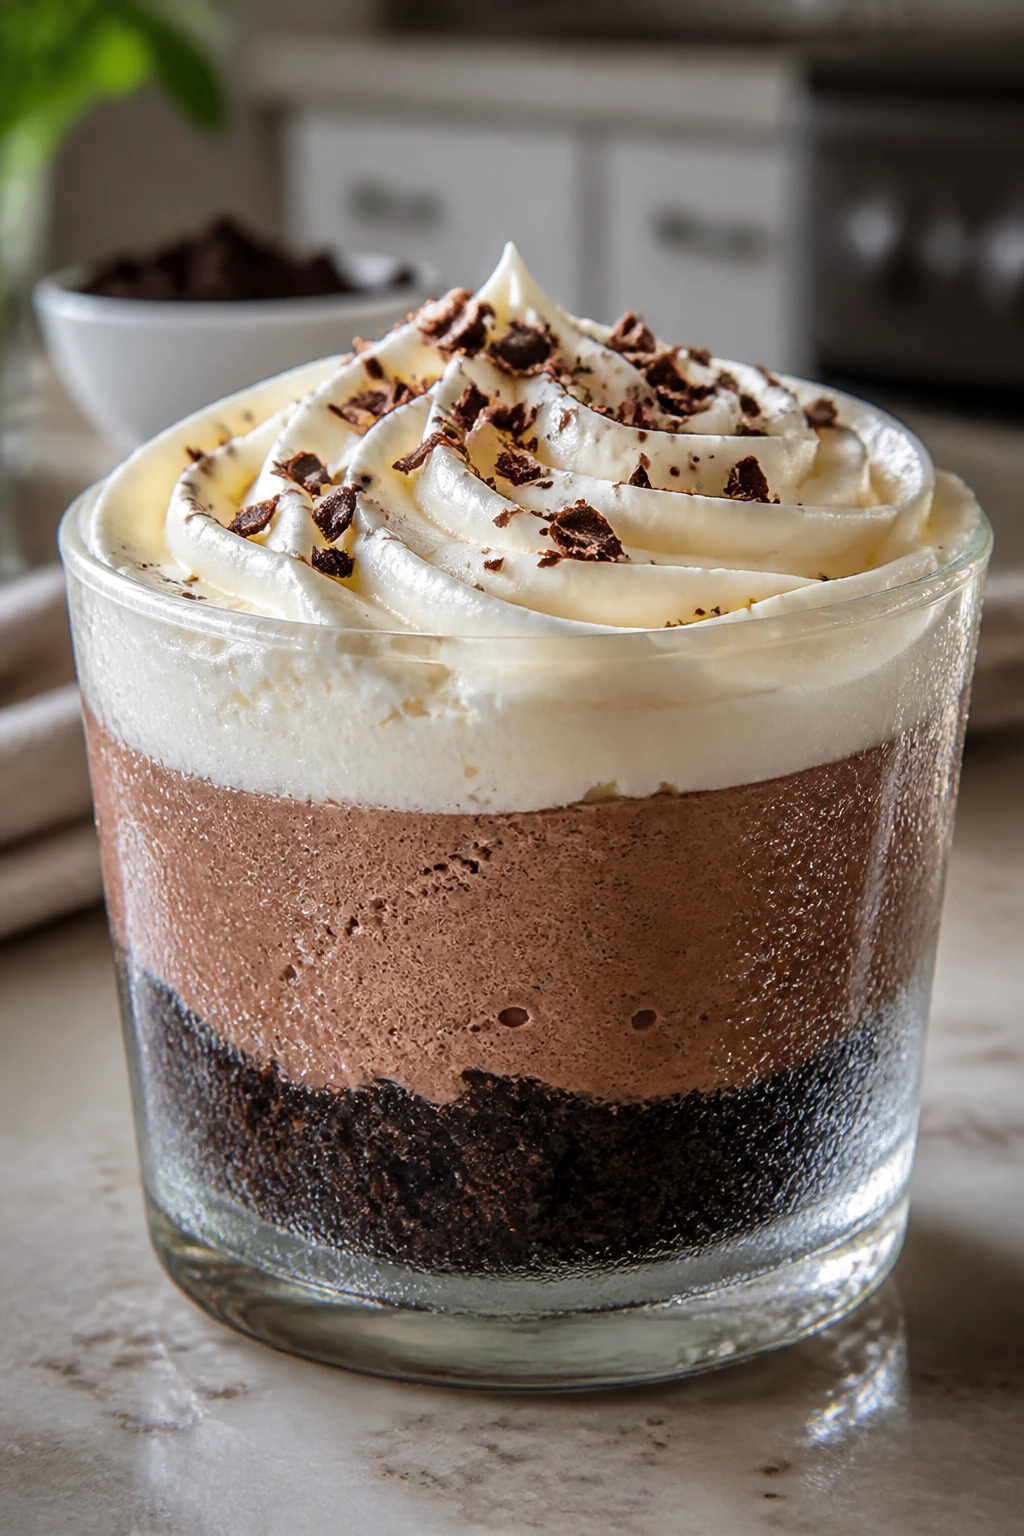
The cream cheese frosting changes the mood in a good way. Instead of another layer of sweet cream, you get a cool, slightly sharp top that tastes a bit like cheesecake met a truffle and decided to share a spoon. That tang matters because the mousse is already dense with chocolate flavor. Without contrast, the whole thing can flatten out after the third bite.
The crumb base gives the dessert its footing. A thin layer of chocolate cookie crumbs pressed into the bottom of each cup adds a dry, sandy snap that wakes up the soft mousse above it. If you’ve ever noticed how a dessert gets better when it has one crisp layer, one creamy layer, and one cold layer, this is that idea in a glass.
And the cup format solves another small problem: mousse can look gorgeous in a bowl and awkward on a plate. In a clear glass, the layers tell the story for you. The base stays dark at the bottom, the mousse looks glossy in the middle, and the frosting sits like a neat cap on top.
Timing, Yield, and Difficulty at a Glance
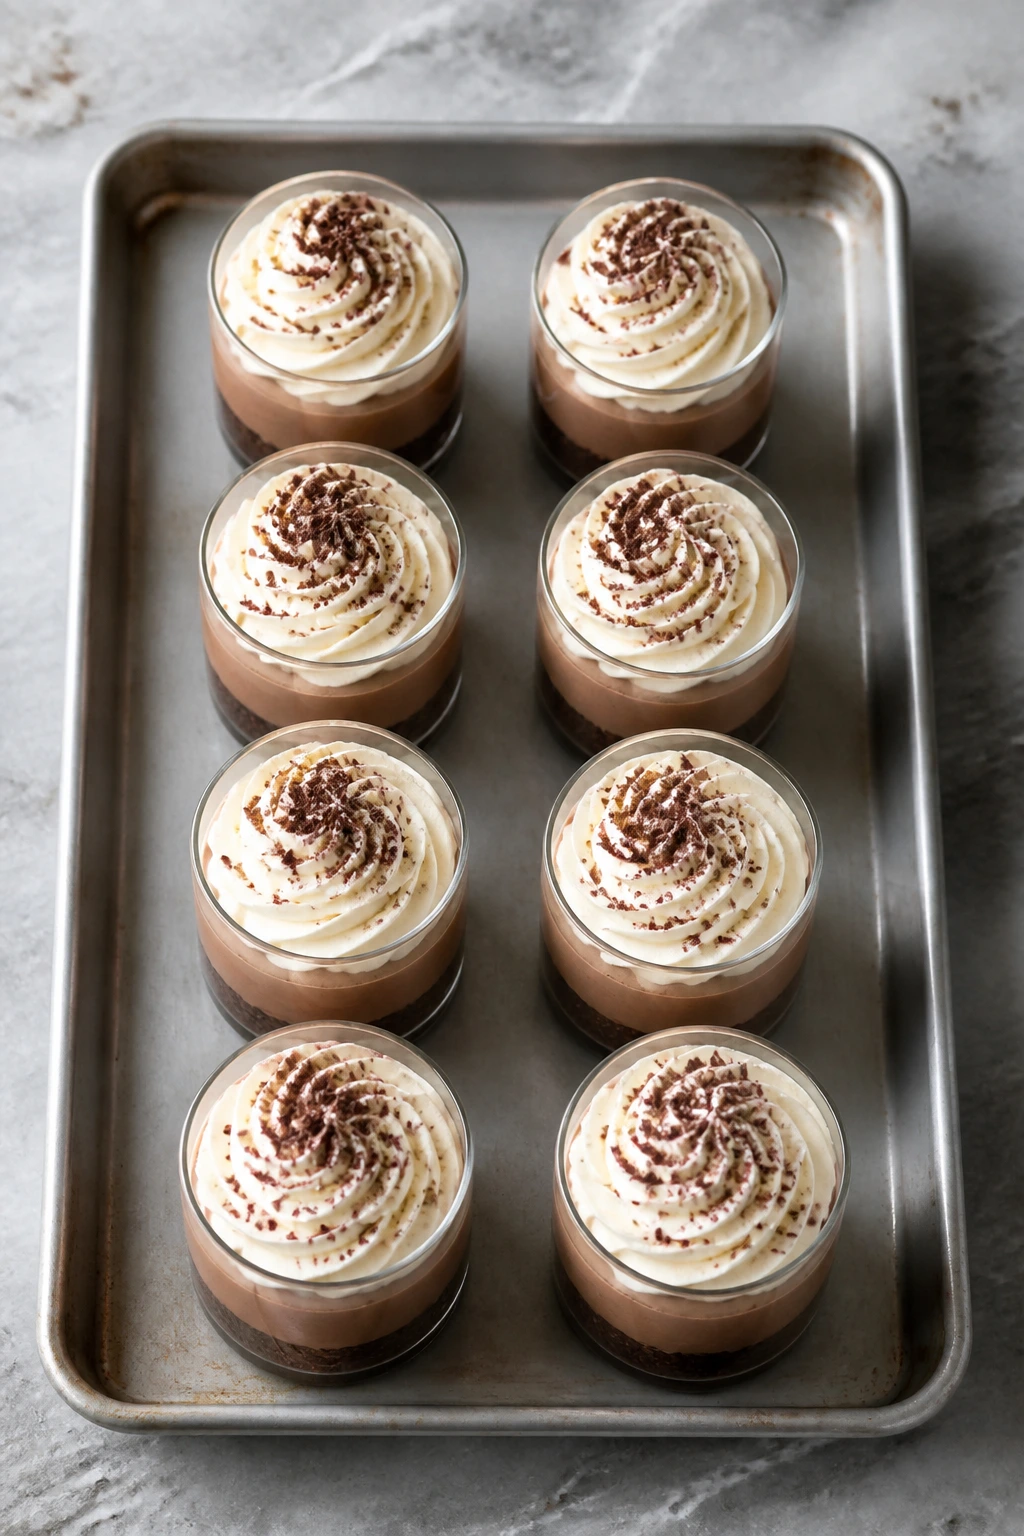
Yield: 8 small dessert cups
Prep Time: 30 minutes
Cook Time: 0 minutes
Total Time: 30 minutes active plus 2 hours chilling
Difficulty: Intermediate — the steps are straightforward, but the chocolate has to cool before folding, and the cream needs to stop at soft peaks.
Chill/Rest Time: 2 hours minimum, with 20 minutes after frosting
Best Served: Very cold, after the topping has had a short chill to set
Eight small cups hit the sweet spot for this dessert. You get enough room for a proper base, a thick mousse layer, and a neat swirl of frosting without making the portions huge. That matters here, because this is rich enough that a small serving feels complete.
The only part that asks for patience is the chill time. Skip it and the mousse will be loose under the frosting, which ruins the tidy layers. Give it the full rest and it slices—well, spoons—cleanly.
The Ingredient List, Layer by Layer
For the Chocolate Cookie Base:
- 1 1/2 cups chocolate cookie crumbs, from about 18 thin chocolate wafers or 14 sandwich cookies
- 4 tablespoons unsalted butter, melted
- 1 tablespoon granulated sugar
- 1 pinch fine salt
For the Chocolate Mousse:
- 8 ounces semisweet chocolate, finely chopped
- 1 tablespoon unsalted butter
- 1 teaspoon instant espresso powder
- 1/2 cup heavy cream, heated until steaming
- 1 teaspoon pure vanilla extract
- 1/4 teaspoon fine salt
- 1 1/2 cups cold heavy cream
- 2 tablespoons powdered sugar
For the Cream Cheese Frosting:
- 8 ounces full-fat cream cheese, softened to room temperature
- 4 tablespoons unsalted butter, softened to room temperature
- 1 1/2 cups powdered sugar, sifted
- 1 teaspoon pure vanilla extract
- 1 pinch fine salt
- 1 to 2 tablespoons heavy cream, only if needed for piping
For Garnish:
- 1 ounce semisweet chocolate, shaved or curled
- 1 pinch flaky salt
- 4 to 6 fresh raspberries, optional
Why Each Ingredient Pulls Its Weight
The Chocolate Layer
What to use: 8 ounces semisweet chocolate, 1 tablespoon butter, 1 teaspoon espresso powder, 1/2 cup hot heavy cream, 1 teaspoon vanilla, and 1/4 teaspoon salt.
Preparation: Chop the chocolate finely so it melts in one smooth pass when the cream hits it. Smaller pieces mean fewer stubborn chunks and less chance of a grainy finish.
Substitutions: Bittersweet chocolate works if you want a darker result, and milk chocolate will work if you like a sweeter mousse, though the final cup will taste softer and less intense. Instant espresso powder can be left out, but the chocolate will taste flatter.
Tips: Use hot cream, not boiling cream. Cream that is steaming and just starting to bubble at the edge melts the chocolate cleanly without making it seize or turn oily.
The Whipping Cream
What to use: 1 1/2 cups cold heavy cream and 2 tablespoons powdered sugar.
Preparation: Chill the bowl for 10 minutes if your kitchen is warm, then whip the cream to soft peaks. The tip should fold over when you lift the whisk, not stand at attention.
Substitutions: If you want a slightly less sweet mousse, drop the powdered sugar to 1 tablespoon. I would not swap in half-and-half or light cream here; they won’t hold enough air.
Tips: Cold cream whips faster and holds shape longer. Warm cream takes more time, which is how you end up going past soft peaks and into a grainy mess.
The Frosting
What to use: 8 ounces full-fat cream cheese, 4 tablespoons softened butter, 1 1/2 cups powdered sugar, vanilla, salt, and a splash of cream only if needed.
Preparation: Let the cream cheese and butter sit out until they press easily under a fingertip. If they’re still cold in the center, the frosting will have tiny lumps that never fully disappear.
Substitutions: Mascarpone gives a softer, milder top, though it tastes less tangy. If you want a sharper finish, keep the cream cheese as written and add a little extra salt instead of more sugar.
Tips: Use block-style cream cheese, not spreadable tub cream cheese. The tub version carries more moisture and the frosting can slump, especially after piping.
The Crumb Base and Garnish
What to use: Chocolate cookie crumbs, melted butter, sugar, salt, chocolate shavings, flaky salt, and a few raspberries if you want them.
Preparation: Stir the crumbs until every bit looks damp, then press them gently into the cups. You want a compact layer, not a brick.
Substitutions: Gluten-free chocolate cookies work well, and crushed chocolate grahams can stand in if that’s what you have. For garnish, cocoa powder or a small mint leaf can replace the chocolate curls.
Tips: If you use sandwich cookies, taste the crumbs before adding sugar. Some brands are sweet enough on their own, and extra sugar can push the base too far.
The Tools That Make Assembly Easier
-
8 small dessert cups or clear glasses, 5 to 6 ounces each — Clear glass shows the layers; opaque ramekins work if that’s what you have.
-
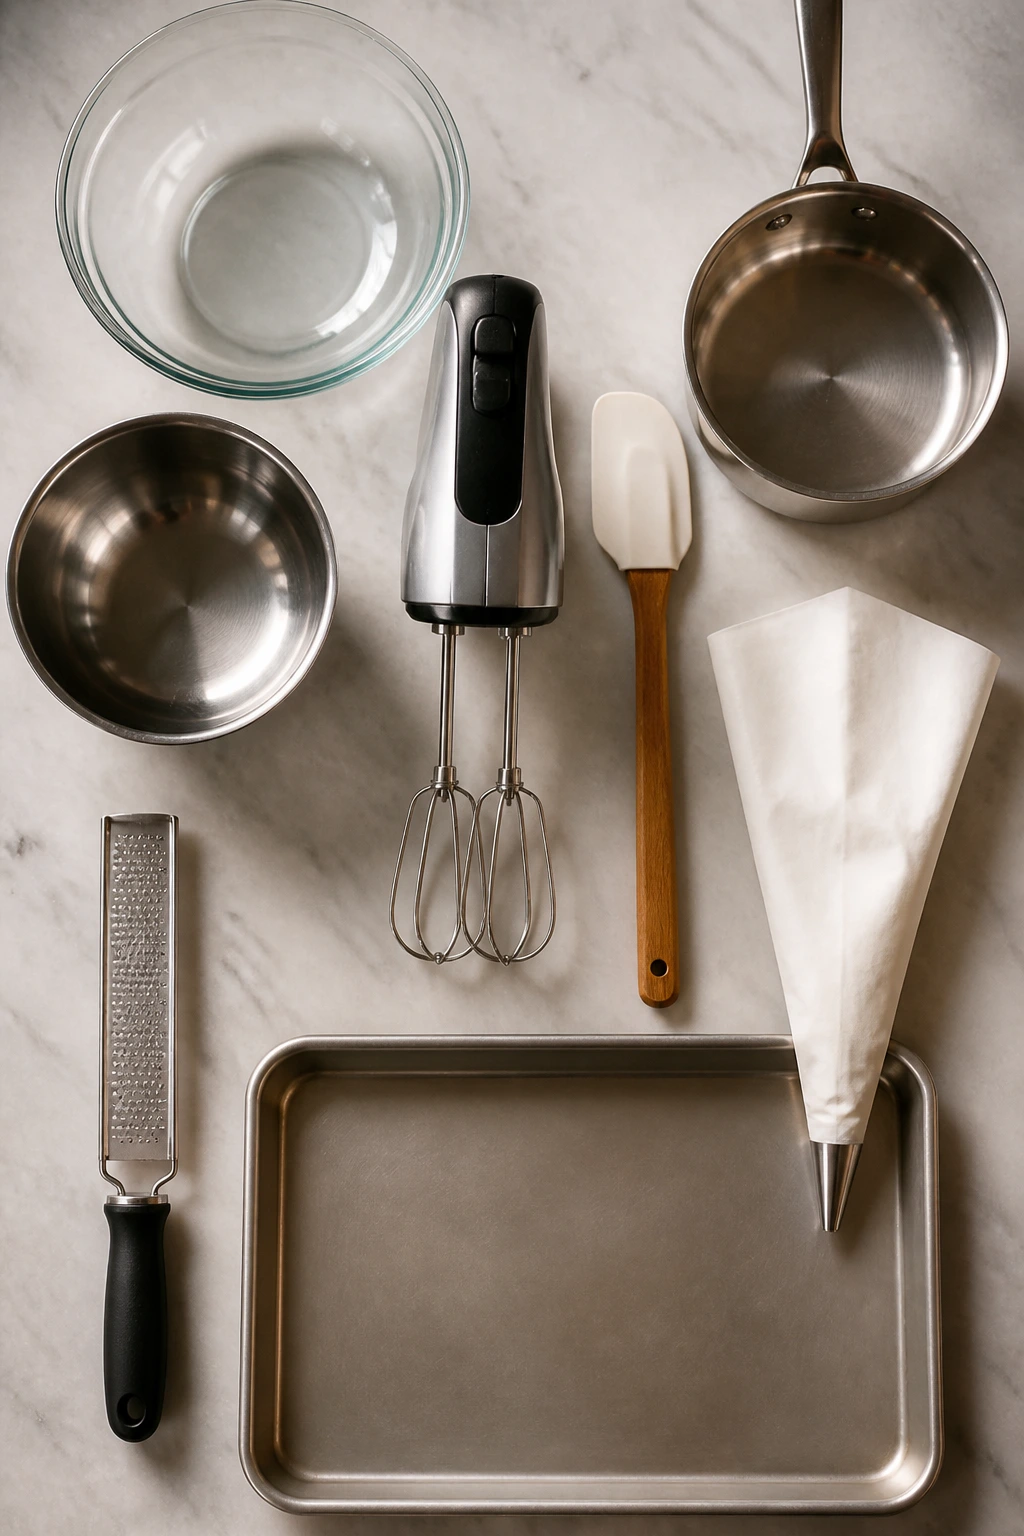
Two medium mixing bowls — One for chocolate and one for whipping cream keeps the steps from getting messy.
-
Hand mixer or stand mixer with whisk attachment — You can whip cream by hand, but your arm will complain before the mousse is ready.
-
Rubber spatula — This is the tool that keeps the air in the mousse. A stiff spoon is clumsy here.
-
Small saucepan or microwave-safe measuring cup — For heating the cream. A spouted cup makes pouring easier.
-
Piping bag with a star tip, or a zip-top bag with the corner snipped — Optional, but it gives the frosting a cleaner finish.
-
Fine microplane or vegetable peeler — Useful for chocolate curls or shavings on top.
-
Rimmed sheet pan — Put the cups on it before filling them. Moving eight filled glasses one by one is how desserts get smudged.
Building the Cups Step by Step
Make the Crumb Base:
- Stir together the 1 1/2 cups chocolate cookie crumbs, 4 tablespoons melted butter, 1 tablespoon sugar, and a pinch of salt in a medium bowl until the crumbs look evenly damp and a little glossy.
- Divide the crumbs among 8 small cups, using about 2 to 3 tablespoons per cup. Press them down gently with the back of a spoon until they form a thin, even layer. Do not smash them hard enough to make a dense brick; the base should hold together but still feel crumbly at the edges.
Build the Chocolate Mousse: 3. Put the 8 ounces chopped chocolate, 1 tablespoon butter, 1 teaspoon espresso powder, and 1/4 teaspoon salt in a medium heatproof bowl. 4. Heat the 1/2 cup heavy cream in a small saucepan over medium heat until it is steaming and tiny bubbles form around the edge, about 3 to 4 minutes. Pour it over the chocolate, cover the bowl for 2 minutes, then whisk until the mixture turns smooth and shiny. Stir in the vanilla. 5. Set the bowl aside for 10 to 12 minutes, stirring once or twice, until it feels barely warm when you touch the side. If the chocolate is hot enough to melt the whipped cream, the mousse will lose its lift.
Whip and Fold: 6. In a separate cold bowl, whip the 1 1/2 cups cold heavy cream with the 2 tablespoons powdered sugar on medium-high speed until soft peaks form, 2 to 3 minutes. The cream should look thick and billowy, with a tip that droops over when you lift the whisk. 7. Fold one-third of the whipped cream into the cooled chocolate mixture to lighten it, then fold in the rest in two additions. Use a rubber spatula and sweep from the bottom of the bowl upward, turning the bowl as you go. Stop as soon as the streaks of cream disappear. A few faint swirls are fine; overmixing pushes the air right back out.
Fill and Chill: 8. Spoon or pipe the mousse over the crumb base, dividing it evenly among the cups and smoothing the tops. Tap each cup once on a folded kitchen towel to knock out any hidden air pockets, then refrigerate for 1 hour, or until the mousse feels firm on top.
Make the Cream Cheese Frosting: 9. Beat the softened cream cheese and butter together for 1 to 2 minutes, until the mixture is pale and completely smooth. Add the powdered sugar, vanilla, and salt, then beat again for 1 to 2 minutes until thick and fluffy. If it feels too stiff to pipe, add cream 1 teaspoon at a time. Stop as soon as it pipes cleanly; too much cream makes the frosting slide.
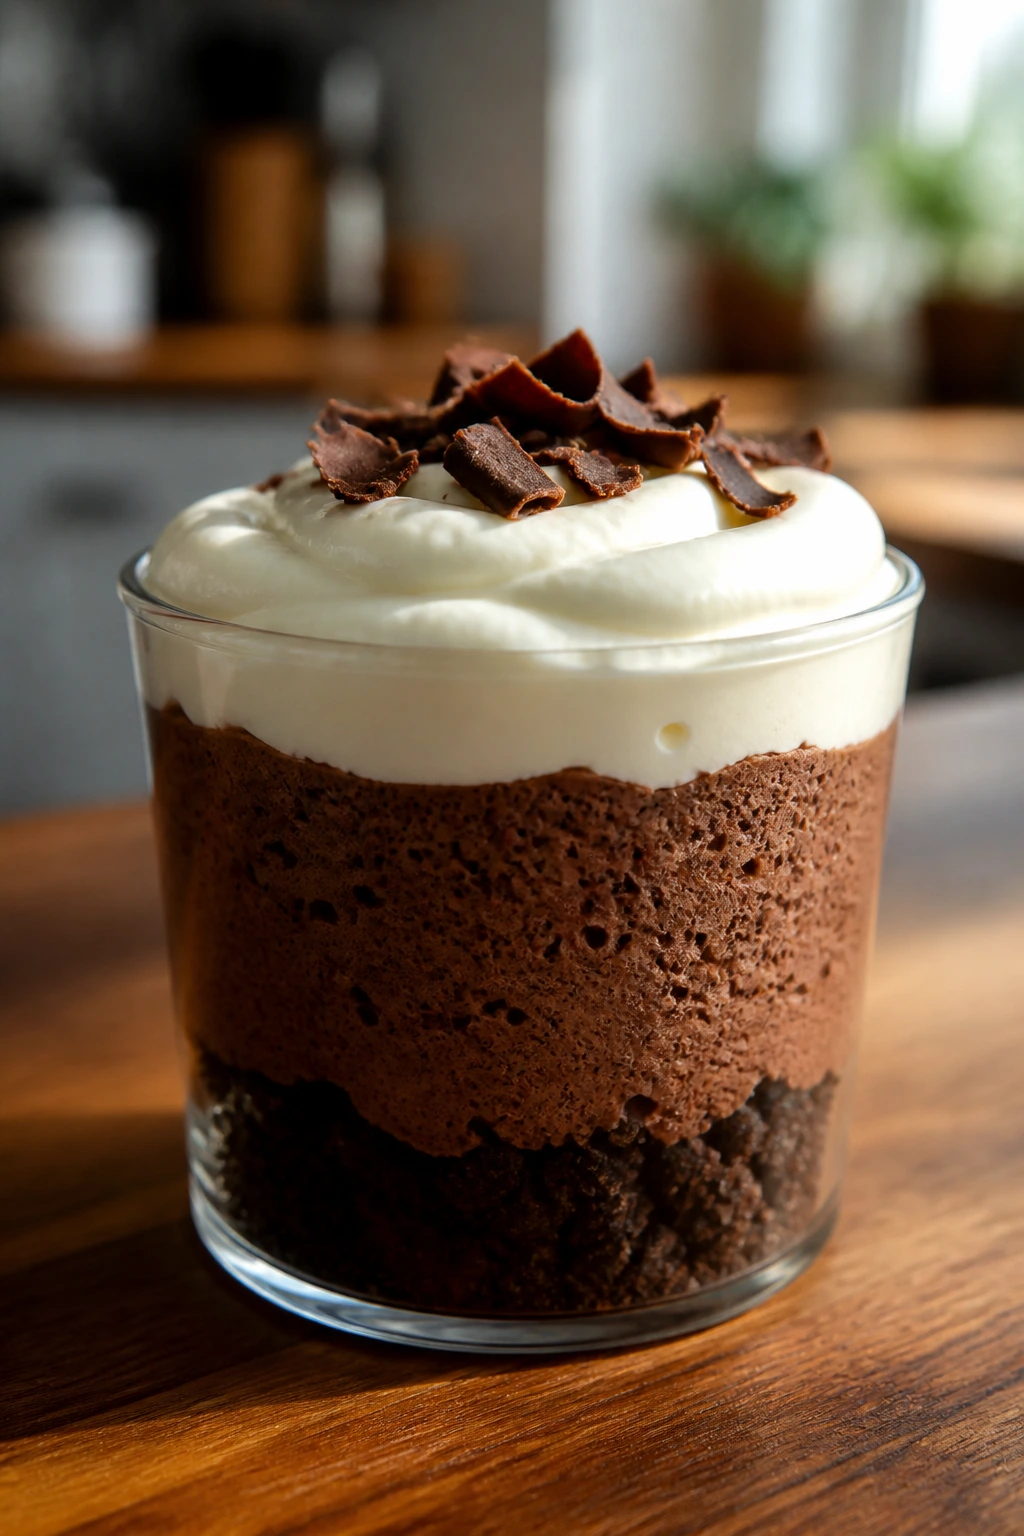
Finish the Cups: 10. Pipe or spoon the frosting onto the chilled mousse, then top with chocolate shavings, a pinch of flaky salt, and a raspberry or two if you want a brighter finish. Chill the assembled cups for 15 to 20 minutes before serving so the top sets and the layers stay neat.
How to Serve Them Without Losing the Sharp Layers
Presentation: Keep the cups cold until the last possible minute, then garnish them right before they hit the table. A loose swirl of frosting and a small mound of chocolate curls look better than a giant frosting cap that wobbles when the spoon goes in.
Accompaniments: Fresh raspberries, sliced strawberries, or a few tart cherries give the mousse something sharp to push against. If you want a little crunch on the side, serve shortbread fingers or plain butter cookies rather than anything heavily spiced.
Portions: One small cup per person works after dinner, especially if the meal already leaned rich. If you’re serving a bigger crowd with other desserts, fill the cups a little less deeply and stretch the batch to 10 smaller servings.
Beverage Pairing: Strong coffee is the easy answer. Espresso, cold brew, or a dark roast all cut through the chocolate, and a small glass of tawny port works if you want something slower and more evening-leaning.
A useful detail: serve these with small spoons, not dessert forks. Forks dig into the crumb base and make the layers collapse faster. A spoon lets people scoop from the top down, which is how the dessert actually wants to be eaten.
Extra Tricks for Deeper Flavor and Better Texture
Flavor Enhancement: A tiny bit of espresso powder does more here than a second spoonful of cocoa ever could. It doesn’t make the mousse taste like coffee; it makes the chocolate taste darker and more complete. A pinch of flaky salt on top does the same thing in a different register.
Time-Saver: Press the crumb base into the cups a day ahead and keep them covered in the fridge. You can also make the mousse earlier in the day and fill the cups before dinner, then hold the frosting until the last 30 minutes if you want the sharpest look.
Texture Control: If the mousse seems softer than you expected, it probably needed a little more chill time or the chocolate was still warm when you folded in the cream. The fix is not more whisking. More whisking only knocks out the air you already built.
Make-It-Yours: Raspberry jam, orange zest, or chopped toasted hazelnuts can shift the mood without changing the structure. Use them in small amounts. This dessert works because each layer has a job, and no one layer needs to shout.
I also like to line the cups on a sheet pan before filling them. It sounds fussy, but it saves you from juggling loose glasses full of mousse across the kitchen. One tray, one trip, no wobbling.
Mistakes That Flatten the Mousse or Split the Frosting
-
Folding in cream before the chocolate cools enough: The mousse turns loose and the air disappears. If the bowl still feels warm on the outside, give it a few more minutes.
-
Whipping the cream too far: Stiff peaks can look impressive, but they fold poorly and leave the mousse with tiny lumps. Stop at soft peaks, when the cream holds shape but the tip still droops.
-
Using tub cream cheese instead of block cream cheese: The frosting becomes softer and sometimes a little slippery after piping. Block cream cheese gives a firmer, cleaner swirl.
-
Pressing the crumb base too hard: The bottom layer turns dense and hard to spoon through. Press it just enough that it holds together when tapped.
-
Skipping the chill between mousse and frosting: The frosting slides into the mousse and the top loses its shape. Give the mousse at least an hour in the fridge first.
-
Adding too much extra cream to the frosting: It becomes pipeable for a minute, then starts to slump. Add cream by the teaspoon, not by the splash.
Variations That Still Feel Like the Original Dessert

Midnight Dark Chocolate Cups
Swap the semisweet chocolate for 70% dark chocolate and keep the espresso powder in place. The result is less sweet and more grown-up, with a slightly firmer set and a cleaner chocolate finish. If you use a very dark bar, add an extra teaspoon of powdered sugar to the mousse to keep it from turning bitter.
Orange Truffle Cups
Add 1 teaspoon finely grated orange zest to the melted chocolate before folding in the whipped cream, then add another pinch to the frosting. Chocolate and orange can go stale fast if you overdo it, so keep the citrus light and let the zest read as fragrance, not perfume. Candied orange peel on top works well if you want a sharper garnish.
Raspberry Ribbon Cups
Spread 1 teaspoon seedless raspberry jam over the crumb base before adding the mousse, or tuck a spoonful of crushed raspberries between the base and the chocolate layer. The tart fruit cuts the richness and gives the cup a brighter middle. This version tastes best with a few fresh berries on top, not more chocolate.
Salted Pretzel Crunch Cups
Replace half the cookie crumbs with crushed pretzels and skip the sugar in the base. You get a saltier, sharper bottom layer that makes the mousse taste even silkier by contrast. This one leans less dessert-parlor and more snacky, which I happen to like.
Gluten-Free Cookie Cups
Use your favorite gluten-free chocolate cookies for the base and keep the rest of the recipe the same. The mousse and frosting already do the heavy lifting, so the swap is simple and the texture stays close to the original. Just taste the crumbs first, since some gluten-free cookies are sweeter than standard chocolate wafers.
Keeping Them Cold, Fresh, and Make-Ahead Friendly
These cups are happiest in the fridge. Once assembled, they keep for up to 3 days refrigerated, covered loosely with plastic wrap or stored in a lidded container if the cups fit. After that, the mousse still tastes fine, but the cookie base starts to soften at the edges and the frosting loses some of its clean shape.
If you want to make pieces ahead, split the work. The crumb bases can be pressed into the cups 2 days ahead. The mousse can be made and spooned in 1 day ahead, then the frosting can be piped on the day you serve it. That staggered schedule keeps the top looking tidy, which is worth the few extra minutes.
Freezing is possible, but I wouldn’t call it the first choice. Unfrosted cups can be frozen for up to 1 month if they’re wrapped well and stored in a freezer-safe container, though the mousse will firm up more than it does in the fridge and lose a little of its airy feel after thawing. Thaw them overnight in the refrigerator, then add the frosting after they’ve softened again.
Do not leave these out on the counter for long. Because they contain dairy, they should stay out for no more than 2 hours at a normal room temperature, and less if the room runs warm. If you’re setting them out for guests, keep the tray chilled until the last minute and return any leftovers to the fridge quickly.
One small trick helps with leftovers: press a piece of parchment or plastic wrap directly against the cut or exposed surface if a cup has been partially eaten. That slows down drying on the mousse and keeps the frosting from forming a skin.
Questions People Ask Before Making Chocolate Mousse Cups

Can I use milk chocolate instead of semisweet chocolate?
Yes, but the dessert will taste sweeter and softer. If you go that route, leave the espresso powder in place and consider a pinch more salt so the mousse doesn’t turn flat.
Do I need a piping bag for the frosting?
No. A spoon works fine, especially if you’re serving these at home. A piping bag or a zip-top bag with the corner snipped gives a cleaner top, but the flavor doesn’t care either way.
Why did my mousse turn grainy?
Usually the chocolate was too warm when the whipped cream went in, or the cream was whipped too far. Cool the chocolate until the bowl feels barely warm and stop whipping the cream at soft peaks.
Can I make these the day before serving?
Yes, and that’s probably the easiest way to do it. Assemble the mousse cups, chill them, and add the frosting later that day or the next day if you want the top to look extra neat.
What if I don’t have espresso powder?
Skip it if you must, or use a teaspoon of very strong brewed espresso reduced down to a thick spoonful. The flavor won’t be identical, but the chocolate still needs a little depth, so don’t leave out the salt.
Can I make the frosting without butter?
You can, but the texture changes. Cream cheese alone tends to taste looser and a little sharper; butter gives the frosting body so it pipes in a clean swirl and holds its shape on the mousse.
How do I make these gluten-free?
Use gluten-free chocolate cookies or gluten-free chocolate wafer crumbs for the base. The mousse and frosting are already gluten-free as written, so the swap is simple.
A Cold, Creamy Finish Worth Repeating
There’s a nice honesty to dessert cups. No slicing, no rescue work, no trying to make the last piece look like the first. You spoon straight through the layers and get the chocolate, the tang, and the crumb all at once, which is exactly the point of this recipe.
Make them once, and the method starts to stick in your head: cool the chocolate, whip the cream softly, chill the layers before you top them. That rhythm is the whole dessert. Keep a few small glasses around and a block of cream cheese in the fridge, and you’re never far from a tray of something that looks careful without being fussy.
Rich Chocolate Mousse Cups with Cream Cheese Frosting — Recipe Card
Recipe Name: Rich Chocolate Mousse Cups with Cream Cheese Frosting
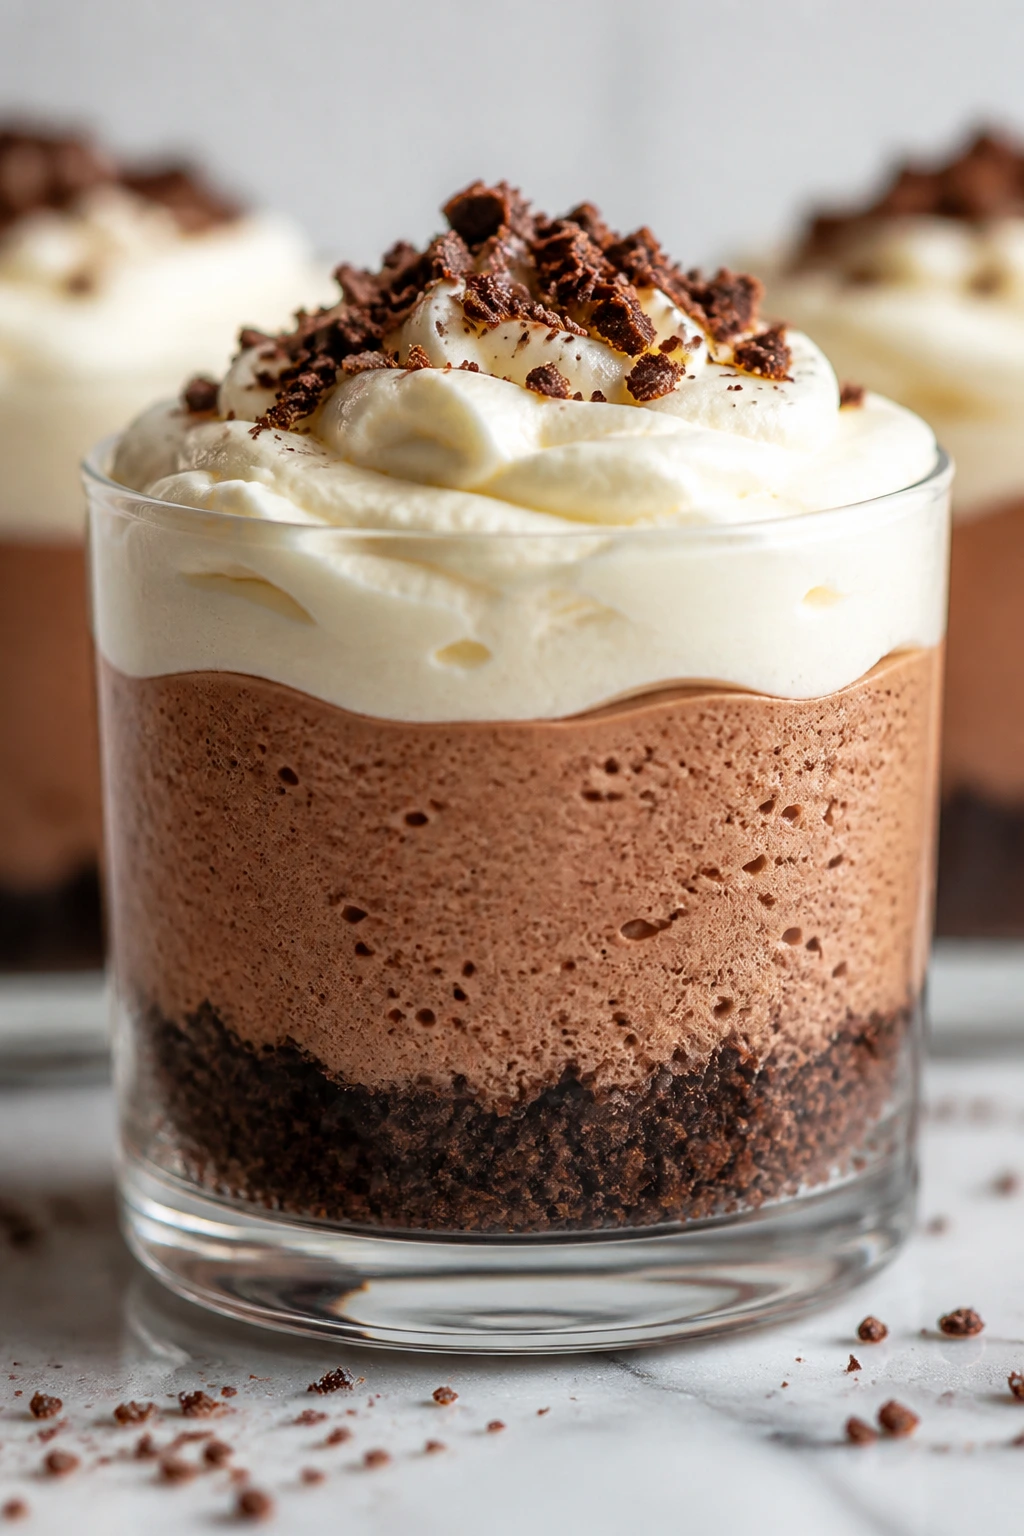
Description: Chocolate cookie crumb cups filled with a silky semisweet chocolate mousse and topped with a tangy cream cheese frosting. Finished with chocolate shavings and a pinch of salt, they’re rich, cold, and neatly layered.
Prep Time: 30 minutes
Cook Time: 0 minutes
Total Time: 30 minutes active plus 2 hours chilling
Course: Dessert
Cuisine: American
Servings: 8 small cups
Calories: About 650 kcal per cup
Ingredients
For the Chocolate Cookie Base:
- 1 1/2 cups chocolate cookie crumbs, from about 18 thin chocolate wafers or 14 sandwich cookies
- 4 tablespoons unsalted butter, melted
- 1 tablespoon granulated sugar
- 1 pinch fine salt
For the Chocolate Mousse:
- 8 ounces semisweet chocolate, finely chopped
- 1 tablespoon unsalted butter
- 1 teaspoon instant espresso powder
- 1/2 cup heavy cream, heated until steaming
- 1 teaspoon pure vanilla extract
- 1/4 teaspoon fine salt
- 1 1/2 cups cold heavy cream
- 2 tablespoons powdered sugar
For the Cream Cheese Frosting:
- 8 ounces full-fat cream cheese, softened to room temperature
- 4 tablespoons unsalted butter, softened to room temperature
- 1 1/2 cups powdered sugar, sifted
- 1 teaspoon pure vanilla extract
- 1 pinch fine salt
- 1 to 2 tablespoons heavy cream, only if needed for piping
For Garnish:
- 1 ounce semisweet chocolate, shaved or curled
- 1 pinch flaky salt
- 4 to 6 fresh raspberries, optional
Instructions
-
Stir together the cookie crumbs, melted butter, sugar, and salt until evenly damp. Divide among 8 small cups and press into a thin base.
-
Combine the chopped chocolate, butter, espresso powder, and salt in a heatproof bowl. Heat the cream until steaming, pour over the chocolate, rest 2 minutes, then whisk smooth. Stir in the vanilla and cool until barely warm.
-
Whip the cold heavy cream and powdered sugar to soft peaks in a separate bowl.
-
Fold one-third of the whipped cream into the chocolate mixture, then fold in the rest in two additions until no white streaks remain.
-
Spoon or pipe the mousse over the crumb base, smooth the tops, and chill for 1 hour.
-
Beat the cream cheese and butter until smooth. Add the powdered sugar, vanilla, and salt, then beat until thick and fluffy. Add a little cream only if needed to make it pipeable.
-
Pipe or spoon the frosting onto the chilled mousse. Finish with chocolate shavings, flaky salt, and raspberries if using.
-
Chill the assembled cups for 15 to 20 minutes before serving.
Notes: Cool the chocolate before folding in the whipped cream, stop at soft peaks, and use block-style cream cheese for the cleanest frosting. For the neatest look, assemble the cups on a sheet pan and garnish right before serving.