
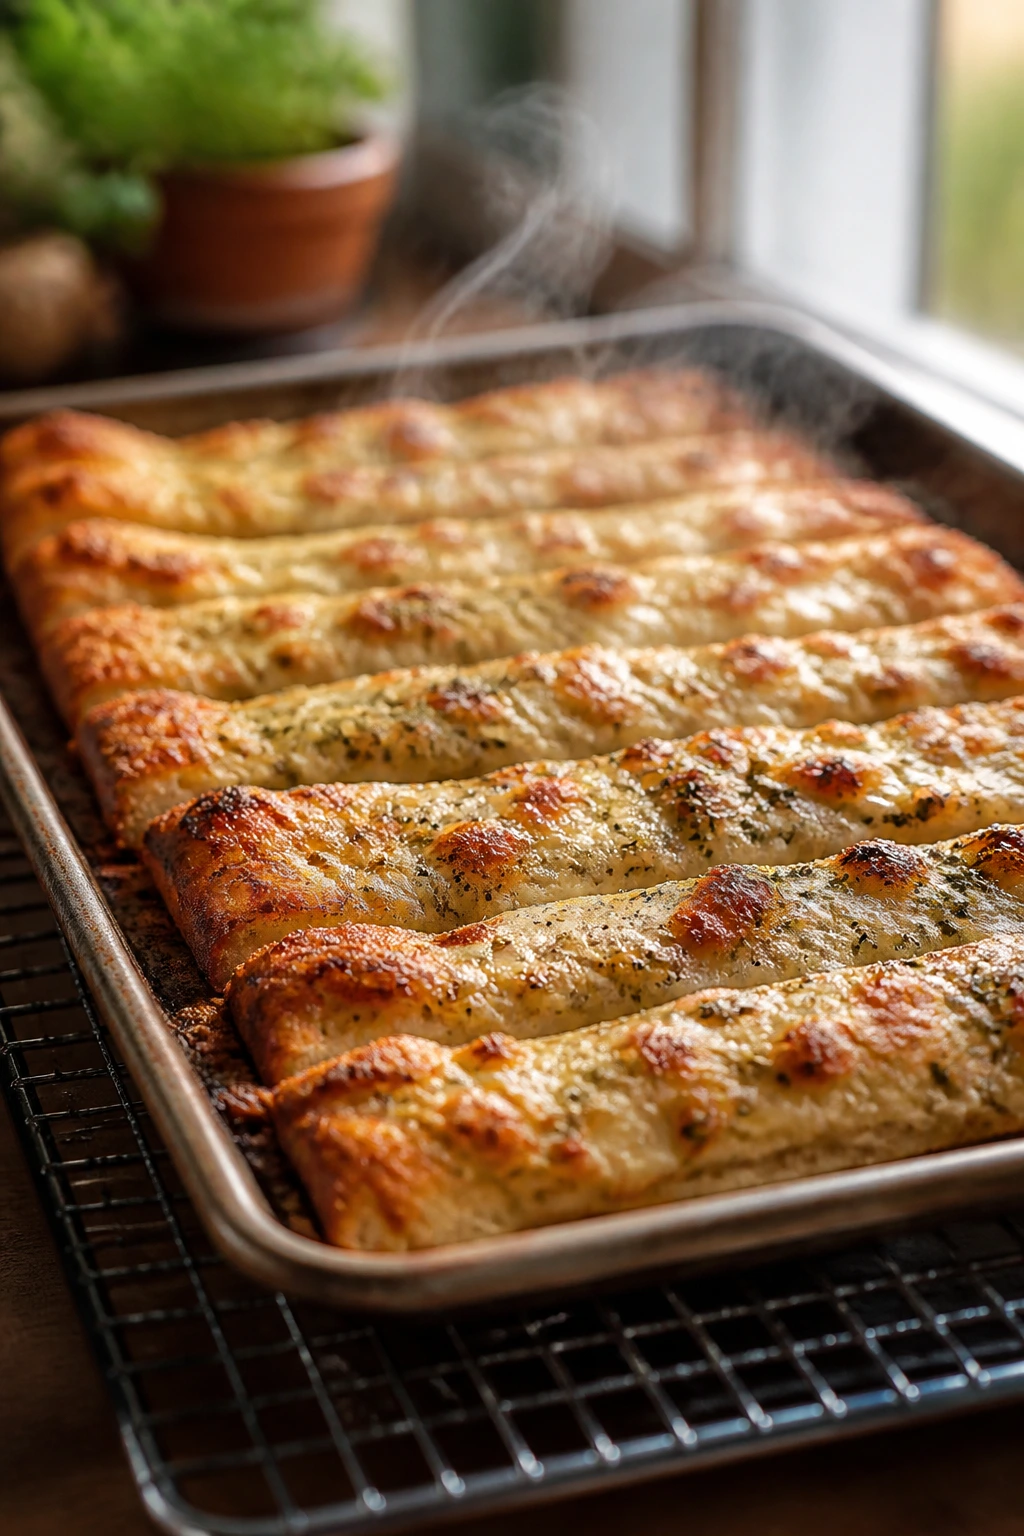
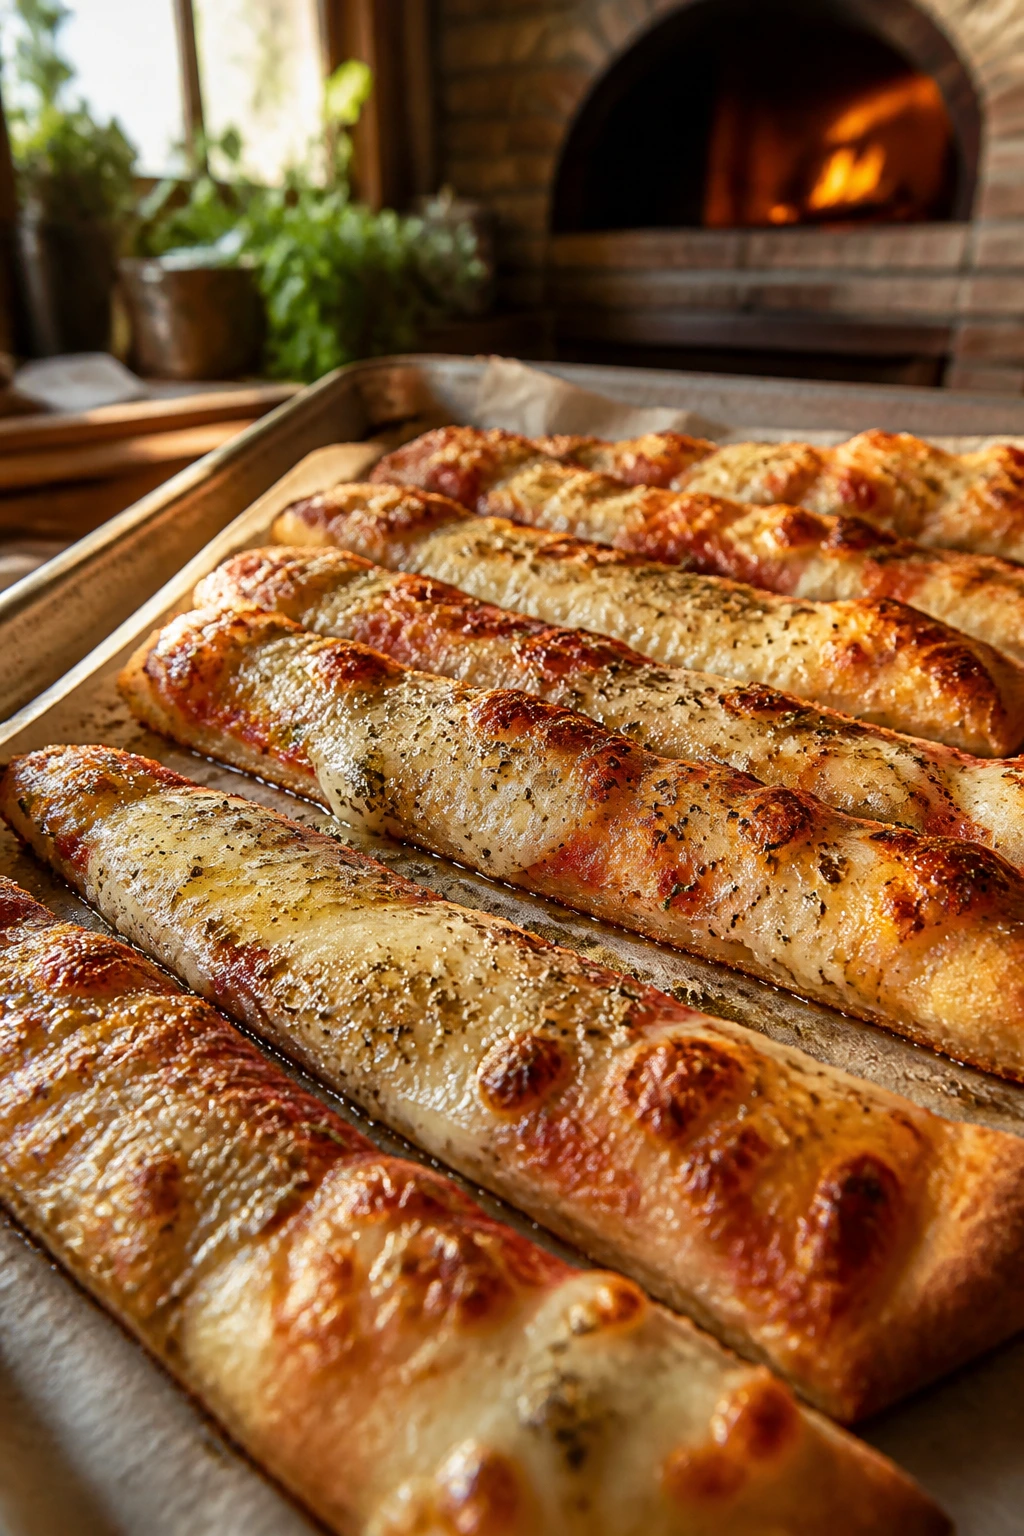
The smell hits first: garlic warming in olive oil, oregano blooming in the oven heat, and mozzarella turning from a pile of shreds into glossy little blisters. By the time the tray comes out, the whole kitchen has that old pizzeria smell that makes people wander in from other rooms without being called.
Herbed pizza dippers live in the sweet spot between breadsticks and pizza. The dough stays soft in the middle, the edges go bronzed and a little crisp, and the sauce tastes brighter because it clings to a strip of bread instead of sliding off a floppy slice. That sounds like a small thing. It isn’t.
The trick is restraint. Thin sauce. Dough that has had time to relax. Garlic that perfumes the oil instead of burning into bitterness. Get those three things right and the tray tastes like something a Nonna might have sent to the table with a wave of her hand and a warning not to let the kids eat all of it before dinner.
What Gives These Herbed Pizza Dippers Their Old-School Flavor
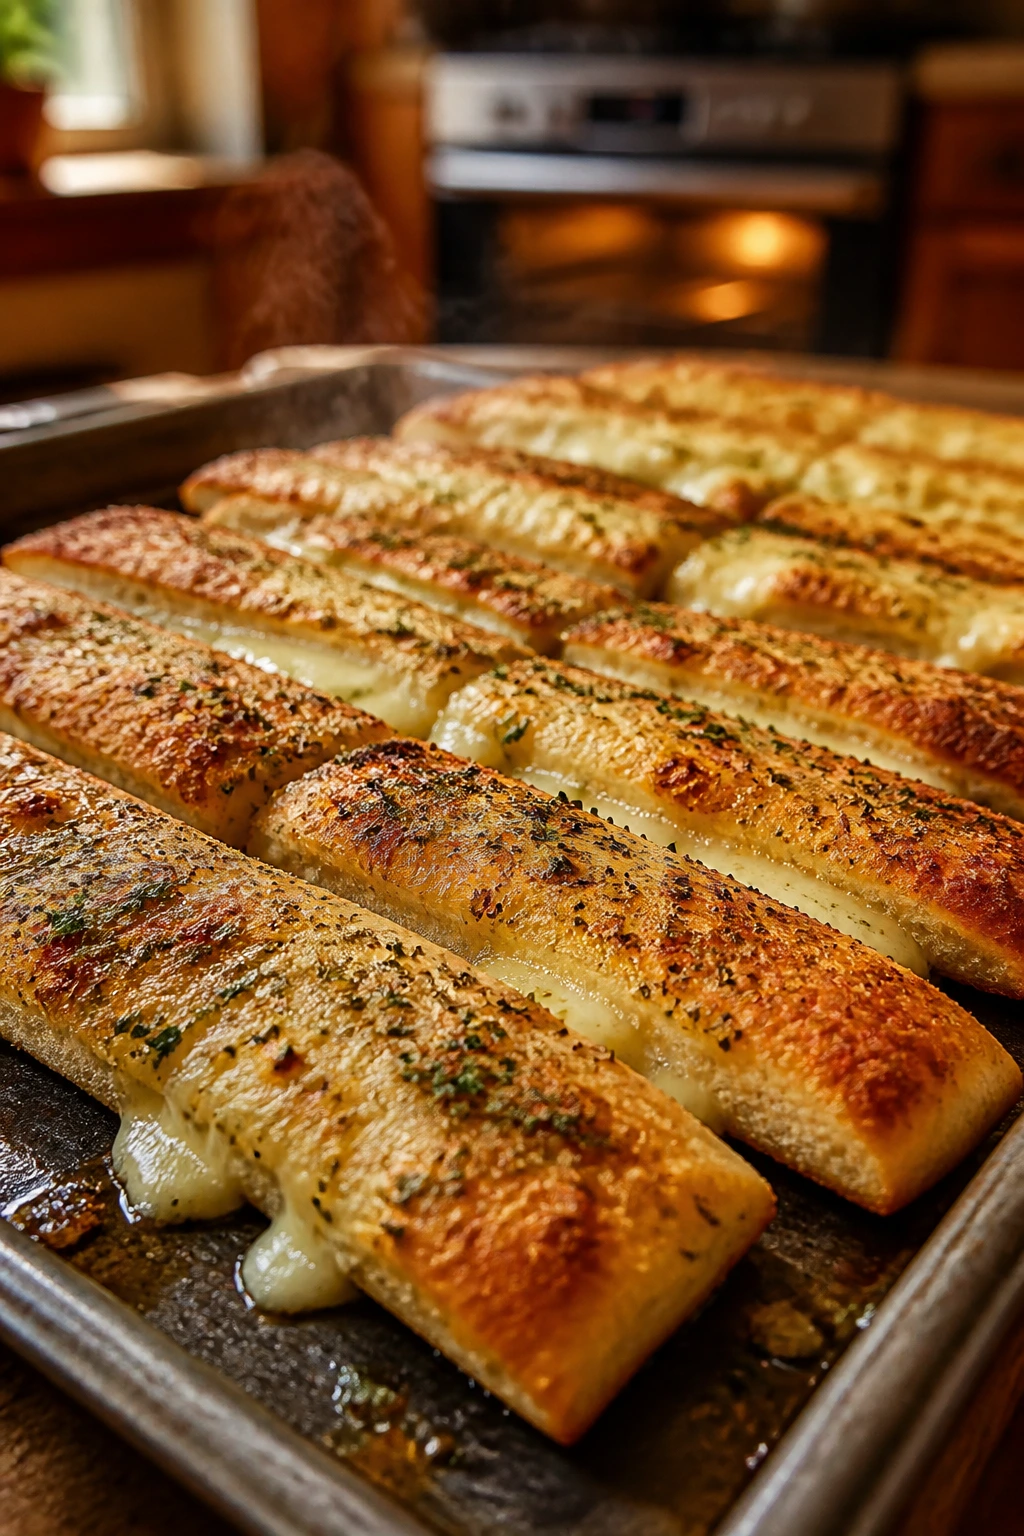
These dippers work because they taste like the best part of pizza before anyone starts arguing about toppings. The crust gets a quick, hot bake, so the outside has a bit of bite while the middle stays tender. The herb oil does more than add seasoning; it soaks into the dough just enough to make every strip taste like garlic bread that spent the afternoon hanging around a red-sauce kitchen.
A lot of homemade pizza snack recipes make the mistake of piling on too much cheese or too much sauce. That usually gives you a heavy tray with a wet center and pale edges. This version takes the opposite route. The dough is the point, and the toppings are there to make the dough taste richer, saltier, and more fragrant. That’s why it feels nostalgic instead of chaotic.
There’s also something useful about the shape. Strips and dippers are easier to share than slices. They’re easier to drag through sauce, too, because the cut edges soak up marinara in a way a full round pizza never can. You get more surface area, more browned edges, and more of that slightly oily, garlicky crunch that makes people reach for one more piece.
One more thing: these are better when the dough is not rushed. Cold dough fights you. Warm dough relaxes into the pan and bakes up with fewer tears, fewer thick spots, and a softer bite in the center. That little pause on the counter matters more than most people think.
Why You’ll Keep Making This Tray
-
The crust stays tender and crisp in the right places: A hot oven and a thin layer of sauce give you browned edges without drying the whole tray out.
-
The flavor comes from the dough, not just the dip: Garlic, oregano, basil, parsley, and Parmesan go on the bread itself, so every bite tastes seasoned before the sauce even shows up.
-
It uses ordinary grocery-store ingredients well: Pizza dough, jarred marinara, and two cheeses are enough when you handle them with a little care.
-
The pan disappears fast at a party: Strips are easier to grab than slices, and people always seem to take “just one more” when the sauce bowl sits nearby.
-
It reheats better than most pizza snacks: The strips crisp back up in a toaster oven or hot oven, which is more than you can say for a lot of cheesy bakes.
-
It gives you a flexible base: You can lean garlic-bread heavy, cheese-heavy, spicy, or dairy-free without changing the whole method.
Timing and Yield at a Glance
A tray like this does not need a long schedule, but it does need one small pause. Let the dough relax before shaping and you’ll save yourself from a springy, stubborn slab that keeps shrinking back to the center of the pan.
Yield: Serves 4 to 6 | Makes one 13×18-inch tray
Prep Time: 20 minutes
Cook Time: 18 minutes
Total Time: 38 minutes active + 30 minutes rest
Difficulty: Beginner — the steps are straightforward, and the only part that asks for patience is stretching the dough without tearing it.
Chill/Rest Time: 30 minutes for the dough to come to room temperature
Best Served: Warm, within 10 minutes of baking
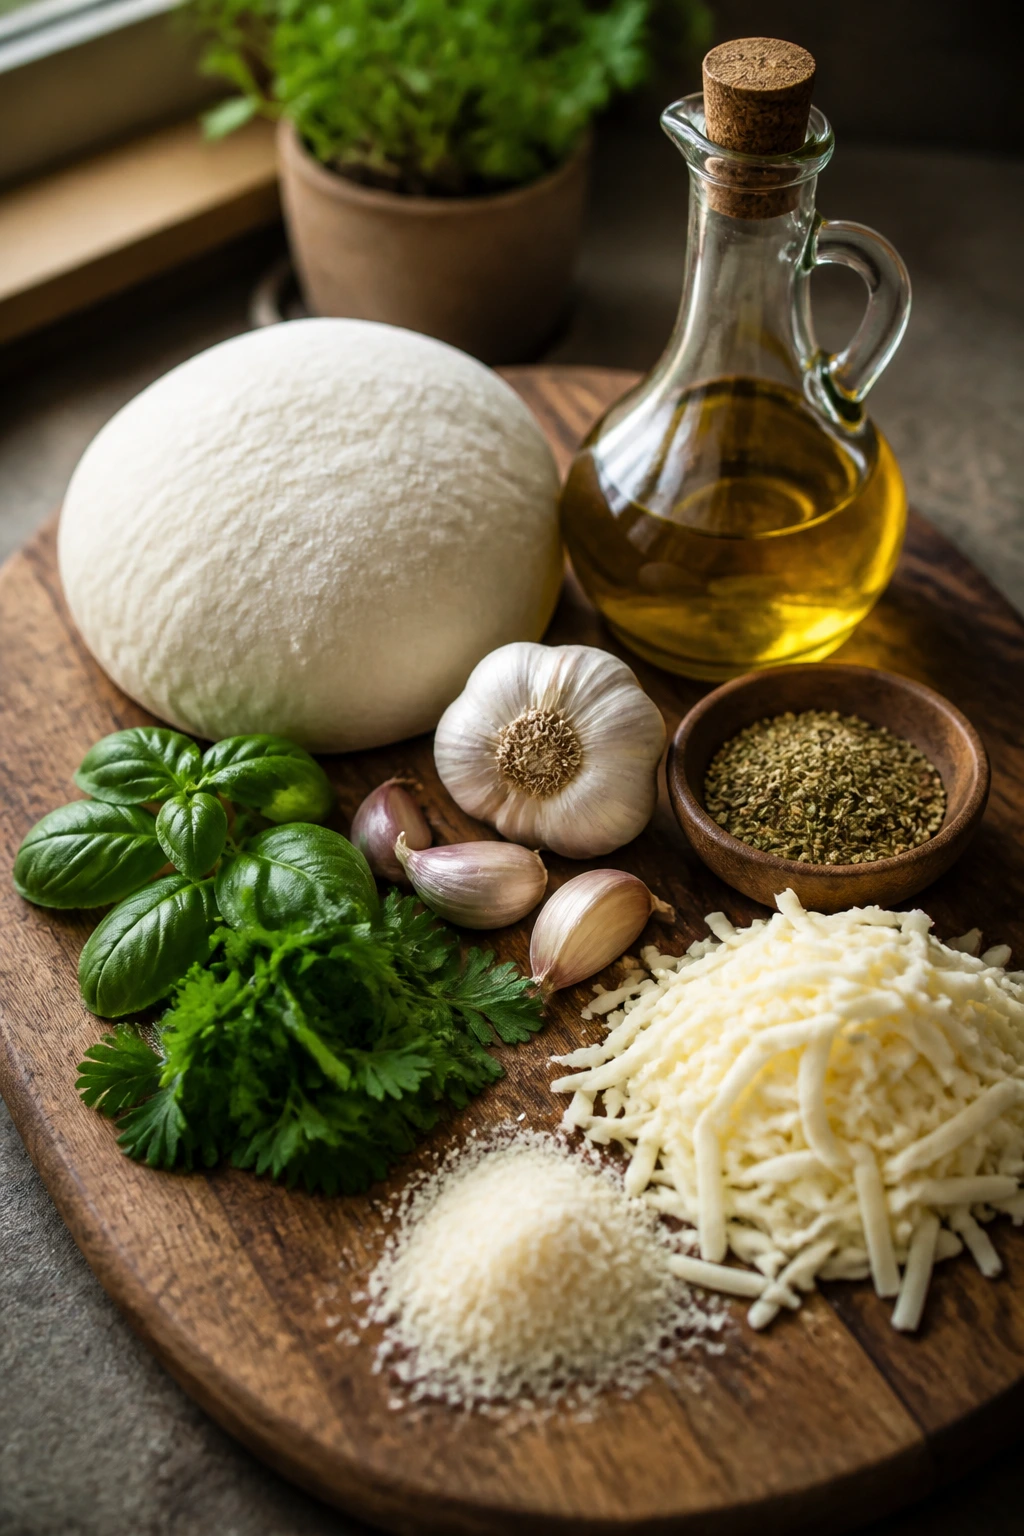
The Ingredient List That Makes the Tray Work
For the Dippers:
- 1 tablespoon olive oil, for the pan
- 1 pound pizza dough, room temperature
- 2 tablespoons extra-virgin olive oil
- 2 tablespoons unsalted butter, melted
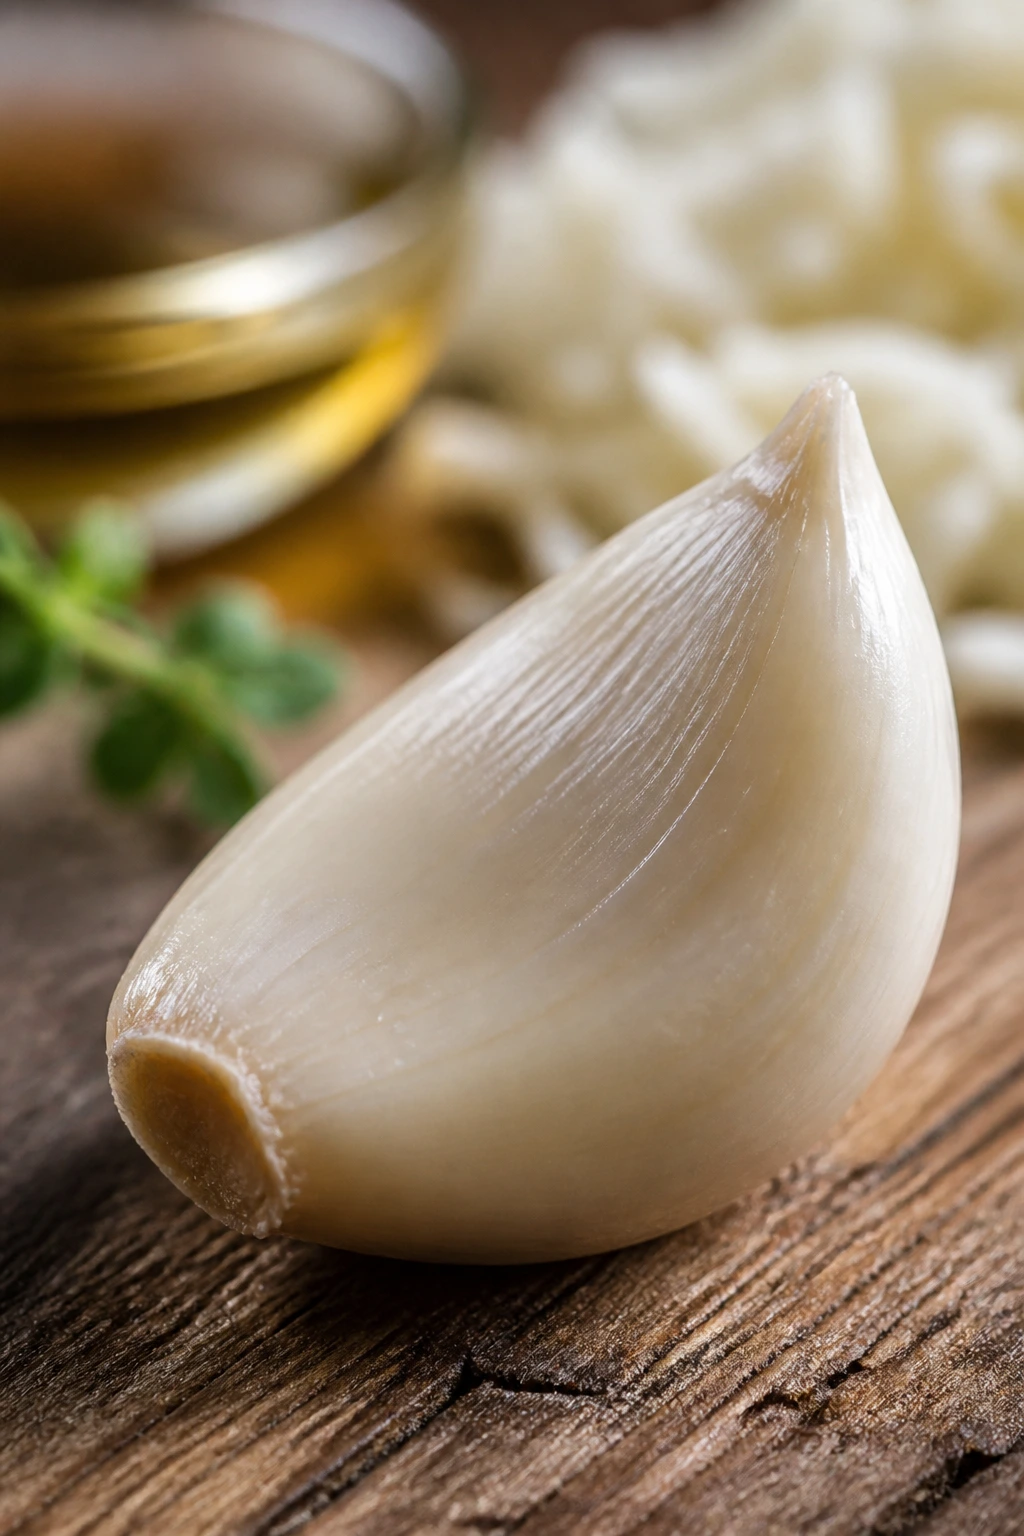
- 2 cloves garlic, finely grated
- 1 teaspoon dried oregano
- 1 teaspoon dried basil
- 1 tablespoon chopped fresh parsley, plus more for serving
- 1/2 teaspoon fine sea salt
- 1/4 teaspoon red pepper flakes, optional
- 1 cup shredded low-moisture mozzarella
- 1/3 cup finely grated Parmesan
- 1 tablespoon cornmeal or semolina, optional for the pan
For the Sauce:
- 1 1/2 cups marinara sauce
- 1 tablespoon olive oil
- 1/2 teaspoon dried oregano
- Pinch red pepper flakes
Why Each Ingredient Earns Its Place
Pizza Dough
- What to use: 1 pound pizza dough, store-bought or homemade, brought to room temperature until soft and relaxed.
- Preparation: Leave it covered on the counter for about 30 minutes, then stretch it into a 10×14-inch rectangle on the pan.
- Substitutions: Naan or store-bought flatbread can work in a pinch, though the texture shifts closer to a quick snack than a true pizza dipper.
- Tips: Cold dough springs back and tears at the edges, so let it warm up. A dough that stretches without snapping gives you a softer crumb and better oven spring.
Herb Oil and Butter
- What to use: 2 tablespoons olive oil, 2 tablespoons melted unsalted butter, 2 cloves garlic, oregano, basil, parsley, salt, and red pepper flakes.
- Preparation: Stir everything together in a small bowl just before brushing it on the dough.
- Substitutions: Use all olive oil if you want a dairy-free version, or swap in 1/2 teaspoon garlic powder if fresh garlic is not sitting in your kitchen.
- Tips: Grated garlic disappears into the fat better than chopped garlic. It also burns less easily, which matters when the tray sits under heat.
Cheese
- What to use: 1 cup low-moisture mozzarella and 1/3 cup finely grated Parmesan.
- Preparation: Shred the mozzarella if you can, and grate the Parmesan finely so it melts into the top instead of forming hard pebbles.
- Substitutions: Provolone, fontina, or a little pecorino all work. Fontina melts plush; pecorino tastes saltier and sharper.
- Tips: Low-moisture mozzarella gives you a cleaner melt and less puddling. Fresh mozzarella tastes lovely, but it brings more water than this tray needs.
Marinara
- What to use: 1 1/2 cups marinara sauce, plus olive oil, oregano, and a pinch of red pepper flakes.
- Preparation: Warm it slowly over low heat until steaming, not bubbling hard.
- Substitutions: Pizza sauce works, and crushed tomatoes simmered for 10 minutes with garlic and salt can stand in if that is what you have.
- Tips: Thick sauce clings better to the bread. If yours pours like soup, simmer it uncovered for a few extra minutes.
Cornmeal or Semolina
- What to use: 1 tablespoon, optional, for the pan.
- Preparation: Dust the parchment lightly after oiling it if you like a more pizzeria-style bottom.
- Substitutions: Skip it if you do not have any; the parchment and oil are enough.
- Tips: Cornmeal gives the underside a faint crunch and keeps the tray from feeling too soft at the base.
The Tools That Make the Tray Easier
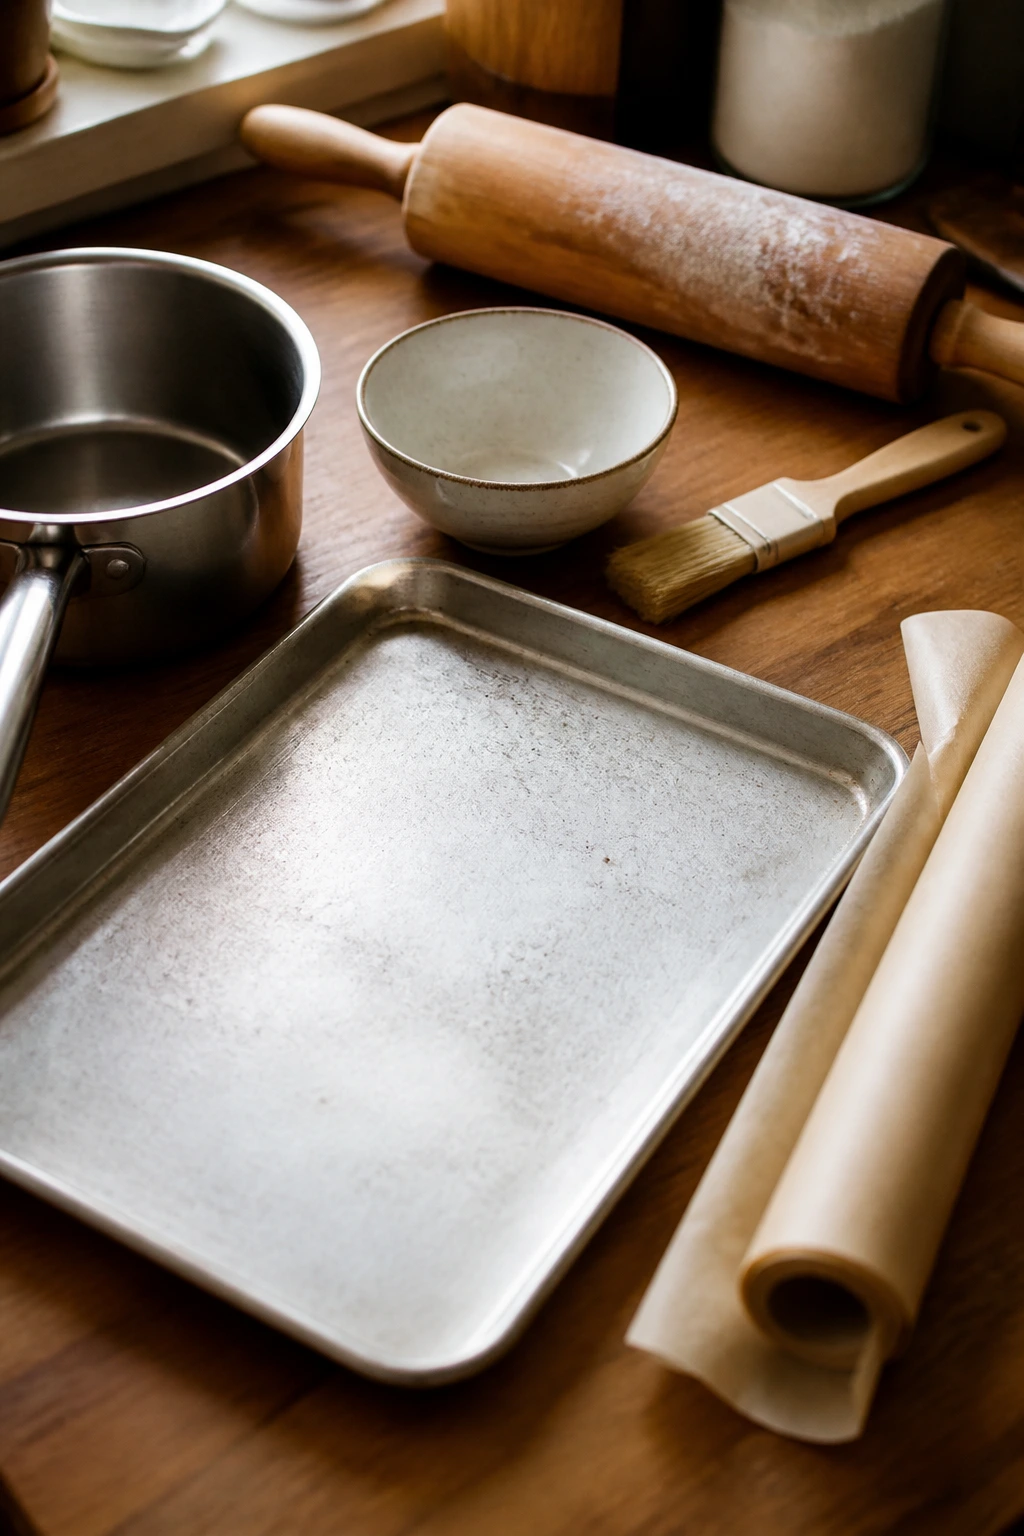
- 13×18-inch rimmed sheet pan: The size gives the dough room to stretch without becoming too thick in the middle.
- Parchment paper: Keeps the crust from sticking and makes cleanup easy.
- Small mixing bowl: Use it for the herb oil so the garlic and herbs spread evenly.
- Small saucepan: Best for warming the marinara without scorching the bottom.
- Pastry brush: Helps you coat the dough edges without flooding the center.
- Rolling pin or oiled hands: Either works. I usually use my hands first and the pin only if the dough refuses to cooperate.
- Pizza wheel or sharp knife: A wheel gives the cleanest strips after baking, but a chef’s knife will do the job.
- Bench scraper, optional: Handy if you want to lift and reposition the dough without stretching it into a ragged shape.
How to Bake the Dippers Without Letting Them Dry Out
Prepare the Pan and Heat the Oven:
- Position a rack in the lower-middle of the oven and preheat to 425°F (220°C). Line a rimmed 13×18-inch sheet pan with parchment paper, then brush the parchment with 1 tablespoon olive oil. That thin coat keeps the bottom from sticking and gives the underside a faint fried edge.
- If your dough came from the fridge, leave it on the counter for 30 to 45 minutes before shaping. Cold dough snaps back hard and tears around the corners.
Mix the Herb Oil and Warm the Sauce: 3. In a small bowl, stir together the melted butter, remaining olive oil, grated garlic, oregano, basil, parsley, salt, and red pepper flakes. Let it sit for 5 minutes so the garlic softens in the fat. 4. Warm the marinara in a small saucepan over low heat for 5 to 7 minutes, stirring once or twice, until it is steaming and smooth. Keep the heat gentle — hard boiling makes the sauce taste sharp and can thin it out too much.
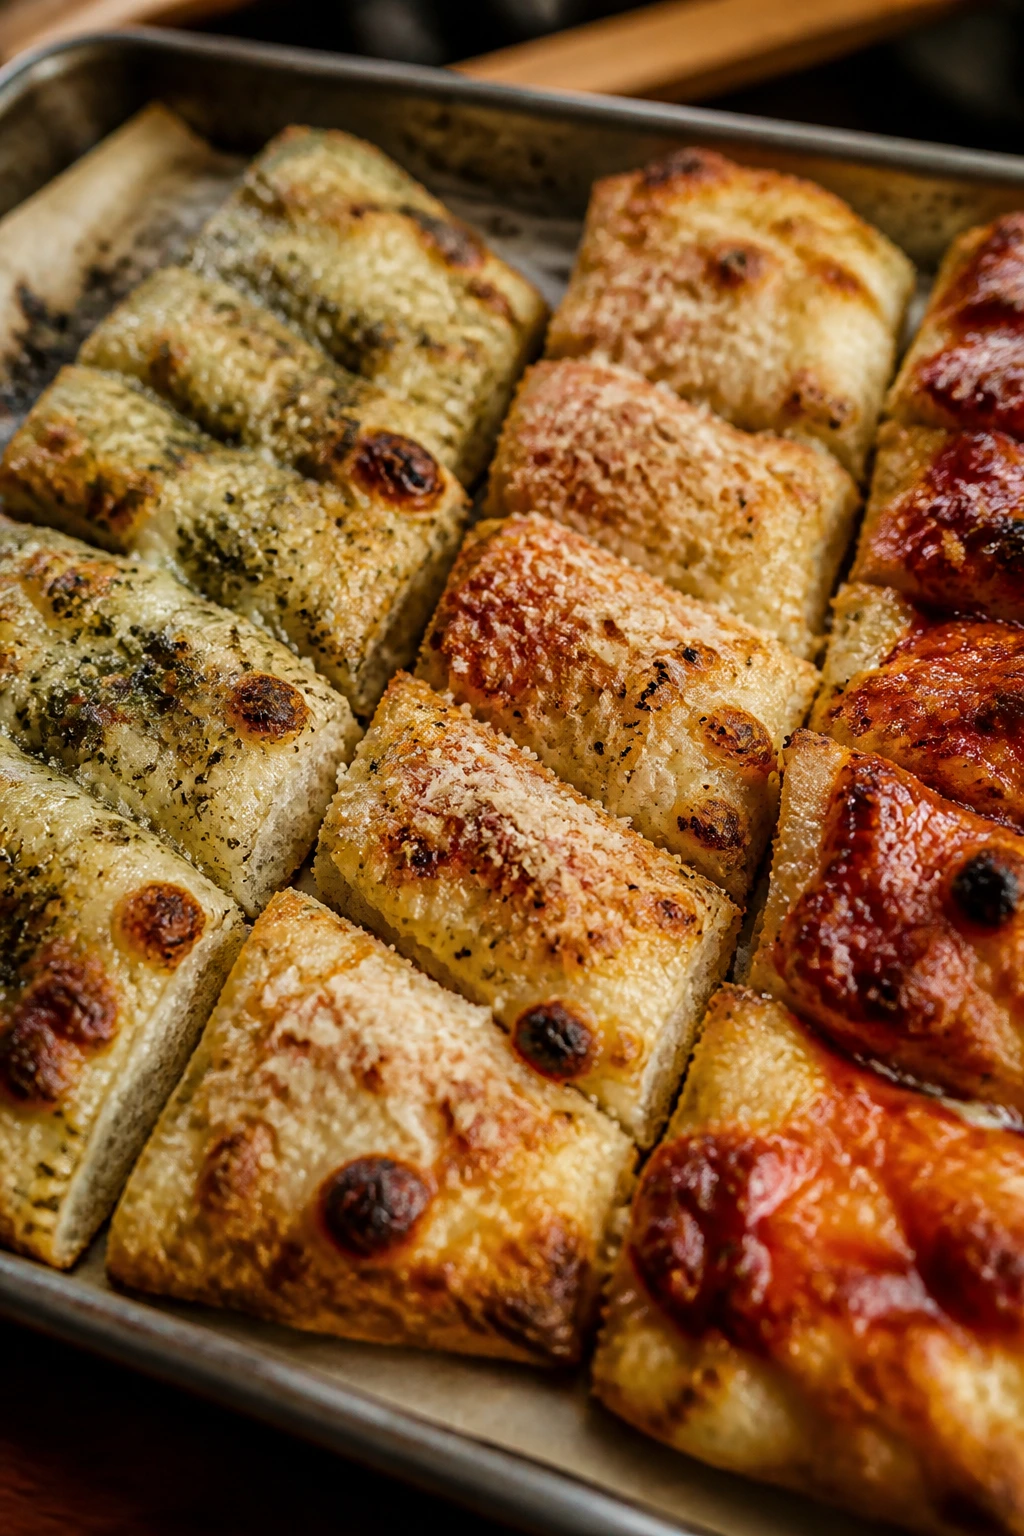
Shape and Top the Dough: 5. Stretch or roll the dough into a 10×14-inch rectangle, then transfer it to the prepared pan. Press it gently toward the corners with oiled fingertips. If the dough pulls back, let it rest for 5 minutes and try again instead of fighting it. 6. Brush the dough edges with about one-third of the herb oil. Spread 1 cup of the warm marinara over the center in a thin layer, leaving a 1/2-inch border, then scatter the mozzarella and Parmesan evenly over the top. Drizzle the remaining herb oil over the cheese. Do not pile the sauce on thick; wet dough bakes up pale and gummy.
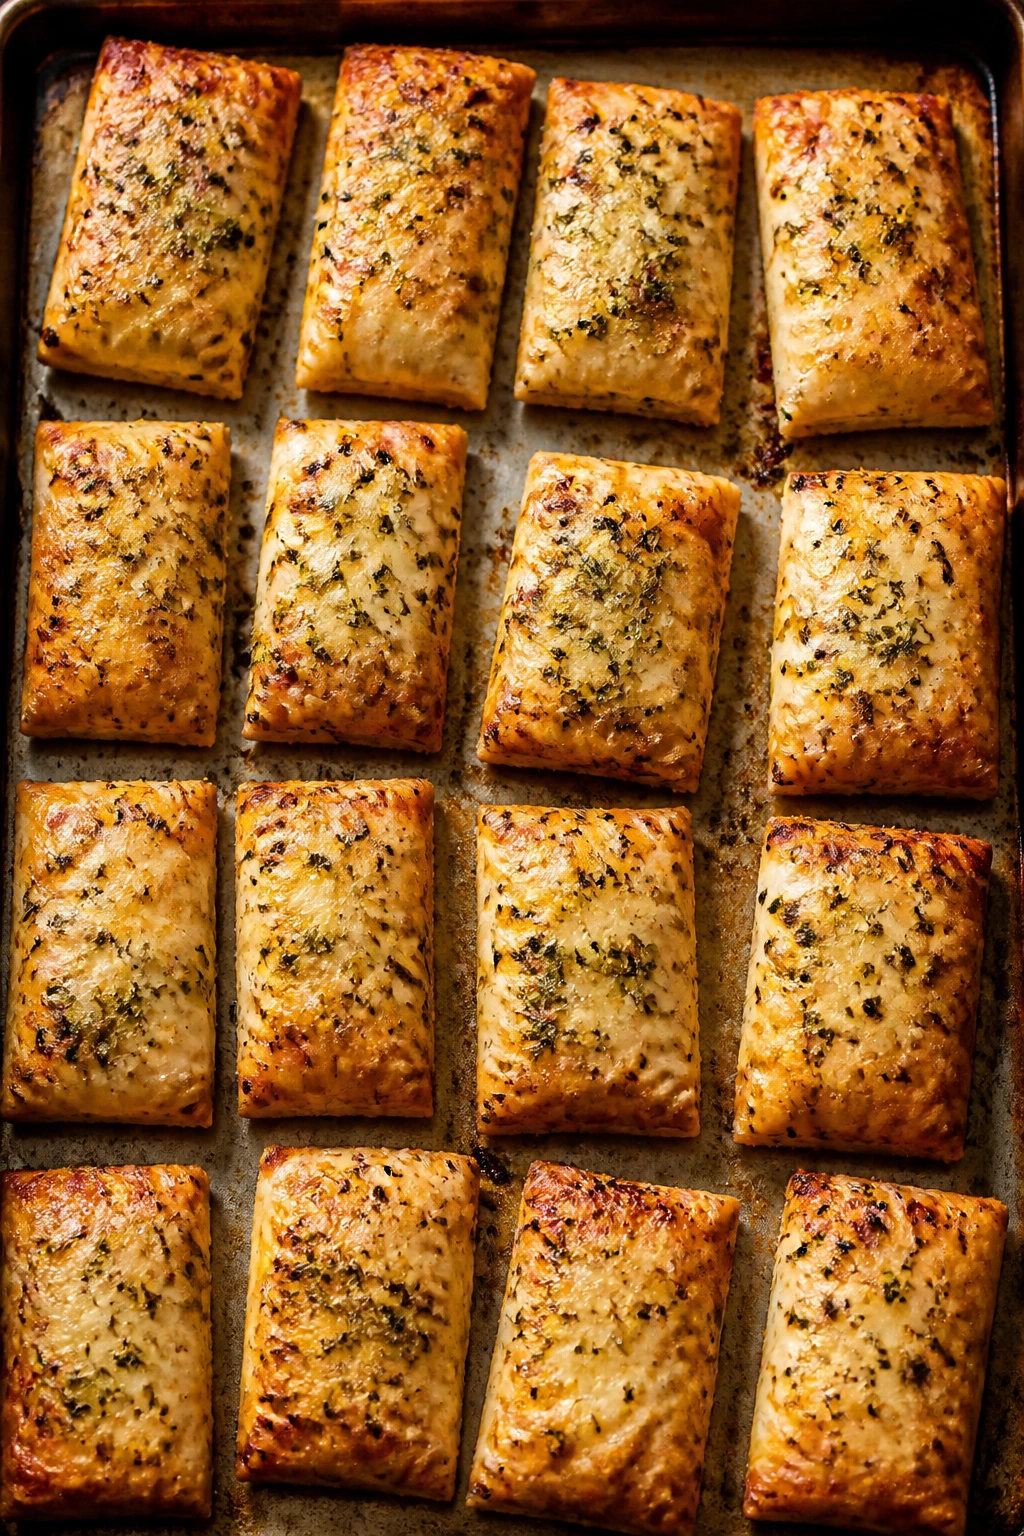
Bake and Finish: 7. Bake for 14 to 18 minutes, rotating the pan once at the 10-minute mark, until the edges are browned and the cheese is melted with gold spots. If you want a little more color, broil on high for 30 to 60 seconds, watching the tray the entire time. 8. Let the tray rest for 5 minutes, then cut into 12 to 16 strips with a pizza wheel or sharp knife. Spoon the remaining 1/2 cup of marinara into a serving bowl, sprinkle the dippers with a little more parsley, and serve while the cheese is still stretchy.
What to Put on the Plate Beside Them

Presentation: Stack the strips in a loose fan on a wooden board or a large platter, then tuck the bowl of warm marinara at the center or just off to one side. A final scatter of parsley makes the tray look fresh, but more useful is the smell that rises when you tear the first strip and the cheese pulls in long threads.
Accompaniments: A simple green salad with lemony vinaigrette gives the tray some lift, especially if you’ve used plenty of cheese. Roasted peppers, marinated olives, or a bowl of soup all fit the same meal without stealing attention. If you want to stay close to the Italian-American feel, serve the dippers with antipasto on the side and let everybody build their own plate.
Portions: Count on 2 to 3 strips per person as an appetizer, or 4 to 5 strips per person if you’re serving them with salad and maybe a bowl of soup. The tray makes 12 to 16 pieces, which is enough for a casual group without leaving a mountain of leftovers. If you want smaller bites for a party, cut them once lengthwise and once crosswise after baking.
Beverage Pairing: A dry Lambrusco is my favorite match because the bubbles cut through the cheese and the red-fruit edge plays nicely with tomato sauce. For a non-alcoholic pour, cold sparkling water with lemon does the same job without fighting the garlic. A crisp Pinot Grigio works too if you want something lighter.
Small Moves That Lift the Whole Tray
-
Flavor Enhancement: Stir 1 teaspoon of tomato paste into the marinara before warming it. It gives the sauce a deeper red color and a little more tomato roundness, which matters when you’re serving a simple tray with few moving parts.
-
Time-Saver: Buy dough from the pizza counter or deli case and let it rest on the counter while the oven heats. That’s the fastest way to get a better crust without giving up the relaxed, hand-shaped look.
-
Pro Move: Brush a little herb oil on the crust edge before baking and the tiniest touch more after baking. The first coat seasons the dough; the second one wakes up the garlic and parsley the moment the tray hits the table.
-
Cost-Saver: If Parmesan is pricey, use a little less and lean on mozzarella and the herb oil for flavor. Low-moisture mozzarella gives you the stretch, and the Parmesan can stay in the background where it belongs.
-
Make-It-Yours: For a dairy-free tray, use olive oil instead of butter and skip the cheese, then finish with flaky salt and extra parsley. The herbs and garlic still carry a lot of the flavor, and the sauce does the rest.
The Mistakes That Make Pizza Dippers Flat or Soggy
-
Starting with cold dough: The dough looks firm, then refuses to stretch and keeps snapping back toward the center. Let it sit on the counter until it feels supple and stretchy, not chilled and tight.
-
Using too much sauce: A thick layer looks generous for about five seconds, then it turns the middle soft and pale. Keep the sauce to a thin coat on the dough and save the rest for dipping.
-
Wet cheese on top: Fresh mozzarella that has not been drained can leave puddles on the tray. If you want to use it, blot it dry with paper towels and use less of it; low-moisture mozzarella is easier for this style.
-
Burning the garlic: Garlic turns bitter fast once it gets direct heat. Grate it into the oil and butter, then keep the broiler to a short blast if you use it at all.
-
Cutting too soon: Freshly baked cheese slides around if you slice the tray immediately. Give it five minutes to settle, and the strips will cut cleanly instead of dragging sauce everywhere.
-
Overbaking in chase of color: Waiting too long for deep brown edges dries out the bread. Pull the tray when the cheese is melted with gold spots and the crust is bronzed at the edges — that’s the sweet spot.
Flavor Swaps and Other Good Detours
Garlic-Bread Sister Tray
Skip the sauce on top and brush the dough with all of the herb oil, then shower it with Parmesan before baking. Serve the marinara only on the side. The result tastes closer to a garlic breadstick tray, which is useful when you want something less saucy and a little more snacky.
Calabrian Heat Wave
Whisk 1 to 2 teaspoons of Calabrian chili paste into the marinara and scatter a few sliced pepperoni or soppressata pieces over the cheese. The heat stays bright and tomato-friendly instead of harsh, and the little spicy pockets keep each strip interesting.
Three-Cheese Pull
Swap part of the mozzarella for provolone and fontina. You get a softer, richer melt with a little more stretch, which is great if you like the cheese layer to feel plush instead of just stringy.
Dairy-Free Herb Tray
Use olive oil in place of butter, leave off the cheese, and finish with extra parsley and a pinch of flaky salt after baking. The tray will be lighter and more bread-forward, but the garlic and oregano still do enough work to make it feel complete.
Gluten-Free Sheet Pan Version
Use a good gluten-free pizza dough and press it gently with oiled fingers instead of rolling aggressively. Bake it on parchment and keep the sauce layer thin, because gluten-free dough can dry faster around the edges if you crowd it with toppings.
Keeping Leftovers Worth Eating
Room Temperature
Leave the dippers out for no more than 2 hours. After that, move them to the fridge. Bread and cheese may look forgiving, but they can turn tired quickly once the crust loses heat and the cheese starts to firm up.
Refrigerator
Store cooled strips in an airtight container for up to 3 days. Put parchment between layers if you have a lot left, because the cheese likes to glue the pieces together once it chills.
Freezer
Freeze baked dippers on a tray until firm, then stack them in a freezer bag or airtight container for up to 2 months. The sauce can be frozen separately in a small container for the same amount of time. Reheat from frozen rather than thawing if you want the crust to stay cleaner.
Reheating
The best reheat method is a 375°F (190°C) oven or toaster oven for 8 to 10 minutes until the edges crisp back up and the cheese softens again. If you only have a skillet, warm the strips over medium-low heat with a lid for a few minutes, then uncover for the last minute to dry the bottom. Microwave reheating works in a pinch, but it softens the crust and steals the one thing these dippers do best.
Make-Ahead
You can make the marinara 3 days ahead and keep it chilled, then warm it right before serving. The herb oil can be mixed a day ahead, though the garlic is brightest when it’s fresh. If you want to get ahead on the baking, par-bake the dough for 5 to 6 minutes, cool it, then add toppings and finish the bake later the same day. That trick is useful for parties because the crust comes out more structured and less likely to go soft under the sauce.
Questions People Ask Before They Bake Them

Can I use store-bought pizza dough?
Yes, and for this kind of tray, it’s a smart move. Just let it warm on the counter until it stretches without snapping back, or you’ll spend ten frustrating minutes fighting it.
What if my dough keeps shrinking when I stretch it?
Stop stretching it and let it rest for 5 to 10 minutes. Gluten tightens up when it’s cold or handled too hard, and a short rest relaxes it enough to shape cleanly.
Can I use fresh mozzarella instead of low-moisture mozzarella?
You can, but blot it very dry first and use less of it. Fresh mozzarella carries more water, so it can leave the center of the tray soft unless you manage that moisture carefully.
How do I keep the bottom crisp?
Use a parchment-lined sheet pan, keep the sauce layer thin, and bake on the lower-middle rack. A small dusting of semolina or cornmeal under the dough helps too, though it’s optional.
Can I make these ahead for a party?
Yes. Bake the crust and toppings until just done, cool the tray, and reheat it at 375°F for a few minutes before cutting. You can also par-bake the dough, then add toppings closer to serving so the texture stays more lively.
Can I bake these on a pizza stone or steel?
Yes, but the dough needs to be shaped on parchment or a peel so it transfers cleanly. Preheat the stone or steel well, because a hot base gives you a better bottom than a cool baking surface ever will.
What if I want the flavor of garlic bread more than pizza?
Push the butter and herbs harder, then use a lighter hand with the sauce. A tray brushed heavily with herb oil, topped with Parmesan, and served with marinara on the side lands squarely in garlic-bread territory.
A Tray Worth Repeating
A tray like this does one thing beautifully: it turns a few simple ingredients into something people keep reaching for with their fingers while the rest of dinner is still waiting. That is the real charm. Not novelty. Not fuss. Just hot dough, garlic, herbs, and tomato sauce doing the work they were always meant to do.
Make it once with a bowl of marinara and a green salad, then make it again with pepperoni, or with extra parsley and a little Calabrian heat, or stripped down to garlic and Parmesan when that’s what the kitchen has. The method stays steady, and the tray keeps giving back. That is a very Nonna sort of outcome.
Herbed Pizza Dippers Like Nonna Used to Make — Recipe Card

Recipe Name: Herbed Pizza Dippers Like Nonna Used to Make
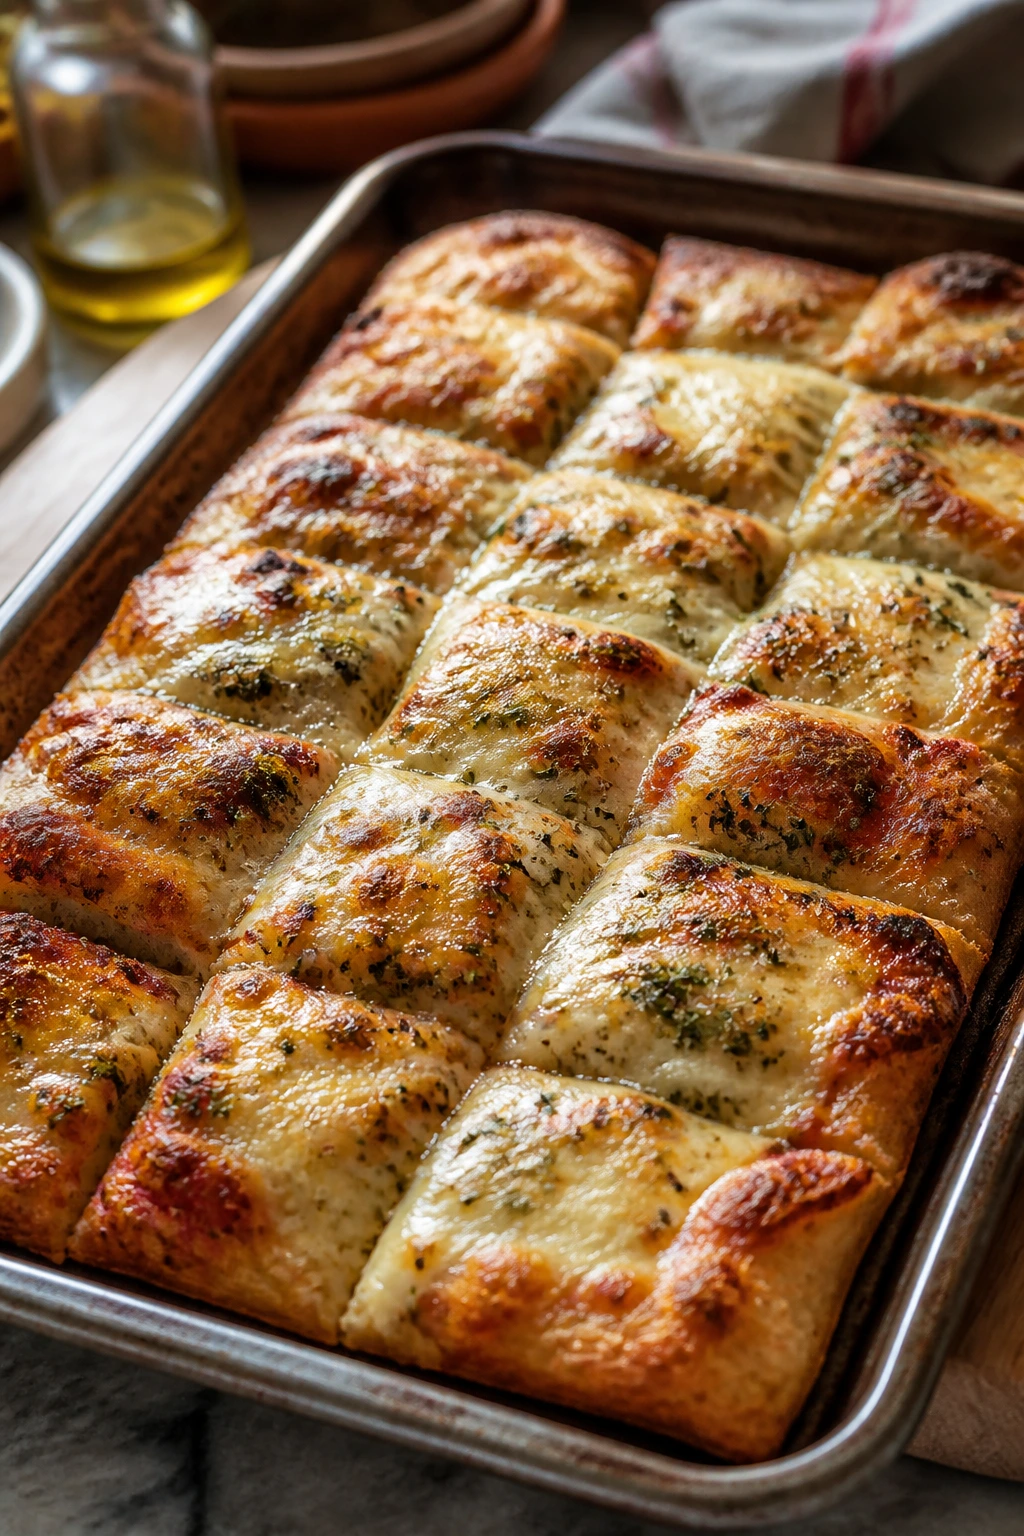
Description: Soft, golden pizza dough is brushed with garlic-herb butter, topped with marinara and melty cheese, then cut into strips for dipping. The edges crisp while the center stays tender, which makes every piece taste like a little slice of old-school pizzeria comfort.
Prep Time: 20 minutes
Cook Time: 18 minutes
Total Time: 38 minutes active + 30 minutes rest
Course: Appetizer, Snack
Cuisine: Italian-American
Servings: 4 to 6 servings
Calories: About 315 kcal per serving
Chill/Rest Time: 30 minutes for the dough to relax at room temperature
Best Served: Warm, within 10 minutes of baking
Ingredients
For the Dippers:
- 1 tablespoon olive oil, for the pan
- 1 pound pizza dough, room temperature
- 2 tablespoons extra-virgin olive oil
- 2 tablespoons unsalted butter, melted
- 2 cloves garlic, finely grated
- 1 teaspoon dried oregano
- 1 teaspoon dried basil
- 1 tablespoon chopped fresh parsley, plus more for serving
- 1/2 teaspoon fine sea salt
- 1/4 teaspoon red pepper flakes, optional
- 1 cup shredded low-moisture mozzarella
- 1/3 cup finely grated Parmesan
- 1 tablespoon cornmeal or semolina, optional for the pan
For the Sauce:
- 1 1/2 cups marinara sauce
- 1 tablespoon olive oil
- 1/2 teaspoon dried oregano
- Pinch red pepper flakes
Instructions
-
Preheat the oven to 425°F (220°C) and line a rimmed 13×18-inch sheet pan with parchment paper. Brush the parchment with olive oil.
-
Stir together the melted butter, olive oil, garlic, oregano, basil, parsley, salt, and red pepper flakes. Warm the marinara over low heat until steaming.
-
Stretch or roll the dough into a 10×14-inch rectangle, then transfer it to the pan and press it gently toward the corners.
-
Brush the dough edges with part of the herb oil. Spread 1 cup of the warm marinara over the center in a thin layer, leaving a border, then add the mozzarella and Parmesan. Drizzle with the remaining herb oil.
-
Bake for 14 to 18 minutes, rotating once halfway through, until the edges are browned and the cheese is melted with gold spots. Broil for 30 to 60 seconds if you want more color.
-
Rest for 5 minutes, then cut into 12 to 16 strips. Sprinkle with more parsley and serve with the remaining warm marinara.
Notes: Low-moisture mozzarella melts cleanly and keeps the tray from getting watery. If the dough springs back while shaping, let it rest for 5 minutes and try again. Leftover sauce keeps for 3 days in the fridge and reheats well over low heat.