
The first sign that rich sugar candy with cream cheese frosting is working is the smell. Sugar, butter, cream, and a little brown sugar start off sounding plain on paper, then the pot turns into something that smells like caramel warming on a spoon, with a faint milkiness that keeps it from tipping into burnt-sugar territory.
Then comes the part that scares people off. Candy thermometers. Soft-ball stage. Grainy texture. A lot of home cooks have had one bad pan of sugar and decided candy-making is a fool’s errand. It isn’t. It just rewards patience, a heavy saucepan, and the refusal to keep fussing with the pot once the syrup starts boiling.
The cream cheese frosting is not an afterthought here. It’s the brake pedal. It cuts the sweetness, softens the edges, and turns a dense square of sugar into something you can actually eat two pieces of without feeling like you need a nap. That tangy layer is what makes this candy feel finished instead of merely sweet.
Why This Candy Wins Over a Plain Frosted Bar
-
The candy base sets with a clean bite: Cooking the syrup to 236°F gives you a square that slices neatly once it cools, instead of a sticky slab that slumps on the plate.
-
The frosting does real work: Cream cheese, butter, vanilla, and salt keep the top from tasting flat or one-note, which matters a lot in a dessert built mostly on sugar.
-
The ingredients are pantry-friendly: You’re working with sugar, cream, butter, cream cheese, and vanilla — ordinary ingredients, but the method makes them behave differently.
-
The texture has range: The candy is dense and silky underneath, then the frosting adds a cool, soft layer that melts fast on the tongue.
-
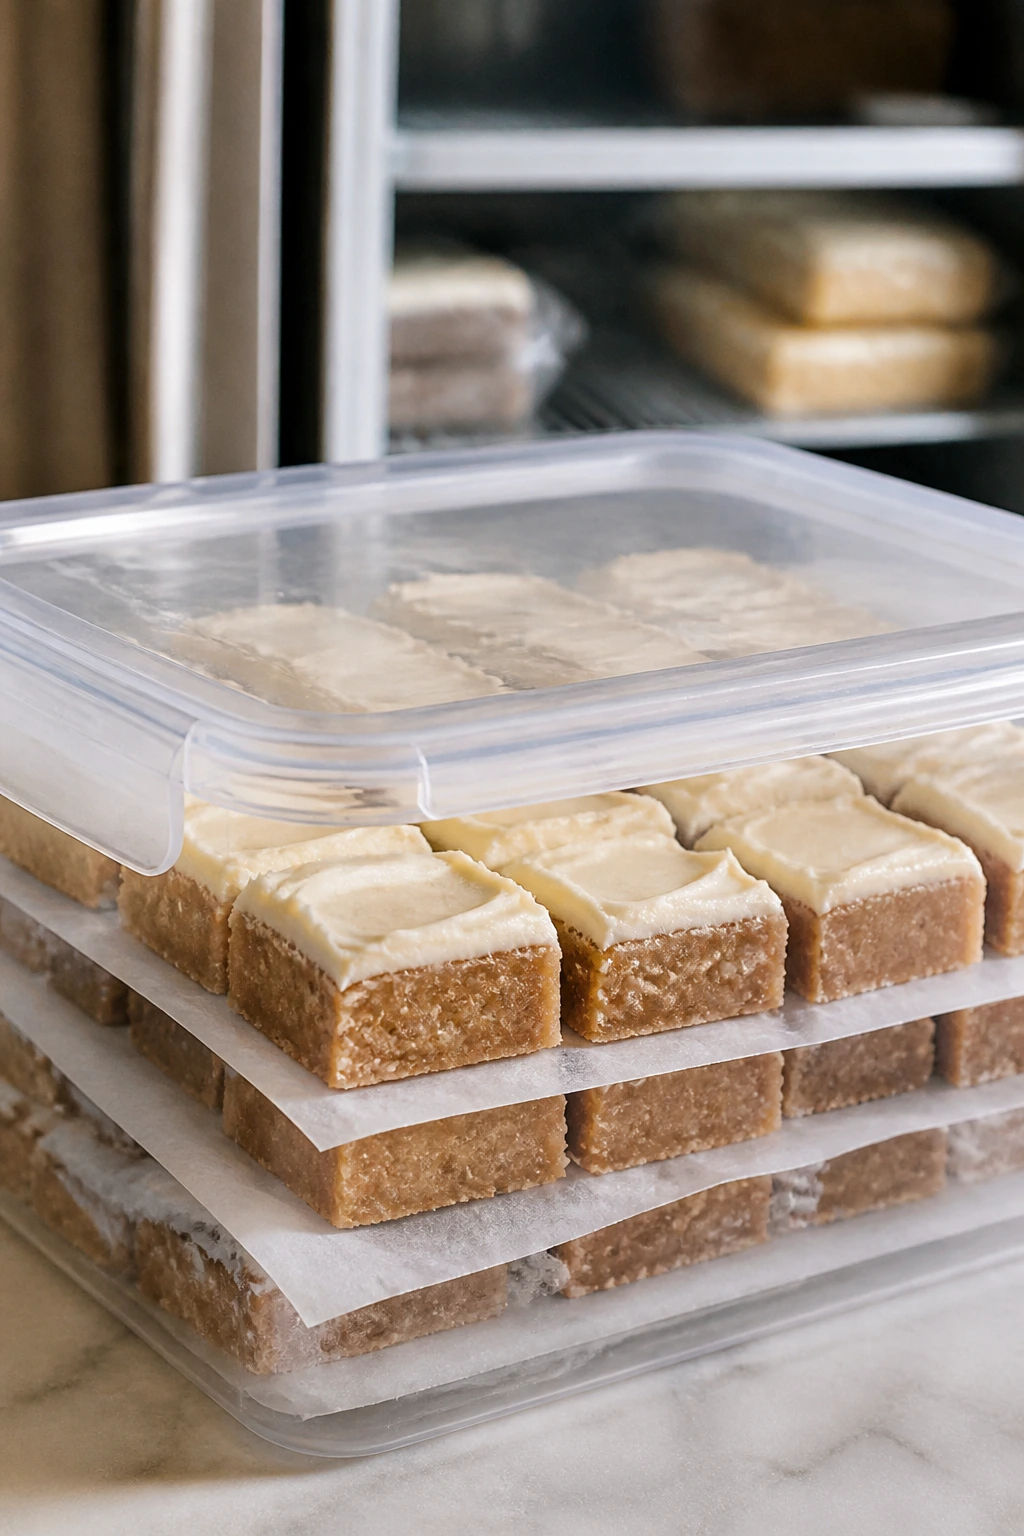
It travels well once chilled: These squares pack into a tin without smearing everywhere, which makes them useful for dessert trays, parties, and the kind of fridge snacking nobody plans.
-
It doesn’t need fancy finishing moves: A good batch looks finished all by itself. No glaze drizzle, no torch, no garnish parade. Just a clean cut and a cold edge.
What Makes a Pan of Sugar Turn Into Real Candy
This is old-school pan candy, the sort of thing that sits somewhere between fudge and caramel and refuses to apologize for being sweet. The cooked base has the buttery depth of caramel without the toasted edge, and the light brown sugar keeps it from tasting like pure white sugar in disguise.
A lot of sugar candy recipes lean brittle or chalky. This one shouldn’t. The target here is a soft, sliceable square with enough structure to hold frosting, but enough give that the first bite feels creamy instead of hard. That balance comes from the combination of dairy, sugar, and a controlled boil — not from mystery or luck.
Cream cheese frosting changes the whole personality of the dessert. On its own, the candy would be rich in that old-fashioned, almost prairie-kitchen way. With the frosting on top, the square becomes more layered: sweet underneath, tangy above, and a little salty at the edges if you’re smart with the salt. The effect is not subtle, but it’s also not cloying, which is the whole point.
And yes, this is the kind of recipe where you need to respect the thermometer. Guessing at candy temperatures is how people end up with a pan that never quite sets or one that turns dense and brittle. A thermometer is cheap. The peace of mind is better.
Timing and Yield at a Glance
Yield: 24 small squares
Prep Time: 20 minutes
Cook Time: 15 minutes
Total Time: 35 minutes active, plus 1 to 2 hours cooling and chilling
Chill/Rest Time: 1 to 2 hours
Difficulty: Intermediate — the ingredient list is simple, but the sugar needs to reach the right temperature and cool at the right pace.
Best Served: Slightly chilled or at cool room temperature
A note on the timing: the candy doesn’t care how quickly you want dessert. It has to cool before frosting, and the frosting has to firm up before slicing if you want clean edges. Rush those two spots and you’ll get a soft, smeared mess instead of the tidy squares this recipe is aiming for.
Ingredients for the Candy Base and Frosting
For the Candy Base:
- 2 cups granulated sugar
- 1 cup packed light brown sugar
- 1 cup heavy cream
- 1/2 cup whole milk
- 1/2 cup unsalted butter, cut into cubes
- 1/4 cup light corn syrup
- 1/2 teaspoon fine sea salt
- 1 teaspoon pure vanilla extract
For the Cream Cheese Frosting:
- 8 ounces cream cheese, softened
- 1/2 cup unsalted butter, softened
- 3 1/2 cups powdered sugar, sifted
- 1 teaspoon pure vanilla extract
- 1/4 teaspoon fine sea salt
- 1 to 2 tablespoons whole milk, only if needed for spreading
Why Each Ingredient Matters When Sugar Starts Boiling
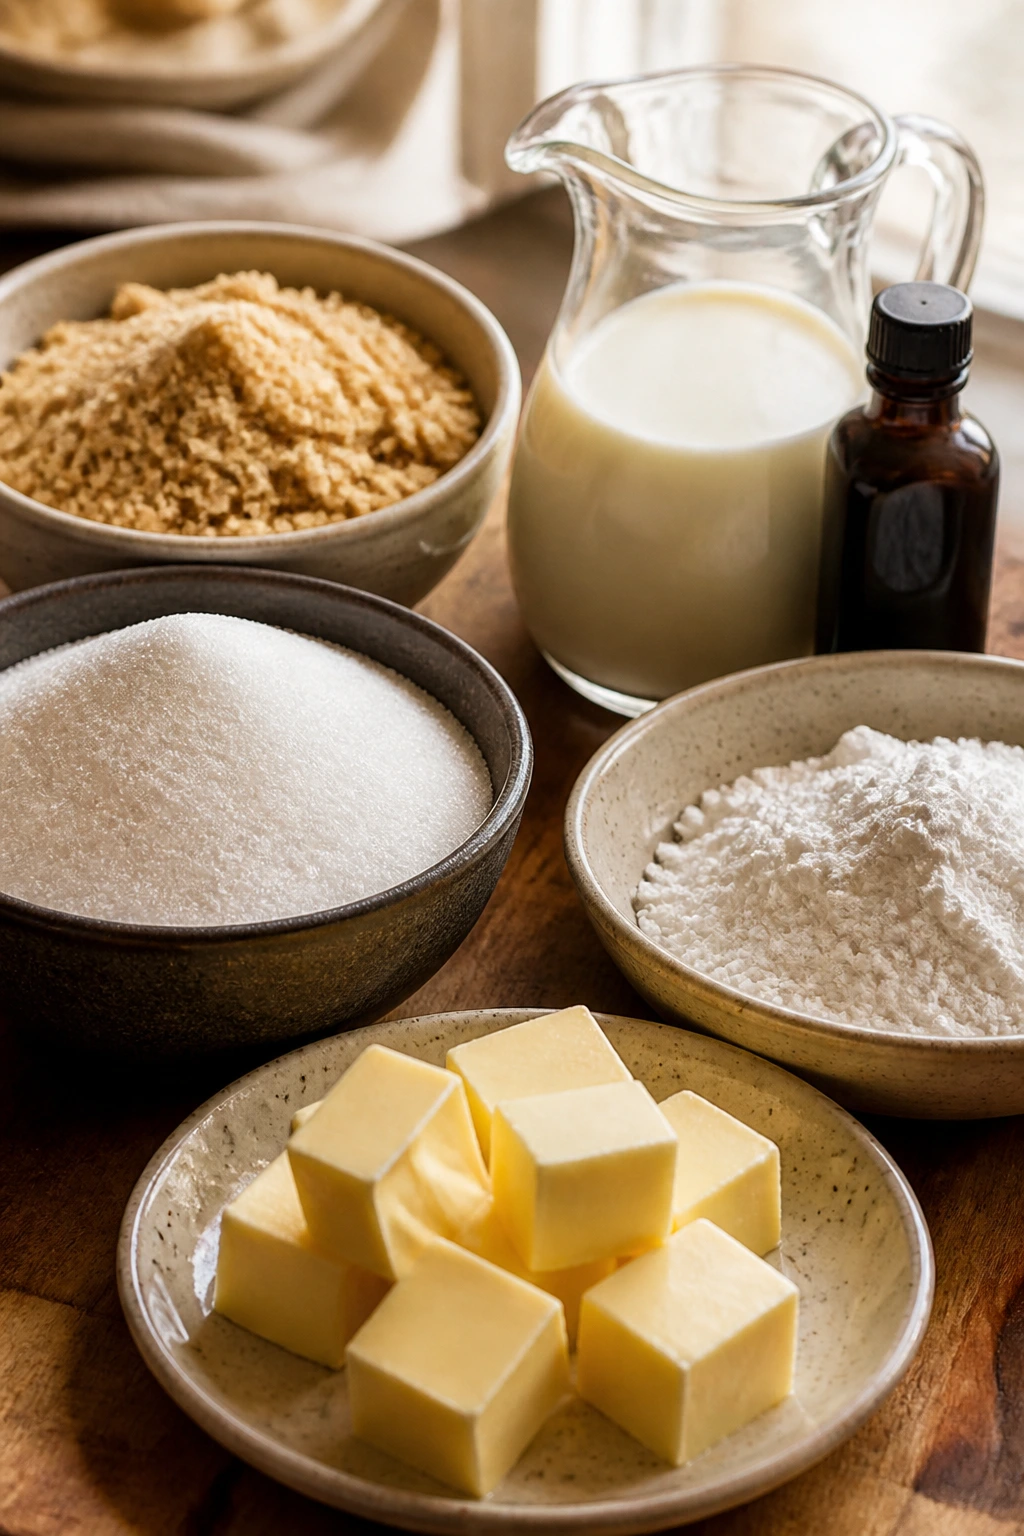
Candy Base
What to use: You need 2 cups granulated sugar, 1 cup packed light brown sugar, 1 cup heavy cream, 1/2 cup whole milk, 1/2 cup unsalted butter, 1/4 cup light corn syrup, 1/2 teaspoon fine sea salt, and 1 teaspoon vanilla. That’s the core of the candy — enough dairy to make it rich, enough sugar to set, and enough syrup to keep the mixture from crystallizing.
Preparation: Measure everything before the heat goes on. Cube the butter so it melts evenly, and have the vanilla sitting nearby because the syrup won’t wait once it comes off the stove. A heavy saucepan matters here; thin metal invites scorching on the bottom before the center reaches the right temperature.
Substitutions: Dark brown sugar gives a deeper molasses note and a slightly softer set. If you don’t have light corn syrup, golden syrup or glucose syrup can step in with similar anti-crystal behavior. Evaporated milk can replace the whole milk in a pinch, but the flavor shifts a little richer and heavier.
Tips: The corn syrup is not there for corn flavor. It keeps sugar crystals from forming on the side of the pot and turning the whole batch sandy. That tiny ingredient does more quiet work than people give it credit for.
Cream Cheese Frosting
What to use: The frosting needs 8 ounces cream cheese, 1/2 cup butter, 3 1/2 cups powdered sugar, 1 teaspoon vanilla, 1/4 teaspoon salt, and a splash of milk only if the mixture feels stiff. It should be thick enough to spread without running, but not so stiff that it tears the candy underneath.
Preparation: Let both the cream cheese and butter soften fully. Cold cream cheese leaves tiny lumps, and those lumps don’t always disappear, even after beating. Sift the powdered sugar if it tends to clump — you’ll feel the difference when you spread it.
Substitutions: Full-fat mascarpone can stand in for some or all of the cream cheese if you want a milder tang and a softer, silkier frosting. Neufchâtel works too, though it usually makes the frosting looser, so you may need a little more powdered sugar.
Tips: Use block cream cheese, not the whipped tub kind. The tub version holds too much air and water for a frosting that needs to sit cleanly on a candy base. You want density here, not fluff.
The Tools That Keep the Syrup Calm
-
Heavy 3-quart saucepan: A thick bottom keeps the sugar mixture from scorching while it climbs to temperature. Thin saucepans are a bad match for candy.
-
Candy thermometer: Clip-on or digital both work. This is the tool that tells you when the syrup has reached soft-ball stage instead of making you guess.
-
Silicone spatula or wooden spoon: Use it for the early stage only, before the mixture boils hard. After that, leave the syrup alone.
-
9×13-inch baking pan: Metal is best because it cools faster and helps the candy set cleanly. Glass works, but it holds heat longer.
-
Parchment paper: Leave overhang on two sides so you can lift the candy out in one piece.
-
Hand mixer or stand mixer: Necessary for the frosting. Cream cheese frosting is smoother when you beat it properly.
-
Offset spatula: This makes the frosting layer even instead of lumpy and drag-marked.
-
Sharp chef’s knife: Warm it under hot water, dry it, and use it for clean slices.
Cooking the Candy Base to Soft-Ball Stage
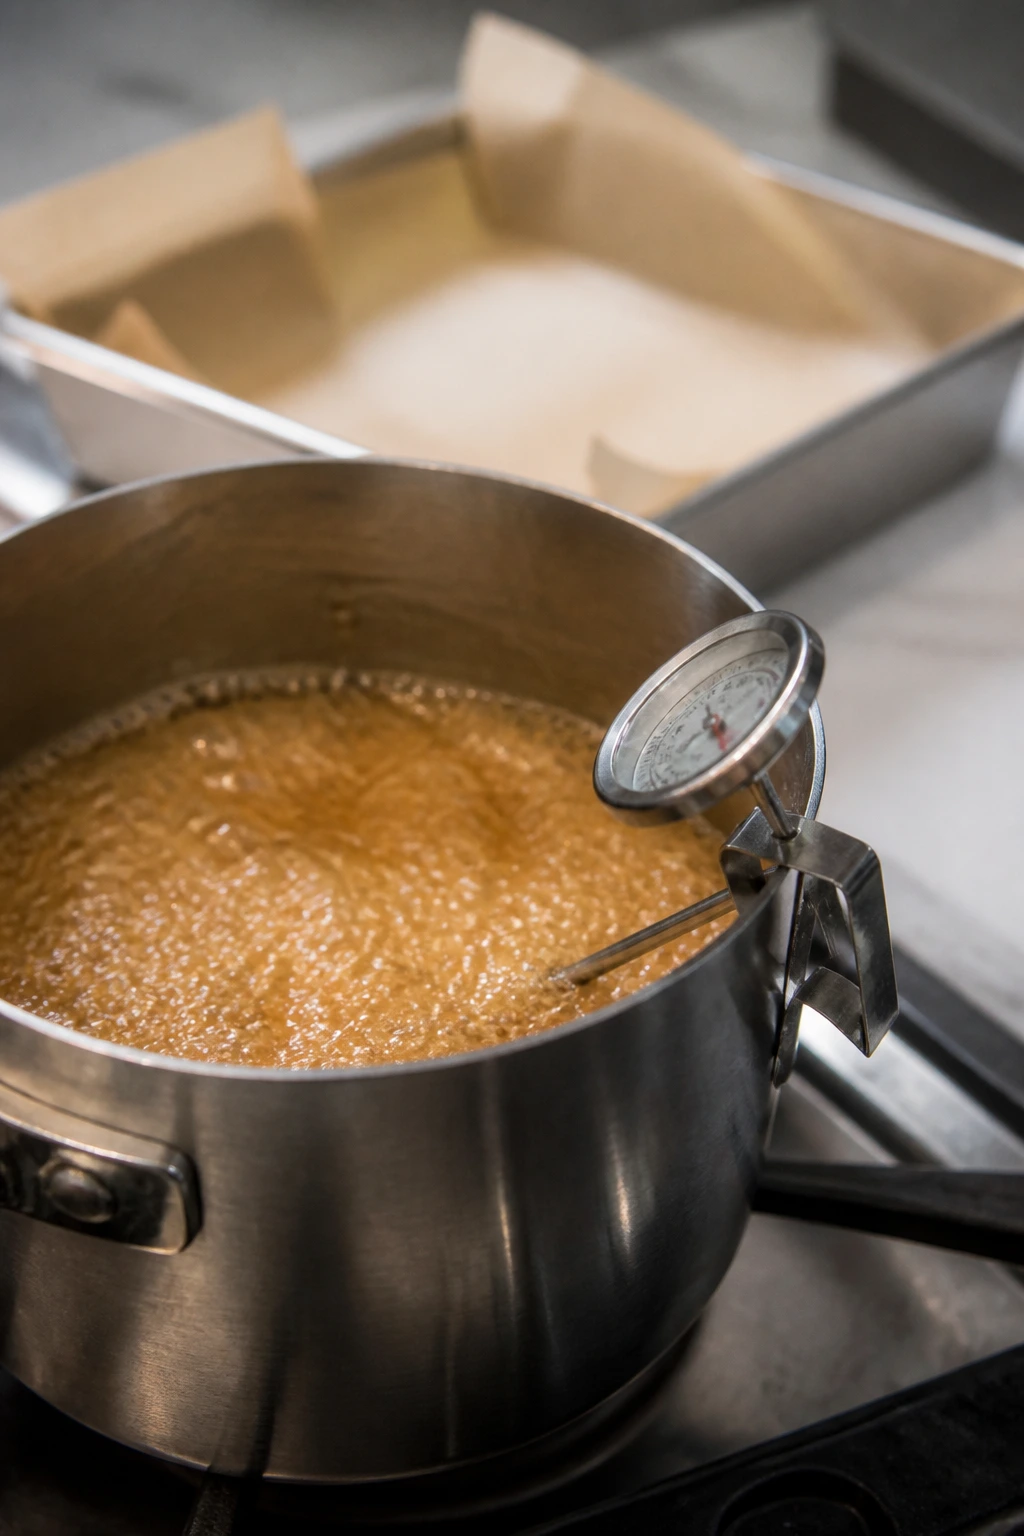
Prep the Pan and Set Up the Base:
-
Line a 9×13-inch metal pan with parchment paper, leaving a 1-inch overhang on two opposite sides. Lightly grease the parchment so the candy releases cleanly later.
-
Set the cream cheese and butter for the frosting on the counter so they can soften while you cook the candy. If you forget this part, the frosting will fight you later.
Build the Syrup:
-
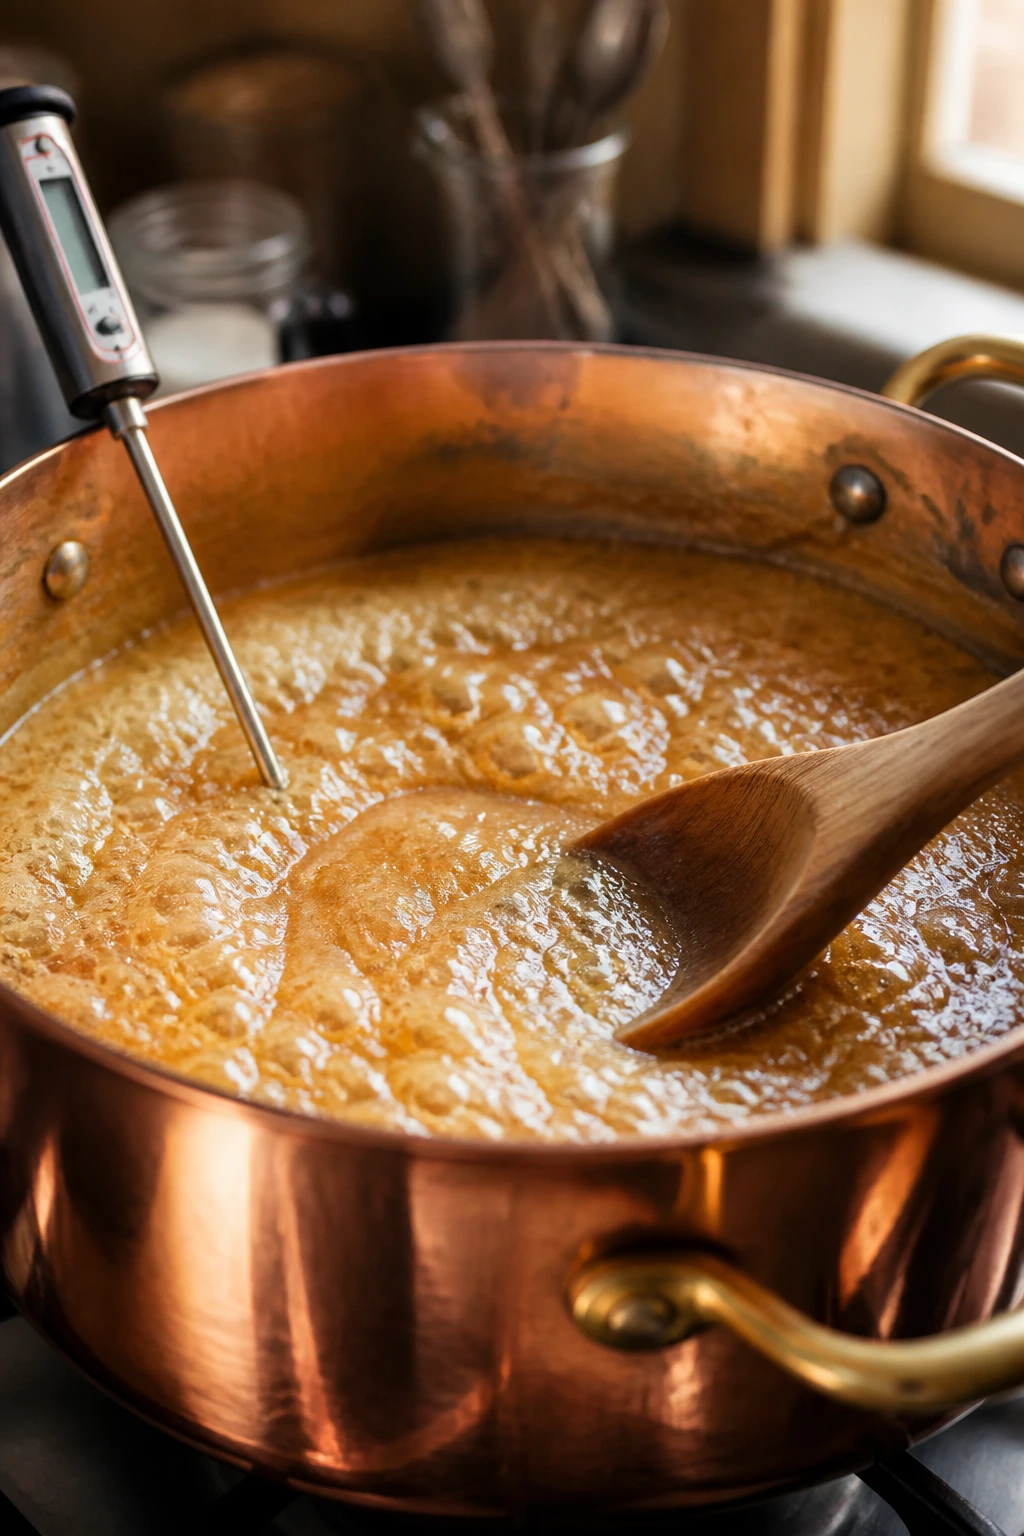
In a heavy 3-quart saucepan, combine the granulated sugar, brown sugar, heavy cream, whole milk, butter, corn syrup, and salt. Set the pan over medium heat and stir gently until the butter melts and the sugar begins to dissolve, about 4 to 5 minutes. Do not crank the heat higher; fast heat scorches the milk solids before the syrup can cook evenly.
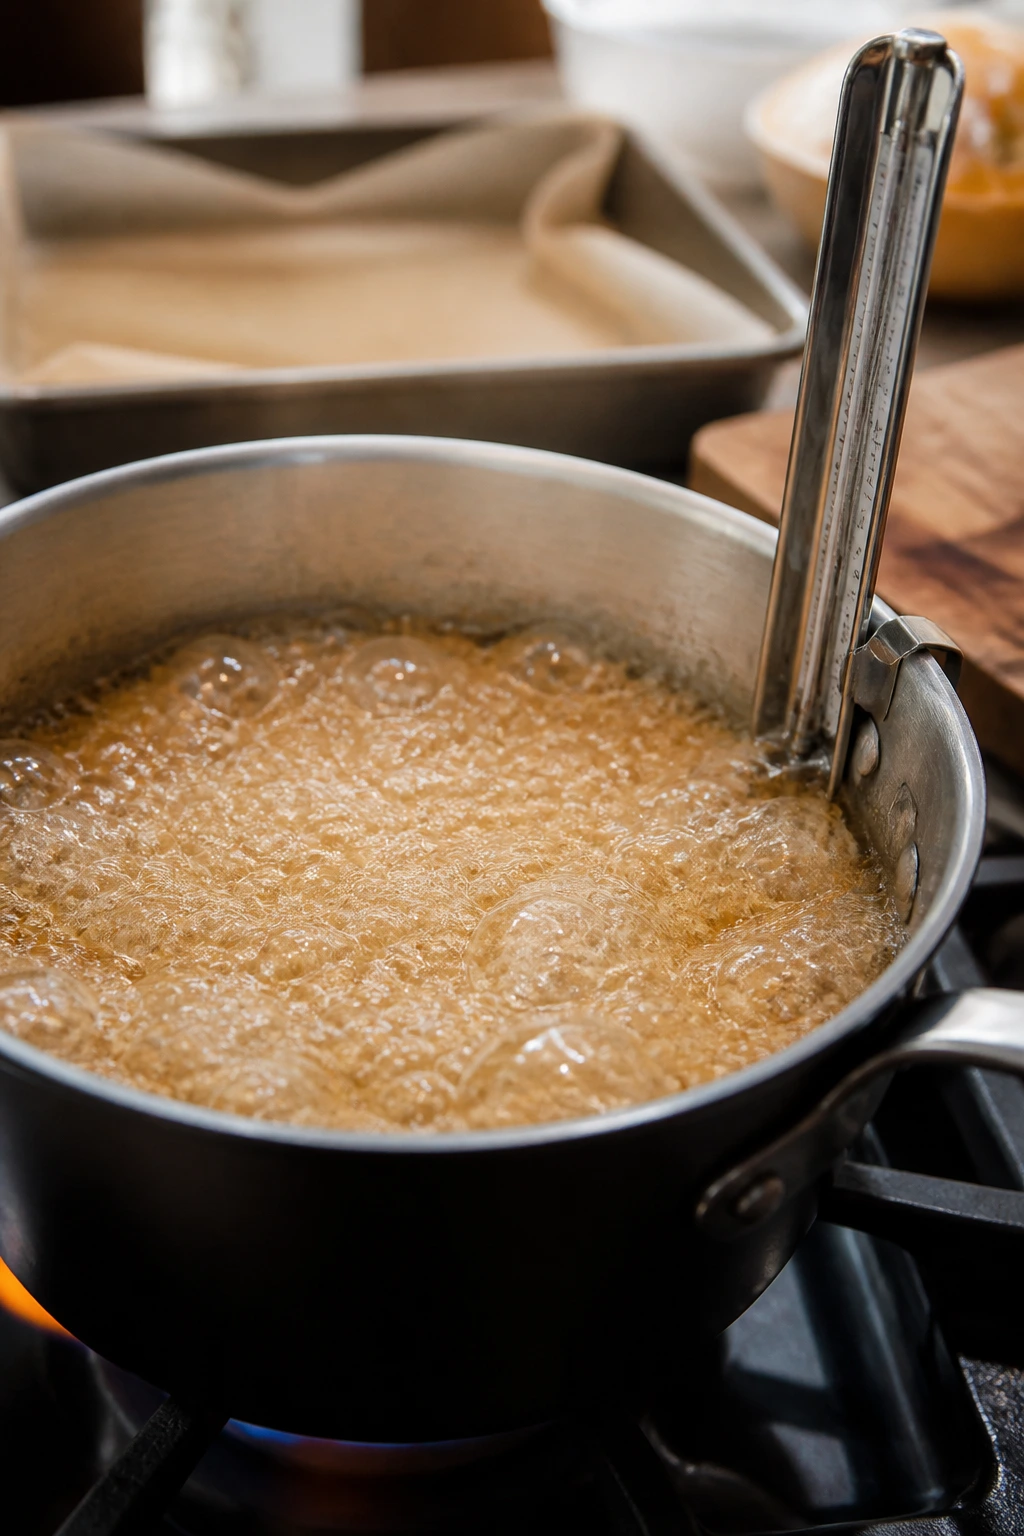
-
Once the mixture starts to bubble, stop stirring. Clip on the candy thermometer and bring the syrup to a steady boil over medium to medium-high heat. Cook until the thermometer reads 236°F and the bubbles look slightly thicker and slower, usually 8 to 12 minutes. If sugar crystals collect on the sides of the pot, brush them down with a wet pastry brush or cover the pot for 1 minute so the steam can wash the sides clean.
Finish the Base:
-
Remove the pan from the heat and let the bubbling settle for 3 to 4 minutes. Stir in the vanilla until the mixture looks glossy and smooth. Do not let the syrup sit so long that it starts setting in the pan.
-
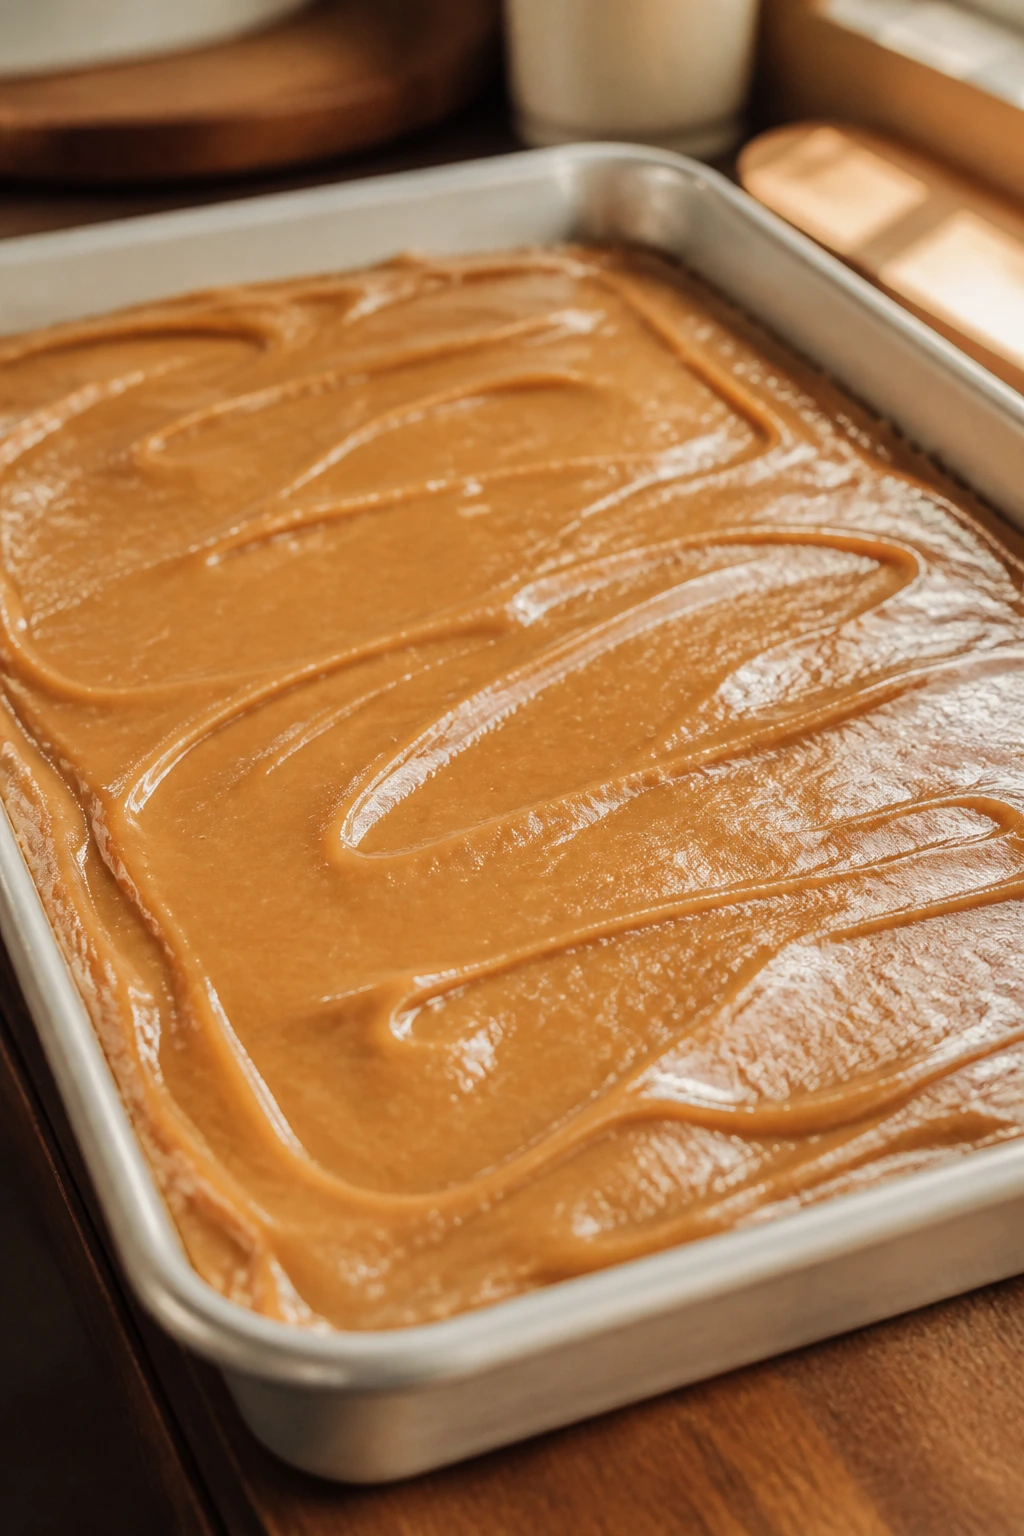
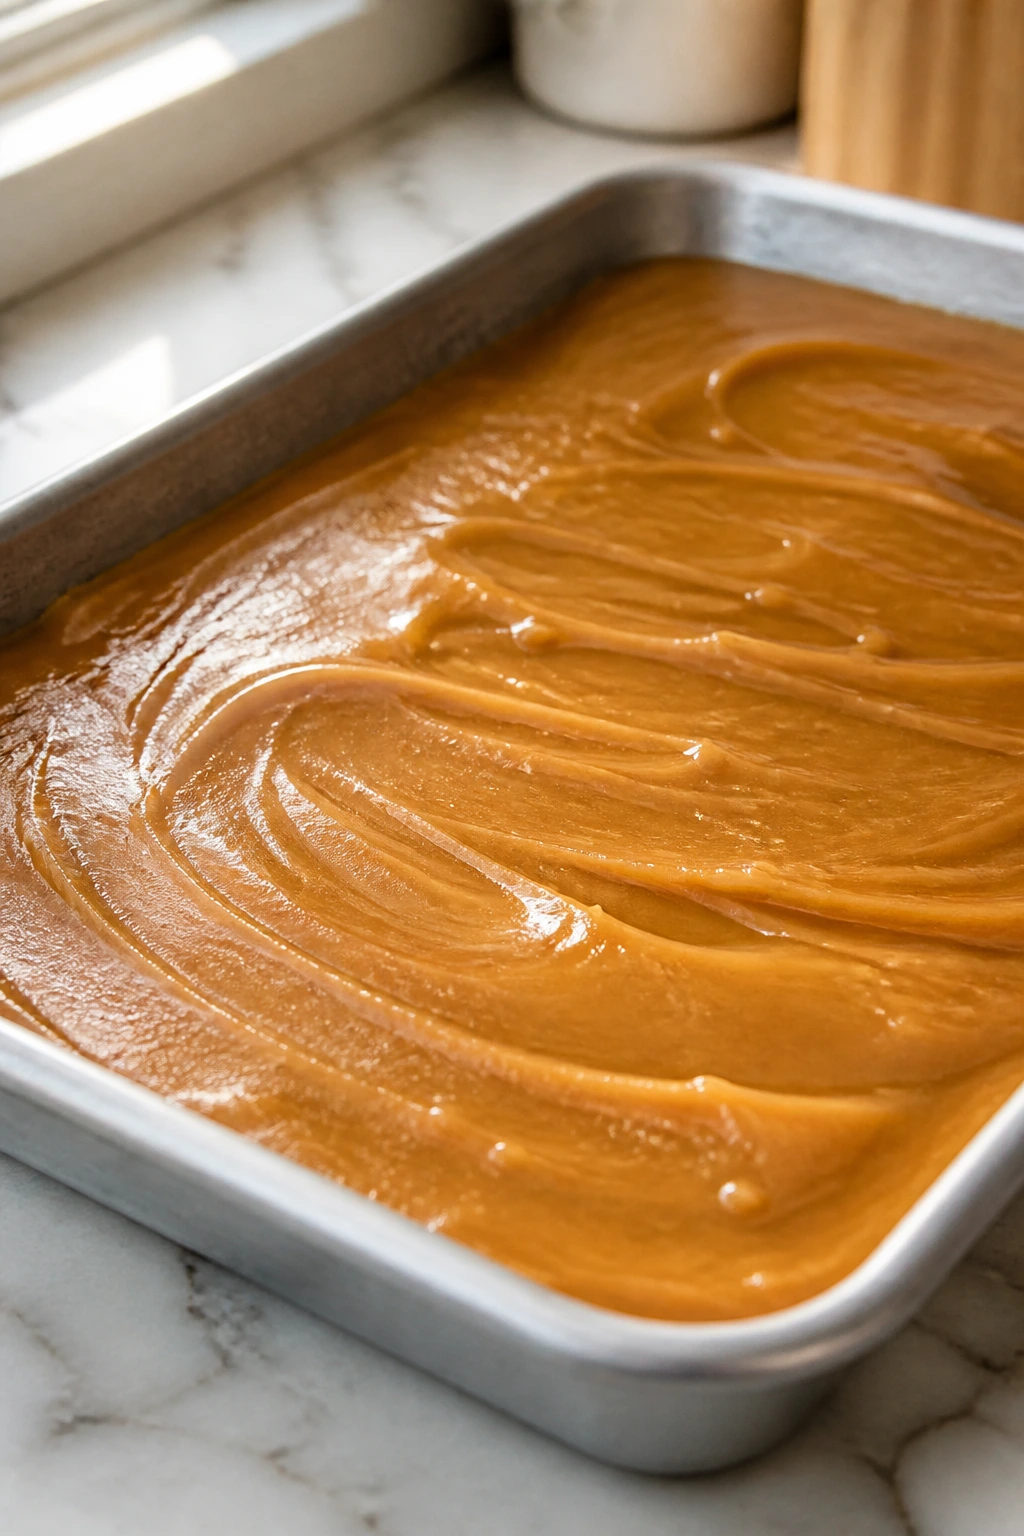
Pour the candy base into the prepared pan and spread it into an even layer with a lightly greased spatula. Tap the pan once or twice on the counter to release any large air pockets, then leave it alone. No poking, no smoothing for a full minute, no panic.
The syrup should look shiny when it goes in and a little thicker as it starts to cool. That’s the right look. If it looks grainy while still hot, something went off track — usually stirring after boil or letting sugar crystals live on the side of the pan.
Whipping the Cream Cheese Frosting and Cutting Clean Squares

Make the Frosting:
- In a large bowl, beat the softened cream cheese and softened butter on medium speed for 2 minutes, until the mixture looks smooth and pale. Add the powdered sugar, vanilla, and salt and beat on low at first, then medium, until fluffy and spreadable, about 1 to 2 minutes. If it feels too stiff to spread without tearing the candy, add 1 tablespoon milk, beat again, and reassess. You want a frosting that holds a ridge, not one that slumps.
Cool, Frost, and Slice:
-
Let the candy cool completely in the pan, at least 1 hour at room temperature. If the top still feels warm or soft in the center, wait longer. Spread the frosting over the cooled candy in an even layer, using an offset spatula to push it into the corners without digging into the base.
-
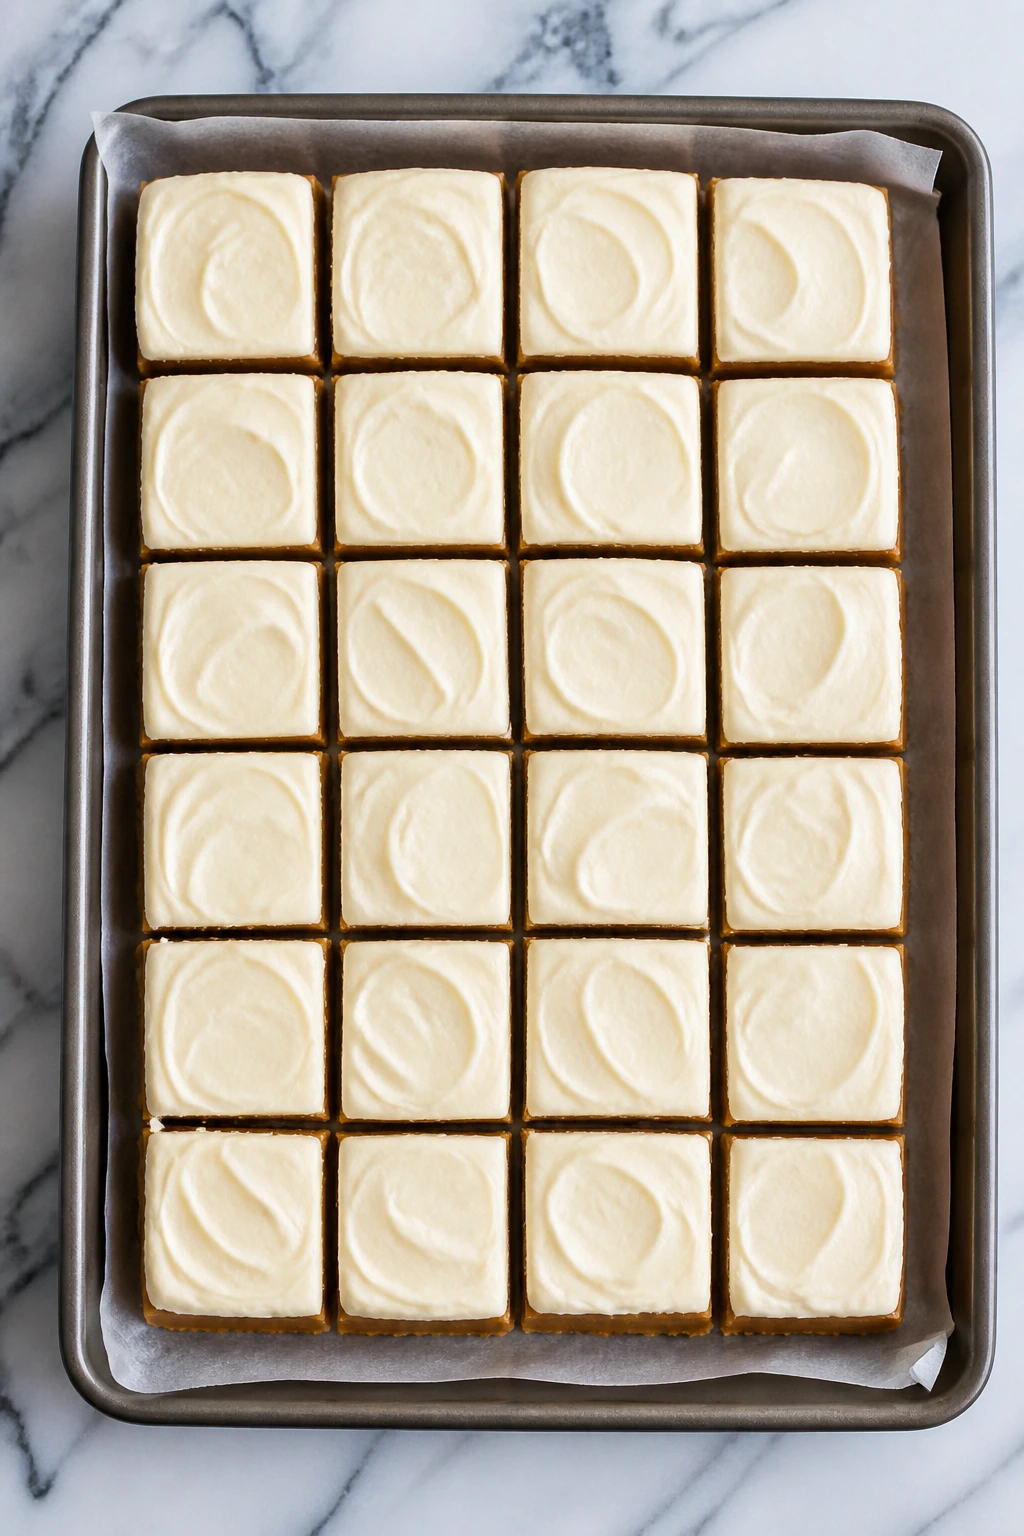
Chill the frosted candy for 30 to 45 minutes, just until the frosting firms enough to slice cleanly. Lift the slab out using the parchment overhang and cut it into 24 squares with a warm, dry knife, wiping the blade between cuts. If the candy sticks, warm the knife again; force is what wrecks the edges.
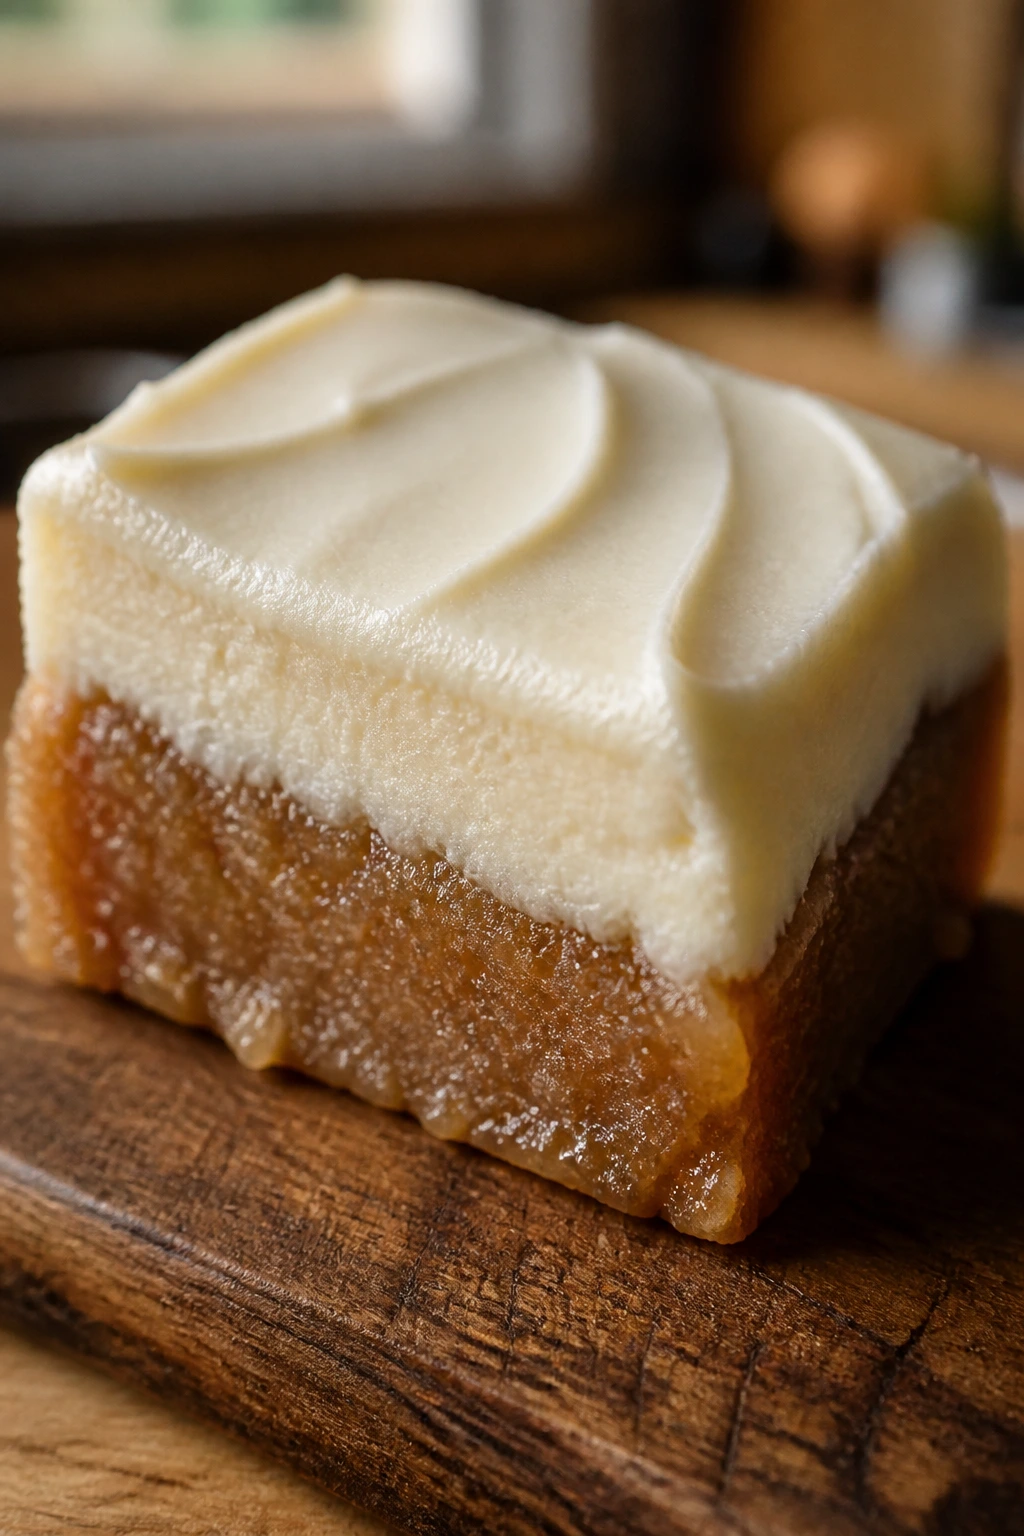
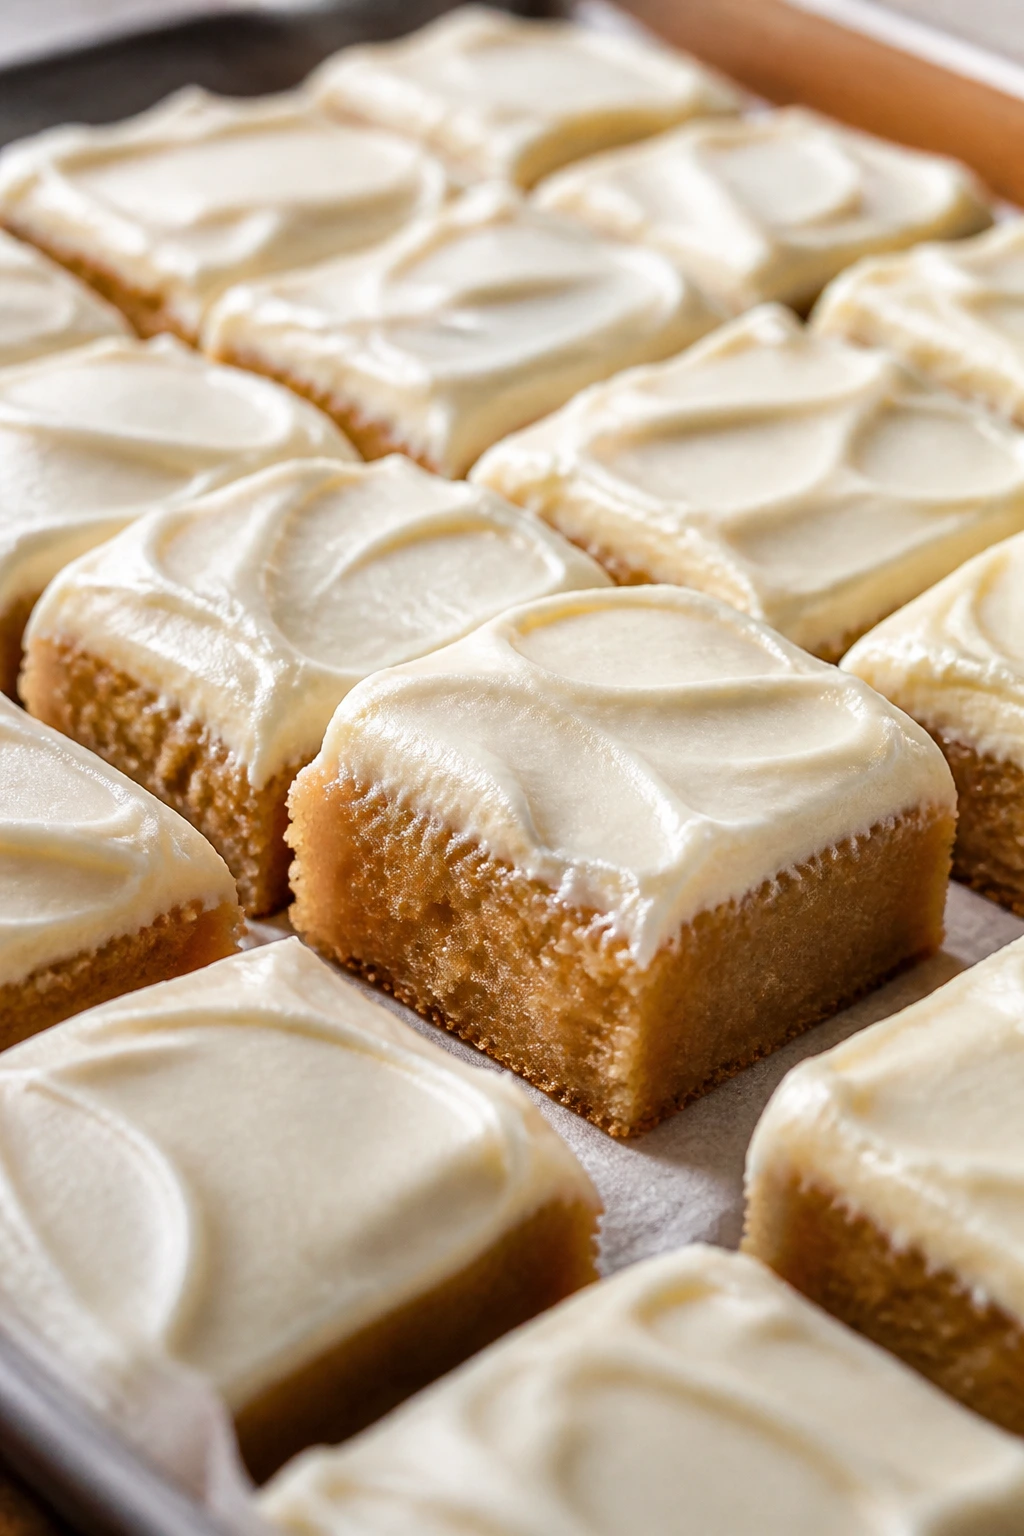
The finished squares should look neat, with a pale, creamy top and a denser, slightly darker base underneath. The frosting should hold its shape, but still give when you bite into it. That’s the sweet spot.
How to Serve It So the Sweetness Feels Balanced
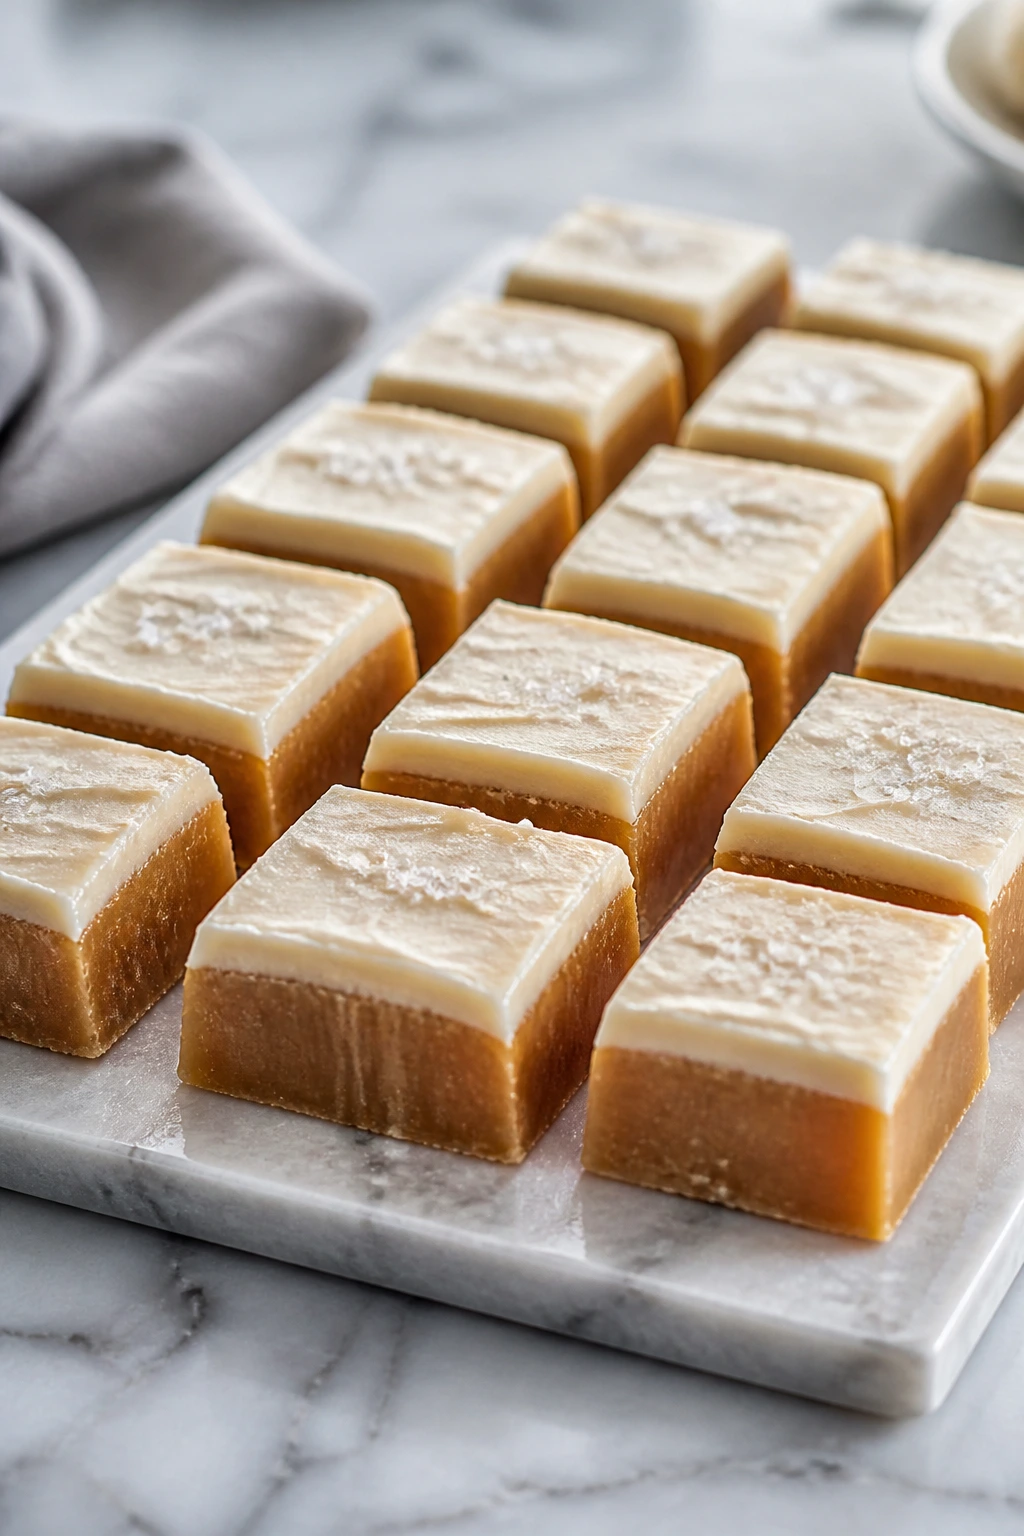
Presentation: Cut the candy into small squares and stack them on a chilled platter or parchment-lined tray. These are rich enough that tiny pieces look intentional, not stingy. A dusting of flaky salt on top works if you like a sharper finish, but the plain version has enough charm to stand on its own.
Accompaniments: Strong coffee is the obvious partner, and honestly, it earns the job. Cold milk works too, especially if you want to lean into the old-school dessert feel. If you’re serving the candy after dinner, put a few fresh berries on the plate — raspberries or sliced strawberries give the sweetness somewhere to land.
Portions: One square is plenty for a casual sweet bite. Two squares turn it into dessert. Three squares means you probably skipped dinner or have no interest in pretending otherwise. If you’re serving a crowd, keep the pieces small and serve them alongside other desserts so the richness doesn’t dominate the whole table.
Beverage Pairing: A dark roast coffee, espresso, or unsweetened iced tea all work well because they pull the frosting back a little. If you want something non-caffeinated, a glass of cold milk is the simplest answer and still the right one.
Practical Tips for Better Texture and Better Flavor
Flavor Enhancement: A tiny pinch of espresso powder in the frosting deepens the brown sugar flavor without making the candy taste like coffee. You only need about 1/2 teaspoon. Any more and you’ll hear about it from the candy.
Customization: If you like a warmer spice note, add 1/4 teaspoon cinnamon to the candy base or 1 teaspoon orange zest to the frosting. The cinnamon gives the square a bakery-candy feel; the orange brightens the top layer and keeps the sweetness from feeling too dense.
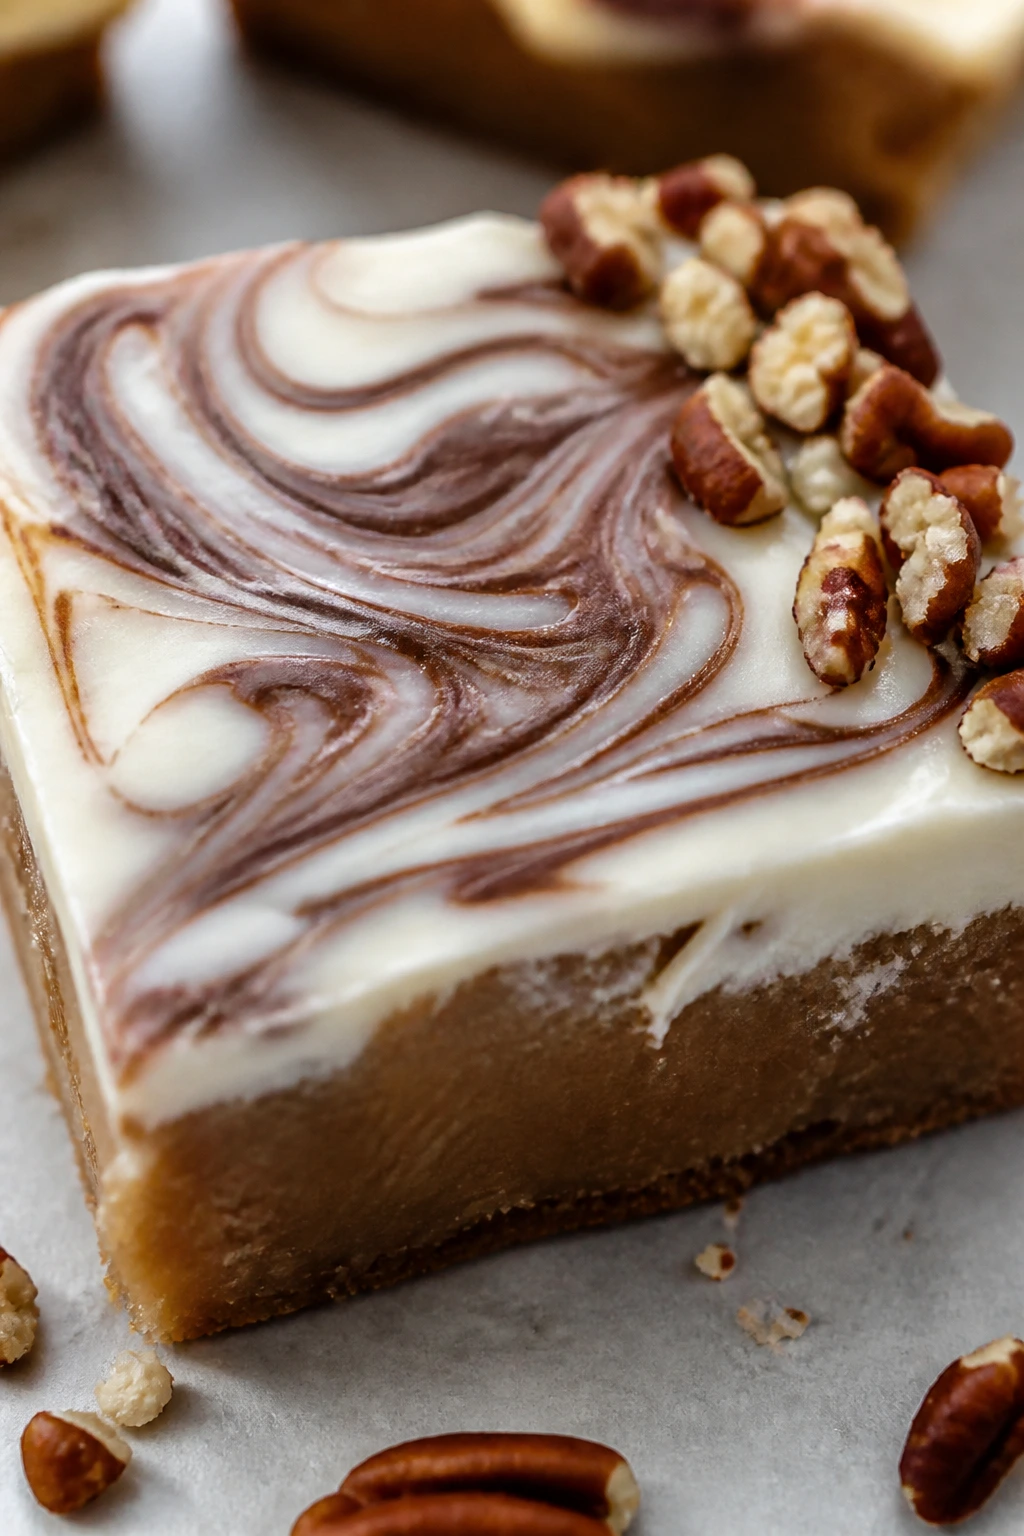
Serving Suggestions: Sprinkle toasted chopped pecans over the frosting before it sets if you want a little crunch. The nuts stick best when the frosting is still soft, and they make the squares feel more substantial on a tray.
Time-Saver: Make the frosting while the candy cools, not before. The frosting holds fine for the time it takes the candy to set, and you won’t be trying to rescue a bowl of cream cheese that got too warm sitting on the counter.
Texture Trick: If you want the cleanest slices, chill the finished pan for 45 minutes, then cut it with a knife warmed in hot water and wiped dry. Cold frosting slices like a clean block; warm frosting drags into little tears that are annoying to fix.
Make-It-Yours: For a dairy-free direction, use vegan butter and vegan cream cheese, then chill the finished candy longer before slicing. The texture will be a touch softer, but the dessert still works if you keep the layer thin and the pan cold.
Common Mistakes That Leave Candy Grainy or Too Soft
-
Stirring after the syrup starts boiling: Once the mixture is at a real boil, stirring can trigger crystallization and give you a sandy finish. If crystals appear on the sides, brush them down or cover the pan for a minute — don’t keep poking at the syrup.
-
Guessing at doneness by color alone: This candy does not need to be deep amber. It needs to hit 236°F. Too low and the squares stay soft and sticky; too high and they turn firm and a little dry around the edges.
-
Frosting the candy while it’s still warm: Warm candy melts the frosting layer into a slidey mess. Let the slab cool fully, even if that means waiting longer than you want to.
-
Using cold cream cheese: Cold cream cheese leaves tiny lumps that show up in the final frosting. Soft cream cheese beats smooth much faster, and the texture is worth the wait.
-
Cutting with a dull knife: A dull blade crushes the frosting and drags the candy base. Warm, wipe, cut. Repeat. It sounds fussy because it is, and the neat squares are the payoff.
-
Using a lightweight saucepan: Thin pots scorch the bottom before the syrup reaches the right temperature. If your pot makes you nervous when it’s empty, it’s probably not the one for candy.
Variations That Still Taste Like the Same Dessert
Dark Brown Sugar Drift: Swap the light brown sugar for dark brown sugar if you want a deeper molasses note. The candy turns darker and tastes a little more like caramel, with a softer edge that some people like even better.
Orange-Cream Squares: Add 2 teaspoons finely grated orange zest and 1/2 teaspoon orange extract to the frosting. The citrus keeps the dessert from reading as heavy, and it’s a good move if you’re serving the squares after a rich meal.
Toasted Pecan Finish: Sprinkle 1/2 cup toasted chopped pecans over the frosting before it chills. The nuts add crunch and a buttery note that fits the candy without making it feel busy.
Chocolate Marble Top: Beat 1 tablespoon cocoa powder into half of the frosting, then swirl it through the plain frosting for a marbled surface. Keep the swirl loose and quick; overmixing turns it into brown frosting, which is not the point.
Dairy-Free Cut Squares: Use vegan butter and vegan cream cheese in equal amounts to the dairy versions, then chill the dessert until it is fully firm. The flavor gets a little sharper, and the texture is softer, so smaller squares work better here.
Make-Ahead, Storage, and Freezing Notes
This is one of those desserts that behaves better after it has had time to settle. The candy base firms up as it cools, and the frosting keeps the top from drying out. If you want neat slices, make the whole pan a few hours ahead, chill it, and cut it when you’re ready.
Room temperature: Keep the frosted candy out for no more than 2 hours. Because the frosting contains cream cheese, it belongs in the fridge after that.
Refrigerator: Store the squares in an airtight container for 4 to 5 days. Layer parchment between rows if you stack them, or the frosting will smear into the bottoms of the pieces above it.
Freezer: Freeze cut squares for up to 2 months. Place them in a single layer on a tray until firm, then move them to a freezer-safe container with parchment between layers. Thaw overnight in the refrigerator.
Make-ahead: You can cook the candy base a day ahead, cool it, cover it tightly, and frost it the next day. The frosting can also be made a day ahead and kept covered in the fridge; let it sit at room temperature for 20 to 30 minutes and beat briefly before spreading if it firms up too much.
Reheating: There isn’t a real reheating step here, and that’s fine. If the candy comes out of the fridge too firm for your taste, leave it on the counter for 10 to 15 minutes before serving. That softens the frosting and brings the flavor back up.
Questions People Ask Before Making It
Do I really need a candy thermometer?
Yes, unless you enjoy guessing at sugar stages and cleaning sticky pans twice. A thermometer tells you when the candy base has reached 236°F, which is the difference between sliceable and disappointing.
What if my candy turns grainy?
Graininess usually means sugar crystals formed on the sides of the pan or the mixture was stirred after it started boiling. If it happens once, taste the batch before you toss it; sometimes the texture is still usable, just less smooth than it should be.
Can I use all granulated sugar instead of the brown sugar?
You can, but the flavor gets flatter and more one-dimensional. The brown sugar brings depth and a faint caramel note, which is part of why this candy tastes rich instead of merely sweet.
Can I halve the recipe?
Yes, but use a smaller heavy saucepan and watch the thermometer closely. Smaller batches cook faster than people expect, and the jump from “almost there” to “too hot” can happen in a minute or two.
What if my frosting is too soft to spread?
Beat in a little more powdered sugar, 2 tablespoons at a time, or chill the bowl for 10 minutes and try again. Soft cream cheese or extra milk usually causes the issue.
Can I freeze the frosted squares?
Yes. Freeze them in a single layer first, then stack with parchment between layers. Thaw them in the fridge so the frosting doesn’t sweat and slide.
Can I add nuts to the candy itself?
You can, but I prefer putting nuts on top of the frosting. Folding them into the candy base changes the texture and can make cutting a little rougher. On top, they stay crisp and behave better.
Why did my candy stay too soft?
It probably came off the stove before it reached the right temperature, or the room was humid and slowed the set. If it’s only slightly soft, chill it longer before judging. If it’s still loose after several hours, the next batch needs a firmer boil.
A Sweet Pan Worth Cooling
Some desserts are about restraint. This isn’t one of them. Rich sugar candy with cream cheese frosting leans all the way into butter, sugar, and that tangy dairy finish, then somehow still lands on the right side of balanced because the frosting refuses to let the candy go flat.
The best part is how ordinary the ingredients look before they hit the heat. Sugar. Cream. Butter. Cream cheese. Nothing fancy. Then the pot tightens into a glossy candy base, the frosting softens the sweetness, and the whole pan turns into little squares that disappear faster than they should.
Make it once and keep the thermometer handy. You’ll want it again.
Rich Sugar Candy with Cream Cheese Frosting — Recipe Card
Recipe Name: Rich Sugar Candy with Cream Cheese Frosting
Description: Old-fashioned sugar candy cooked to soft-ball stage, then finished with a tangy cream cheese frosting. The base is buttery and sliceable, and the frosting keeps each square from tasting too sweet.
Prep Time: 20 minutes
Cook Time: 15 minutes
Total Time: 35 minutes active, plus 1 to 2 hours cooling and chilling
Course: Dessert
Cuisine: American
Servings: 24 squares
Calories: 220 kcal per square
Ingredients
For the Candy Base:
- 2 cups granulated sugar
- 1 cup packed light brown sugar
- 1 cup heavy cream
- 1/2 cup whole milk
- 1/2 cup unsalted butter, cut into cubes
- 1/4 cup light corn syrup
- 1/2 teaspoon fine sea salt
- 1 teaspoon pure vanilla extract
For the Cream Cheese Frosting:
- 8 ounces cream cheese, softened
- 1/2 cup unsalted butter, softened
- 3 1/2 cups powdered sugar, sifted
- 1 teaspoon pure vanilla extract
- 1/4 teaspoon fine sea salt
- 1 to 2 tablespoons whole milk, only if needed for spreading
Instructions
-
Line a 9×13-inch metal pan with parchment paper, leaving overhang on two sides, and lightly grease the parchment.
-
In a heavy saucepan, combine the sugars, cream, milk, butter, corn syrup, and salt. Stir over medium heat until the butter melts and the sugar dissolves.
-
Bring the mixture to a steady boil and cook without stirring until the thermometer reads 236°F.
-
Remove from the heat, rest for 3 to 4 minutes, then stir in the vanilla. Pour into the prepared pan and spread evenly.
-
Beat the cream cheese and butter until smooth. Add the powdered sugar, vanilla, and salt, then beat until fluffy. Add a splash of milk only if needed for spreadability.
-
When the candy is completely cool, spread the frosting over the top in an even layer.
-
Chill for 30 to 45 minutes, lift out using the parchment, and cut into 24 squares with a warm, dry knife.
Notes:
Keep the pan covered in the refrigerator for 4 to 5 days. For the cleanest slices, chill before cutting and wipe the knife between cuts.