
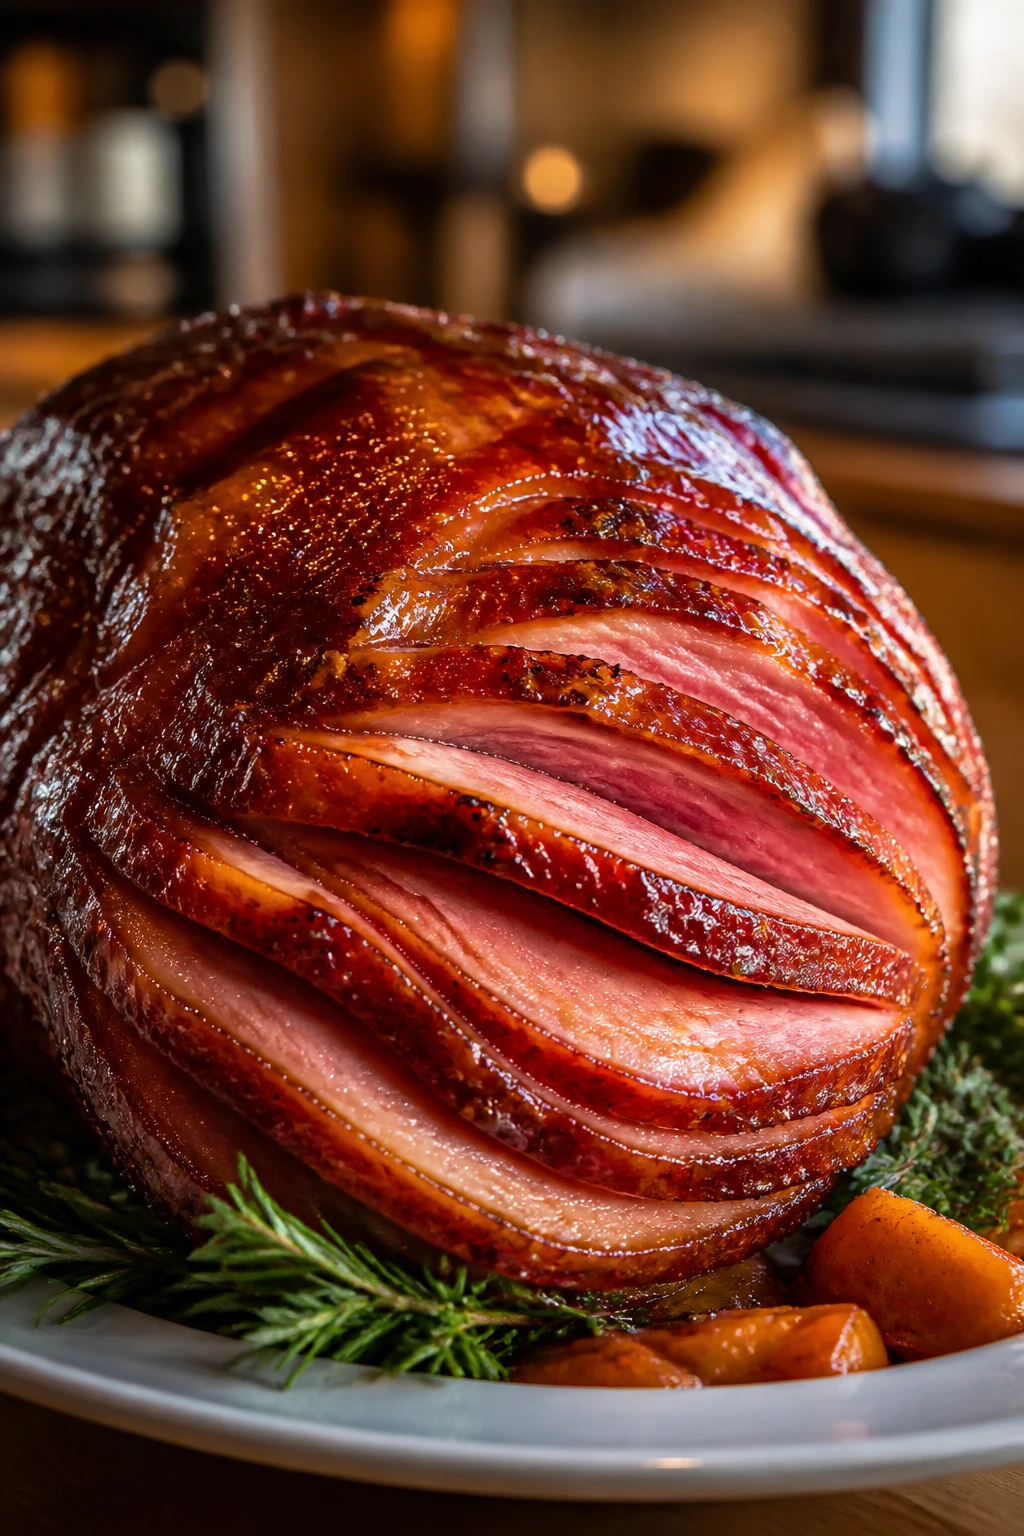
A good ham doesn’t need to shout. It needs a little help: a sharp glaze, a hot oven, and enough restraint that the meat stays juicy instead of wandering into candy territory. That’s why savory ham with brown sugar glaze works so well when it’s handled with a steady hand. The sugar gives you lacquer. The savory bits—Dijon, vinegar, Worcestershire, pepper, garlic—keep the whole thing from collapsing into syrup.
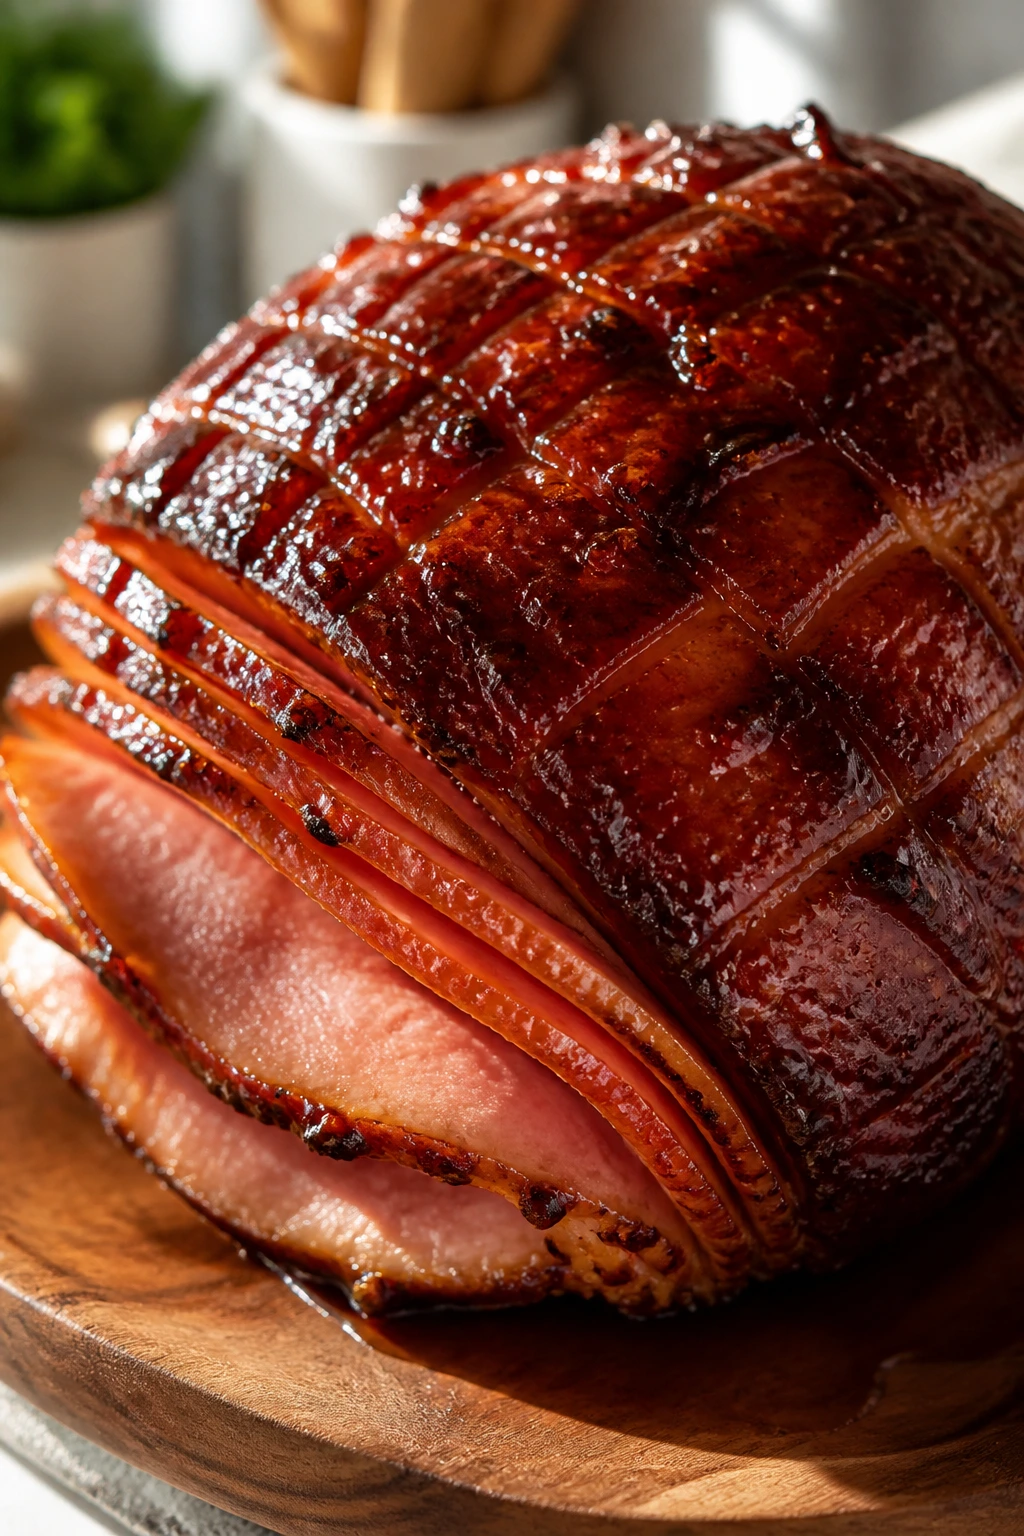
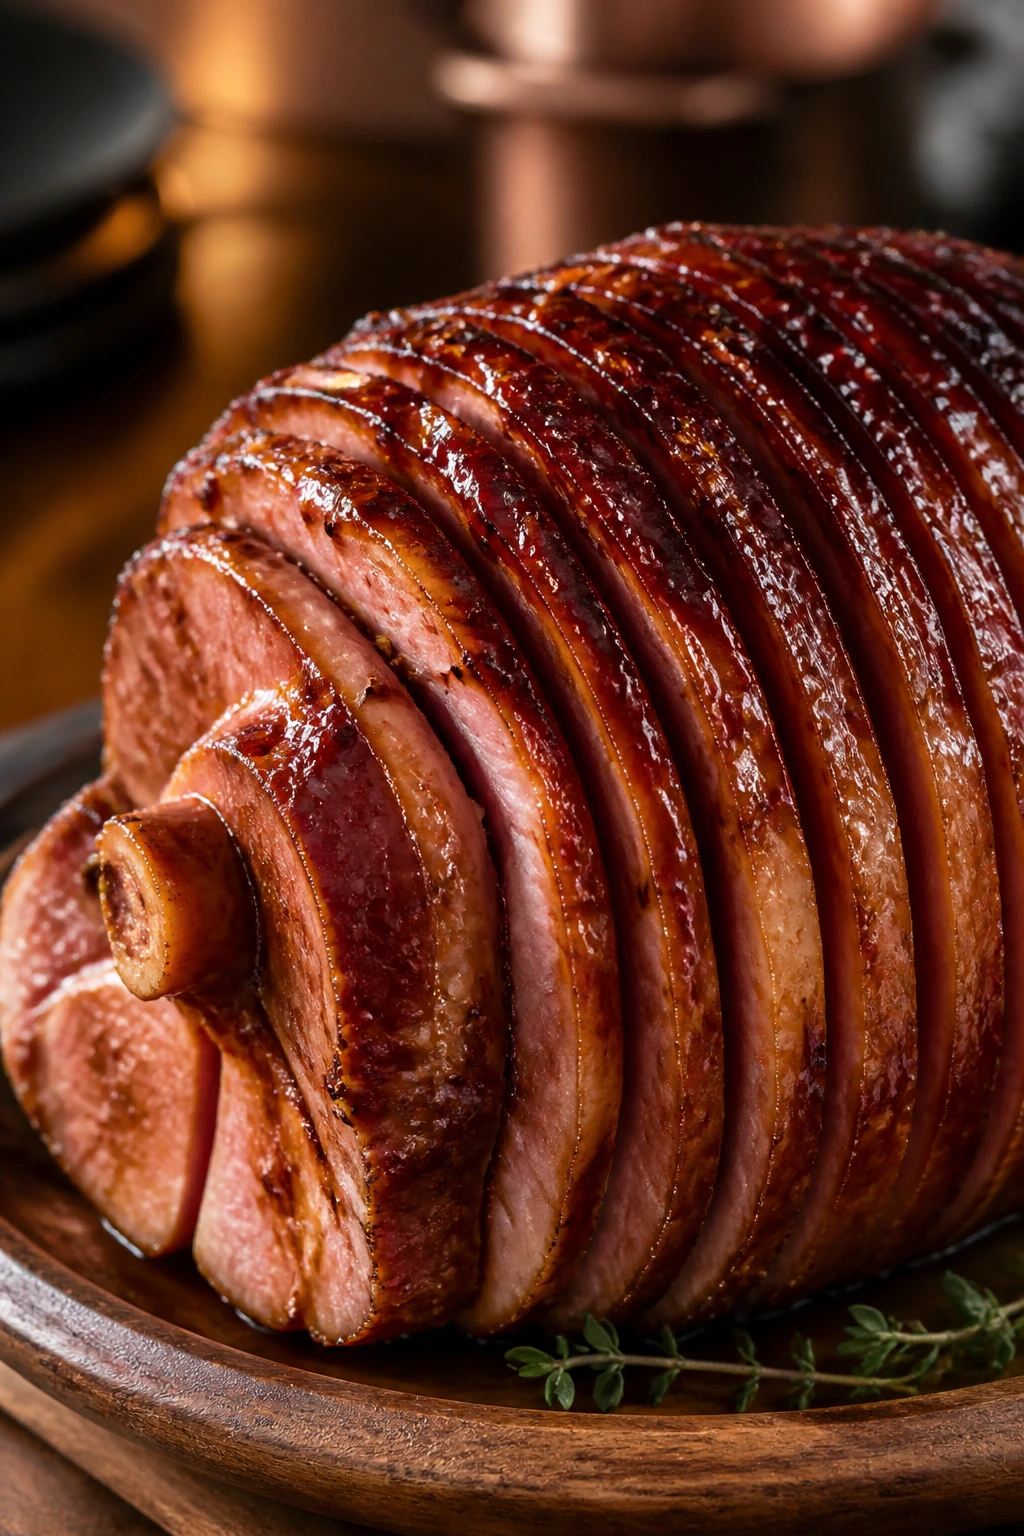
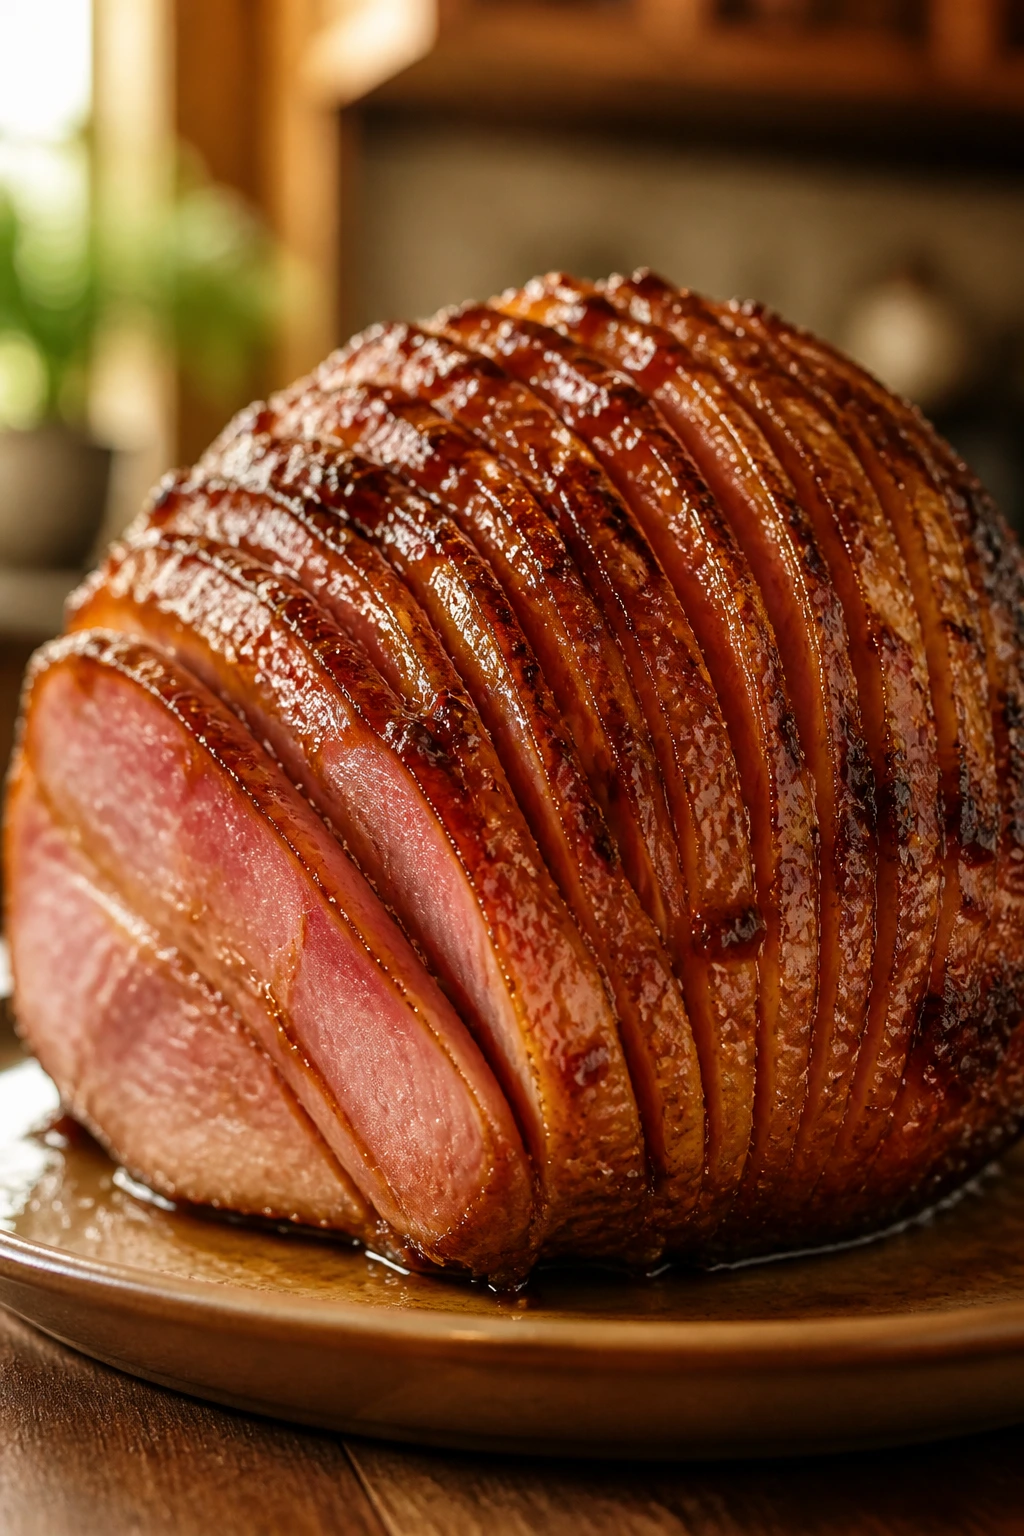
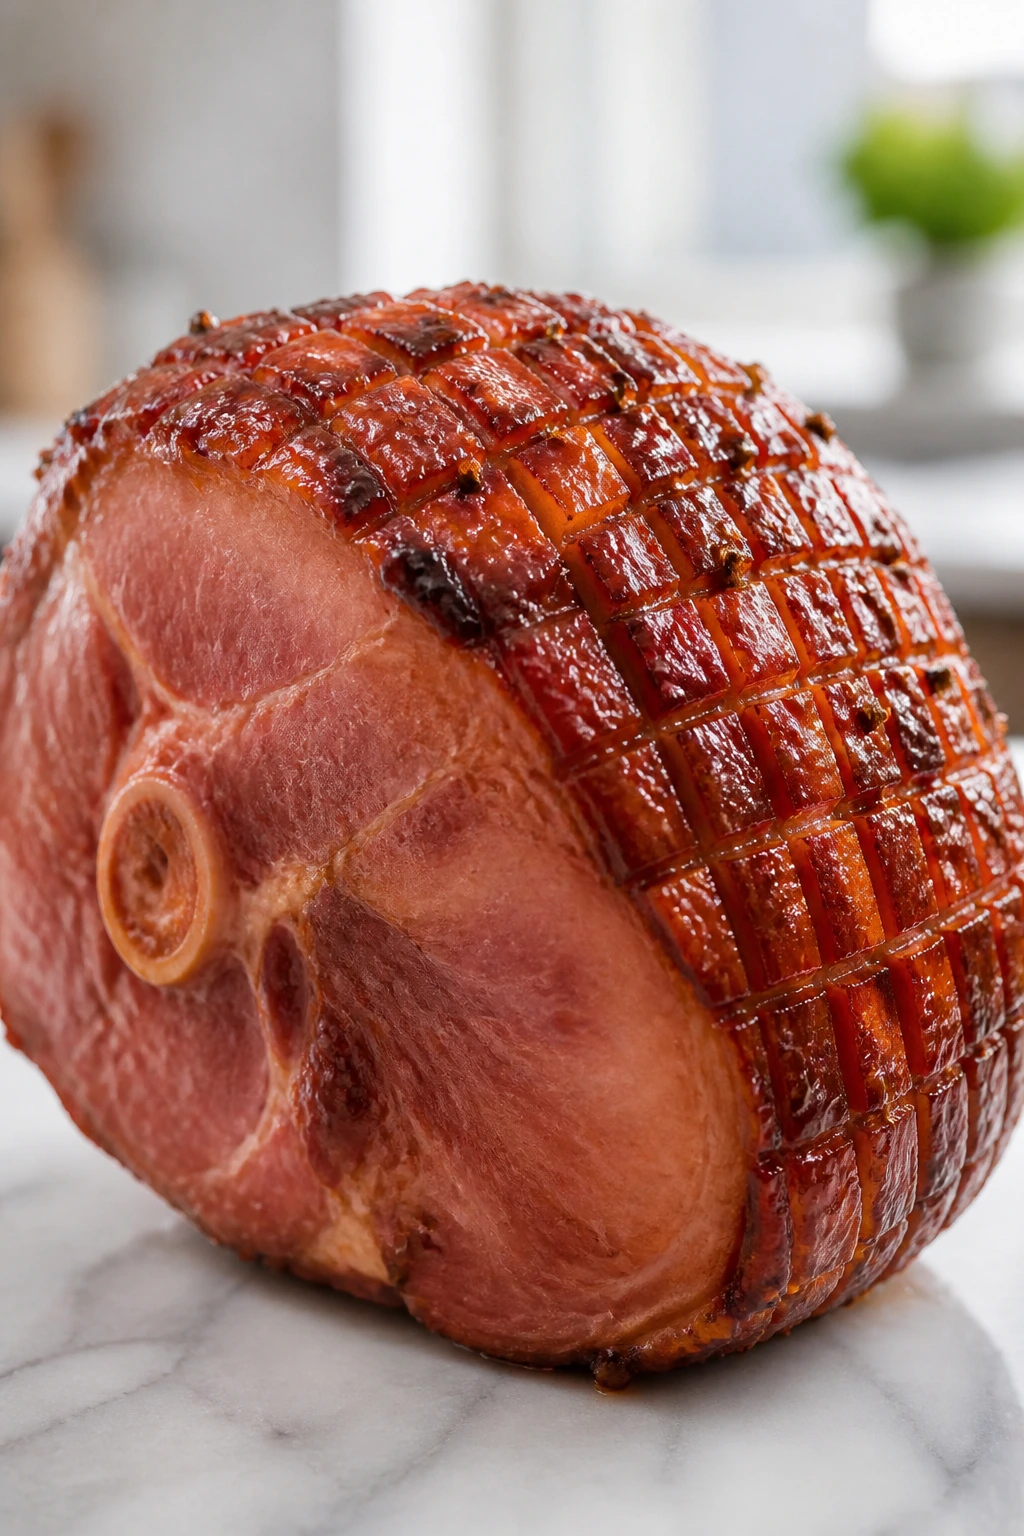
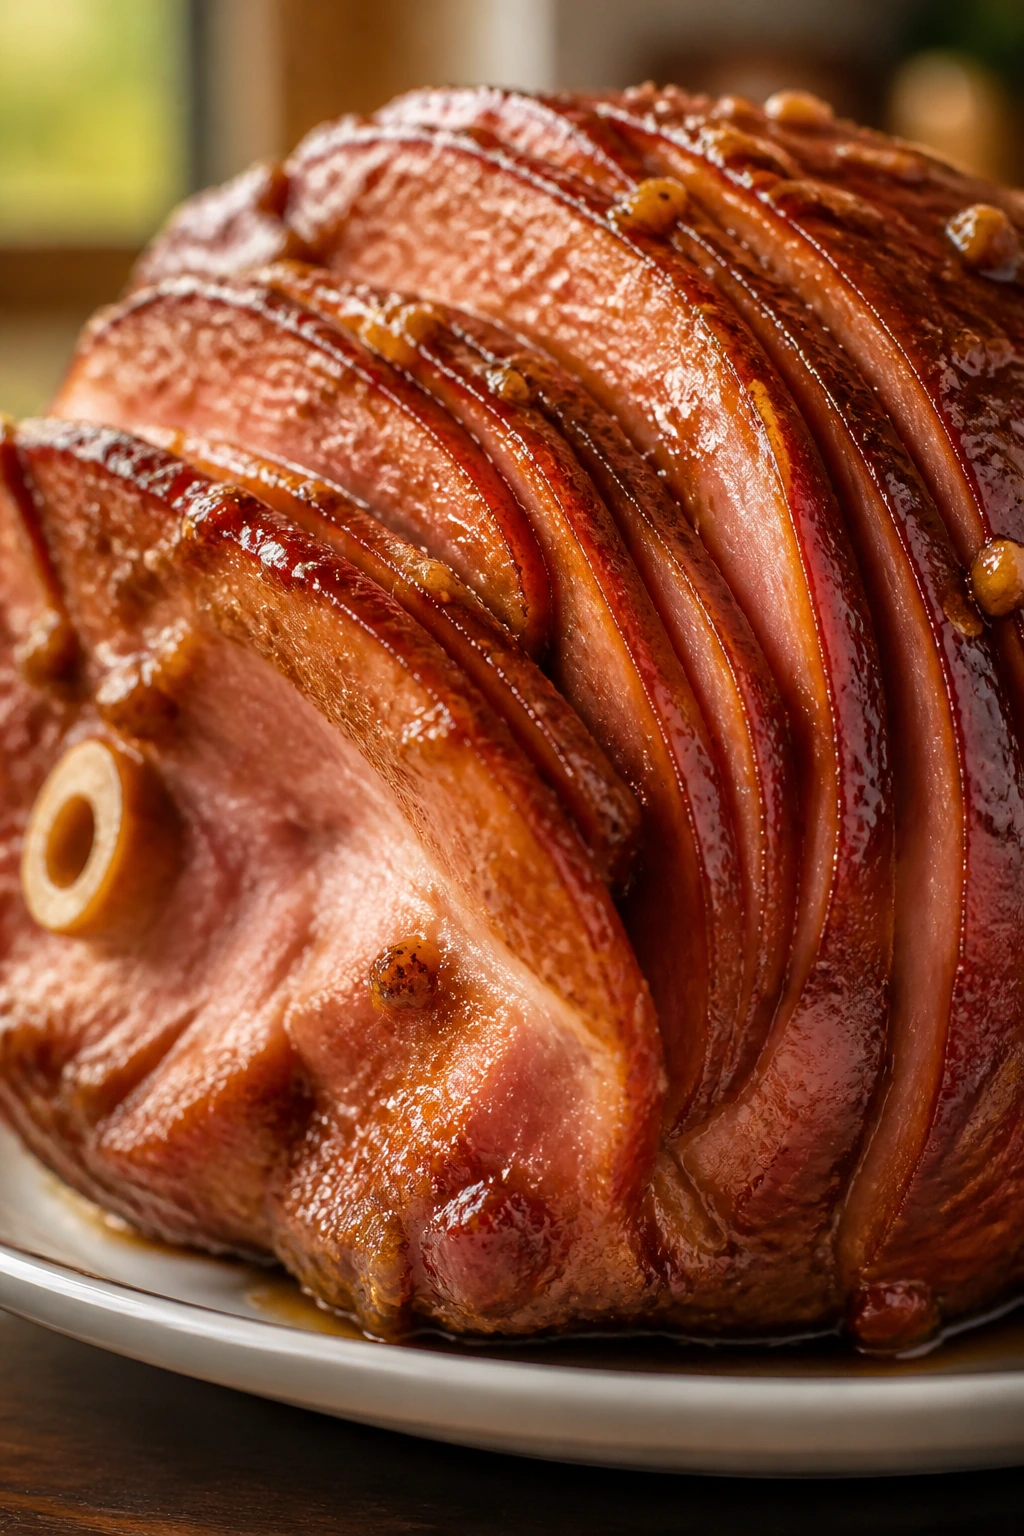
The best version is the one that smells like browned sugar and warm pork the moment you lift the foil. Not sticky in a clumsy way. Not burned at the edges. Just glossy, deeply savory, with enough sweetness to round off the salt and enough acid to keep each slice from tasting heavy. A spiral-cut ham is the easiest path because the glaze slips between the cuts and caramelizes along the exposed edges, but a good bone-in ham does the job beautifully too.
I like this style of ham because it knows what it is. It’s a centerpiece that doesn’t need five side dishes to be interesting, but it also plays nicely with mashed potatoes, mustardy greens, cornbread, or a sharp salad. And if you’ve ever carved a ham that looked lovely on the outside and dry in the middle, the method here solves that problem with a thermometer, a rack, and a glaze that gets painted on in layers instead of dumped on all at once.
Why This Ham Earns Its Place on the Table
- Sweetness with a spine: The brown sugar doesn’t sit there like frosting; it melts with Dijon, vinegar, and butter into a glaze that tastes caramelized, not sugary.
- Made for spiral-cut meat: Those pre-cut slices catch the glaze in the grooves, which means more shiny edges and less runoff into the pan.
- No raw-meat marathon: This is a fully cooked ham, so you’re reheating and glazing instead of babysitting a roast for hours.
- Leftovers that don’t feel like leftovers: Thin slices stay useful for sandwiches, skillet potatoes, omelets, fried rice, and bean soup.
- Simple gear, big payoff: A roasting pan, a rack, and a saucepan are enough. The technique is doing the heavy lifting here.
- Holiday-table friendly without being fussy: It looks polished when sliced, but the actual process is calm and forgiving if you keep an eye on the temperature.
Why Savory Ham with Brown Sugar Glaze Tastes Better Than a Plain Spiral Ham
A plain ham can be fine. Fine is not the goal. A plain spiral ham often gives you salt, smoke, and not much else, which is exactly why the glaze matters. Brown sugar adds sweetness, yes, but more importantly it melts into a thin, sticky shell that grabs onto the meat instead of sliding off in a sad puddle. That shell is what you taste in the first bite.
The savory part matters even more. Ham is already cured, which means salt is built into the meat from the start. If you pile on more sweetness without any acid or mustard, the result feels flat and a little tired. Dijon wakes up the glaze. Apple cider vinegar cuts the richness. Worcestershire adds the quiet, meaty depth that makes people go back for a second slice without quite knowing why. That balance is the whole trick.
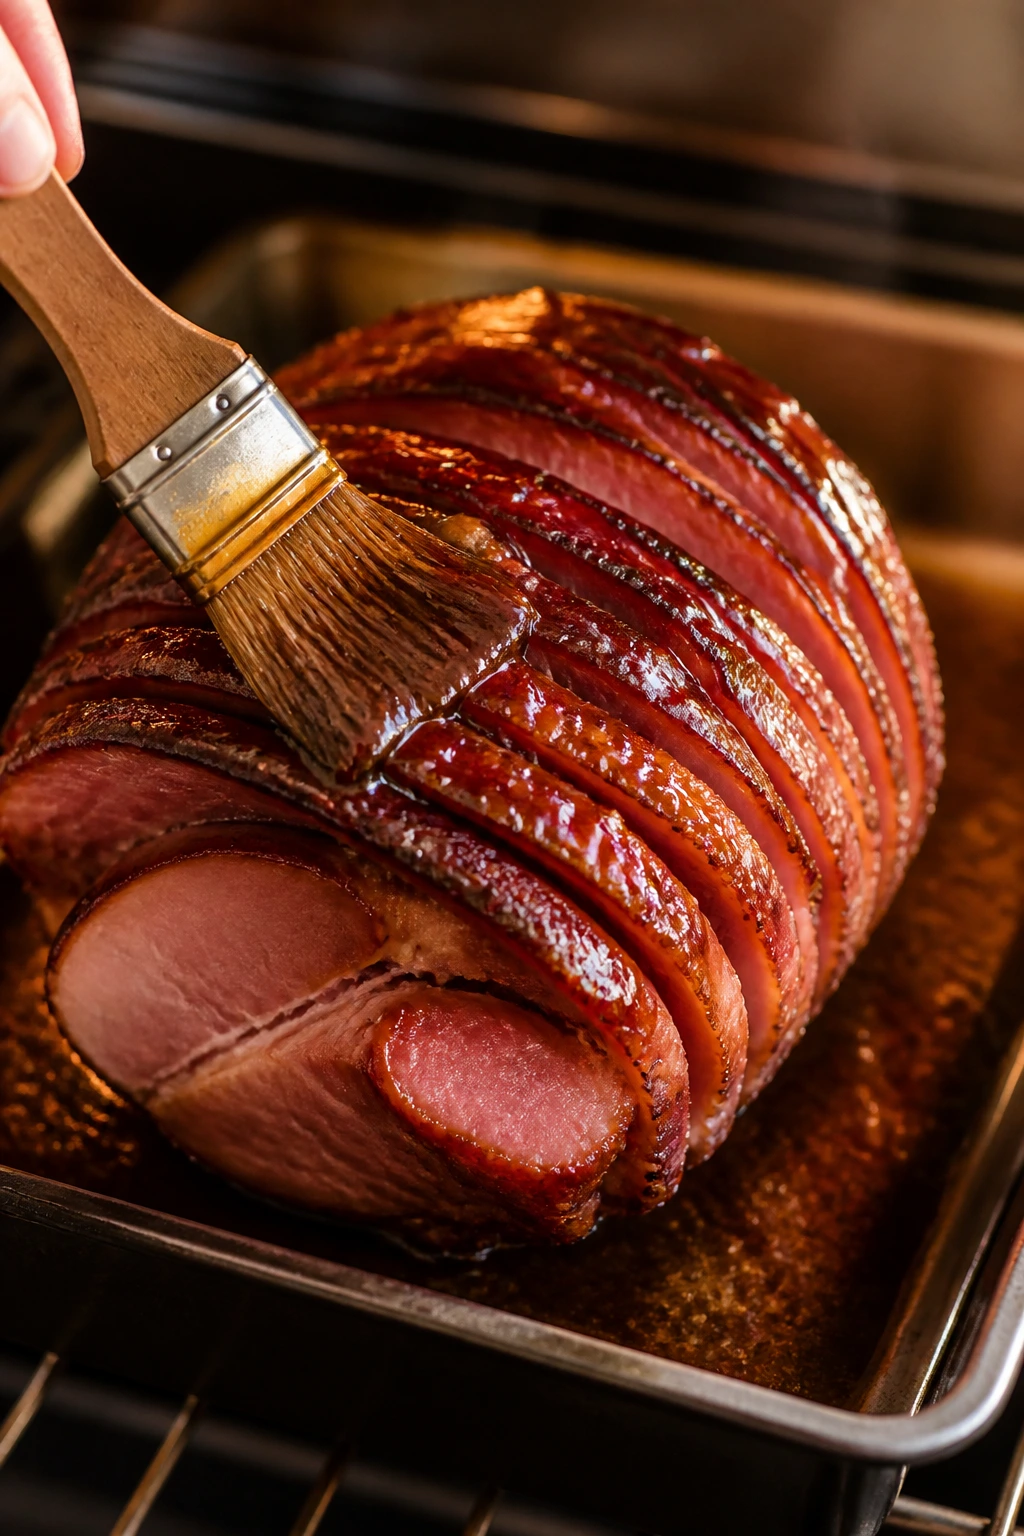
I also prefer a glaze that cooks in stages. One thin coat early, another near the end, and a final brush right before the ham comes out. That rhythm keeps the sugar from burning before the ham is hot through. It also gives the glaze time to cling to the surface and tighten into a shiny finish. Dumping everything on at once looks dramatic for about three minutes. Then it burns.
There’s one more reason this style wins: it respects the meat. A fully cooked ham only needs to be warmed to a safe serving temperature, not blasted into submission. If you push it too hard, the edges go chalky and the fat turns greasy instead of silky. Keep the oven moderate. Keep the glaze controlled. Let the ham stay itself.
What You Need for the Ham and Glaze
Yield: Serves 12 to 16
Prep Time: 20 minutes
Cook Time: 1 hour 20 minutes to 1 hour 40 minutes
Total Time: 1 hour 40 minutes to 2 hours
Difficulty: Intermediate — the method is straightforward, but the glaze timing and internal temperature matter if you want juicy slices and clean caramelization.
Rest Time: 15 minutes
Best Served: Warm, after a brief rest, when the glaze has set into a shiny coating
Ingredients
For the Ham:
- 1 bone-in, spiral-cut ham, 8 to 10 pounds, fully cooked
- 1 cup water, for the roasting pan
For the Brown Sugar Glaze:
- 1 cup packed light brown sugar
- 1/3 cup Dijon mustard
- 1/4 cup apple cider vinegar
- 1/4 cup fresh orange juice
- 2 tablespoons unsalted butter
- 1 tablespoon Worcestershire sauce
- 2 teaspoons finely grated orange zest
- 1 teaspoon freshly ground black pepper
- 1/2 teaspoon ground cloves
- 2 garlic cloves, finely grated or minced
- 1 to 2 tablespoons water, if needed to thin the glaze
Optional for Serving:
- Extra orange zest, for a fresh finish
- Chopped parsley, for a little green on the platter
- Pan juices, strained and spooned over slices
What Each Ingredient Is Doing in the Pan
The Ham Itself
What to use: 1 bone-in, spiral-cut ham, 8 to 10 pounds, fully cooked.
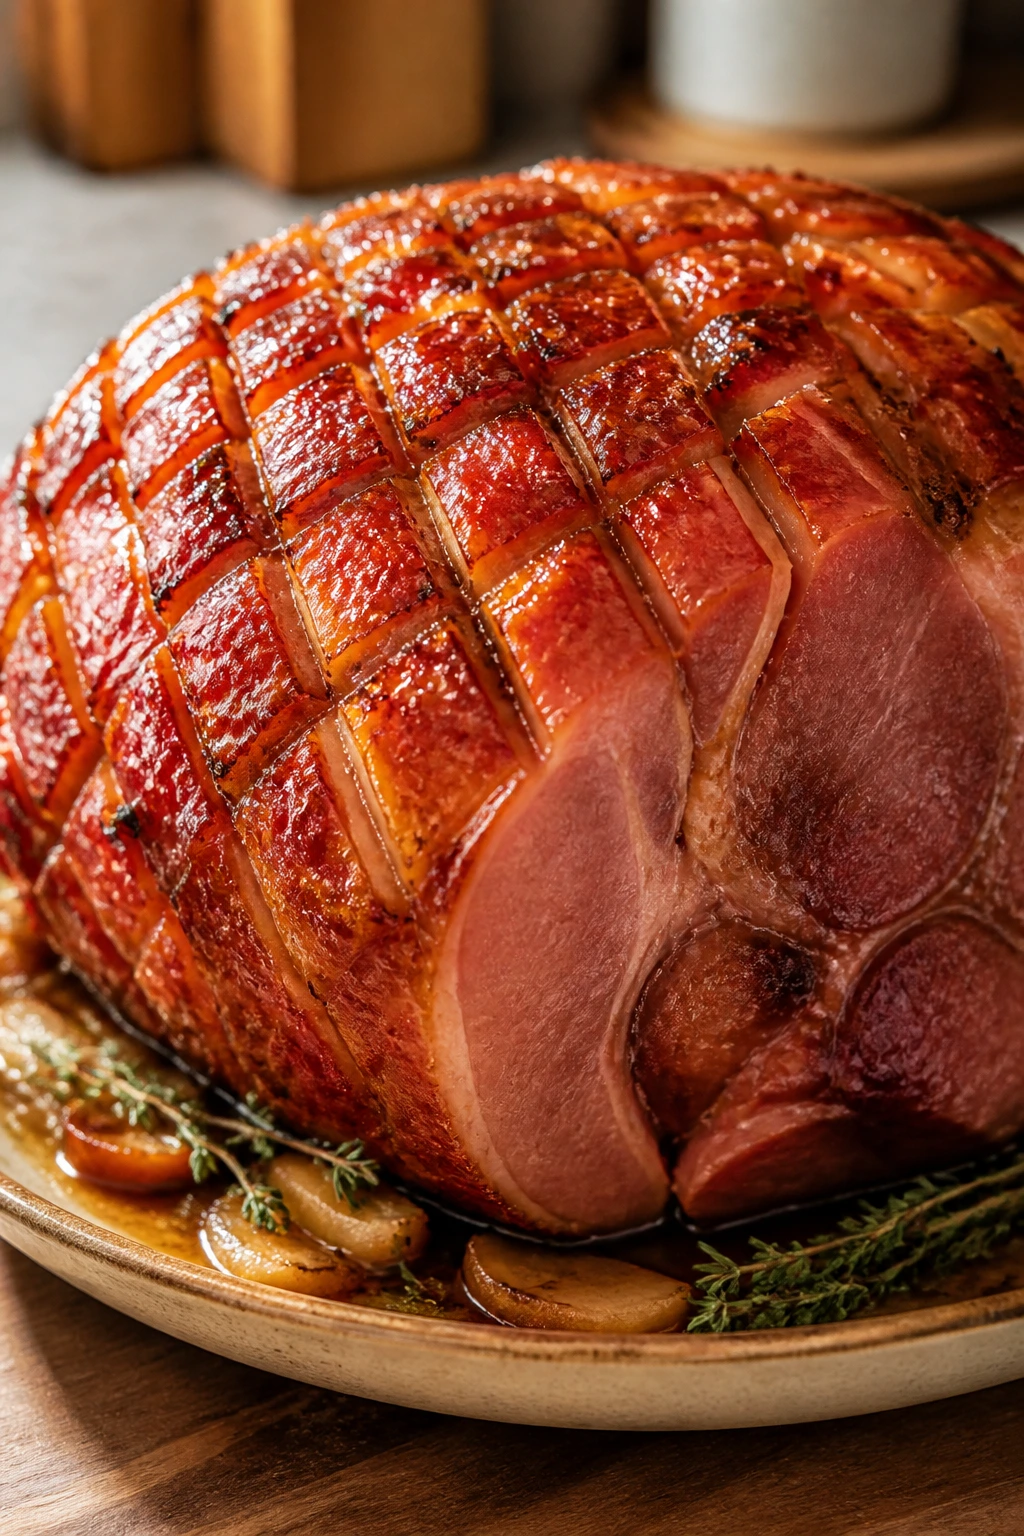
Preparation: Let it sit out for 20 to 30 minutes while the oven heats, just enough to take the ice-cold edge off. If it isn’t spiral-cut, score the fat cap in a shallow diamond pattern, about 1/4 inch deep.
Substitutions: A boneless fully cooked ham works too, though it slices less cleanly and usually heats a little faster. A smaller ham can be used; just watch the thermometer, not the clock.
Tips: Buy a ham labeled fully cooked or ready-to-eat. This recipe is for reheating and glazing, not for curing or long roasting.
The Brown Sugar Glaze Base
What to use: 1 cup packed light brown sugar, 1/3 cup Dijon mustard, 2 tablespoons unsalted butter, and 1 tablespoon Worcestershire sauce.
Preparation: Pack the brown sugar firmly into the measuring cup so the glaze has enough body to cling to the meat. Stir the butter in while the glaze is warm so it turns glossy instead of grainy.
Substitutions: Dark brown sugar gives a deeper molasses note. If you want less sweetness, drop the sugar to 3/4 cup and keep the Dijon and vinegar where they are.
Tips: Brown sugar gives the glaze its body. If you cut it too far, the sauce can turn thin and slide off the slices instead of setting into a sticky finish.
The Acid and Brightness
What to use: 1/4 cup apple cider vinegar, 1/4 cup fresh orange juice, and 2 teaspoons orange zest.
Preparation: Juice the orange first, then zest it before cutting the fruit open all the way. Use a fine grater so the zest melts into the glaze without leaving chunky peel.
Substitutions: Pineapple juice can replace the orange juice if you want a softer tropical note. White wine vinegar can stand in for cider vinegar in a pinch, though cider vinegar keeps the flavor warmer.
Tips: Ham is salty. Acid is not optional here; it keeps the glaze from tasting flat and it helps the sweetness stay on the right side of sharp.
The Seasoning Backbone
What to use: 1 teaspoon freshly ground black pepper, 1/2 teaspoon ground cloves, and 2 garlic cloves, finely grated or minced.
Preparation: Grate the garlic directly into the saucepan so it melts into the glaze instead of leaving raw bits behind.
Substitutions: Ground allspice can replace the cloves if that’s what you have. A pinch of smoked paprika can go in too, but keep it light so the glaze doesn’t drift into barbecue sauce territory.
Tips: Clove is powerful. A little goes a long way. Too much and the ham starts tasting like potpourri, which is a hard thing to recover from.
The Pan Liquids and Finish
What to use: 1 cup water for the roasting pan and 1 to 2 tablespoons water if the glaze needs loosening.
Preparation: Pour the pan water around the ham, not over it. Keep the glaze warm enough to brush but not so thin that it runs off in sheets.
Substitutions: Apple cider or unsalted chicken stock can replace the pan water if you want a little extra aroma in the drippings.
Tips: The pan liquid keeps the drippings from scorching and gives you something to spoon back over the slices. Don’t drown the ham; you’re making steam, not soup.
The Pan, Rack, and Knife Setup That Makes Slicing Easier
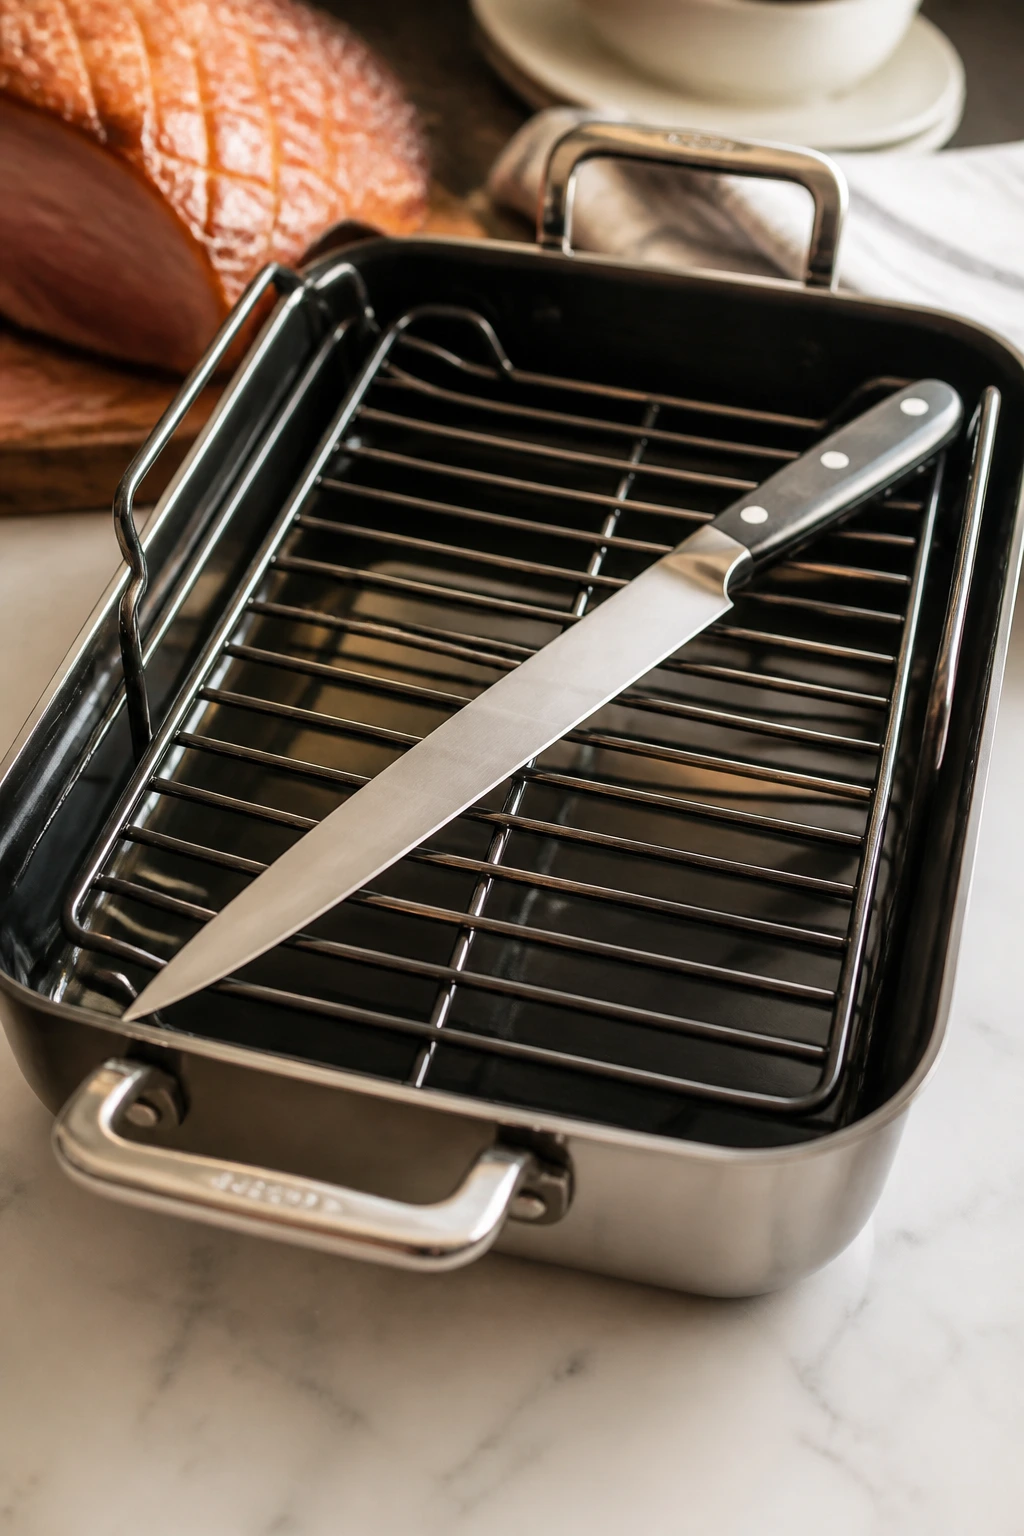
A roasting pan with a rack is one of those boring kitchen tools that earns its keep the minute you start cooking something glazed. The rack lifts the ham so the bottom doesn’t sit in sugary liquid, which matters because burnt sugar at the bottom of a pan is a bitter little surprise nobody asked for. A foil-lined pan saves you from scrubbing caramelized glaze later, and that alone is worth the ten seconds it takes.
A 9-by-13-inch baking dish is not enough for a full 8- to 10-pound ham. Use a roasting pan or a sturdy half-sheet with tall sides if that’s what you have. The ham should sit flat and have a little room around it so the heat can move. If the pan is cramped, the glaze steams instead of setting.
You’ll want a small saucepan for the glaze, a silicone pastry brush, and an instant-read thermometer. The thermometer is the non-negotiable tool here. A ham can look polished and still be cool in the center, especially if it’s bone-in. I check in the thickest part away from the bone and between slices if it’s spiral-cut.
A long carving knife helps more than a fancy one. So does a large cutting board with a groove if you’ve got it. Spiral ham sheds juice as it rests, and that juice is gold if you catch it instead of letting it smear across the counter.
Special Equipment:
- Large roasting pan with a rack
- Heavy-duty aluminum foil, for easy cleanup and optional tenting
- Small saucepan, for simmering the glaze
- Silicone pastry brush, for layering the glaze
- Instant-read thermometer, for checking the center temperature
- Long carving knife, for clean slices
- Large cutting board with a juice groove, or a rimmed sheet tray
- Fine mesh strainer, if you want silky pan juices for serving
How to Roast and Glaze the Ham Step by Step
A spiral-cut ham is forgiving, but it still likes timing. The glaze needs enough heat to melt and cling, yet not so much that the sugar scorches before the meat warms through. That’s why the oven stays moderate and the glaze goes on in layers near the end. Slow enough to keep the ham juicy. Hot enough to caramelize.
A lot of home cooks try to race this part. Don’t. Ham is already cooked. You’re warming and lacquer-ing it, not trying to reinvent it. The best color comes from patience and a brush, not from cranking the oven and hoping for the best.
Prep the Ham and Pan:
- Preheat the oven to 325°F (165°C) and position a rack in the lower-middle part of the oven.
- Line a large roasting pan with foil and set a roasting rack inside it. Pour 1 cup water into the bottom of the pan, under the rack.
- Pat the ham dry with paper towels. If the ham is not spiral-cut, score the fat cap in a shallow diamond pattern about 1/4 inch deep. Do not cut into the meat.
- Place the ham cut-side down on the rack, if possible, so the slices stay moist while reheating.
Make the Glaze: 5. Combine the brown sugar, Dijon mustard, apple cider vinegar, orange juice, butter, Worcestershire sauce, orange zest, black pepper, cloves, and garlic in a small saucepan over medium heat. 6. Bring the mixture to a gentle simmer, stirring often, for 3 to 5 minutes until the sugar dissolves and the glaze turns glossy and slightly thick, like warm syrup. 7. If it looks too stiff to brush, stir in 1 to 2 tablespoons water. The glaze should coat a spoon but still slide off in a slow ribbon.
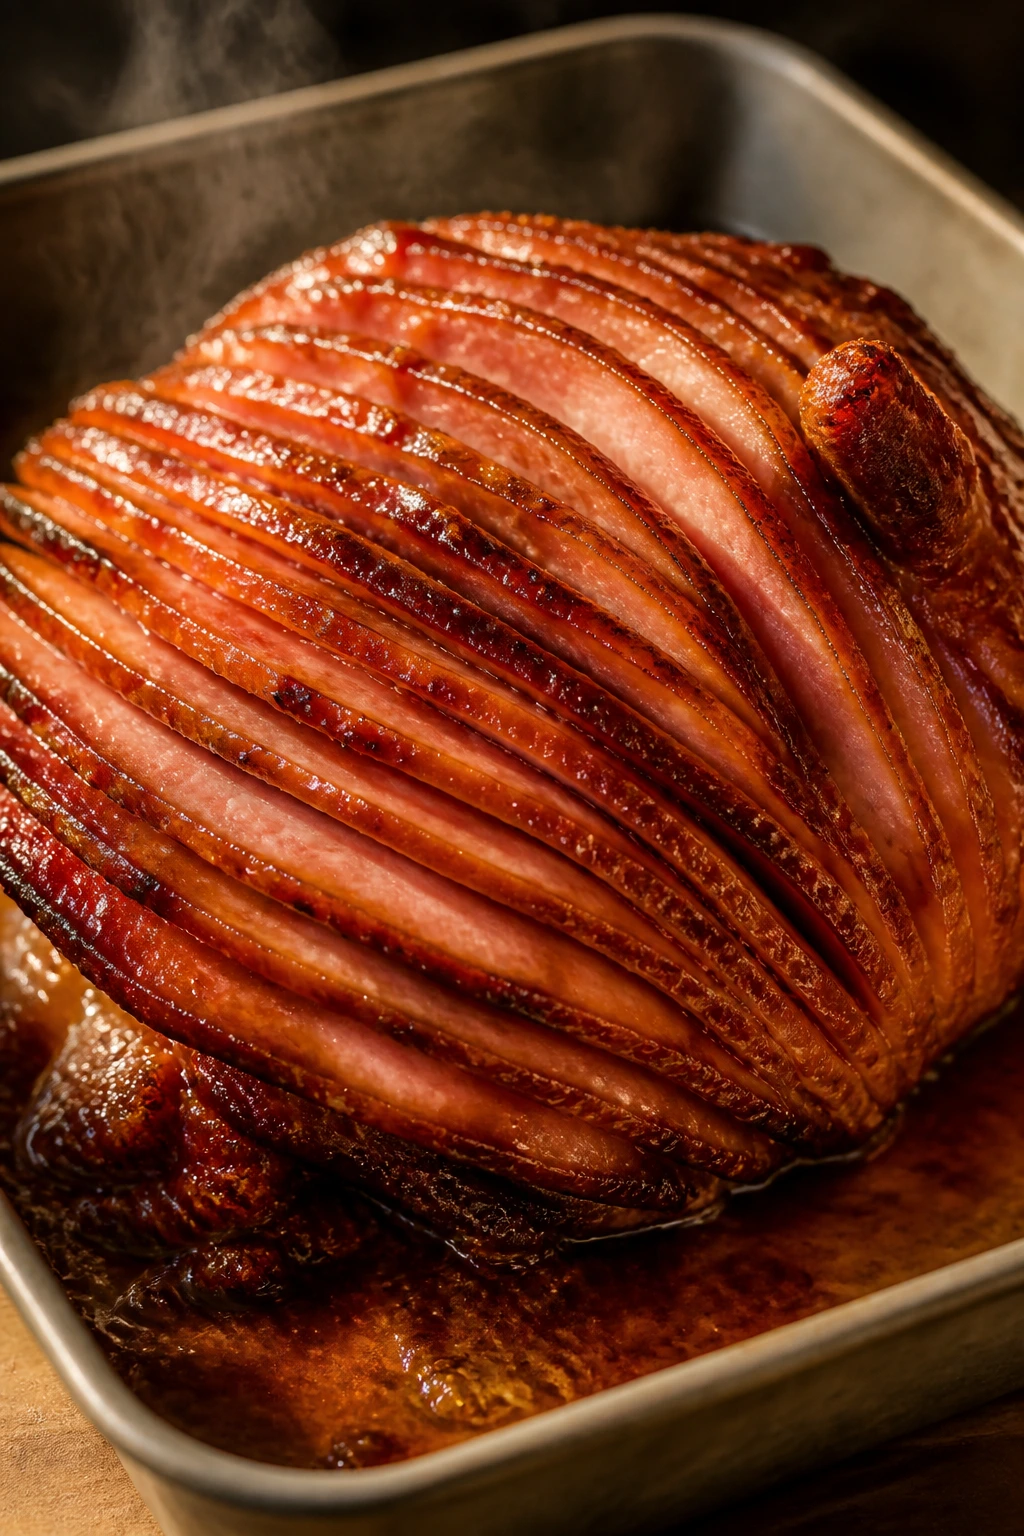
Roast and Build the Finish: 8. Cover the ham loosely with foil and roast for about 10 to 12 minutes per pound, brushing on a thin layer of glaze during the last 30 minutes of cooking. 9. Remove the foil, brush on a thicker coat of glaze, and continue roasting uncovered for 10 to 15 minutes, until the glaze bubbles at the edges and the center of the ham reaches 140°F on an instant-read thermometer. 10. If you want deeper color, broil for 1 to 2 minutes at the end, watching the whole time. The sugar can go from bronze to burned in under a minute. 11. Transfer the ham to a platter and let it rest for 15 minutes before slicing. Spoon some pan juices or extra glaze over the top just before serving.
One small note that saves a lot of grief: if your ham is very large, start checking the temperature a little early. Ovens vary, and hams of the same weight can behave differently depending on how tightly they’re packed and how cold they were when they went in.
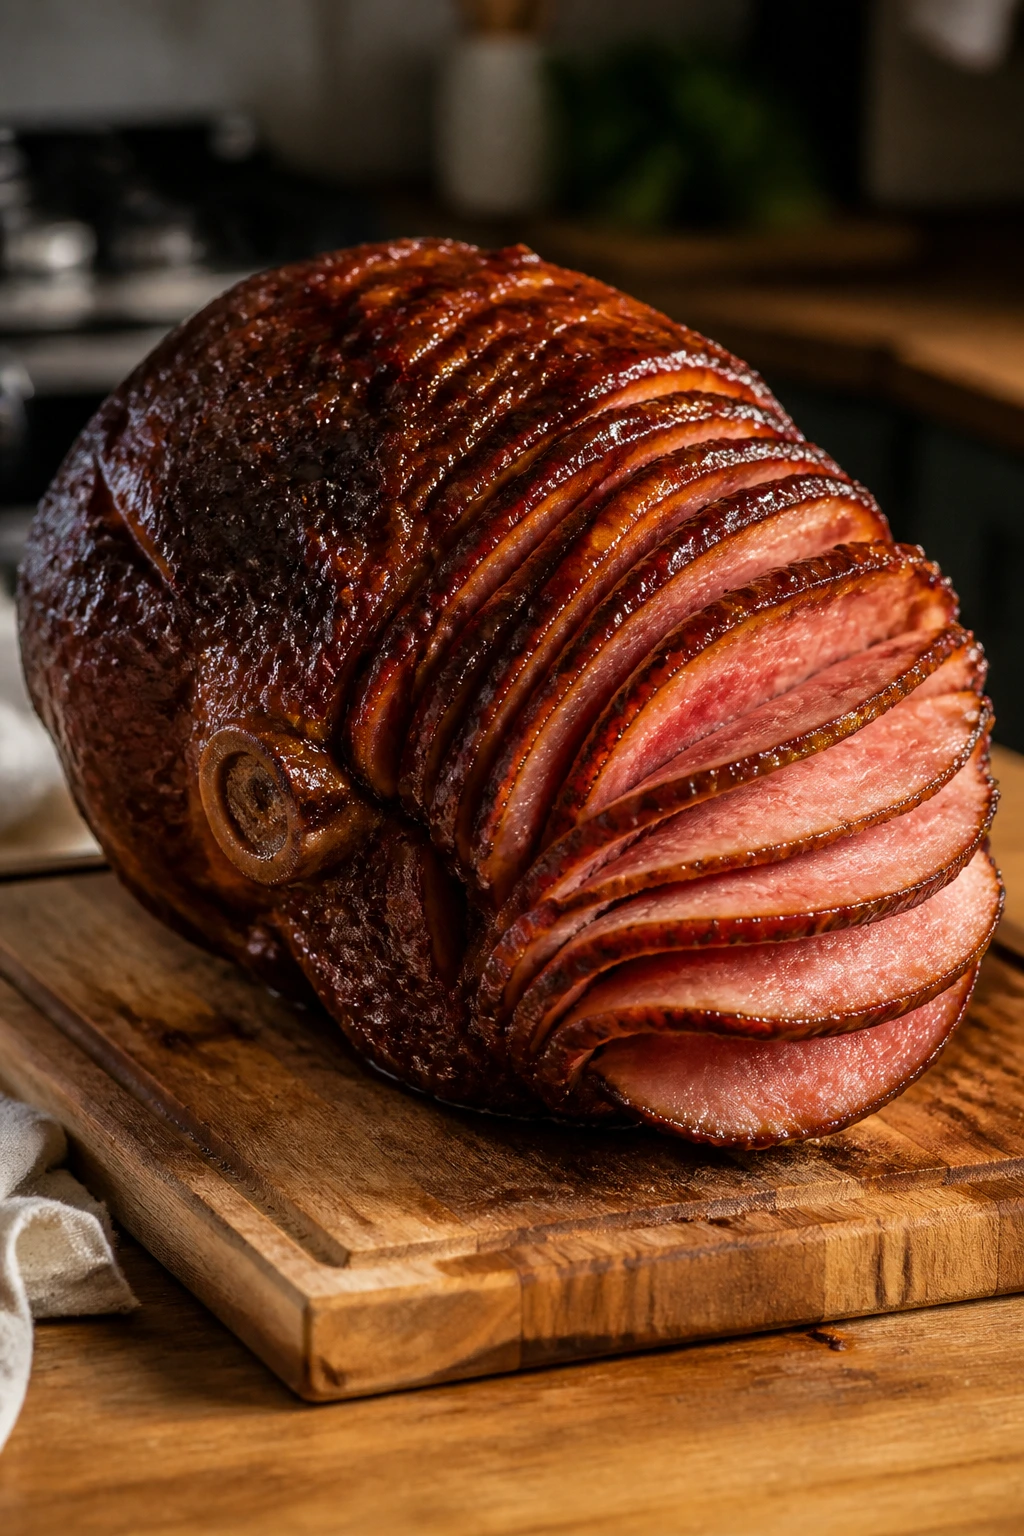
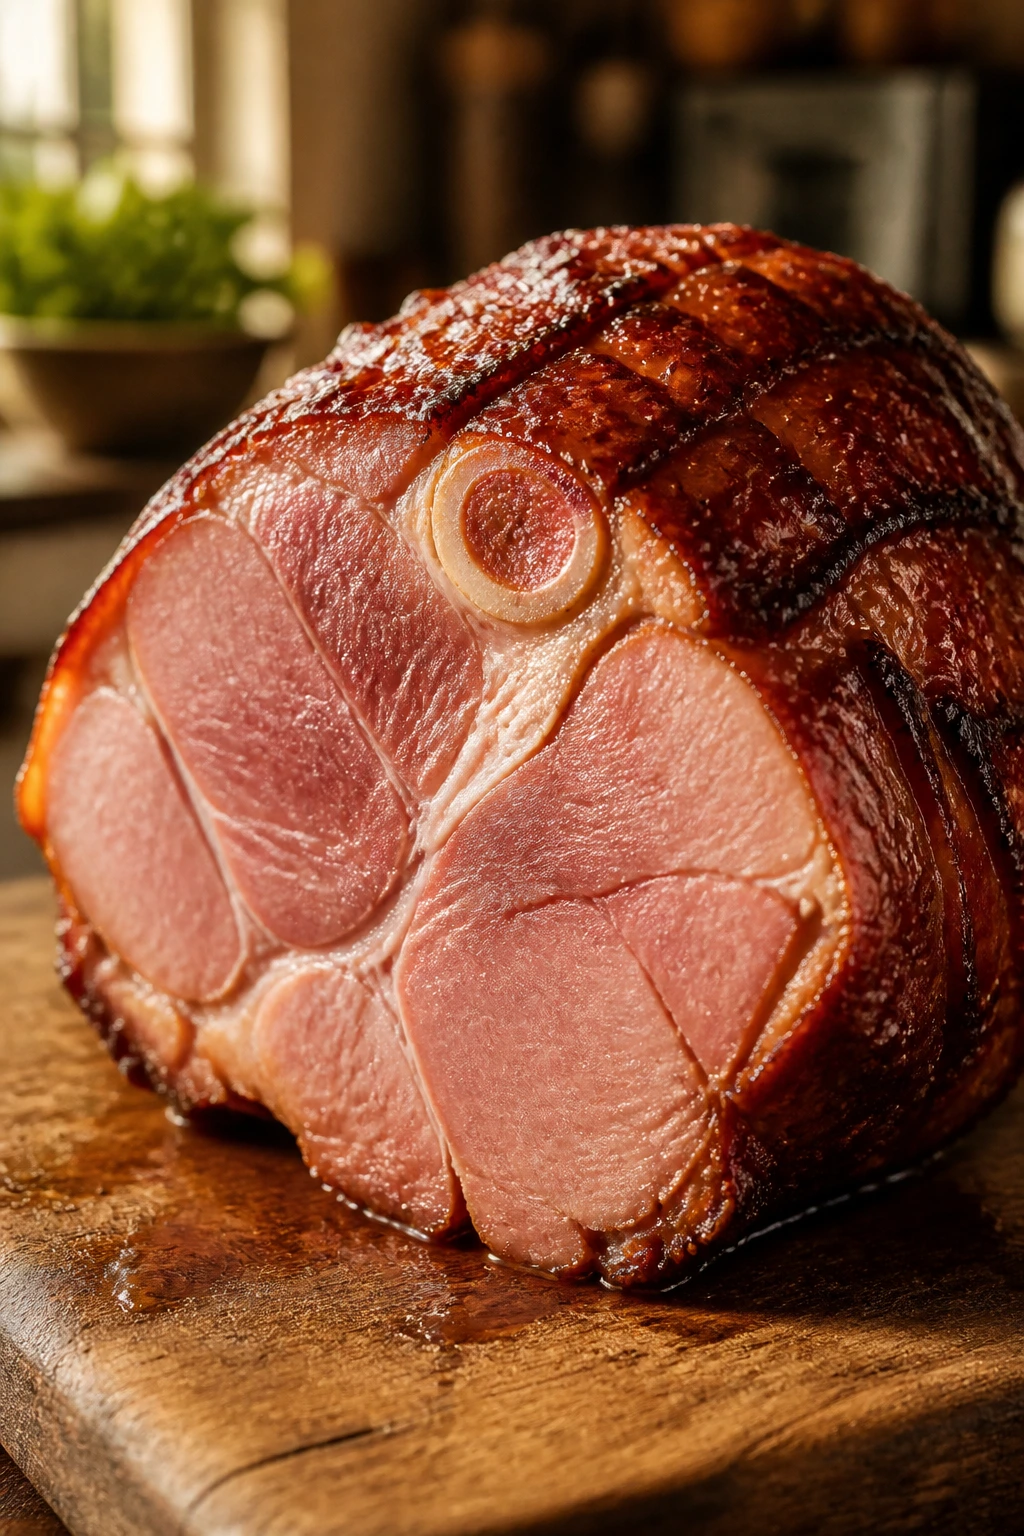
How to Slice and Serve It Without Losing the Shine
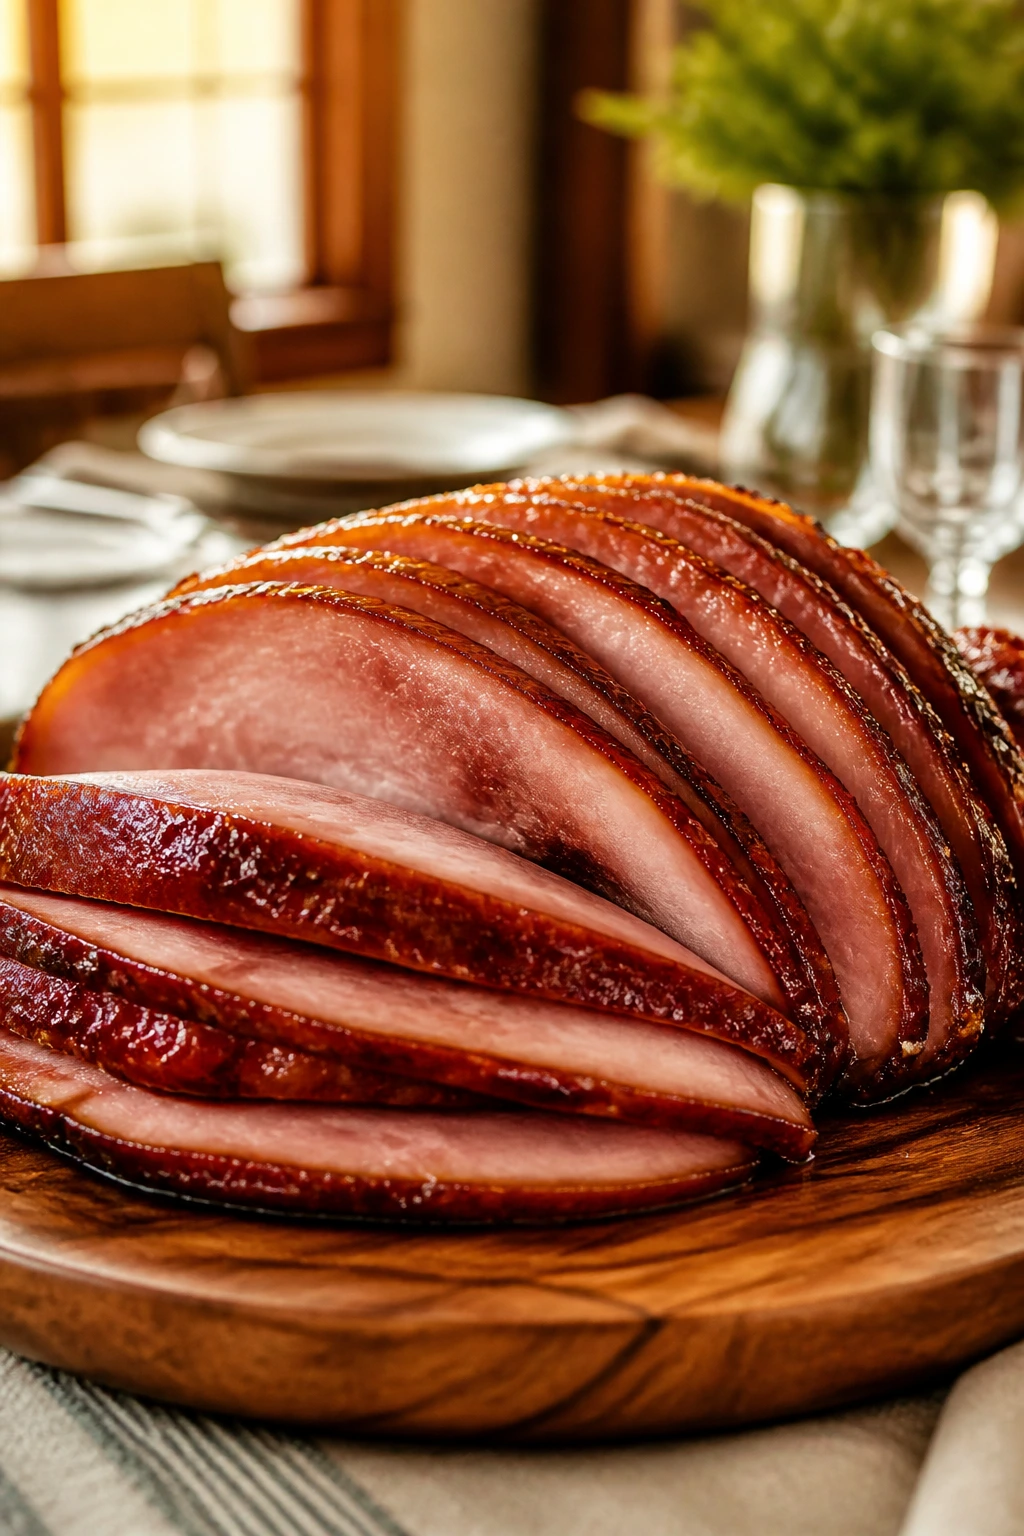
A glazed ham looks best when it’s sliced at the table or transferred in tidy sections to a warm platter. If it’s spiral-cut, I like to keep the slices attached as long as I can while carving, then fan them out slightly so the glaze stays visible. Full separation turns the plate into a pile. Fanning gives you height and keeps the caramelized edges in view.
Presentation: Put the ham on a large platter, preferably warm, and spoon a little of the glossy pan liquid over the top right before carrying it out. A little orange zest or chopped parsley on one side keeps the platter from looking one-note. If you saved some extra glaze, brush it over the cut face of the ham for a fresh shine.
Accompaniments: Ham wants something creamy or starchy to catch the glaze. My best pairings are mashed potatoes, scalloped potatoes, buttered green beans, roasted carrots, cornbread, or a vinegar-dressed cabbage slaw. If you want a simpler plate, add crusty rolls and a mustardy salad with bitter greens.
Portions: Plan on 6 to 8 ounces of cooked ham per person for a main course. If the ham is the centerpiece and the side dishes are abundant, you can stretch that toward the lower end. If you want leftovers for sandwiches the next day, lean heavy and buy the bigger ham.
Beverage Pairing: Cold cider is a natural match because it echoes the fruit in the glaze without making the meal sweeter. If you want something with more bite, a dry Riesling or a crisp pilsner cuts through the richness cleanly. For a nonalcoholic option, sparkling water with orange peel and a squeeze of lemon keeps the palate awake.
The plate should look glossy, not drenched. That’s the sweet spot. Too much glaze makes the slices slippery and hides the texture of the ham itself.
Extra Tips for a Better Glaze and Juicier Ham
Flavor Enhancement: Brush the ham with the glaze in three thin coats instead of one heavy one. The first coat melts into the surface, the second starts to shine, and the third gives you that sticky finish people remember. Thin layers also keep the sugar from burning before the ham has a chance to warm through.
Time-Saver: Make the glaze up to 3 days ahead and keep it in the fridge. Warm it in a small saucepan over low heat right before glazing, and add a splash of water if it thickens too much. That makes the roasting day feel calmer, which is worth more than it sounds.
Juiciness Trick: If your ham is spiral-cut, tent it loosely with foil for most of the bake and uncover it only for the final glazing stretch. That keeps the sliced edges from drying out. Spiral hams are convenient, but they also lose moisture faster than an unsliced ham, so a little foil goes a long way.
Pan Drip Upgrade: Strain the drippings and spoon them back over the slices, especially if the glaze has fallen into the pan and mixed with the ham juices. Those drippings carry salt, sugar, and smoke. They’re the difference between “nice” and “wait, what did you put on this?”
A small personal opinion, since the question always comes up: I would rather serve a ham that is a little less dark on top and still juicy inside than one that looks lacquered and slices like chalk. The shine matters, but the slice matters more.
Common Mistakes That Dry Out the Meat or Burn the Sugar
The mistakes with glazed ham are almost always the same. They’re not dramatic. They’re small, annoying, and entirely avoidable if you know where the trapdoors are.
- Starting with too high a heat: A 375°F oven feels efficient, but it often scorches the sugar before the center of the ham has warmed. The glaze turns bitter, the edges darken too fast, and the middle still feels cool. Stick with 325°F and let time do the work.
- Putting on the glaze too early: Sugar-heavy glaze left on from the beginning can darken before the ham is hot through. You end up with a sticky shell and pale meat underneath. Wait until the last 30 minutes to start brushing, then layer it on.
- Skipping the thermometer: A ham can look done long before it reaches the right temperature. If you cut into it while it’s still below 140°F, the center can feel cool and the slices won’t hold their juices as well. Check the thickest part, away from the bone.
- Over-thickening the glaze: If the glaze simmers down into paste, it won’t brush well and it can clump in dark patches. Thin it with a tablespoon or two of water and keep it glossy. You want something that coats a spoon, not frosting.
- Carving too soon: Slicing the ham the second it comes out dumps the juices on the board instead of keeping them in the meat. Give it 15 minutes to rest. That pause keeps the slices neat and the texture softer.
- Using a glaze that’s all sugar and no acid: Pure brown sugar tastes flat on salty ham. Vinegar and mustard aren’t garnish here; they’re the reason the glaze tastes balanced.
If a ham comes out drier than you wanted, the fix is usually in the next round, not the one already served. Slice it thinner, add more pan juices, and keep the oven covered longer next time. That’s the kind of mistake that teaches quickly.
Flavor Swaps and Variations That Still Taste Like Ham
Maple-Dijon Shine: Swap half the brown sugar for 1/3 cup maple syrup and keep the Dijon in place. This gives the glaze a softer, rounder finish and a slightly deeper aroma. It’s a good move if you want the ham to lean savory instead of dessert-adjacent.
Bourbon-Orange Glaze: Add 1 tablespoon bourbon to the saucepan and reduce the orange juice to 2 tablespoons. The bourbon cooks down into the glaze and leaves a warm edge that works well with roasted carrots and buttery potatoes. You won’t taste raw alcohol, just a little extra depth.
Peppery Cider Ham: Increase the black pepper to 1 1/2 teaspoons and replace the orange juice with apple cider. The flavor gets a little sharper and more autumnal, which is especially good if the rest of the meal is rich. I like this one with mustard greens or cabbage.
Garlic-Herb Roast: Stir 1 teaspoon chopped fresh thyme and 1 teaspoon chopped rosemary into the glaze or scatter them in the roasting pan. The herbs don’t overpower the ham; they add a savory note that keeps the sugar from taking over. This is the version I’d choose for a less sweet table.
Gluten-Free, Lower-Salt Version: Use gluten-free Worcestershire or tamari instead of standard Worcestershire, and cut the mustard to 2 tablespoons if you want a slightly softer bite. This doesn’t change the personality of the dish, but it does make the glaze fit a wider table. The ham itself brings plenty of salt, so there’s no need to add any more.
Make-Ahead, Storage, and Reheating for Leftovers
The glaze is the easiest piece to make ahead. Cook it, cool it, and stash it in a sealed container in the fridge for up to 3 days. Warm it slowly before brushing so it loosens up again. If it gets too stiff after chilling, a teaspoon of water fixes it fast.
Cooked ham keeps well, which is one reason people keep coming back to it. Store leftover slices in shallow containers with a spoonful or two of pan juices or a splash of broth. They’ll hold in the fridge for 3 to 4 days without losing much quality, and the slices are usually best within the first two days because the glaze still tastes fresh.
Freezing works too. Wrap slices tightly or pack them in freezer bags with as much air pressed out as possible. They’ll keep for up to 2 months. Thaw overnight in the fridge, not on the counter. The texture stays better that way, and the slices don’t get watery.
For reheating, skip the microwave if you can. A covered baking dish at 300°F with a tablespoon or two of water, broth, or leftover pan juices keeps slices soft. Heat just until warm, usually 10 to 15 minutes depending on thickness. If you only need a few slices, a skillet over low heat with a lid and a splash of liquid does the job even faster.
The ham bone is worth saving, too. If yours still has one, it can go into split pea soup, bean soup, or a pot of greens. There’s a lot of flavor left in that bone. It would be a waste not to use it.
Questions People Ask Before They Buy the Ham
Can I use a boneless ham instead of bone-in?
Yes. A boneless fully cooked ham works, and it slices neatly for sandwiches. Just start checking the temperature earlier because boneless hams heat faster and can dry out if left in the oven too long.
Do I have to use a spiral-cut ham?
No, but spiral-cut ham makes the glaze easier to work with because it slips between the slices. If you use an unsliced ham, score the fat cap lightly so the glaze can cling to the surface.
How do I know the ham is heated through?
Use an instant-read thermometer in the thickest part away from the bone. For a fully cooked ham, 140°F is the target for serving. The glaze should be bubbling at the edges and the surface should look glossy, not wet.
Can I make the glaze ahead of time?
Yes, and I recommend it. The glaze keeps for up to 3 days in the fridge. Warm it gently before brushing so it spreads in a thin coat instead of clumping on the surface.
What if the glaze starts to burn before the ham is done?
Cover the ham loosely with foil and lower the oven temperature by 25°F if needed. If the top is already dark, stop adding glaze, let the ham finish warming, and spoon pan juices over the slices at serving time.
Can I use honey instead of brown sugar?
You can, but the flavor changes. Honey makes the glaze looser and a little more floral, while brown sugar gives it a deeper caramel note. If you swap it in, use less—about 3/4 cup honey—and keep a closer eye on the oven.
What’s the best way to keep leftover ham moist?
Slice it and store it with a few spoonfuls of drippings or broth in a sealed container. Reheat it covered and gently. Thin slices warm faster and stay tender better than thick chunks.
A Ham Worth Serving Again
The best thing about this style of ham is that it doesn’t ask you to choose between easy and good. The ham stays juicy, the glaze sets into a shiny coat, and the savory pieces—the mustard, vinegar, pepper, garlic—keep every slice honest. Sweet without turning sticky. Rich without turning dull. That balance is what makes people go back for one more piece.
And the leftovers are half the fun. Tomorrow’s sandwiches, the skillet hash, the bean soup with a smoky bone in the pot—those are part of the appeal too. If you make it once with a good thermometer and a glaze brushed on in layers, you’ll probably stop treating ham as a once-a-year default and start keeping it in the regular rotation.
Savory Ham with Brown Sugar Glaze — Recipe Card
Recipe Name: Savory Ham with Brown Sugar Glaze
Description: A fully cooked bone-in spiral ham brushed with a brown sugar glaze made with Dijon, apple cider vinegar, orange juice, Worcestershire, garlic, and warm spices. The finish is glossy, caramelized, and balanced enough to keep the meat savory.
Prep Time: 20 minutes
Cook Time: 1 hour 20 minutes to 1 hour 40 minutes
Total Time: 1 hour 40 minutes to 2 hours
Course: Main Course, Dinner
Cuisine: American
Servings: 12 to 16
Calories: about 410 kcal per serving
Ingredients
For the Ham:
- 1 bone-in, spiral-cut ham, 8 to 10 pounds, fully cooked
- 1 cup water, for the roasting pan
For the Brown Sugar Glaze:
- 1 cup packed light brown sugar
- 1/3 cup Dijon mustard
- 1/4 cup apple cider vinegar
- 1/4 cup fresh orange juice
- 2 tablespoons unsalted butter
- 1 tablespoon Worcestershire sauce
- 2 teaspoons finely grated orange zest
- 1 teaspoon freshly ground black pepper
- 1/2 teaspoon ground cloves
- 2 garlic cloves, finely grated or minced
- 1 to 2 tablespoons water, if needed to thin the glaze
Optional for Serving:
- Extra orange zest
- Chopped parsley
- Pan juices, strained
Instructions
- Preheat the oven to 325°F (165°C) and line a large roasting pan with foil. Set a rack inside and pour 1 cup water into the bottom of the pan.
- Pat the ham dry. If it is not spiral-cut, score the fat cap in a shallow diamond pattern about 1/4 inch deep.
- Place the ham cut-side down on the rack, if possible.
- Combine the brown sugar, Dijon, vinegar, orange juice, butter, Worcestershire, orange zest, pepper, cloves, and garlic in a small saucepan.
- Simmer over medium heat for 3 to 5 minutes, stirring until glossy and slightly thick.
- Thin with 1 to 2 tablespoons water if needed.
- Cover the ham loosely with foil and roast for 10 to 12 minutes per pound.
- During the last 30 minutes, brush on a thin layer of glaze.
- Remove the foil, brush on a thicker coat of glaze, and roast uncovered for 10 to 15 minutes more, until the center reaches 140°F.
- Broil for 1 to 2 minutes if you want deeper color, watching carefully.
- Rest for 15 minutes before slicing. Spoon pan juices or extra glaze over the top before serving.
Notes:
For the best texture, keep the oven at 325°F and glaze in layers. If the ham is very salty, lean on the vinegar and mustard rather than adding extra seasoning. Leftovers keep well for sandwiches, fried rice, and soup.