
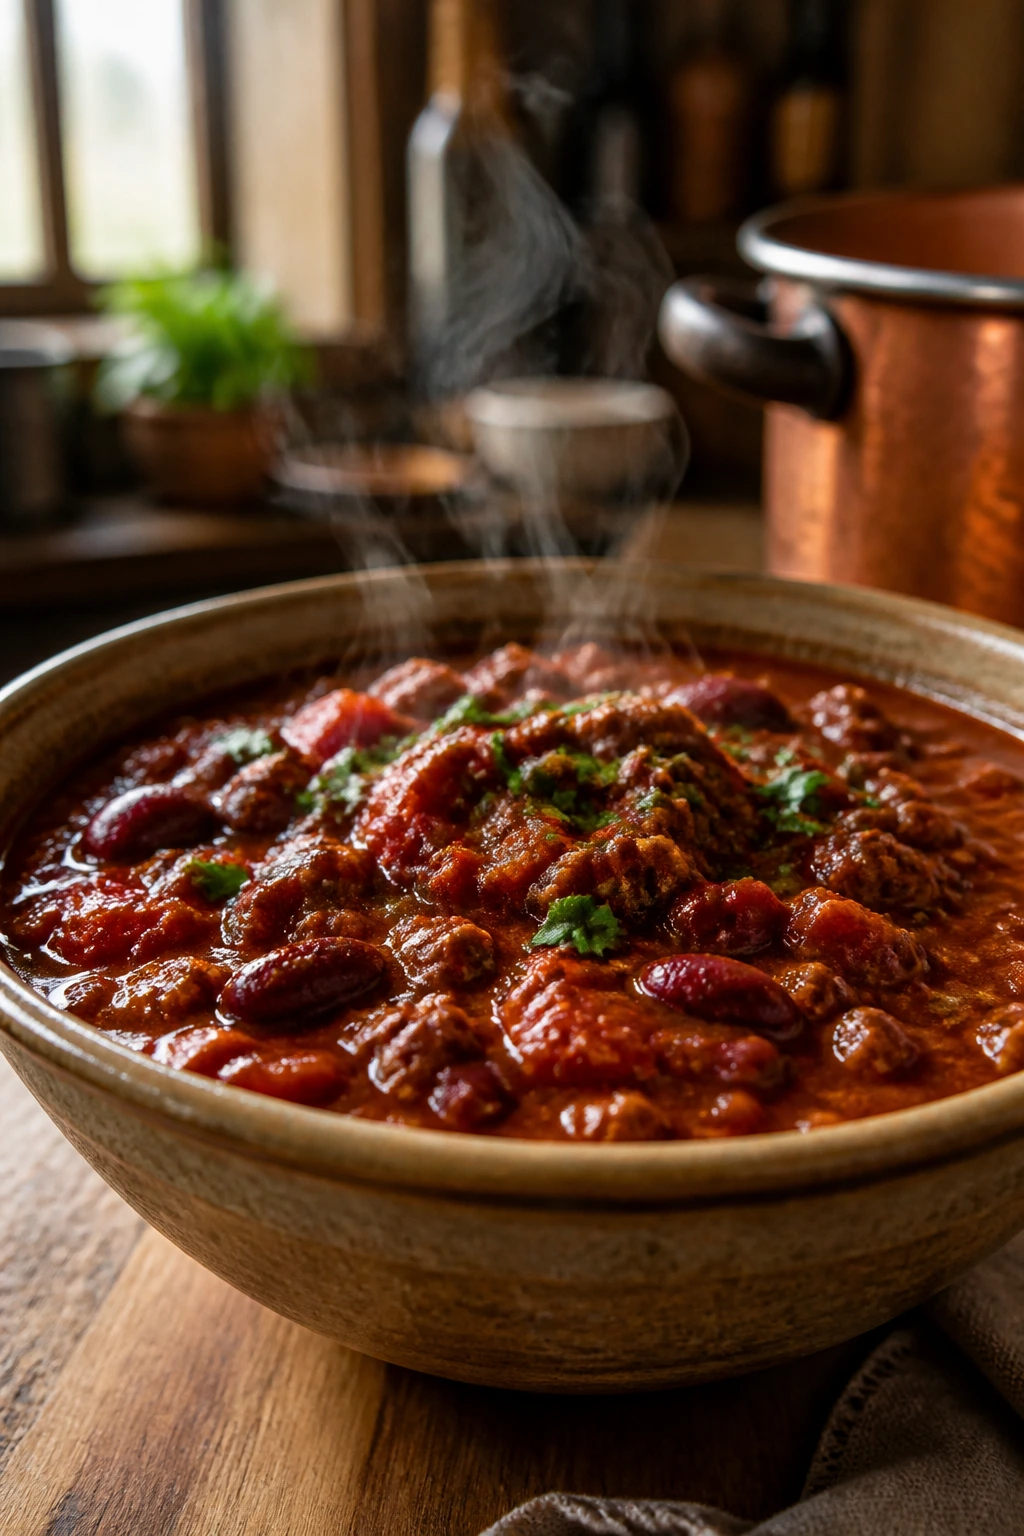
A good slow cooker chili should smell like it has been simmering all afternoon in a kitchen you’d trust for a holiday meal. Not like canned tomatoes with chili powder dusted over the top. The version I reach for most often starts with browned beef, toasted spices, and a final splash of vinegar that wakes up the whole pot the second the lid comes off. That last step matters more than people think. The slow cooker does the long work, but the flavor has to be built first.
That’s the part most recipes skip. They toss everything in, walk away, and then wonder why the bowl tastes thin, sweet, or vaguely tomato-heavy instead of deep and meaty. A slow cooker chili can absolutely be a set-it-and-forget-it dinner, but only after you give it a strong start. Fifteen or twenty minutes at the stove changes the result in a way the crock alone can’t fake.
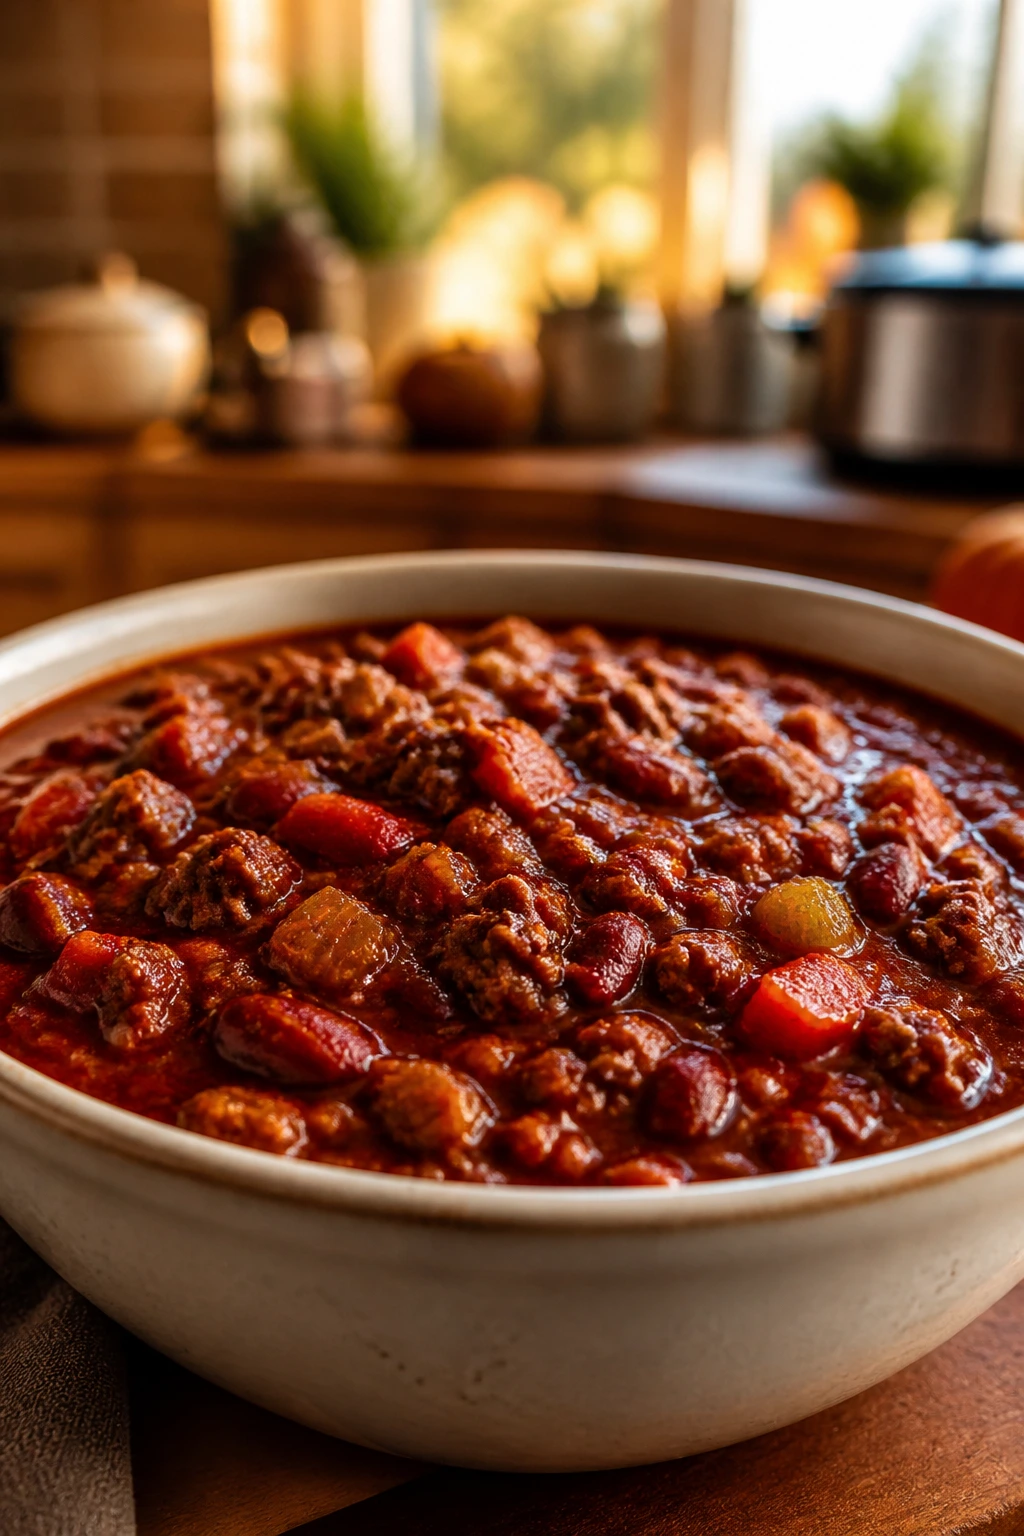
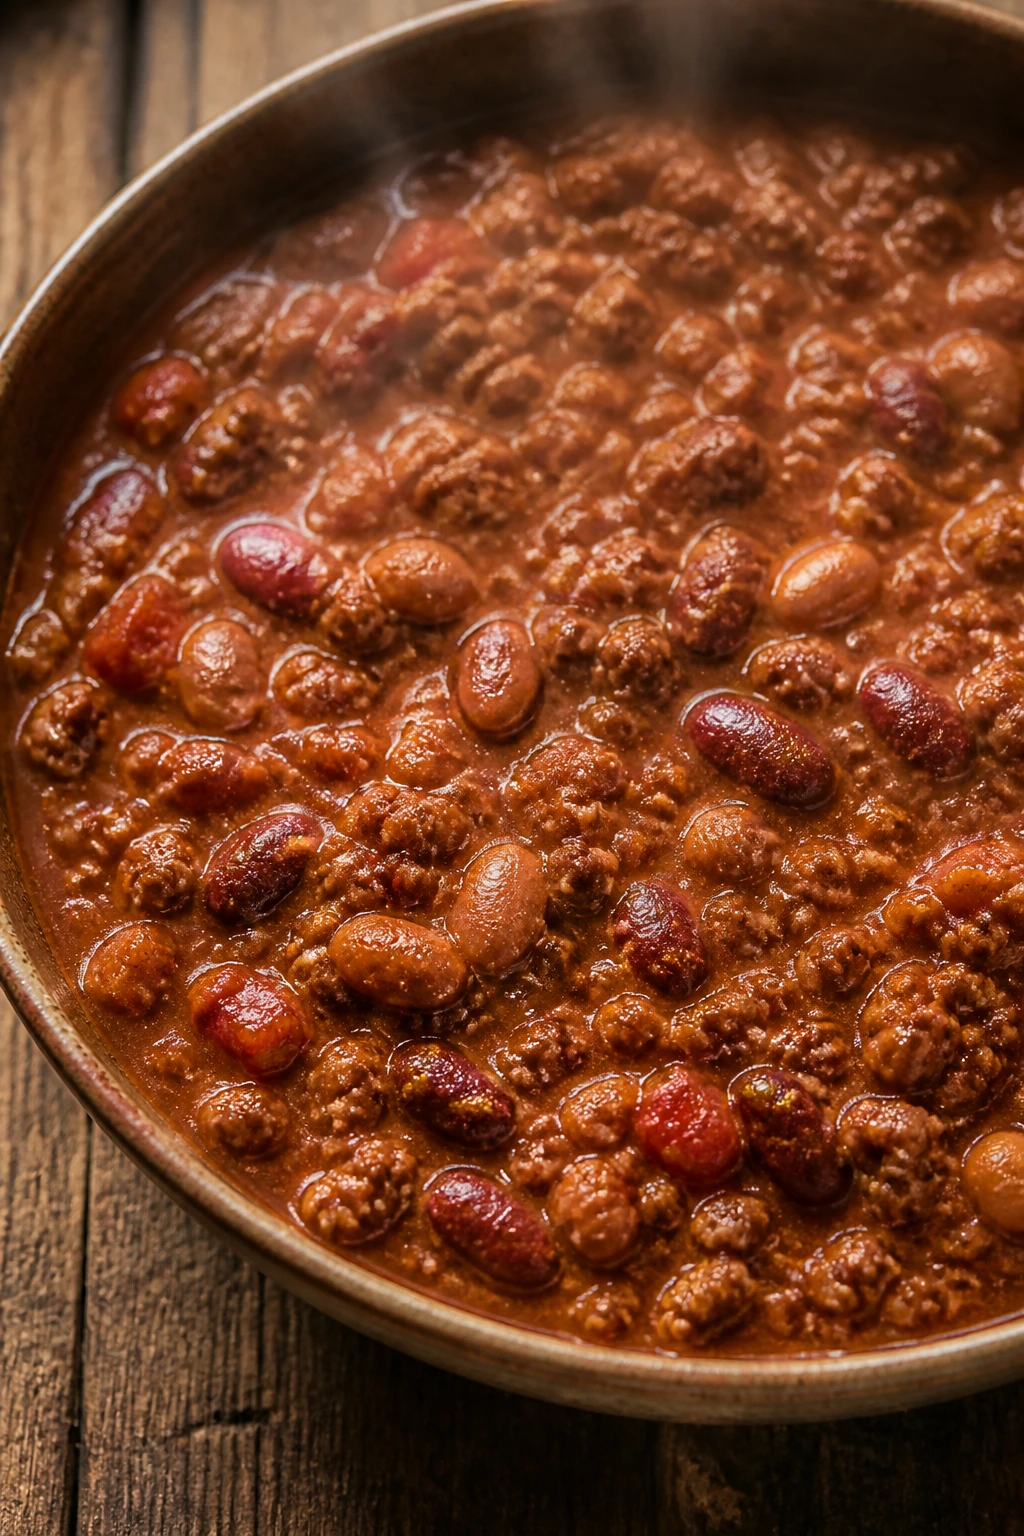
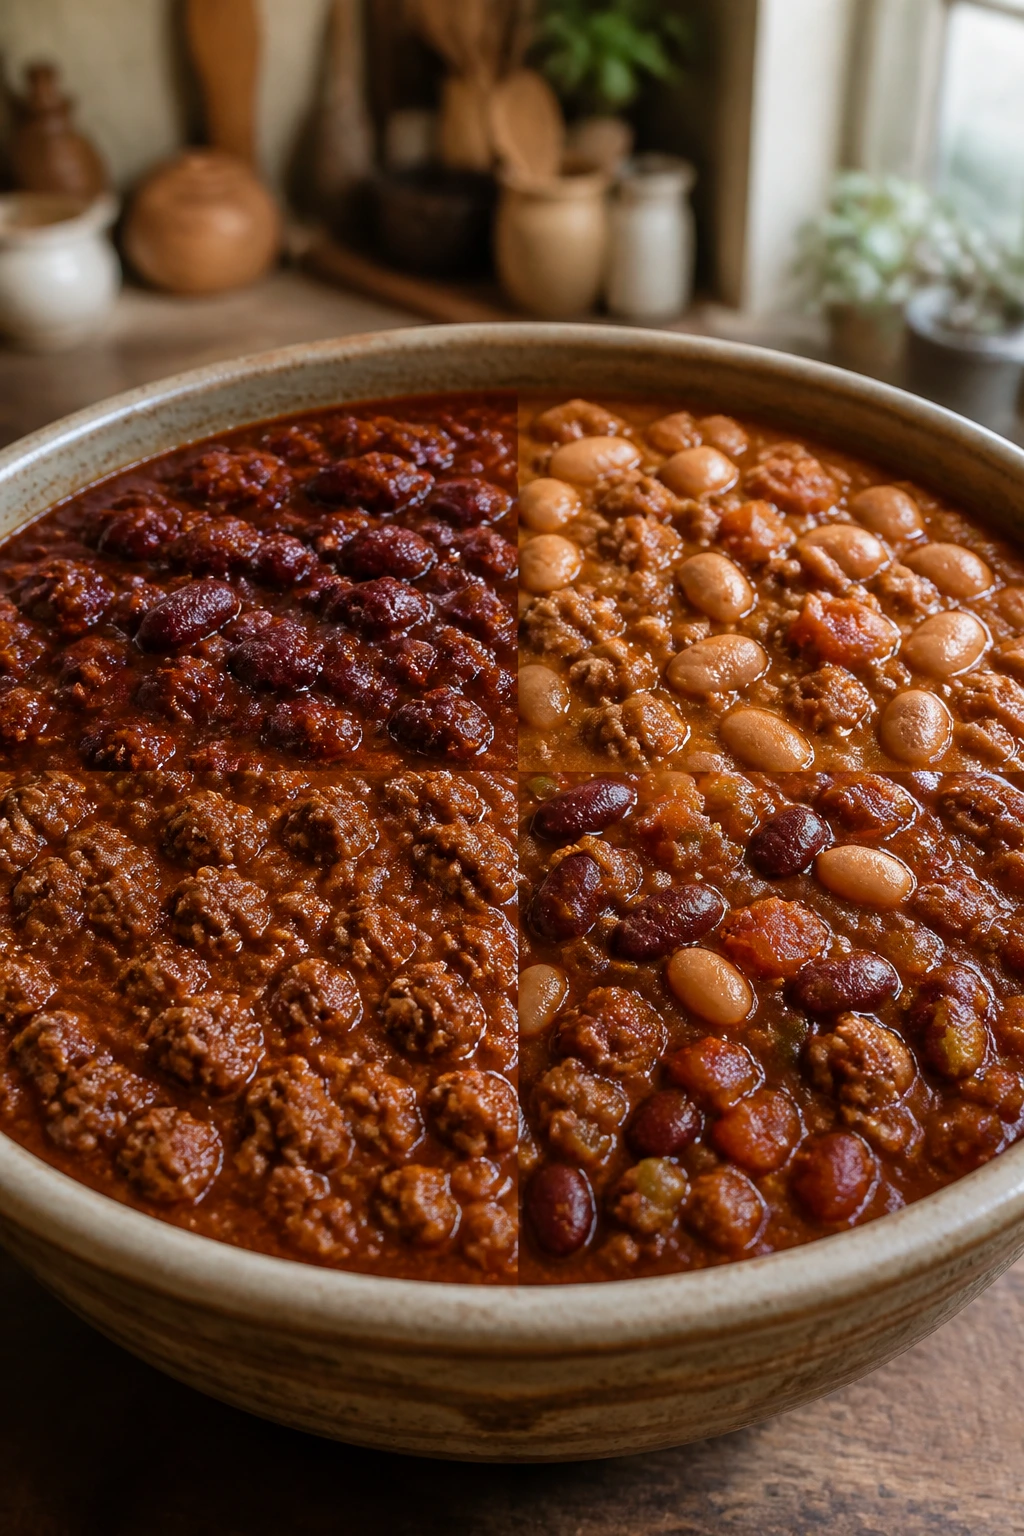
I like chili that lands in the spoon with some weight. The beans should hold their shape, the beef should be crumbled but not chalky, and the broth should cling to the back of the spoon instead of sloshing around like soup. If you’ve been disappointed by pale, watery slow cooker chili before, this is the version that fixes the usual weak spots without turning the process into a project.
Why This Slow Cooker Chili Earns Its Keep
-
The flavor starts with browning, not hope: Taking the time to brown the beef and cook the tomato paste for a minute gives the finished pot a darker, fuller taste that plain dumping never gets close to.
-
The texture stays in chili territory: A controlled amount of broth and two kinds of tomatoes keep the pot thick enough to mound on a spoon, not pour like a stew.
-
The spice level is easy to steer: A little cayenne or chipotle brings heat without wrecking the whole batch, and you can still finish each bowl with hot sauce if that’s your thing.
-
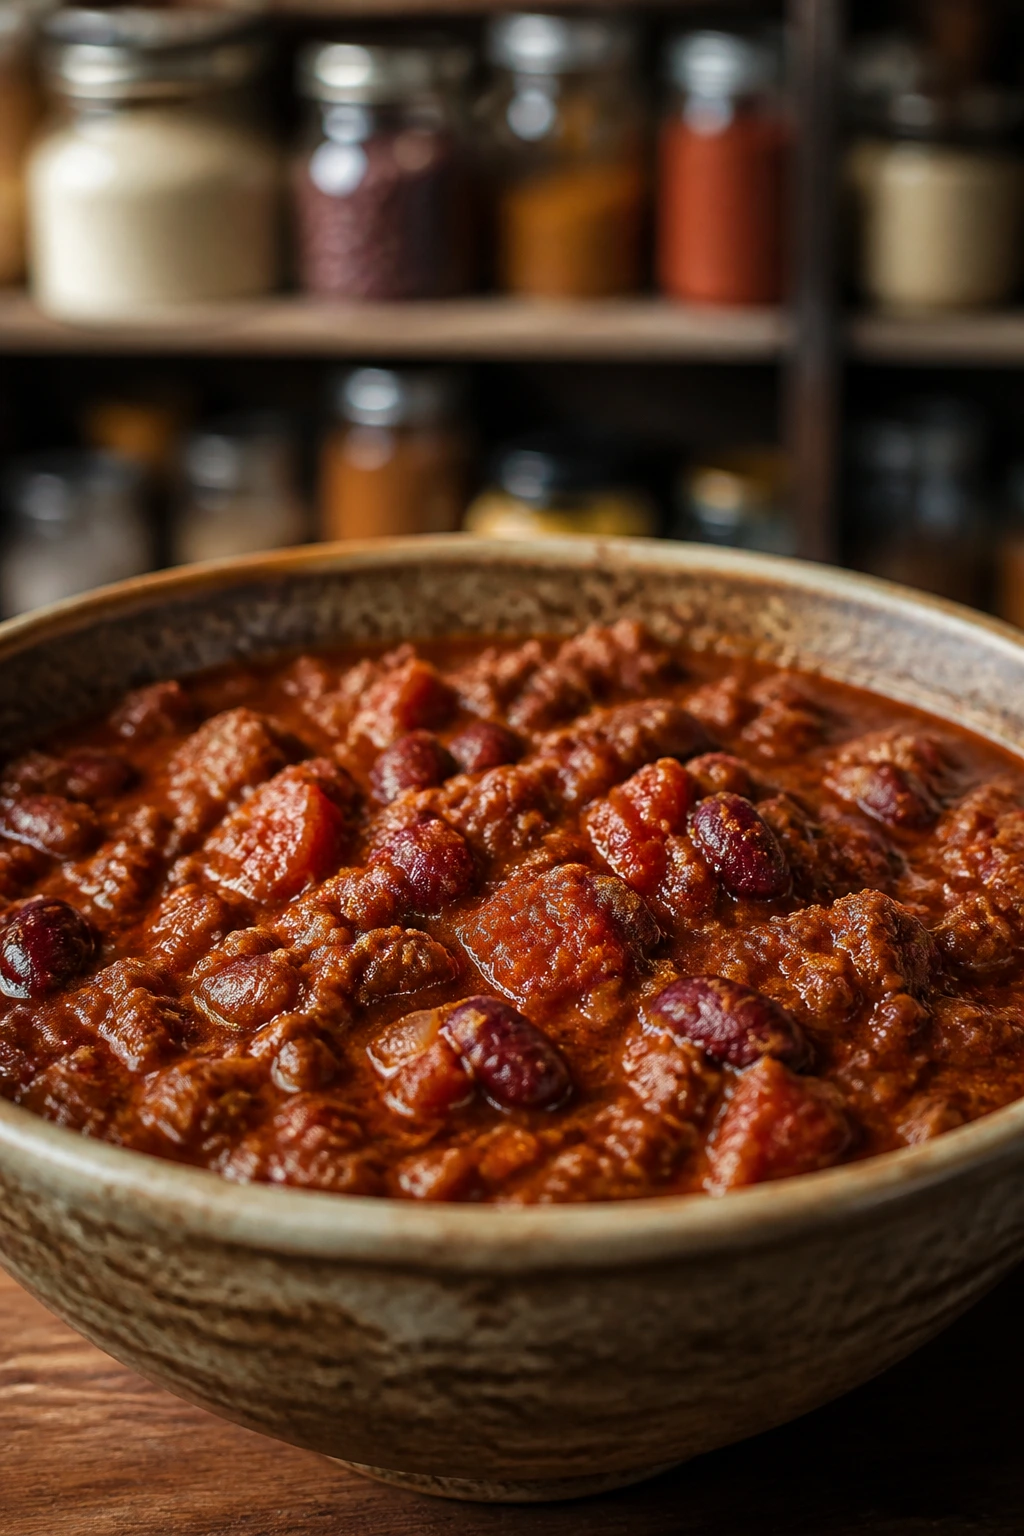
Leftovers improve instead of getting sad: The beans absorb more seasoning overnight, and the tomato base tightens up in the fridge, so the next bowl is often better than the first.
-
It plays well with pantry staples: Beans, canned tomatoes, broth, and dried spices do the heavy lifting, which means you can make a solid pot without a special grocery run.
-
It feeds people without making you babysit a burner: Once the crock is loaded, the rest is waiting, not hovering, which is the whole point of slow cooker chili in the first place.
Yield, Timing, and Spice Level
A bowl of chili should be generous enough to count as dinner, not a starter. This pot is sized for a family meal with enough left over for lunch the next day, and it scales cleanly if your crew likes extra beans or a mountain of toppings.
Yield: Serves 8
Prep Time: 20 minutes
Cook Time: 6 to 8 hours on LOW, or 3 to 4 hours on HIGH
Total Time: 6 hours 20 minutes to 8 hours 20 minutes on LOW, or 3 hours 20 minutes to 4 hours 20 minutes on HIGH
Difficulty: Beginner — the technique is straightforward, and the slow cooker handles the long simmer.
Chill/Rest Time: 10 to 15 minutes before serving
Best Served: Warm, after a short rest so the broth settles and thickens slightly
Heat Level: Mild to medium as written, with easy room to push it hotter
The Pantry Lineup for a Deep, Thick Bowl
For the Chili:
- 1 tablespoon olive oil
- 2 pounds ground beef, 85/15 or 90/10
- 1 large yellow onion, diced
- 1 red bell pepper, diced
- 1 green bell pepper, diced
- 4 cloves garlic, minced
- 2 tablespoons chili powder
- 1 tablespoon ground cumin
- 2 teaspoons smoked paprika
- 1 teaspoon dried oregano
- 1 1/2 teaspoons kosher salt, plus more to taste
- 1 teaspoon freshly ground black pepper
- 1/4 to 1/2 teaspoon cayenne pepper, optional
- 2 tablespoons tomato paste
- 1 (28-ounce) can crushed tomatoes
- 1 (15-ounce) can diced tomatoes, undrained
- 1 (15-ounce) can tomato sauce
- 1 (15-ounce) can kidney beans, drained and rinsed
- 1 (15-ounce) can black beans, drained and rinsed
- 1 cup beef broth
- 1 tablespoon Worcestershire sauce
- 1 tablespoon brown sugar
- 1 bay leaf
- 1 tablespoon apple cider vinegar, stirred in at the end
What the Beef, Beans, and Tomatoes Each Bring
Ground Beef: The Backbone of the Pot
What to use: 2 pounds of ground beef, ideally 85/15 or 90/10. That fat level gives you enough flavor to make the chili taste rich without leaving a greasy slick on top.
Preparation: Brown it in a skillet until there are no pink bits left and some of the meat has dark edges. You want crumbles, not tiny gray pellets. That distinction matters more than people admit.
Substitutions: Ground turkey works if you want a lighter bowl, and half beef plus half ground pork makes a fuller, rounder chili. If you use very lean beef, add an extra tablespoon of oil so the skillet doesn’t dry out.
Tips: Don’t rush this step. Steam-colored beef tastes flat, while browned beef gives you the toasted, savory base that makes the whole pot taste like it cooked longer than it did.
Beans, Tomatoes, and Broth: The Body of the Chili
What to use: One can each of crushed tomatoes, diced tomatoes, tomato sauce, kidney beans, black beans, and 1 cup of beef broth. That mix gives you enough liquid for the slow cooker without turning the bowl soupy.
Preparation: Drain and rinse the beans so the finished chili doesn’t taste salty or muddy. Leave the diced tomatoes undrained; their liquid helps the pot loosen and cook evenly.
Substitutions: Pinto beans can step in for kidney beans, and fire-roasted diced tomatoes bring a smokier note if you like that direction. Low-sodium versions work well if you’re watching salt, but they usually need a stronger final seasoning.
Tips: Tomato paste is the quiet hero here. It deepens the color and gives the chili a more concentrated tomato flavor, which is why a quick minute in the skillet pays off.
Onion, Peppers, and Garlic: The Sweet Backbone
What to use: One yellow onion, one red bell pepper, one green bell pepper, and four cloves of garlic. The mix gives the pot sweetness, a little crunch before it softens, and enough aromatic lift to keep the chili from tasting heavy.
Preparation: Dice the onion and peppers small so they cook down evenly. Mince the garlic finely; big garlic chunks can come across harsh after hours in the crock.
Substitutions: A poblano can replace one of the bell peppers if you want a softer heat, and a shallot can stand in for part of the onion if that’s what you have. Frozen chopped onions work in a pinch, though they don’t brown as well.
Tips: Add the garlic after the onion has started to soften. Garlic that hits the pan too early can burn in a flash, and burnt garlic is a note you cannot hide in chili.
Chili Powder, Cumin, and the Finishers
What to use: Chili powder, cumin, smoked paprika, oregano, brown sugar, Worcestershire sauce, and apple cider vinegar. That combination builds the classic chili flavor profile and keeps the tomato base from tasting flat.
Preparation: Measure the spices before you start cooking. Once the onion is sizzling and the tomato paste is in the pan, things move fast, and nobody wants to be hunting for cumin while the garlic starts to go bitter.
Substitutions: Chipotle powder can replace the cayenne if you want smoke as well as heat, and maple syrup can stand in for brown sugar in a pinch. If you need a Worcestershire substitute, use a splash of soy sauce plus a few extra drops of vinegar.
Tips: The vinegar at the end is not optional in spirit, even if you tweak the exact amount. It cuts through the tomato and beef and makes the bowl taste finished instead of merely cooked.
The Tools That Make the Job Easier
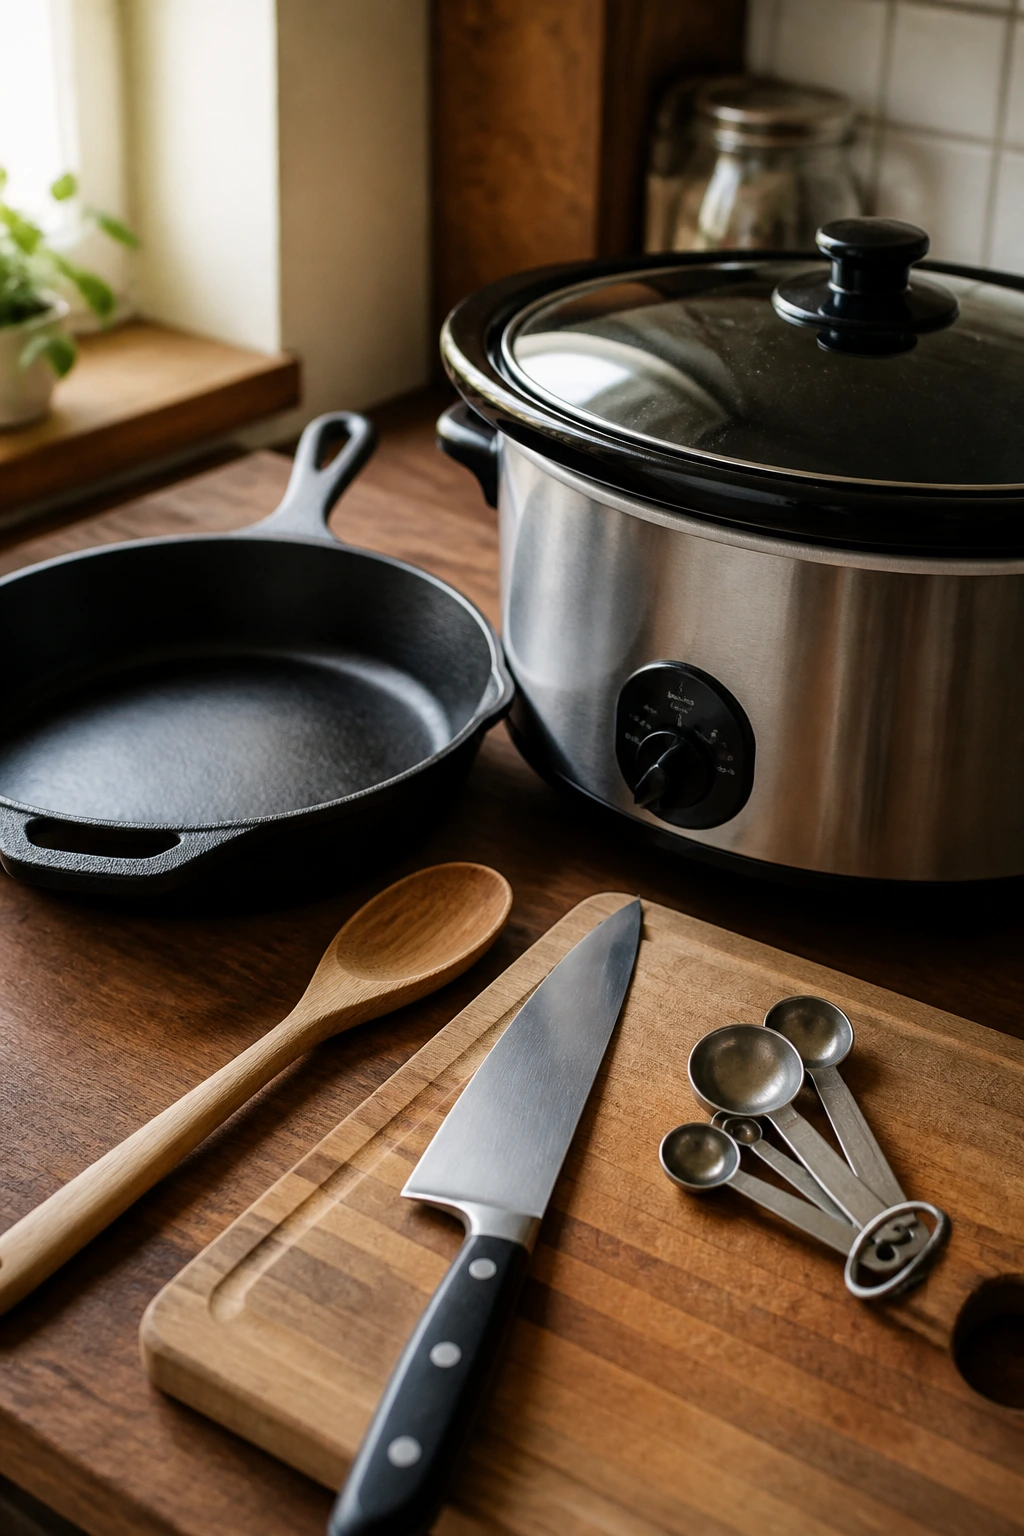
- 6-quart slow cooker — Big enough for the full batch without crowding the lid.
- Large skillet or sauté pan — Used for browning the beef and cooking the aromatics; this is where the flavor starts.
- Wooden spoon or sturdy spatula — Good for breaking up beef and scraping up the browned bits without scratching the pan.
- Chef’s knife — A sharp knife makes quick work of onion, peppers, and garlic.
- Cutting board — Give yourself enough space to dice cleanly and keep raw meat prep separate from vegetables.
- Measuring spoons and cups — Chili seasoning is forgiving, but the balance still matters.
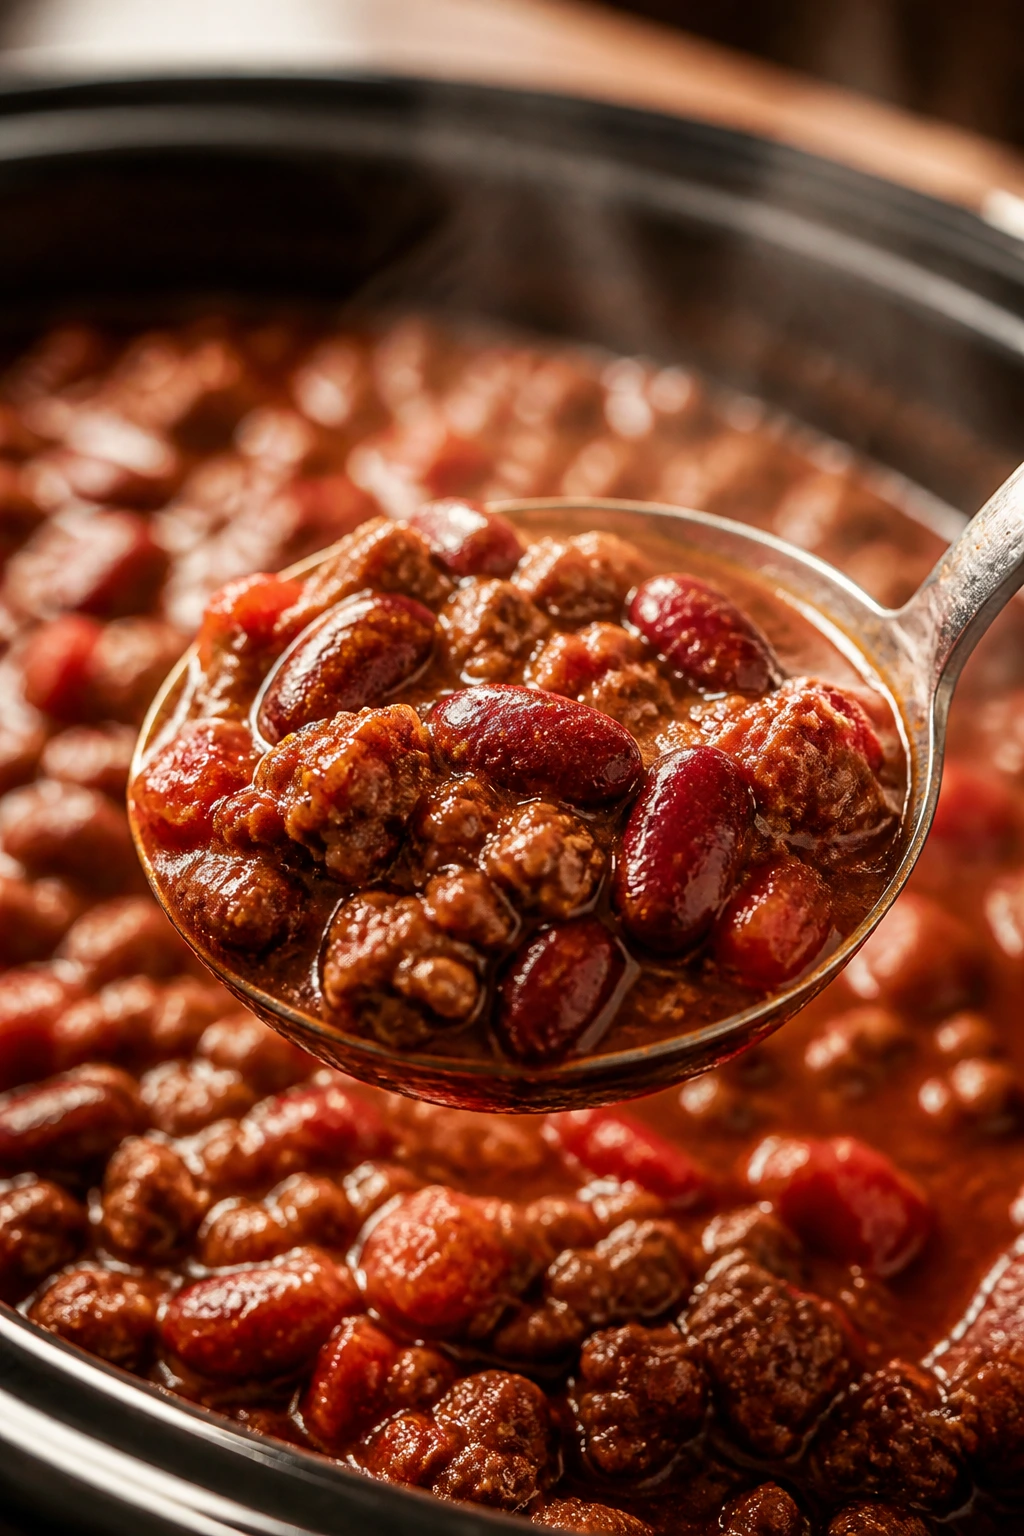
- Ladle — Useful for serving without digging through the pot and breaking up the beans too much.
- Fine-mesh strainer — Not required, but handy for rinsing beans quickly and evenly.
Browning the Meat Until It Smells Like Dinner
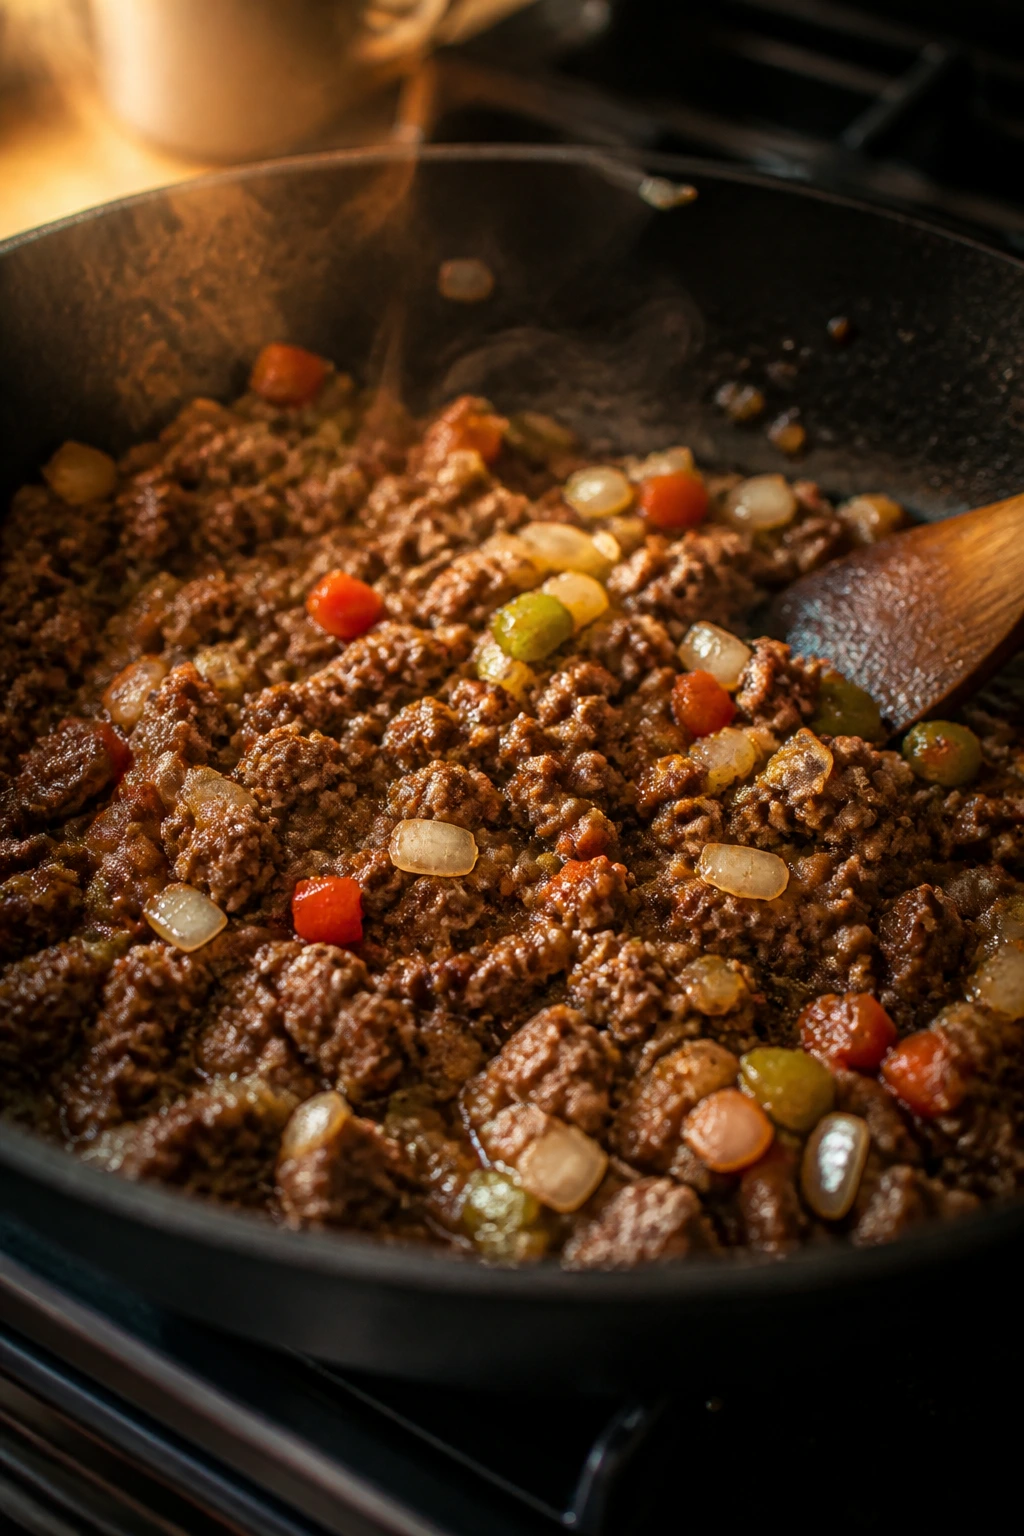
Brown the beef first.
-
Set a large skillet over medium-high heat and add the olive oil. When the oil shimmers and slides across the pan, add the ground beef in a fairly even layer. Let it sit for a minute before breaking it up with a spatula, then cook for 6 to 8 minutes, stirring occasionally, until no pink remains and some pieces have browned edges. If liquid starts pooling in the pan, keep cooking until it evaporates; steamed beef tastes dull.
-
Add the diced onion and both bell peppers to the skillet and stir to coat them in the fat. Cook for 5 to 6 minutes over medium heat, until the onion looks translucent and the peppers have softened enough that they no longer snap raw when you bite a piece. Add the garlic and cook for 30 seconds, just until it smells sweet and sharp instead of harsh. Then stir in the chili powder, cumin, smoked paprika, oregano, salt, black pepper, cayenne, and tomato paste. Cook for 60 to 90 seconds, stirring constantly, until the tomato paste darkens a shade and the spices smell warm and a little nutty. That little bloom is not decorative. It’s the difference between chili with depth and chili that tastes like tomato sauce with seasoning on top.
Building the Crock Without Guesswork
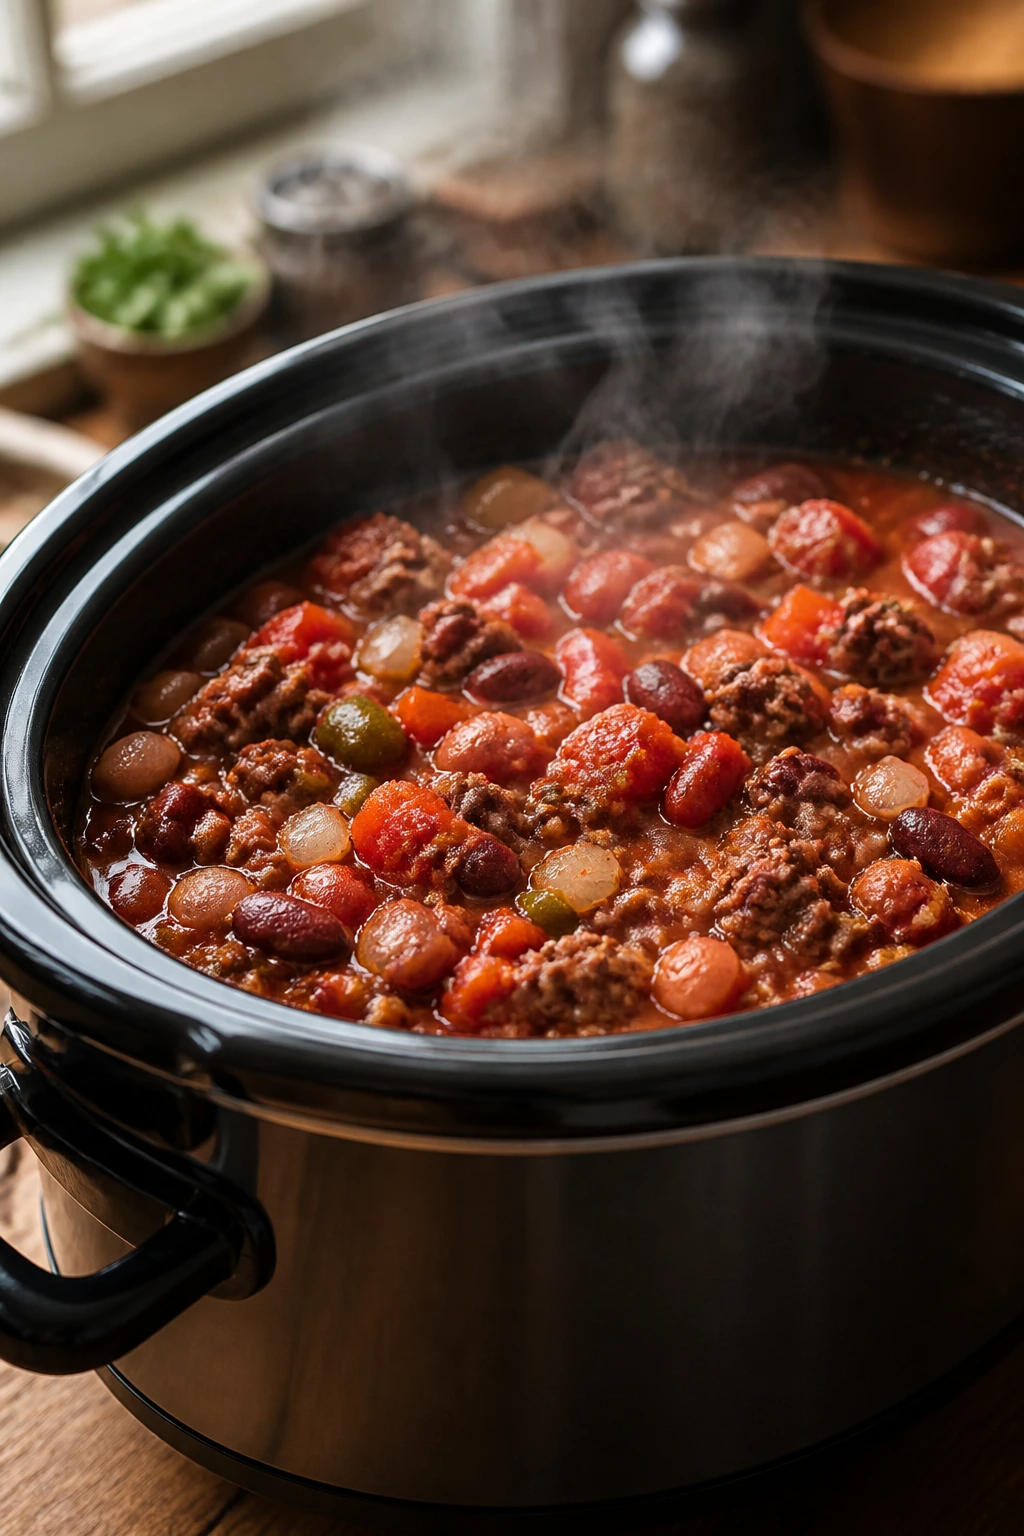
Load the slow cooker.
-
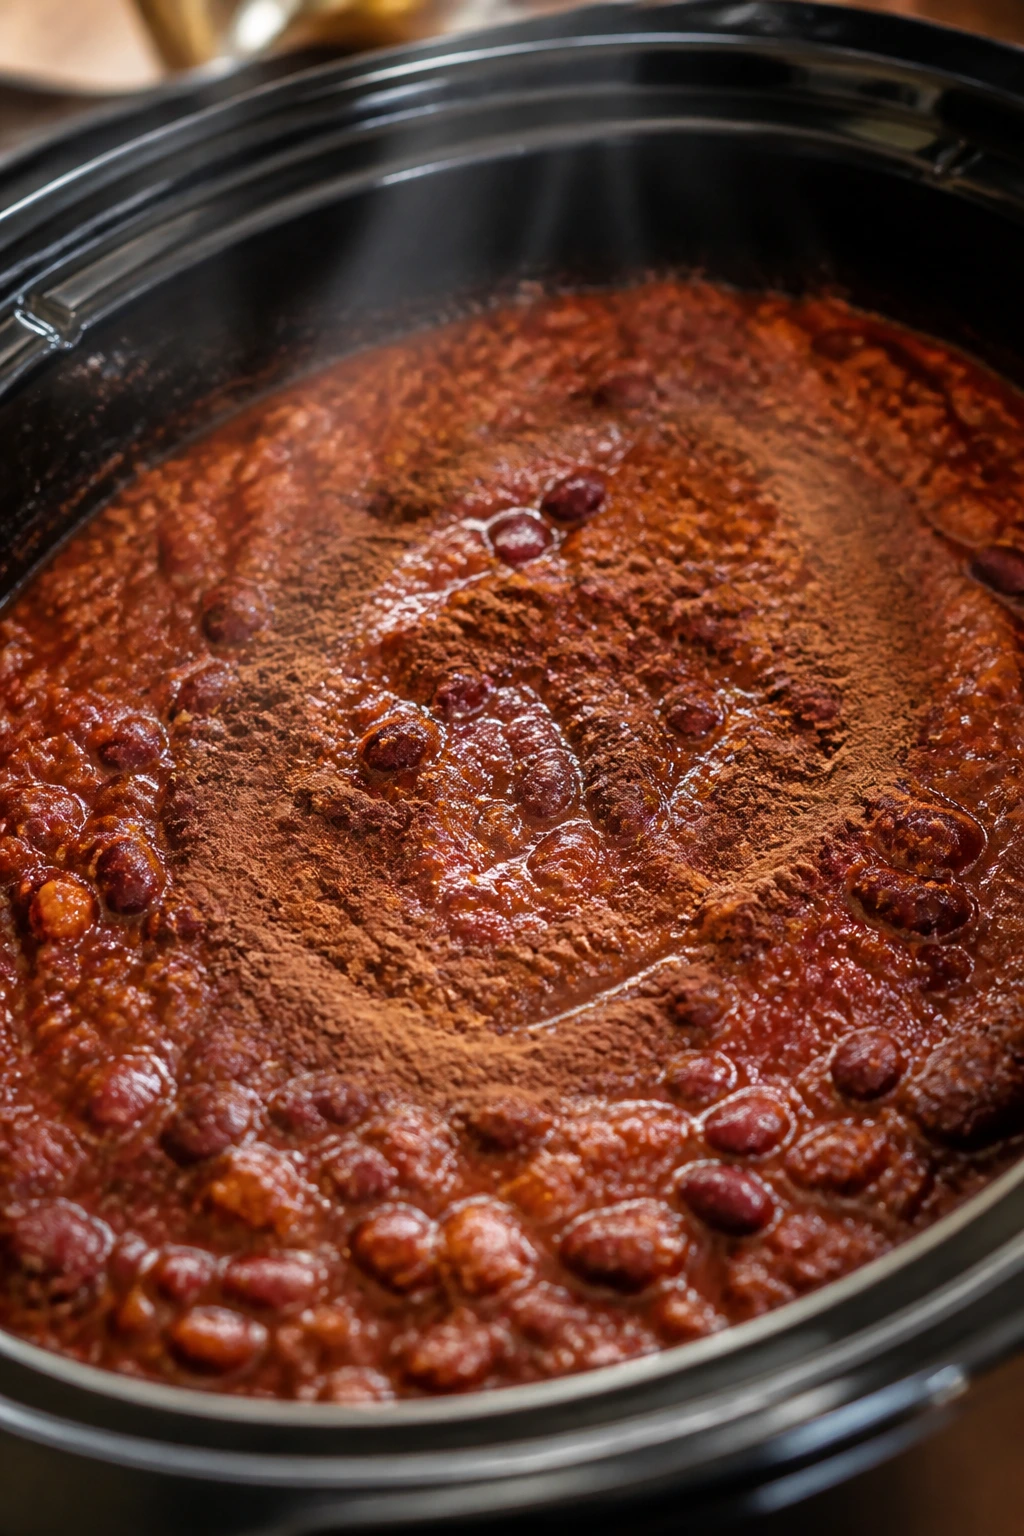
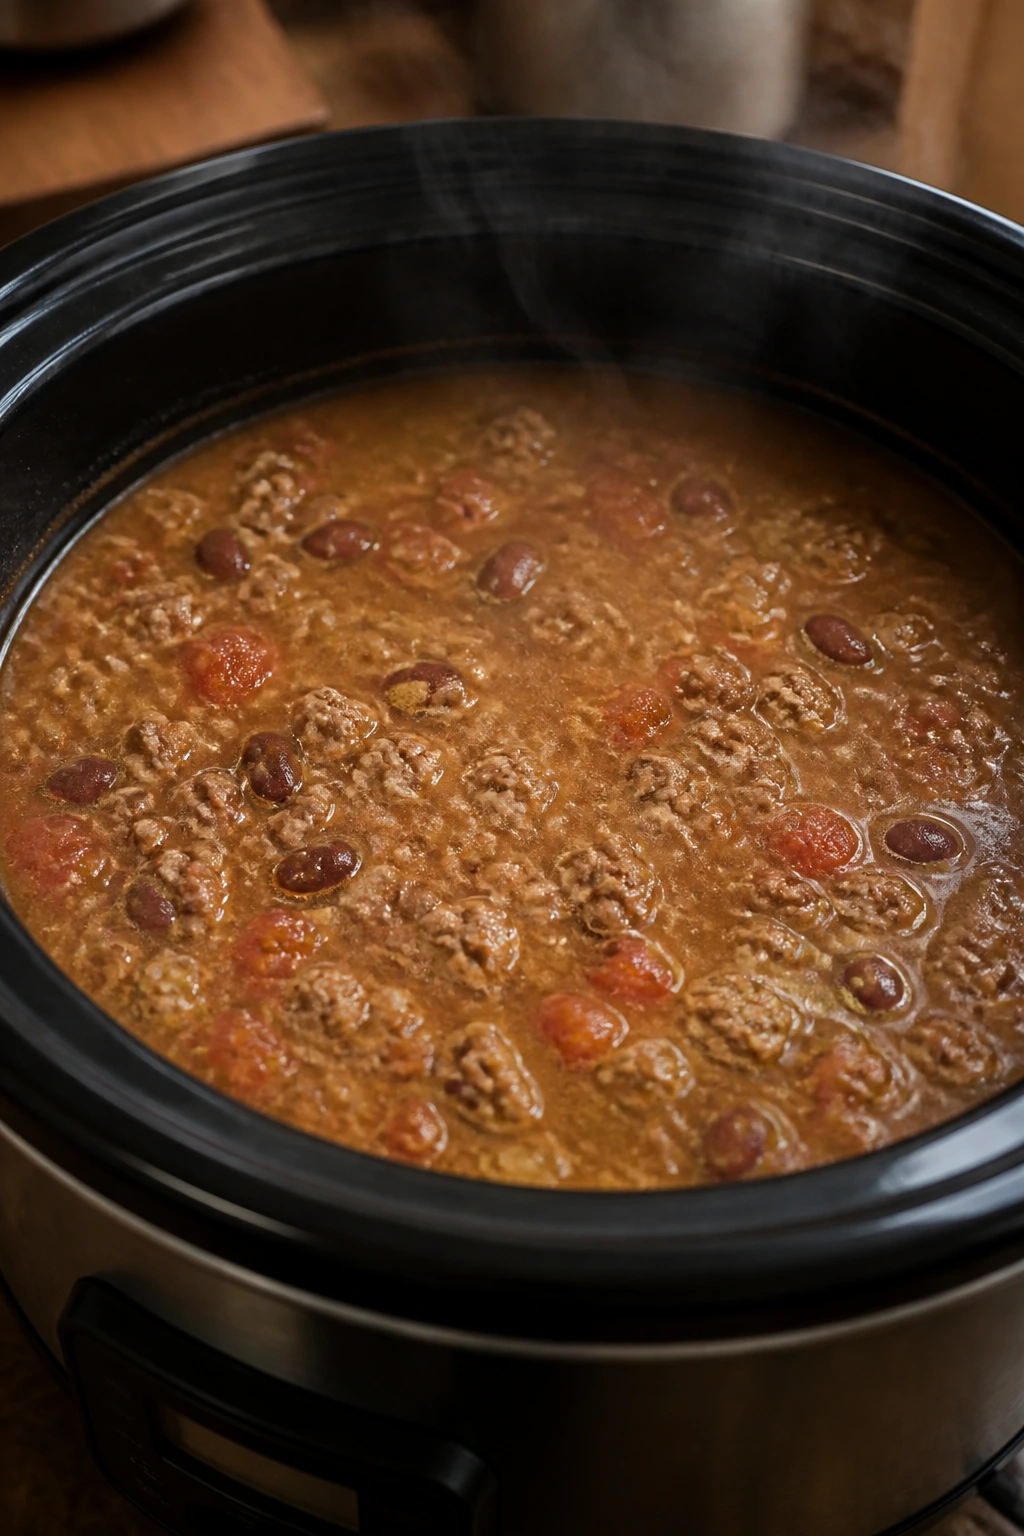
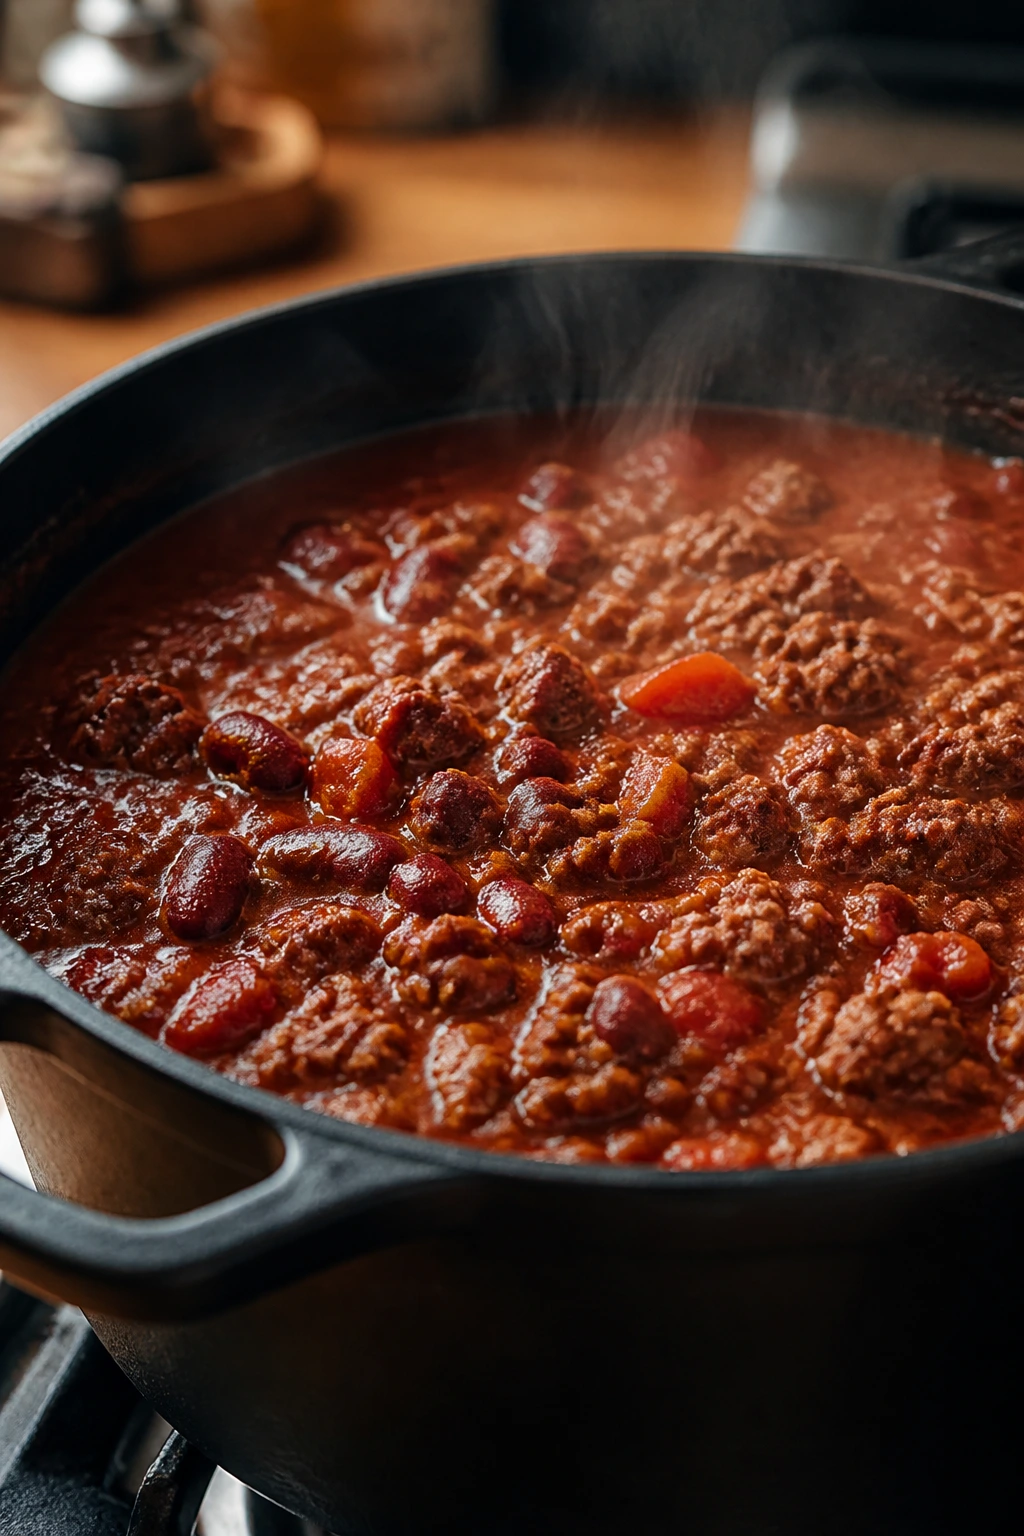
Scrape the beef mixture into a 6-quart slow cooker, making sure to get every bit of the browned spice paste from the skillet. Add the crushed tomatoes, diced tomatoes, tomato sauce, kidney beans, black beans, beef broth, Worcestershire sauce, brown sugar, and bay leaf. Stir thoroughly so the spice paste disappears into the liquid and the beans are coated instead of floating bare on top. The pot should look loose at this stage, not thick. That’s normal. The crock needs room to move the flavors around before they settle.
-
Cover and cook on LOW for 6 to 8 hours or on HIGH for 3 to 4 hours, until the onion is fully tender and the chili has deepened in color from bright tomato red to a darker brick red. Try not to lift the lid during the cook; every peek dumps heat and slows the whole process. If your slow cooker runs hot, check a little early. Some models are eager, and a chili can go from thick to over-reduced faster than people expect.
Letting the Pot Cook Without Being Fussed With
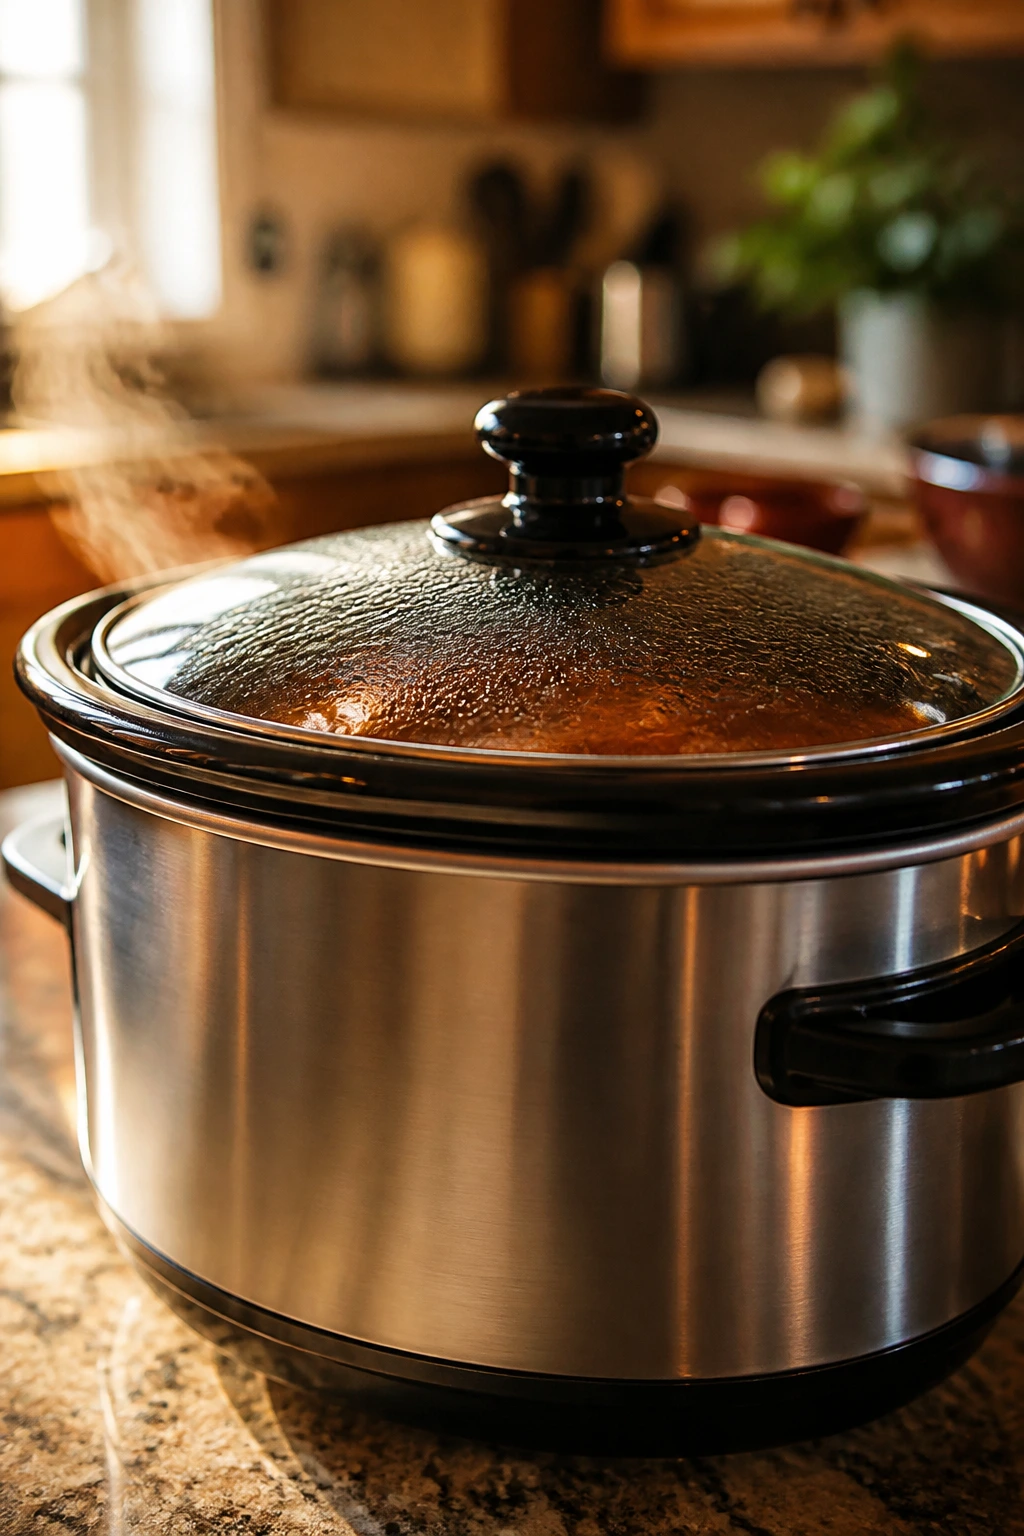
Let the slow cooker do its thing.
-
When the cooking time is up, remove the bay leaf and give the chili a slow stir. Taste a spoonful before you add anything else. If the flavors feel round but a little sleepy, that’s the point where the vinegar earns its keep. If the chili tastes thin, it needs either more salt, more time, or a small thickening move — not a random pile of extra chili powder.
-
Stir in the apple cider vinegar, then taste again. If the pot feels too sharp, add a pinch of brown sugar. If it feels flat, add another pinch of salt and stir well before tasting again. This is where chili becomes personal. One cook likes a deeper tomato note, another wants more heat, and another wants the bowl to read smoky rather than sweet. The crock gives you a base; the last five minutes let you steer.
Thickening and Finishing the Bowl
Make the texture right before you serve it.
-
If the chili is looser than you want, mash about 1 cup of the beans against the side of the slow cooker with a spoon, then stir them back in. That thickens the broth without turning the whole pot into paste. You can also leave the lid off and cook on HIGH for 15 to 20 minutes to let some liquid evaporate. Do not add a big slurry all at once unless you’ve tasted the pot and know it needs it; over-thick chili turns gluey fast.
-
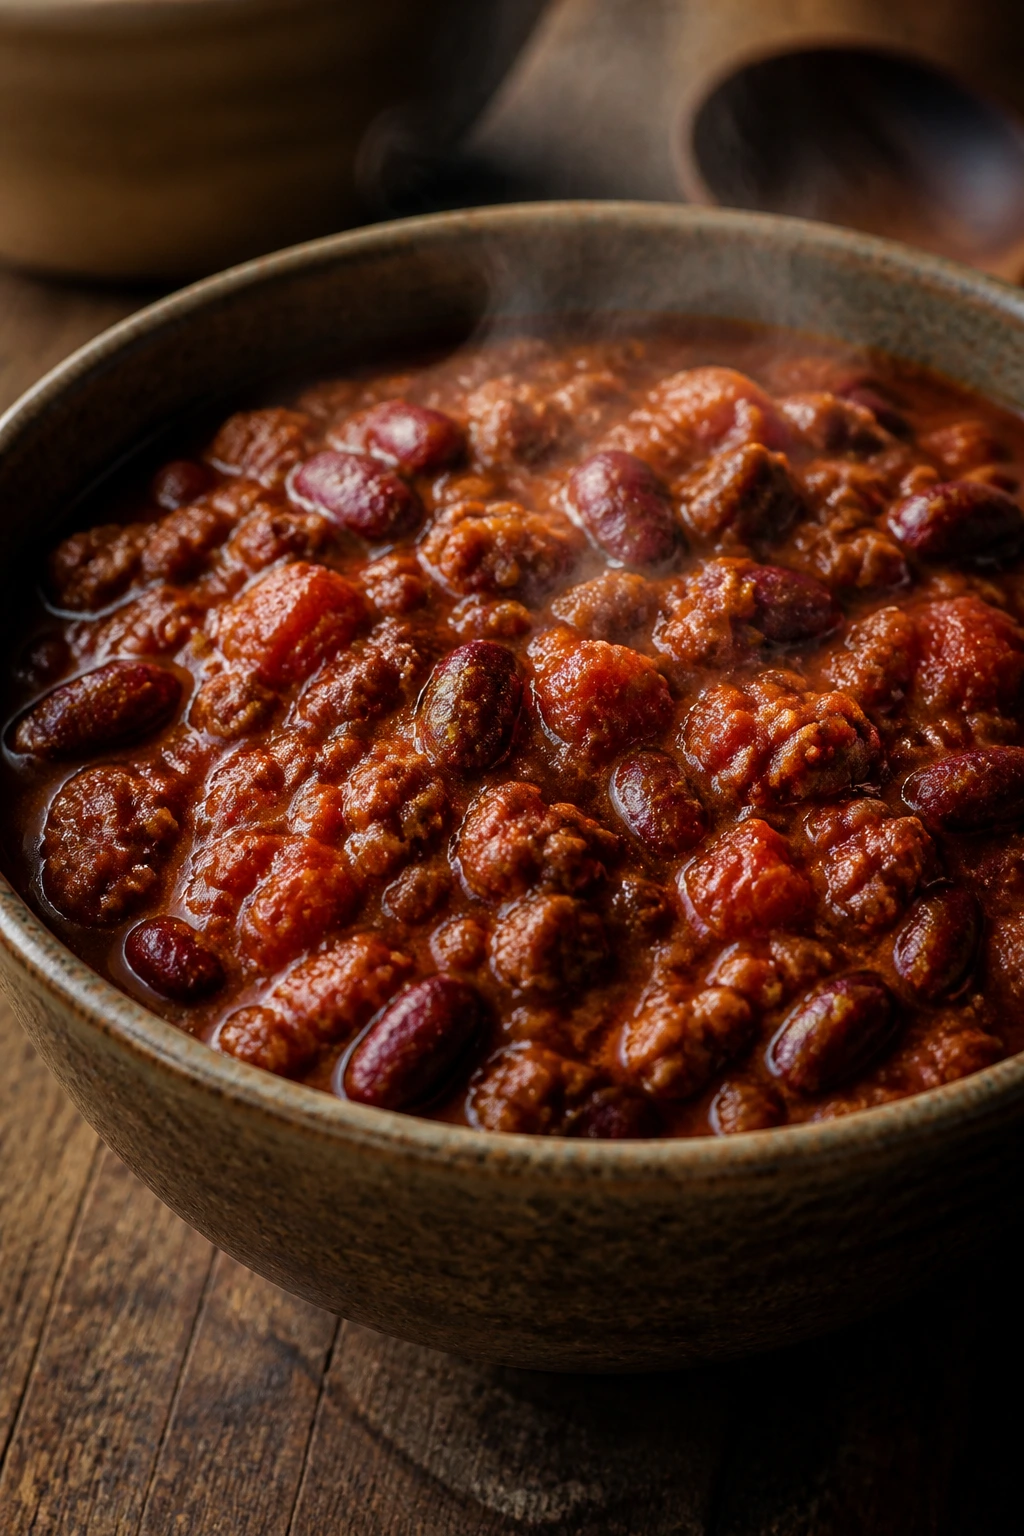
Let the chili rest, uncovered or with the lid cracked, for 10 to 15 minutes before ladling it into bowls. That short pause makes a real difference. The liquid settles, the beans absorb a little more seasoning, and the spoon hits the pot with a better texture. Chili straight from the slow cooker can be a little too loose on the plate; chili that rests tastes more finished.
How I Like to Serve a Bowl of Chili
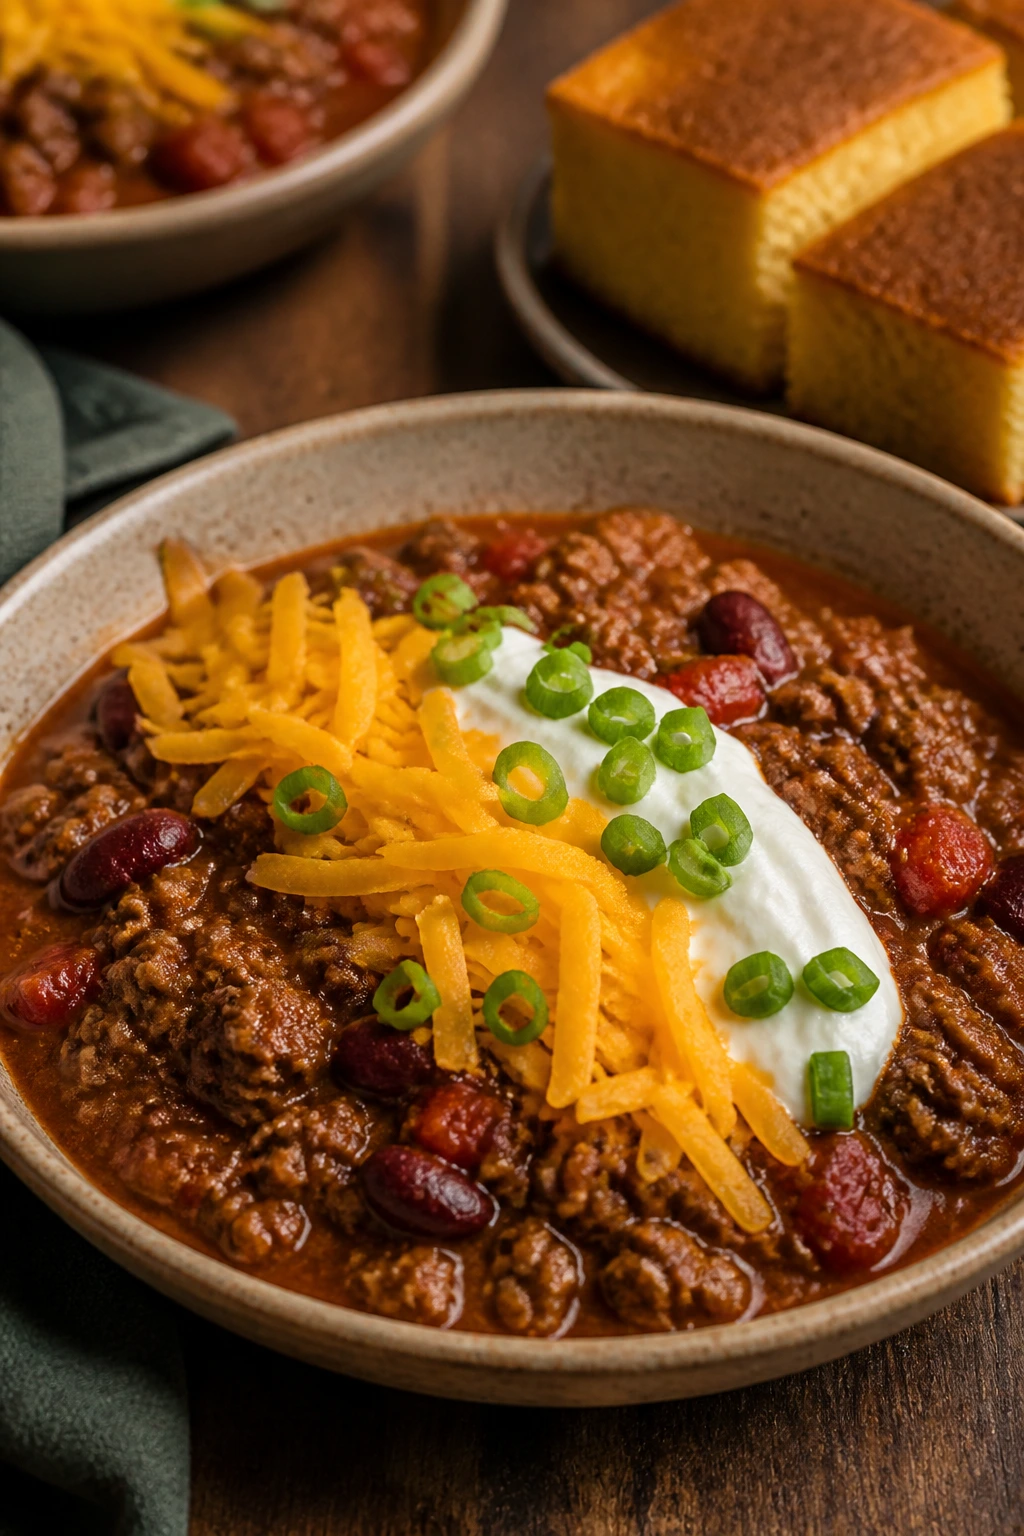
Presentation: Spoon the chili into wide, shallow bowls rather than deep mugs. That gives you room for toppings and keeps the steam from fogging everything into a single hot blur. A stripe of sour cream, a scatter of shredded cheddar, and a few sliced scallions look cleaner than dumping everything in a heap.
Accompaniments: Cornbread is the obvious move, and I say that with full approval. Saltines, warm flour tortillas, or a baked potato also work well, especially if you want the meal to stretch. A crisp green salad with a sharp vinaigrette is a useful side because it cuts through the tomato and beef instead of competing with it.
Portions: Plan on about 1 1/2 cups per person for a full dinner. If you’re feeding a crowd with bread and toppings, 1 cup per person is enough. The pot serves 8 as written, but the recipe scales up cleanly if you keep the same seasoning balance.
Beverage Pairing: A cold lager or amber ale fits the smoked spice and tomato base without fighting it. If you’re skipping alcohol, unsweetened iced tea or sparkling water with a squeeze of lime keeps the bowl from feeling heavy.
Small Tweaks That Make a Big Difference
Flavor Enhancement: Stir in 1 teaspoon of unsweetened cocoa powder or a tiny splash of strong coffee during the last hour if you want a darker, deeper background note. You won’t taste chocolate. You’ll taste more chili.
Time-Saver: Chop the onion and peppers while the beef browns, and measure the spices into one small bowl before the skillet gets hot. That way the blooming step happens smoothly instead of turning into a frantic grab for the cumin jar.
Texture Upgrade: If you like a thicker bowl, mash some of the beans against the side of the slow cooker right before serving. It gives the chili body without requiring flour or a cornstarch slurry.
Make-It-Yours: Swap the black beans for pinto beans, add a handful of corn in the last 30 minutes, or use chipotle powder instead of cayenne if you want smoke instead of sharp heat. A spoonful of chopped cilantro or a few pickled jalapeños on top can change the whole finish without touching the base.
Chili Mistakes That Leave the Pot Flat
-
Skipping the browning step: The chili may still be edible, but it tends to taste pale and one-note. Brown the beef and cook the tomato paste with the spices for a minute so the pot has an actual flavor base.
-
Using too much liquid too early: The slow cooker doesn’t reduce the way a stovetop pot does. Start with 1 cup of broth and the canned tomato liquid, then fix thickness at the end if needed.
-
Forgetting the final acid: A pot of chili can taste heavy or sleepy without vinegar at the end. That tablespoon of apple cider vinegar sharpens the tomatoes and makes the beef taste cleaner.
-
Overcooking lean meat on HIGH: Very lean beef can dry out and turn crumbly if it sits too long at a strong simmer. Use 85/15 if you can, or check the pot a little early if your slow cooker runs hot.
-
Lifting the lid every hour: Each peek steals heat and stretches the cook time. The chili cannot settle properly if the lid is bouncing on and off all afternoon.
-
Under-salting at the end: Beans and tomatoes need more seasoning than people expect. Taste the final pot after the vinegar goes in, then add salt in small pinches until the broth tastes full instead of flat.
Four Smart Variations
Smoky Chipotle Chili: Replace the cayenne with 1 to 2 chopped chipotles in adobo and 1 tablespoon of adobo sauce. That swap gives you smoke, heat, and a darker red color that looks as bold as it tastes. It’s the variation I’d make for people who like chili with a little more edge.
Turkey and Pinto Bean Swap: Use 2 pounds ground turkey instead of beef, add an extra tablespoon of oil to the skillet, and swap the kidney beans for pinto beans. The bowl comes out lighter and a little softer in texture, which works well if you want chili without the heavier beef note.
Bean-Free Meat Chili: Omit the beans, increase the beef to 3 pounds, and reduce the broth to 3/4 cup. The texture becomes meatier and looser, almost like a cross between a stew and a Texas-style pot, though it’s still its own thing. Cook uncovered for the last 20 minutes if you want a tighter finish.
Extra-Bean Pantry Pot: Keep the beef at 2 pounds, but add a third can of beans — pinto or black both work — and another half teaspoon of salt at the end if needed. It stretches the batch without making it feel diluted, and it’s one of the easiest ways to feed more people from the same pot.
Corn and Pepper Finish: Stir in 1 cup of frozen corn during the last 30 to 45 minutes and top each bowl with diced avocado. The corn gives you little sweet pops against the chili base, and it’s a nice change when you want the bowl to feel a little brighter.
Storage, Reheating, and Make-Ahead Notes
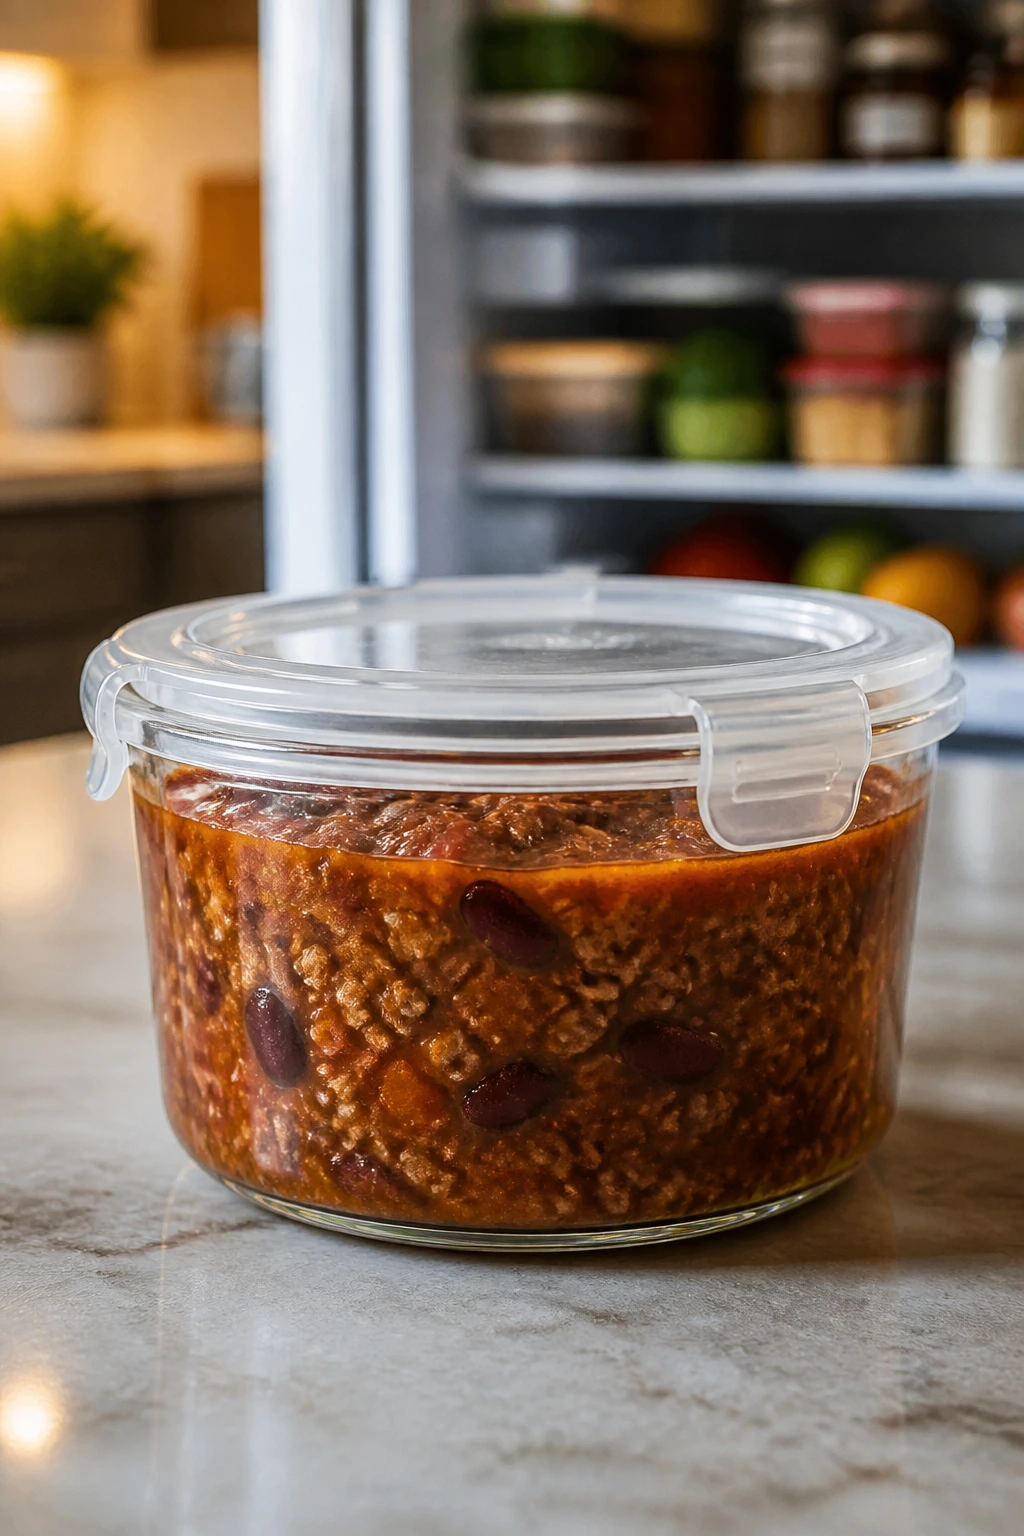
Chili keeps well, and this one is no exception. In the refrigerator, it holds for up to 4 days in a sealed container. Let it cool for no more than 2 hours before packing it away, and use shallow containers if you want it to chill quickly. The flavor often improves overnight because the beans soak up more seasoning and the vinegar settles into the tomato base instead of sitting on top.
For the freezer, portion the chili into containers or freezer bags that hold 2 cups each. It freezes well for up to 3 months. Flat freezer bags thaw faster than bulky containers, and they stack neatly if your freezer space is cramped. Label them with the date. Future-you will be grateful.
Reheat it on the stovetop over medium-low heat, stirring every few minutes and adding a splash of broth or water if it has thickened too much. On the microwave side, use a covered bowl and heat in 60-second bursts, stirring between each one so the center doesn’t stay cold while the edges overcook. Frozen chili should thaw in the refrigerator overnight before reheating, though a gentle stovetop thaw works too if you’re patient.
For make-ahead cooking, brown the beef and vegetables up to 2 days in advance, then refrigerate them separately from the beans and canned tomatoes. You can also make the full pot a day ahead and reheat it when you need it; chili is one of those dishes that settles into itself after a night in the fridge. The only thing I would not do is leave the whole batch sitting in the slow cooker on warm for hours. That turns the beans soft and the beef dry.
Questions People Ask Before They Make It

Can I put raw ground beef straight into the slow cooker?
You can, but I don’t recommend it. Raw beef in the crock tends to cook into softer, paler crumbles, and you lose the browned flavor that makes the chili taste deeper. The skillet step is worth the extra pan.
Do I have to drain and rinse the beans?
For this recipe, yes. Draining and rinsing keeps the broth cleaner and stops the chili from tasting overly salty or starchy. If you skip that step, the pot can turn muddy fast.
How do I make slow cooker chili thicker without ruining it?
Mash some of the beans against the side of the slow cooker, then stir them back in. If that still isn’t enough, leave the lid off and cook on HIGH for 15 to 20 minutes so some liquid evaporates. I’d start there before using any starch.
Can I double the recipe?
Yes, as long as your slow cooker is large enough. A 7-quart cooker is a safer bet for a double batch, and you should keep the pot no more than about two-thirds full. Give it an extra 30 to 45 minutes on LOW if the crock is crowded.
What if the chili tastes too acidic at the end?
Add a small pinch of brown sugar, stir, and taste again. If it still feels sharp, another small pinch of salt can help the other flavors settle down. Too much vinegar is easy to fix; too little vinegar is harder.
Can I make this without beans?
Yes. Reduce the broth a little and increase the beef if you want a meatier bowl. Without beans, the chili tends to feel looser, so I’d cook it uncovered for the last 20 minutes if you want a thicker finish.
Is it better on LOW or HIGH?
LOW gives you a more even texture and a little more forgiveness, which is why I prefer it. HIGH works if you’re short on time, but some slow cookers run hot and can tighten the beef faster than you’d expect. If yours tends to cook aggressively, start checking early.
A Pot Worth Repeating
There’s a reason chili keeps showing up in slow cookers, pots, and backyard cookouts. It rewards a little care at the start and then behaves for the rest of the day. Brown the beef, bloom the spices, keep the liquid honest, and finish with vinegar. That’s the whole story, and it’s a good one.
What comes out is not fussy. It’s better than that. Thick enough to sit on a spoon, bold enough to stand up to cornbread, and flexible enough to take whatever toppings you’ve got in the fridge. Make it once, and the method starts living in your hands. Make it twice, and you’ll start changing the heat level, the beans, and the finish without thinking about it.
Slow-Cooked Slow Cooker Chili You Can Set and Forget — Recipe Card
Recipe Name: Slow-Cooked Slow Cooker Chili You Can Set and Forget
Description: A thick, beefy slow cooker chili with beans, tomatoes, and warm spices, finished with vinegar for a clean, rounded flavor. Browned meat and toasted spices give it the depth a straight dump-and-go pot usually misses.
Prep Time: 20 minutes
Cook Time: 6 to 8 hours on LOW, or 3 to 4 hours on HIGH
Total Time: 6 hours 20 minutes to 8 hours 20 minutes on LOW, or 3 hours 20 minutes to 4 hours 20 minutes on HIGH
Course: Dinner, Main Course
Cuisine: American, Tex-Mex
Servings: 8 servings
Calories: About 380 kcal per serving
Ingredients
- 1 tablespoon olive oil
- 2 pounds ground beef, 85/15 or 90/10
- 1 large yellow onion, diced
- 1 red bell pepper, diced
- 1 green bell pepper, diced
- 4 cloves garlic, minced
- 2 tablespoons chili powder
- 1 tablespoon ground cumin
- 2 teaspoons smoked paprika
- 1 teaspoon dried oregano
- 1 1/2 teaspoons kosher salt, plus more to taste
- 1 teaspoon freshly ground black pepper
- 1/4 to 1/2 teaspoon cayenne pepper, optional
- 2 tablespoons tomato paste
- 1 (28-ounce) can crushed tomatoes
- 1 (15-ounce) can diced tomatoes, undrained
- 1 (15-ounce) can tomato sauce
- 1 (15-ounce) can kidney beans, drained and rinsed
- 1 (15-ounce) can black beans, drained and rinsed
- 1 cup beef broth
- 1 tablespoon Worcestershire sauce
- 1 tablespoon brown sugar
- 1 bay leaf
- 1 tablespoon apple cider vinegar, stirred in at the end
Instructions
- Heat the olive oil in a large skillet over medium-high heat. Brown the beef for 6 to 8 minutes until no pink remains and the edges are browned.
- Add the onion and bell peppers. Cook for 5 to 6 minutes, then add the garlic, spices, and tomato paste. Cook for 60 to 90 seconds until fragrant and slightly darkened.
- Transfer the mixture to a 6-quart slow cooker. Add the tomatoes, beans, broth, Worcestershire sauce, brown sugar, and bay leaf; stir well.
- Cover and cook on LOW for 6 to 8 hours or on HIGH for 3 to 4 hours, until thick and deeply flavored.
- Remove the bay leaf. Stir in the apple cider vinegar and taste for salt, pepper, and heat.
- If needed, mash some beans against the side of the cooker or cook uncovered on HIGH for 15 to 20 minutes to thicken. Rest 10 to 15 minutes before serving.
Notes: For a thicker bowl, mash a cup of beans before serving. Leftovers thicken overnight and reheat well with a splash of broth.