
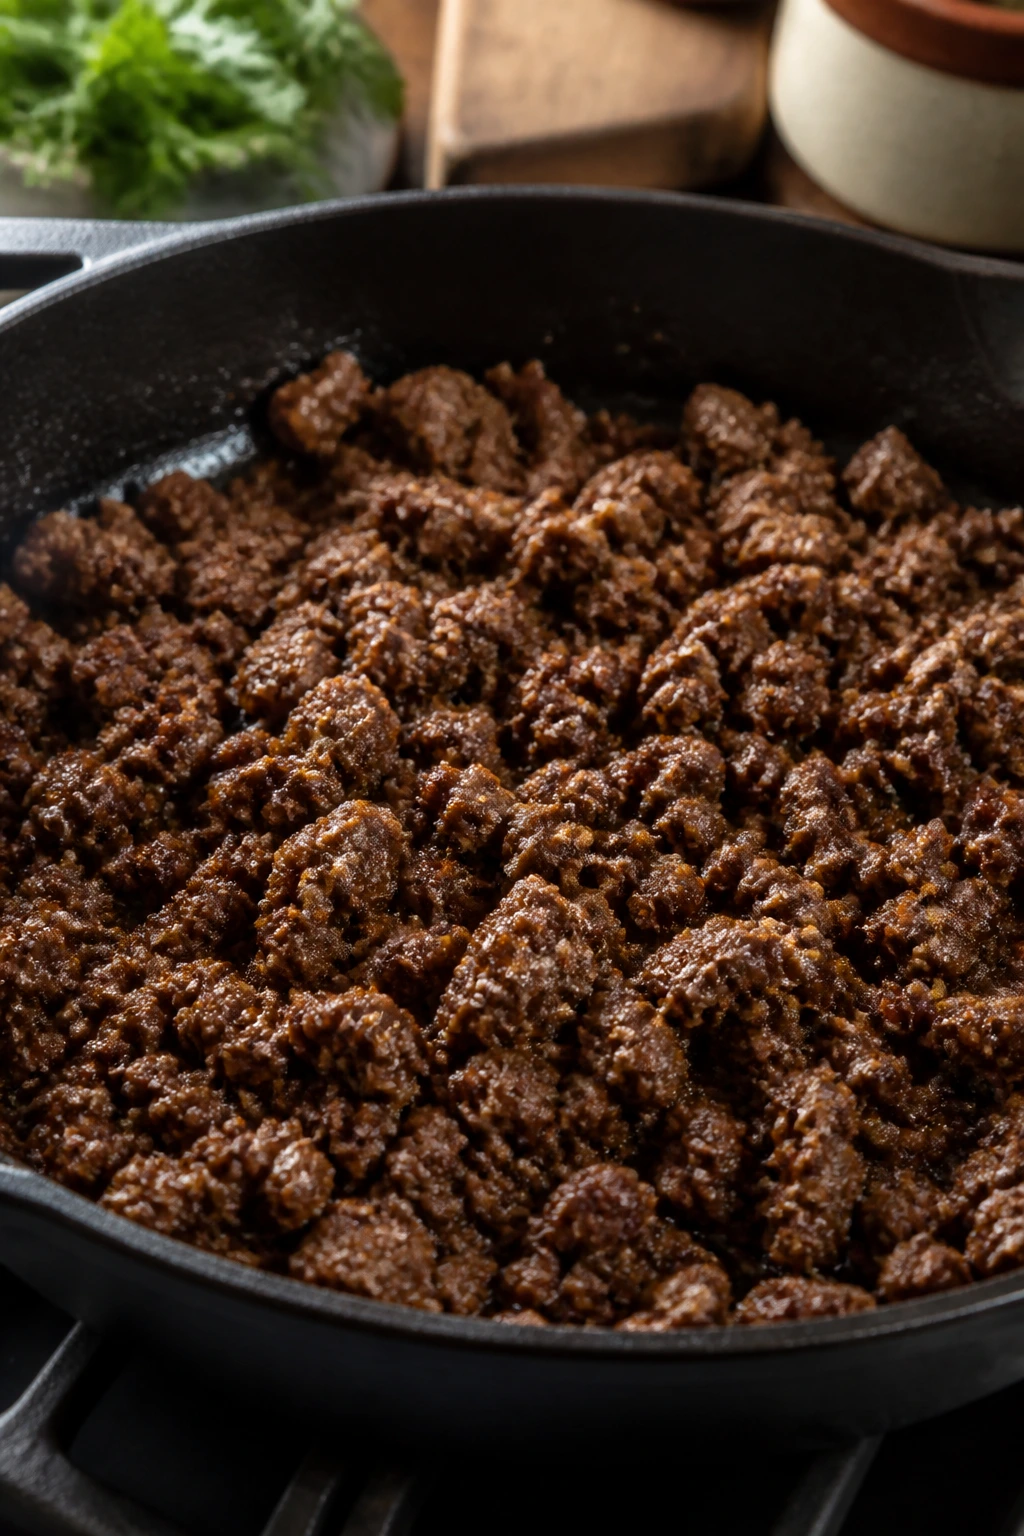
Ground beef has a sneaky little problem: it can go from juicy to chalky in the space of one distracted minute. That is why so many skillet dinners taste like they were cooked by someone who was late for a meeting. Tender seasoned ground beef fixes that mess by treating the meat like a proper dinner base — browned, yes, but also sauced, seasoned, and kept soft enough to spoon over potatoes, rice, noodles, or a split baked potato without feeling dry at the edges.
The trick is not one magic ingredient. It’s the sequence. A short baking-soda rest, a wide hot skillet, a quick bloom of tomato paste, and a low simmer with broth change the texture in a way that plain salt and pepper never will. Use 85/15 beef if you can. It has enough fat to stay plush without leaving a greasy slick in the pan, and it behaves far better than the ultra-lean stuff that likes to eat like sawdust.
Get the order wrong and you end up with bland crumbles. Get it right and the pan smells like onion, garlic, smoked paprika, and beefy richness all at once — the kind of smell that makes people wander into the kitchen and ask what’s for dinner before you’ve even set the table.
Why You’ll Love This Recipe
- Tender Texture: A short baking-soda rest helps the beef keep a softer, more supple bite instead of drying out while it browns.
- One-Skillet Cleanup: Onion, garlic, seasoning, and sauce all happen in the same pan, so the browned bits stay in the dinner instead of in the sink.
- Flexible Dinner Base: Spoon it over mashed potatoes, tuck it into tortillas, pile it onto rice, or serve it under a fried egg when you want something hearty without fuss.
- Pantry-Smart Flavor: Tomato paste, Worcestershire, soy sauce, and broth build depth fast, which means the dish tastes more layered than the ingredient list looks.
- Leftovers Hold Up Well: The flavor settles in overnight, and a splash of broth brings the sauce back to life without turning the beef mushy.
Why This Ground Beef Skillet Stays Juicy Instead of Dry
Dry ground beef usually happens for one reason: people cook it like they’re trying to erase moisture from the pan. Too much stirring, too little surface area, and a long hot cook all push the meat in the wrong direction. Tender seasoned ground beef takes the opposite route. It gives the meat a tiny bit of help up front, then stops cooking it the instant it’s done.
That short baking-soda rest is worth the minute it takes. Baking soda nudges the surface pH upward, which slows the protein tightening that squeezes moisture out of the meat. You do not need much — half a teaspoon for a pound and a half is enough — and you do not want to leave it sitting for an hour. Ten minutes is the sweet spot. Longer than that and the texture starts going strange, almost pasty.
The second piece is the pan itself. Use a wide skillet, not a cramped saucepan. Meat needs room to brown. If it’s piled into a deep pan, the steam hangs around and the beef turns gray before it ever gets a chance to pick up those little browned edges that make the flavor taste cooked instead of merely heated.
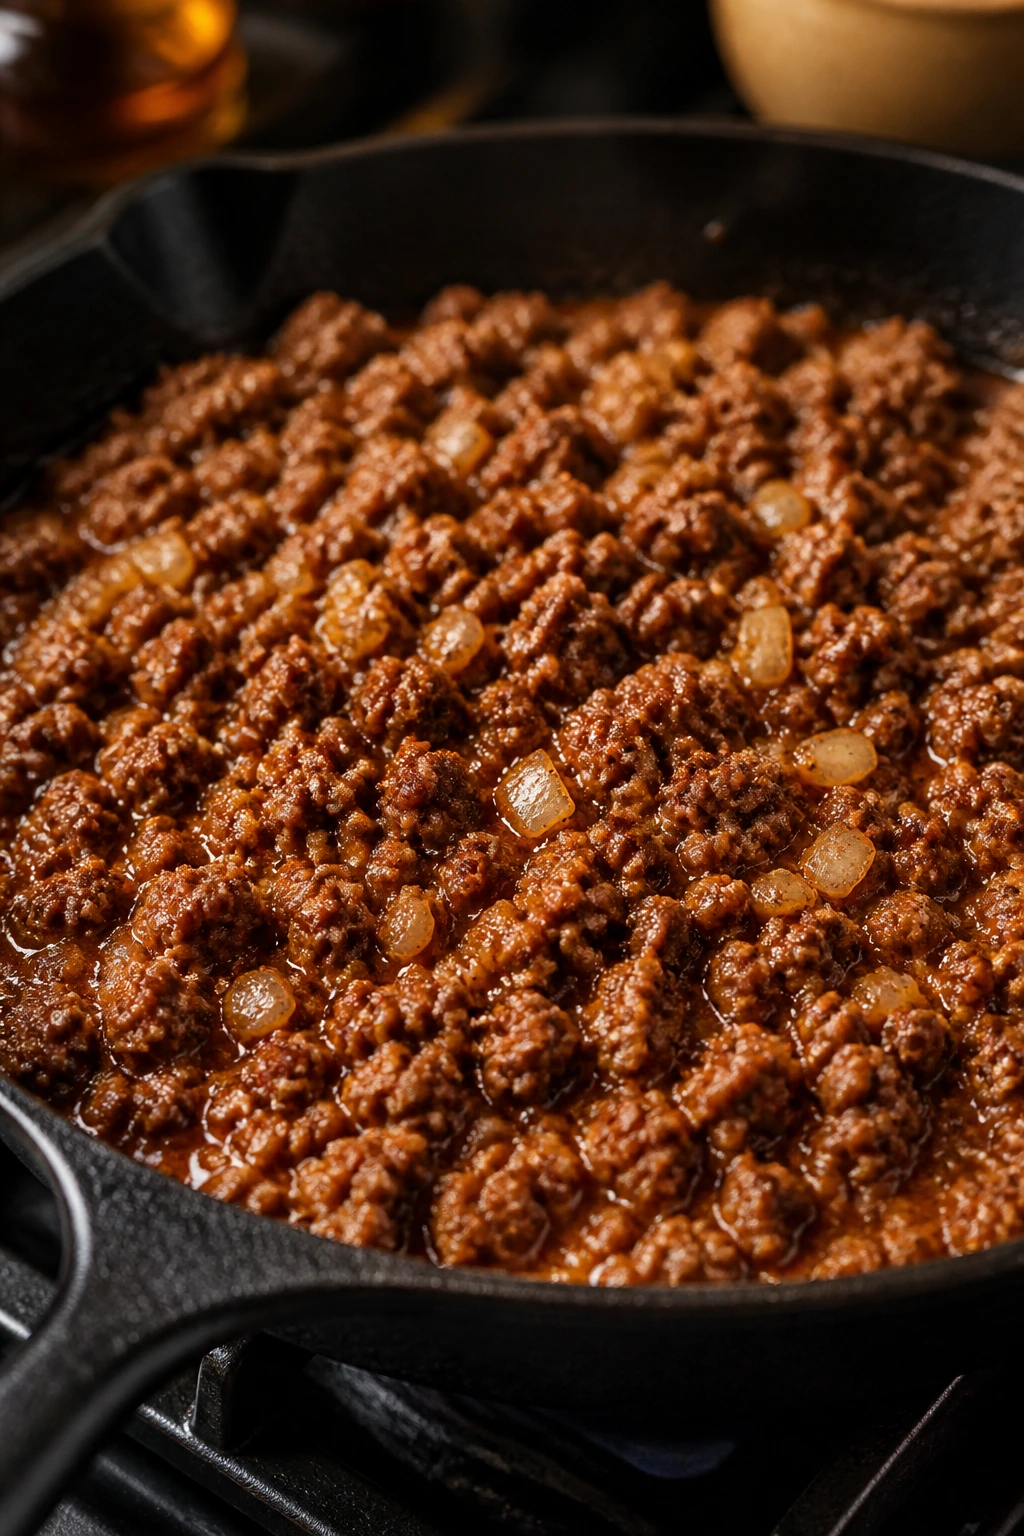
One more thing. The sauce matters. A lot. Tomato paste, Worcestershire, soy sauce, and broth give the beef a glossy coating that keeps the crumbles soft while the flavors settle in. That’s the difference between “seasoned ground beef” and a dinner that actually feels like dinner.
What Goes Into the Pan
Here’s the exact setup I reach for when I want the beef to stay soft, savory, and spoonable instead of dry and dusty.
Yield: 4 to 6 servings
Prep Time: 15 minutes
Cook Time: 20 minutes
Total Time: 35 minutes
Difficulty: Beginner — the process is straightforward, but the order of the steps matters.
Chill/Rest Time: 10 minutes for the baking-soda tenderizing step
Best Served: Warm from the skillet, when the sauce still clings to the beef
For the Beef Base:
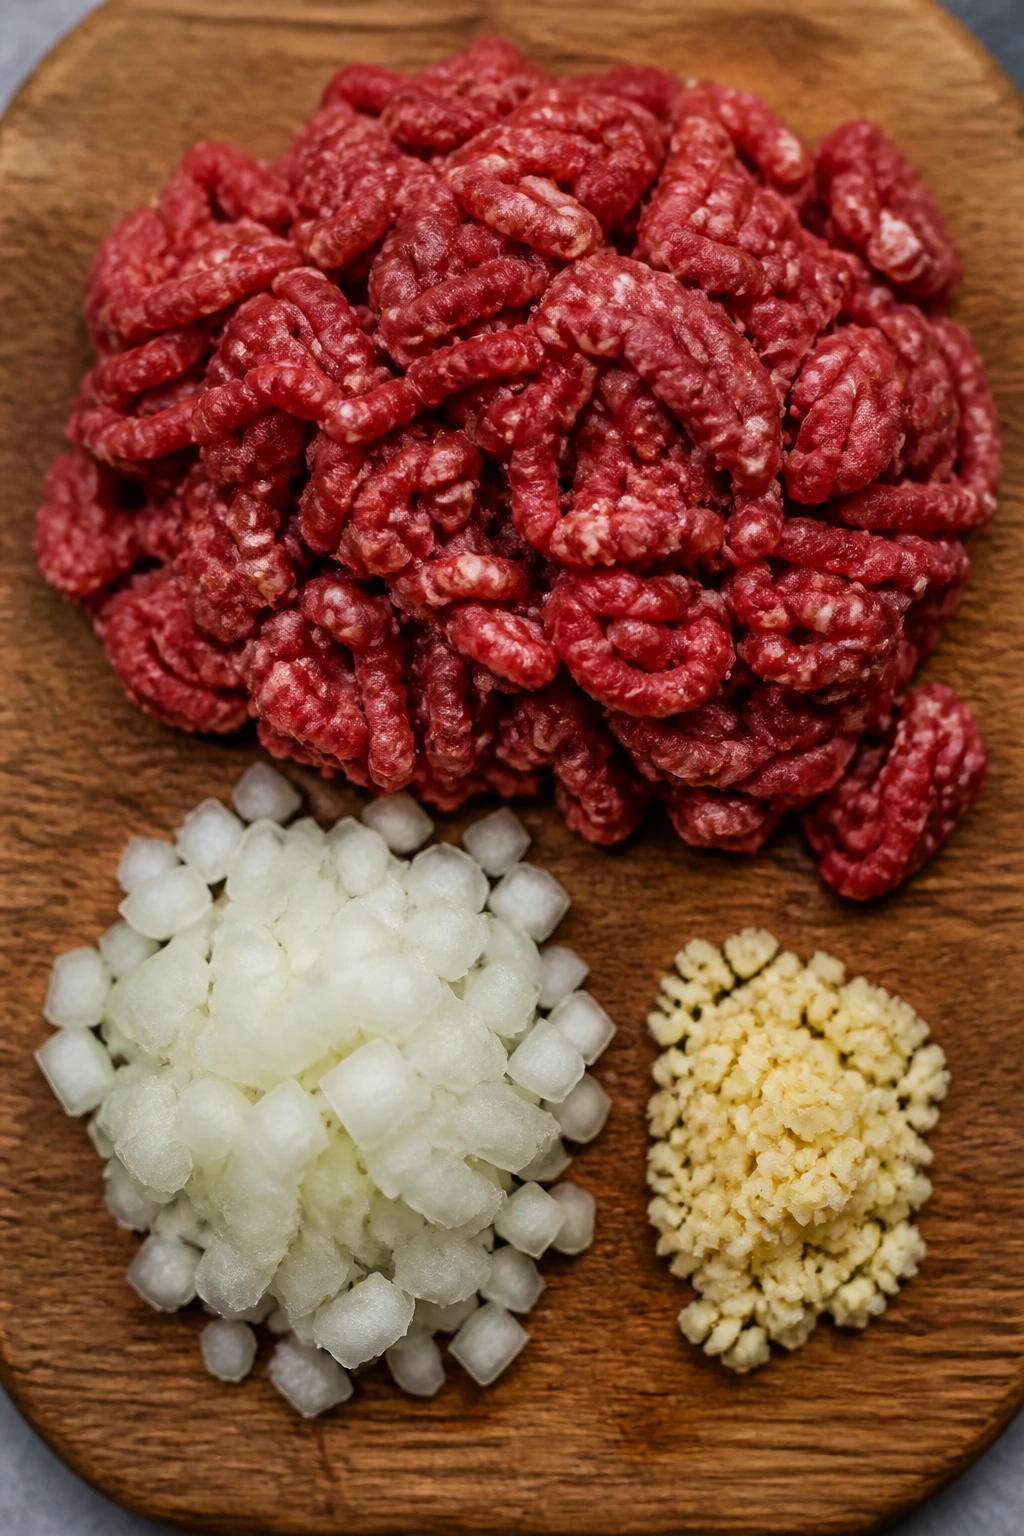
- 1 1/2 pounds ground beef, 85/15 preferred
- 1/2 teaspoon baking soda
- 2 tablespoons water
- 1 tablespoon olive oil, only if your beef is very lean or the skillet looks dry
- 1 medium yellow onion, finely diced
For the Seasoning and Sauce:
- 3 garlic cloves, minced
- 1 tablespoon tomato paste
- 1 teaspoon kosher salt
- 1 teaspoon smoked paprika
- 1 teaspoon chili powder
- 1 teaspoon dried oregano
- 1/2 teaspoon ground cumin
- 1/2 teaspoon freshly ground black pepper
- 1 tablespoon Worcestershire sauce
- 1 tablespoon soy sauce or tamari
- 3/4 cup low-sodium beef broth
For Finishing:
- 1 tablespoon cornstarch mixed with 2 tablespoons cold water, optional for a thicker sauce
- 2 tablespoons unsalted butter
- 2 tablespoons chopped parsley or sliced green onions
- Pinch of red pepper flakes, optional
Why Each Ingredient Earns Its Spot
Ground Beef
What to use: 1 1/2 pounds of 85/15 ground beef gives you enough fat for flavor without leaving the skillet greasy.
Preparation: Keep it cold until the pan is ready, then break it into larger chunks rather than tiny grains so the meat stays tender.
Substitutions: 90/10 works if that’s what you buy, but add the olive oil and keep the broth handy; 93/7 will work in a pinch, though it needs more help to stay moist.
Tips: I would not choose extra-lean beef for this recipe unless you’re willing to baby it a little. It dries fast, and once that happens, no amount of seasoning can fully hide it.
Aromatics and Vegetable Support
What to use: 1 medium yellow onion and 3 garlic cloves are enough to build a real base without turning the dish into onion stew.
Preparation: Dice the onion finely so it softens in the same window that the beef browns; mince the garlic so it disappears into the sauce instead of burning in little bitter shards.
Substitutions: White onion gives a sharper bite, shallot makes the dish a little sweeter, and frozen diced onion works if you want to skip the knife work.
Tips: Onion wants time, garlic wants a shorter visit. If you put them in together and walk away, the garlic will punish you for it.
Seasonings and Savory Liquids
What to use: 1 tablespoon tomato paste, 1 teaspoon each of kosher salt, smoked paprika, chili powder, and dried oregano, plus 1/2 teaspoon cumin, black pepper, Worcestershire, soy sauce, and broth.
Preparation: Have the spices measured before the beef hits the pan so you can move quickly once the meat browns.
Substitutions: Use tamari instead of soy sauce for a gluten-free version, and swap regular paprika if smoked paprika is too assertive for your taste.
Tips: Tomato paste is not there to make the beef taste like tomato sauce. It deepens the browned flavor and gives the sauce that brick-red color that looks like you meant business.
Finishing Ingredients
What to use: 2 tablespoons butter, chopped parsley or green onions, and an optional cornstarch slurry for a thicker, clingier sauce.
Preparation: Keep the butter for the end so it melts into the sauce instead of cooking off; mix the cornstarch with cold water before it touches the pan.
Substitutions: If you like a thinner, looser skillet filling, skip the slurry. If you want a dairy-free finish, use a teaspoon of olive oil instead of butter.
Tips: Butter at the end gives the sauce a soft sheen. That little shine is not just pretty — it helps the beef taste rounder and less sharp around the edges.
The Tools That Make Browning Easier
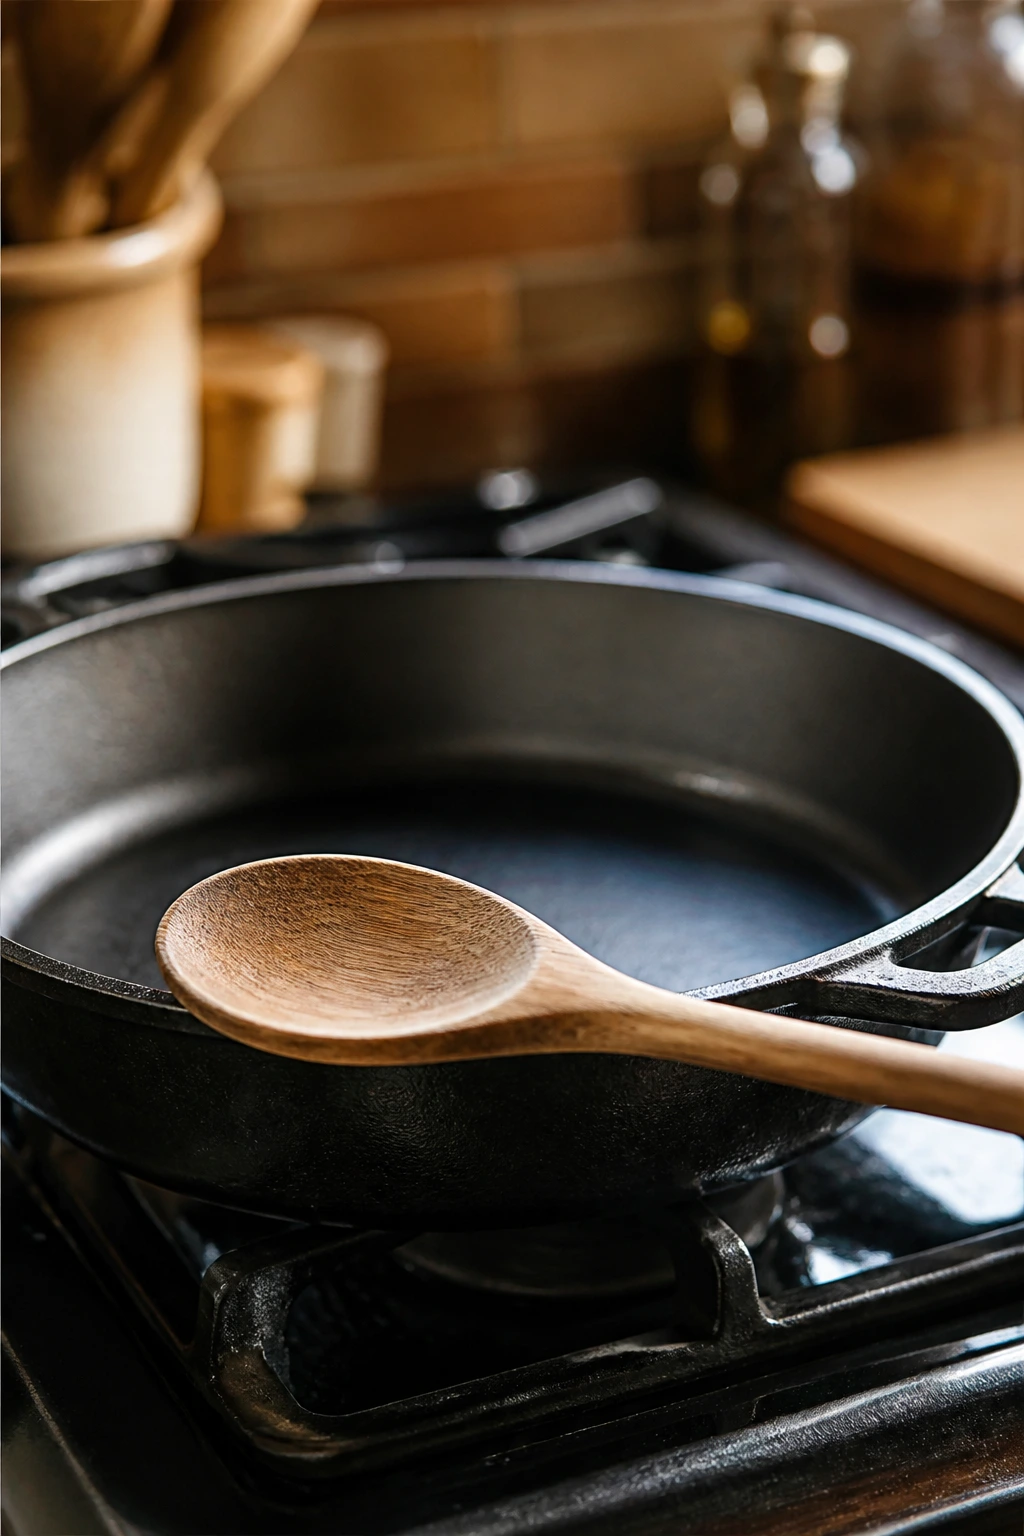
A proper skillet dinner does not need much gear, but the right few tools make the job smoother.
- 12-inch skillet or sauté pan: Wide enough for browning, which matters more than most people think. A crowded pan steams the beef.
- Wooden spoon or sturdy spatula: Useful for breaking the meat into larger crumbles without smashing it into paste.
- Small bowl: Handy for mixing the baking soda and water before it touches the beef.
- Chef’s knife and cutting board: A fine dice on the onion helps it melt into the background instead of staying crunchy.
- Measuring spoons: Worth using here because the seasoning balance is what keeps the dish from tasting flat.
- Instant-read thermometer: Optional, but useful if you want to check for the USDA’s 160°F ground-beef target instead of guessing.
- Fine-mesh strainer or spoon: Useful only if your beef renders a lot of fat and you want to spoon some off before adding the aromatics.
One-skillet meals can get sloppy fast if the pan is too small. Use a big one. Seriously.
How to Cook Tender Seasoned Ground Beef on the Stove
Phase 1: Tenderize and Start the Base
-
In a medium bowl, combine the ground beef, baking soda, and water. Use your fingers or a fork to work the water through the meat until it looks evenly moistened, then let it sit for 10 minutes. Do not skip this rest if you want the softer texture.
-
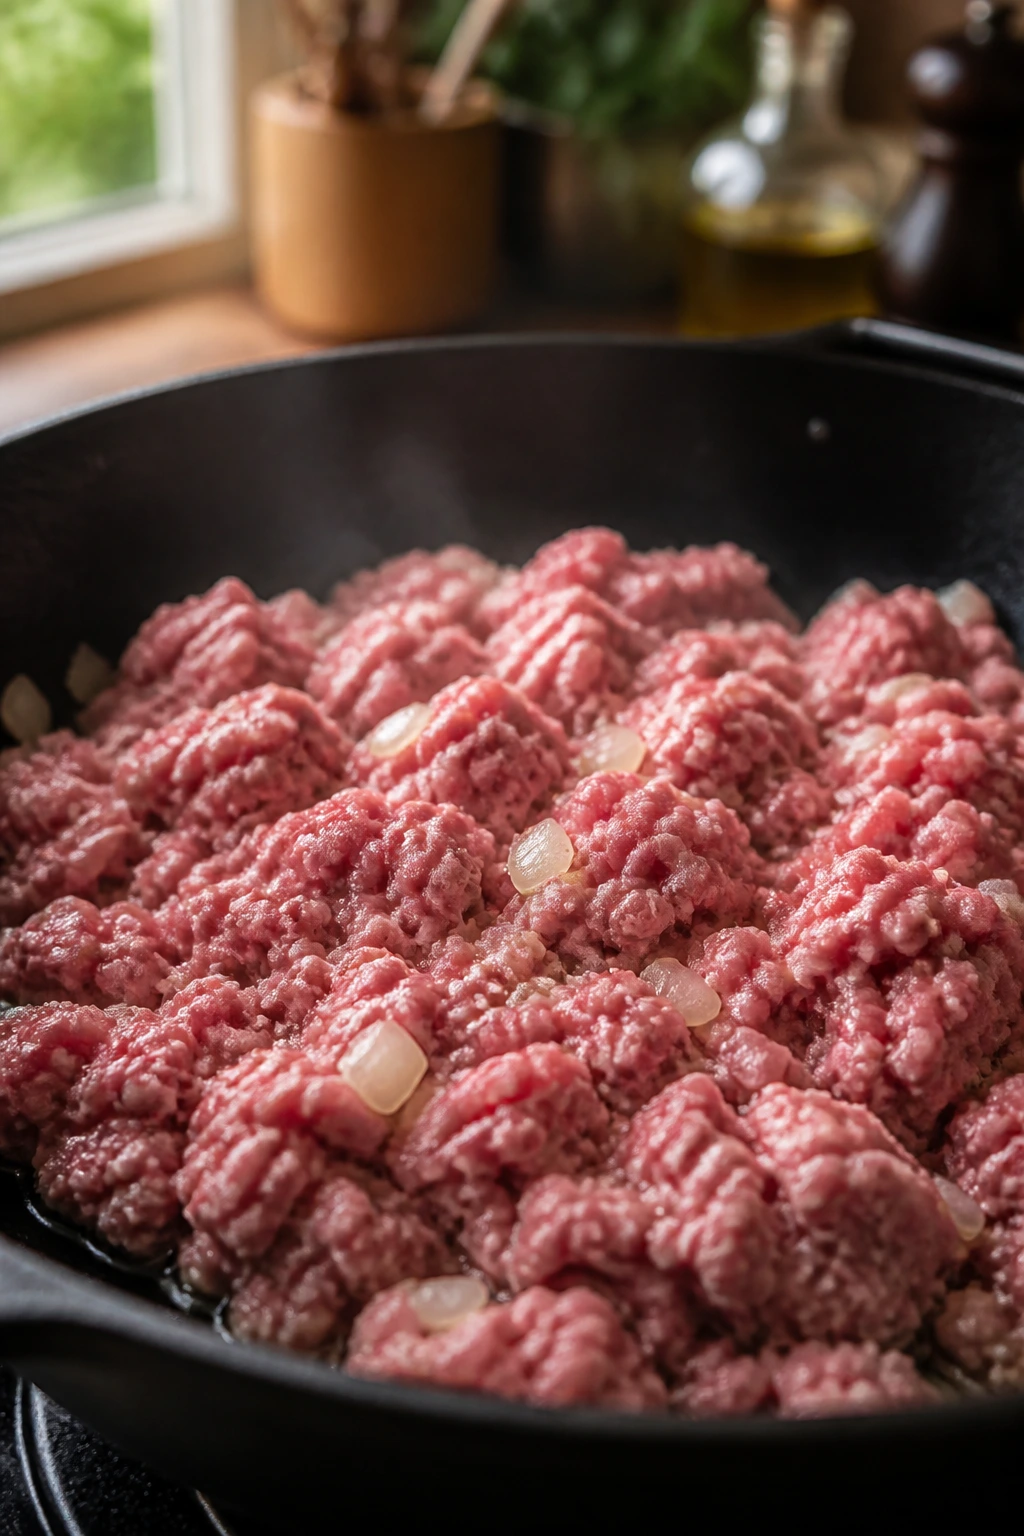
Set a 12-inch skillet over medium-high heat. If the beef is 90/10 or leaner, add the olive oil. Add the diced onion and cook for 3 to 4 minutes, stirring occasionally, until it turns translucent and the edges pick up a little gold. The onion should smell sweet, not raw.
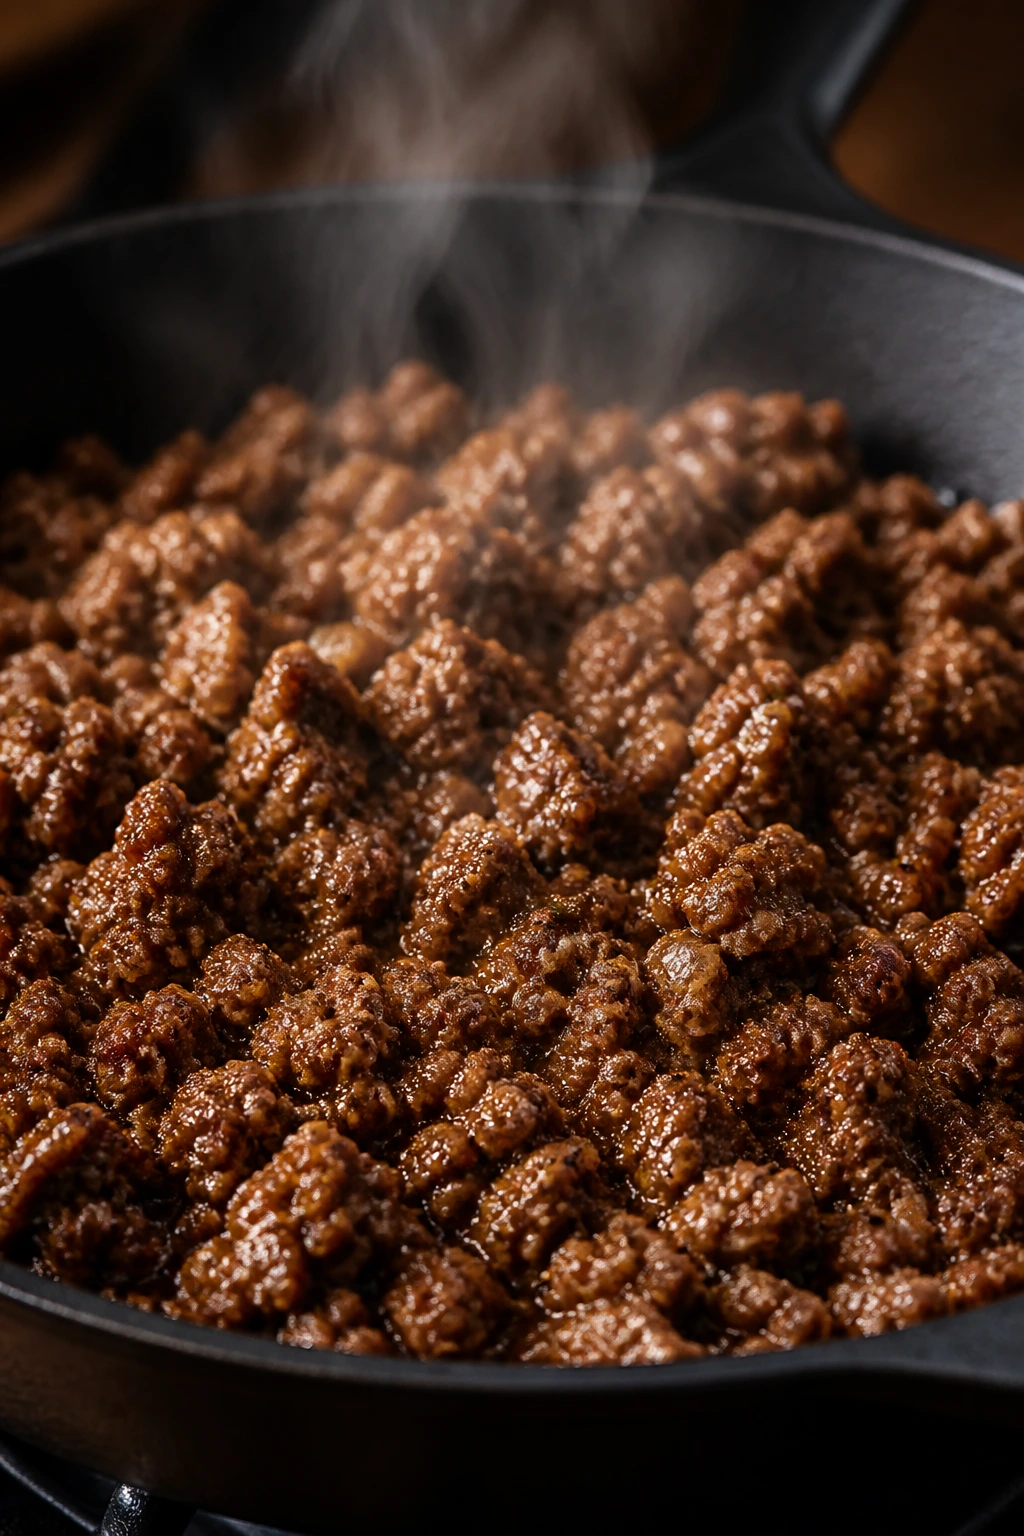
Phase 2: Brown and Season
-
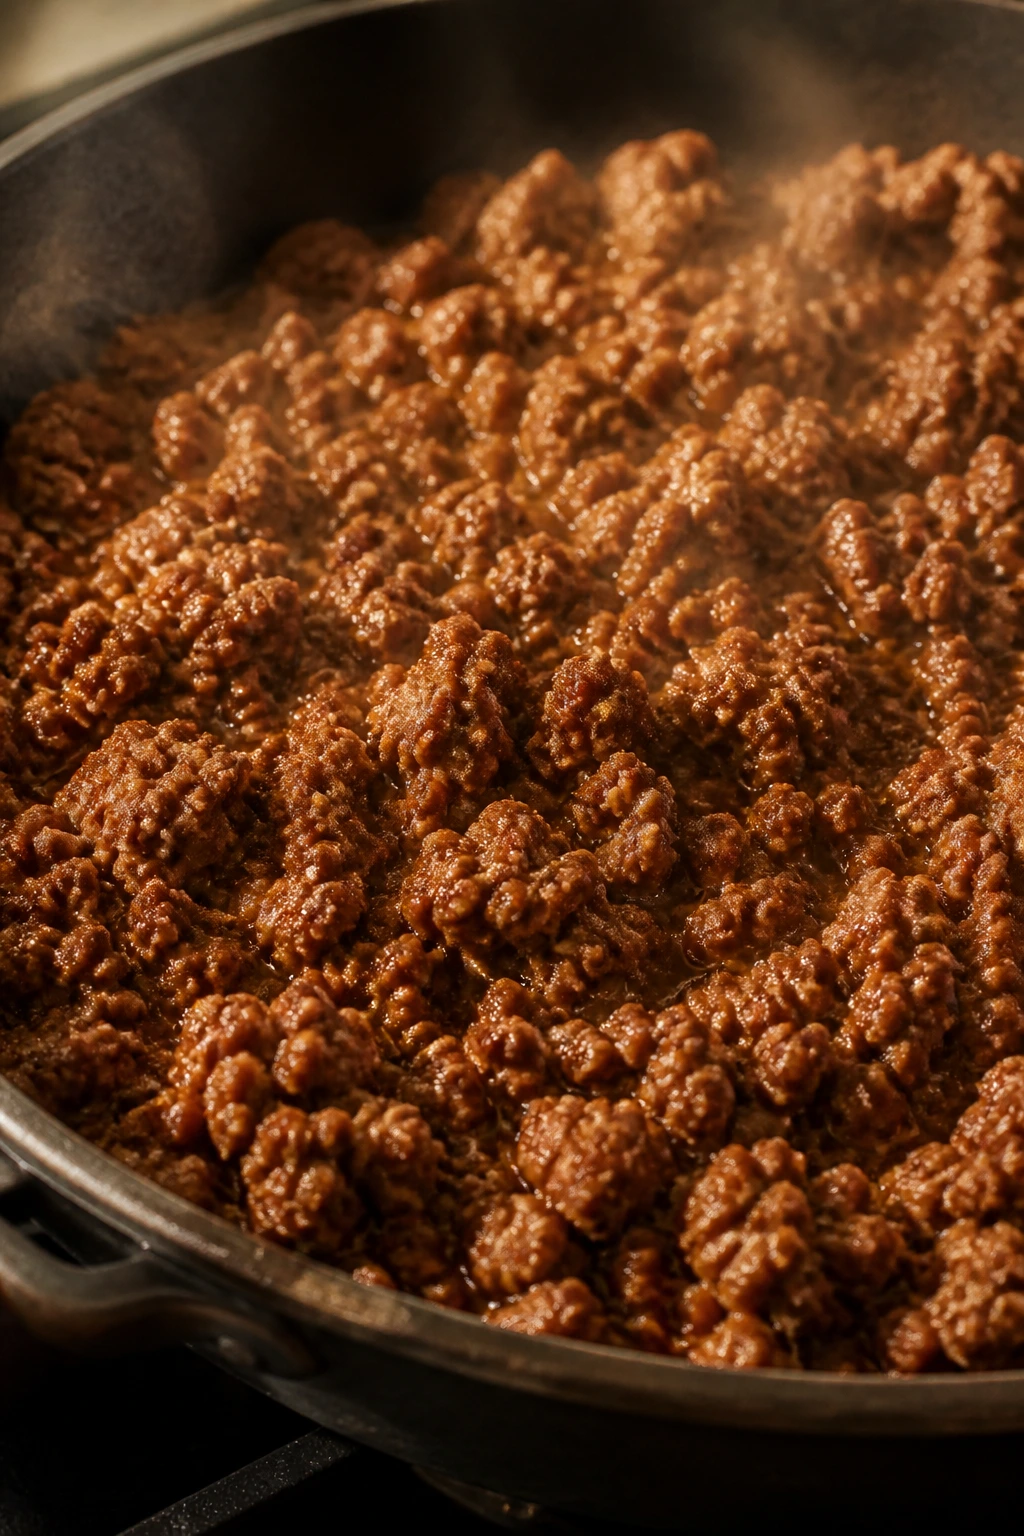
Add the beef to the skillet and break it into large crumbles with a wooden spoon. Let it sit undisturbed for 1 to 2 minutes before stirring so it has a chance to brown. Keep cooking for 5 to 7 minutes total, until no pink remains and the crumbles have browned spots. If the pan starts to look crowded and wet, lower the heat slightly instead of stirring harder.
-
Add the minced garlic and tomato paste. Stir constantly for about 1 minute, just until the garlic smells fragrant and the tomato paste darkens from bright red to a deeper brick shade. That tiny change matters. It means the paste has cooked enough to taste round instead of raw.
-
Sprinkle in the salt, smoked paprika, chili powder, oregano, cumin, and black pepper. Stir for 30 to 45 seconds so the spices coat the meat. Add the Worcestershire sauce and soy sauce, then stir again. The pan should smell warm, savory, and a little smoky at this point.
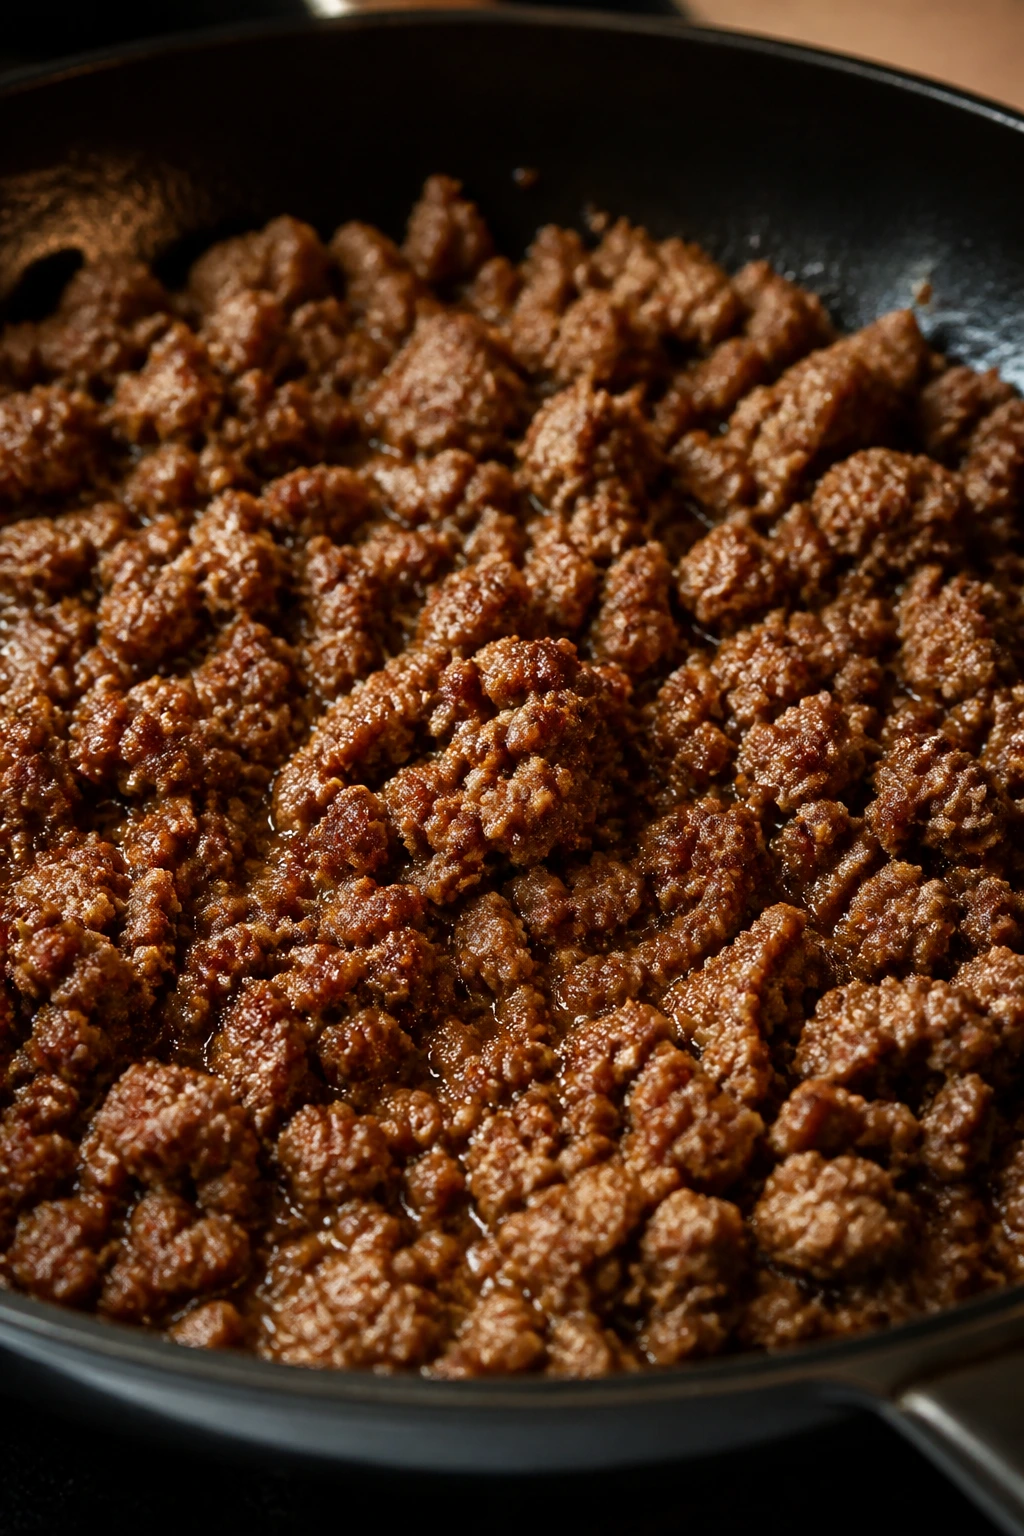
Phase 3: Build the Sauce and Finish
-
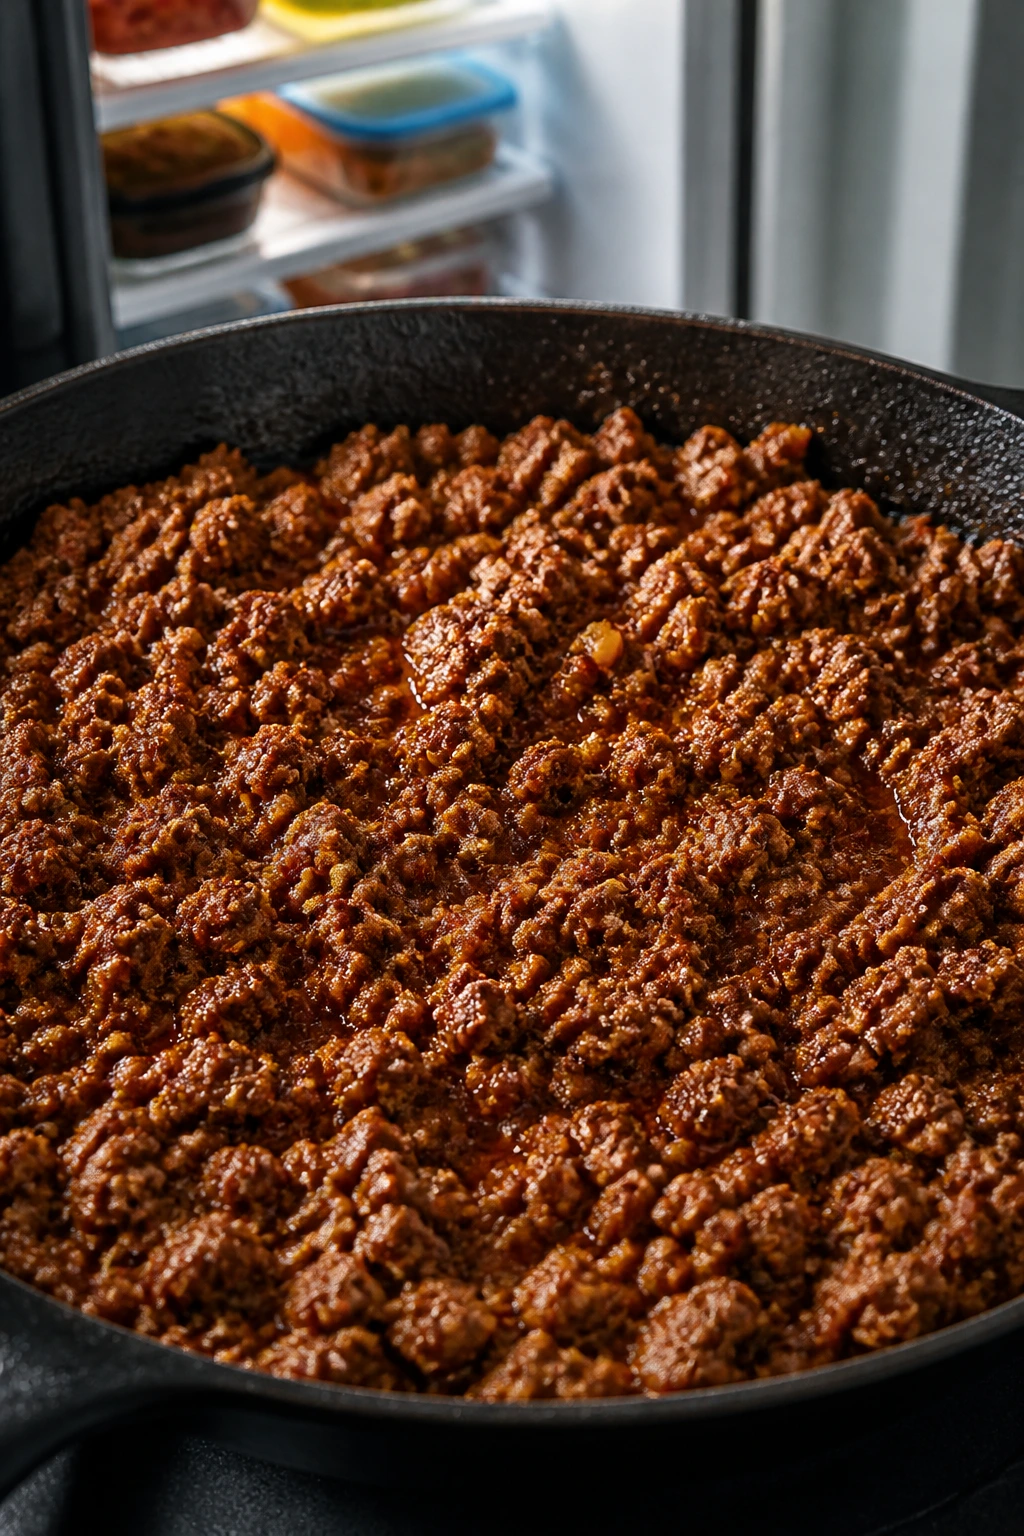
Pour in the beef broth and scrape the bottom of the skillet with the spoon to loosen every browned bit. Reduce the heat to medium-low and simmer for 4 to 6 minutes, stirring once or twice, until the sauce looks glossy and the beef is evenly coated. The crumbles should feel tender when pressed, not dry or squeaky.
-
If you want a thicker sauce, stir in the cornstarch slurry and cook for 1 to 2 minutes more, just until the liquid turns lightly thick and coats the back of a spoon. Remove the pan from the heat, stir in the butter, and finish with parsley or green onions. Taste and adjust the salt or pepper if needed. Let it rest for 2 minutes before serving so the sauce settles around the beef instead of running across the plate.
How to Turn the Skillet into a Hearty Dinner
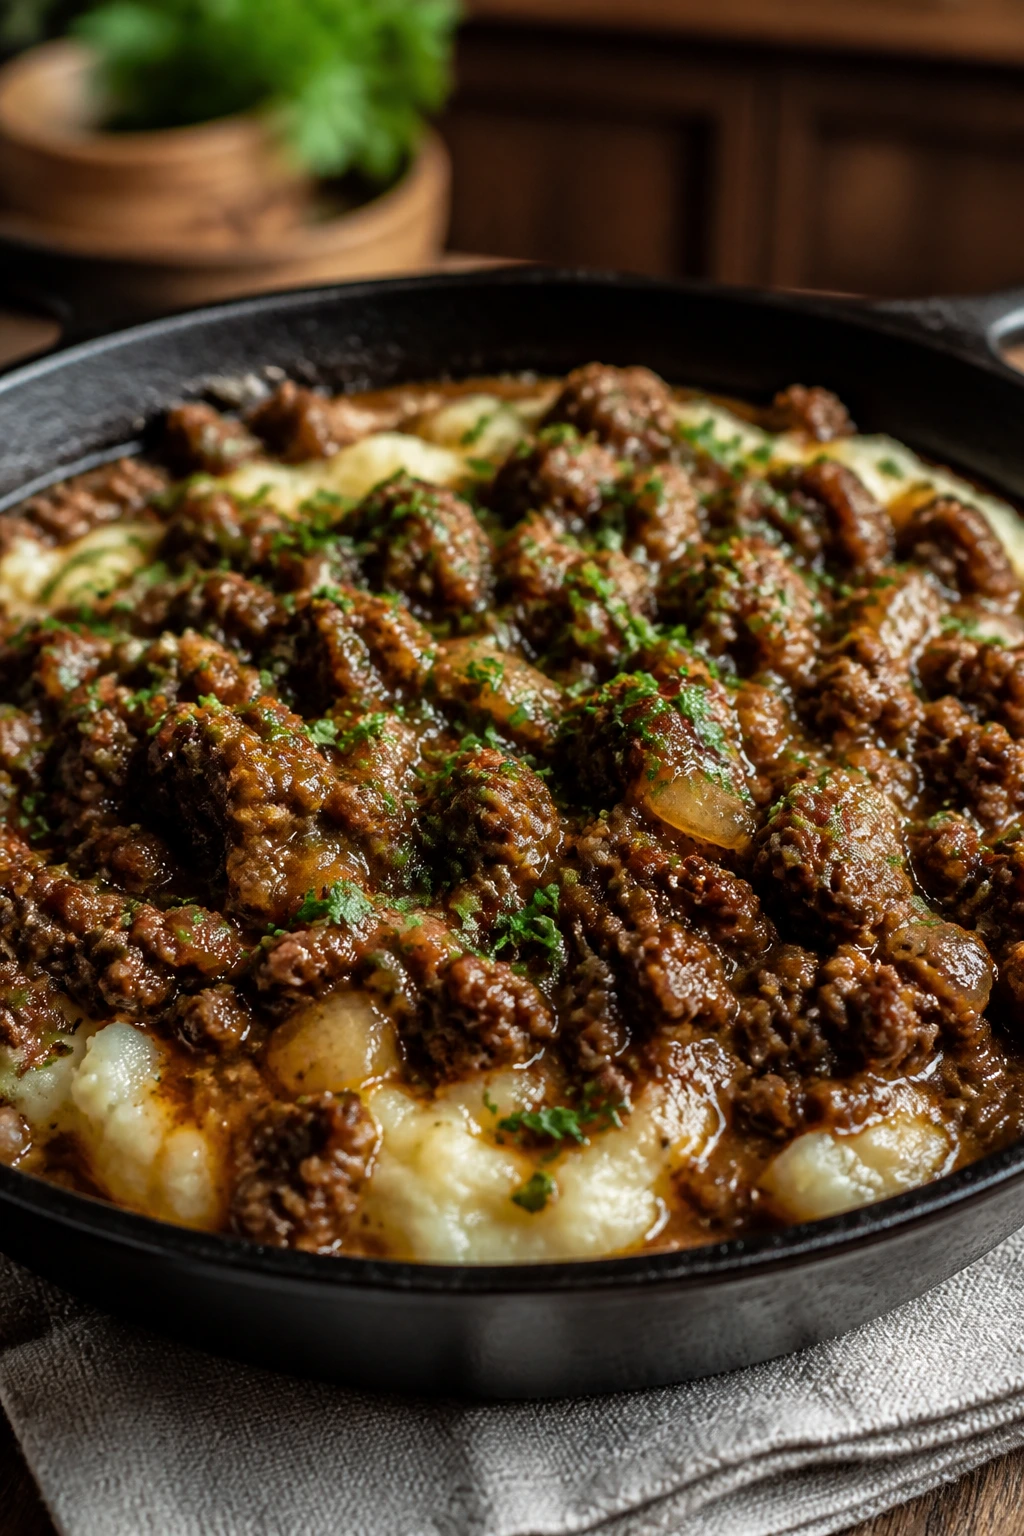
Presentation: Spoon the beef into shallow bowls or over a bed of mashed potatoes so the sauce has somewhere to pool. If you want a cleaner plate, mound it beside buttered rice and scatter the herbs over the top right before serving.
Accompaniments: This beef likes sturdy sides. Try garlic mashed potatoes, steamed rice, egg noodles, roasted carrots, or toasted sandwich rolls if you want to turn it into a loose sandwich filling. A crisp green salad with a sharp vinaigrette helps cut through the richness.
Portions: Plan on about 1 to 1 1/4 cups per person when this is the main event. If you’re using it as a filling for tacos, baked potatoes, or stuffed peppers, 3/4 cup per serving is usually enough. The recipe stretches farther than it looks, especially if you serve it over a starch.
Beverage Pairing: Unsweetened iced tea with lemon is my first pick because it clears the richness without fighting the seasoning. A cold lager works too, especially if you’re serving the beef with potatoes or rolls and want the whole plate to feel a little pub-like.
Small Tweaks That Change the Whole Pan
Flavor Enhancement: A teaspoon of tomato paste cooked in the fat for an extra 30 seconds makes the beef taste deeper and less one-note. If you like a sharper finish, a tiny splash of red wine vinegar right at the end wakes up the sauce without turning it sour.
Time-Saver: Dice the onion earlier in the day and keep it sealed in the fridge. Frozen diced onion is fine here too because it cooks down quickly once the pan gets hot, and this recipe is forgiving enough to handle it.
Cost-Saver: If you buy a fattier package like 80/20, drain off the excess fat after browning but leave about 1 tablespoon in the skillet for the garlic and tomato paste. That gives you flavor without a greasy finish, and it keeps you from needing extra oil.
Make-It-Yours: Fold in a handful of frozen peas, corn, or finely chopped mushrooms during the last 3 minutes of simmering if you want the skillet to feel fuller. The mushrooms are the best choice if you want more earthiness; the peas and corn make it feel more like a house dinner than a sauce on meat.
One thing I like about this recipe is that it tolerates small personal choices without falling apart. That is rare. A lot of ground-beef recipes are fussy in disguise.
Mistakes That Dry Out Ground Beef
-
Crowding the skillet: If the meat is piled too thick, it steams before it browns and comes out pale and soft in the wrong way. Use a 12-inch pan or brown in two batches if needed.
-
Breaking the beef into dust: Tiny crumbles dry out faster and turn the skillet into meaty sand. Keep some larger, walnut-sized pieces while browning, then break them down a little more only after the sauce goes in.
-
Adding garlic too early: Garlic burns fast. If it hits a hot pan before the onion softens, it goes bitter in under a minute and the whole skillet tastes sharp instead of savory.
-
Boiling the sauce hard: A fast boil eats through the broth too quickly and leaves you with salty beef and not much glaze. Keep the heat at a low simmer so the liquid reduces gently.
-
Serving the beef the second the butter melts: It looks ready, but the sauce often needs that last 2-minute rest to thicken and cling properly. Spoon it too early and it runs across the plate instead of sitting on the beef.
-
Skipping the taste check at the end: Soy sauce, Worcestershire, broth, and beef all bring salt. Taste before you add more. A quick pinch of salt or pepper at the end is fine; blindly shaking more into the pan is how you overshoot.
Dry ground beef is rarely a mystery. It usually means the pan was too hot, the crumbles were too small, or the cook rushed the finish.
Variations for Tacos, Bowls, and Comfort Plates
Taco Truck Skillet: Swap the chili powder and cumin for 2 tablespoons of taco seasoning, then add 1/4 cup salsa with the broth. The result is a little saucier and sharper, which makes it better for tortillas, nachos, and burrito bowls.
Creamy Mushroom Dinner: Add 8 ounces of sliced mushrooms with the onion and use an extra 1/4 cup broth. Stir in 2 tablespoons of sour cream off the heat at the end for a richer, gravy-like skillet that wants mashed potatoes or egg noodles.
Cheddar Potato Bowl: Keep the base recipe the same, then stir in 1 cup of shredded sharp cheddar just after the butter. Spoon the beef over baked potatoes or mashed potatoes and let the cheese melt into the sauce. It gets messy in the best way.
Lower-Carb Lettuce Cup Version: Skip the cornstarch slurry and keep the sauce a little looser. Serve the beef in crisp butter lettuce cups with diced cucumber, sliced scallions, and a spoonful of plain yogurt or sour cream. It still feels hearty, just lighter around the edges.
Shepherd’s-Pie Shortcut: Use the beef as the bottom layer in a baking dish, spoon mashed potatoes over the top, and bake at 400°F for 15 to 20 minutes until the top is hot and lightly golden. This is the move when you want dinner to feel more like a casserole than a skillet.
Make-Ahead, Storage, and Reheating Without Ruining the Texture
This beef keeps well, which is one reason I like it so much. You can cook it ahead, cool it, and bring it back without the texture collapsing, as long as you reheat it gently and give it a little moisture.
At room temperature, don’t leave it out longer than 2 hours. If the room is hot, shorten that to 1 hour. Ground beef deserves the same handling as any cooked meat: into a container once it stops steaming, then into the fridge once it’s warm rather than hot.
In the refrigerator, the beef keeps for 3 to 4 days in an airtight container. I prefer shallow containers because the food cools faster and reheats more evenly. If you’re storing it with mashed potatoes or rice, keep the starch separate if you can. The beef holds its texture better that way, and the side dish doesn’t absorb all the sauce.
Freezing works too. Pack the cooled beef into freezer-safe containers or zip bags, press out the extra air, and freeze it for up to 2 months. Flat freezer bags thaw faster and stack neatly, which is useful if you make this often. Label the bag. You will forget what it is if you don’t.
For reheating, the stovetop is best. Put the beef in a skillet over medium-low heat with 1 to 3 tablespoons of broth or water, cover for a minute, then stir until it’s hot all the way through. The microwave works in a pinch, but use 50 to 70 percent power and stop to stir every 30 to 45 seconds so the edges do not get rubbery. If you froze it, thaw overnight in the fridge first when possible. The texture stays calmer that way.
One nice bonus: the flavor often gets a little deeper after a night in the fridge. The spices settle. The onion softens even more. It’s one of those leftovers that doesn’t feel like punishment.
Questions People Ask Before They Start Cooking
Can I use 90/10 or 93/7 ground beef?
Yes, but leaner beef needs help. Add the olive oil, keep the broth on the generous side, and watch the skillet closely so the meat does not dry out before the sauce is done.
Do I have to use baking soda?
No, but it’s the easiest way to get a softer texture without changing the whole recipe. If you skip it, keep the browning time short and finish the meat with broth before it goes from cooked to dry.
Can I make this ahead for tacos or bowls?
Absolutely. It’s a strong make-ahead filling and tastes even better after the flavors sit together for a few hours. Reheat it with a splash of broth so the sauce loosens again.
What if I don’t have Worcestershire sauce?
Use a teaspoon of soy sauce plus a tiny splash of vinegar, or just add a little more soy and extra black pepper. Worcestershire brings depth, but the dish still works without it if the rest of the seasoning is solid.
Can I make this in a slow cooker?
Not from raw meat if you want the best texture. Brown it on the stove first, then move it to the slow cooker only to hold warm for a couple of hours. The stovetop gives you the browning this recipe depends on.
How do I fix beef that turned greasy?
Spoon off the excess fat before you add the garlic and spices. If it’s already seasoned, you can also simmer it a little longer with broth and a spoonful of tomato paste to rebalance the texture.
Can I double the recipe?
Yes, but brown it in batches. If you crowd a doubled batch into one pan, the meat will steam and the sauce will taste flatter. Two pans or two rounds in the same pan works much better.
A Skillet Worth Keeping in Rotation
There’s a reason this kind of ground beef keeps showing up in good home kitchens. It’s cheap enough to make without planning, but the finished pan still feels deliberate. That matters. Dinner should not always require a project.
What I like most is how forgiving the recipe becomes once you learn the rhythm. Short rest, hot pan, low simmer, butter at the end. That’s it. Keep a bag of onions around, a can of tomato paste in the cupboard, and a pound and a half of beef in the freezer, and you’re never far from a dinner that tastes like you paid attention.
Tender Seasoned Ground Beef for a Hearty Dinner — Recipe Card
Recipe Name: Tender Seasoned Ground Beef for a Hearty Dinner
Description: Savory, juicy ground beef simmered with onion, garlic, warm spices, Worcestershire, soy sauce, and broth until the crumbles stay soft and coated in a glossy pan sauce. Serve it over mashed potatoes, rice, noodles, or tucked into tortillas.
Prep Time: 15 minutes
Cook Time: 20 minutes
Total Time: 35 minutes
Course: Main Course
Cuisine: American
Servings: 4 to 6
Calories: 300 kcal
Ingredients
For the Beef Base:
- 1 1/2 pounds ground beef, 85/15 preferred
- 1/2 teaspoon baking soda
- 2 tablespoons water
- 1 tablespoon olive oil, only if your beef is very lean or the skillet looks dry
- 1 medium yellow onion, finely diced
For the Seasoning and Sauce:
- 3 garlic cloves, minced
- 1 tablespoon tomato paste
- 1 teaspoon kosher salt
- 1 teaspoon smoked paprika
- 1 teaspoon chili powder
- 1 teaspoon dried oregano
- 1/2 teaspoon ground cumin
- 1/2 teaspoon freshly ground black pepper
- 1 tablespoon Worcestershire sauce
- 1 tablespoon soy sauce or tamari
- 3/4 cup low-sodium beef broth
For Finishing:
- 1 tablespoon cornstarch mixed with 2 tablespoons cold water, optional for a thicker sauce
- 2 tablespoons unsalted butter
- 2 tablespoons chopped parsley or sliced green onions
- Pinch of red pepper flakes, optional
Instructions
-
Combine the ground beef, baking soda, and water in a bowl. Work it together lightly, then let it rest for 10 minutes.
-
Heat a 12-inch skillet over medium-high heat. Add the olive oil if needed, then cook the onion for 3 to 4 minutes until softened and lightly golden.
-
Add the beef and break it into large crumbles. Brown for 5 to 7 minutes, stirring occasionally, until no pink remains and the beef reaches 160°F.
-
Stir in the garlic and tomato paste. Cook for 1 minute until fragrant and the tomato paste darkens a shade.
-
Add the salt, smoked paprika, chili powder, oregano, cumin, black pepper, Worcestershire sauce, and soy sauce. Stir to coat the beef.
-
Pour in the beef broth and simmer over medium-low heat for 4 to 6 minutes. If you want a thicker sauce, stir in the cornstarch slurry and cook 1 to 2 minutes more until glossy.
-
Remove from the heat. Stir in the butter and herbs, taste for seasoning, and serve warm.
Notes: Use 85/15 beef for the best texture, do not rush the simmer, and add a splash of broth when reheating leftovers if the sauce tightens up.