
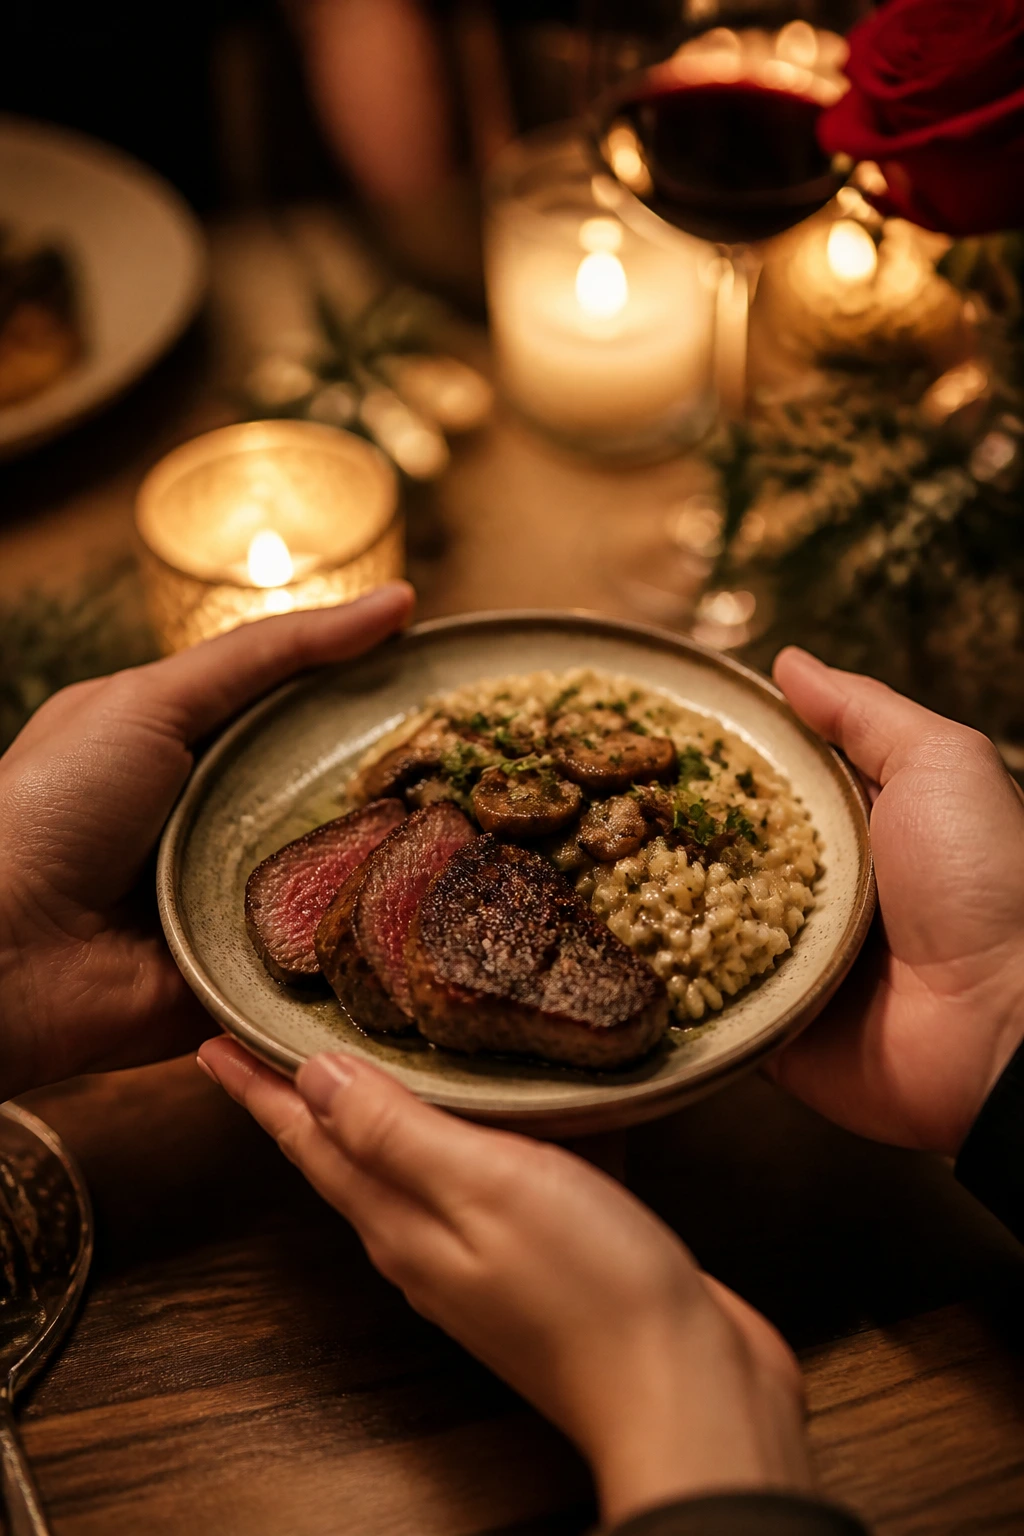
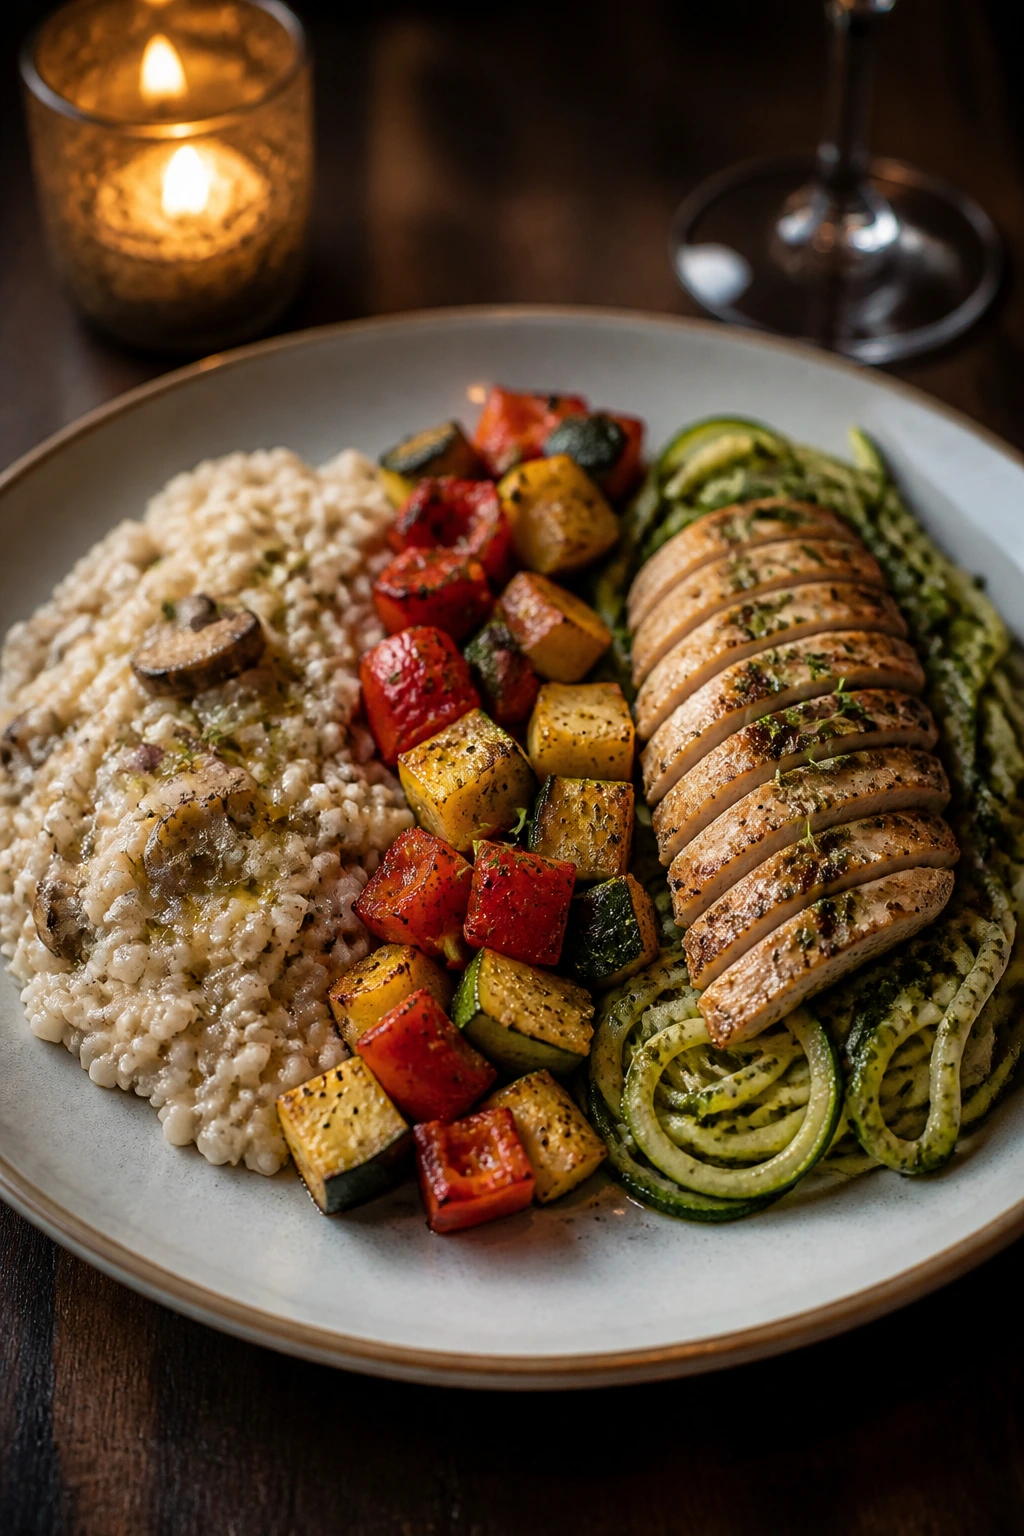
Two plates on the table can feel more luxurious than a crowded restaurant, especially when the food arrives hot and you don’t have to compete with a room full of clinking glasses. A good Valentine’s dinner for two doesn’t need a long shopping list or a dramatic menu. It needs a few things done with care: a steak seared until the edges crust, salmon that flakes in clean pieces, pasta that stays glossy instead of gluey, a sauce that tastes like you thought ahead.
That’s where so many home-cooked date nights go sideways. People try to make the menu too big, too fussy, or too fragile. The result is often a cold plate and a frazzled cook. A better approach is simpler: pick one polished main, give it a smart side, and keep the flavors clear enough that every bite tastes intentional.
The best part is how much range you have. Some of these recipes lean rich and candlelit, others are light enough to leave room for dessert, and a few come together fast enough that the evening feels relaxed instead of staged. I like that balance. A Valentine’s dinner should feel like a treat, not a performance.
Why You’ll Love This Collection
- Sized for Two: Every recipe is built around a couple, so you won’t end up with a mountain of leftovers unless you want them.
- Date-Night Friendly: These dishes look polished on the plate, but they rely on ordinary ingredients and techniques you can actually manage on a weeknight.
- A Mix of Fast and Luxurious: Some recipes land in under 30 minutes, while others slow the pace a little and make the evening feel special.
- Flexible for Real Kitchens: You can swap herbs, change the side, or adjust the protein without wrecking the whole meal.
- Cleanup Stays Reasonable: Most of these lean on one skillet, one sheet pan, or one pot, which matters more than people admit.
- Romantic Without Being Fussy: The food does the work here. No towering garnish situation, no unnecessary drama.
1. Seared Filet Mignon with Garlic Herb Butter
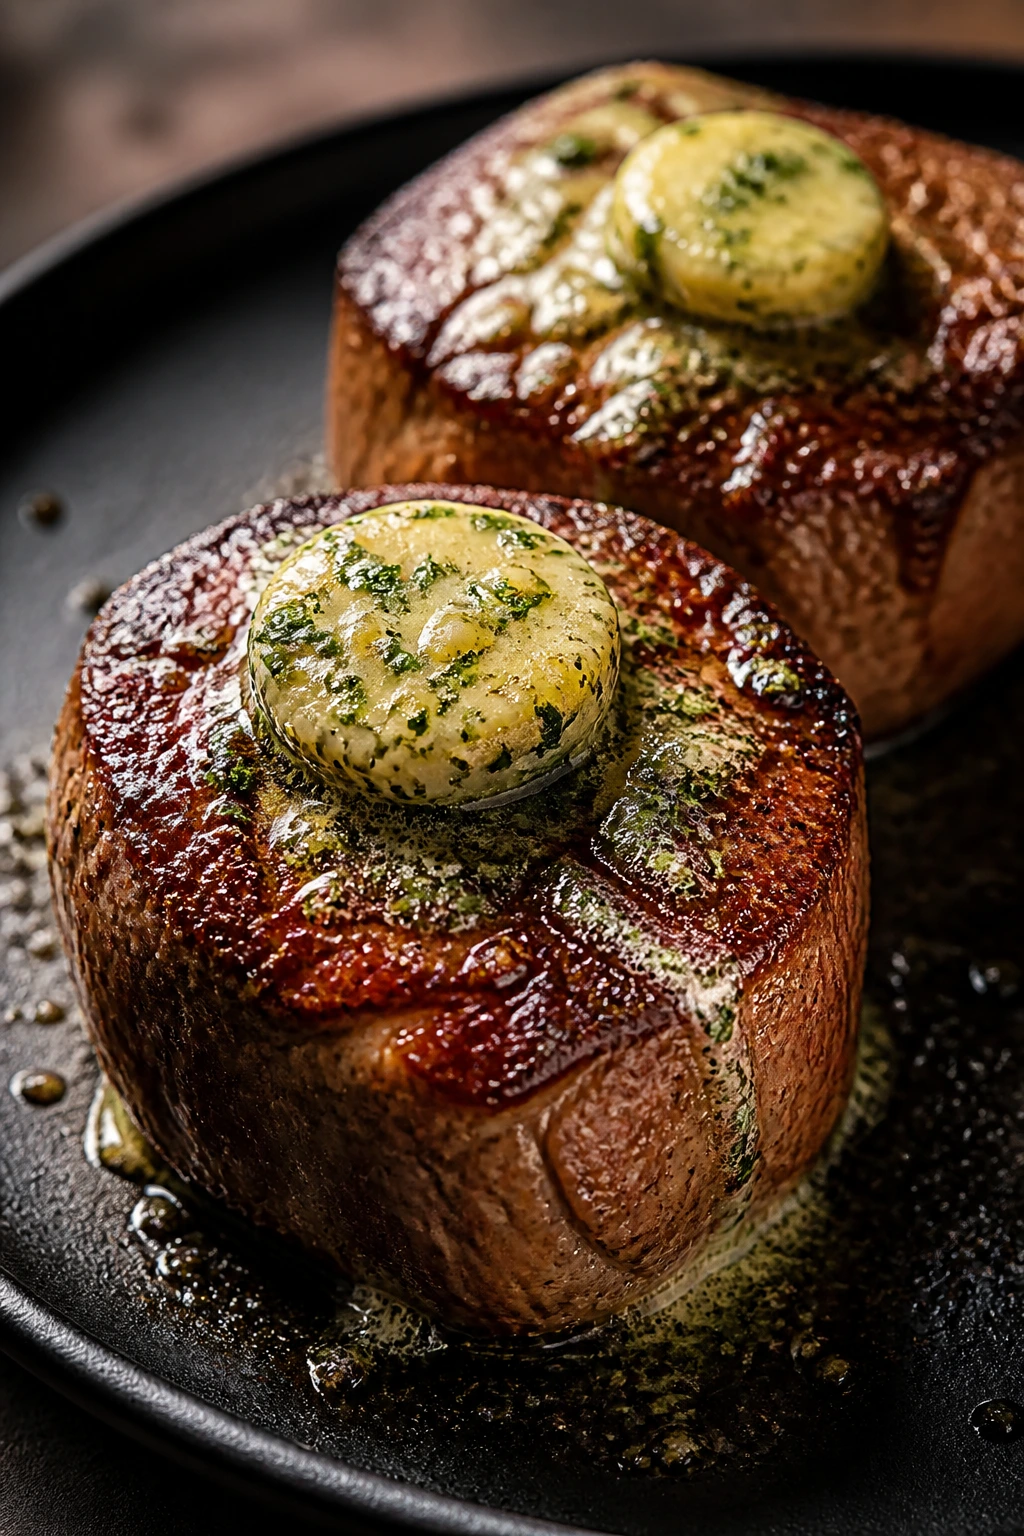
A properly cooked filet mignon has a way of making a small table feel expensive without being showy. The crust is savory and dark at the edges, the center stays tender, and that little knob of garlic herb butter melts into a glossy puddle that runs into every slice. It’s the kind of dinner that tells the room you paid attention.
Why It Works
Filet mignon is one of the easiest steak cuts to make elegant because it cooks fast and stays soft when you handle it with restraint. A hot skillet gives you the browned crust, then a short oven finish evens out the middle so you’re not left with a gray band around a raw core. That matters here because two steaks are easy to monitor; you don’t need a grill full of meat to get one excellent result.
The herb butter gives you a second layer of flavor without another sauce pan. Garlic, parsley, thyme, and rosemary soften in the butter, and the little bit of lemon keeps the richness from turning heavy. I like this move for date-night cooking because it looks fancy, but it’s mostly assembly and timing.
Key Ingredients
For the Steaks:
- 2 filet mignon steaks, 6 to 8 oz each, about 1½ inches thick — buy steaks that are even in thickness so they finish together.
- 1 teaspoon kosher salt — salt early enough to help the surface dry.
- ½ teaspoon black pepper — fresh ground gives the crust more bite.
- 1 tablespoon olive oil — choose a neutral-tasting oil with a high smoke point.
For the Garlic Herb Butter:
- 3 tablespoons unsalted butter, softened — soft butter blends cleanly with the herbs.
- 1 small garlic clove, finely grated — grated garlic spreads through the butter instead of sticking in sharp bits.
- 1 tablespoon chopped parsley — adds freshness and a green finish.
- 1 teaspoon chopped thyme — the little pine note works well with beef.
- 1 teaspoon chopped rosemary, very finely chopped — use a light hand; rosemary can take over fast.
- 1 teaspoon lemon juice — just enough to keep the butter from tasting flat.
Quick Steps
-
Preheat and prep: Heat the oven to 400°F (205°C). Pat the steaks dry with paper towels and let them sit out for about 20 minutes while you make the herb butter.
-
Mix the butter: Stir the softened butter, garlic, parsley, thyme, rosemary, and lemon juice together until smooth. Set it aside at room temperature.
-
Season well: Sprinkle the steaks with kosher salt and black pepper on all sides. Press the seasoning in gently so it sticks.
-
Sear hard: Heat a cast-iron skillet over medium-high heat with the olive oil until it shimmers. Sear the steaks for 2 to 3 minutes per side until a deep brown crust forms.
-
Finish in the oven: Move the skillet to the oven and roast for 4 to 6 minutes, or until the center hits about 125°F for medium-rare. Pull them early if you like a deeper pink center; the temperature climbs while they rest.
-
Rest and serve: Let the steaks rest for 5 to 8 minutes, then top each one with a spoonful of herb butter and serve immediately.
Tips and Variations
- Timing Tip: If your steaks are closer to 1 inch thick, start checking temperature after 3 minutes in the oven.
- Swap Idea: Strip steak or petite tender works if filet mignon is out of range.
- Serve With: A small pile of mashed potatoes or roasted broccolini makes the plate feel complete without crowding it.
2. Lemon Garlic Salmon with Asparagus
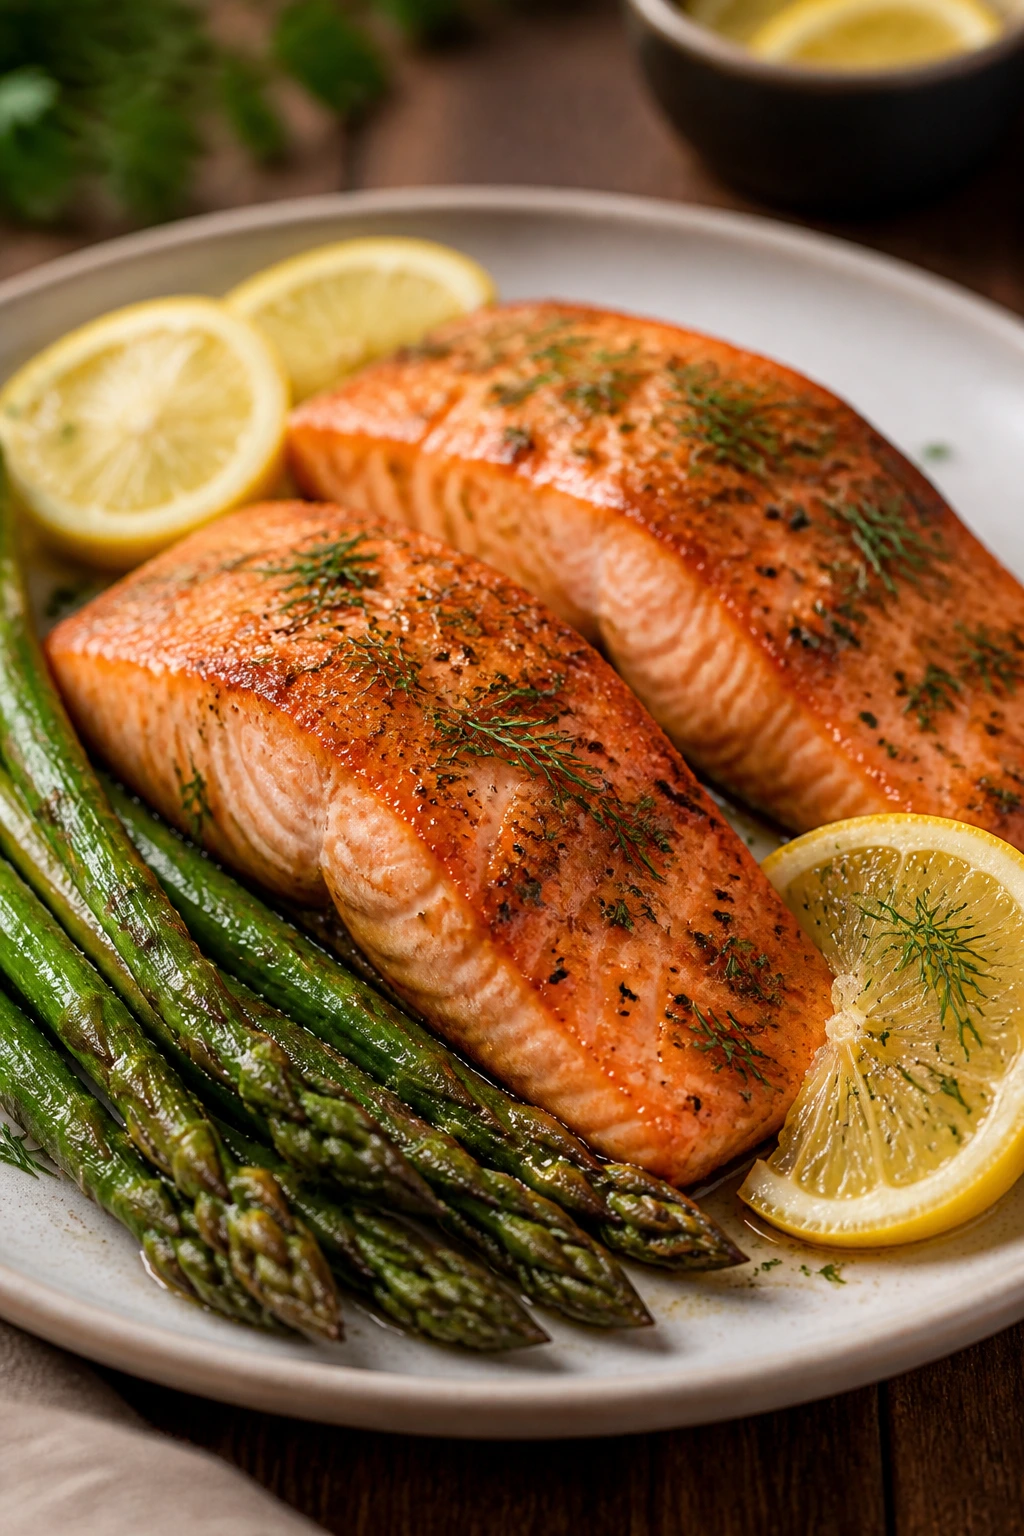
Salmon is the quiet overachiever of a two-person dinner. It cooks fast, it takes on bright flavors without much effort, and the asparagus can roast on the same pan, which means you’re not juggling three burners and a timer that keeps beeping at the worst moment. The finished plate smells like lemon, butter, and warm garlic. That’s a good place to be.
Why It Works
This recipe leans on contrast. Rich salmon gets lifted by lemon and dill, while asparagus brings a green snap that keeps the plate from feeling heavy. A touch of honey in the glaze rounds out the acid and helps the top of the fish turn glossy in the oven.
Cooking everything on one sheet pan keeps the timing clean. The asparagus starts first because it needs a little more time to soften and char at the tips. The salmon goes on after, and a quick broil at the end gives you color without drying out the fish.
Key Ingredients
- 2 salmon fillets, 6 oz each, skin on or off — look for fillets with even thickness.
- 1 bunch asparagus, trimmed — thinner spears roast faster and stay tender.
- 2 tablespoons olive oil — one part for the vegetables, one part for the fish if needed.
- 2 tablespoons unsalted butter — melts into the glaze.
- 3 garlic cloves, minced — keep the mince fine so it doesn’t burn.
- 1 lemon, zested and halved — zest first, then juice.
- 1 tablespoon honey — balances the garlic and citrus.
- 1 teaspoon Dijon mustard — helps the glaze cling.
- ½ teaspoon kosher salt — enough to season both fish and vegetables.
- ¼ teaspoon black pepper — a small amount is enough here.
- 1 tablespoon chopped dill or parsley — finish with a fresh herb.
Quick Steps
-
Heat the oven: Set it to 425°F (220°C) and line a sheet pan with parchment.
-
Prep the asparagus: Toss the asparagus with 1 tablespoon olive oil, half the salt, and half the pepper. Spread it on the pan in a single layer.
-
Make the glaze: Stir the butter, garlic, lemon zest, lemon juice, honey, Dijon, and herbs together in a small bowl.
-
Add the salmon: Nestle the salmon fillets on the pan beside the asparagus. Brush the tops with the glaze and season with the remaining salt and pepper.
-
Roast: Bake for 12 to 14 minutes, depending on thickness, until the salmon flakes at the center and reaches about 125°F to 130°F for medium.
-
Broil briefly: If you want more color, broil for 30 to 60 seconds. Watch it closely — salmon goes from glossy to dry with almost no warning.
Tips and Variations
- Best Texture: Leave the salmon skin on if you want extra protection from overcooking.
- Swap Idea: Trout works well here and behaves almost the same in the oven.
- Serving Tip: A spoonful of plain yogurt mixed with dill and lemon makes a cool sauce if you want a little contrast.
3. Creamy Mushroom Risotto

Risotto has a reputation for being fussy, but most of that reputation comes from people walking away from the stove. Keep the heat steady, stir often enough to keep things moving, and the rice turns creamy all on its own. The mushrooms add a deep, earthy note that feels more luxurious than the ingredient list suggests.
Why It Works
Arborio rice releases starch as it cooks, which is what gives risotto its silky body. The trick is adding warm stock gradually so the grains absorb liquid without turning mushy. Mushrooms bring a roasted flavor once they’ve browned, and that browned edge matters; pale mushrooms taste wet, while browned ones taste like dinner.
A little white wine and parmesan give the dish lift, but the real payoff is texture. Risotto should spread slightly on the plate, not sit in a rigid mound. That’s the cue I trust most.
Key Ingredients
- 1 cup arborio rice — short-grain rice is what makes the creamy texture.
- 4 cups low-sodium chicken or vegetable stock — keep it warm in a small saucepan.
- 8 oz cremini mushrooms, sliced — creminis hold up better than button mushrooms.
- 1 small shallot, finely diced — sweeter than onion and less blunt.
- 2 garlic cloves, minced — enough to perfume the pan.
- ⅓ cup dry white wine — use something you would actually drink.
- 2 tablespoons unsalted butter — added at the end for gloss.
- 1 tablespoon olive oil — helps brown the mushrooms.
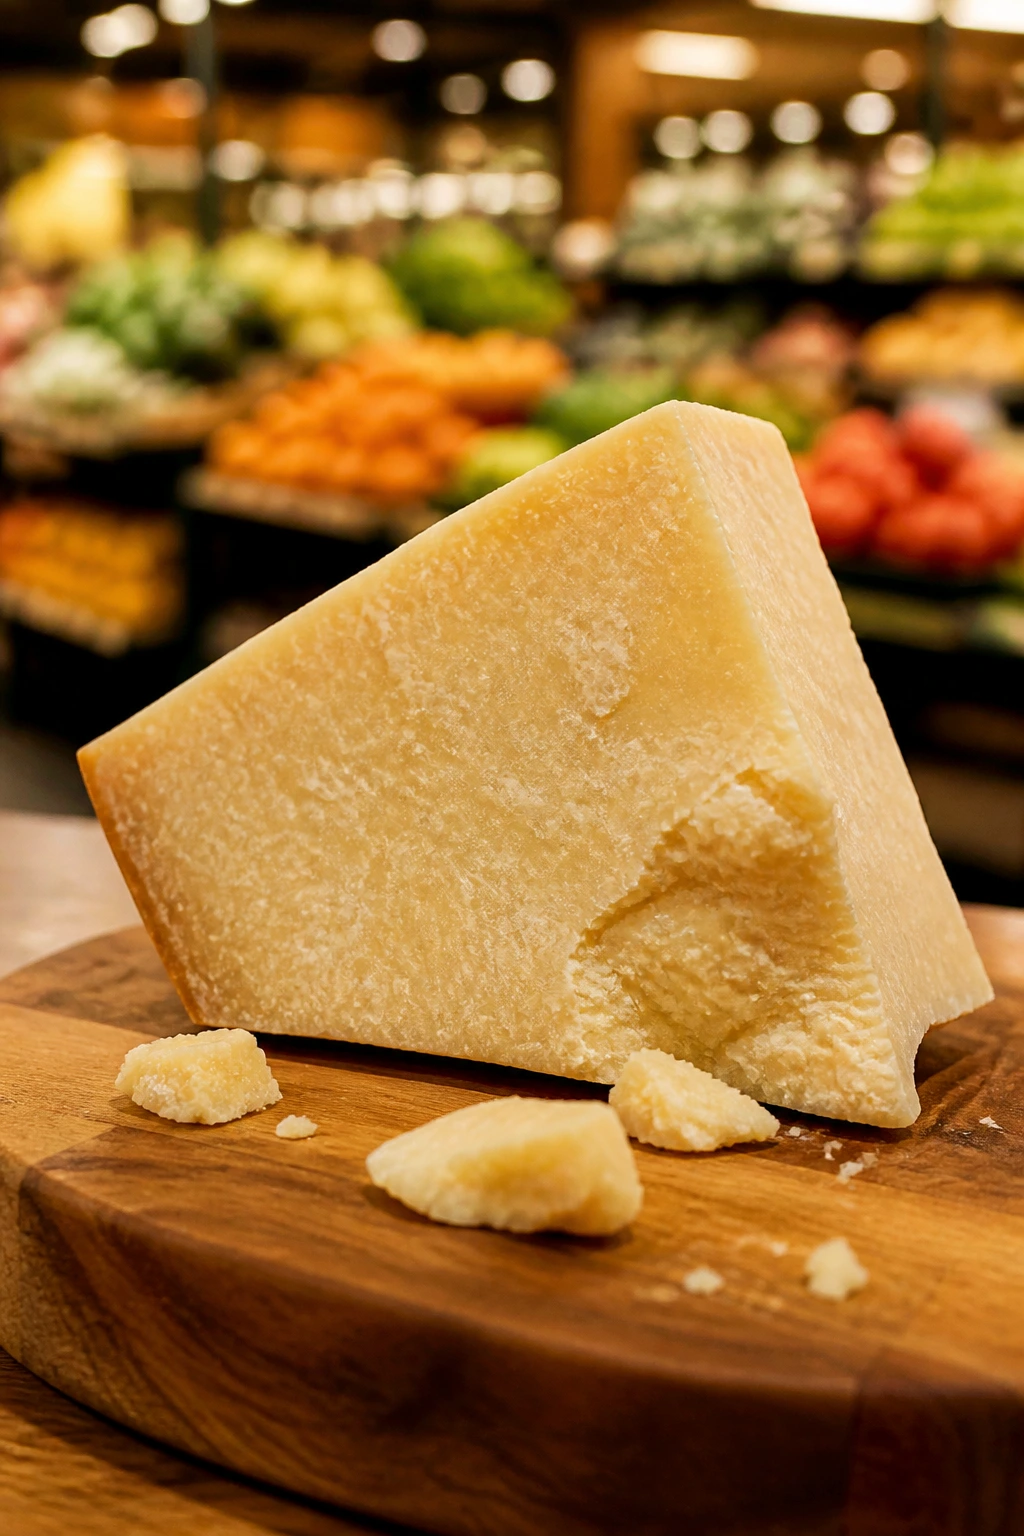
- ½ cup grated parmesan — use freshly grated, not the powdery shelf-stable kind.
- 1 teaspoon fresh thyme leaves — enough to echo the mushrooms.
- Salt and black pepper — season in small amounts as you go.
Quick Steps
-
Warm the stock: Set the stock over low heat so it stays steaming, not boiling.
-
Brown the mushrooms: In a wide saucepan, heat the olive oil and sauté the mushrooms until they lose their moisture and develop brown edges, about 7 to 8 minutes.
-
Build the base: Add the shallot and garlic and cook for 1 minute, just until fragrant. Stir in the rice and cook for another 1 to 2 minutes to toast the grains.
-
Add the wine: Pour in the white wine and stir until it mostly disappears into the rice.
-
Cook slowly: Add warm stock ½ cup at a time, stirring often and waiting until each addition is mostly absorbed before adding the next. Keep going for 18 to 22 minutes, until the rice is tender but still has a little bite.
-
Finish: Stir in the butter, parmesan, thyme, salt, and pepper. Let it sit for 2 minutes, then spoon into bowls. If it feels stiff, loosen it with a splash of stock before serving.
Tips and Variations
- Do Not Rush: Risotto thickens as it rests, so stop cooking when it still looks a little loose.
- Variation: Stir in a handful of peas or chopped spinach near the end for a brighter plate.
- Serve With: A sharp arugula salad keeps the meal from feeling too rich.
4. Shrimp Scampi with Linguine
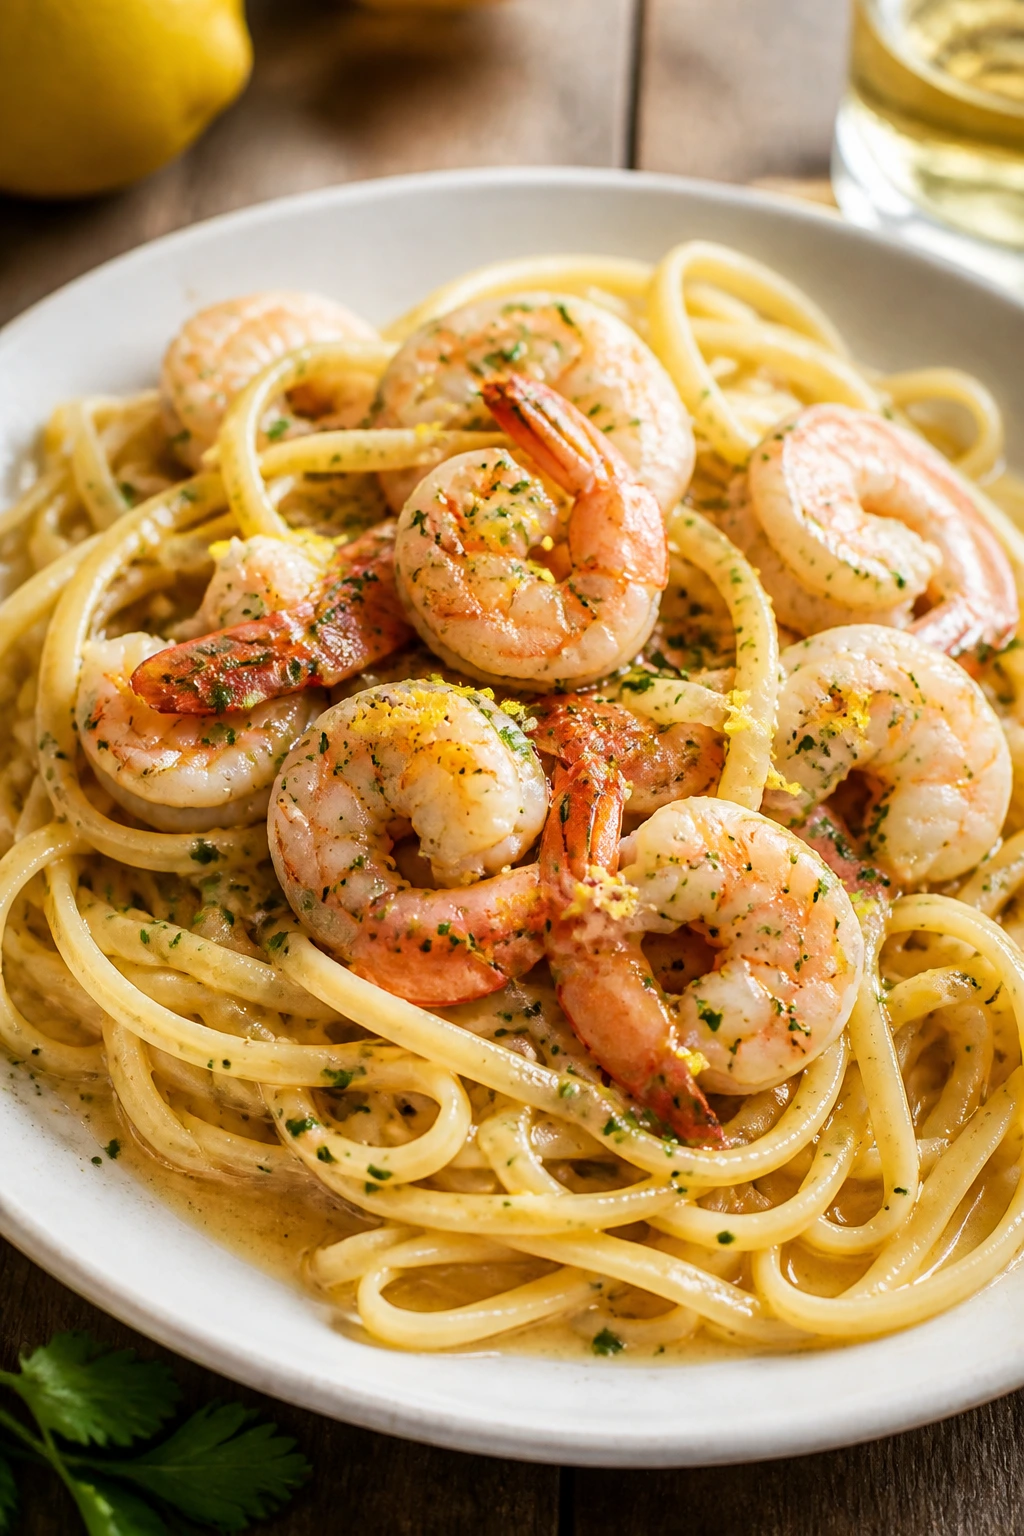
Shrimp scampi is one of those dishes that looks like you put in a bigger effort than you did. The garlic butter sauce clings to the pasta, the shrimp turn pink in minutes, and the whole pan smells bright and savory at the same time. It’s fast enough to keep the mood relaxed, which is half the point.
Why It Works
Shrimp cook quickly, so they’re a good fit for a two-person meal when you want a polished result without a long wait. Linguine gives the sauce more surface area to cling to than a thinner noodle would, and the pasta water helps the butter and lemon turn into a light emulsion instead of a greasy puddle. That little trick matters.
The wine adds depth, but the lemon is what keeps the dish from feeling flat. You get heat from the garlic, a gentle burn from red pepper flakes, and a clean finish from parsley. It’s simple food, but not bland food. There’s a difference.
Key Ingredients
- 8 oz linguine — enough for two generous plates.
- 1 lb large shrimp, peeled and deveined — dry them well so they sear instead of steaming.
- 3 tablespoons unsalted butter — split between the sauce and the finish.
- 2 tablespoons olive oil — keeps the butter from scorching.
- 4 garlic cloves, thinly sliced or minced — sliced garlic gives a softer flavor.
- ½ cup dry white wine or seafood stock — either one works; wine gives more depth.
- 1 lemon, juiced and zested — use both for a brighter sauce.
- ¼ teaspoon red pepper flakes — adjust if you want more heat.
- ¼ cup chopped parsley — stirred in at the end for freshness.
- Salt and black pepper — season the pasta water and the shrimp.
- ⅓ cup grated parmesan, optional — skip it if you want a cleaner scampi.
Quick Steps
-
Cook the pasta: Boil the linguine in salted water until just al dente, then reserve ½ cup pasta water before draining.
-
Sear the shrimp: Pat the shrimp dry and season lightly. Heat the butter and olive oil in a large skillet over medium-high heat, then cook the shrimp for 1 minute per side until pink and barely curled. Remove them to a plate.
-
Build the sauce: Add the garlic and red pepper flakes to the skillet and cook for about 30 seconds. Pour in the wine or stock and let it reduce for 2 to 3 minutes.
-
Bring it together: Add the lemon juice, lemon zest, and 2 tablespoons of pasta water. Return the shrimp and the linguine to the pan.
-
Toss and finish: Add parsley and another tablespoon or two of pasta water if needed, tossing until the sauce coats the noodles. Finish with parmesan if you’re using it.
-
Serve right away: Plate while the sauce is still loose and glossy. If it sits too long, the pasta drinks up the sauce and loses its shine.
Tips and Variations
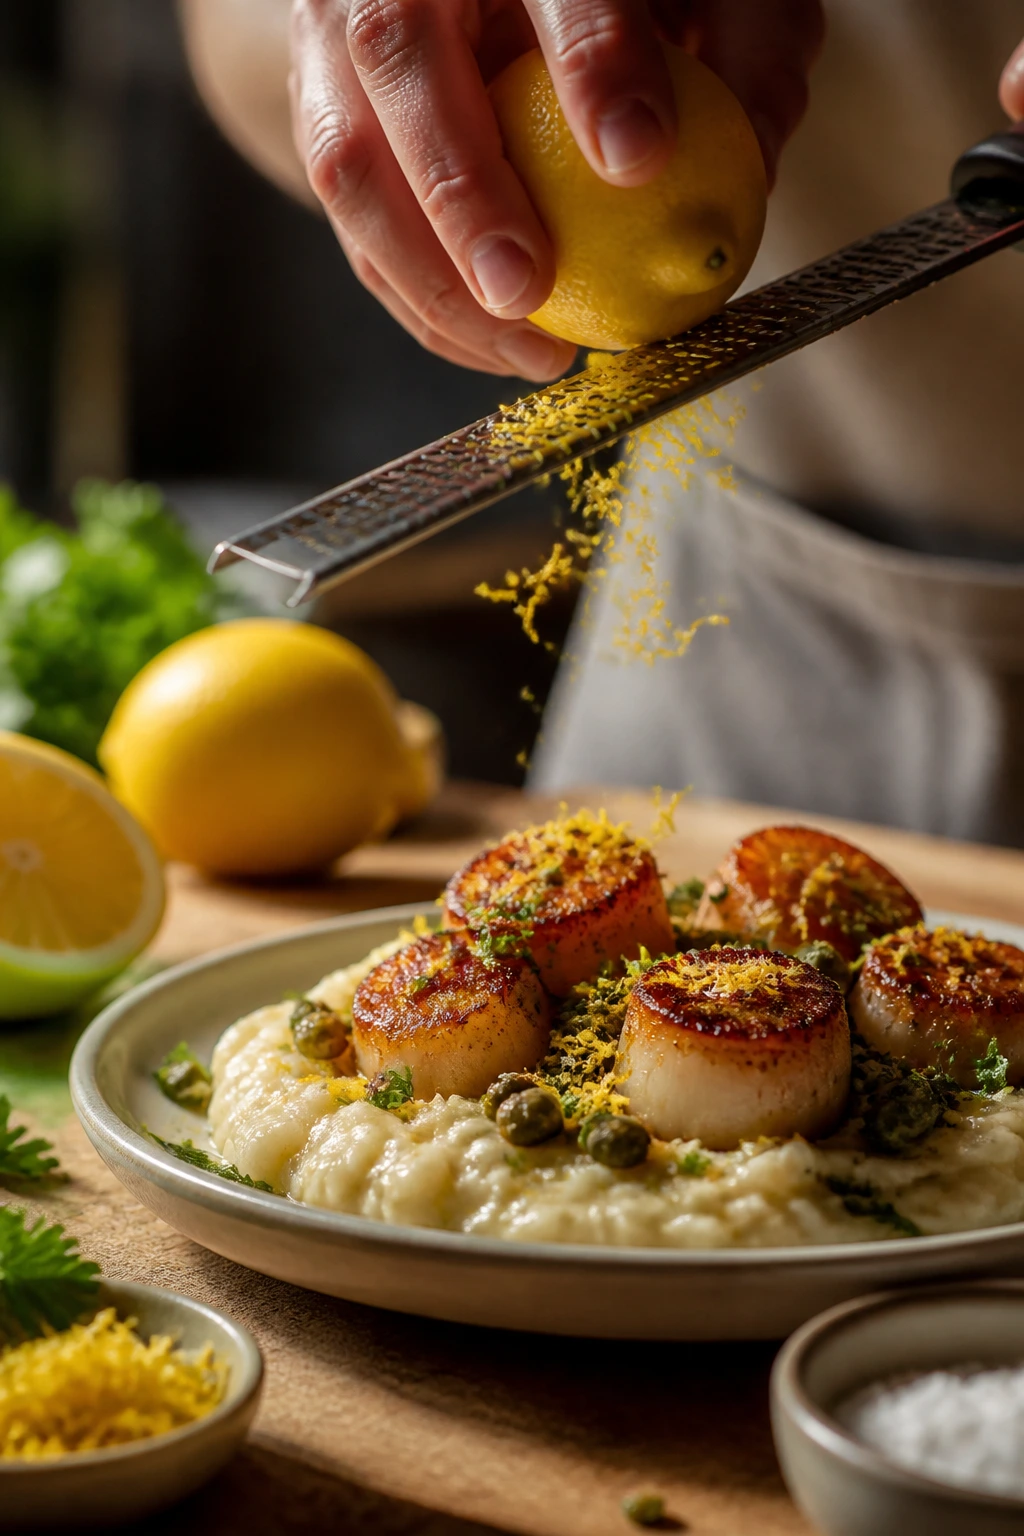
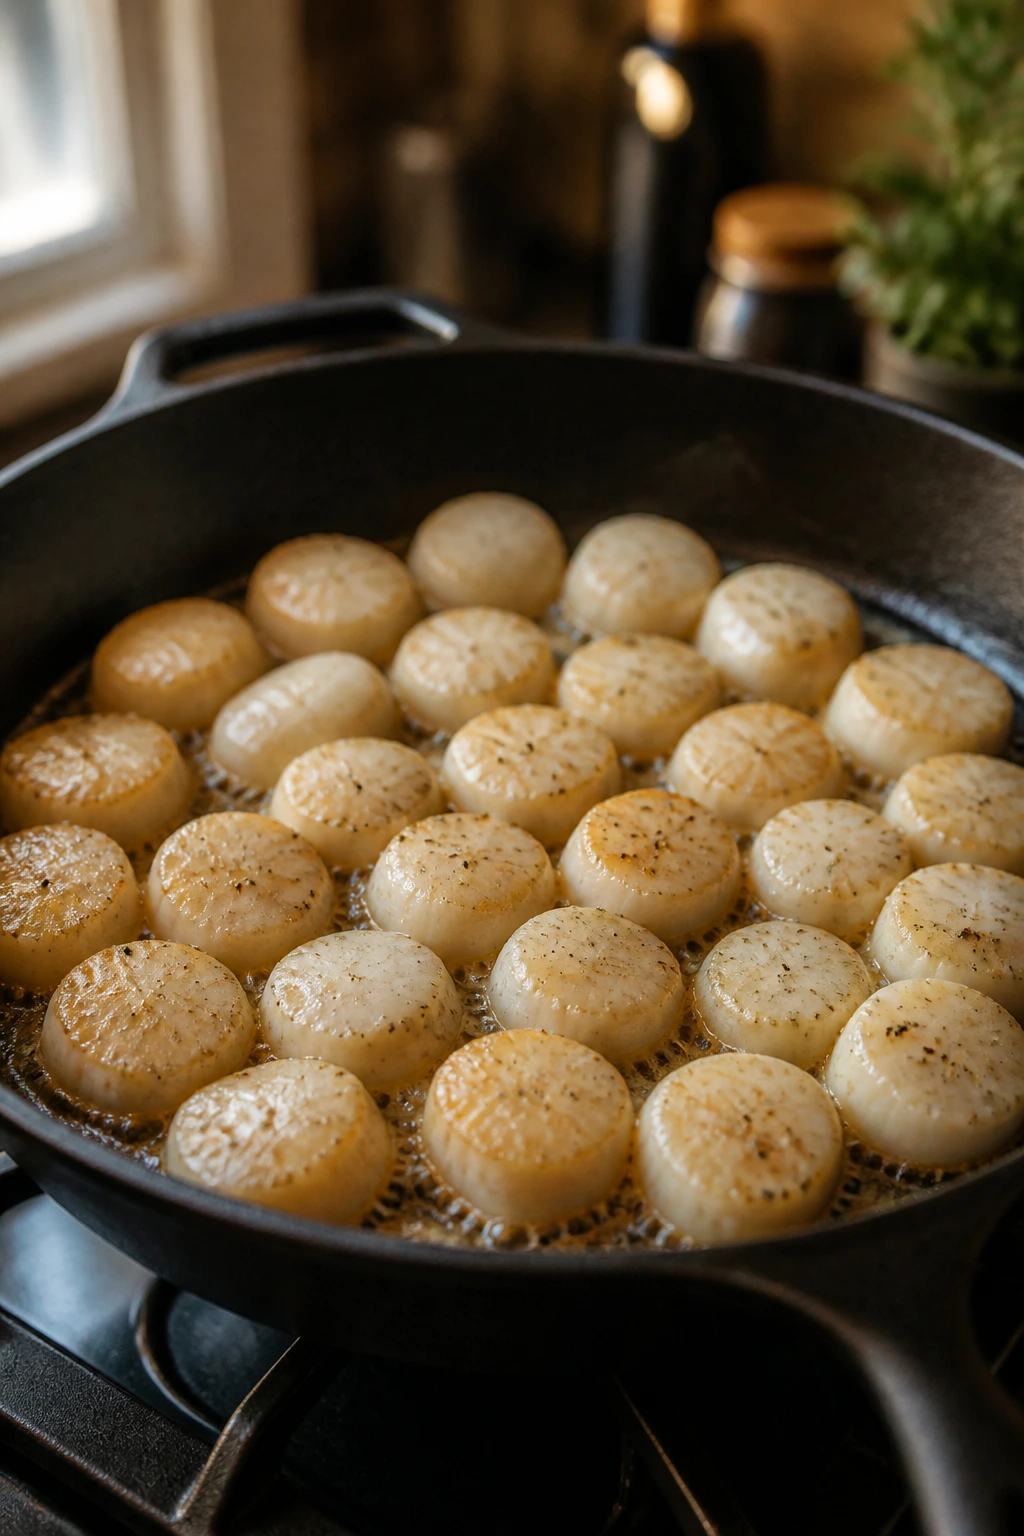
- Quick Swap: Scallops can replace shrimp if you want a softer, sweeter seafood plate.
- Heat Control: Keep the garlic on the pale side; burned garlic makes the whole dish taste bitter.
- Serving Idea: A few toasted breadcrumbs on top add a nice crunch.
5. Chicken Marsala for Two
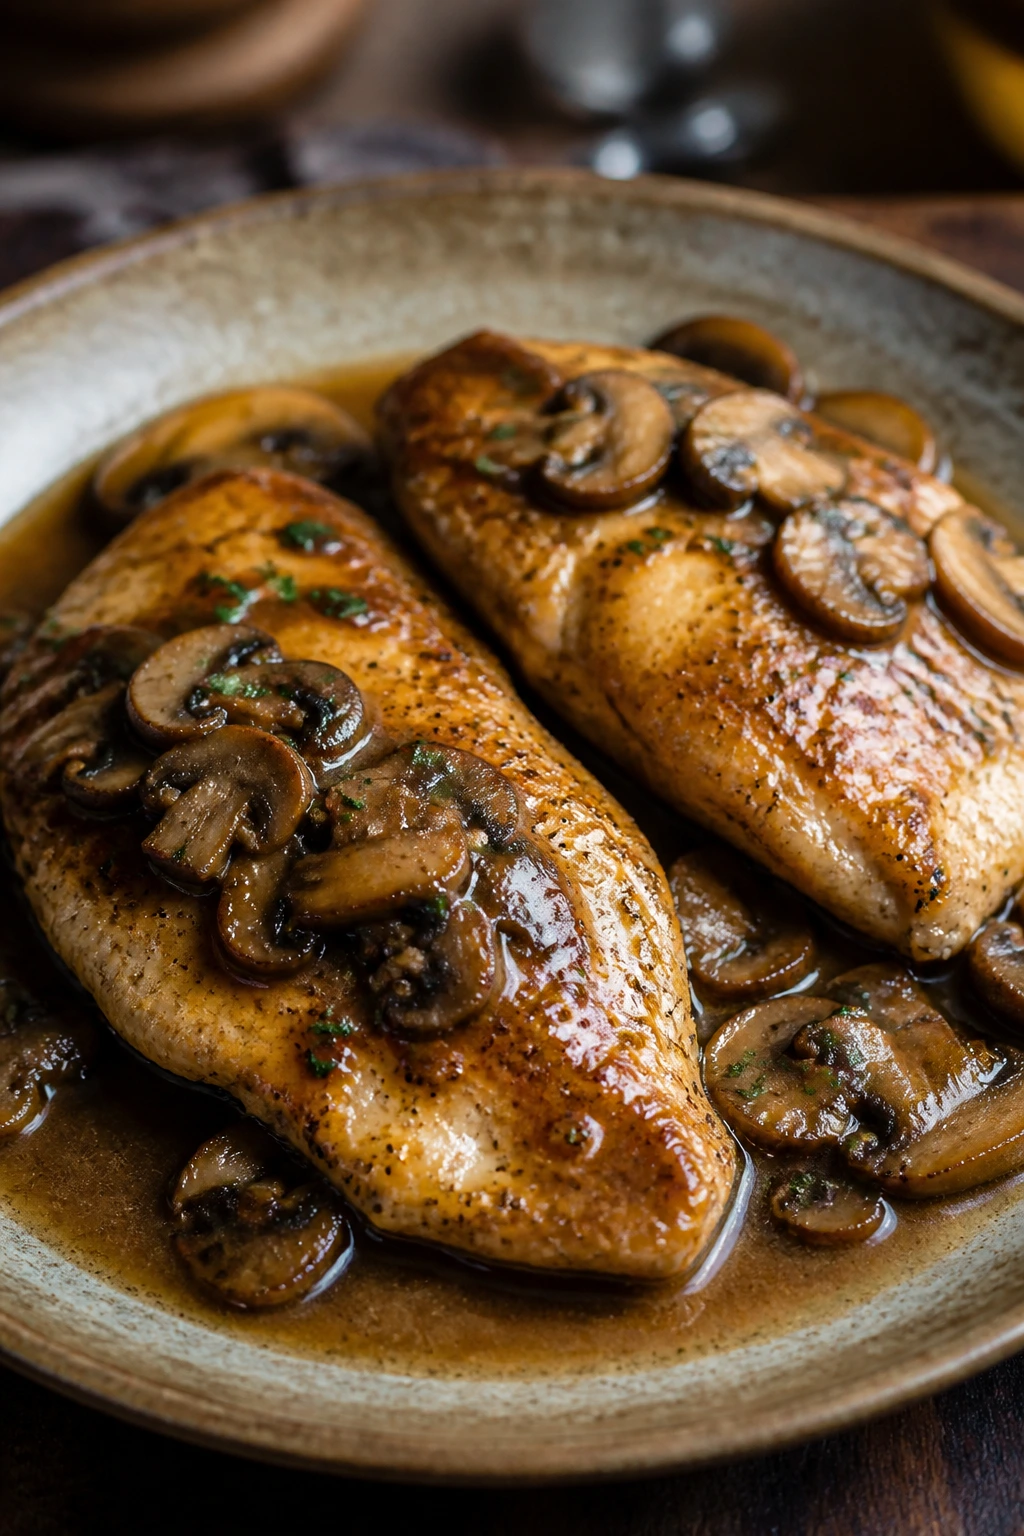
Chicken Marsala has that old-school restaurant feel that never really goes out of style. The sauce is brown and glossy, the mushrooms pick up the wine’s deep, almost caramel edge, and the chicken stays tender if you don’t overdo it. It’s the kind of plate that looks calm, even if you were moving fast ten minutes earlier.
Why It Works
Pounding the chicken breasts to an even thickness does two things: it helps them cook fast, and it keeps the edges from drying out before the center is done. The flour dredge isn’t there to make the dish heavy. It creates a thin surface that browns well and gives the sauce something to cling to.
Marsala wine brings the signature flavor, but the mushrooms are what make the sauce feel complete. They soak up the pan drippings, then return that flavor to the plate. That’s the whole move here: build depth in the skillet, not in a complicated ingredient list.
Key Ingredients
- 2 boneless, skinless chicken breasts, halved or butterflied and pounded to ½-inch thickness — even thickness is the whole game.
- ⅓ cup all-purpose flour — for a light dredge.
- 1 teaspoon kosher salt — season both the flour and the chicken.
- ½ teaspoon black pepper — enough for the coating.
- 8 oz cremini or baby bella mushrooms, sliced — choose firm mushrooms with dry caps.
- 1 small shallot, diced — sweeter than onion and easier to melt into the sauce.
- ¾ cup Marsala wine — dry Marsala gives a deeper finish than sweet.
- ½ cup chicken broth — adds body and keeps the sauce from getting too sharp.
- 2 tablespoons unsalted butter — stirred in at the end.
- 1 tablespoon olive oil — for the first sear.
- 1 tablespoon chopped parsley — for the finish.
Quick Steps
-
Prep the chicken: Pound the chicken to an even ½-inch thickness and season lightly with salt and pepper.
-
Dredge: Spread the flour on a plate, then coat each piece of chicken lightly and shake off the excess.
-
Sear: Heat the olive oil in a skillet over medium-high heat. Cook the chicken for 3 to 4 minutes per side until golden brown, then move it to a plate.
-
Cook the mushrooms: Add the mushrooms and shallot to the skillet and cook for 5 to 6 minutes, stirring until the mushrooms brown and the shallot softens.
-
Build the sauce: Pour in the Marsala and broth, scraping up the browned bits from the pan. Simmer for 4 to 5 minutes until the sauce reduces slightly.
-
Finish the chicken: Return the chicken to the pan and simmer for 5 to 7 minutes, until the chicken reaches 165°F and the sauce lightly coats the spoon. Stir in the butter and parsley.
Tips and Variations
- Better Sauce: Use dry Marsala if you want a deeper, less sweet plate.
- Swap Idea: Thin pork cutlets work with the same method.
- Serving Tip: Spoon the sauce over mashed potatoes or buttered noodles so none of it goes to waste.
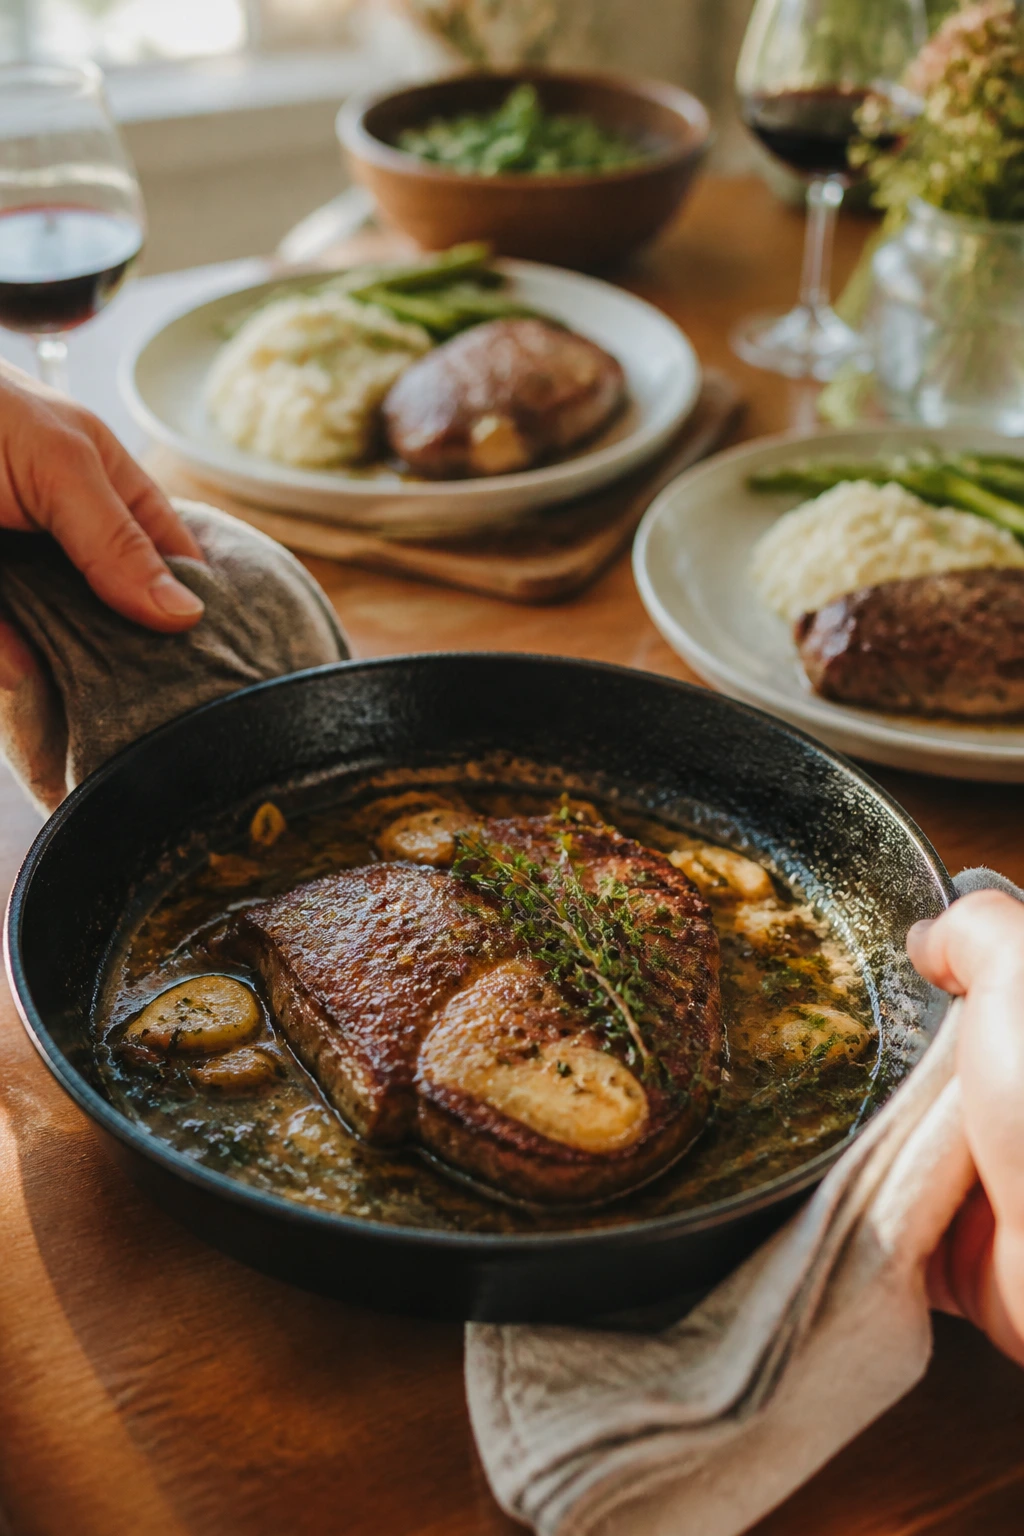
6. Steak Frites with Quick Pan Sauce
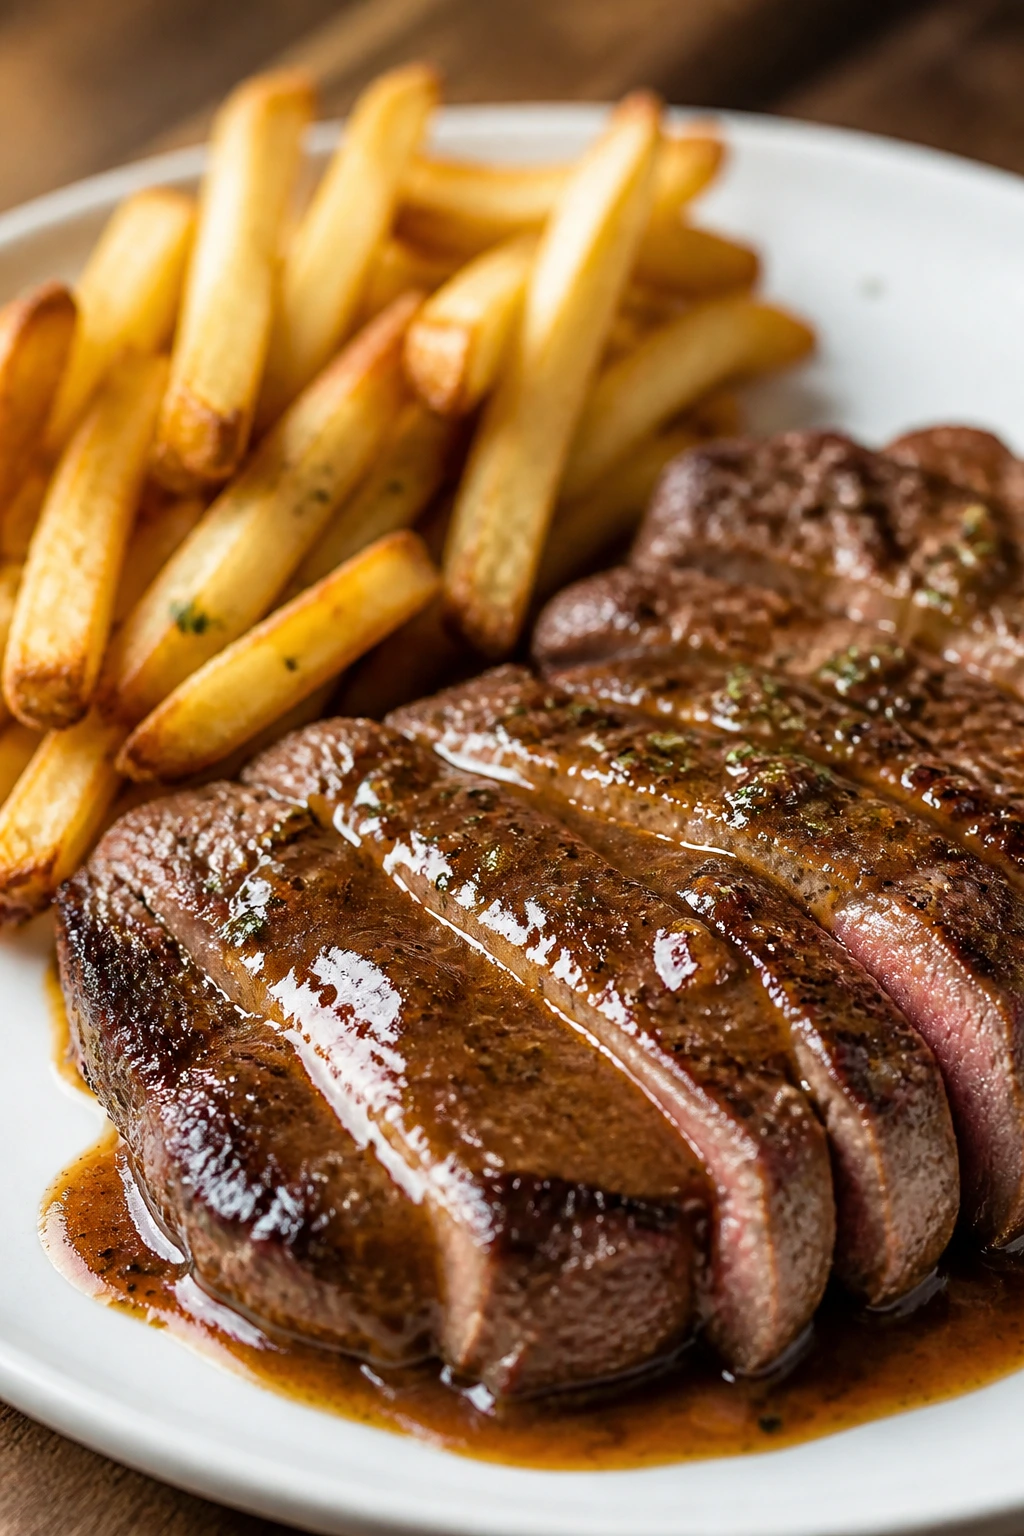
Steak frites sounds like a restaurant move, but at home it mostly means smart timing. Roast the fries first, sear the steak near the end, and use the skillet drippings for a quick sauce. That’s the whole trick. The result feels classic and a little indulgent, which is exactly where a two-person dinner should land.
Why It Works
Fries need dry heat and room to breathe. Steak needs a hot surface and not much fuss. By keeping them separate until the final plating, you give each one the treatment it wants instead of compromising both. That’s why this dinner tastes cleaner than a crowded pan meal.
A quick pan sauce makes the steak feel dressed up without turning the dinner into a project. Shallot, broth, Dijon, and butter are enough to pick up the browned bits in the skillet and turn them into something silky. If you’ve ever had steak that tasted a little flat, this is the missing piece.
Key Ingredients
- 2 russet potatoes, cut into fries — soak them briefly if you want extra crispness.
- 1 tablespoon olive oil — for tossing the fries.
- 12 oz strip steak or sirloin steak, about 1 to 1¼ inches thick — choose a cut with good marbling.
- 1 teaspoon kosher salt — season both fries and steak.
- ½ teaspoon black pepper — fresh ground is worth it here.
- ¼ teaspoon garlic powder — good on the fries.
- 1 teaspoon chopped rosemary — a little goes a long way.
- 1 tablespoon butter — for the steak and sauce.
- 1 small shallot, minced — the base for the pan sauce.
- ½ cup beef broth — gives the sauce body.
- 1 teaspoon Dijon mustard — sharpens the sauce.
- Optional parsley for garnish — a small handful is enough.
Quick Steps
-
Roast the fries: Heat the oven to 450°F (230°C). Toss the potato fries with olive oil, half the salt, garlic powder, and rosemary. Spread them on a sheet pan and roast for 25 to 30 minutes, flipping once halfway through.
-
Prep the steak: Pat the steak dry and season it with the remaining salt and pepper.
-
Sear: Heat a skillet over medium-high heat with the butter. Sear the steak for 3 to 4 minutes per side, depending on thickness, until browned and cooked to your preferred temperature.
-
Rest the steak: Transfer the steak to a cutting board and let it rest for 5 to 8 minutes.
-
Make the sauce: Add the shallot to the same skillet and cook for 30 seconds. Pour in the broth and Dijon, scraping the pan as it bubbles, then simmer for 2 to 3 minutes.
-
Serve: Slice the steak against the grain, plate it with the fries, and spoon the sauce over the top. A little flaky salt at the end makes the steak taste more finished.
Tips and Variations
- Crisper Fries: Don’t crowd the pan; a little space between fries matters.
- Swap Idea: Yukon Gold potatoes give a creamier center if that’s your preference.
- Shortcut: If you’re pressed for time, use frozen oven fries and put your energy into the steak.
7. Baked Tuscan Chicken
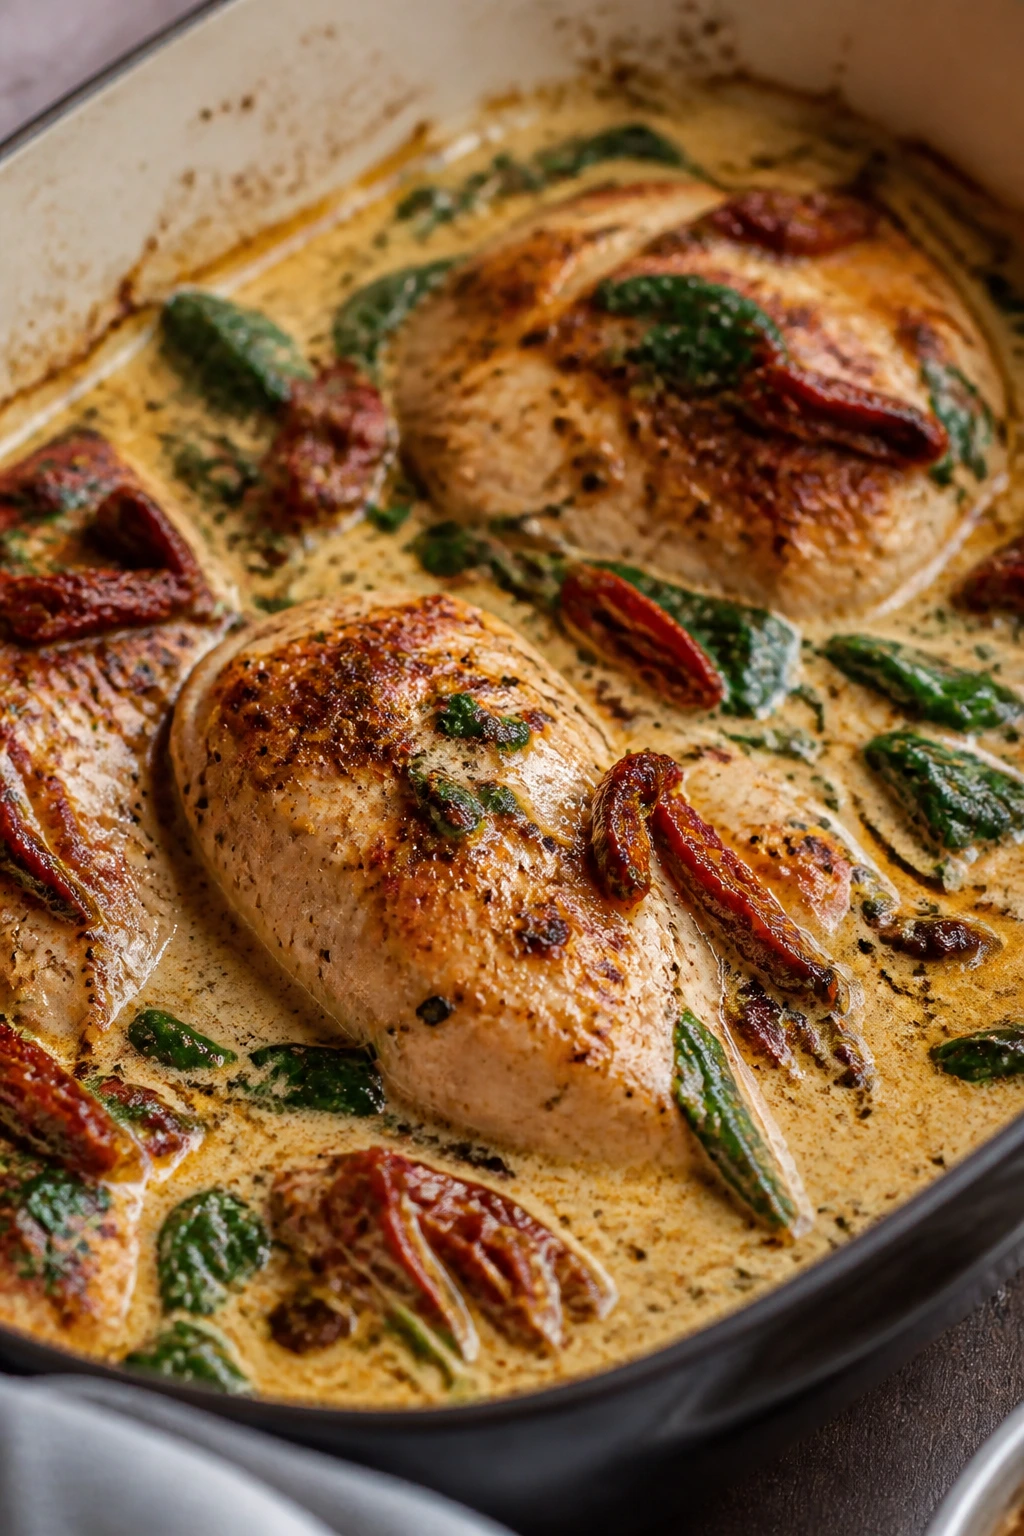
This is the kind of dish that makes a kitchen smell like garlic, cream, and wilted spinach in the best possible way. The sauce turns silky in the oven, the chicken stays juicy because it finishes in liquid, and the sun-dried tomatoes bring a tangy punch that keeps the whole thing from leaning too soft. It’s cozy, but it still feels put-together.
Why It Works
Searing the chicken before baking is the part most people skip, and it’s the part that gives the recipe its backbone. The browned surface adds flavor before the chicken ever hits the oven. After that, the cream, broth, parmesan, and tomatoes melt into a sauce that tastes richer than the effort it asks for.
Spinach is a useful partner here because it wilts fast and takes up almost no space in the pan. That means you get color and something green on the plate without needing a separate side. For a dinner for two, that kind of efficiency is worth its weight.
Key Ingredients
- 2 boneless, skinless chicken breasts — pound to even thickness so they cook at the same rate.
- 1 teaspoon Italian seasoning — gives the chicken an instant savory base.
- ½ teaspoon kosher salt — season both the chicken and the sauce.
- ¼ teaspoon black pepper — enough for the coating.
- 1 tablespoon olive oil — for searing.
- 2 garlic cloves, minced — the sauce starts here.
- ⅓ cup sun-dried tomatoes in oil, drained and sliced — they bring concentrated tomato flavor.
- 2 cups baby spinach — wilts down in a minute or two.
- ½ cup heavy cream — makes the sauce rich and smooth.
- ¼ cup chicken broth — loosens the cream so it doesn’t turn too thick.
- ⅓ cup grated parmesan — helps thicken and season the sauce.
- 1 tablespoon chopped basil or parsley — for the finish.
Quick Steps
-
Season the chicken: Sprinkle both sides of the chicken with Italian seasoning, salt, and pepper.
-
Sear: Heat the olive oil in an oven-safe skillet over medium-high heat. Sear the chicken for about 3 minutes per side until lightly browned.
-
Build the sauce: Lower the heat and stir in the garlic and sun-dried tomatoes for 30 seconds. Add the broth, cream, and parmesan, stirring until the sauce looks smooth.
-
Add the spinach: Stir in the spinach and let it wilt for 1 minute.
-
Bake: Return the chicken to the skillet and transfer it to a 400°F (205°C) oven. Bake for 15 to 18 minutes, until the chicken reaches 165°F and the sauce is bubbling at the edges.
-
Finish: Rest for 5 minutes, then spoon the sauce over the chicken and scatter herbs on top.
Tips and Variations
- Flavor Boost: A pinch of crushed red pepper gives the cream sauce more edge.
- Swap Idea: Chicken thighs work if you want a richer, more forgiving cut.
- Serve With: Mashed potatoes, polenta, or crusty bread all work well under the sauce.
8. Brown Butter Sage Ravioli

Brown butter sage ravioli is what I reach for when I want dinner to feel special but I do not want to stand at the stove for an hour. The sauce is nutty and fragrant, the sage turns crisp in the butter, and the ravioli catch every bit of that flavor in their folds. It’s a small-plate mood, and it suits two people perfectly.
Why It Works
Refrigerated ravioli do a lot of the heavy lifting here. You’re not making pasta from scratch, which keeps the evening calm, but the finished bowl still tastes deliberate because the sauce is built from one simple, excellent move: browning butter until it smells like toasted nuts. That smell is your cue.
Sage is a smart herb for butter sauces because it holds up to heat and crisps instead of collapsing. Add a little pasta water and lemon zest, and the sauce loosens just enough to coat the ravioli instead of sitting under them. That texture is the difference between “buttery” and “oily.”
Key Ingredients
- 1 package refrigerated cheese ravioli, about 9 oz — use fresh ravioli for the best texture.
- 4 tablespoons unsalted butter — this is the sauce, so use the good stuff.
- 8 to 10 fresh sage leaves — dry leaves will not crisp the same way.
- ¼ cup chopped walnuts or pine nuts — optional, but they add crunch.
- 1 garlic clove, thinly sliced — keep it thin so it doesn’t burn.
- ⅓ cup grated parmesan — for the final shower.
- ½ lemon, zested and juiced — brightens the butter.
- Salt and black pepper — just enough to season the sauce.
- ¼ cup reserved pasta water — helps the sauce cling.
Quick Steps
-
Cook the ravioli: Boil the ravioli in salted water according to the package directions, then reserve ¼ cup pasta water before draining.
-
Brown the butter: Melt the butter in a skillet over medium heat. Add the sage leaves and cook until the butter turns golden brown and smells nutty, about 3 to 4 minutes.
-
Add garlic and nuts: Stir in the garlic and walnuts or pine nuts for about 30 seconds. Keep the heat moderate; browned butter can turn bitter fast once it goes too far.
-
Toss: Add the ravioli, lemon zest, lemon juice, and a splash of pasta water. Toss gently so the pasta gets coated without tearing.
-
Finish: Add parmesan, black pepper, and a pinch of salt if needed. Serve hot with a few crisp sage leaves on top.
Tips and Variations
- Texture Tip: Keep the ravioli slightly al dente so they don’t split in the sauce.
- Variation: A spoonful of ricotta on the plate underneath the ravioli makes the dish feel richer.
- Nut Swap: Skip the nuts if you want a cleaner, softer sauce.
9. Lobster Tails with Drawn Butter and Charred Lemon
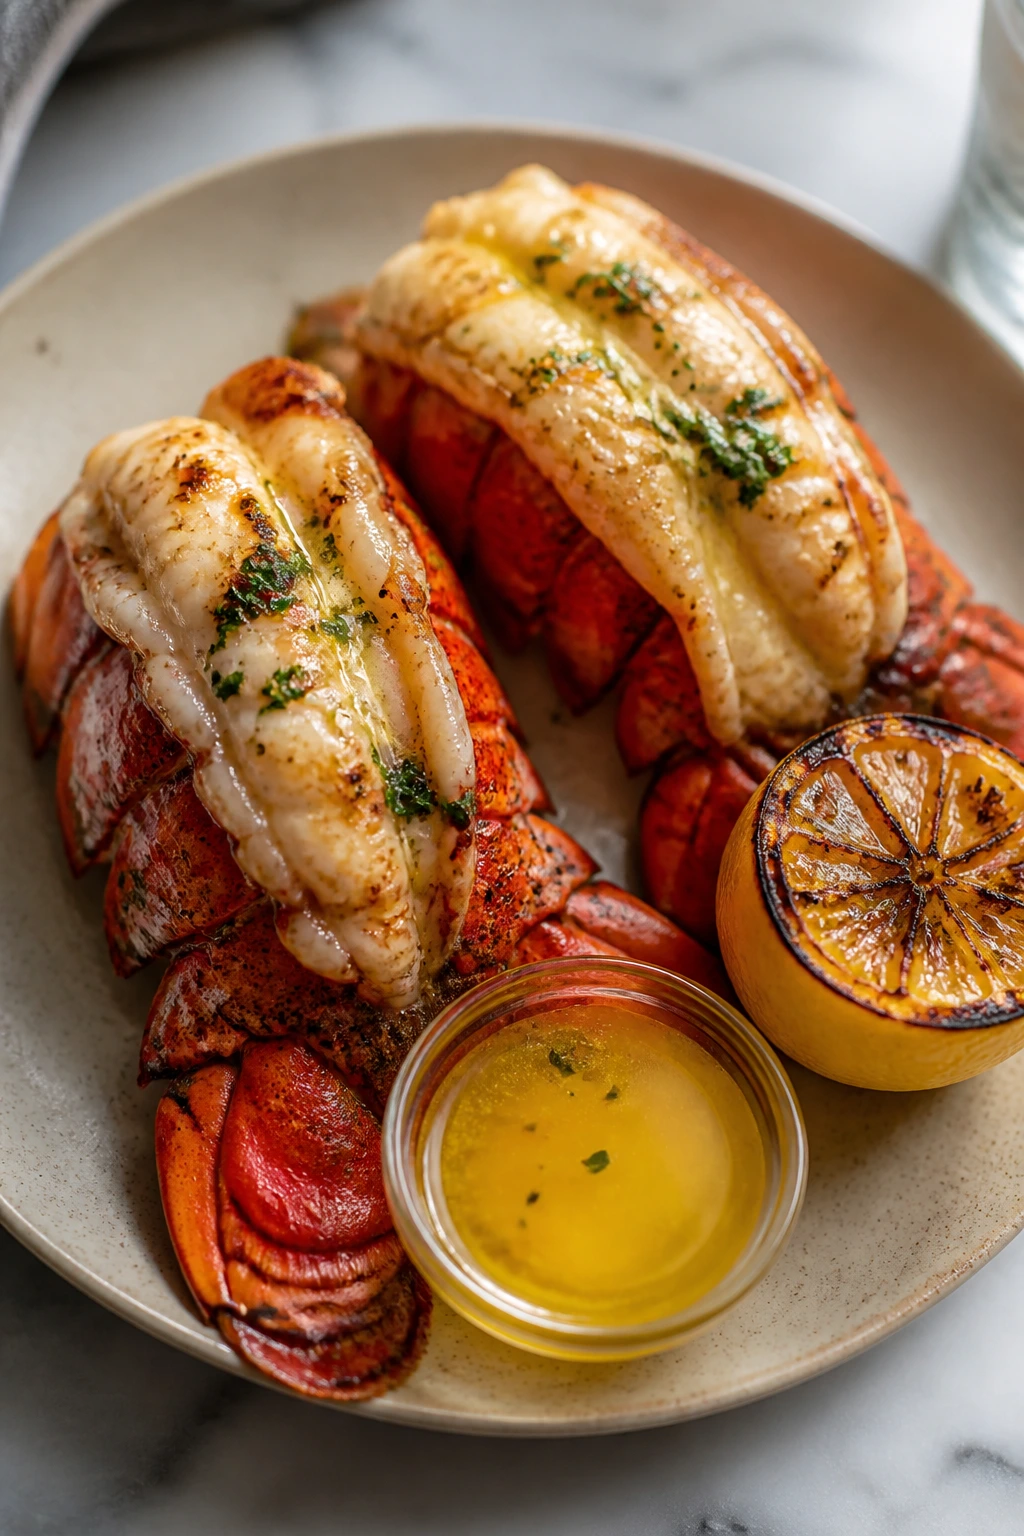
Lobster tails are pure occasion food. They don’t need much help, which is lucky, because overcomplicating lobster is one of the fastest ways to waste it. A brush of garlic butter, a brief broil, and a charred lemon half are enough. That’s it. The shell does some of the drama for you.
Why It Works
Broiling cooks lobster tails fast and gives the tops a little color without drowning them in a heavy sauce. The meat stays sweet and firm if you pull it the moment it turns opaque and just slightly springy. If you wait until it looks dry, you’ve gone too far. Lobster is forgiving for about thirty seconds and then it isn’t.
Drawn butter keeps the flavor clean. Garlic and paprika add a hint of warmth, but the seafood still stays front and center. I prefer this style over a richer cream sauce for a dinner for two because it feels brighter and less cluttered.
Key Ingredients
- 2 lobster tails, 5 to 6 oz each — frozen tails are fine if they’re fully thawed.
- 3 tablespoons unsalted butter, melted — for brushing and serving.
- 1 tablespoon olive oil — helps the shell and meat color.
- 1 garlic clove, finely grated — tiny amount, big payoff.
- ½ teaspoon paprika — gives the meat a soft warm color.
- 1 lemon, halved — one for charring, one for squeezing.
- ¼ teaspoon kosher salt — enough to season the meat.
- ¼ teaspoon black pepper — keep it light.
- 1 tablespoon chopped parsley — for a clean finish.
Quick Steps
-
Prep the tails: Use kitchen shears to cut the top of each shell lengthwise down the center. Loosen the meat and lift it over the shell so it sits on top.
-
Season: Brush the meat with olive oil and season with salt, pepper, and paprika.
-
Heat the broiler: Position the rack about 6 inches from the heat source and line a baking sheet with foil.
-
Broil: Place the tails on the sheet and broil for 6 to 8 minutes, brushing once with melted butter halfway through. The meat should turn opaque and reach 140°F to 145°F.
-
Char the lemon: Put the lemon halves cut-side up under the broiler for 1 minute until the cut surface browns a little.
-
Serve: Drizzle with the remaining melted butter, squeeze over the charred lemon, and finish with parsley. If the meat curls into a tight C-shape, it’s overdone.
Tips and Variations
- Butter Move: Add a tiny pinch of cayenne if you want a warmer finish.
- Swap Idea: Jumbo shrimp can use the same butter and broiler treatment.
- Serving Tip: Serve with asparagus or a small risotto so the lobster stays the star.
10. Creamy Sun-Dried Tomato Pasta
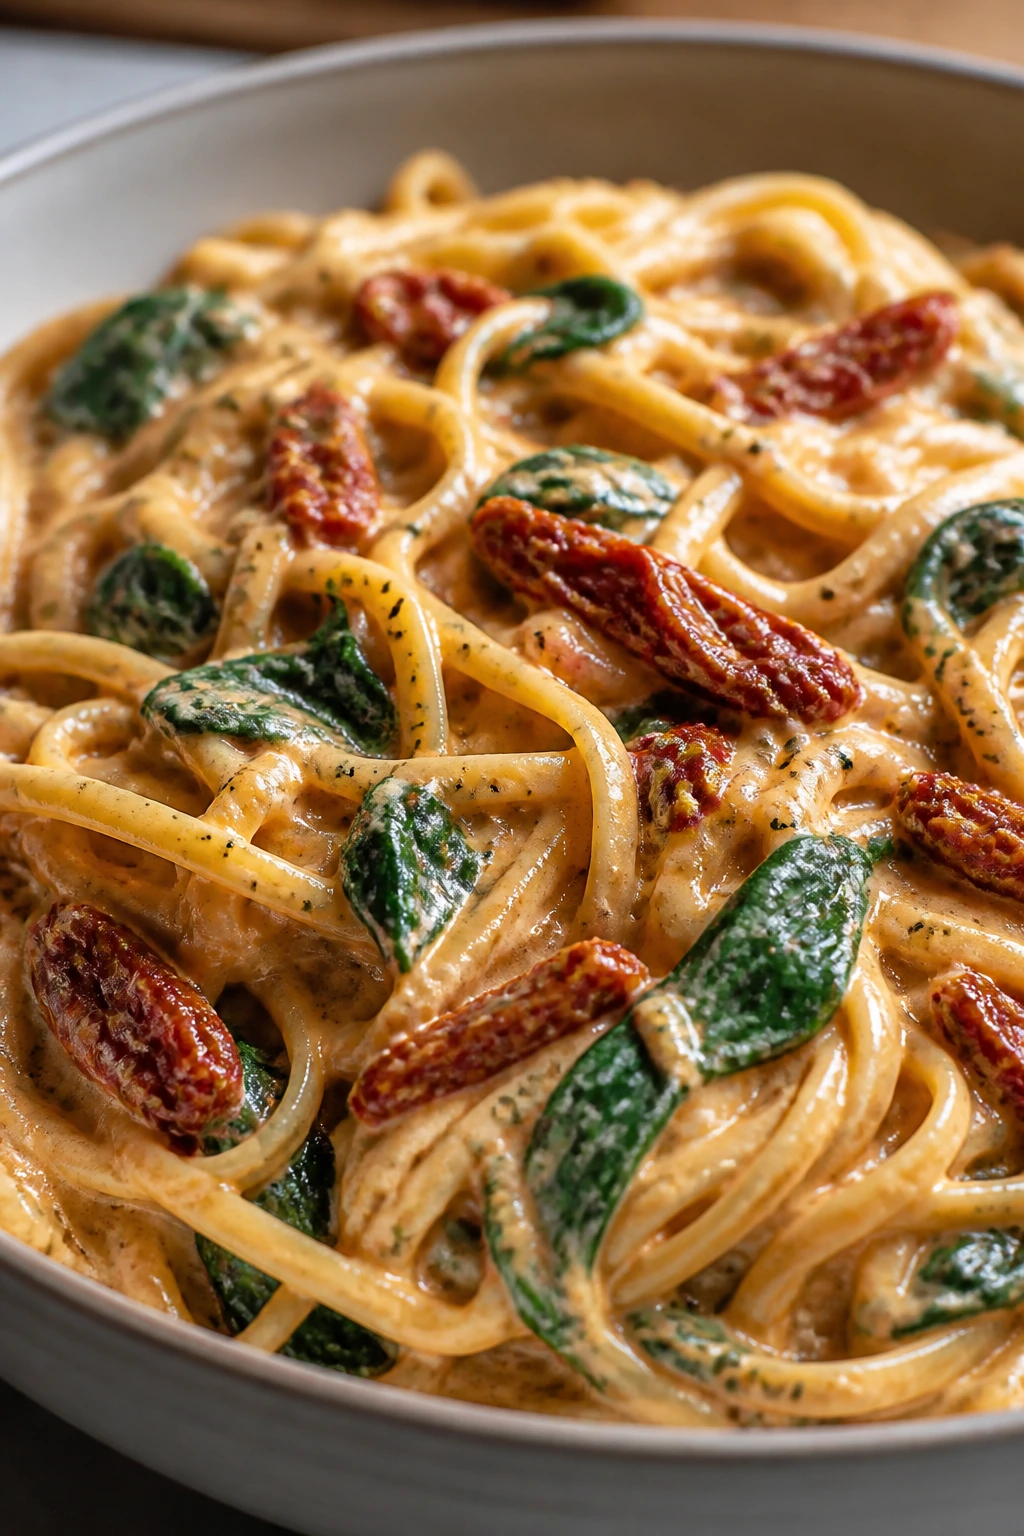
This pasta tastes like it should have taken more effort than it did. The sauce is creamy and tangy, the sun-dried tomatoes bring a chewy little burst of flavor, and the spinach folds in at the end so the bowl looks alive instead of beige. Good pasta for two should feel generous, not crowded. This one does.
Why It Works
Sun-dried tomatoes carry a concentrated tomato flavor that fresh tomatoes cannot match in a quick sauce. Their oil also helps perfume the pan. When you add cream, parmesan, and a bit of pasta water, the sauce turns smooth without getting heavy, which is exactly the texture you want in a small dinner.
I like this recipe because it gives you richness without needing meat. If you want to add chicken or shrimp, it accepts that easily, but it doesn’t need it. The pasta already has enough going on: garlic, tang, cheese, and just enough heat to keep things interesting.
Key Ingredients
- 8 oz pasta, such as penne, rigatoni, or fettuccine — shapes with ridges hold the sauce best.
- 2 tablespoons olive oil — or use some of the oil from the tomatoes.
- 3 garlic cloves, minced — enough to flavor the base.
- ½ cup sun-dried tomatoes in oil, drained and chopped — the center of the sauce.
- 1 cup baby spinach — wilted at the end.
- ¾ cup heavy cream — gives the sauce body.
- ⅓ cup reserved pasta water — loosens the sauce and helps it coat the pasta.
- ½ cup grated parmesan — freshly grated melts more smoothly.
- ½ teaspoon red pepper flakes — optional, but nice.
- Salt and black pepper — season the pasta water and the sauce.
Quick Steps
-
Cook the pasta: Boil in well-salted water until al dente, then reserve ⅓ cup pasta water and drain.
-
Start the sauce: Heat the olive oil in a skillet over medium heat. Add the garlic and sun-dried tomatoes and cook for 1 minute until fragrant.
-
Add cream: Pour in the cream and pasta water, then stir in the parmesan and red pepper flakes. Simmer for 2 to 3 minutes until the sauce thickens slightly.
-
Wilt the spinach: Add the spinach and stir until it collapses into the sauce.
-
Toss with pasta: Add the drained pasta and toss until every piece is coated and glossy. Season with salt and black pepper to taste.
-
Serve: Spoon into warm bowls and finish with a little extra parmesan. If the sauce looks tight, add a splash more pasta water instead of more cream.
Tips and Variations
- Flavor Boost: A little lemon zest at the end keeps the sauce from feeling too dense.
- Swap Idea: Add sliced chicken breast or sautéed shrimp if you want extra protein.
- Make It Yours: Chopped basil or parsley on top adds a fresh finish.
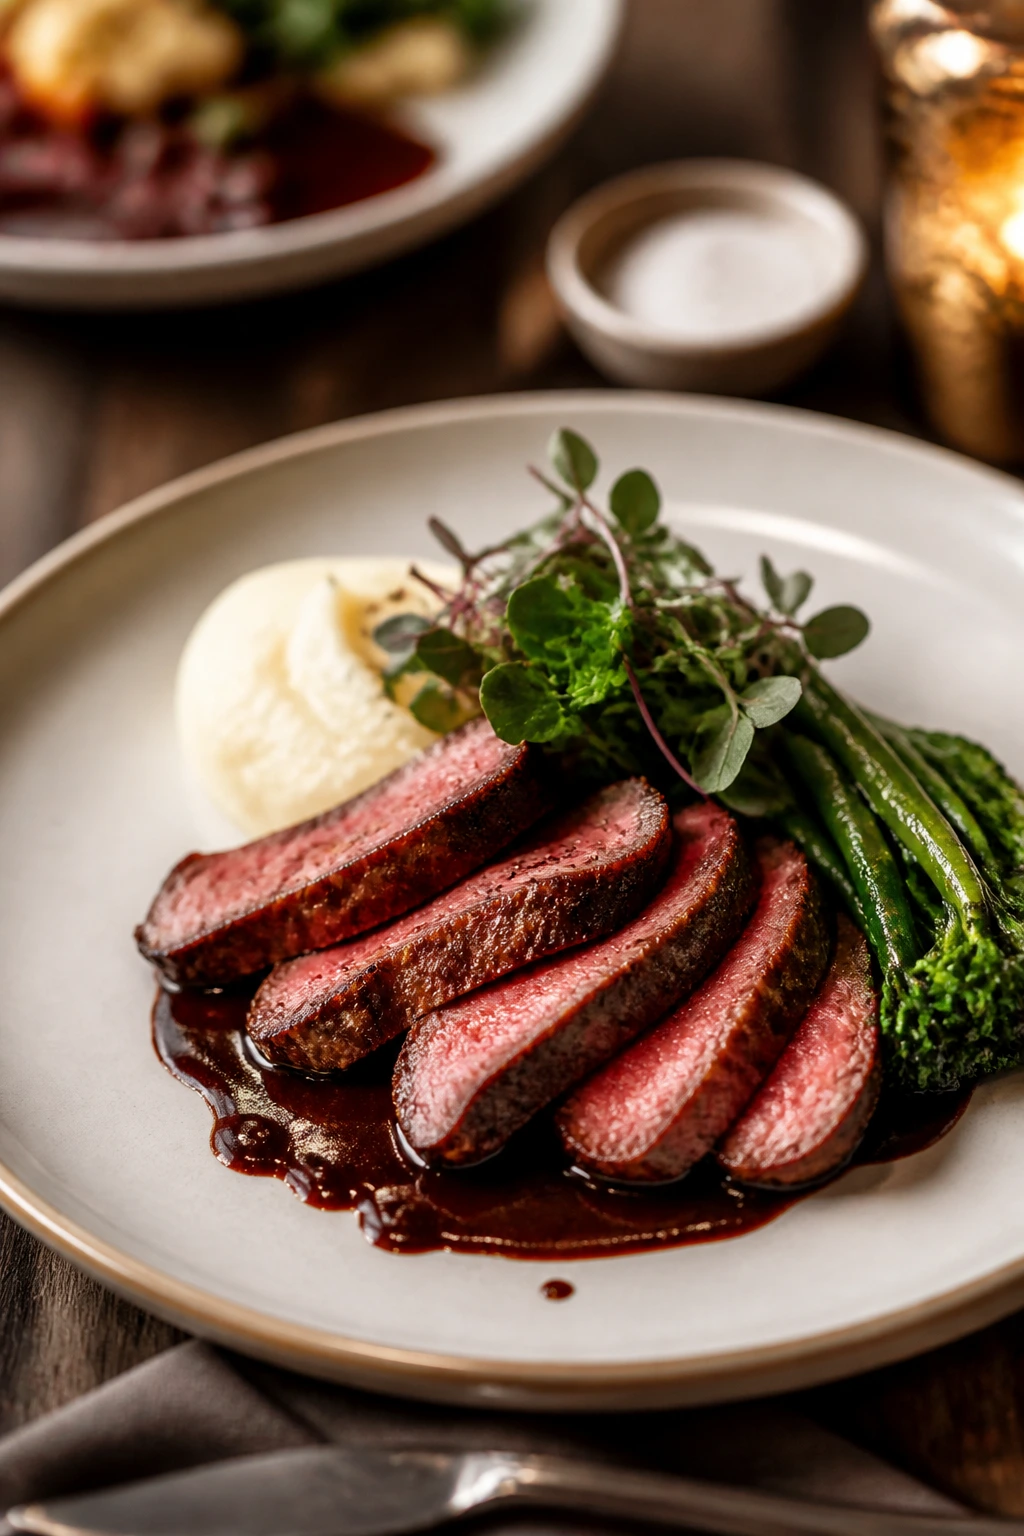
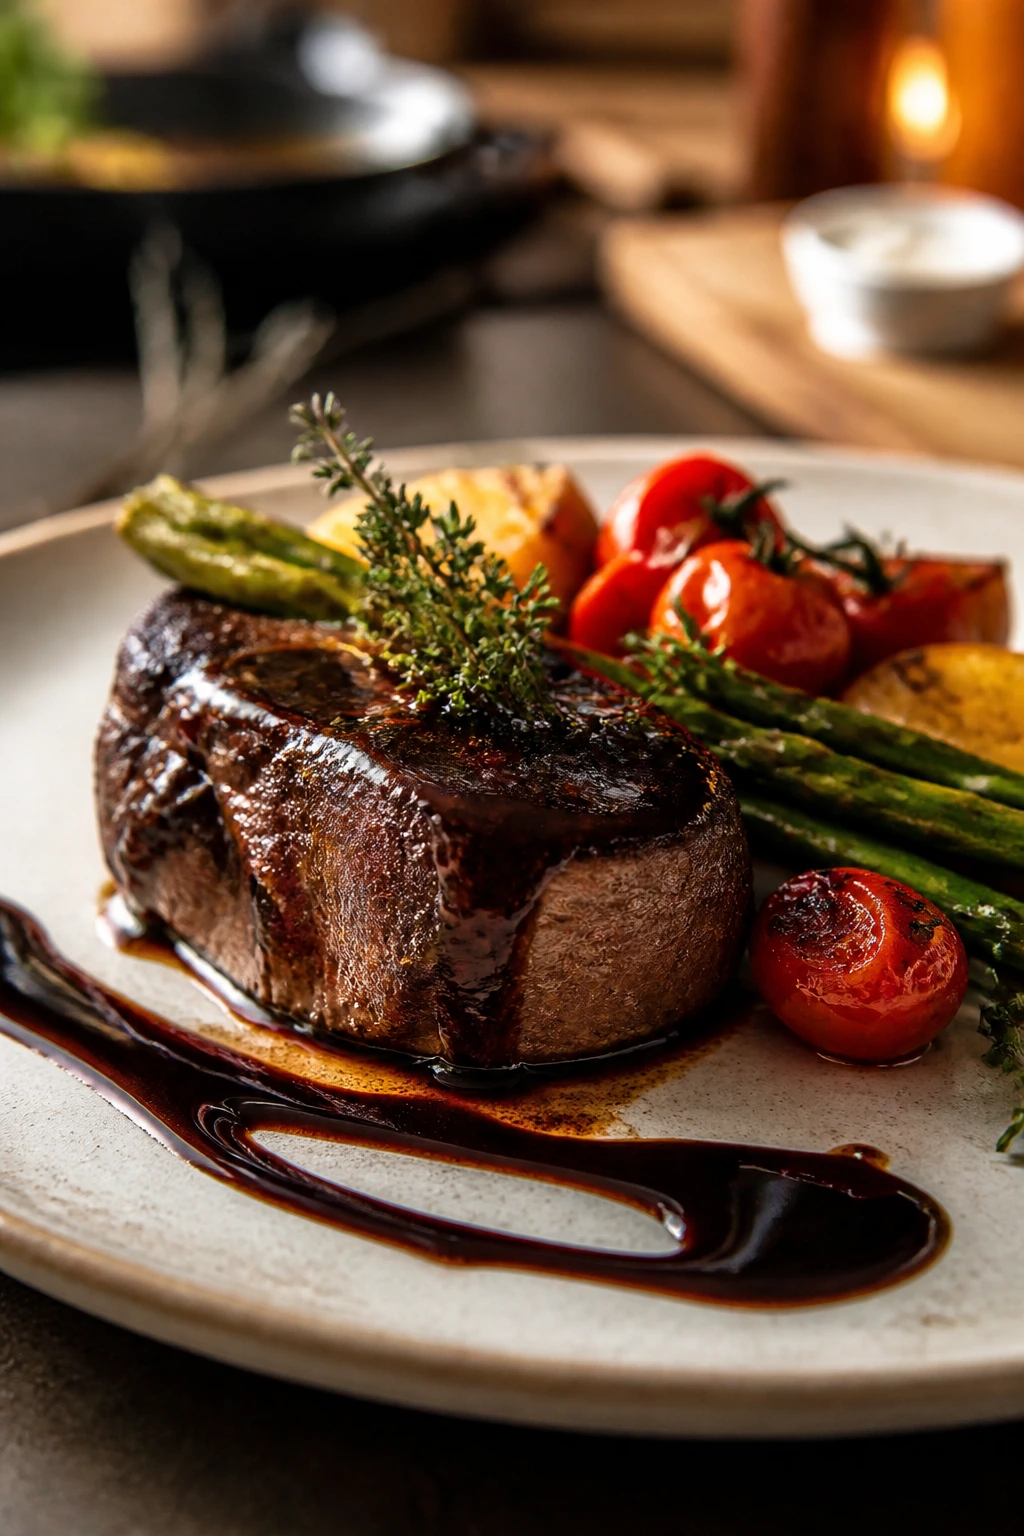
11. Pork Tenderloin with Cherry Balsamic Glaze

Pork tenderloin is one of the most underrated dinner-for-two cuts around. It cooks quickly, slices cleanly, and takes on a sweet-savory glaze without needing a lot of handling. The cherry balsamic sauce gives it enough Valentine’s-night color to feel right for the table, but it’s still a practical dinner. I appreciate that.
Why It Works
Tenderloin is lean, so the key is keeping it from drying out. A hot sear gives the outside flavor, and a short oven finish keeps the center juicy. The glaze, made from cherry preserves, balsamic, broth, and shallot, gives you a glossy sauce that tastes brighter than a standard pan gravy.
Cherries and balsamic have a natural sweet-tart pull that fits pork well. That balance matters more than any garnish. If the glaze tastes a little sharp when you first simmer it, that’s fine; butter at the end rounds it out. You want a sauce that lands in the middle, not one that shouts.
Key Ingredients
- 1 pork tenderloin, 1 to 1¼ lb — trim the silver skin if needed.
- 1 teaspoon kosher salt — season the meat well.
- ½ teaspoon black pepper — black pepper helps the crust.
- 1 tablespoon olive oil — for the sear.
- 1 small shallot, minced — gives the glaze a soft savory base.
- ½ cup balsamic vinegar — reduces into the glaze.
- ⅓ cup cherry preserves — the easiest way to get a cherry note year-round.
- ½ cup chicken broth — keeps the glaze from becoming too sticky.
- 1 teaspoon Dijon mustard — sharpens the sauce.
- 1 tablespoon unsalted butter — stirred in at the end.
- 1 teaspoon fresh thyme leaves — a small herb note that fits the pork.
Quick Steps
-
Preheat and season: Heat the oven to 400°F (205°C). Pat the pork dry, then season it with salt and pepper.
-
Sear: Heat olive oil in an oven-safe skillet over medium-high heat. Sear the pork on all sides until browned, about 6 to 8 minutes total.
-
Roast: Transfer the skillet to the oven and roast for 15 to 20 minutes, until the pork reaches 145°F in the thickest part.
-
Make the glaze: Move the pork to a cutting board to rest. Put the skillet back on the stove, add the shallot, balsamic, cherry preserves, broth, and Dijon, and simmer for 4 to 5 minutes until glossy.
-
Finish: Whisk in the butter and thyme. Slice the pork into medallions and spoon the glaze over the top.
-
Serve: Plate immediately with the glaze pooled around the pork. Resting the meat matters here; slice too soon and the juices run onto the board instead of staying in the meat.
Tips and Variations
- Swap Idea: Apricot preserves work if cherry is unavailable.
- Side Match: Roasted carrots or mashed potatoes are both good partners.
- Sauce Tip: If the glaze gets too thick, loosen it with a tablespoon of broth.
12. Caprese Stuffed Chicken Breast with Balsamic Drizzle
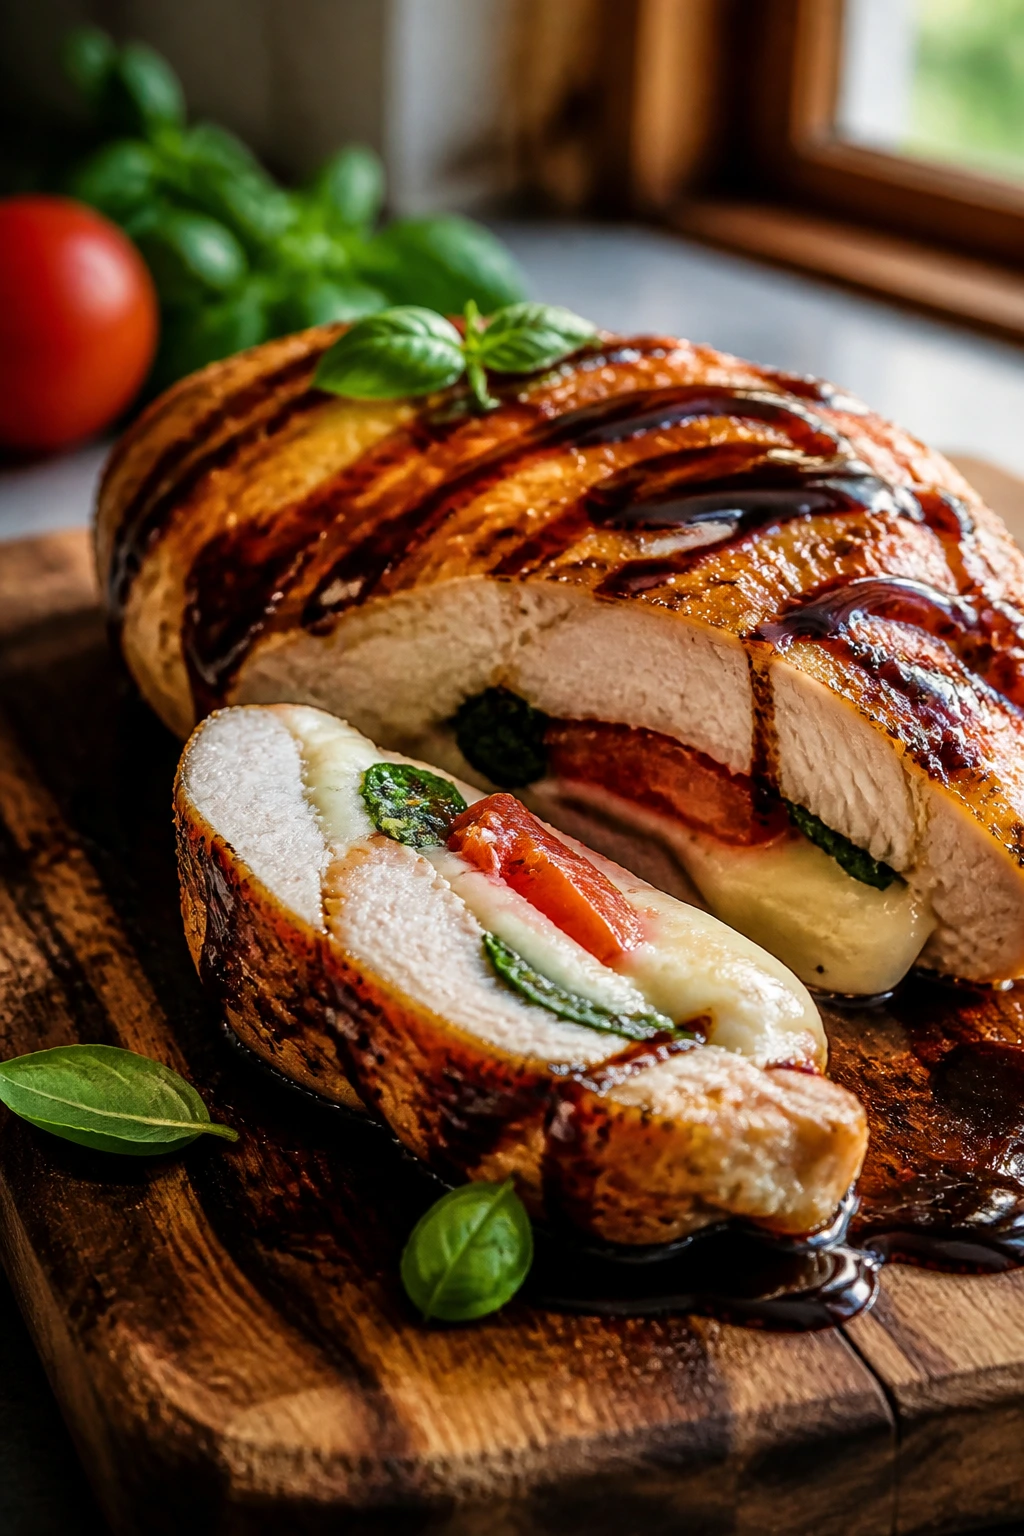
Caprese flavors have a built-in sense of occasion: tomato, basil, mozzarella, and balsamic always feel a little dressed up. Stuff them inside chicken breast, and you get a main dish that slices into a neat little cross-section of red, green, and white. It’s prettier than plain chicken, and yes, that matters on a night like this.
Why It Works
Stuffing chicken breast can turn awkward if you overfill it, but a modest pocket with a small amount of mozzarella and tomato stays manageable. The chicken sears first, which gives you color, then finishes in the oven so the inside has time to cook without scorching the outside. That combination is the whole point.
The balsamic drizzle gives you acid after the richness of the cheese. Without it, the dish can feel one-note. With it, each bite moves from savory to bright to a little sweet. That’s a nice arc on a dinner plate.
Key Ingredients
- 2 boneless, skinless chicken breasts — choose pieces that are similar in size.
- 4 oz fresh mozzarella, sliced — low-moisture mozzarella works if you want less leaking.
- 1 large tomato or 1 cup cherry tomatoes, sliced or halved — use ripe tomatoes with good flavor.
- ¼ cup fresh basil leaves — tear them just before stuffing.
- 1 tablespoon olive oil — for searing.
- 1 teaspoon Italian seasoning — keeps the chicken seasoned inside and out.
- ½ teaspoon kosher salt — season the chicken well.
- ¼ teaspoon black pepper — enough for the outside.
- ½ cup balsamic vinegar — for the drizzle.
- 1 teaspoon honey — helps the balsamic reduce smoothly.
Quick Steps
-
Prep the chicken: Slice a pocket into each chicken breast without cutting all the way through. Season both the outside and the inside lightly with salt, pepper, and Italian seasoning.
-
Stuff: Add mozzarella, tomato, and basil to each pocket. Press the opening closed with toothpicks if needed.
-
Sear: Heat olive oil in an oven-safe skillet over medium-high heat. Sear the chicken for 2 to 3 minutes per side until golden.
-
Bake: Transfer the skillet to a 400°F (205°C) oven and bake for 18 to 22 minutes, until the chicken reaches 165°F and the cheese is melted.
-
Make the drizzle: Simmer the balsamic vinegar and honey in a small saucepan for 4 to 5 minutes until syrupy.
-
Serve: Rest the chicken for 5 minutes, slice it open, and drizzle with balsamic glaze. If you cut too soon, the cheese will spill out instead of staying tucked in the pocket.
Tips and Variations
- Cheese Choice: Low-moisture mozzarella is neater if you want less liquid in the pan.
- Variation: Add a thin slice of prosciutto inside the pocket for a saltier edge.
- Serving Tip: A simple arugula salad with olive oil and lemon fits the plate well.
Why These Dinners Work So Well for Two
A two-person dinner is a different animal from a family meal. There’s nowhere to hide mistakes, but there’s also less to manage, which means good technique shows up faster. A hot skillet can give you a real sear. A small pot of sauce can turn silky in minutes. A single sheet pan can carry the whole evening if you pick the right vegetables and keep an eye on the clock.
The smartest dinners for two usually share one trait: they concentrate flavor instead of scattering it. A pan sauce. A herb butter. A lemon glaze. A browned edge on a mushroom or a piece of chicken. That’s why these recipes feel special without needing a cart full of ingredients. Each one uses a little trick that makes the plate feel finished.
I also like that these meals don’t force you into a huge commitment. You can choose something rich and serve it with a sharp salad, or choose something light and add bread or potatoes if you want more comfort. That flexibility matters on a night that’s supposed to feel easy to sit inside.
Essential Equipment for These Recipes
- 10- to 12-inch cast-iron or stainless skillet — best for searing steak, chicken, pork, and lobster-style broiling prep.
- Rimmed sheet pan — useful for salmon, asparagus, and oven fries.
- Medium saucepan — good for risotto stock and quick pan sauces.
- Large sauté pan or Dutch oven — helpful for pasta sauces and risotto.
- Instant-read thermometer — the easiest way to avoid dry steak, chicken, salmon, or pork.
- Tongs — makes turning protein safer and cleaner than a fork.
- Microplane or fine grater — best for garlic, lemon zest, and parmesan.
- Sharp chef’s knife — for trimming asparagus, slicing tomatoes, and cutting chicken pockets.
- Cutting board — preferably one for produce and one for meat, if you have both.
- Wooden spoon or heatproof spatula — good for stirring risotto and scraping up browned bits.
- Small whisk — handy for emulsifying butter sauces and quick glazes.
- Kitchen shears — the easiest way to prep lobster tails cleanly.
- Airtight containers — for leftovers and make-ahead components.
Smart Shopping and Ingredient Tips
The best dinner-for-two shopping starts with the main protein. Look for pieces that are similar in thickness, not just similar in weight. Two salmon fillets that are close in size will cook at the same pace. Two chicken breasts that are wildly different in thickness will make you chase doneness all over the pan. That little detail saves more stress than any fancy trick.
For steak, buy by shape as much as cut. A filet that’s narrow at one end and fat at the other cooks unevenly, which is annoying when you’re aiming for a clean medium-rare. For pork tenderloin, trim the silver skin if it’s still attached; it turns chewy after cooking. For shrimp, choose large or extra-large, peel and devein them, and blot them dry. Wet shrimp steam. Dry shrimp sear.
The supporting ingredients matter too. Use real parmesan if a recipe asks for it, because the shelf-stable stuff doesn’t melt the same way. Choose dry Marsala, not cooking Marsala from the grocery shelf if you can help it. Buy sun-dried tomatoes packed in oil for pasta and chicken dishes; they’re softer and easier to chop. Mushrooms should feel dry, not slick. If the caps are wet and slimy, skip them.
Seafood deserves one more note. Frozen lobster tails and frozen shrimp are often excellent if they’re thawed slowly in the fridge, not rushed under hot water. Same with salmon. “Frozen” does not mean second-rate here. A clean thaw often tastes better than a piece of seafood that has sat too long in a display case.
How to Serve These Recipes
Presentation:
Warm the plates if you can. A hot dish looks more finished on a warm plate, and cream sauces in particular hold their texture better. Slice steak, pork, and stuffed chicken on a slight diagonal so the center shows. For risotto and pasta, use shallow bowls rather than flat plates; the food sits better and the sauce stays where it belongs.
Accompaniments:
A sharp green salad keeps richer dishes from feeling too heavy. Roasted broccolini, asparagus, green beans, mashed potatoes, or a small pile of buttered bread work across the board. If you’re serving lobster, steak, or filet, a simple vegetable side is enough. If the main is lighter, like salmon or ravioli, add bread or potatoes so the meal feels complete.
Portions:
Most of these recipes land at two generous servings, though a few will stretch to a small leftover lunch. For date night, I’d rather serve a little less and make the plating cleaner than crowd the plate. If you want to scale up, double the sauce before you double the protein. That keeps the dish balanced instead of just bigger.
Beverage Pairing:
Crisp white wine fits salmon, scampi, and lobster. Pinot Noir or a light red works well with pork, chicken marsala, and steak if you want something softer than cabernet. Sparkling wine can carry almost any of these because bubbles cut through butter and cream. For a nonalcoholic option, sparkling water with lemon or grapefruit keeps the palate fresh.
Additional Tips and Flavor Boosters
Flavor Enhancement:
A finishing hit of acid makes a bigger difference than people expect. A squeeze of lemon on salmon, a spoon of balsamic on chicken, or a tiny splash of red wine vinegar in a sauce can wake everything up at the table. It’s not about making the dish sour. It’s about keeping rich food from flattening out.
Customization:
Lean into the side dishes you already like. If you love potatoes, pair them with steak, pork, or chicken. If you’d rather keep things lighter, go with asparagus, broccolini, or a crisp salad. For pasta dishes, stir in spinach, peas, or sautéed mushrooms without changing the soul of the recipe.
Serving Suggestions:
Garnishes should earn their place. Chopped parsley, basil, lemon zest, or a little shaved parmesan does the job. Toasted breadcrumbs, pine nuts, or walnuts give the plate a crunch that keeps creamy dishes from feeling one-note. Skip the heavy decorative stuff. A clean plate with one smart garnish looks better than a busy one.
Make-It-Yours:
For a gluten-free dinner, use cornstarch in place of flour for chicken or steak sauces and choose gluten-free pasta or rice on the side. For dairy-free cooking, rely more on olive oil, broth, and a little starchy pasta water for body. For lower-carb plates, build around salmon, steak, pork, or chicken and add more roasted vegetables instead of pasta or fries.
Make-Ahead, Storage, and Reheating Guidance
A few parts of these dinners can be handled ahead, and that makes the evening easier. You can trim asparagus, grate cheese, mince garlic, chop herbs, and mix herb butters earlier in the day. Keep them covered in the fridge. For stuffed chicken, you can prep the filling and even make the pockets ahead, but don’t stuff the chicken too early or the tomato will start leaking into the meat.
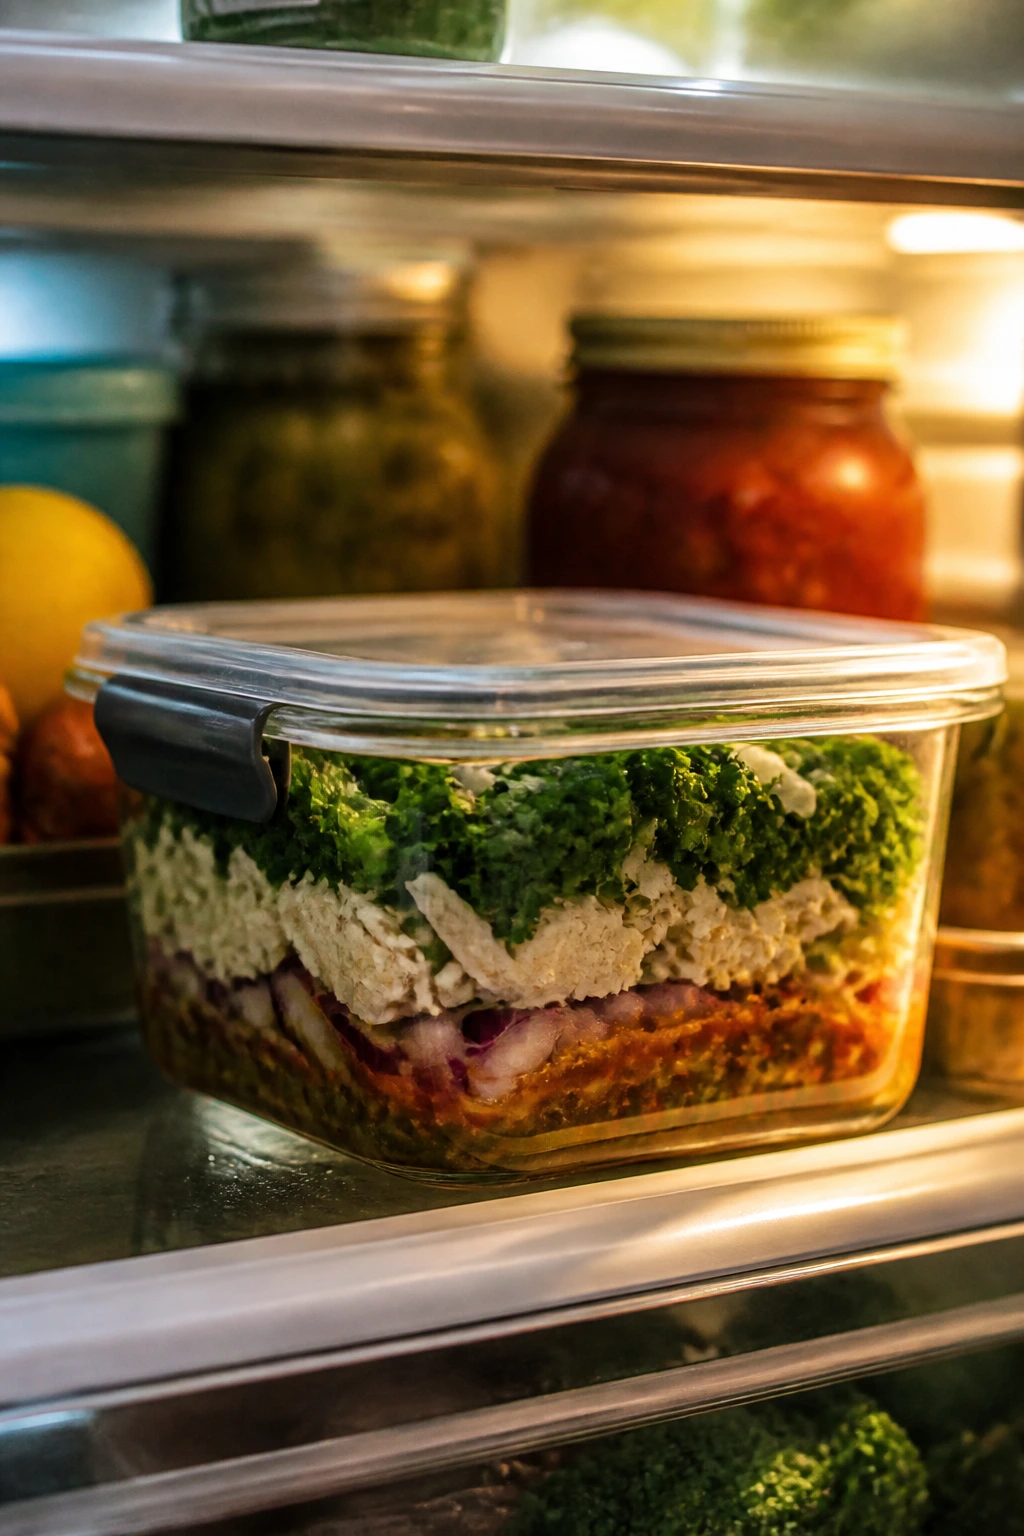
Cooked chicken, pork, risotto, and pasta dishes keep in the refrigerator for 3 to 4 days in airtight containers. Seafood is shorter: salmon, shrimp, and lobster are best within 1 to 2 days. Risotto is the least forgiving leftover here. It gets thick and heavy fast, so save extra stock or broth for reheating and loosen it gently over low heat with a splash at a time.
Freezing works best for saucier chicken and pork dishes. Chicken Marsala, Baked Tuscan Chicken, and pork tenderloin with glaze can be frozen for up to 2 months, though the texture is best if you cool them fully before packing them away. Cream-based pasta sauces can freeze, but they may separate a bit when reheated. If you freeze those, reheat slowly and whisk in a tablespoon or two of cream or broth to bring the sauce back together.
For reheating, gentle heat wins. Use a 300°F to 325°F oven for chicken, pork, and steak slices with a splash of broth under foil. Warm seafood low and slow in a covered skillet for just a few minutes, or eat it chilled over salad if you want to avoid overcooking. Pasta should be reheated with a spoonful of water in a skillet, not blasted in the microwave until it turns dry at the edges. If something dries out, a little liquid and patience usually fix it.
Variations and Adaptations to Try
Gluten-Free Date Night:
Swap the flour dredge in Chicken Marsala for cornstarch, and use gluten-free pasta in the scampi or sun-dried tomato pasta. Risotto, steak, salmon, and pork already fit neatly into a gluten-free menu with very little fuss. The meal still feels complete, which is the part that matters.
Dairy-Free Richness:
Use olive oil instead of butter where you can, and lean on broth, lemon, and herbs for flavor. In the creamy pasta dishes, a small amount of unsweetened cashew cream can stand in for heavy cream if you want a softer sauce. It will not taste identical, but it keeps the dish lush enough for a special night.
Low-Carb Plate:
Build the menu around filet mignon, salmon, pork tenderloin, or stuffed chicken, then add asparagus, broccolini, or a green salad instead of pasta and fries. A little herb butter or pan sauce gives you the comfort factor without pushing the plate into heavy territory. This is the easiest way to keep the meal elegant and still feel light afterward.
Seafood Swap Night:
Salmon can swap with trout or Arctic char. Shrimp scampi can become scallop scampi if you want a sweeter, softer seafood feel. Lobster tails can be replaced by jumbo shrimp or even crab cakes if the seafood counter looks better in one direction than another.
Vegetarian Candlelight Menu:
Brown butter ravioli and mushroom risotto already do the heavy lifting. Add the sun-dried tomato pasta and a crisp salad, and you’ve got a four-dish vegetarian rotation that feels full without relying on fake meat. I’d happily serve that table to anyone.
Heat-Lover’s Version:
Stir Calabrian chili paste into the scampi sauce, add crushed red pepper to the Tuscan chicken, or finish the salmon with a pinch of chili flakes and lime instead of just lemon. The key is restraint. A date-night plate should still taste like dinner, not a dare.
Common Mistakes to Avoid
-
Crowding the pan: Two steaks, chicken breasts, or portions of fish need space. If the pan is too full, the food steams instead of browns, and the whole dish tastes flatter. Use a larger skillet or cook in batches.
-
Starting with cold protein and no plan: Straight-from-the-fridge chicken or steak cooks unevenly. Let it sit out briefly while you prep the sides, pat it dry, and season it before it hits the heat.
-
Overcooking seafood: Salmon, shrimp, and lobster go from just-right to dry in a short window. Pull them when they still look slightly underdone in the center; carryover heat finishes the job.
-
Under-seasoning small portions: Smaller dinners need sharper seasoning because there’s less food on each plate. Taste your sauce, salt your pasta water properly, and season each layer as you go.
-
Skipping the rest time: Steak, pork, and even chicken need a few minutes before slicing. Cut too early and the juices end up on the board instead of in the meat.
-
Trying to make every dish do too much: A romantic dinner does not need six side dishes, three garnishes, and a sauce on sauce. One main, one side, maybe one bright finish. That’s enough.
Frequently Asked Questions

Which of these is easiest if I do not cook often?
Lemon Garlic Salmon with Asparagus and Brown Butter Sage Ravioli are the least demanding. Both move fast, use straightforward timing, and don’t ask you to manage a lot of separate pans.
Can I make one of these recipes ahead of time?
Chicken Marsala, Baked Tuscan Chicken, and Pork Tenderloin with Cherry Balsamic Glaze hold up best for a short make-ahead window. Seafood is less cooperative, so salmon, shrimp, and lobster are better cooked close to serving.
What if I want a meal that feels fancy but takes less than 30 minutes?
Shrimp Scampi with Linguine, Brown Butter Sage Ravioli, and Lemon Garlic Salmon all fit that lane. They look polished, but the actual work is mostly chopping, stirring, and watching the pan.
Can I swap chicken breasts for thighs?
Yes, though the cooking time changes a bit. Thighs stay juicier and bring more flavor, but they usually need a few extra minutes in the oven or skillet to reach temperature safely.
What sides work best without making the meal too heavy?
Asparagus, broccolini, a green salad, and roasted carrots are the easiest answers. If the main is already rich, like risotto or steak with butter, keep the side simple and bright.
How do I keep steak or salmon from overcooking?
Use an instant-read thermometer and pull the food a little before it reaches the final temperature you want. Steak should rest up to medium-rare or medium; salmon is usually best when it flakes and still looks moist in the center.
What if my sauce gets too thick?
Add broth, pasta water, or a small splash of wine, one spoonful at a time. Sauces tighten as they sit, so a quick loosening usually brings them back where they should be.
Can I double these recipes for a small dinner party?
Some, yes. Pasta, risotto, Tuscan chicken, and pork glaze scale fairly well. Steak, seafood, and stuffed chicken are trickier because they depend more on pan space and careful timing, so cook those in batches if you go bigger.
Is it okay to use frozen seafood?
Absolutely, if you thaw it in the fridge and dry it well before cooking. Frozen shrimp, salmon, and lobster tails are often more consistent than seafood that has sat around too long.
One Last Note
A dinner for two gets better when you stop trying to make it feel large. A great plate can be small, focused, and well-seasoned. That’s the whole point of these recipes: they give you enough polish to make the night feel special, but not so much fuss that you spend the evening tied to the stove.
Pick one rich dish and one bright side, or go light and let the sauce do the talking. Either way, the good versions here reward calm hands, hot pans, and a little patience at the end. That’s a decent recipe for a quiet table and a better evening.