
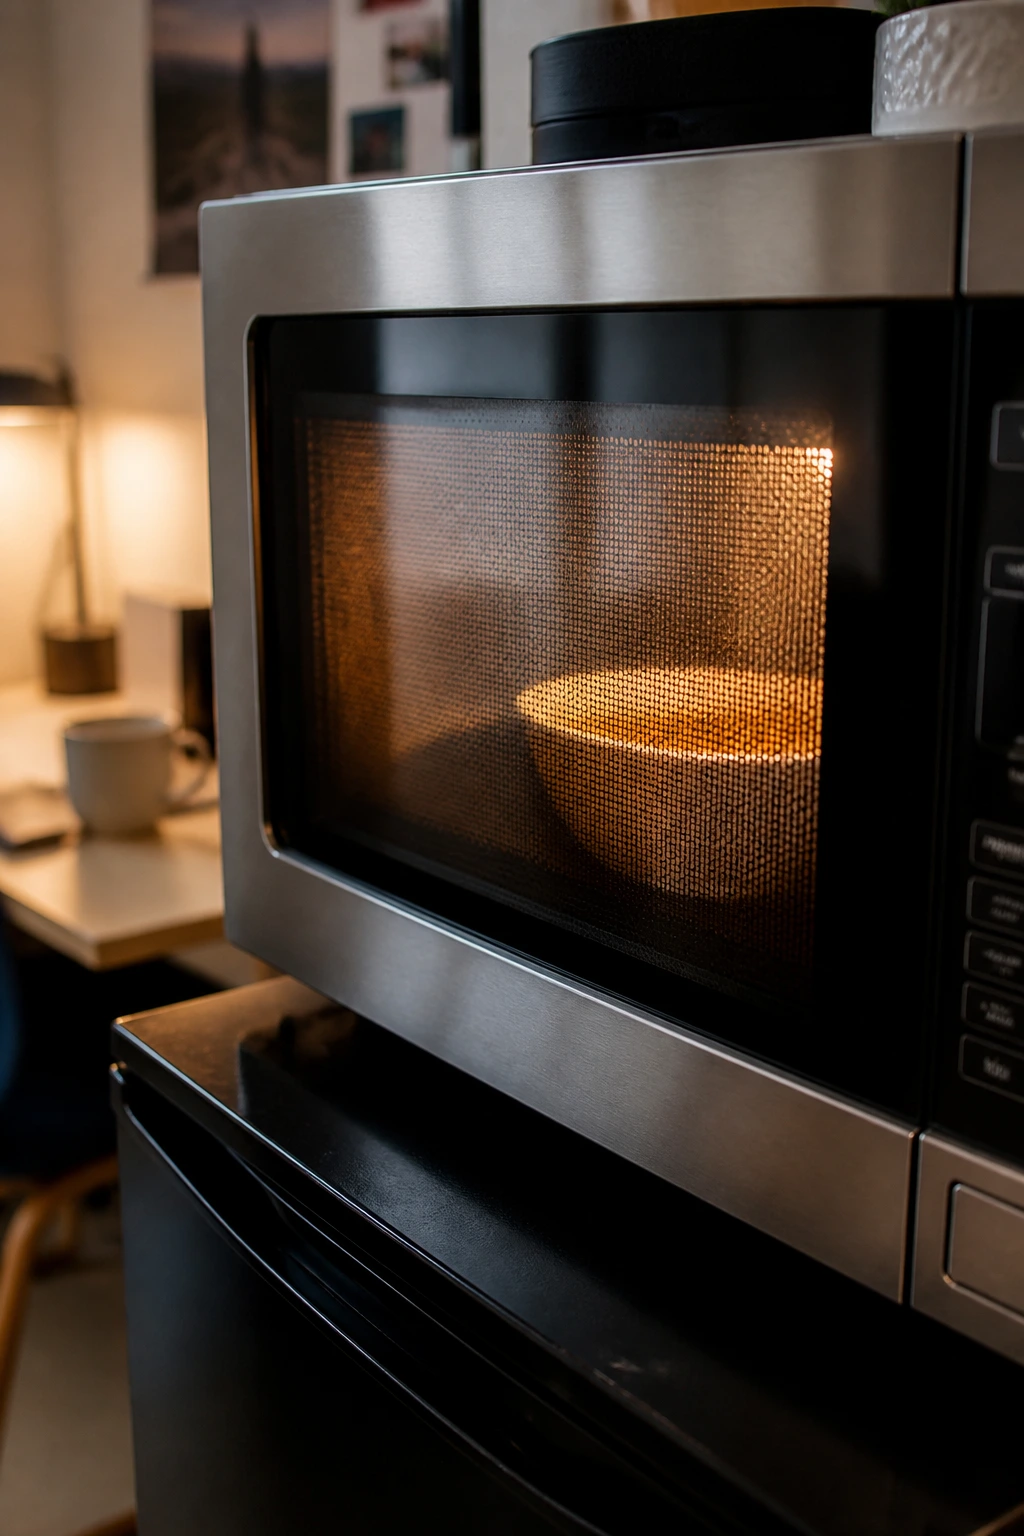
A microwave, a half-empty fridge, and ten minutes before a late class is not a glamorous dinner setup. It is, however, enough.
That’s the quiet miracle of microwave dinners for college dorms: they don’t pretend your room is a kitchen, and they don’t ask you to own three pans and a spice rack the size of a shoebox. They work with the real stuff — a microwave that hums like a tired refrigerator, a bowl that’s probably seen a few bad pasta nights, and ingredients you can keep alive in a mini fridge without playing food Tetris every afternoon.
And honestly? That limitation can make you a sharper cook. When there’s no stove to rescue you, every choice matters a little more. You notice which sauces cling, which vegetables steam nicely, which starches actually fill you up, and which meals collapse into a soggy disappointment after two minutes. The recipes below lean into that reality. They’re warm, filling, cheap enough to repeat, and built for the kind of evening when you’d rather study, shower, or just sit on the bed in silence than stand over a burner.
Why These Dorm Meals Earn Their Spot
- One Bowl, One Fork: Most of these dinners use a single microwave-safe bowl or plate, which means cleanup takes about as long as checking your messages.
- Pantry-Stretching Ingredients: Pasta, rice, beans, tortillas, couscous, ramen, canned chili, and frozen vegetables do the heavy lifting here, so you can shop without blowing your food budget.
- Real Dinner Energy: These aren’t snack plates disguised as meals; they have starch, protein, and enough fat or cheese to keep you full through another round of reading.
- Friendly to Tiny Fridges: The recipes lean on ingredients that keep well in a mini fridge or pantry drawer, not fragile produce that wilts if you blink at it.
- Easy to Scale: Make a single serving when you’re eating alone, or double the base if a roommate shows up with suspicious timing and an empty bowl.
- Flexible on the Fly: Missing one ingredient usually means swapping in another, not scrapping dinner and ordering takeout.
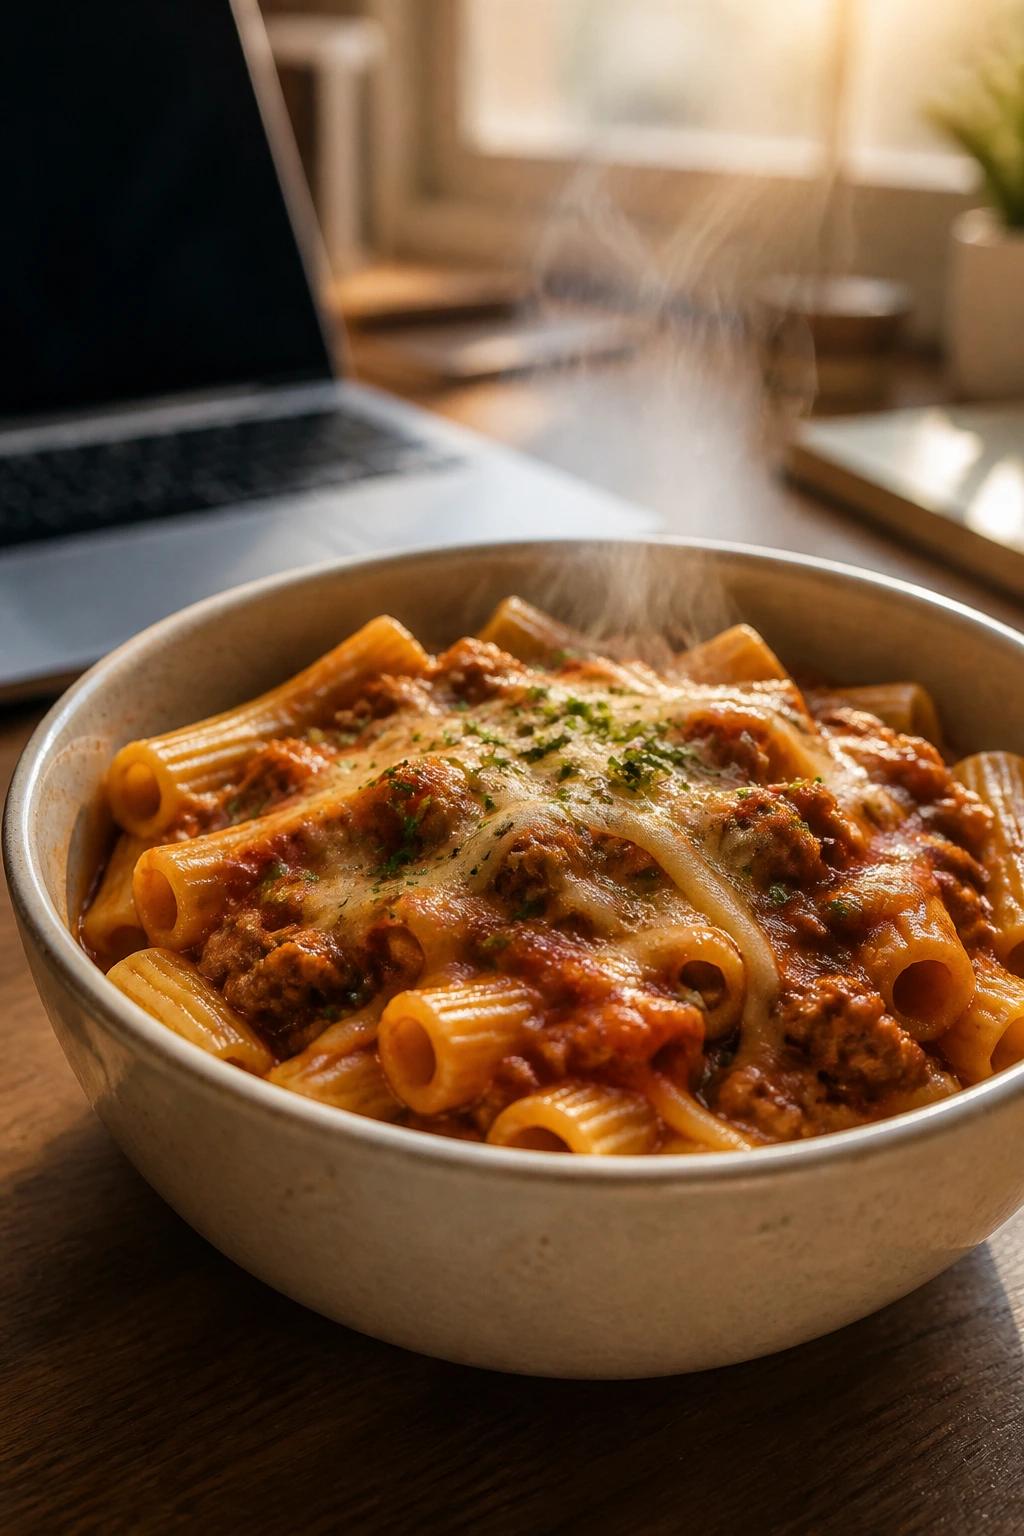
1. Broccoli Cheddar Mac Mug
This is the one people make once and then keep making on repeat. The noodles turn soft and glossy, the cheddar melts into the steam, and the broccoli gives the bowl enough color and bite to make it feel like an actual dinner instead of a late-night engineering project. When it comes out right, it smells like a small comfort victory.
The texture is what makes this work. You get tender pasta, a creamy sauce that coats every elbow, and little green bits that still taste fresh instead of limp. That balance matters in a dorm, where food can slip from “hot” to “sad” in under a minute.
Why It Works
Microwave macaroni can be excellent when you give it enough water and a bowl with room to spare. The pasta cooks in stages, the broccoli softens in the same bowl, and the milk plus cream cheese help the cheddar melt into a smooth sauce instead of clumping up at the bottom. Sharp cheddar is the smart move here; it tastes louder, so you don’t need much of it.
Key Ingredients:
- 1/2 cup elbow macaroni
- 1 cup water
- 1/2 cup small broccoli florets, chopped into bite-size pieces
- 1/4 cup whole milk
- 1 tablespoon cream cheese
- 1/2 cup shredded sharp cheddar
- 1/8 teaspoon garlic powder
- Pinch of kosher salt
- Pinch of black pepper
- Pinch of red pepper flakes, optional
Quick Steps:
- Load the Bowl: Add the macaroni, water, and salt to a large microwave-safe bowl with at least 2 cups of headroom. A deep bowl matters here; this gets foamy before it gets polite.
- Cook the Pasta First: Microwave on high for 4 minutes, stir well, then microwave for 2 more minutes. The water should be bubbling and the pasta should look a little underdone.
- Add the Broccoli: Stir in the broccoli florets and microwave for 2 to 3 minutes, until the pasta is tender and most of the water has been absorbed.
- Make It Creamy: Pour in the milk, add the cream cheese, and stir until the mixture looks glossy and thick.
- Melt the Cheese: Add the cheddar, garlic powder, and black pepper. Microwave for 30 to 45 seconds, then stir until the cheese turns into a smooth sauce.
- Rest and Finish: Let it sit for 1 minute before eating. The sauce thickens a little as it cools, and that tiny pause keeps you from burning your tongue.
Tips and Variations:
- Use frozen broccoli if that’s what you have; just chop it smaller so it cooks evenly.
- Swap cheddar for Monterey Jack if you want a milder, silkier bowl.
- Add a spoonful of hot sauce or a pinch of smoked paprika if you want more edge.
- If your microwave runs hot, stir every 90 seconds so the pasta doesn’t seize up at the edges.
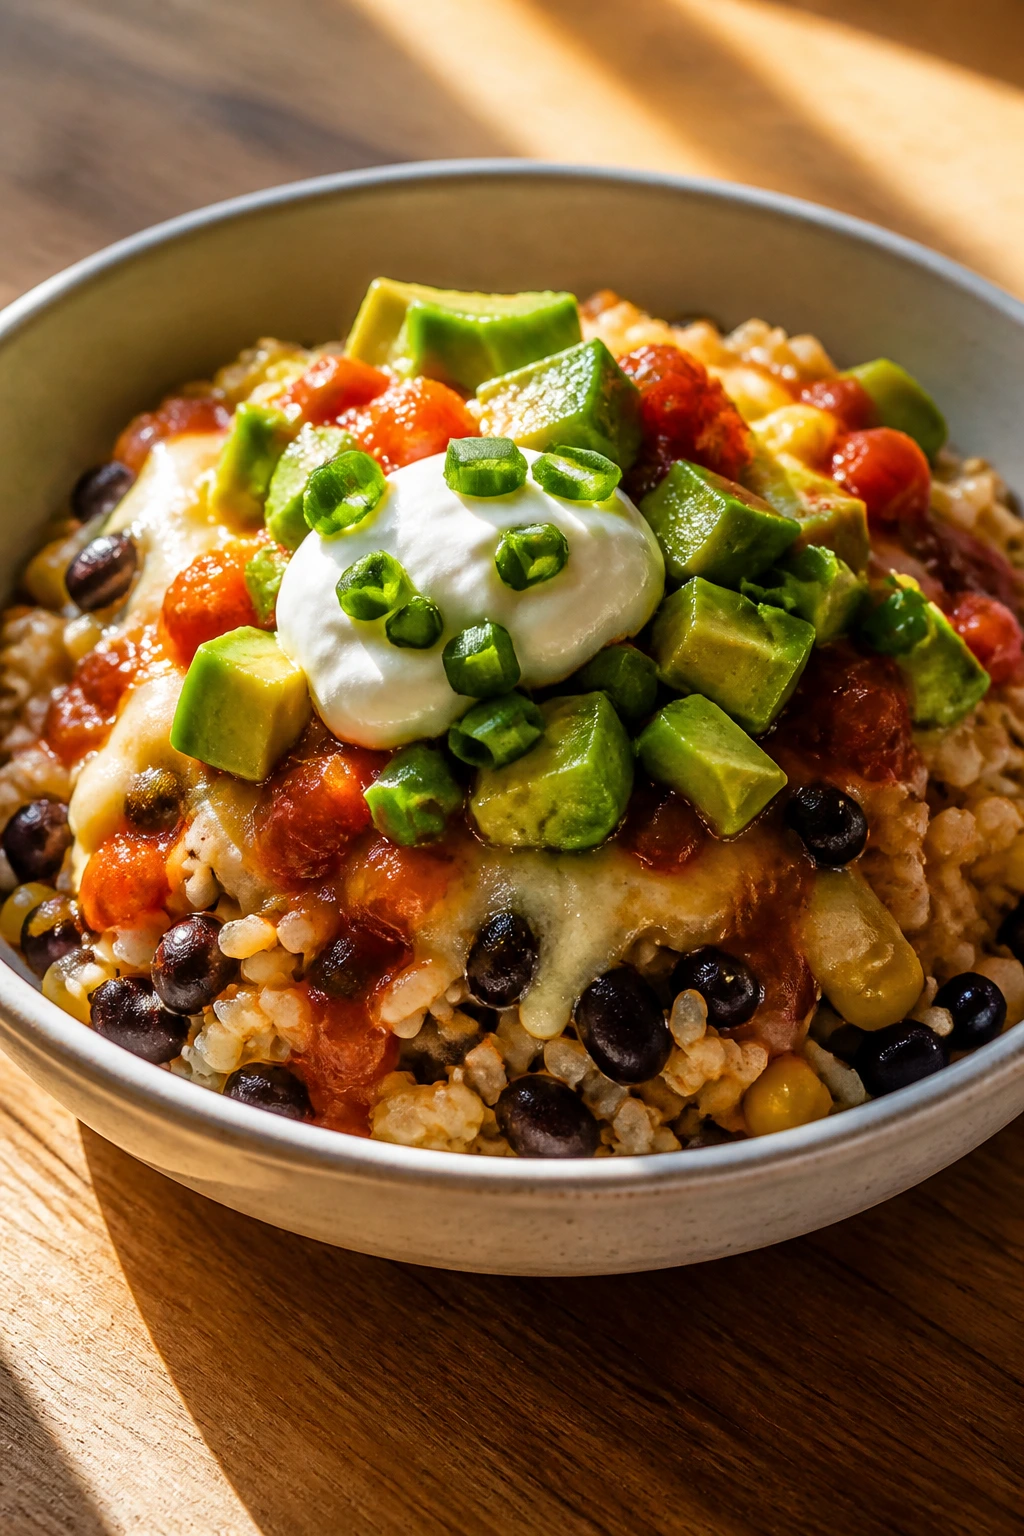
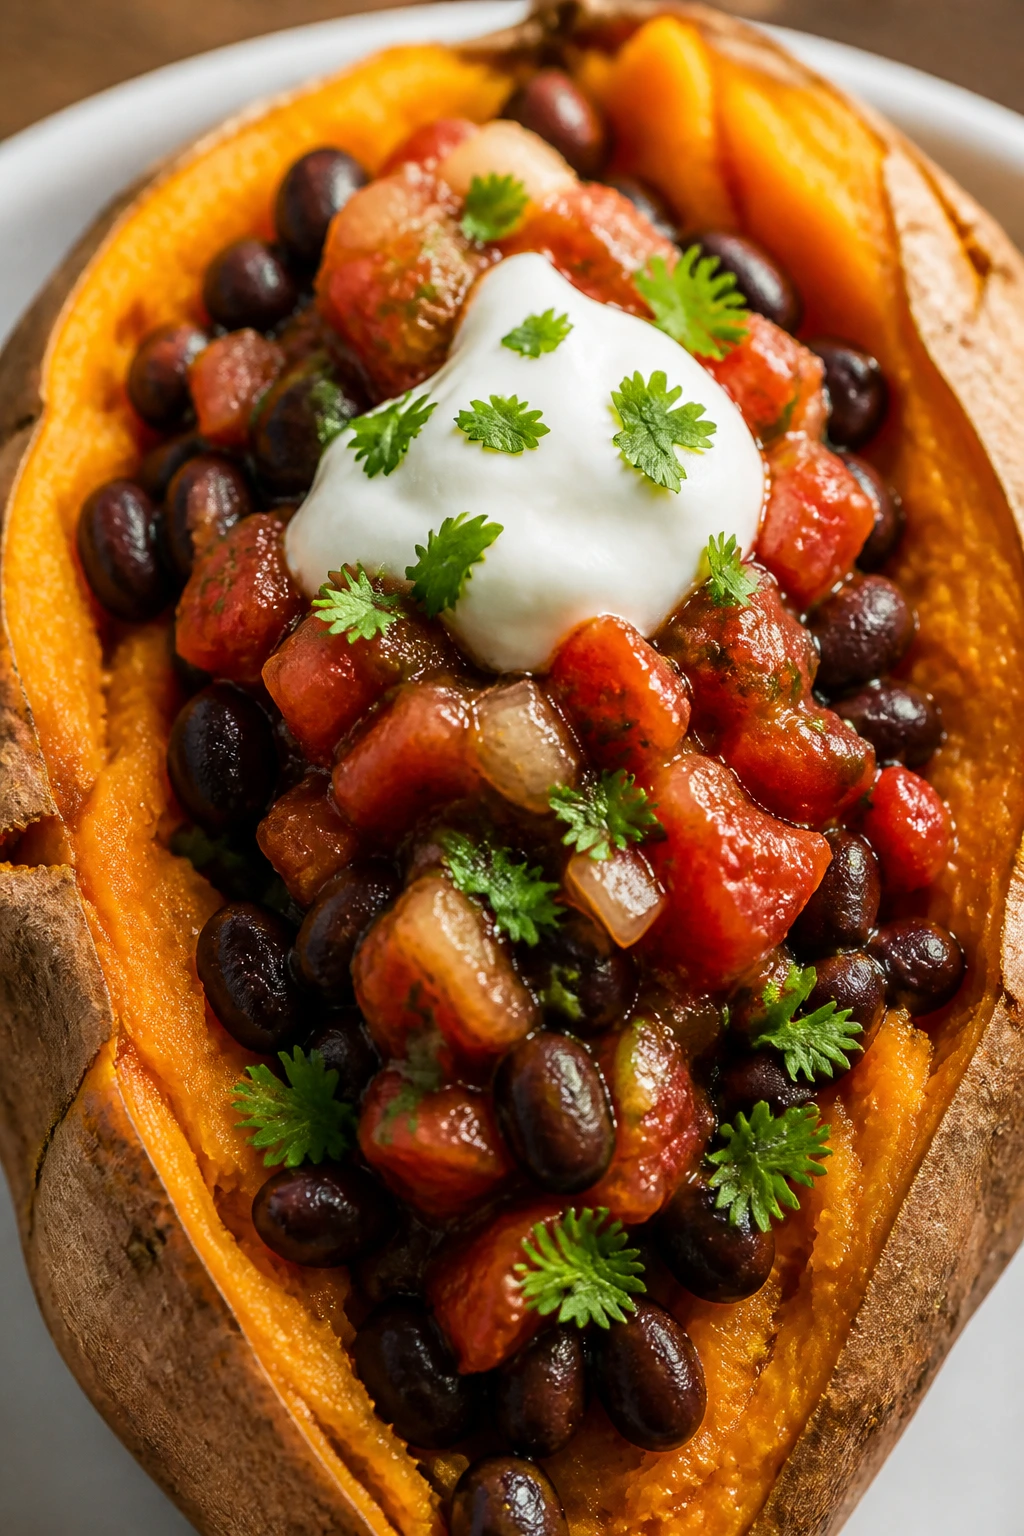
2. Loaded Sweet Potato with Black Beans and Salsa
A sweet potato in a dorm is a small miracle. It needs no pot, no strainer, and no patience beyond a few minutes of microwave time. Split it open and you get that soft orange steam, earthy and sweet, ready to hold whatever’s in your fridge door.
This one eats like dinner, not a side dish. The beans bring protein, the salsa wakes everything up, and a little yogurt or sour cream cools the heat. I like the way the sweet potato does half the work for you; its skin becomes the bowl, and that means fewer dishes and less mess on a cramped desk.
Why It Works
Sweet potatoes cook beautifully in the microwave because they’re dense but water-rich. Once the flesh turns soft, it becomes a built-in base for beans, cheese, and salsa. Black beans are the quiet workhorse here — cheap, filling, and sturdy enough to handle heat without turning to mush. If you want a dinner that feels balanced with almost no effort, this is one of the best bets.
Key Ingredients:
- 1 medium sweet potato, about 10 to 12 ounces, scrubbed clean and patted dry
- 1/2 cup black beans, drained and rinsed
- 2 tablespoons salsa
- 2 tablespoons shredded Monterey Jack or cheddar
- 1 tablespoon plain Greek yogurt or sour cream
- 1 tablespoon chopped green onion
- 1/4 teaspoon chili powder
- Pinch of salt
- Optional avocado slices, if you’ve got them
Quick Steps:
- Pierce the Potato: Use a fork to poke the sweet potato 5 or 6 times all over. That lets steam escape instead of turning the potato into a pressure experiment.
- Microwave Until Soft: Place it on a microwave-safe plate and cook on high for 5 minutes. Flip it over and cook for another 2 to 4 minutes, until a knife slides in easily.
- Let It Rest: Leave the potato alone for 2 minutes. The middle keeps steaming, and that extra rest makes the flesh fluffier.
- Warm the Beans: In a small bowl, stir the black beans with the chili powder and a pinch of salt, then microwave for 45 to 60 seconds.
- Split and Fluff: Cut the potato open lengthwise and fluff the flesh with a fork.
- Top It Generously: Spoon on the beans, salsa, cheese, yogurt, and green onion. If you’re using avocado, add it at the end so it stays cool and creamy.
Tips and Variations:
- Wrap the potato in a paper towel before microwaving if the skin tends to dry out fast.
- Swap black beans for pinto beans if that’s what you can get cheapest.
- Add a handful of frozen corn with the beans for a little sweetness and more texture.
- A spoonful of lime juice at the end makes the whole thing taste brighter.
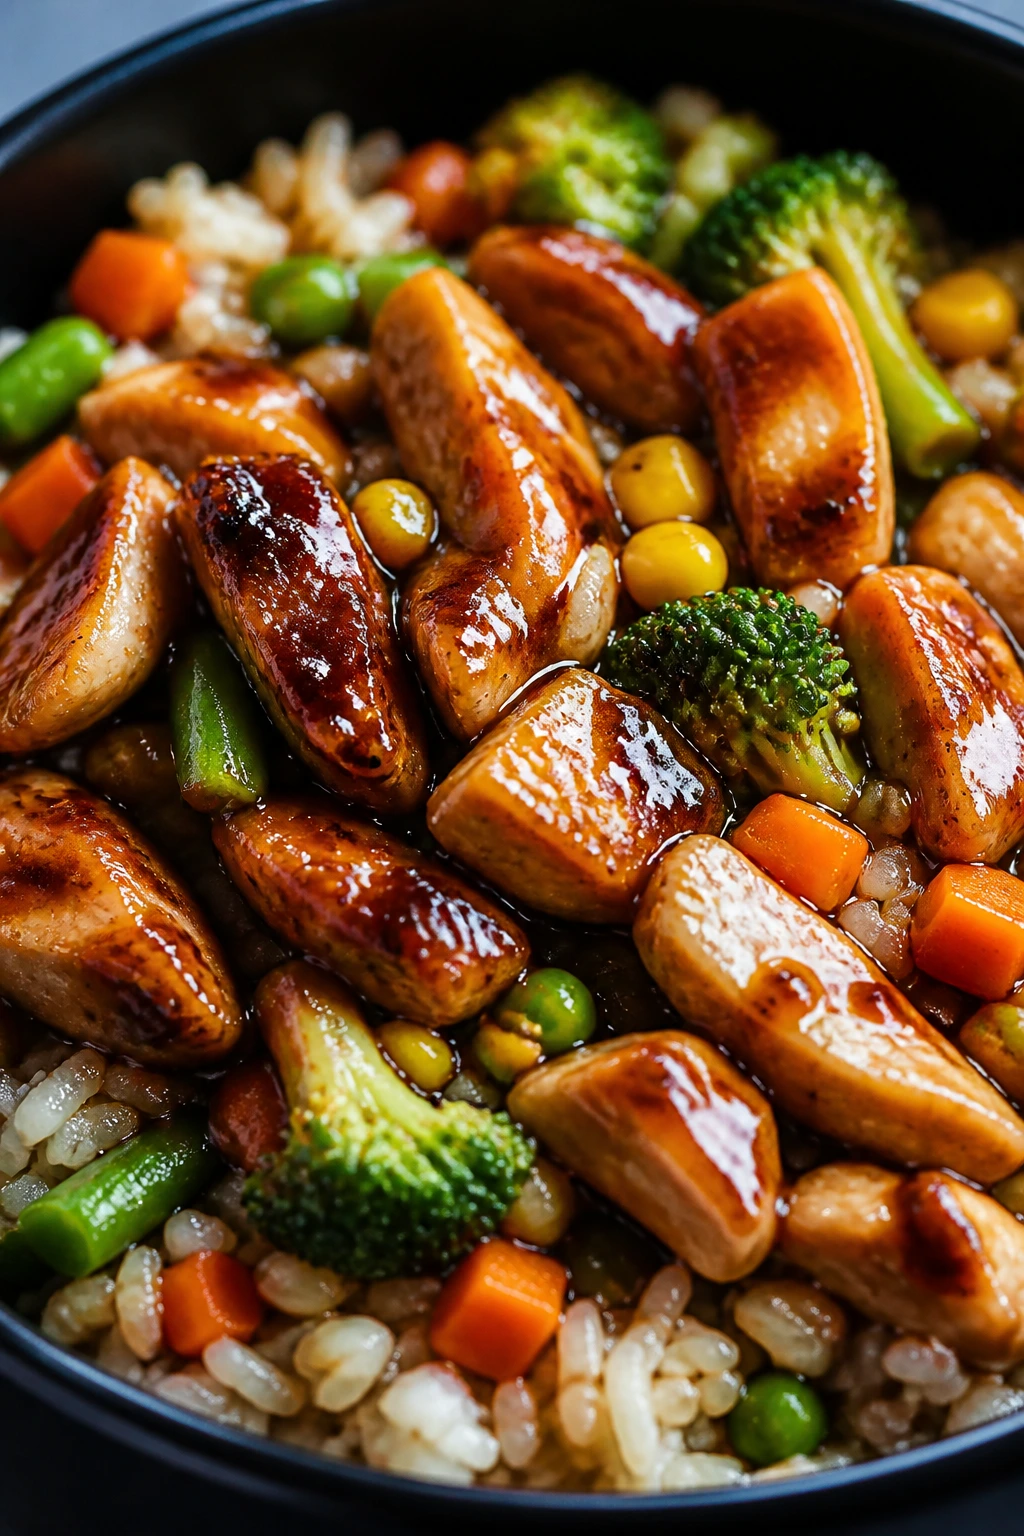
3. Teriyaki Chicken and Veg Rice Bowl
This bowl has serious “I ordered takeout, but I didn’t” energy. The rice goes fluffy, the chicken takes on that sticky-salty teriyaki shine, and the vegetables add color and crunch without asking you to chop half a pound of anything. It’s the kind of dinner that makes a dorm microwave look more capable than it has any right to be.
The best part is the balance. You get enough protein to stay full, enough rice to make it dinner, and enough sauce to keep it from tasting like cafeteria food. I like this one when I want something warm and savory but do not want to stand around thinking about dinner for longer than two minutes.
Why It Works
Microwave rice pouches are a gift. They heat quickly, hold texture better than most people expect, and pair well with frozen vegetables and pre-cooked chicken. Teriyaki sauce gives everything a glossy finish, while a few drops of sesame oil make the bowl taste like you cared more than you did. That matters on a hard week.
Key Ingredients:
- 1 pouch microwave jasmine or brown rice, about 8 to 10 ounces
- 1 cup cooked chicken, chopped or shredded
- 1 cup frozen stir-fry vegetables
- 2 tablespoons teriyaki sauce
- 1 teaspoon sesame oil
- 1 tablespoon water
- 1 tablespoon sliced scallions
- 1 teaspoon sesame seeds
- 1 teaspoon soy sauce, optional if you want more salt
Quick Steps:
- Heat the Vegetables First: Put the frozen vegetables and water in a large bowl. Microwave on high for 2 to 3 minutes, stirring once, until they’re hot and bright.
- Warm the Chicken: Add the chicken and teriyaki sauce, then microwave for another 45 to 60 seconds until the chicken is steaming.
- Cook the Rice: Heat the rice pouch according to the package directions. Fluff it with a fork as soon as it comes out.
- Combine the Bowl: Spoon the rice into your serving bowl, then pile the chicken and vegetables on top.
- Finish with Flavor: Drizzle on the sesame oil, add the scallions and sesame seeds, and stir gently so the sauce coats everything.
- Taste and Adjust: If it needs more salt or sweetness, add a small splash of soy sauce or another teaspoon of teriyaki.
Tips and Variations:
- Canned chicken works if you drain it well and break it up before heating.
- Frozen edamame can replace chicken for a vegetarian version with more bite.
- Use low-sodium teriyaki if the rest of your dorm food runs salty.
- If your rice pouch dries out, add 1 tablespoon of water before reheating and cover loosely.
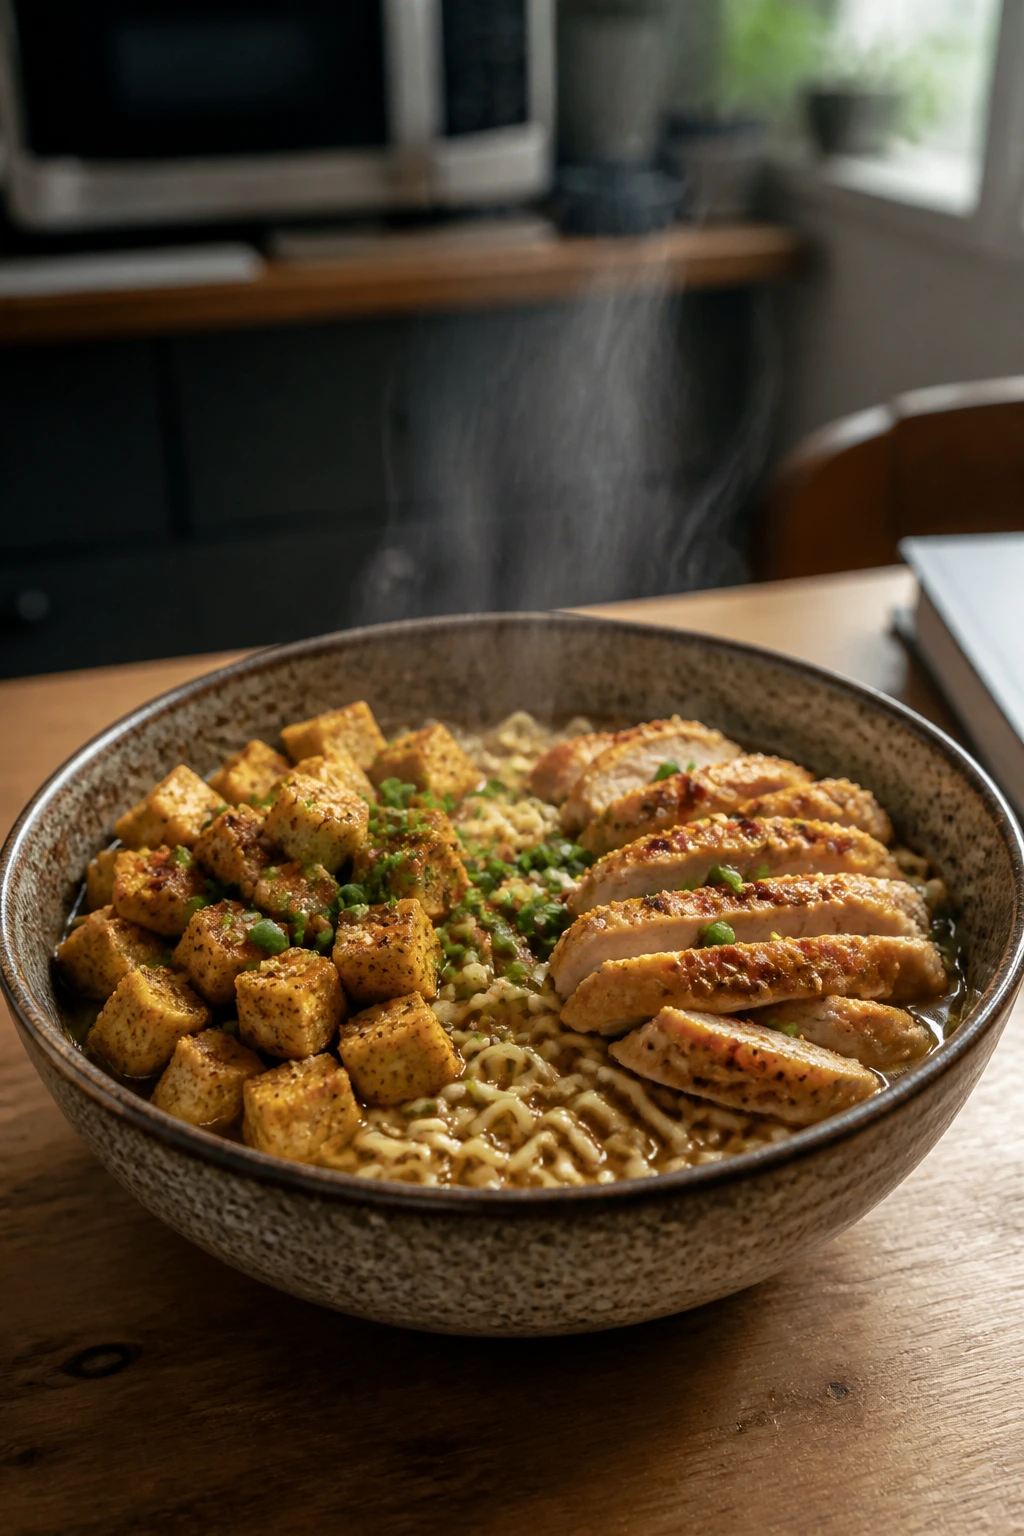
4. Ramen Egg Drop Bowl with Spinach and Mushrooms
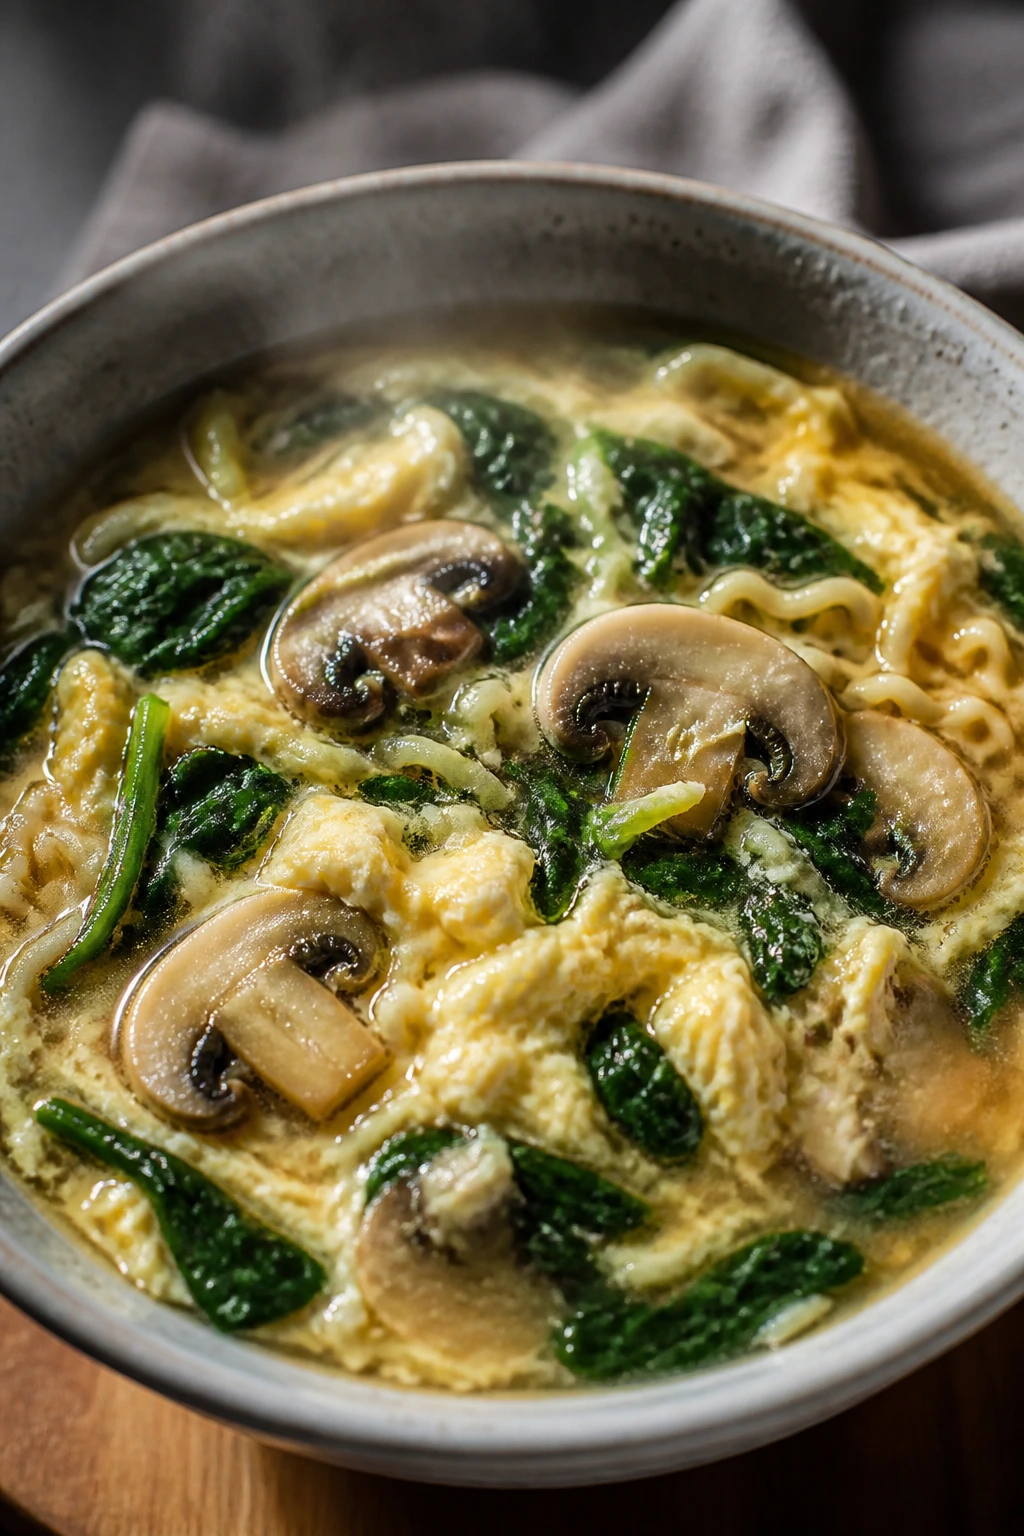
A good ramen bowl smells like steam, soy, and something richer hiding underneath. The egg ribbons make it feel silky, the mushrooms add that earthy chew, and the spinach vanishes into the broth like it belongs there. This is the recipe you make when you want comfort, but you also want dinner to behave like dinner.
It’s also a smart fix for plain instant ramen, which can taste thin and one-note on its own. One egg changes everything. So does a handful of greens, which wilt fast and make the bowl feel fuller without making it heavy.
Why It Works
Ramen is built for microwave improvisation. The noodles cook quickly in water, the mushrooms add body to the broth, and the egg gives you protein plus a richer texture. If you stir the egg in slowly, you get those soft strands that look fancy and taste even better. Spinach disappears down to almost nothing, which is exactly what you want in a dorm meal where space is tight and fresh food needs to earn its keep.
Key Ingredients:
- 1 package instant ramen noodles
- 2 cups water
- 1 large egg, lightly beaten
- 1 cup baby spinach
- 1/2 cup sliced mushrooms, fresh or drained canned mushrooms
- 1 teaspoon soy sauce
- 1 teaspoon sesame oil
- 1/2 of the ramen seasoning packet, or to taste
- Chili crisp or hot sauce, optional
Quick Steps:
- Start the Broth: In a large microwave-safe bowl, combine the water, mushrooms, and half the seasoning packet. Microwave on high for 3 minutes.
- Add the Noodles: Stir in the ramen noodles and microwave for 2 to 3 minutes more, until the noodles are tender but not falling apart.
- Wilt the Spinach: Add the spinach and stir once. Microwave for 30 seconds, just until it collapses.
- Create the Egg Ribbons: Slowly drizzle in the beaten egg while stirring the broth with a fork or chopsticks. Microwave for 30 to 45 seconds, then stir again. The egg should look softly set, not rubbery.
- Season the Bowl: Stir in the soy sauce and sesame oil. Taste before adding the rest of the seasoning packet; instant ramen can get salty fast.
- Finish Hot: Add chili crisp or hot sauce if you want more heat, then eat it right away while the broth is still steamy.
Tips and Variations:
- If you want a softer egg texture, stir the egg into the hot broth after microwaving instead of before.
- Frozen peas work in place of spinach and bring a sweeter bite.
- A squeeze of lime at the end wakes up the whole bowl.
- Keep the mushroom slices thin so they cook through in the same time as the noodles.
5. Chili Cheese Nacho Bowl

Some nights need dinner, not decorum. This is that dinner. It’s salty, crunchy, messy in a good way, and it scratches the exact itch that hits after a long day of lectures and too much laptop light. The first bite is chips and cheese; the next one picks up chili and salsa; the last few are the best because they’ve gone a little soft around the edges.
What I like here is the speed. There’s no real prep beyond opening a can and grabbing a handful of chips, but the bowl still feels like a meal because the chili makes it heavy enough to count. You can build it mild, spicy, or ridiculous. The microwave doesn’t care.
Why It Works
Canned chili gives you protein, seasoning, and enough sauce to coat the chips without turning them into soup if you keep the timing tight. The cheese melts fast, the salsa adds brightness, and the chips bring crunch. This works best when you avoid overcooking the chips. You want some of them softened by the chili, but not all of them collapsing into mush.
Key Ingredients:
- 1 cup sturdy tortilla chips
- 3/4 cup canned chili, beef or vegetarian
- 1/3 cup shredded cheddar or Mexican blend
- 2 tablespoons salsa
- 1 tablespoon sliced jalapeños
- 1 tablespoon sour cream or plain Greek yogurt
- 1 tablespoon chopped scallions or diced onion
- Optional 2 tablespoons canned corn or black beans
Quick Steps:
- Warm the Chili First: Spoon the chili into a microwave-safe bowl and heat it on high for 1 to 2 minutes, until steaming hot.
- Build the Base: Spread the tortilla chips in a second bowl or shallow plate, or keep them in the same bowl if you want fewer dishes.
- Add the Hot Layer: Pour the chili over the chips, then sprinkle the cheese over the top.
- Melt the Cheese: Microwave for 30 to 45 seconds, just until the cheese softens and starts to slide.
- Finish Cold: Add salsa, jalapeños, sour cream, and scallions after heating so they stay fresh and sharp.
- Eat Fast: Don’t let it sit around. The chips soften quickly, and that’s part of the fun — but there’s a line between “softened” and “forgotten.”
Tips and Variations:
- Use thicker restaurant-style chips if you hate sogginess.
- Add lettuce after microwaving for a little crunch and color.
- Leftover homemade chili works even better than canned if you’ve got it.
- A dash of cumin or smoked paprika gives the bowl a deeper, warmer taste.
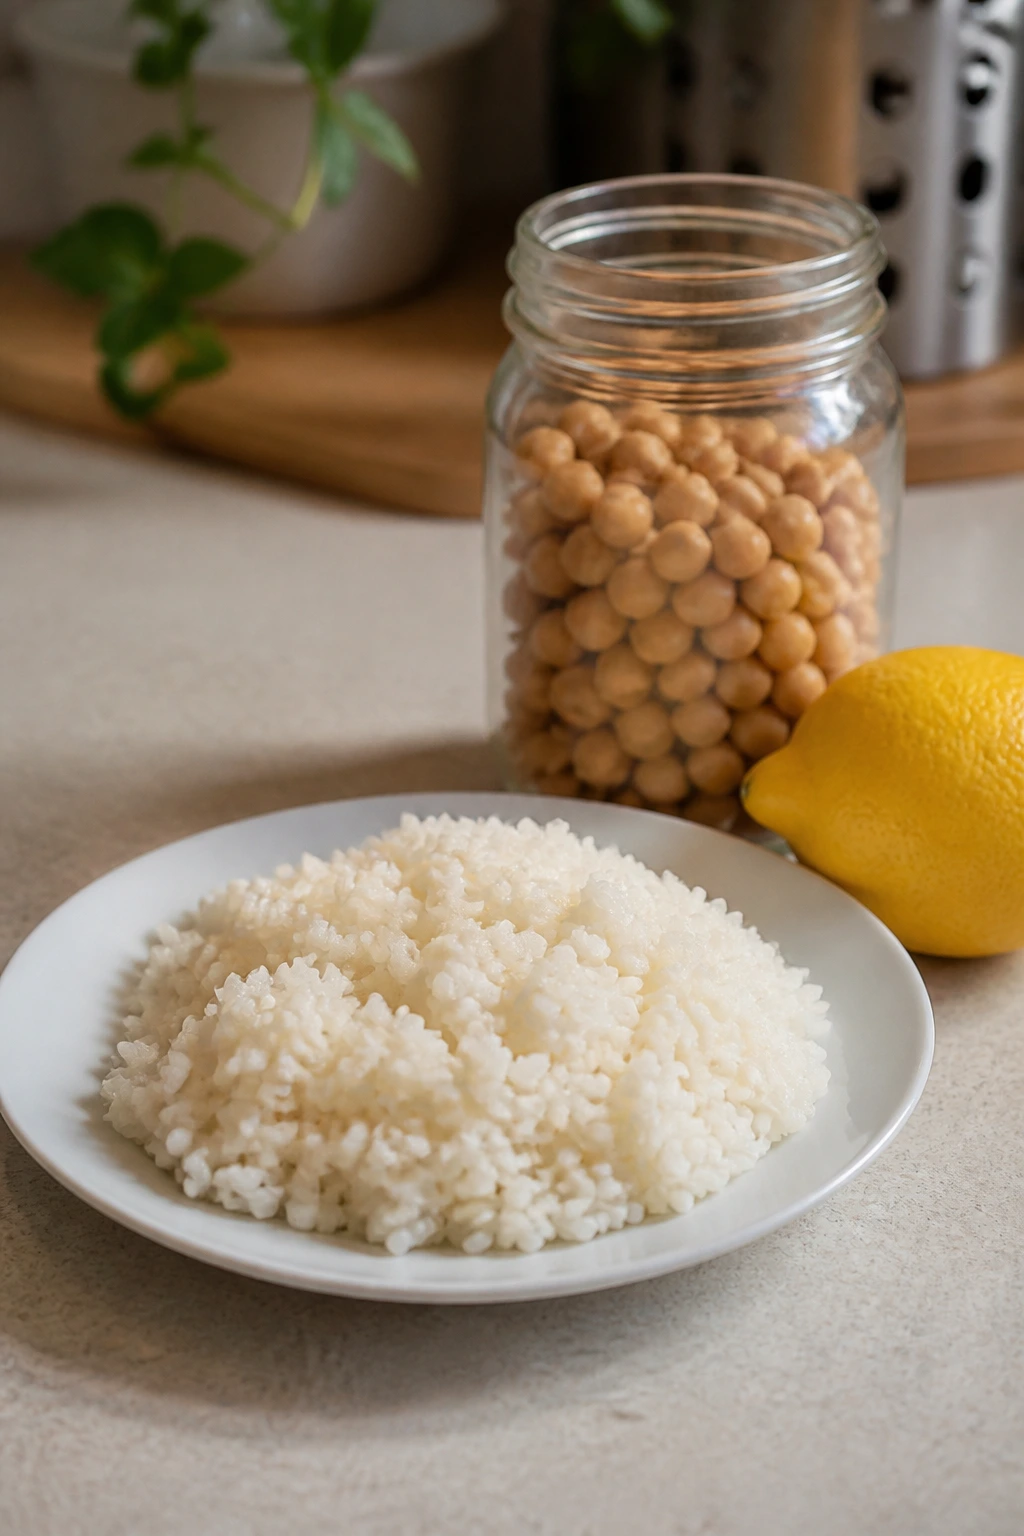
6. Mediterranean Couscous Bowl with Chickpeas and Feta
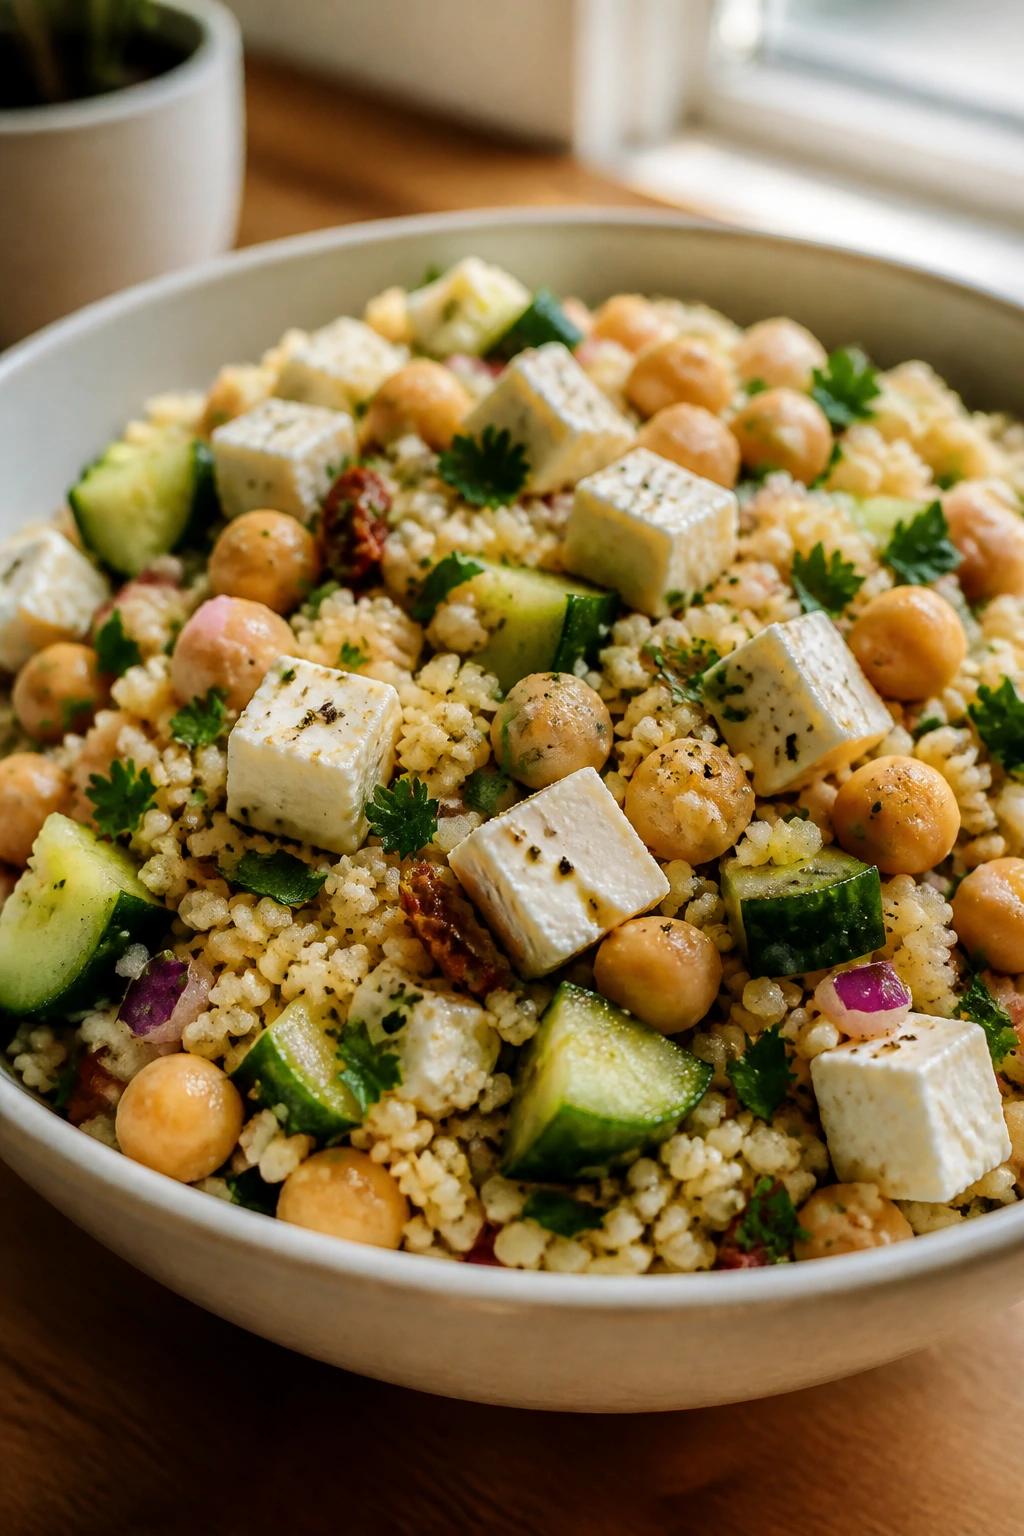
This one tastes brighter than most dorm dinners. The couscous is fluffy and light, the chickpeas are nutty and sturdy, and the lemon plus feta cut through with enough salt and acid to keep every bite interesting. It’s the bowl I reach for when I want something that feels fresh without demanding a knife block and a prayer.
The texture is part of the charm. Couscous cooks in minutes, but it doesn’t feel flimsy when you pair it with beans and chopped vegetables. If your fridge has a sad cucumber and a lonely lemon, this is their best possible future.
Why It Works
Couscous is one of the easiest microwave grains to handle because it absorbs hot water quickly and fluffs up with almost no effort. Chickpeas bring protein and make the bowl more filling, while feta gives you salt and creaminess in small bites. A little olive oil helps the grains stay separate instead of turning into a sticky clump. That’s the difference between a bowl that feels cooked and one that feels assembled in a rush.
Key Ingredients:
- 1/2 cup couscous
- 1/2 cup water
- 1 teaspoon olive oil
- Pinch of salt
- 1/2 cup canned chickpeas, drained and rinsed
- 1/4 cup diced cucumber
- 2 tablespoons crumbled feta
- 1 tablespoon lemon juice
- 1 tablespoon chopped parsley
- 1 tablespoon sliced olives, optional
- Black pepper, to taste
Quick Steps:
- Boil the Water: In a microwave-safe bowl, combine the water, olive oil, and salt. Microwave on high for 1 to 2 minutes, until the water is bubbling.
- Add the Couscous: Stir in the couscous, cover the bowl with a plate, and let it sit for 5 minutes.
- Fluff the Grains: Uncover and fluff the couscous with a fork. It should look light, not wet.
- Warm the Chickpeas: If you want them warmer, microwave the chickpeas for 30 seconds with a pinch of salt and pepper.
- Build the Bowl: Stir the chickpeas, cucumber, feta, lemon juice, parsley, and olives into the couscous.
- Taste and Balance: Add more lemon if it tastes flat, or a little more olive oil if it feels dry.
Tips and Variations:
- Cherry tomatoes can stand in for cucumber if that’s what you have.
- Skip the feta and add a spoonful of hummus for a dairy-free version.
- A pinch of cumin gives the bowl a warmer, earthier tone.
- If the couscous looks dry after sitting, add 1 tablespoon of hot water and fluff again.
7. Peanut-Sesame Noodle Bowl with Edamame
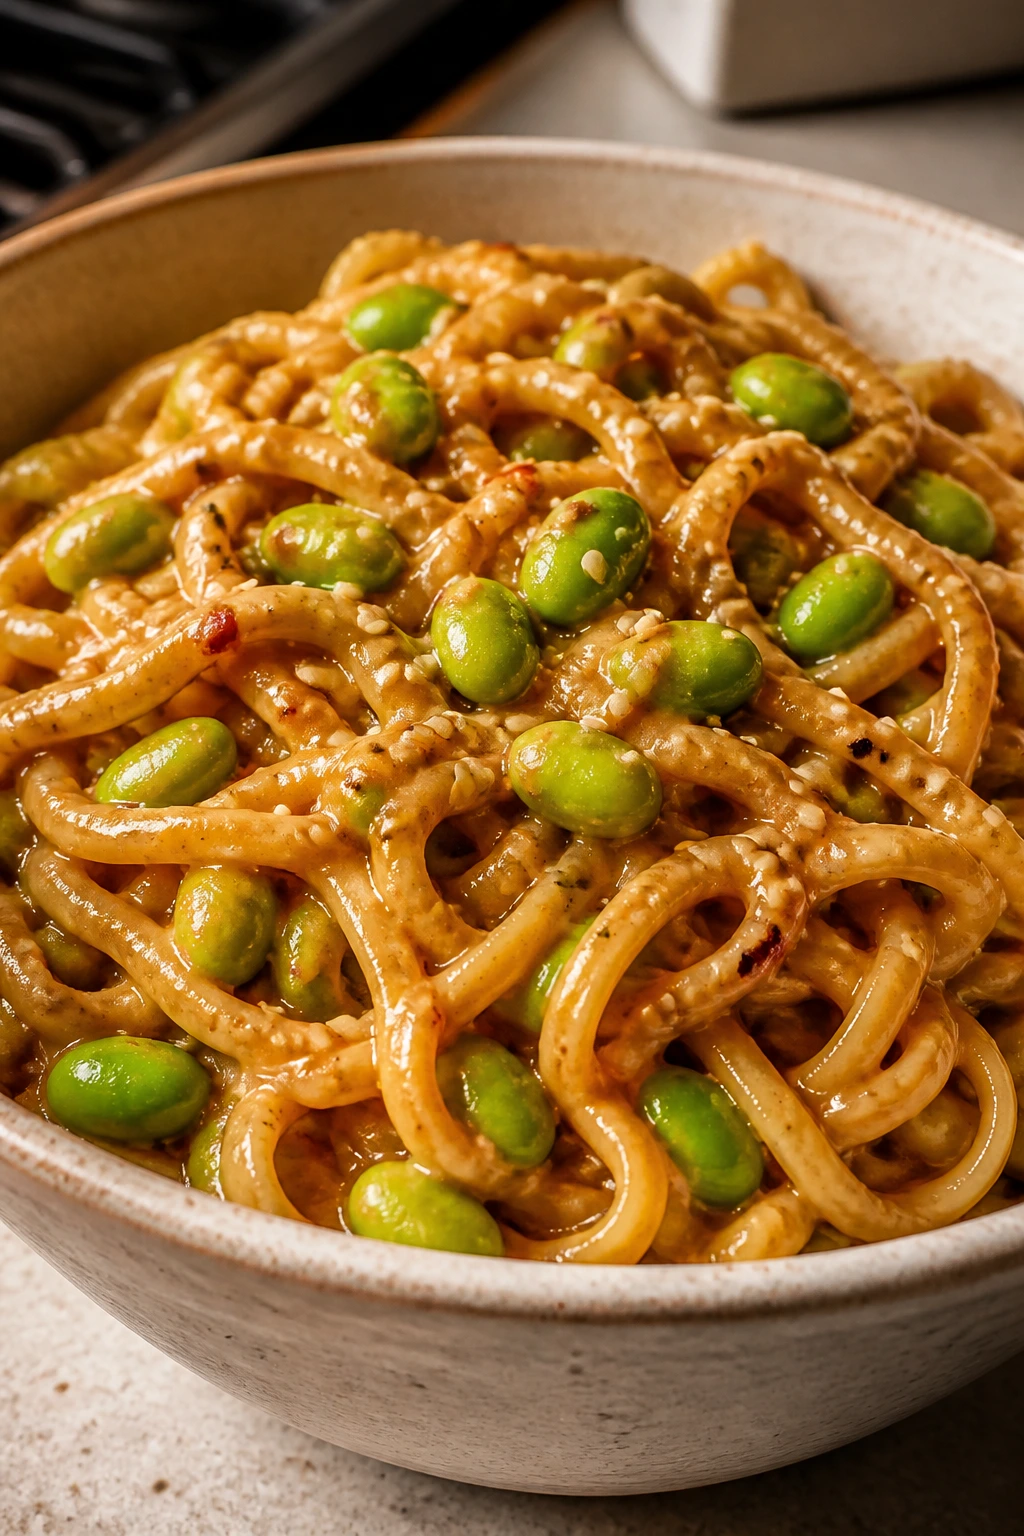
This is the dorm meal that tastes like it took more effort than it did. The sauce is nutty and glossy, the noodles are chewy, and the edamame brings little green pops of protein that make the whole bowl feel complete. It’s savory, slightly sweet, and just sharp enough from the vinegar or lime to keep the peanut butter from becoming heavy.
I like this one for the way it clings. The sauce coats every strand, which matters in a microwave dinner because a thin sauce can feel flat fast. A bowl like this gives you the pleasure of eating noodles with chopsticks if you have them, or with a fork if you don’t care about being civilized.
Why It Works
Peanut butter makes an excellent microwave sauce because it thickens and coats instead of running off the noodles. Soy sauce and sesame oil bring the salty, toasted flavor you want, while a little acid keeps the bowl from tasting dull. Frozen edamame is a dorm hero; it heats fast, stores well, and gives you protein without much prep.
Key Ingredients:
- 4 ounces spaghetti or thin noodles, broken in half
- 2 cups water
- 1/2 cup frozen shelled edamame
- 1 tablespoon peanut butter
- 1 tablespoon soy sauce
- 1 teaspoon sesame oil
- 1 teaspoon rice vinegar or lime juice
- 1 teaspoon honey or brown sugar
- 1 tablespoon water, plus more if needed
- 1 tablespoon sliced scallions
- 1 teaspoon sesame seeds
- Chili flakes, optional
Quick Steps:
- Cook the Noodles: Put the spaghetti and water in a large microwave-safe bowl. Microwave for 4 minutes, stir, then microwave for 3 to 5 minutes more, until the noodles are tender.
- Add the Edamame: Stir in the frozen edamame during the last 2 minutes of cooking so it heats through without going mushy.
- Drain a Little: Pour off most of the water, leaving about 2 tablespoons in the bowl. That bit of starchy water helps the sauce cling.
- Mix the Sauce: In a small cup or bowl, stir together the peanut butter, soy sauce, sesame oil, vinegar or lime juice, honey, and 1 tablespoon water until smooth.
- Toss Everything Together: Pour the sauce over the noodles and edamame, then stir until glossy and evenly coated. Add another splash of water if the sauce feels too thick.
- Finish the Bowl: Top with scallions, sesame seeds, and chili flakes if you want heat.
Tips and Variations:
- Sunflower seed butter works if you need a peanut-free version.
- Shredded carrots or thin cucumber strips make the bowl feel fresher.
- A spoonful of chili crisp adds heat and a little crunch.
- Don’t skip the acid. Peanut sauces turn flat fast without it.
8. Pizza Pita Melt with Pepperoni and Peppers

If you miss pizza, this is the dorm compromise that behaves the most like pizza without trying to be something else. The pita gets warm, the sauce turns the edges red and fragrant, and the cheese melts into the pepperoni and peppers in that familiar, salty way. It won’t be crisp from the microwave. That’s fine. It will still taste like dinner.
This is also a useful recipe for the nights when you want something hand-held or at least hand-adjacent. You can eat it with a fork, fold it, or just cut it into triangles and pretend you had a better kitchen.
Why It Works
The pizza pita melt works because every ingredient is already cooked or quick to heat. Marinara brings moisture and flavor, mozzarella melts fast, and the pita holds the toppings better than plain bread would. The peppers add a little freshness so the whole thing doesn’t taste one-note. If you use a thin pita or naan, the edges stay soft instead of turning to cardboard.
Key Ingredients:
- 1 large whole-wheat pita bread or 2 small pitas
- 3 tablespoons marinara sauce
- 1/2 cup shredded mozzarella
- 8 to 10 slices pepperoni
- 1/4 cup thinly sliced bell peppers
- 1 tablespoon grated Parmesan
- 1/4 teaspoon dried oregano
- Pinch of garlic powder
- Red pepper flakes, optional
Quick Steps:
- Set the Base: Place the pita on a microwave-safe plate. If it’s very thick, split it into two layers so the sauce doesn’t sit in one heavy pocket.
- Add the Sauce: Spread the marinara in a thin layer, leaving a small border around the edges.
- Top It: Sprinkle on the mozzarella, then add pepperoni, bell peppers, Parmesan, oregano, and garlic powder.
- Microwave Briefly: Heat on high for 45 to 60 seconds, just until the cheese is melted and the pita is hot through. Do not overcook it — the bread will get tough if you keep going.
- Rest for 30 Seconds: The cheese settles, the sauce stops bubbling, and you won’t scorch the roof of your mouth.
- Slice and Serve: Cut into wedges if you want it neater, or fold and eat it like the dorm snack it secretly is.
Tips and Variations:
- Press a paper towel under the pita if your microwave leaves too much steam on the plate.
- Swap pepperoni for olives, mushrooms, or chopped leftover chicken.
- A pinch of dried basil or Italian seasoning works if you want a more classic pizza taste.
- If you have access to a toaster oven, you can finish it there for a firmer edge, but it’s not required.
Why the Microwave Wins on Busy Dorm Nights
People love to mock the microwave until they’re hungry, tired, and standing in a room that contains exactly one appliance. Then the machine makes perfect sense. A microwave is fast, sure, but speed is not the only reason it works so well for dorm food. It also heats from the inside of the food outward through the water molecules, which means sauces, grains, and vegetables can cook in the same bowl if you give them enough room and stir at the right moments.
The trick is not asking the microwave to be a stove. It will not sear a chicken breast, crisp a tortilla, or brown cheese in the way an oven would. What it can do is steam, soften, warm, melt, and combine. That’s plenty. Once you stop fighting the appliance, the food gets better almost by default.
Microwave meals also reward timing in a way that dorm cooks often appreciate. A 30-second rest after heating can fix a lot. A stir halfway through can fix more. A big bowl prevents spillover, which is one of those mistakes that feels minor until pasta water is dripping onto a desk lamp. Learn the rhythm, and the microwave starts acting less like a compromise and more like a very small, very obedient kitchen.
Essential Equipment for These Recipes

- Large microwave-safe bowls: Choose bowls with a deep shape and extra headroom; most of these meals foam, bubble, or steam more than you expect.
- Microwave-safe plate or vented cover: A plate laid loosely over the top keeps splatter down and helps vegetables cook more evenly.
- Fork and spoon: You’ll use a fork for stirring, fluffing grains, and beating eggs, while a spoon helps with thicker bowls and sauces.
- Measuring cups and spoons: Dorm cooking gets easier when you stop guessing at water, cheese, and sauce.
- Small cutting board and knife: Useful for potatoes, scallions, peppers, or any fruit and vegetable that needs a quick trim.
- Can opener: Nonnegotiable if your pantry leans on beans, chili, tuna, or canned chicken.
- Colander or fine strainer: Handy for draining noodles, beans, or canned vegetables when a recipe asks for it.
- Pot holder or thick kitchen towel: Microwave bowls get hot in odd spots, and grabbing one bare-handed is a good way to drop dinner.
- Airtight containers: Leftovers and prepped ingredients keep better when they’re sealed tightly, especially in a shared fridge.
- Optional microwave rice cooker: Nice to have, not required. A good bowl and plate can do most of the same work.
Smart Shopping for Dorm-Ready Ingredients
A dorm grocery run gets easier when you shop for ingredients that can play more than one role. A bag of frozen broccoli can end up in mac and cheese, rice bowls, or ramen. Canned beans can live in a sweet potato, a nacho bowl, or a couscous bowl. That kind of overlap saves money and keeps the mini fridge from turning into a graveyard of forgotten containers.
Start with a few sturdy starches. Microwave rice pouches, elbow macaroni, ramen, couscous, spaghetti, pitas, and tortillas all store well and cook without much drama. Then add proteins that don’t mind a small fridge: canned chicken, canned tuna, black beans, chickpeas, shelled edamame, eggs, and shredded cheese. If you buy shredded cheese, look for bags that close tightly or portion some into small containers so it doesn’t dry out.
Frozen vegetables are often the smartest buy. They last longer, taste decent after microwaving, and save you from slicing produce at midnight. Broccoli florets, spinach, mixed stir-fry vegetables, peas, corn, and peppers all work. Fresh ingredients still matter, but they need to earn their space. A lemon, a bunch of scallions, a cucumber, and a bag of baby spinach do more useful work than a whole shopping cart full of delicate greens that wilt by Thursday.
Condiments carry a lot of the flavor in these dinners, so keep a small set that covers different moods: salsa, teriyaki sauce, soy sauce, marinara, peanut butter, sesame oil, hot sauce, and a jar of olives or pickled jalapeños if you like sharp flavors. Buy the small bottles if your fridge is tight. There is no prize for owning a gallon of sauce you’ll never finish.
How to Serve These Recipes
Presentation: Use a shallow bowl when you can. It makes rice bowls, pasta, and chili look fuller, and it gives the toppings room to show instead of sinking into the middle. A final sprinkle of scallions, sesame seeds, black pepper, or herbs makes even a basic microwave dinner look finished.
Accompaniments: A piece of fruit, baby carrots, a side salad from a bag, or a handful of crackers can round out the plate without adding more cooking. For the heartier bowls, warm bread or extra tortilla chips make sense. For the lighter couscous and noodle dishes, a simple fruit cup or crisp vegetable side keeps the meal from feeling too heavy.
Portions: Most of these recipes serve one hungry person or two light eaters. If you want to scale up, don’t cram everything into one mug; use a bigger bowl and extend the cooking time in short bursts. For smaller appetites, make the full base and save half the topping or sauce for later.
Beverage Pairing: Sparkling water with lime works across almost all of them. Iced tea, milk with mac and cheese, or a cold ginger drink also fits the mood. Nothing fancy. Just something cold next to something hot.
Additional Tips and Flavor Boosters

Flavor Enhancement: Keep one finishing ingredient around that has a lot of punch. Chili crisp, furikake, pesto, pickled jalapeños, or a squeeze bottle of sriracha can wake up a whole bowl with a teaspoon or two.
Customization: Treat the recipes like a template, not a command. Swap broccoli for peas, black beans for chickpeas, chicken for edamame, or mozzarella for cheddar. The structure matters more than the exact ingredient, especially in a dorm where your grocery list changes every week.
Serving Suggestions: Fresh herbs, scallions, black pepper, crushed tortilla chips, sesame seeds, and lemon or lime juice all do more work than people think. Use them at the end. Microwaved food often tastes rounder and brighter with a fresh finish.
Make-It-Yours: If you eat vegetarian, lean on beans, eggs, chickpeas, edamame, and dairy. If you need gluten-free meals, choose rice, potatoes, corn chips, and gluten-free sauces. If you want more protein, add an extra egg, more beans, or a few spoonfuls of Greek yogurt to creamy bowls.
Make-Ahead, Storage, and Reheating Guidance
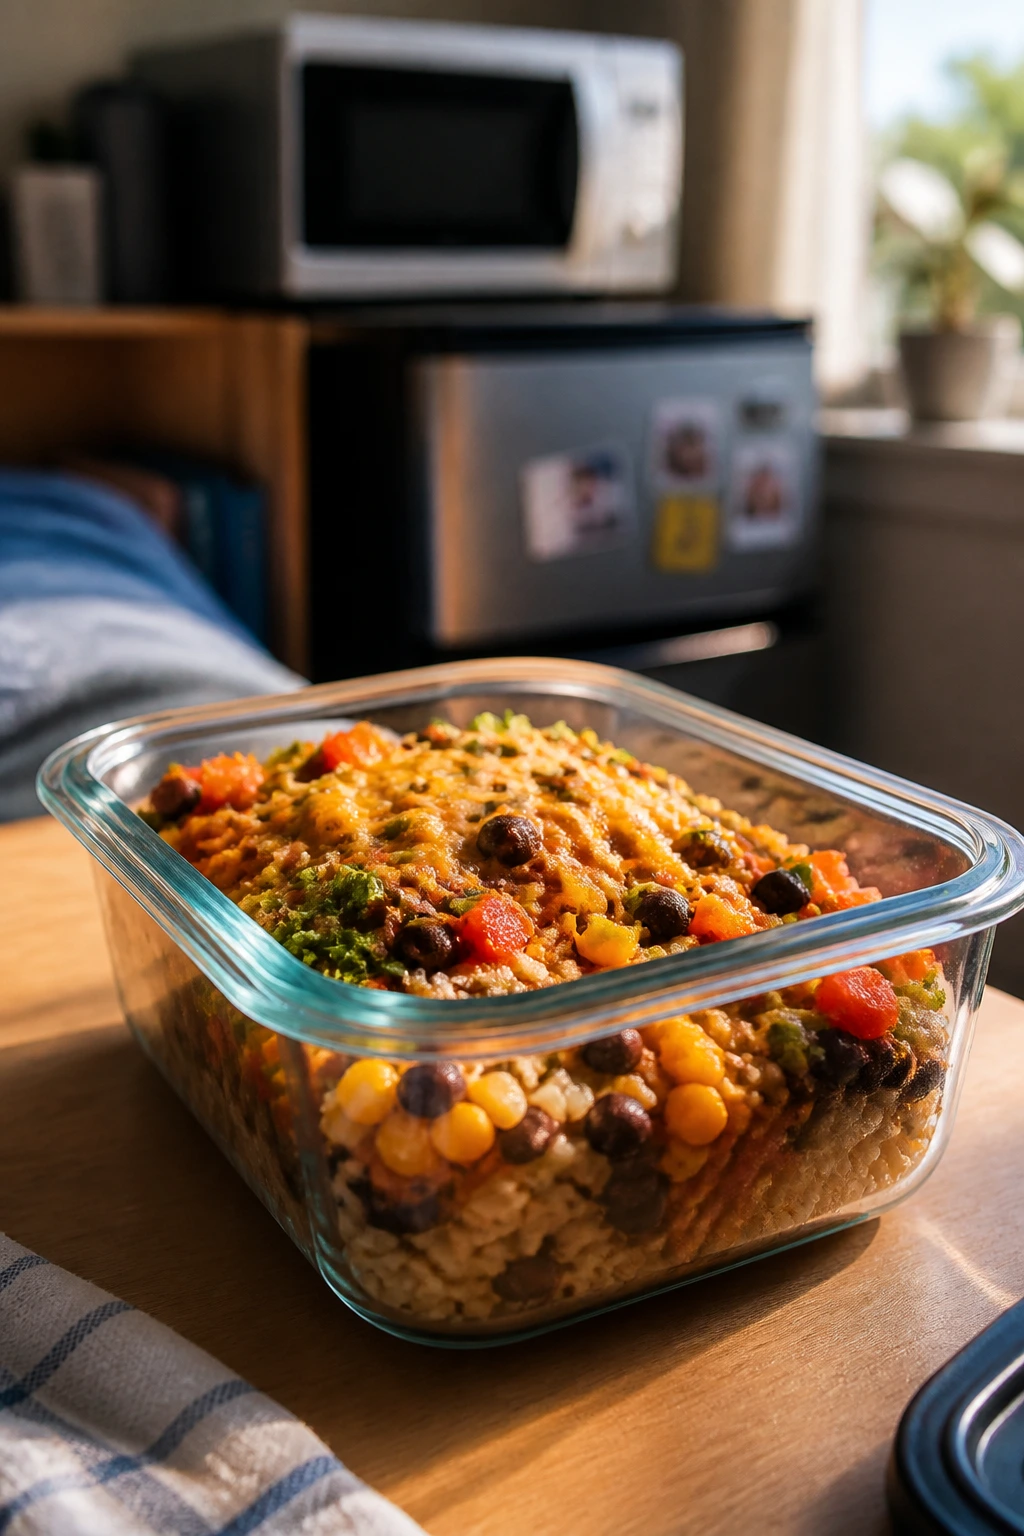
Most of these dinners are best made fresh, but several pieces hold up well if you plan a little ahead. Cooked rice, noodles, beans, and roasted or microwaved vegetables usually keep 3 to 4 days in the refrigerator when stored in airtight containers. Saucy items like chili or teriyaki chicken can also keep that long, and they often reheat better than dry foods because the sauce protects the texture.
Some components freeze well, though a dorm freezer is often small enough to make that difficult. If you do freeze anything, stick to sturdy things: cooked chili, beans, chicken, and plain rice can freeze for up to 2 months in a tight container or freezer bag. Pasta, couscous, and potato fillings don’t always thaw gracefully, so I’d keep those in the fridge and make them in smaller batches.
For reheating, add a spoonful of water to rice, pasta, or noodles before microwaving so they don’t dry out. Heat in 30- to 45-second bursts, stirring between rounds, until the food is hot all the way through. Chili, beans, and rice bowls can usually come back to life in 1 to 2 minutes, depending on the microwave. Egg dishes and dairy-based sauces need shorter bursts so they stay soft instead of turning rubbery.
A few recipes are better assembled right before eating. Chips, pita, and anything crisp should stay separate until the end. If you know you’ll eat later, store the hot filling on its own and add the crunchy or fresh topping after reheating. That one habit saves a lot of limp, disappointing dinners.
At room temperature, don’t leave perishable food out for more than 2 hours. If the room is warm and the bowl contains chicken, eggs, dairy, or beans mixed with sauce, I’d be even stricter and put it away sooner. Boring rule. Worth following.
Variations and Adaptations to Try
Lower-Sodium Dorm Mode: Use low-sodium broth, reduced-salt beans, plain rice, and less soy sauce. Then push flavor with lemon juice, vinegar, black pepper, garlic powder, or herbs instead of relying on salt.
Protein-First Version: Add one extra egg to ramen, stir Greek yogurt into mac, or double the chicken in the rice bowl. That keeps the meal from feeling snack-sized when you’ve had a long day and need real fuel.
Vegetarian Pantry Swap: Replace chicken with chickpeas, black beans, or edamame. In the chili bowl, choose vegetarian chili; in the noodle bowl, add more sesame seeds or tofu if your fridge has room for it.
Gluten-Free Fix: Use microwave rice, sweet potatoes, corn chips, and gluten-free pasta if you can find it. Couscous and regular ramen drop out here, but the rice bowl, sweet potato, chili bowl, and mac can still work with the right swaps.
Heat-Lover’s Upgrade: Add chili crisp, hot sauce, jalapeños, crushed red pepper, or a spoonful of spicy salsa. If you want heat without wrecking the bowl, add it at the end so you can taste as you go.
Bare-Bones Survival Version: No fridge, no problem for a few of these. Keep ramen, couscous, peanut butter, tortillas, canned beans, tuna or chicken, salsa, and shelf-stable sauces around. That setup gives you more dinner options than it looks like on paper.
Common Mistakes to Avoid
The first mistake is using a bowl that’s too small. Microwaved pasta, noodles, and rice all bubble higher than they look like they should, and a narrow mug or shallow dish invites overflow. The fix is simple: choose a bowl with extra room and, if you’re not sure, go bigger.
Another easy error is skipping the stir. Microwaves heat unevenly, so the outer edges can get too hot while the middle stays cool. Stirring halfway through cooking keeps pasta from clumping, beans from heating unevenly, and sauces from separating at the bottom.
People also overcook dairy. Cheese sauces turn grainy, eggs turn rubbery, and yogurt can split if you blast them too long. Add those ingredients near the end, use short bursts, and stop as soon as the food is hot and glossy.
There’s also the “everything at once” problem. Some ingredients need more time than others, and if you throw rice, vegetables, chicken, and sauce into the bowl together from the start, one part will be mush before the other part is warm. Cook in stages. It takes a minute longer, and it makes the dinner much better.
Crunchy toppings deserve their own warning. Chips, pita, and anything bread-like can go soft fast in steam. If texture matters to you, keep them out of the microwave until the last possible second. That’s not fussy. It’s just the difference between a decent bowl and a soggy regret.
Finally, don’t ignore food safety just because the kitchen is tiny. Reheat chicken, rice, and egg dishes until they’re steaming hot all the way through, and store leftovers quickly in the fridge. Dorm life is chaotic enough without adding an avoidable stomachache.
Frequently Asked Questions
Can I make these recipes with a low-watt microwave?
Yes, but you’ll need a little more time and a little more stirring. Low-watt microwaves usually cook less evenly, so use shorter bursts, stir more often, and let the food rest for a minute before checking it again.
What if I only have a mini fridge and almost no freezer space?
Lean hard on pantry items and shelf-stable proteins. Beans, tuna, canned chicken, ramen, couscous, rice pouches, tortillas, salsa, peanut butter, and sealed sauces can carry most of these meals without taking up much cold storage.
How do I keep microwave pasta from turning gummy?
Use a big bowl, enough water, and regular stirring. Stop cooking when the pasta is just tender, not totally soft, because it keeps cooking for a minute after the microwave stops.
Can I use frozen vegetables instead of fresh ones?
Absolutely, and in a dorm they’re often the better choice. Frozen broccoli, spinach, peas, and stir-fry mixes cook well in the microwave and don’t spoil as fast as fresh produce.
Is canned chicken actually good in a bowl like this?
It can be, as long as you drain it well and season it. Warm it with sauce or broth instead of eating it straight from the can, and it becomes a lot more workable in rice bowls, ramen, and noodle dishes.
What can I do if my food comes out dry?
Add a spoonful of water, broth, milk, or sauce before reheating and stir again. Dryness usually means the bowl needed more liquid or the microwave ran too long, not that the recipe failed.
Can these be made dairy-free?
Yes. Use olive oil, vegan cheese, or a little extra sauce in place of dairy, and lean on beans, chickpeas, or edamame for body. The sweet potato, rice bowl, couscous bowl, and noodle bowl adapt especially well.
Do I need a special microwave cover?
No. A microwave-safe plate laid loosely over the bowl works just fine in most cases. The goal is to catch splatter and hold in enough steam to cook evenly, not seal the food airtight.
Small Kitchens, Real Dinner
Dorm food gets a bad reputation because people try to make the microwave do the wrong job. Once you stop chasing crispness and start aiming for warm, filling, well-seasoned meals, the results get better fast. A good bowl of pasta, a stuffed sweet potato, or a bright couscous dinner can carry you through a long evening just fine.
What matters most is having a few reliable moves in your back pocket. Boil pasta in a bowl. Steam a potato. Warm beans with spice. Build flavor at the end. That’s the whole game, really.
Keep a couple of these recipes around, and the microwave stops feeling like a limit. It starts feeling like dinner waiting to happen.
| Recipe | Prep Time | Cook Time | Total Time | Servings | Standout Detail |
|---|---|---|---|---|---|
| Broccoli Cheddar Mac Mug | 5 min | 10 min | 15 min | 1 serving | Creamiest comfort bowl in the set |
| Loaded Sweet Potato with Black Beans and Salsa | 5 min | 8 min | 13 min | 1 serving | Sweet, savory, and filling with almost no cleanup |
| Teriyaki Chicken and Veg Rice Bowl | 7 min | 5 min | 12 min | 1 to 2 servings | Fastest full dinner with takeout vibes |
| Ramen Egg Drop Bowl with Spinach and Mushrooms | 5 min | 8 min | 13 min | 1 serving | Brothy, silky, and deeply satisfying |
| Chili Cheese Nacho Bowl | 5 min | 4 min | 9 min | 1 to 2 servings | Best late-night crunch-and-cheese fix |
| Mediterranean Couscous Bowl with Chickpeas and Feta | 10 min | 6 min | 16 min | 1 to 2 servings | Bright lemon-feta flavor with pantry staples |
| Peanut-Sesame Noodle Bowl with Edamame | 10 min | 10 min | 20 min | 1 to 2 servings | Nuttiest sauce and the chewiest noodles |
| Pizza Pita Melt with Pepperoni and Peppers | 5 min | 2 min | 7 min | 1 serving | Closest thing to pizza without leaving the dorm |