
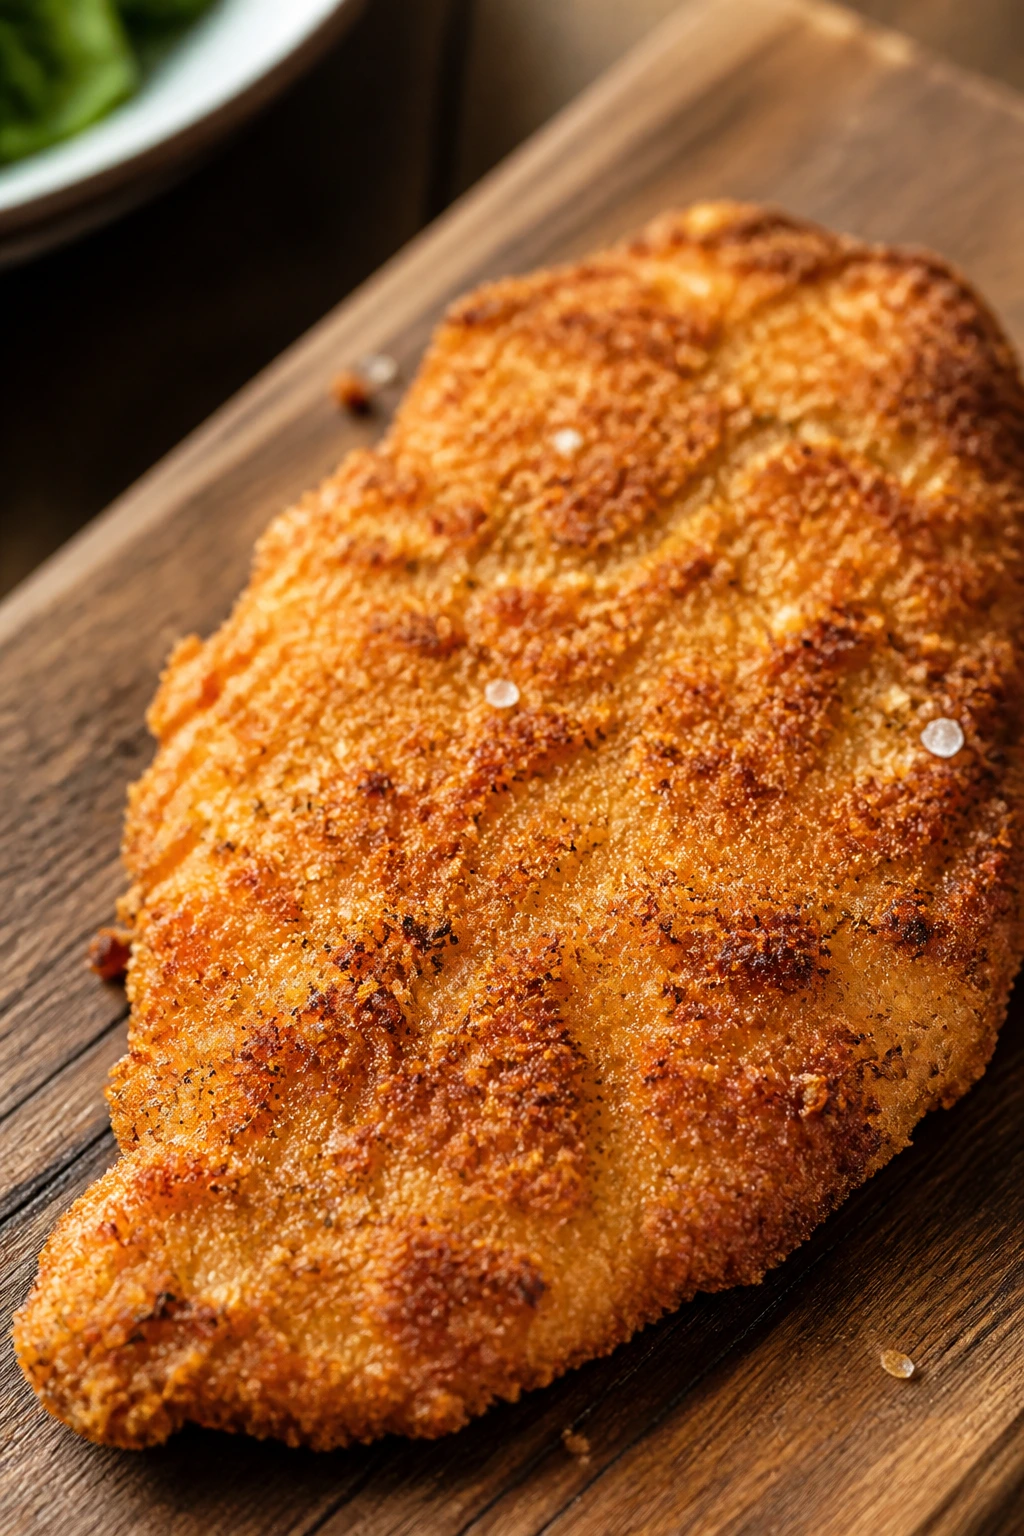
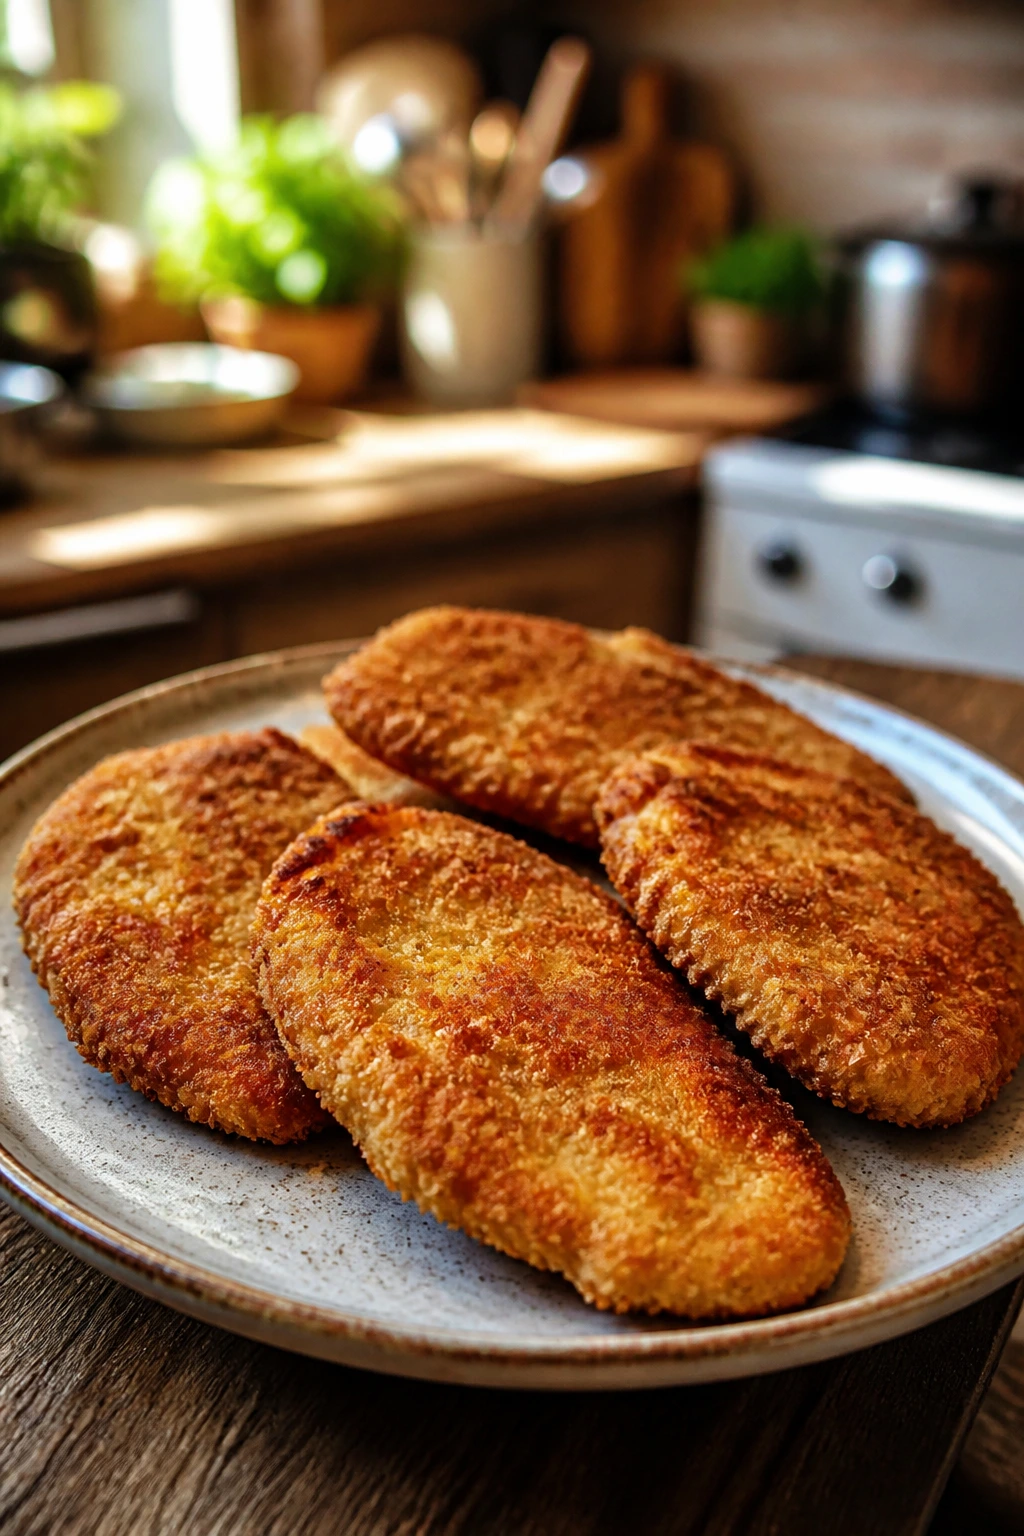
Some dinners want a sauce, a side salad, a candle, and a little speech. Crispy breaded chicken cutlets for weeknight dinners want none of that drama. They want a hot skillet, a thin chicken breast, and crumbs that crackle when you cut through them. When the coating is right, you get that sharp, dry snap first, then juicy chicken underneath. That contrast is the whole deal.
The real trick is not complicated, but it is easy to mess up if you rush. Thin, even cutlets cook quickly. Seasoning the chicken before it hits the flour keeps the meat from tasting like a blank slate. And if the breaded pieces sit for a few minutes before frying, the crust grips better and sheds less in the pan. Skip those tiny steps and you end up with the usual disappointments: pale patches, loose crumbs, a greasy bottom, and chicken that looks more tired than crisp.
I keep coming back to cutlets because they solve a dinner problem without feeling like a compromise. You can fry them in batches, slide them onto a rack, and finish the rest of the meal while they rest for a minute or two. No long braise. No oven marathon. Just a shallow layer of oil, panko, and chicken that turns bronze at the edges before the kitchen has time to drift into chaos.
If you’ve ever had breaded chicken go soggy before it hit the plate, the fix usually lives in the setup, not in some mystical frying technique. The next few sections are built around that idea: keep the process clean, keep the chicken thin, and the crust behaves itself.
Why These Cutlets Earn Their Spot on a Weeknight
-
Fast enough to matter: Thin chicken cutlets cook in about 3 to 4 minutes per side, which means dinner moves at the speed of a clean skillet and a hot burner.
-
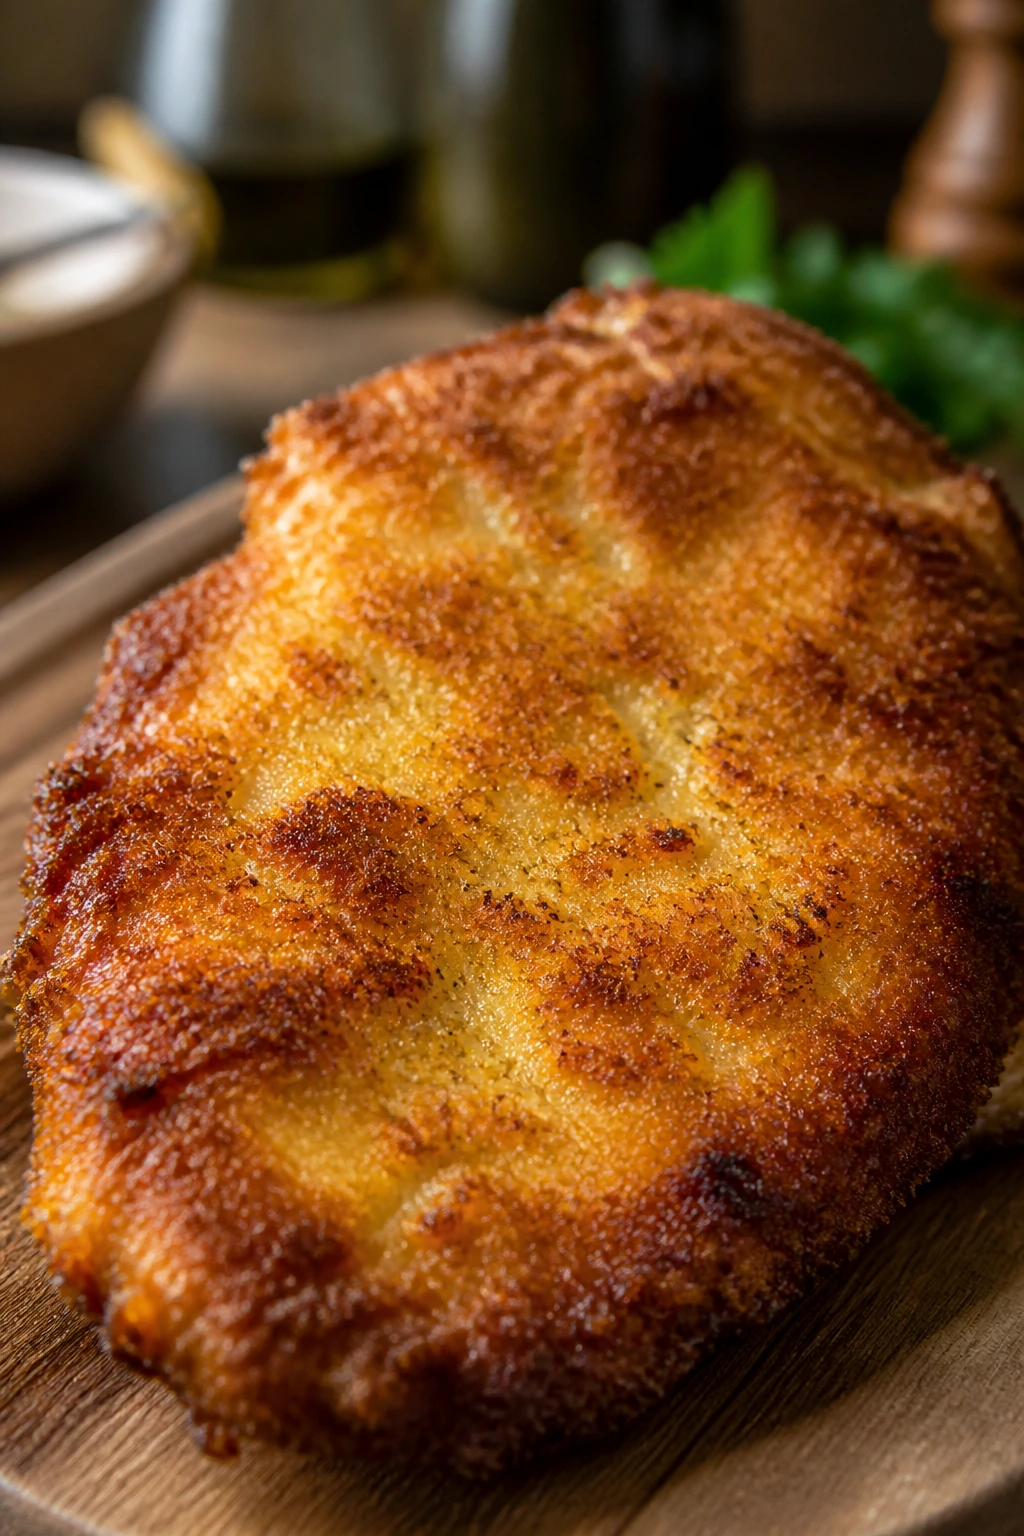
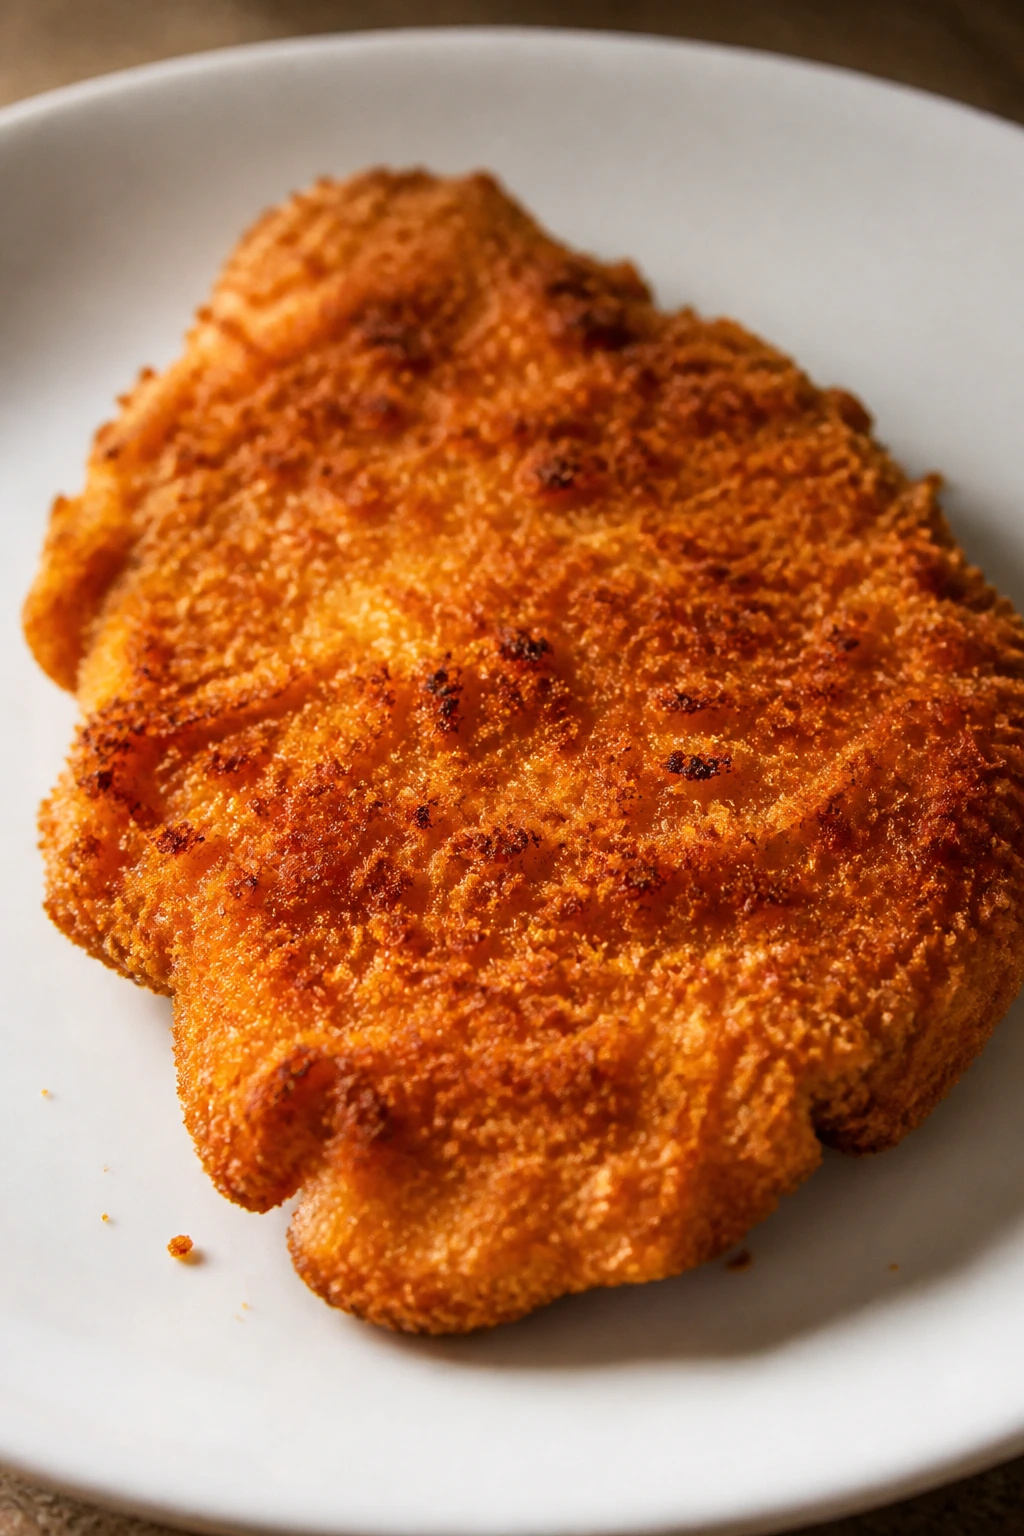
The crust stays light, not heavy: Panko crumbs make a drier, sharper coating than fine breadcrumbs, so the outside feels crisp instead of pasty.
-
The leftovers can be revived: A cutlet that has cooled can come back to life in a hot oven or air fryer, which is more than I can say for most sauced chicken dishes.
-
You can build the plate around it: A cutlet works with mashed potatoes, lemony greens, buttered noodles, rice, or a chopped salad. It doesn’t fight the rest of dinner.
-
The method teaches you useful habits: Dry chicken, seasoned flour, a sensible oil temperature, and a rack for draining. Those habits show up in fried fish, schnitzel, eggplant, and anything else that needs a brittle crust.
-
It looks more involved than it is: That’s not a moral claim. It’s a practical one. A golden cutlet with a lemon wedge on the side does a lot of visual work for a very short ingredient list.
How Long It Takes and What It Makes
Yield: Serves 4
Prep Time: 20 minutes
Cook Time: 15 minutes
Total Time: 35 minutes
Difficulty: Intermediate — the steps are straightforward, but even browning, clean breading, and oil control matter here.
Chill/Rest Time: 10 minutes rest after breading
Best Served: Immediately after frying, while the coating is still audibly crisp
Where Chicken Cutlets Fit Between Schnitzel and Southern Fried Chicken

Breaded chicken cutlets sit in a useful middle ground. They borrow the thin, quick-cooking shape of schnitzel, but they do not ask you to haul out a whole deep-fryer or build a thick, heavily seasoned batter. They also borrow a little from fried chicken, only without the overnight marinade and the thick crust that can turn dense if the oil isn’t managed well.
That middle ground is why I trust cutlets on nights when I want dinner to feel deliberate. A cutlet is not fussy. It does not need a glaze or a reduction or a side dish with a separate identity crisis. It just needs enough seasoning to taste like chicken, enough breading to make the surface crackly, and enough heat to brown the outside before the inside dries out.
The texture is the payoff. Thin meat means fast cooking, and fast cooking means the breading can brown before the chicken loses its juices. That’s why cutlets taste brighter than a thicker breaded breast. They don’t sit around steaming in the middle while the crust tries to keep up.
And yes, you can call this a weeknight dinner move, but that undersells it a little. It’s also the kind of meal you make when you want to keep your options open. Serve it with a pile of arugula and shaved Parmesan, or tuck it into a roll with a spoonful of mayo and some shredded lettuce. Same cutlet. Different mood.
What Goes Into the Best Crunchy Cutlets
For the Chicken
-
1 1/2 to 2 pounds boneless, skinless chicken breasts, preferably 2 large breasts sliced into 4 thin cutlets — thin pieces cook evenly and stay juicy.
-
1 teaspoon kosher salt — seasons the meat itself, not just the crust.
-
1/2 teaspoon black pepper — gives the chicken a little backbone before the breading goes on.
For the Flour Dredge
- 1/2 cup all-purpose flour — dries the surface and gives the egg something to cling to.
For the Egg Wash
-
2 large eggs — the glue layer that helps the crumbs stick.
-
1 tablespoon water or milk — loosens the egg just enough so it spreads in a thin coat.
For the Breadcrumb Coating
-
1 1/2 cups panko breadcrumbs — the main source of the crackly, dry crunch.
-
1/3 cup finely grated Parmesan cheese — adds salt, nuttiness, and a little extra browning.
-
1 teaspoon garlic powder — seasons the crust without burning like fresh garlic would.
-
1/2 teaspoon paprika — gives the coating a warm color and a faint smoky edge.
-
1/2 teaspoon onion powder — fills in the savory gap that plain breading can leave behind.
-
1/2 teaspoon kosher salt — seasons the crumb mixture so the crust tastes complete on its own.
-
1/4 teaspoon black pepper — keeps the coating from tasting flat.
For Frying and Finishing
-
1/2 cup neutral oil, such as canola, grapeseed, or avocado oil, plus a little more if needed — enough for a shallow fry in a 12-inch skillet.
-
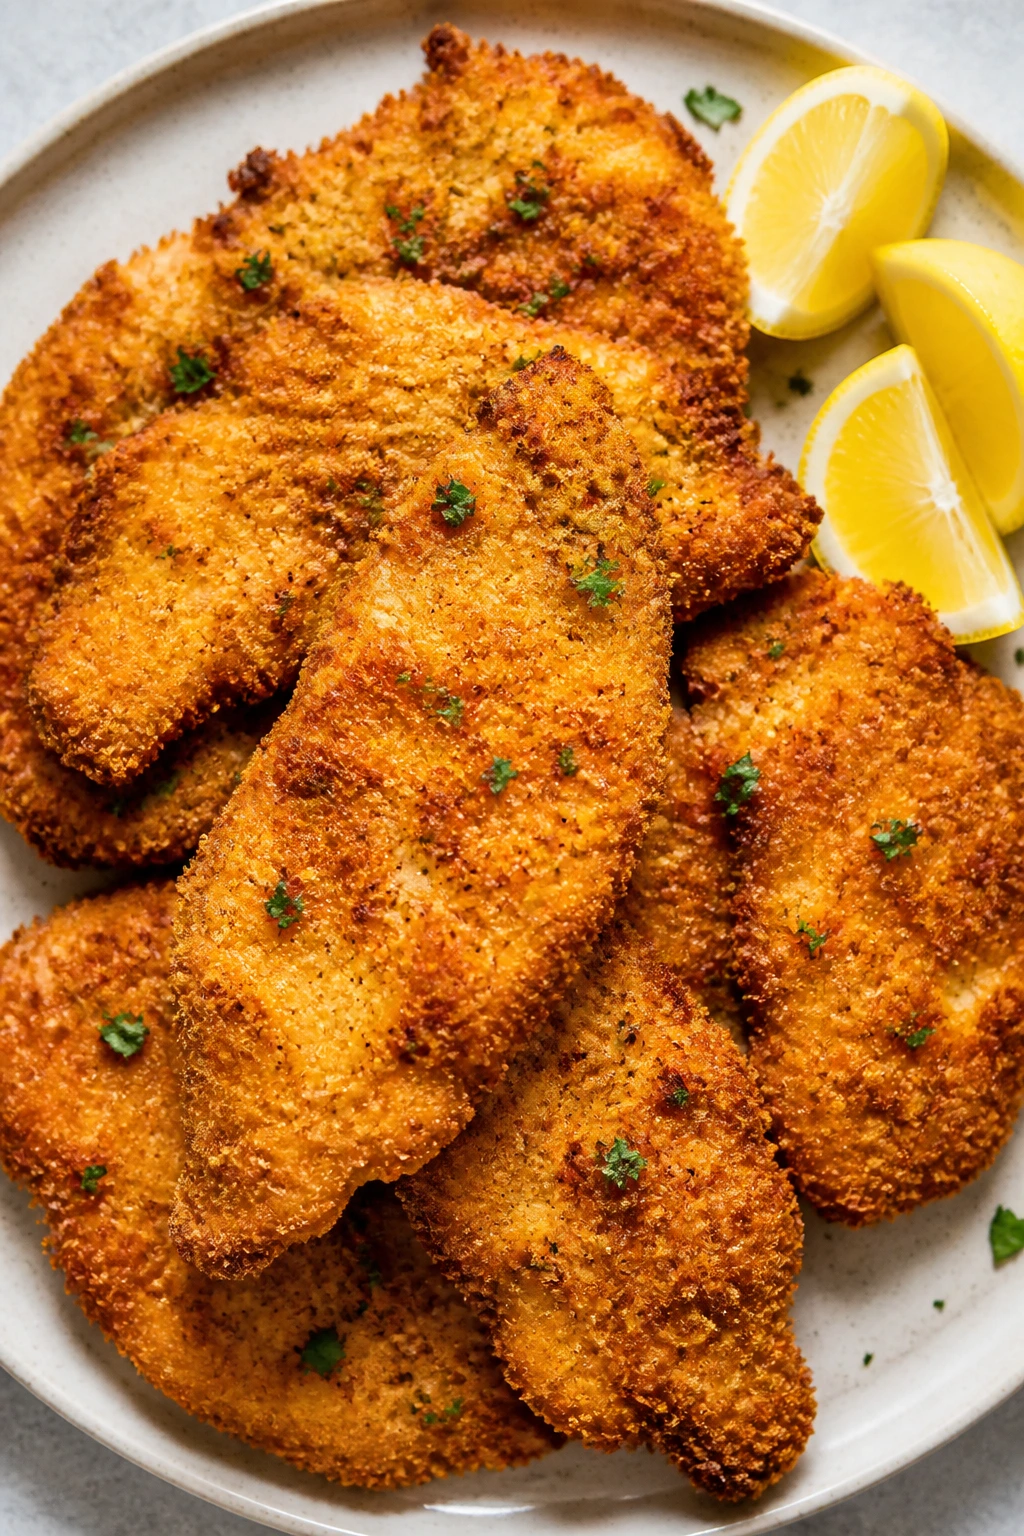
Lemon wedges, for serving — the acidity cuts through the oil and wakes up the crust.
-
Chopped parsley, optional — fresh green color and a light herbal note at the end.
Why Each Ingredient Pulls Its Weight
Chicken
- What to use: 1 1/2 to 2 pounds boneless, skinless chicken breasts, split into 4 thin cutlets.
- Preparation: Slice the breasts horizontally, then pound each piece to an even 1/4-inch thickness between two sheets of plastic wrap or inside a zip-top bag.
- Substitutions: Thin turkey cutlets work well with the same method, and boneless chicken thighs can be used if you can get them thin enough.
- Tips: Dry the meat with paper towels before seasoning. Moisture on the surface is the enemy of a crisp, evenly browned crust.
The Breading Trio
- What to use: 1/2 cup flour, 2 eggs mixed with 1 tablespoon water or milk, and 1 1/2 cups panko breadcrumbs.
- Preparation: Put each part into its own shallow dish so the breading line stays tidy and you don’t cross-contaminate the dry and wet ingredients.
- Substitutions: Gluten-free all-purpose flour and gluten-free panko both work, though gluten-free crumbs can brown a shade faster.
- Tips: Keep one hand for the dry side and one hand for the wet side. That little trick saves your fingers from turning into shaggy breadcrumb mittens.
Seasonings and Cheese
- What to use: 1/3 cup finely grated Parmesan, 1 teaspoon garlic powder, 1/2 teaspoon paprika, 1/2 teaspoon onion powder, 1/2 teaspoon kosher salt, and 1/4 teaspoon black pepper.
- Preparation: Mix the seasonings directly into the panko so every bite tastes seasoned, not just the first one.
- Substitutions: Skip the Parmesan if you need a dairy-free version, and add an extra tablespoon of panko plus a pinch more salt. Smoked paprika can stand in for regular paprika if you want a deeper flavor.
- Tips: Finely grated Parmesan melts into the crumb more evenly than big shreds. Large shards can brown unevenly and fall off in the pan.
Frying Fat and Finishes
- What to use: About 1/2 cup neutral oil for a 12-inch skillet, plus lemon wedges and parsley at the end.
- Preparation: Heat the oil until it shimmers and reaches about 350°F if you have a thermometer; it should look lively, not smoky.
- Substitutions: Light olive oil can work in a pinch, though it browns faster and has a stronger flavor.
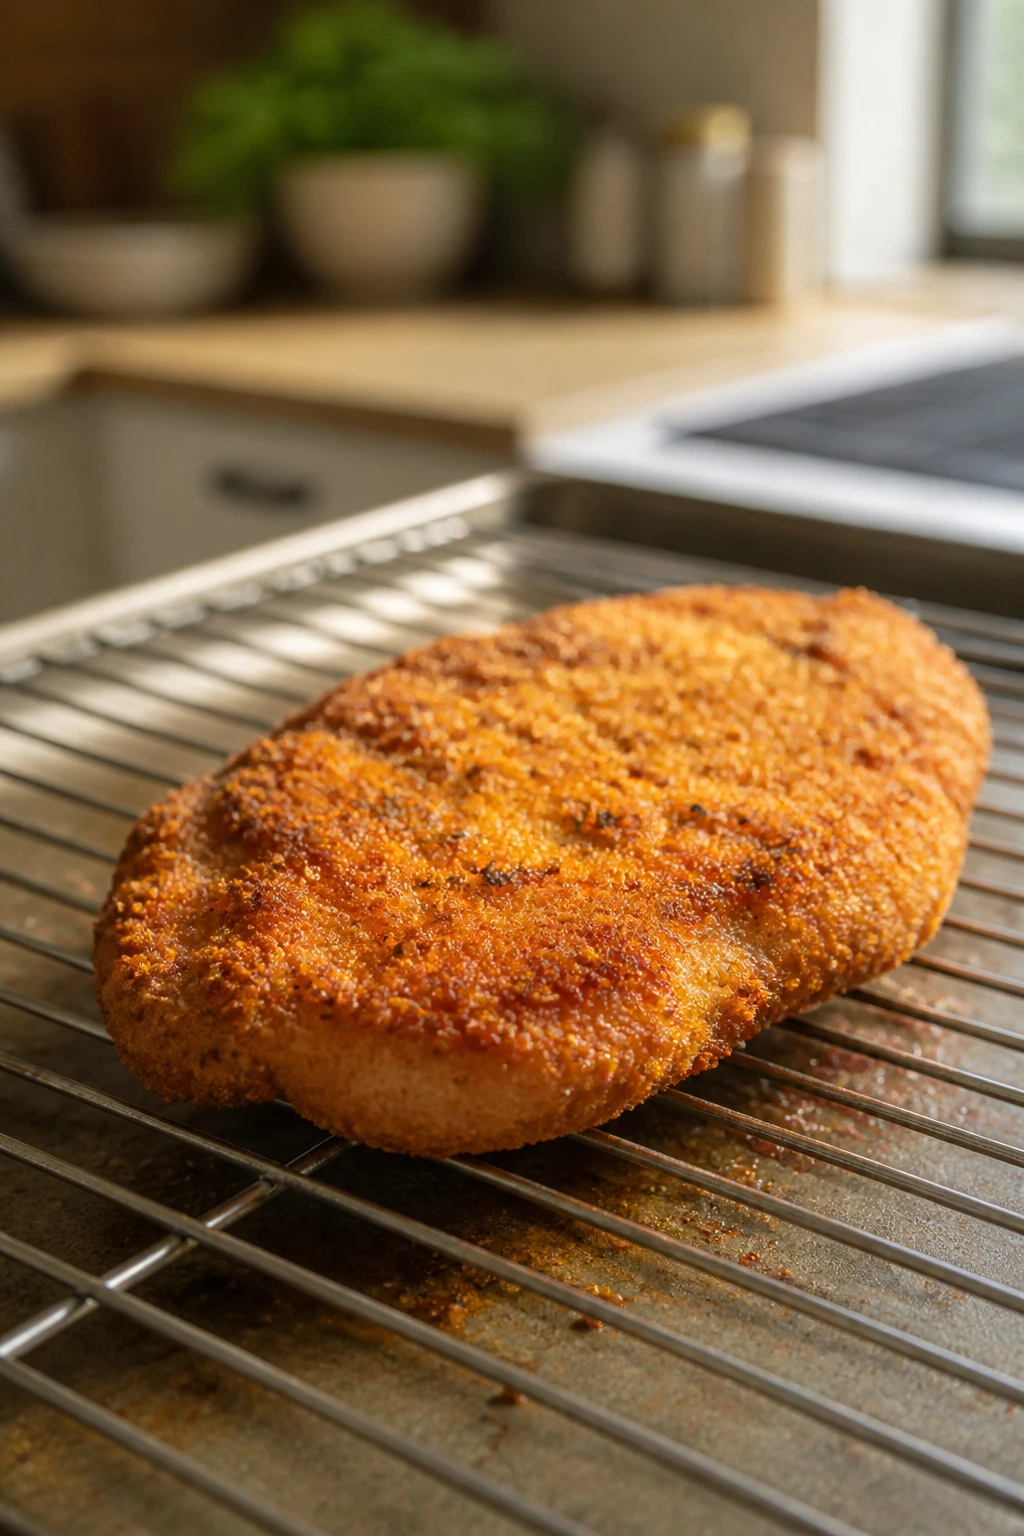
- Tips: Drain finished cutlets on a wire rack set over a sheet pan, not on a flat plate. A flat plate traps steam, and steam softens the crust within minutes.
The Tools That Make Frying Simpler
A decent skillet matters more here than a fancy ingredient. Give me a sturdy pan, a rack, and a thermometer, and I can make this dinner work on an ordinary Tuesday without a lot of theater.
-
12-inch skillet, cast iron or stainless steel — holds heat well and gives the crust a steady brown; a smaller pan crowds the cutlets too fast.
-
Meat mallet or rolling pin — useful for pounding the chicken to an even thickness; the back of a small skillet works in a pinch.
-
Three shallow dishes or pie plates — one each for flour, egg wash, and seasoned crumbs keeps the breading line orderly.
-
Tongs — better than forks, which stab holes in the crust and leak juices.
-
Instant-read thermometer — the easiest way to stop at 165°F without guessing.
-
Wire rack set over a rimmed sheet pan — the best place for draining and resting so the bottom stays crisp.
-
Chef’s knife and sturdy cutting board — for slicing breasts into even cutlets before pounding.
-
Paper towels — only for blotting the chicken dry before seasoning, not for draining after frying.
How to Bread the Cutlets Without Losing Your Mind

Prep the Chicken:
- Slice the chicken breasts horizontally to make 4 thinner pieces. If one side is thicker than the other, pound the cutlets to an even 1/4-inch thickness. The goal is not paper-thin meat; it’s even meat.
- Pat both sides dry with paper towels, then season the chicken with 1 teaspoon kosher salt and 1/2 teaspoon black pepper. Let it sit for 5 to 10 minutes while you set up the breading station. The salt starts seasoning the meat right away, and the short rest helps the surface dry a little more.
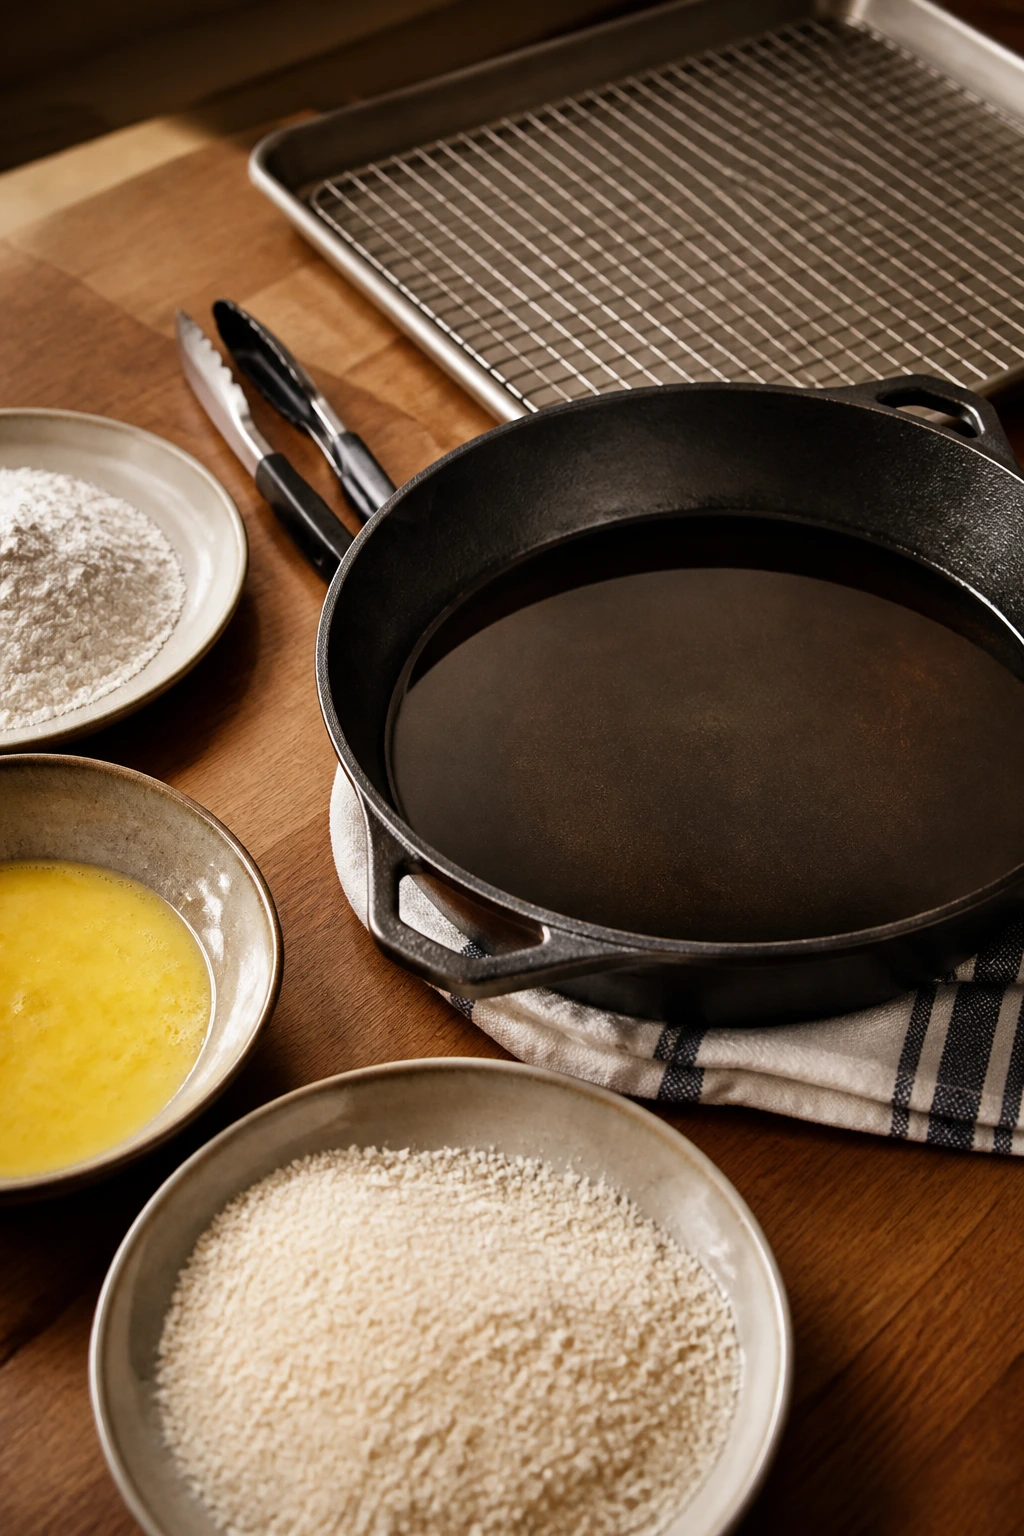
Set Up the Breading Station:
3. Put the flour in the first shallow dish. Beat the eggs with 1 tablespoon water or milk in the second dish until the mixture looks smooth and streak-free. In the third dish, mix the panko, Parmesan, garlic powder, paprika, onion powder, 1/2 teaspoon kosher salt, and 1/4 teaspoon black pepper until the crumbs look evenly speckled.
4. Line a sheet pan with a wire rack and set it beside the breading station. This gives you a clean landing spot for the finished cutlets before they hit the skillet. Do not stack the breaded pieces on top of each other.
Bread the Cutlets:
5. Dredge one cutlet in flour, turning to coat both sides and tapping off the excess. You want a thin, dusty layer, not a flour jacket.
6. Dip the floured cutlet into the egg wash, letting the excess drip back into the dish for a second or two. Then press it firmly into the breadcrumb mixture, turning and pressing so the crumbs cling in a full, even layer.
7. Transfer the breaded cutlet to the rack and repeat with the remaining pieces. Let the coated cutlets rest for 10 minutes before frying. That pause is not decorative; it helps the crust adhere so it doesn’t shed the second it meets the oil.
Fry the Cutlets:
8. Pour about 1/2 cup neutral oil into a 12-inch skillet and heat it over medium to medium-high until it shimmers and reaches about 350°F. The oil should move in smooth ripples, not smoke.
9. Fry 2 cutlets at a time, depending on the size of your skillet, for 3 to 4 minutes per side. Flip when the underside is deep golden brown and the edges look crisp, not pale. If the coating browns too fast, lower the heat immediately.
10. Transfer the cooked cutlets to the wire rack and sprinkle them lightly with a pinch of salt. Fry the remaining pieces, adding a small splash more oil if the pan looks dry.
Finish and Serve: 11. Rest the cutlets for 2 to 3 minutes before slicing. Squeeze lemon over the top right before serving, or set wedges on the side if you want to keep the crust as dry as possible.
How to Serve Chicken Cutlets So the Coating Stays Snappy
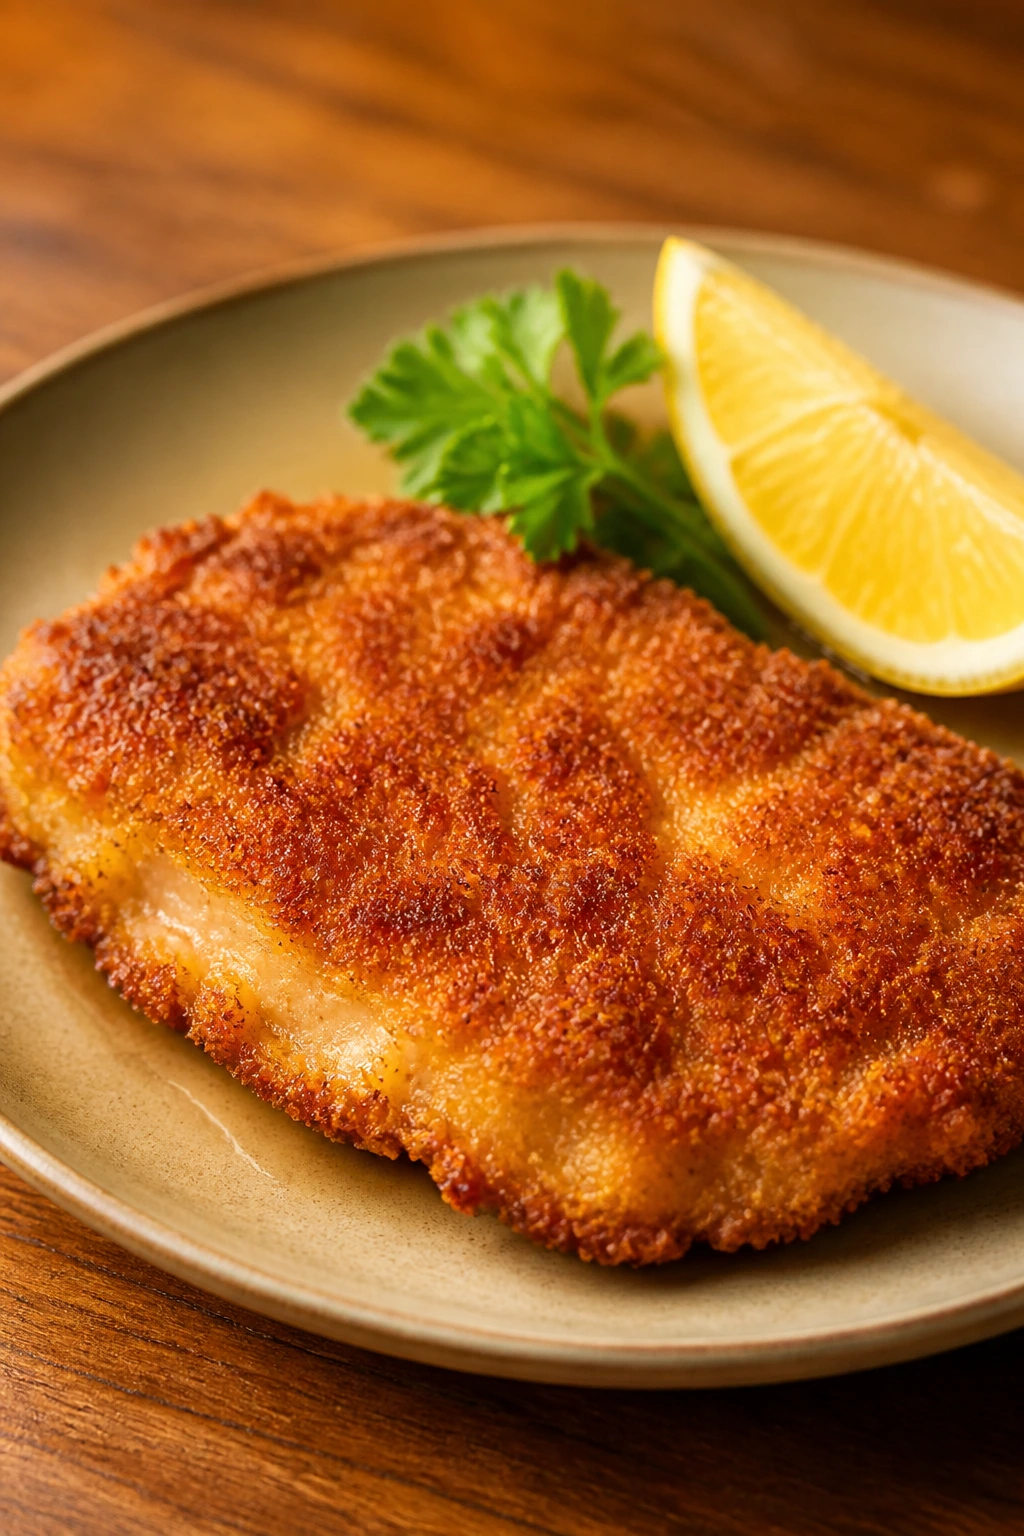
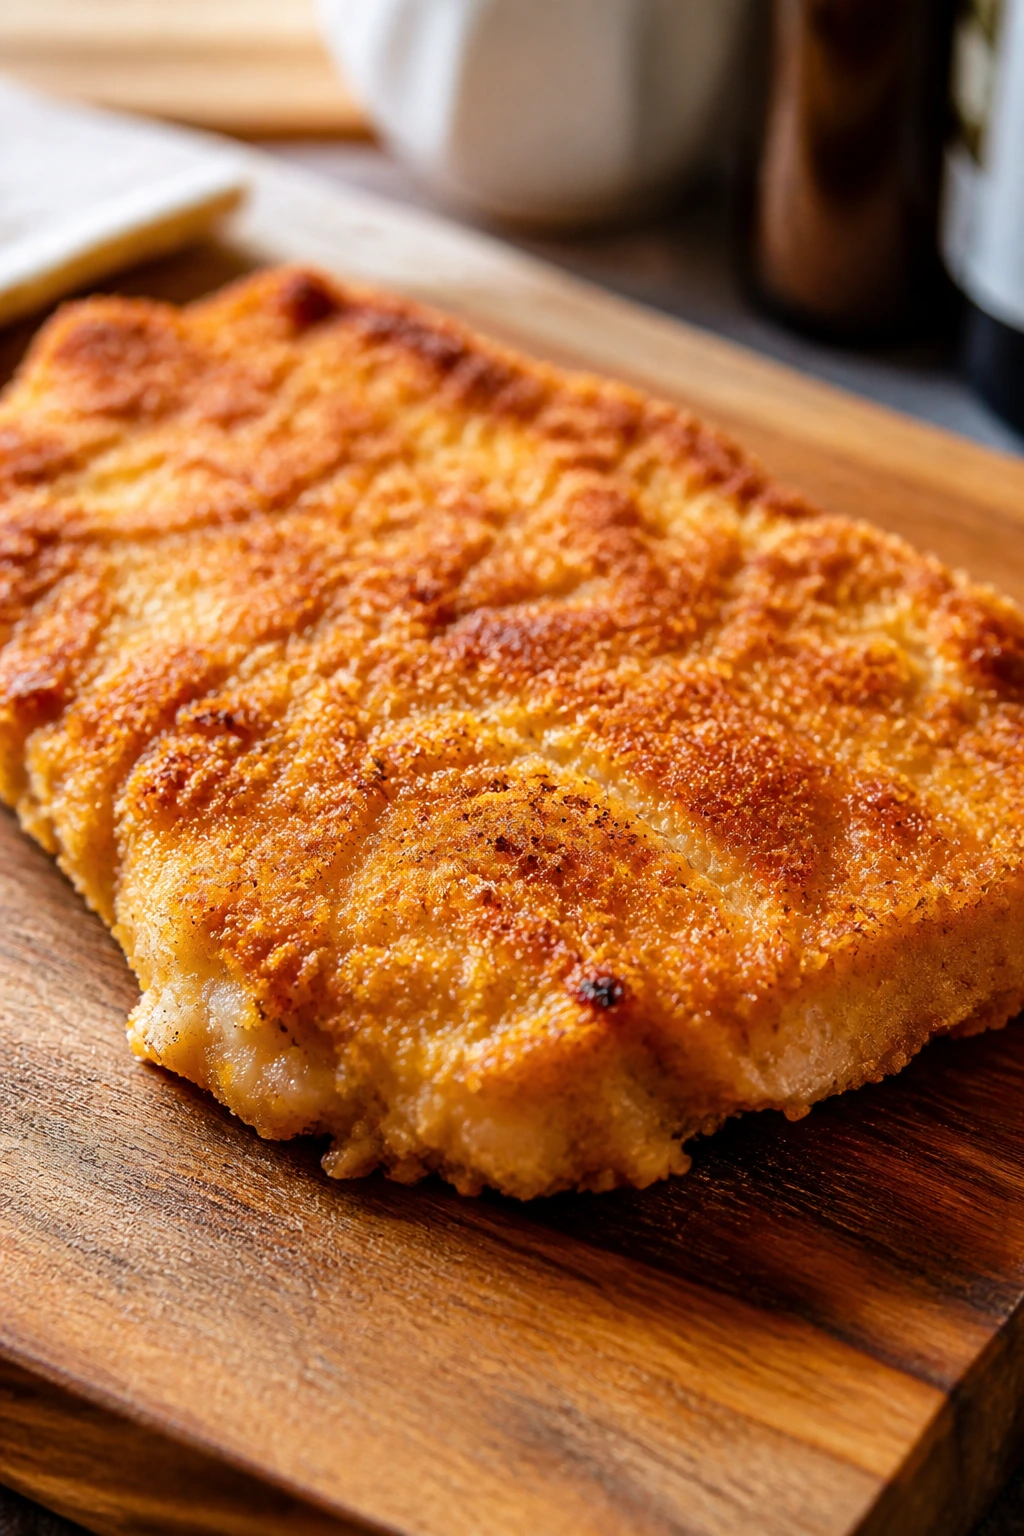
Presentation: Slide each cutlet onto a warm plate and lean a lemon wedge against the edge rather than pouring anything over the top. A little parsley scattered at the last second gives the plate a fresh look, but the real visual cue is the crust itself: uneven gold, a few darker crumbs, and dry edges that stand up instead of sinking into oil.
Accompaniments: My favorite partners are things that know how to behave around a crisp crust. Think buttered egg noodles with black pepper, mashed potatoes, a shaved fennel salad, or arugula dressed with lemon and olive oil. If you want a sandwich, tuck the cutlets into a roll with mayonnaise, shredded lettuce, and a few sliced tomatoes that have been salted and drained for 10 minutes.
Portions: One cutlet per person is enough if it’s the main event and the sides are generous. If the cutlets are small or you’re serving a hungry crowd, plan on 1 1/2 cutlets per person and build the plate with a starch or salad. These scale well for a larger dinner, but fry in batches; crowding the pan is where the texture starts slipping.
Beverage Pairing: A dry Riesling or a crisp Pinot Grigio makes sense here because both cut through the oil without flattening the chicken. For a non-alcoholic option, unsweetened iced tea with lemon or sparkling water with a squeeze of citrus keeps the palate clean between bites.
Small Tweaks That Improve the Whole Batch
Flavor Enhancement: Grate a little lemon zest into the breadcrumb mixture, maybe 1 teaspoon for the whole batch. It lands in the crust as a bright, fragrant top note without making the cutlets taste like lemon cake, which is a line I do not want crossed.
Time-Saver: Ask the butcher to slice the breasts into cutlets, or buy chicken labeled as cutlets if that’s what’s available. You still need to pound them a little, but you save the awkward knife work and the uneven scraps that make the first batch cook differently from the second.
Pro Move: Let the breaded cutlets sit on the rack for the full 10 minutes before frying. If you’re in a hurry, even 5 minutes helps. That short rest is one of the few things that can turn a crumbly coating into a coating that survives the flip.
Cost-Saver: Parmesan is the most expensive part of the breading, and you can trim it back to 2 tablespoons without ruining the recipe. The panko and seasoning still carry the crunch; the cheese is there to deepen the flavor and help the crust brown a little richer.
Serving Suggestions: Add a pinch of flaky salt and a squeeze of lemon the second the cutlets leave the pan. Tiny finish, big difference. A dry crust tastes sharper and cleaner than one that sits under sauce for too long.
What Usually Goes Wrong With Chicken Cutlets
-
The chicken is too thick in the middle. The symptom is familiar: the outside turns bronze while the center still looks pale and tight when you cut into it. Pound the cutlets to an even 1/4-inch thickness so they cook fast enough for the crust to keep up.
-
The breading falls off in the pan. Usually this comes from one of three things: the chicken was damp, the flour layer was too thick, or the cutlets were flipped too soon. Pat the chicken dry, shake off extra flour, and let the first side set before you move it.
-
The oil is wrong. If the oil is cold, the cutlets drink it up and turn heavy. If it’s too hot, the crumbs brown before the chicken cooks through. You want shimmering oil around 350°F, not a smoking pan and not a sleepy one.
-
Too many pieces go into the skillet at once. The temperature drops, the breading steams, and the crust comes out patchy. Fry in batches of two, maybe three if the pan is large and the pieces are small.
-
The cutlets drain on paper towels. Paper towels sound practical, but they trap steam against the bottom. A wire rack lets air move around the cutlet, which is the difference between crisp and merely warm.
-
You forget to season the chicken itself. Breadcrumbs can taste salty while the meat underneath tastes plain. The fix is simple: salt and pepper the chicken before it ever touches the flour.
Named Variations That Still Feel Like the Same Recipe
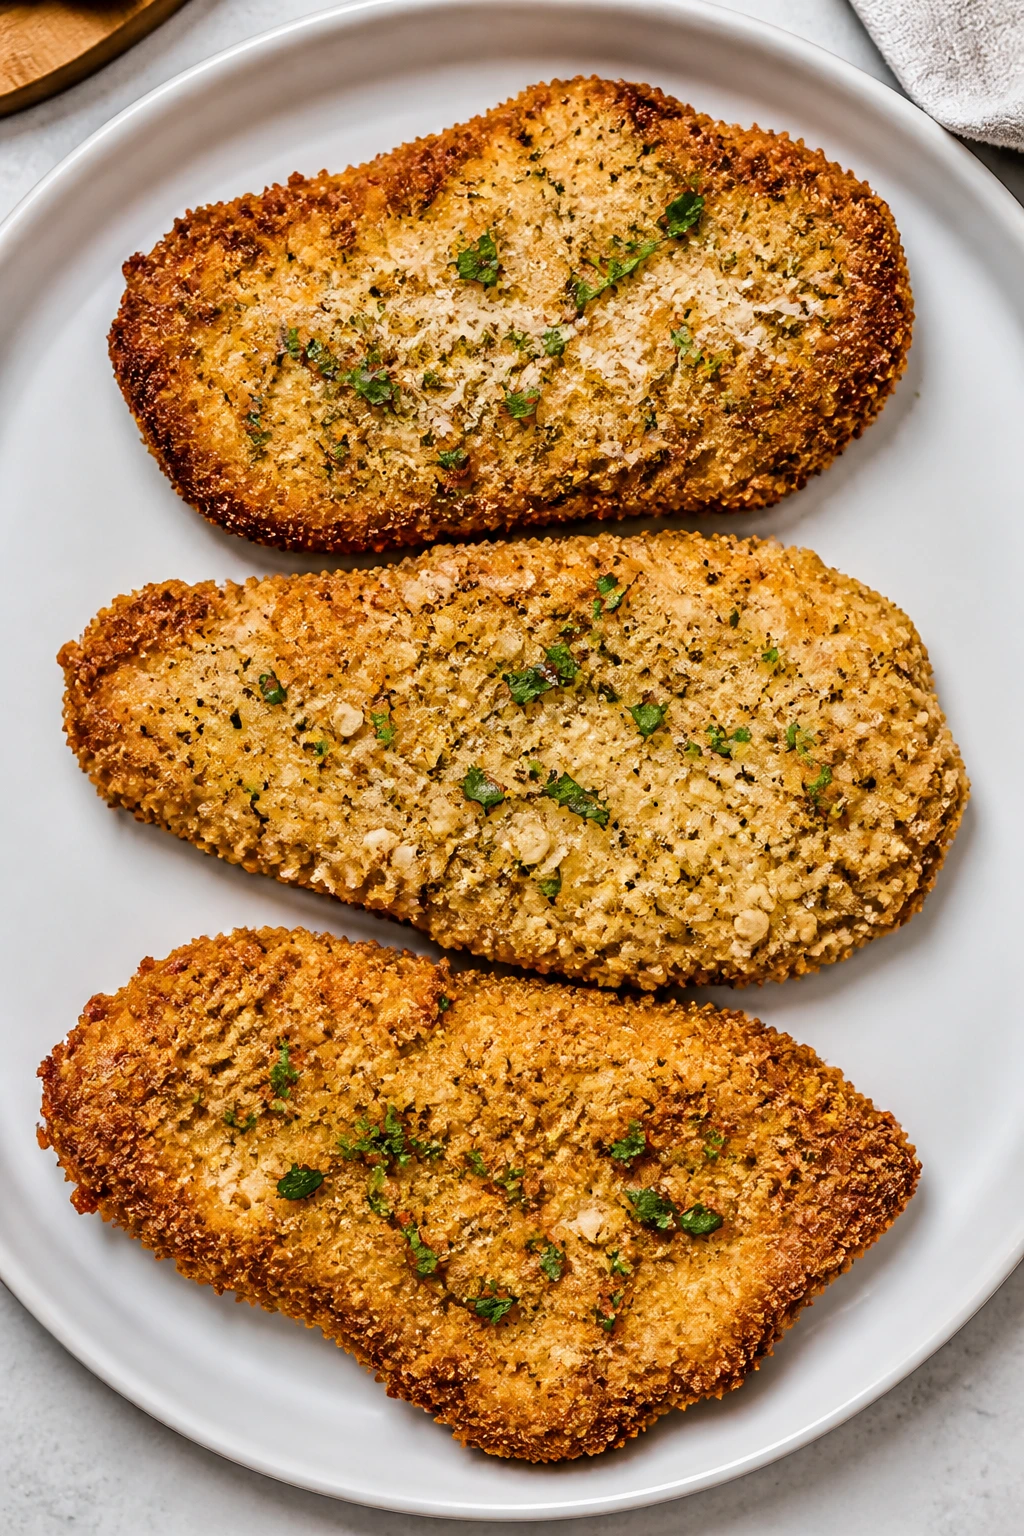
Parmesan Herb Cutlets: Add 1 teaspoon dried oregano and 1 teaspoon dried parsley to the breadcrumb mixture, then finish the cutlets with a little more Parmesan while they’re still hot. The flavor lands somewhere between Italian-American chicken cutlets and a weeknight version of Milanese.
Lemon Pepper Crunch: Skip the paprika and add 1 teaspoon finely grated lemon zest plus an extra 1/2 teaspoon black pepper to the crumbs. This version tastes brighter and a little sharper, which works especially well with roasted potatoes or a cucumber salad.
Gluten-Free Crunch Cutlets: Swap the flour for gluten-free all-purpose flour and use gluten-free panko or crushed gluten-free cornflakes in place of the standard crumbs. The texture changes a touch, but the crust still gets that brittle edge if you keep the oil hot and the coating thin.
Oven-Baked Sheet Pan Version: Coat the cutlets as written, place them on a wire rack set over a sheet pan, and spray the tops lightly with oil. Bake at 425°F for 18 to 20 minutes, flipping once halfway through, until the crust is golden and the chicken reaches 165°F. The result is less shattery than pan-fried cutlets, but it still gets dinner on the table with far less oil.
Spicy Pantry Cutlets: Add 1/4 to 1/2 teaspoon cayenne pepper to the panko mixture and serve with a squeeze of lemon or a thin swipe of hot honey on the side. Keep the heat modest if you still want the chicken to taste like chicken after the first bite.
Storing, Reheating, and Making Them Ahead
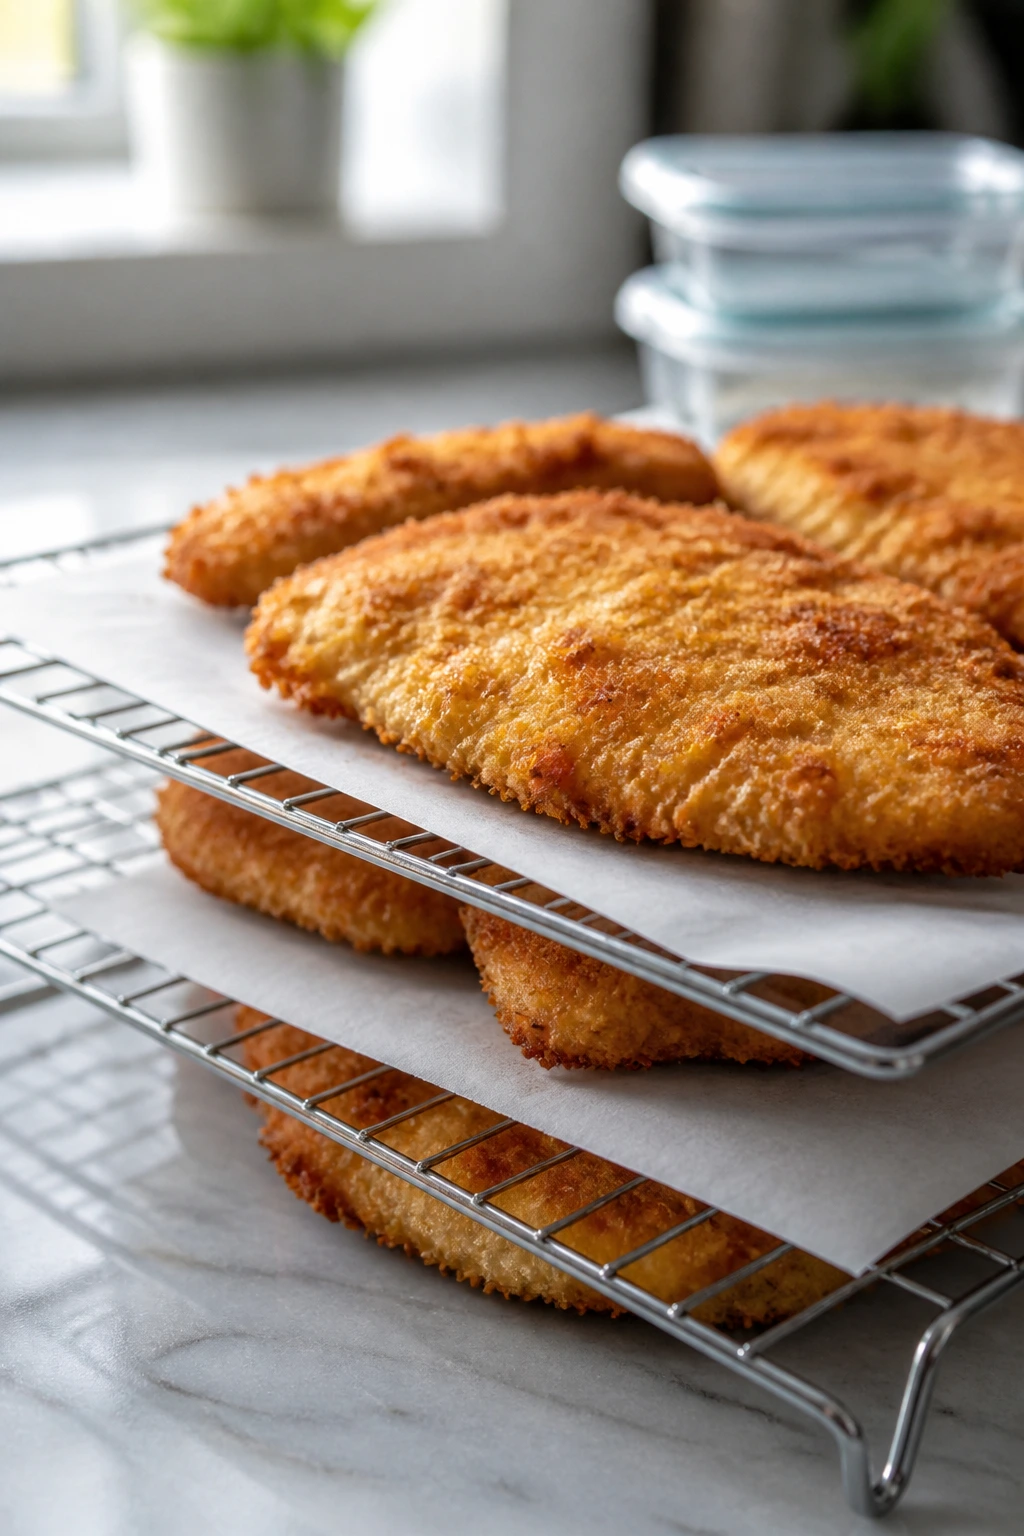
Cooked cutlets keep best when they cool on the rack for 15 minutes before storage. Once they’re no longer steaming, tuck them into an airtight container with a sheet of parchment between layers and refrigerate for up to 3 days. They’ll still be edible on day 4, but the crust starts losing its edge and the meat dries a little more with each passing day.
Freezing works better than most people expect, provided you handle the crust carefully. Wrap the cooled cutlets individually in parchment or plastic wrap, then place them in a freezer bag or container. They keep for up to 2 months. Reheat from frozen in a 400°F oven on a wire rack for 18 to 22 minutes, or until hot and crisp at the edges. An air fryer at 375°F for 8 to 10 minutes also does a respectable job.
If you want to make them ahead without cooking, bread the cutlets and arrange them on a rack in the refrigerator for up to 8 hours. Longer than that, and the coating starts to look damp around the edges. For a party or a dinner where the rest of the menu needs time, bread them in the morning, fry them close to serving, and hold them on a rack in a 200°F oven for up to 20 minutes while you finish everything else.
Room temperature is the one place I wouldn’t linger. Leave cooked chicken out for no more than 2 hours, less if the kitchen is hot. After that, it’s a food-safety issue, not a texture issue.
Reheating in the microwave is the quickest way to flatten the crust into a soggy blanket, so I’d skip it unless you have no other option. If you must use it, do a short burst to take the chill off, then finish in a hot skillet or oven so the breading gets its snap back.
Frequently Asked Questions About Chicken Cutlets
Can I use chicken thighs instead of breasts?
Yes, if you can find boneless thighs that are thin enough to bread evenly. They’ll be a little juicier and a little less uniform in shape, so expect a slightly more rustic look and a minute or two more cooking time in some pans.
Why does my breading fall off when I flip the cutlets?
Usually the coating didn’t have time to set, the chicken was wet, or too much flour stuck to the meat before it went into the egg. Dry the chicken well, tap off extra flour, and let the breaded cutlets rest on a rack for 10 minutes before frying.
Can I bake these instead of frying them?
You can, and the oven version works best when the cutlets are on a wire rack over a sheet pan with a light spray of oil. Bake at 425°F until the crust is golden and the chicken reaches 165°F. The texture is a little less crisp than pan-fried cutlets, but the method is easier if you’re cooking for a crowd.
What’s the best oil for breaded chicken cutlets?
A neutral oil with a higher smoke point, like canola, grapeseed, or avocado oil, is the cleanest choice. Olive oil can work, but it browns faster and may smoke sooner, which makes timing fussier than it needs to be.
How thin should I pound the chicken?
Aim for about 1/4 inch thick all over. Thicker pieces take longer to cook, and by the time the middle is done, the crust has often overbrowned. Even thickness matters more than exact ruler-perfect thinness.
Can I make breaded cutlets ahead for a dinner party?
Yes, but the timing matters. Bread them up to 8 hours ahead and keep them on a rack in the refrigerator, uncovered or lightly tented, then fry close to serving time. If you fry too early, the crust loses the snap that makes the whole dish worthwhile.
How do I keep the cutlets warm without softening them?
Place them on a rack over a sheet pan in a 200°F oven. That gentle heat keeps them hot while air moves around the crust, which is much better than stacking them in a covered dish. A covered dish traps steam, and steam is the enemy here.
The Last Crisp on the Plate
There’s a reason crispy breaded chicken cutlets keep showing up in dinner rotations. They solve the oldest weeknight problem in the book: how to make something that feels cooked with care without making yourself late, frazzled, or buried under dishes. Thin chicken, seasoned crumbs, hot oil, done.
The best part is that the recipe rewards attention in small, ordinary ways. Dry the meat. Don’t crowd the pan. Let the breading rest. Use a rack. None of that sounds dramatic, and none of it is hard. But those small choices are the difference between a crust that shatters and one that sighs.
Crispy Breaded Chicken Cutlets — Recipe Card
Recipe Name: Crispy Breaded Chicken Cutlets
Description: Thin chicken cutlets are seasoned, breaded with panko and Parmesan, then shallow-fried until the crust turns deep golden and crisp. Serve with lemon wedges, potatoes, pasta, or a simple green salad.
Prep Time: 20 minutes
Cook Time: 15 minutes
Total Time: 35 minutes
Course: Main Course
Cuisine: American
Servings: 4 servings
Calories: About 430 kcal per serving
Ingredients
For the Chicken
- 1 1/2 to 2 pounds boneless, skinless chicken breasts, sliced into 4 thin cutlets
- 1 teaspoon kosher salt
- 1/2 teaspoon black pepper
For the Breading Station
- 1/2 cup all-purpose flour
- 2 large eggs
- 1 tablespoon water or milk
- 1 1/2 cups panko breadcrumbs
- 1/3 cup finely grated Parmesan cheese
- 1 teaspoon garlic powder
- 1/2 teaspoon paprika
- 1/2 teaspoon onion powder
- 1/2 teaspoon kosher salt
- 1/4 teaspoon black pepper
For Frying and Serving
- 1/2 cup neutral oil, plus more if needed
- Lemon wedges, for serving
- Chopped parsley, optional
Instructions
-
Slice the chicken breasts horizontally into 4 thin cutlets, then pound them to an even 1/4-inch thickness. Pat dry and season with salt and pepper.
-
Set up three shallow dishes: flour in the first, beaten eggs mixed with water or milk in the second, and panko mixed with Parmesan, garlic powder, paprika, onion powder, salt, and pepper in the third.
-
Dredge each cutlet in flour, dip in egg wash, then coat firmly in the breadcrumb mixture. Set on a wire rack and rest for 10 minutes.
-
Heat the oil in a 12-inch skillet over medium to medium-high heat until shimmering and about 350°F.
-
Fry the cutlets in batches for 3 to 4 minutes per side, until deep golden brown and cooked through to 165°F.
-
Transfer to a wire rack over a sheet pan, sprinkle lightly with salt, and repeat with the remaining cutlets.
-
Rest for 2 to 3 minutes, then serve with lemon wedges and parsley, if using.
Notes: For extra crunch, don’t skip the 10-minute rest before frying. Reheat in a 400°F oven on a wire rack to keep the crust crisp.