
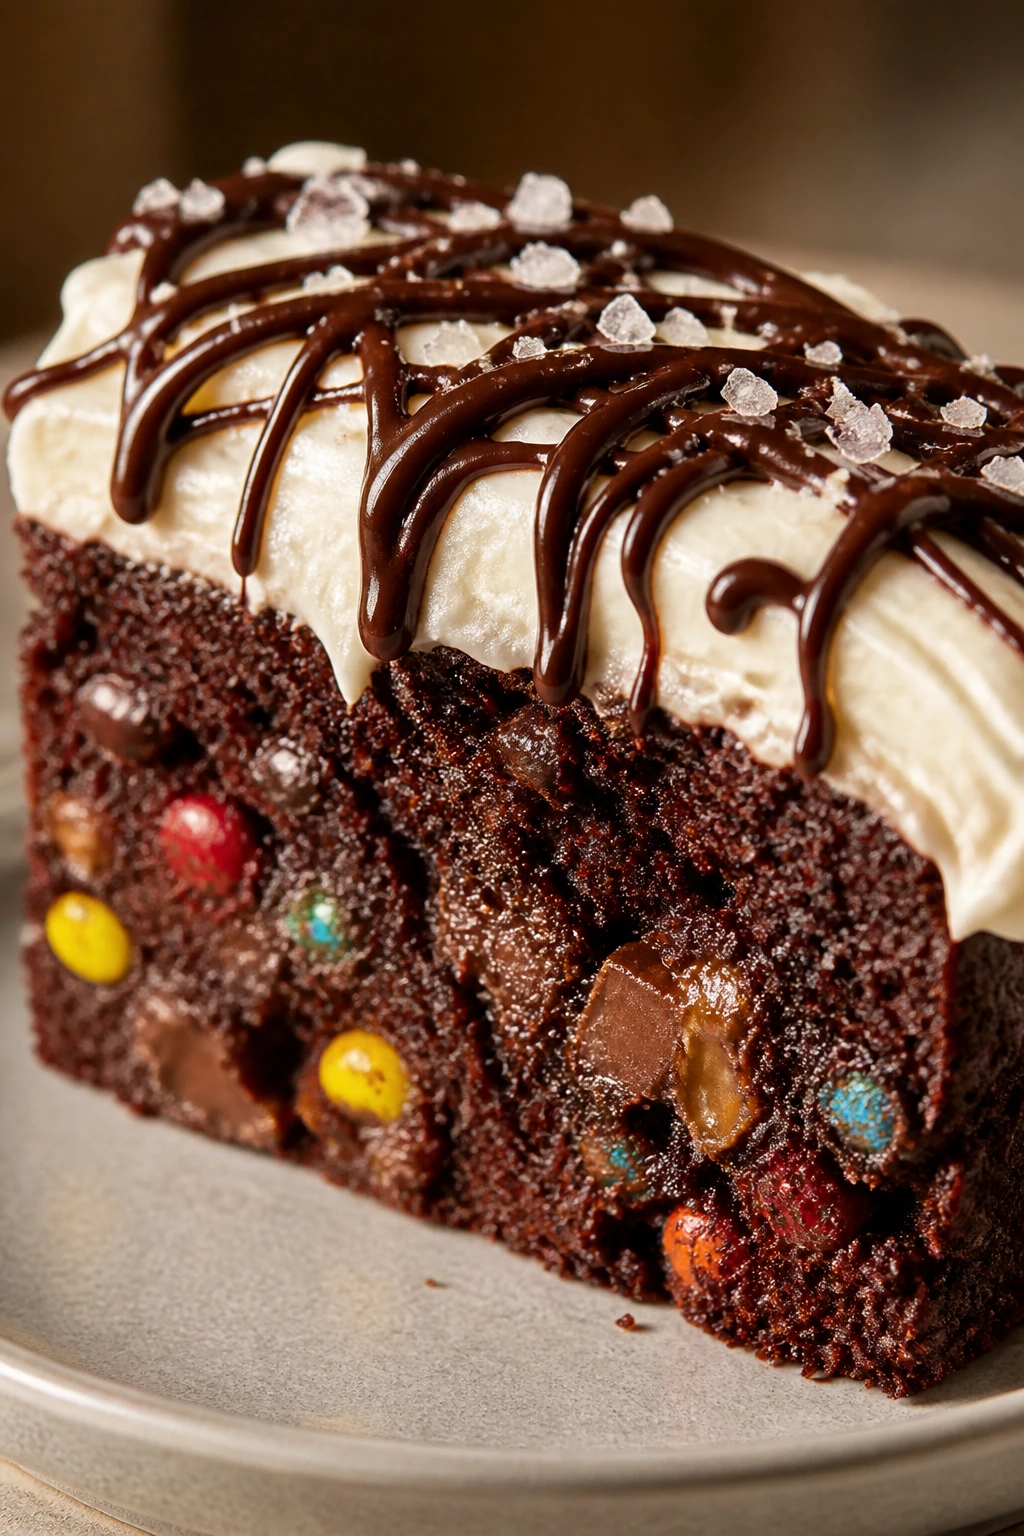
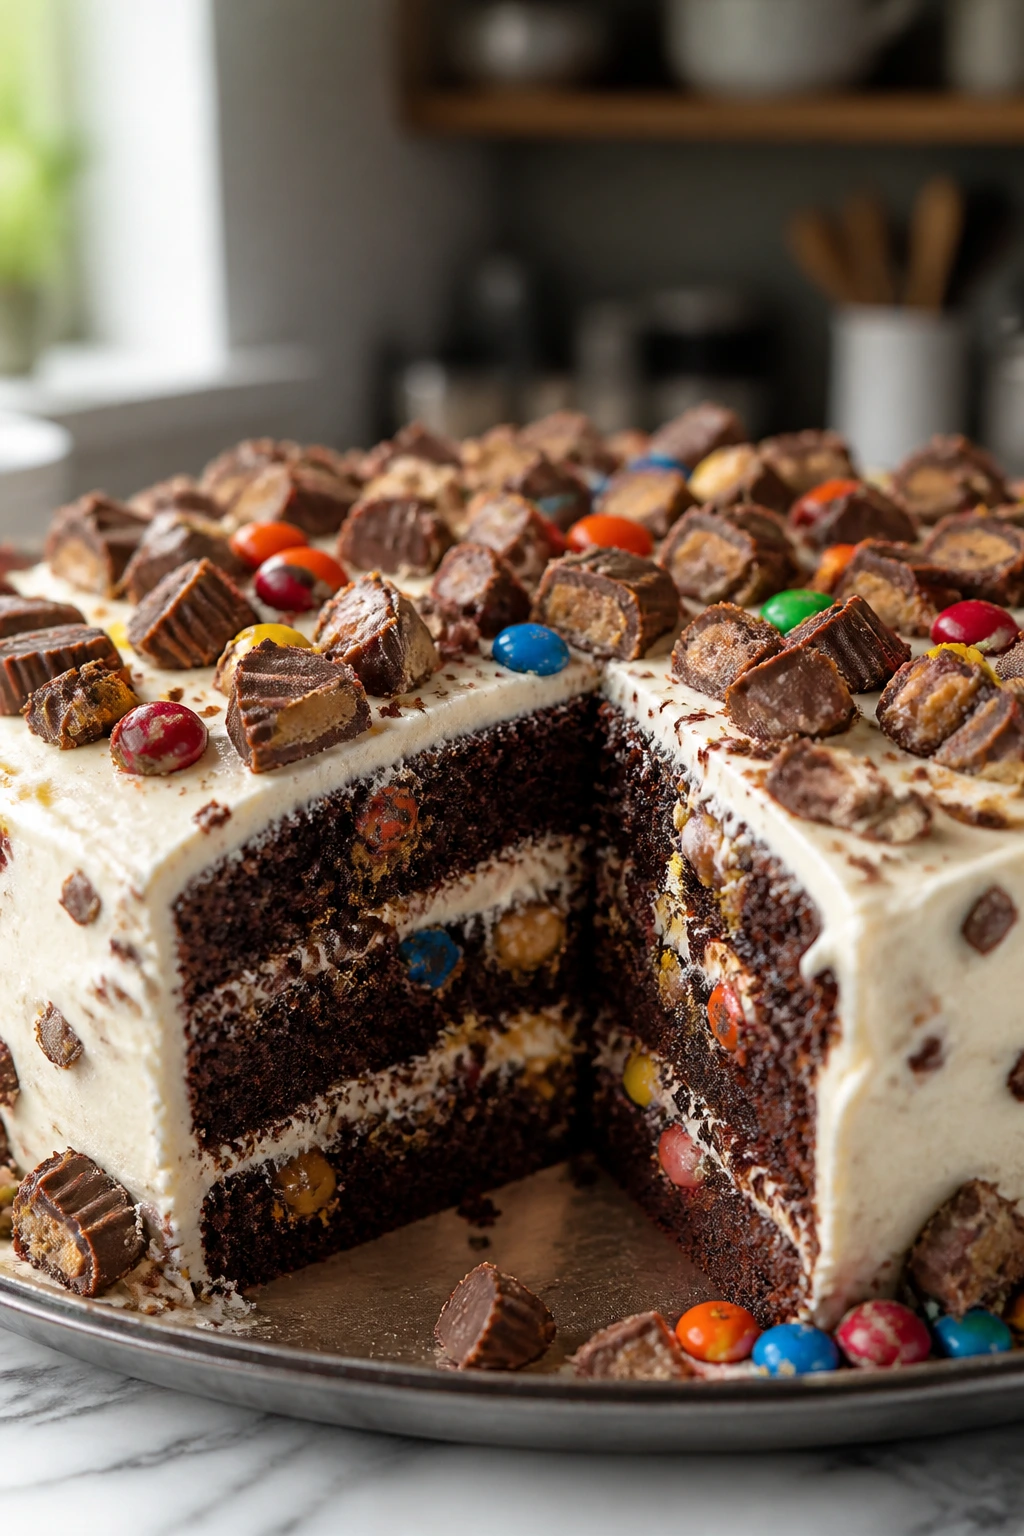
A candy-studded cake with cream cheese frosting can go wrong in a dozen small ways. The candy melts into puddles, the frosting turns loose, the crumb gets heavy, and by the time you cut the first square you’re left with something that looks louder than it tastes. That’s the trap. The better version is much more interesting: a dark chocolate cake with soft pockets of chopped favorite candy, a tangy frosting that keeps the sweetness in check, and slices that hold their shape after a short chill.
The part that usually gets ignored is balance. A dessert like this isn’t about stuffing as much candy as possible into the batter and calling it fun. It’s about choosing a base with enough cocoa to stand up to caramel, peanut butter, nougat, or toffee, then finishing it with a frosting that cuts through the sugar instead of piling on more of it. Cream cheese frosting does that job better than buttercream, and I’ll defend that opinion all day.
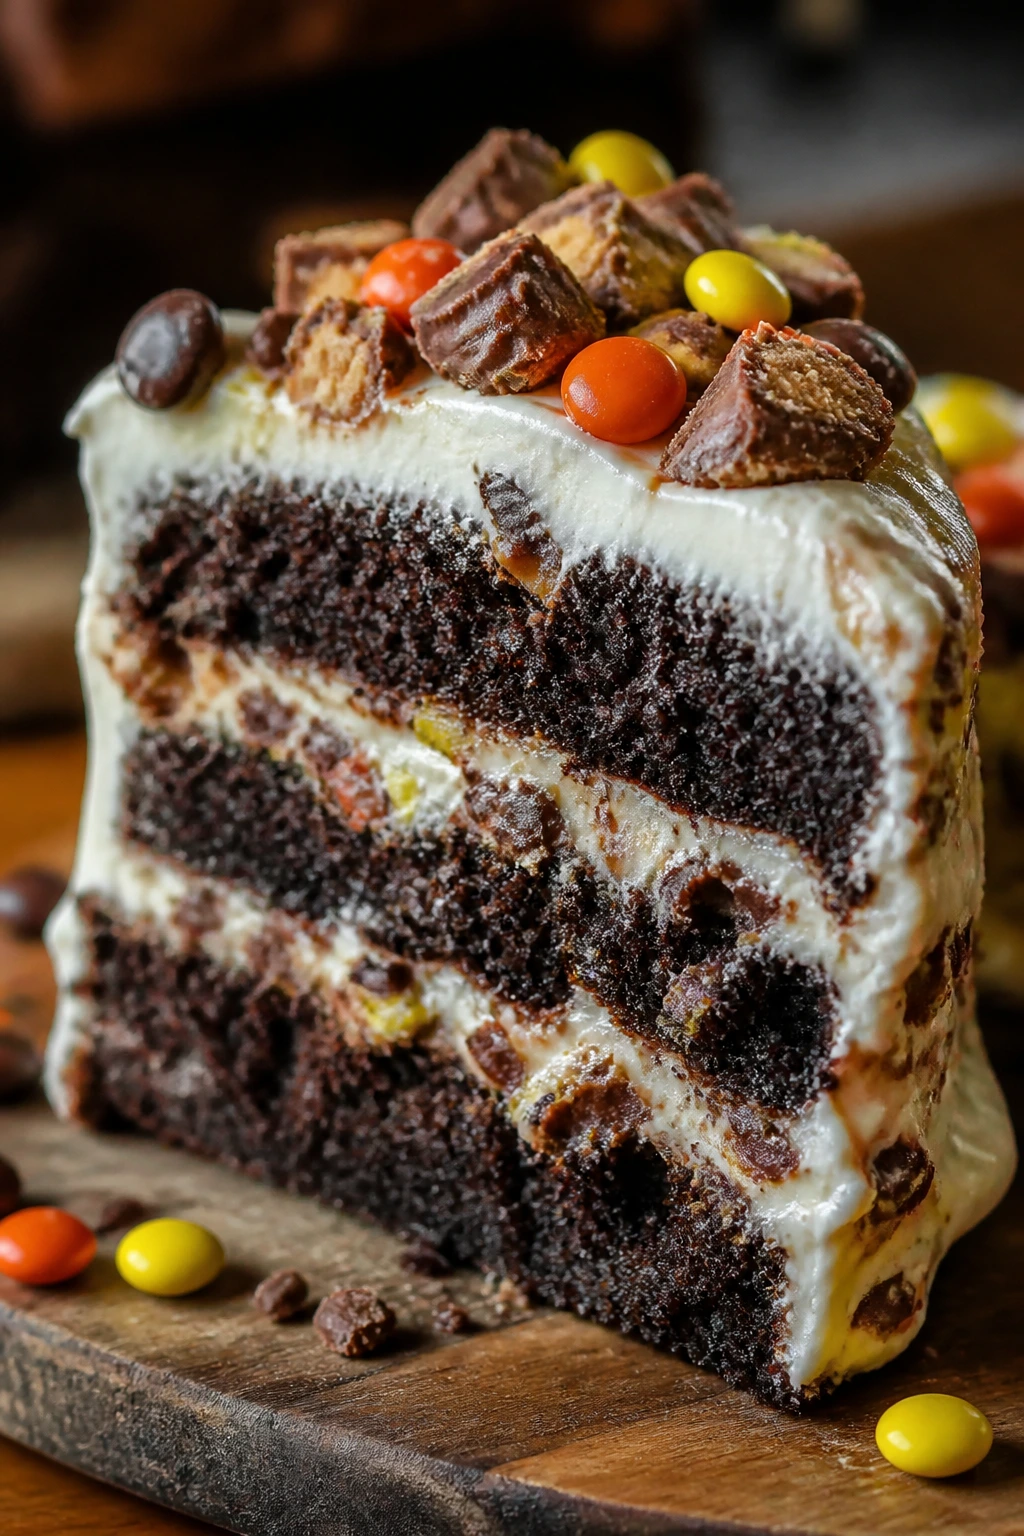
I like this kind of cake because it has a little chaos in the bite, but not in the structure. You get the melted edge of a chopped Snickers piece, the soft chocolate crumb around it, and then that cool, tangy frosting on top. Done right, it tastes like someone paid attention. That’s rare enough to be worth baking for.
Why You’ll Keep Coming Back to This Cake
-
Chocolate Backbone: The cocoa batter keeps the dessert from tasting like frosting with crumbs underneath; it gives the candy something dark and sturdy to lean on.
-
Candy in Small Pockets: Chopping the bars into 1/2-inch pieces gives you soft hits of caramel, peanut butter, and chocolate without turning the crumb greasy.
-
Tangy Frosting Balance: Cream cheese frosting brings a clean, slightly sharp edge that keeps the cake from becoming a sugar blur.
-
Good Use for Mixed Candy: This is one of the few desserts that actually benefits from a bowl of leftover candy bars, provided they’re the right kind.
-
Slices Neatly After a Chill: Fifteen minutes in the fridge firms the frosting just enough that the candy pieces stop sliding around when you cut.
-
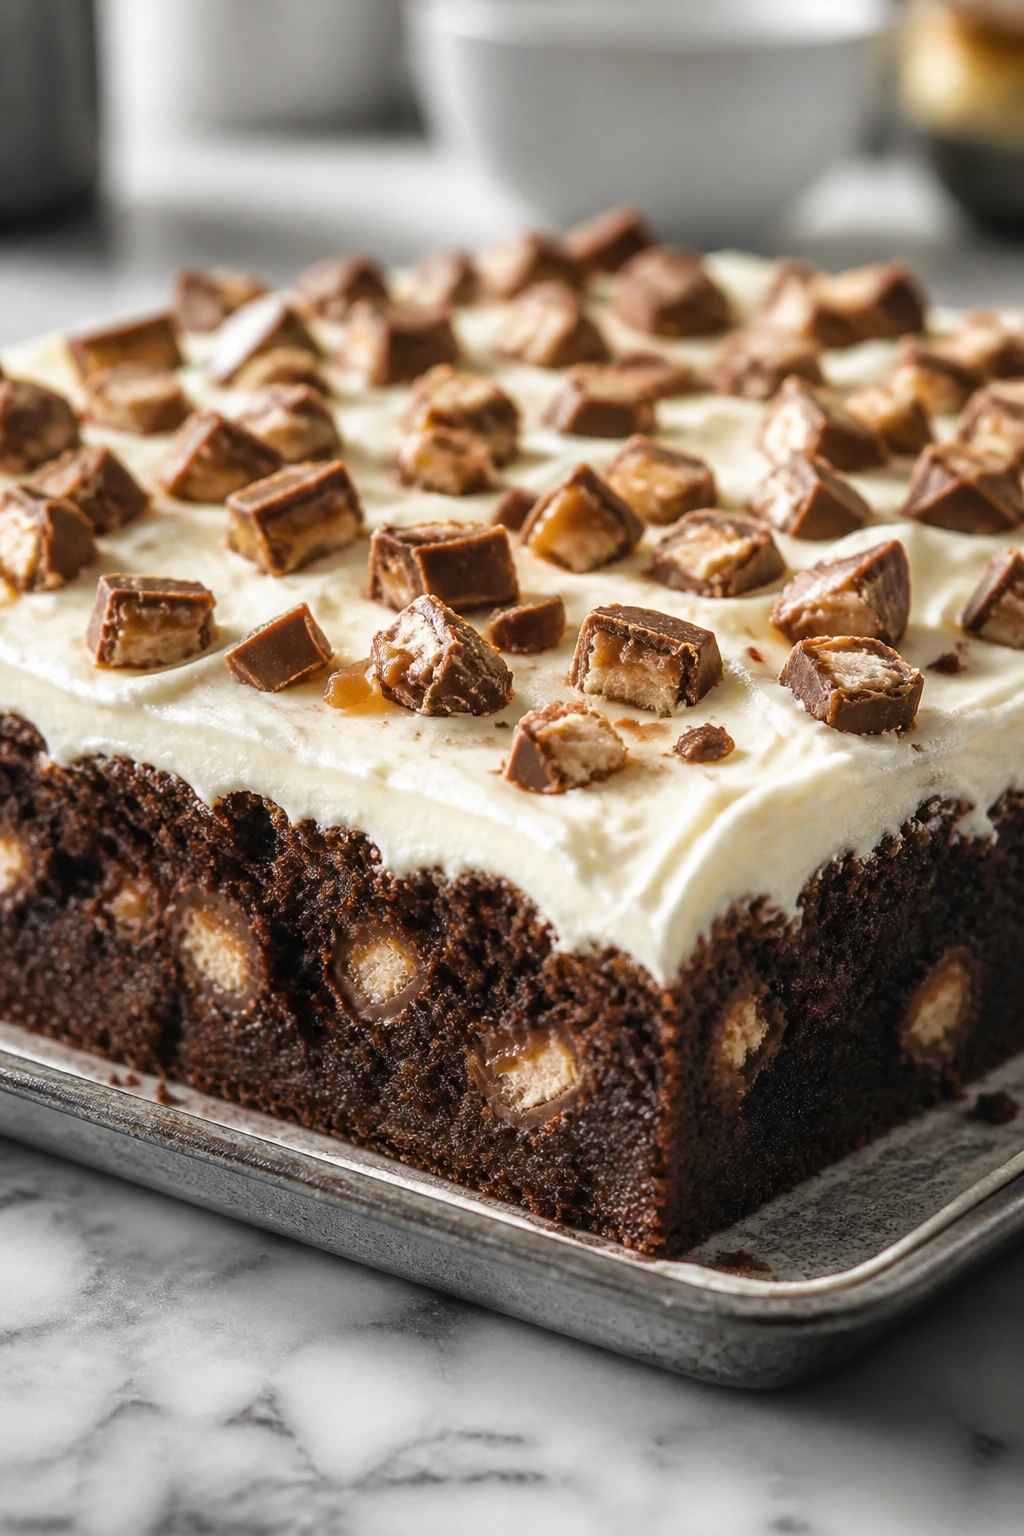
Easy to Scale for a Crowd: A 9×13-inch pan gives you tidy squares without the fuss of stacking layers, and that matters when the dessert is already rich.
The Pan and the Clock: Yield, Timing, and Difficulty
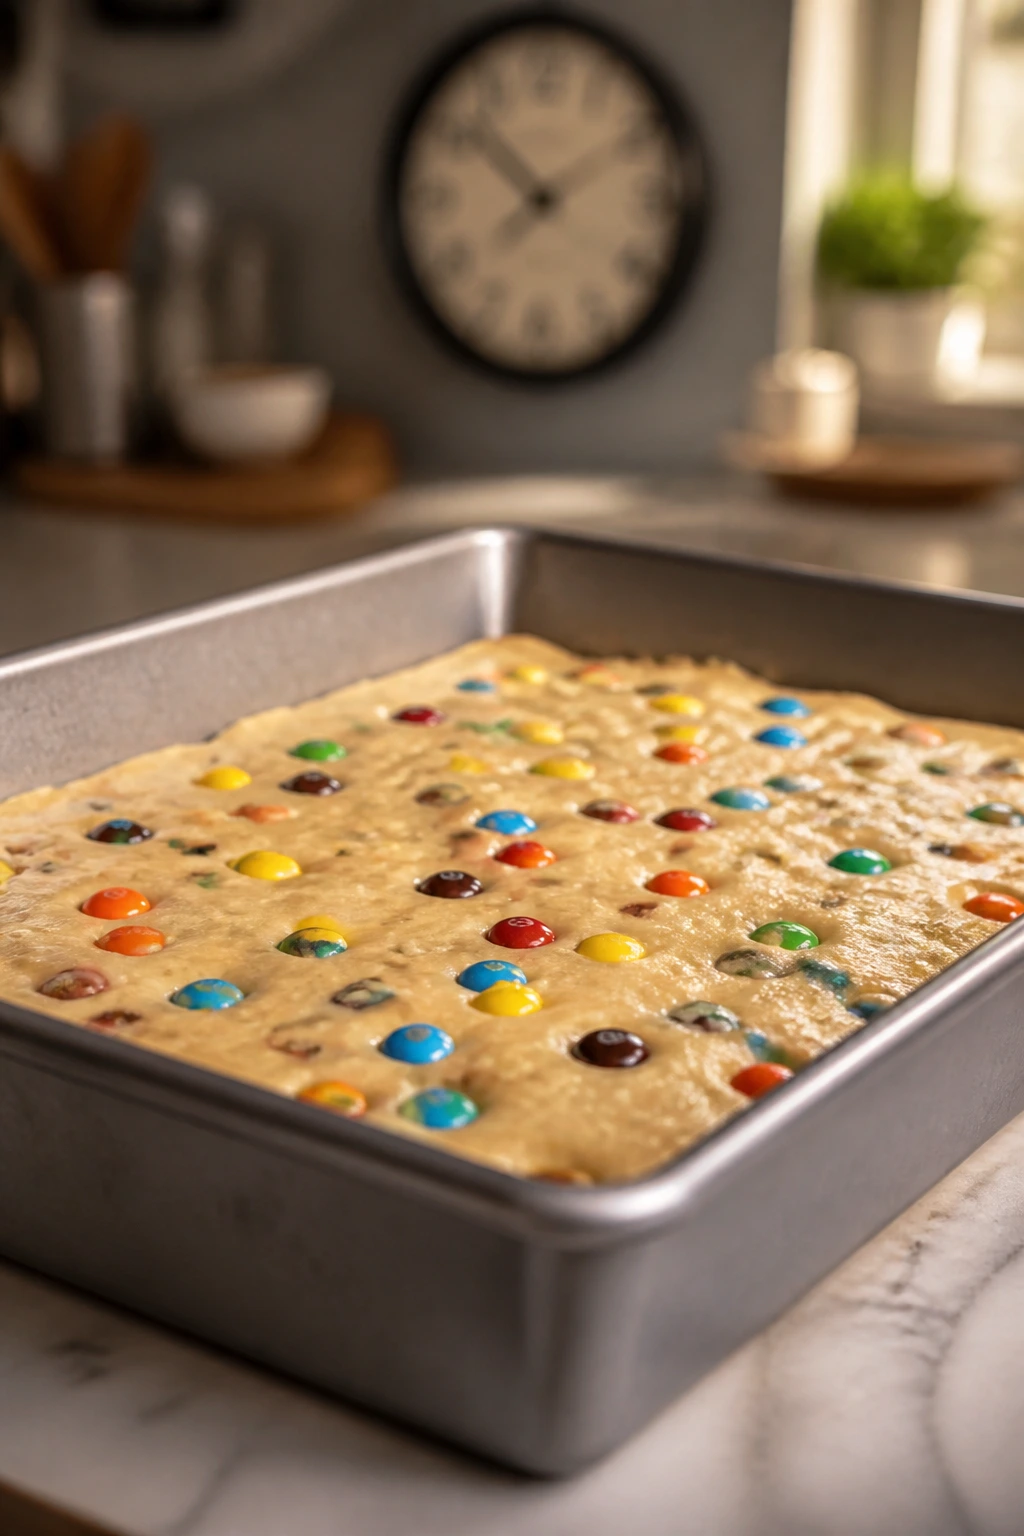
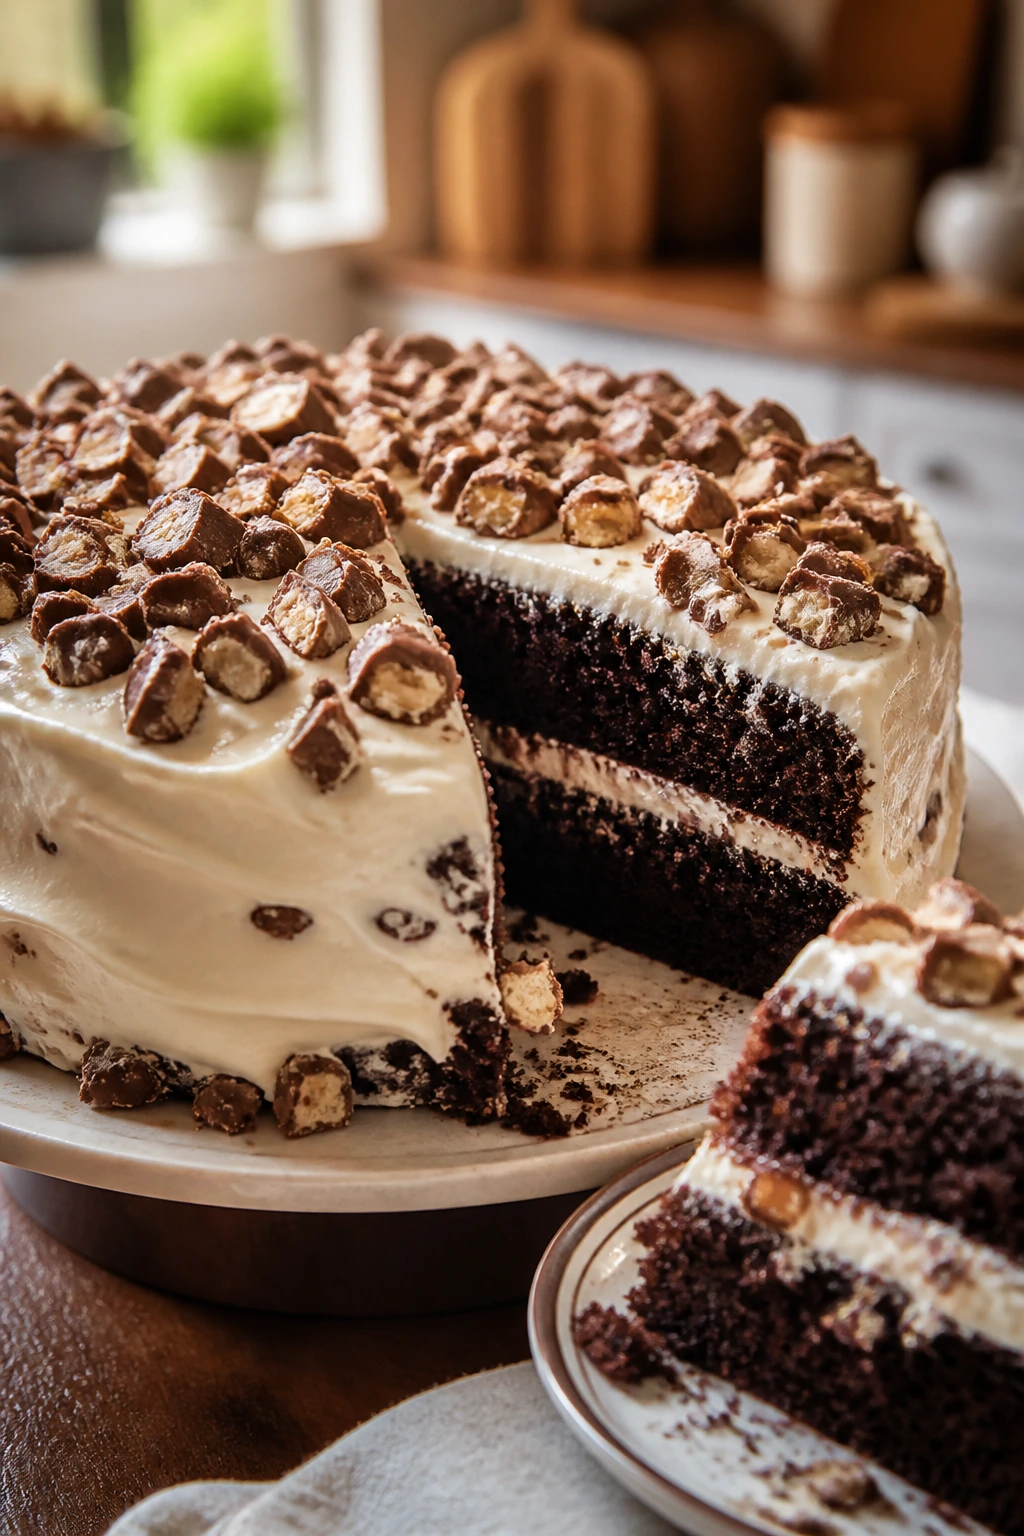
A sheet cake is the right container here. A round layer cake looks fancier for about six minutes, then you realize the candy pieces make slicing awkward and the frosting needs more babysitting than it deserves. A 9×13-inch metal pan bakes evenly, gives you consistent edges, and keeps the candy distributed where it belongs.
Yield: 12 to 15 squares
Prep Time: 25 minutes
Cook Time: 35 to 40 minutes
Total Time: About 2 hours 5 minutes, including cooling
Difficulty: Intermediate — the batter is simple, but the frosting temperature and candy prep need a little care
Chill/Rest Time: 1 hour cooling, plus 15 minutes chilling before slicing if you want the cleanest cuts
Best Served: Fully cooled, lightly chilled, or at cool room temperature
What Makes This Candy Cake Taste Balanced Instead of Sweet for the Sake of Sweet
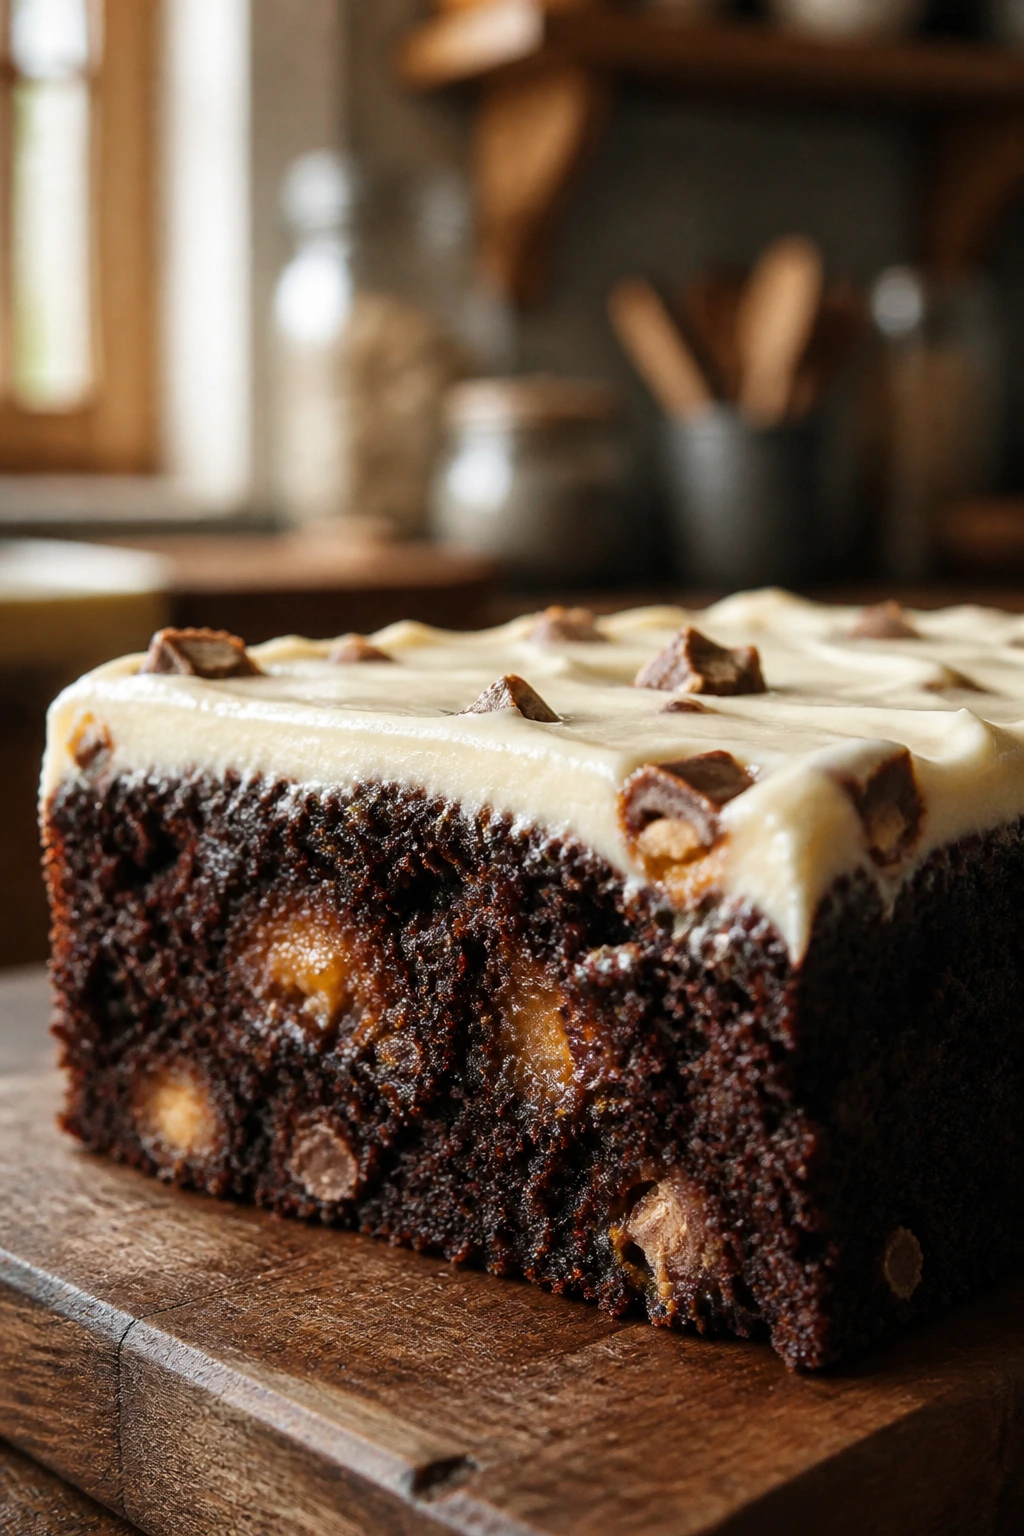
Candy cakes have a bad reputation for a reason. Too many recipes lean on boxed cake mix, melted candy, and a frosting so sweet it wipes out everything interesting. That’s not what’s happening here. This version uses cocoa powder, buttermilk, and oil to build a soft, dark crumb that can hold its own next to caramel, nougat, peanut butter, or crisp chocolate shells.
The cream cheese frosting matters just as much as the cake. I don’t love this dessert with straight vanilla buttercream. Buttercream can feel flat here, almost sticky in the mouth, especially if you’re using chocolate bars with nougat or caramel. Cream cheese frosting has a faint tang and a softer dairy note that gives the whole thing shape. It makes the candy taste more candy-like, which sounds odd until you taste it.
There’s also a practical reason to prefer a chocolate base. If you tuck chopped candy into vanilla batter, the dessert can disappear into beige sweetness. Cocoa gives you contrast. It also hides the odd melted edge from peanut butter cups or caramel-filled bars, which means the cake still looks neat after baking. Neat is good. Messy is fine on the plate, not inside the crumb.
I also like this as a cake for people who don’t agree on candy. That’s rare. One person wants peanut butter, another wants caramel, somebody else reaches for toffee, and the bowl gets weird fast. Here, the cake absorbs the variety without turning into a jumble. The mix-ins become little surprises instead of a full-time argument.
The Full Ingredient List for the Cake and Frosting
For the Cake
- 2 cups all-purpose flour
- 3/4 cup natural unsweetened cocoa powder
- 2 cups granulated sugar
- 1 1/2 teaspoons baking soda
- 1 teaspoon baking powder
- 1 teaspoon fine salt
- 2 large eggs, at room temperature
- 1 cup buttermilk, at room temperature
- 1/2 cup neutral oil, such as canola or avocado
- 2 teaspoons vanilla extract
- 1 cup hot brewed coffee or hot water
- 1 1/2 cups chopped favorite candy bars, pieces about 1/2 inch wide, divided
- 1 tablespoon all-purpose flour, for tossing the candy
For the Cream Cheese Frosting
- 8 ounces full-fat block cream cheese, softened to cool room temperature
- 1/2 cup unsalted butter, softened to cool room temperature
- 4 cups powdered sugar, sifted
- 1 teaspoon vanilla extract
- 1/4 teaspoon fine salt
- 1 to 2 tablespoons heavy cream or milk, only if needed
For the Finish
- 1/2 cup chopped favorite candy bars, reserved from the mix-ins
Why Each Ingredient Pulls Its Weight
The Chocolate Cake Base
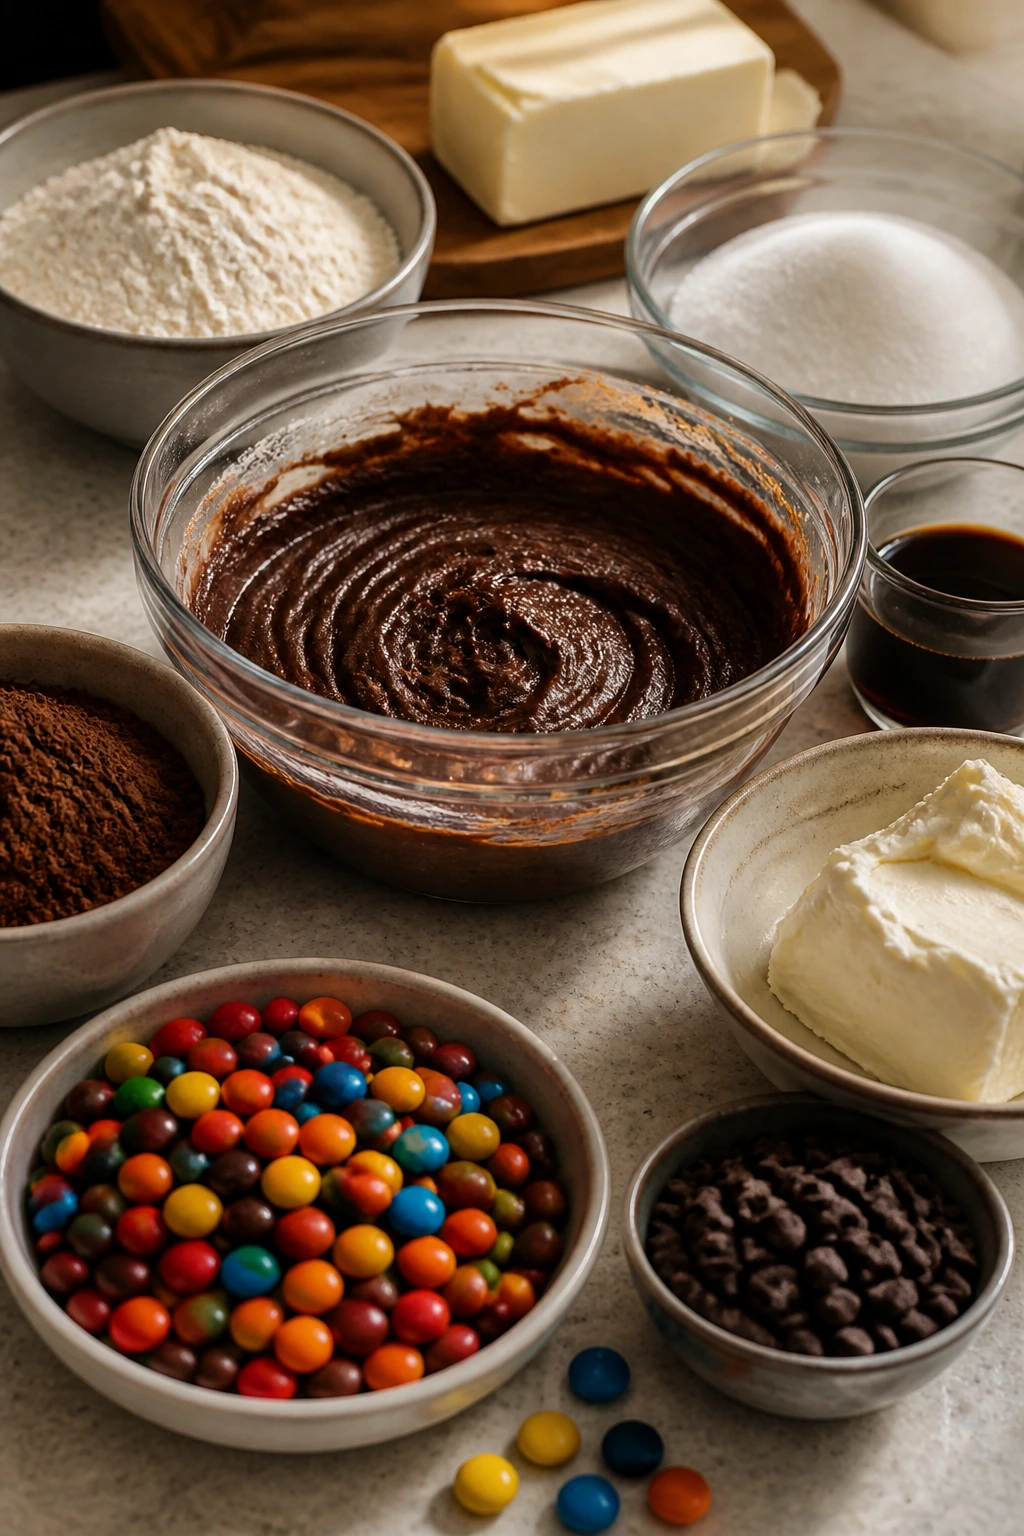
What to use: The cake starts with 2 cups all-purpose flour, 3/4 cup natural unsweetened cocoa powder, 2 cups granulated sugar, 1 1/2 teaspoons baking soda, 1 teaspoon baking powder, 1 teaspoon fine salt, 2 large eggs, 1 cup buttermilk, 1/2 cup neutral oil, 2 teaspoons vanilla, and 1 cup hot coffee or hot water.
Preparation: Bring the eggs and buttermilk to room temperature before mixing so the batter comes together without clumps. Sift the cocoa if yours tends to hold little pebbly lumps; that one step saves you from chasing brown streaks around the bowl.
Substitutions: If you don’t want coffee, hot water works fine. If you’re out of buttermilk, use 1 cup whole milk plus 1 tablespoon white vinegar or lemon juice, then let it sit 5 minutes before using.
Tips: I stick with natural cocoa here because it plays nicely with baking soda and gives the cake that darker, sharper chocolate note that candy needs. Also, the hot liquid is not decoration; it blooms the cocoa and makes the crumb taste fuller.
The Candy Pieces
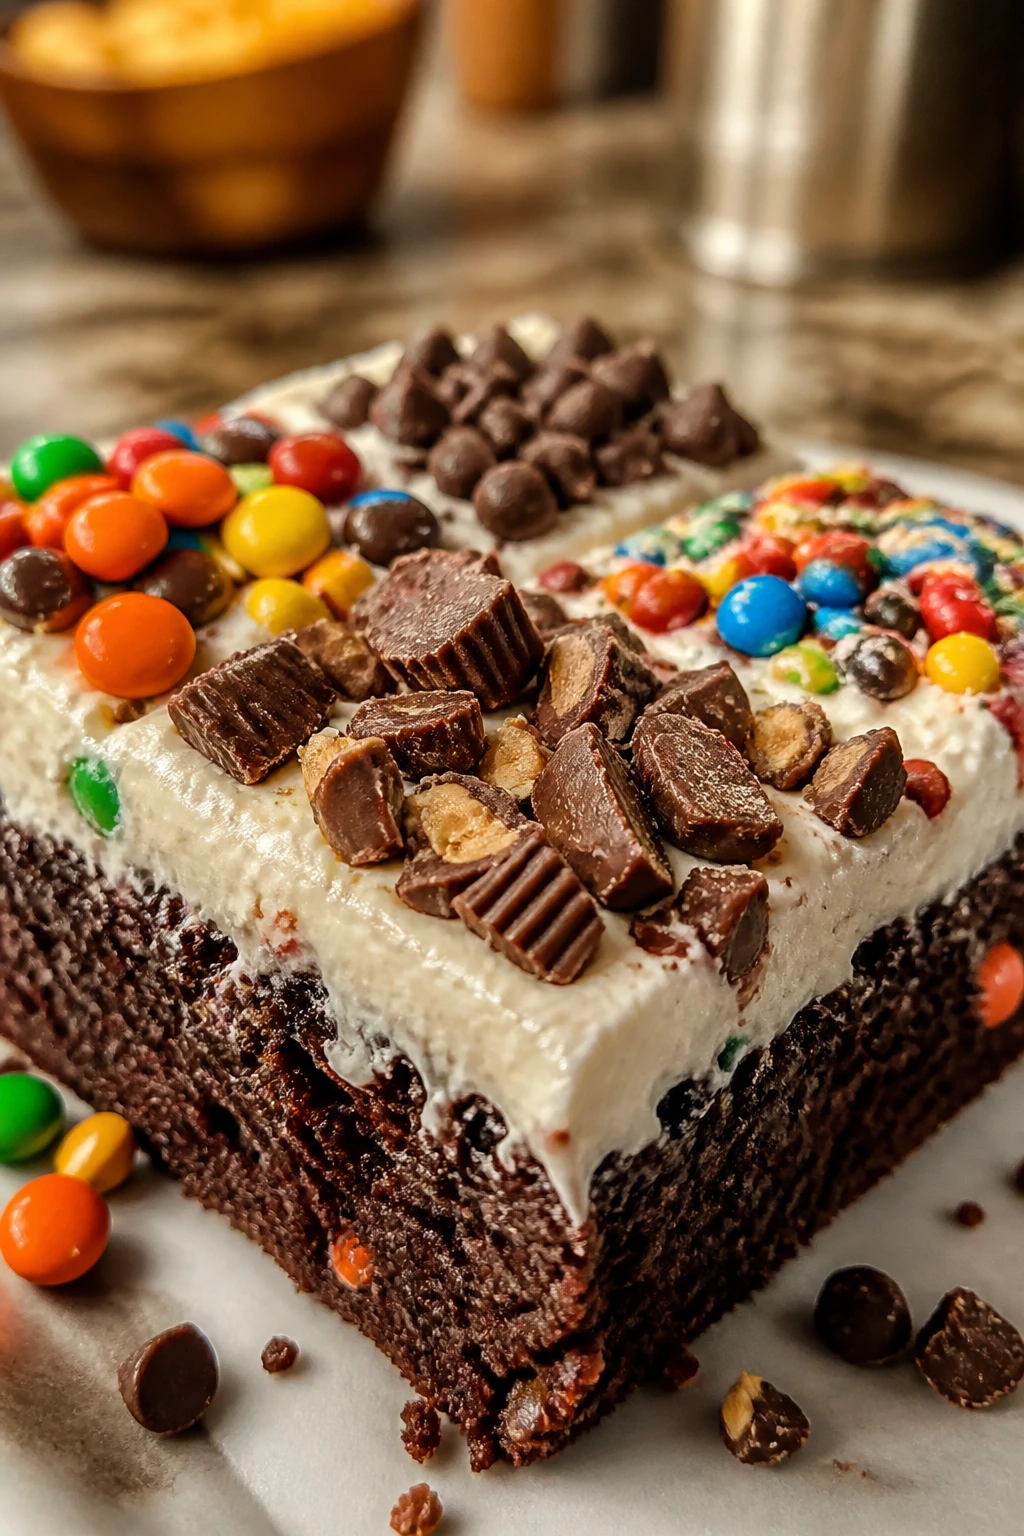
What to use: Use 1 1/2 cups chopped favorite candy bars inside the batter and 1/2 cup on top. Snickers, Reese’s Peanut Butter Cups, Twix, Milky Way, Butterfinger, and Kit Kat all work well if chopped into small pieces.
Preparation: Chill sticky candy bars for 10 minutes before chopping so they don’t smear into a gluey mess. Keep the pieces around 1/2 inch; anything larger gets awkward in a forkful and can tear the cake when you slice it.
Substitutions: If you want a salty edge, swap in toffee bits or chopped chocolate-covered pretzels for part of the candy. Avoid gummy candy and hard candy — they don’t melt in a useful way.
Tips: Toss the chopped candy with 1 tablespoon flour before folding it in. That thin coating helps the pieces stay suspended instead of diving to the bottom.
The Cream Cheese Frosting
What to use: You need 8 ounces full-fat block cream cheese, 1/2 cup unsalted butter, 4 cups powdered sugar, 1 teaspoon vanilla, 1/4 teaspoon fine salt, and 1 to 2 tablespoons cream or milk if the frosting needs loosening.
Preparation: Soften the cream cheese and butter until they give slightly when pressed, but don’t let them get warm and glossy. Warm dairy makes frosting slack, and slack frosting slides off a cake like it has somewhere better to be.
Substitutions: Mascarpone can replace half the cream cheese if you want a milder tang. For a less sweet finish, reduce the powdered sugar to 3 1/2 cups and beat the frosting a little longer so it still whips up fluffy.
Tips: Use brick-style cream cheese, not the spreadable tub kind. Tub cream cheese has too much water and too many stabilizers, and the frosting ends up soft before you even reach the knife.
The Final Candy Finish
What to use: Reserve 1/2 cup chopped candy bars for the top.
Preparation: Hold this back until the cake is frosted. If you scatter candy too early, it sinks, softens, or loses its edge in the fridge.
Substitutions: Crushed salted peanuts, broken pretzel bits, or a handful of mini chocolate chips can step in if you want more crunch.
Tips: Press the topping candy in lightly with your palm so it sticks to the frosting without disappearing into it. Tiny pressure. That’s enough.
The Tools That Keep the Batter from Becoming a Project
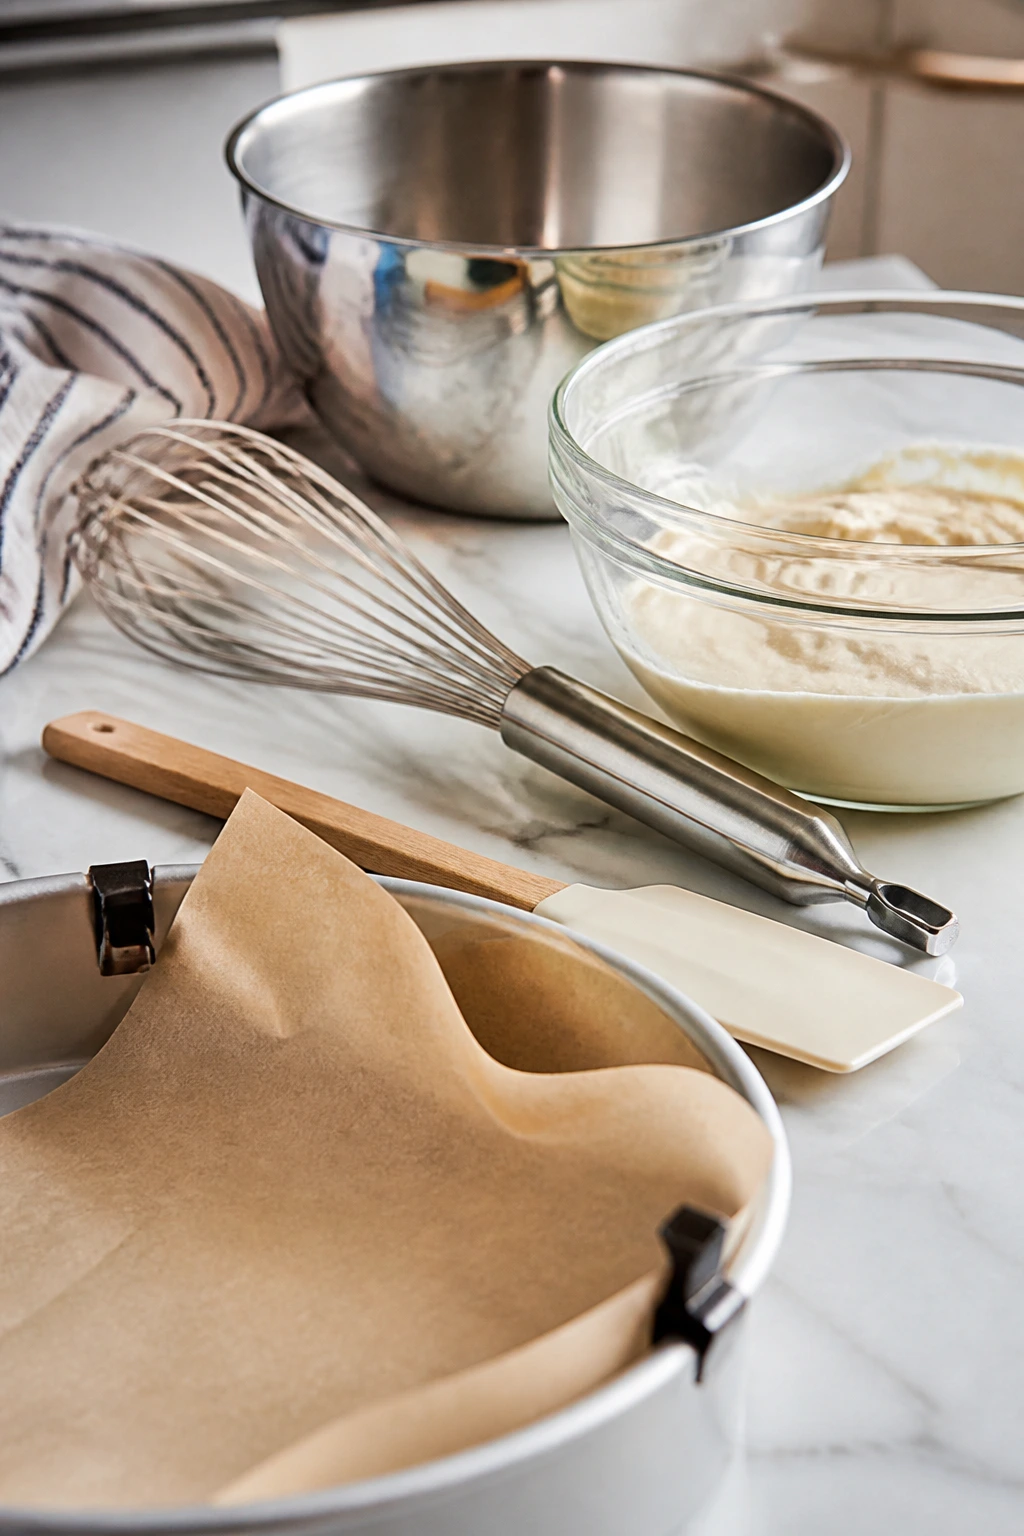
- 9×13-inch metal baking pan — metal heats evenly and gives you a better rise; glass can work, but add a few minutes.
- Parchment paper — a sling makes the cake easy to lift if you want to remove it from the pan for neat edges.
- Large mixing bowl — the batter gets thin after the hot liquid goes in, so don’t use a bowl that feels crowded.
- Medium bowl — useful for tossing the chopped candy with flour before it goes into the batter.
- Whisk — the fastest tool for combining the cocoa mixture and keeping the batter smooth.
- Rubber spatula — better than a spoon for folding in candy without crushing it.
- Hand mixer or stand mixer — either works for the frosting; you want a smooth finish, not arm surgery.
- Cooling rack — lets air circulate under the pan so the cake stops carrying residual heat.
- Offset spatula — not required, but it makes the frosting go on faster and cleaner.
- Chef’s knife and cutting board — for chopping candy bars into usable chunks; a dull knife turns the candy into a sticky mess.
Mixing the Batter Without Crushing the Candy
Prep the Pan and Candy
-
Preheat the oven to 350°F (175°C). Grease a 9×13-inch metal pan, line the bottom with parchment, and leave a little overhang on the long sides if you want to lift the cake out later.
-
Chill and chop the candy bars for 10 minutes if they’re soft or sticky, then cut them into pieces about 1/2 inch wide. Toss 1 1/2 cups of the pieces with 1 tablespoon flour in a small bowl, and set the remaining 1/2 cup aside for the top.
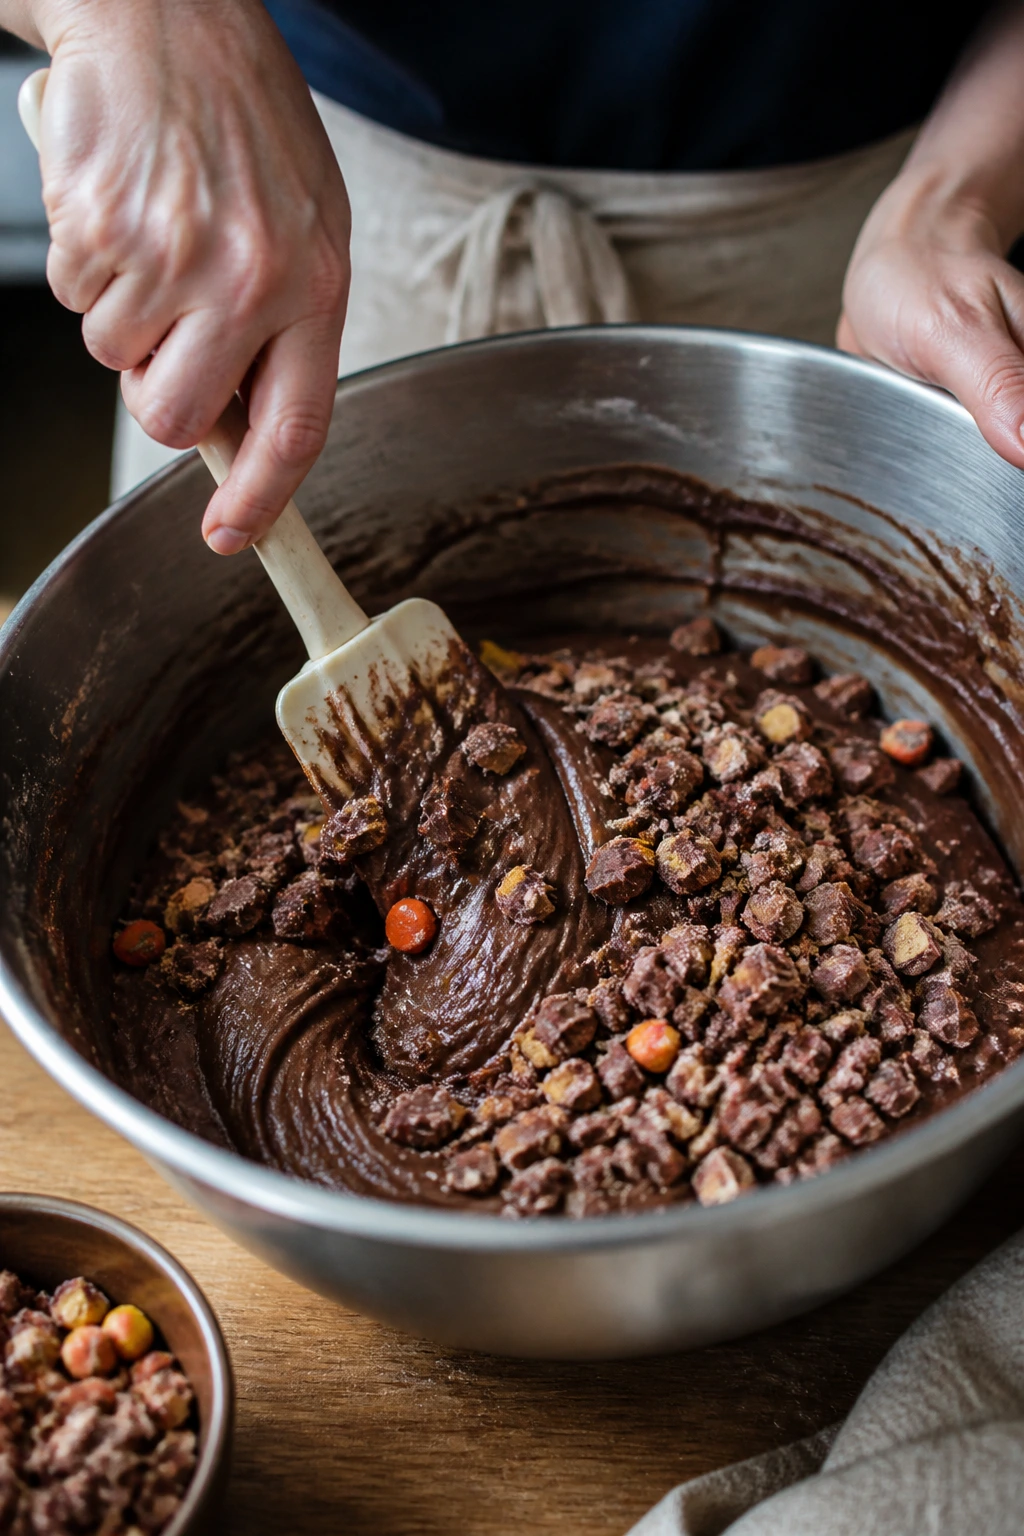
Build the Batter
-
Whisk the flour, cocoa powder, sugar, baking soda, baking powder, and salt in a large bowl until the mixture looks even and there are no cocoa clumps hiding in the corners.
-
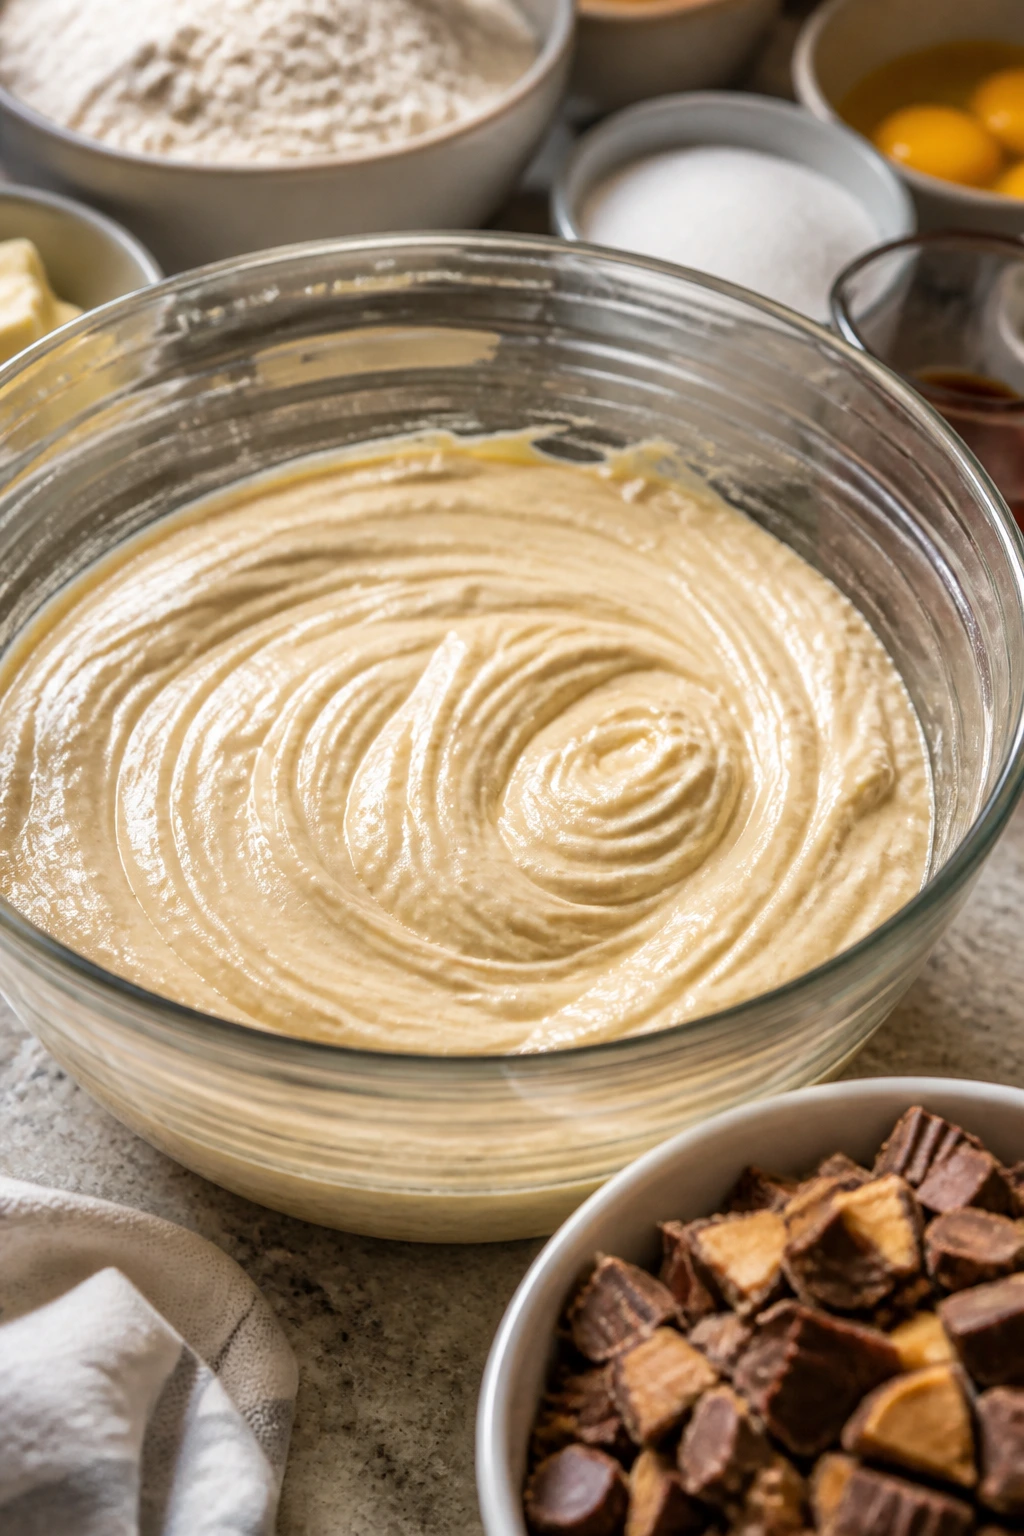
Add the eggs, buttermilk, oil, and vanilla. Stir with a whisk or spatula until the batter thickens and the dry patches disappear. Scrape the bottom of the bowl so nothing dry stays stuck under the liquid.
-
Pour in the hot coffee or hot water in a steady stream, whisking as you go, until the batter turns smooth and glossy. The batter will look thin. That is correct. Thin chocolate batter makes a softer crumb.
-
Fold in the floured candy pieces with a spatula, stopping the moment they’re distributed. Do not beat hard here — the candy will break apart, and the cake will tighten.
Baking, Cooling, and Frosting Without a Mess
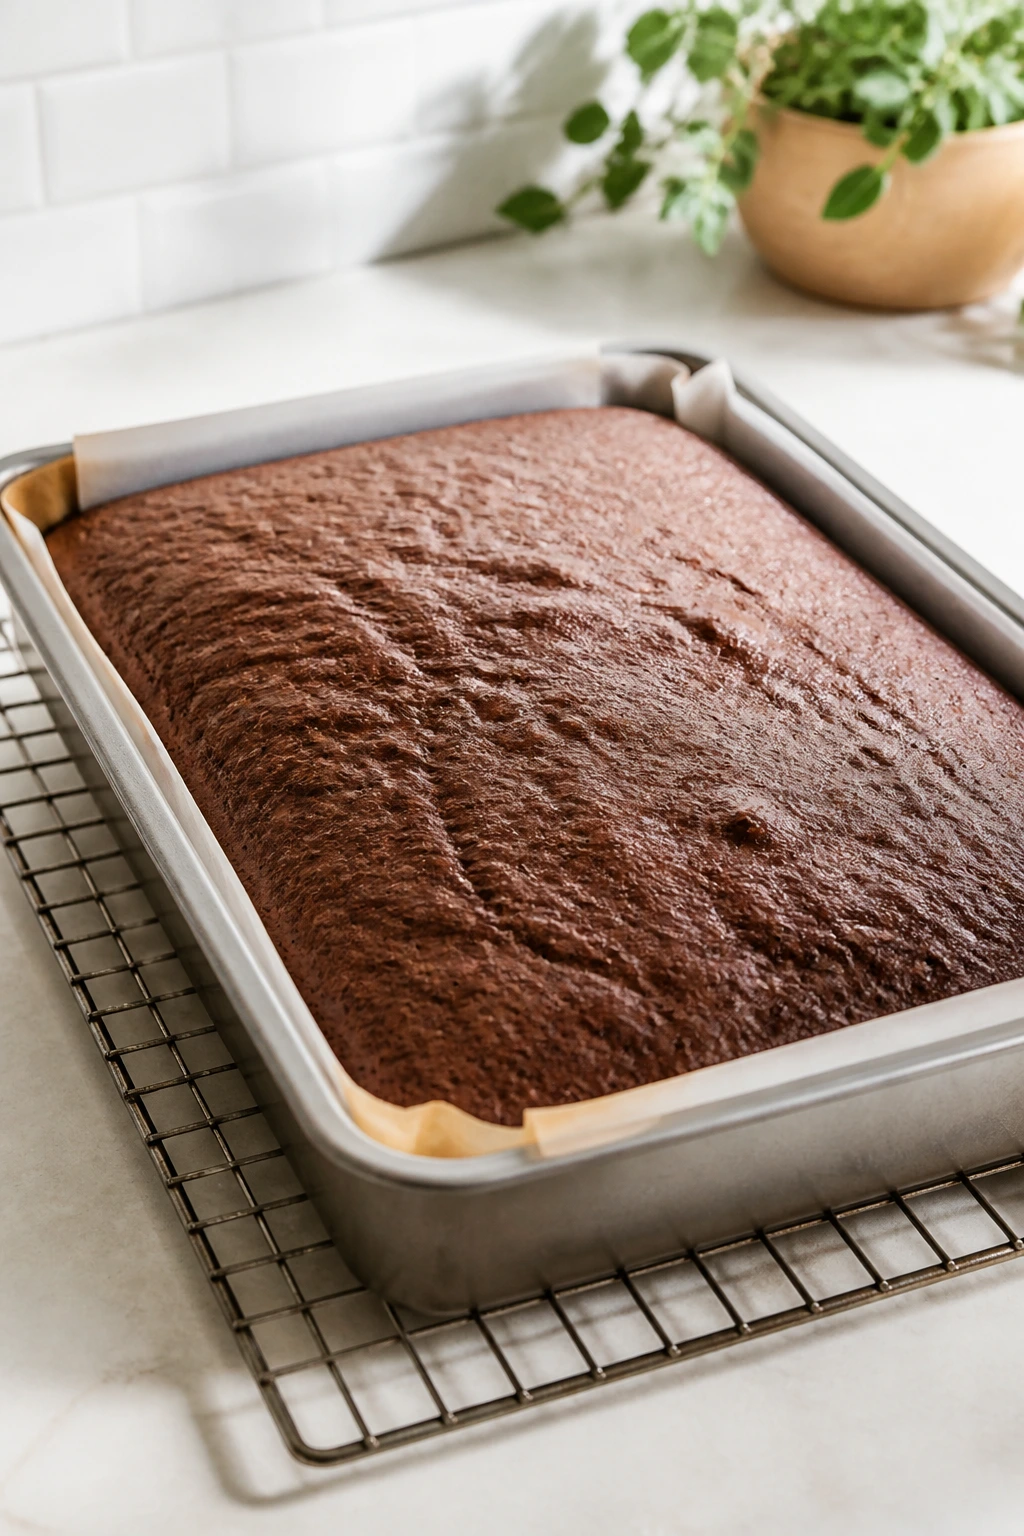
Bake and Set the Crumb
-
Spread the batter into the prepared pan and tap it once on the counter to pop any large air bubbles. Bake for 32 to 38 minutes, until the center springs back lightly and a toothpick inserted in the middle comes out with a few moist crumbs, not wet batter.
-
Cool the cake in the pan on a wire rack for 20 minutes, then let it cool completely, about 60 to 75 minutes more. Frosting a warm cake will cause the surface to slide, and the candy pieces will shift under the knife later.
Whip the Frosting and Finish
-
Beat the cream cheese and butter on medium speed for 1 minute, until smooth and pale. Add the powdered sugar in 2 additions, beating on low after each addition, then mix in the vanilla, salt, and 1 tablespoon cream or milk if the frosting feels too stiff.
-
Spread the frosting over the fully cooled cake, scatter the reserved candy on top, and chill for 15 minutes before slicing if you want clean squares. That short chill firms the frosting just enough to stop the topping from skating around.
How to Serve Each Square So the Candy Stays Put
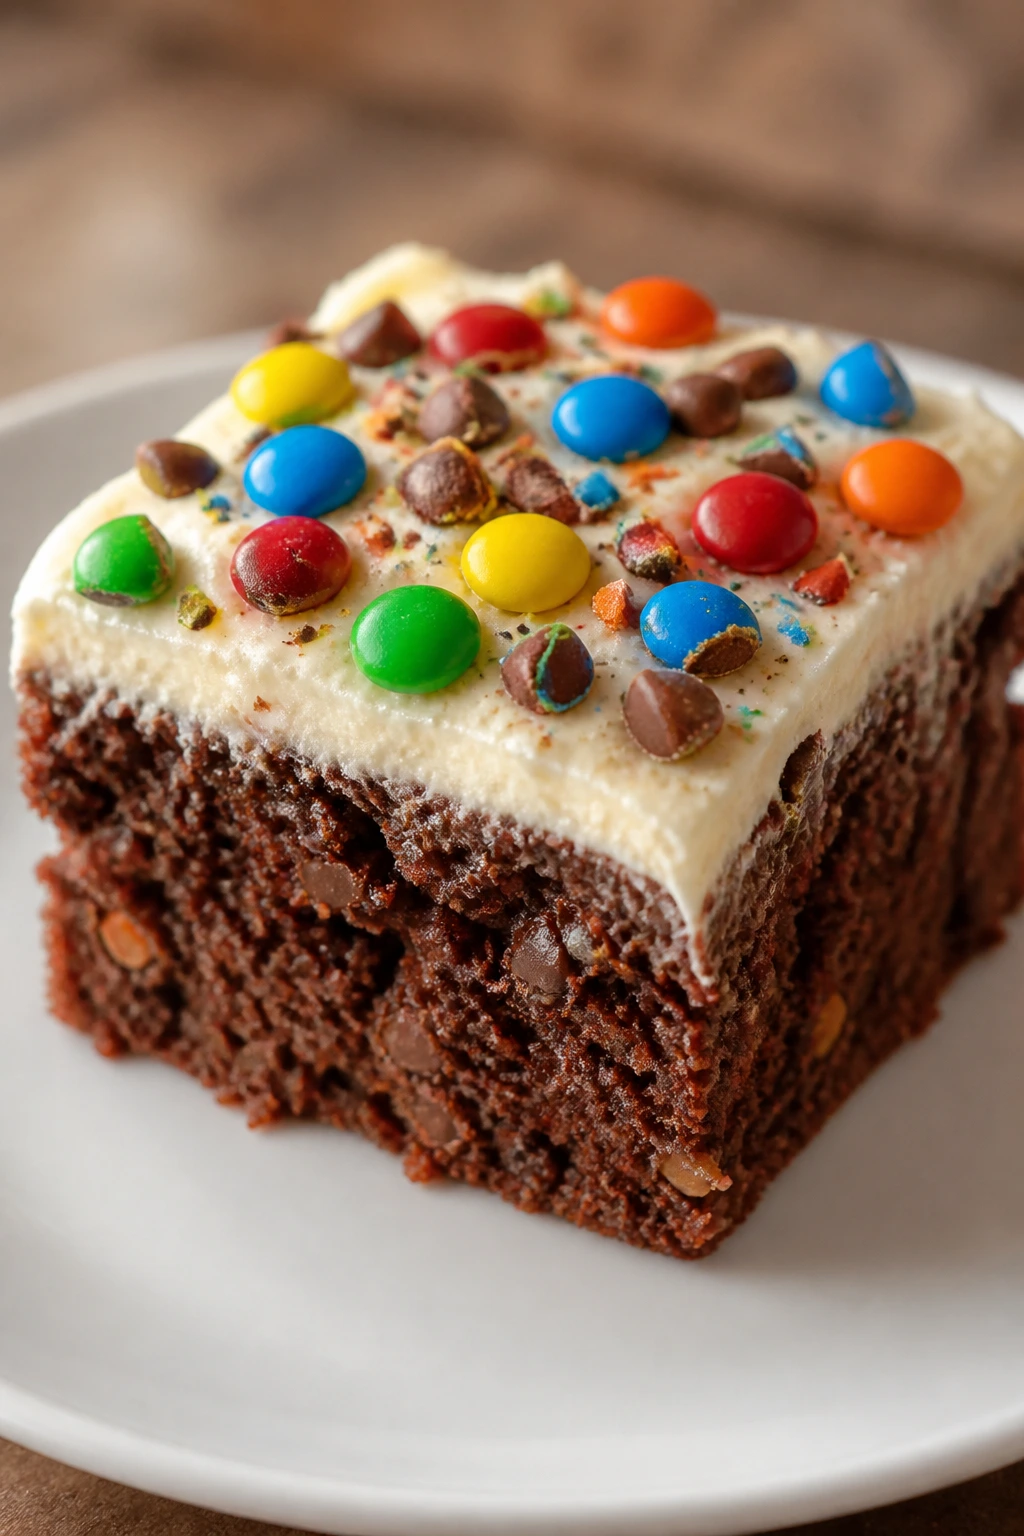
Presentation: I like to cut this cake into 12 large squares or 15 modest ones, then wipe the knife between cuts so the frosting stays sharp instead of ragged. A short chill before slicing helps the candy pieces sit neatly on top, which matters if you care about a clean edge on the plate.
Accompaniments: Cold milk is the obvious answer, and it’s the right answer. Strong black coffee works too, especially if your candy mix leans caramel-heavy. If you want a fuller dessert plate, add a scoop of vanilla ice cream or a spoonful of raspberry compote; the tart fruit keeps the chocolate and frosting from feeling one-note.
Portions: This is a rich cake, so smaller squares make sense. A 9×13-inch pan feeds a crowd without feeling oversized, and the frosting plus candy means a little square goes farther than you think. If you need to stretch it, cut 15 pieces and let people take seconds.
Beverage Pairing: A mug of drip coffee, a glass of cold milk, or a dark roast cold brew all fit the cake’s chocolate base. If you’re serving it after dinner, a stout or a stout-style malt drink has enough roasted bitterness to sit comfortably with the candy.
Extra Flavor Moves and Small Upgrades
Flavor Enhancement: A teaspoon of instant espresso powder stirred into the dry ingredients deepens the chocolate without making the cake taste like coffee. It’s one of those tiny additions that people notice even when they can’t name it.
Customization: Keep one candy type soft and one candy type crisp. Snickers plus Kit Kat works well; Reese’s plus toffee bits does too. The soft piece melts into the crumb, and the crisp piece gives you a little resistance when you bite in.
Serving Suggestions: A pinch of flaky salt over the frosting makes the candy taste more defined, not less sweet. If you want a little drama without making the cake fussy, drizzle 2 tablespoons of melted dark chocolate in loose lines across the top after the frosting sets.
Make-It-Yours: For a less sweet finish, stop at 3 1/2 cups powdered sugar and beat the frosting a bit longer so it stays fluffy. For a gluten-free version, use a 1:1 baking flour blend and make sure every candy bar you choose is gluten-free too; plenty are, but not all of them are.
Common Mistakes That Make This Cake Clumsy
-
Using spreadable cream cheese from a tub: The frosting turns loose, glossy, and hard to spread in a thick layer. Fix it by using brick-style full-fat cream cheese and keeping it cool, not warm, before beating.
-
Chopping the candy too large: Giant chunks sound fun until you cut the cake and the knife drags through sticky pockets. Keep the pieces around 1/2 inch so the bars melt into small pockets instead of big seams.
-
Frosting a warm cake: The top layer softens, the frosting slips, and the candy pieces sink into the surface. Let the cake cool all the way through before you even think about spreading the frosting.
-
Baking until the toothpick is bone dry: That usually means you’ve gone too far. Pull the cake when a tester comes out with moist crumbs attached; the residual heat finishes the center as it cools.
-
Overmixing after the hot liquid goes in: You’ll get a tighter crumb and some odd tunneling. Whisk just until the batter turns smooth and glossy, then stop.
-
Skipping the flour toss for the candy: The pieces sink, especially the heavier ones like peanut butter cups. A thin flour coating gives them enough grip to stay suspended.
Variations That Still Taste Like the Same Dessert
Peanut Butter Cup Patchwork: Replace half the chopped candy with chopped peanut butter cups, then beat 2 tablespoons smooth peanut butter into the frosting. The extra salt in the peanut butter makes the chocolate base taste deeper, not louder.
Toffee and Pretzel Crunch: Use chopped chocolate-covered toffee bars in the batter, then scatter 1/2 cup broken pretzel sticks over the frosting instead of more candy. Keep the pretzels on top only; if they go into the batter, they lose their crunch and turn sandy.
Butterfinger Bash: Fold chopped Butterfinger pieces into the cake and finish the top with more Butterfinger and a tiny pinch of flaky salt. This version leans crumbly and caramelized, which some people love and some people pretend not to love until they’ve had a second slice.
Gluten-Free Candy Cake: Use a cup-for-cup gluten-free baking flour and stick with candies that are certified gluten-free. The crumb will be a little softer after baking, so cool it completely before slicing and give it the 15-minute chill before serving.
Cupcake Version: Divide the batter into 18 to 20 lined muffin cups and bake at 350°F for about 18 to 22 minutes, until a toothpick comes out with moist crumbs. Frost each cupcake once cool and top with one candy piece so every serving gets a clean little hit of texture.
Keeping the Cake Soft After the First Slice
Cream cheese frosting changes the storage rules a little. At room temperature, this cake should sit out no more than 2 hours. After that, the frosting becomes the part you worry about, even if the cake itself still looks fine.
In the refrigerator, the cake keeps well for up to 5 days in an airtight container. If you’ve already sliced it, press a small piece of parchment or wax paper against the cut edge so it doesn’t dry out. The frosting will firm up in the fridge, which is useful. I actually think this cake tastes cleaner after an overnight chill, because the candy pieces settle and the frosting sets.
For freezing, you have two decent options. Freeze unfrosted cake wrapped tightly in plastic, then a layer of foil, for up to 2 months. Or freeze frosted slices in a single layer until firm, then wrap each one separately and store them in a freezer bag. Thaw overnight in the refrigerator.
If you want a warm slice, microwave an unfrosted piece for 8 to 10 seconds, or a lightly frosted one for no more than 6 seconds. Any longer and the cream cheese frosting starts to slump. Better still, take the slice out of the fridge 20 to 30 minutes before eating and let it soften on its own.
The topping candy is the one thing I’d refresh if you’re serving leftovers for company. A few fresh chopped pieces scattered over a chilled slice make it look intentional instead of last night’s afterthought.
Candy Cake Questions Worth Answering
Can I use a boxed chocolate cake mix instead of making the batter from scratch?
Yes, if you need a shortcut, a dark chocolate or devil’s food mix works. Stir the candy in at the end and keep the cream cheese frosting from this recipe, because the frosting is what saves the dessert from tasting flat.
What candy bars work best in this cake?
The best candidates are bars with some chew or crunch: Snickers, Reese’s Peanut Butter Cups, Twix, Milky Way, Butterfinger, and Kit Kat. Gummy candy and hard candy do not belong here; they melt badly or stay unpleasantly hard.
Why did my candy sink to the bottom?
Usually the pieces were too big, too wet, or not floured before folding in. Keep the chunks around 1/2 inch, toss them with 1 tablespoon flour, and fold them in gently so the batter keeps its structure.
Can I make the cake a day ahead?
Yes, and I think it actually slices better after a night in the refrigerator. Bake and cool the cake, frost it, chill it, and then let it sit at room temperature for 20 to 30 minutes before serving.
What if my cream cheese frosting turns runny?
Chill the bowl and beaters for 10 minutes, then beat in another 1/2 cup powdered sugar. If the kitchen is warm, that short chill makes a bigger difference than people expect. Brick cream cheese and cool butter also help from the start.
Can I make this in layers instead of a 9×13 pan?
You can bake it in two 8-inch round pans, but the candy makes layer cakes a little fussier to slice. If you go that route, reduce the bake time and watch for moist crumbs rather than waiting for a dry tester.
Do I have to use coffee in the batter?
No. Hot water works fine. Coffee deepens the cocoa, though, and because this cake already has candy in it, that extra darkness helps keep the flavor from turning too sweet.
A Cake That Knows How to Have a Little Fun
This is the sort of dessert that gets people talking before they’ve even taken a bite, and then gets quiet at the table once the first forkful lands. The chocolate crumb gives the candy somewhere to go. The cream cheese frosting keeps the whole thing from running away with itself. And the chopped pieces on top do exactly what they should: they make the cake look generous without making it messy.
If you like baking that feels festive but still lands with real structure, this is the kind of cake to keep in your back pocket. It handles leftover candy bars well, but it doesn’t taste like cleanup duty. It tastes like someone paid attention to the details, which is usually what makes a dessert worth repeating.
Candy-Stuffed Chocolate Cake with Cream Cheese Frosting — Recipe Card
Recipe Name: Candy-Stuffed Chocolate Cake with Cream Cheese Frosting
Description: A rich chocolate sheet cake studded with chopped favorite candy bars and finished with tangy cream cheese frosting. The candy melts into soft pockets while the frosting keeps the sweetness balanced.
Prep Time: 25 minutes
Cook Time: 35 to 40 minutes
Total Time: About 2 hours 5 minutes, including cooling
Course: Dessert
Cuisine: American
Servings: 15 squares
Calories: About 430 kcal per serving
Ingredients
For the Cake:
- 2 cups all-purpose flour
- 3/4 cup natural unsweetened cocoa powder
- 2 cups granulated sugar
- 1 1/2 teaspoons baking soda
- 1 teaspoon baking powder
- 1 teaspoon fine salt
- 2 large eggs, at room temperature
- 1 cup buttermilk, at room temperature
- 1/2 cup neutral oil, such as canola or avocado
- 2 teaspoons vanilla extract
- 1 cup hot brewed coffee or hot water
- 1 1/2 cups chopped favorite candy bars, pieces about 1/2 inch wide, divided
- 1 tablespoon all-purpose flour, for tossing the candy
For the Cream Cheese Frosting:
- 8 ounces full-fat block cream cheese, softened to cool room temperature
- 1/2 cup unsalted butter, softened to cool room temperature
- 4 cups powdered sugar, sifted
- 1 teaspoon vanilla extract
- 1/4 teaspoon fine salt
- 1 to 2 tablespoons heavy cream or milk, only if needed
For the Finish:
- 1/2 cup chopped favorite candy bars, reserved from the mix-ins
Instructions
-
Preheat the oven to 350°F (175°C). Grease a 9×13-inch metal pan and line the bottom with parchment.
-
Chill and chop the candy bars, then toss 1 1/2 cups of the pieces with 1 tablespoon flour. Reserve 1/2 cup for the top.
-
Whisk the flour, cocoa powder, sugar, baking soda, baking powder, and salt in a large bowl.
-
Add the eggs, buttermilk, oil, and vanilla. Stir until combined.
-
Pour in the hot coffee or hot water and whisk until smooth and glossy. Fold in the floured candy pieces.
-
Spread the batter in the prepared pan and bake for 32 to 38 minutes, until the center springs back lightly and a tester comes out with a few moist crumbs.
-
Cool the cake in the pan for 20 minutes, then cool completely on a rack.
-
Beat the cream cheese and butter until smooth. Add the powdered sugar in 2 additions, then mix in vanilla, salt, and enough cream or milk to reach a spreadable texture.
-
Frost the cooled cake and scatter the reserved candy on top. Chill 15 minutes before slicing for the neatest squares.
Notes: Use brick-style cream cheese, not the spreadable tub kind. Chill sticky candy bars before chopping. Store the finished cake chilled and let slices sit out 20 to 30 minutes before serving.