
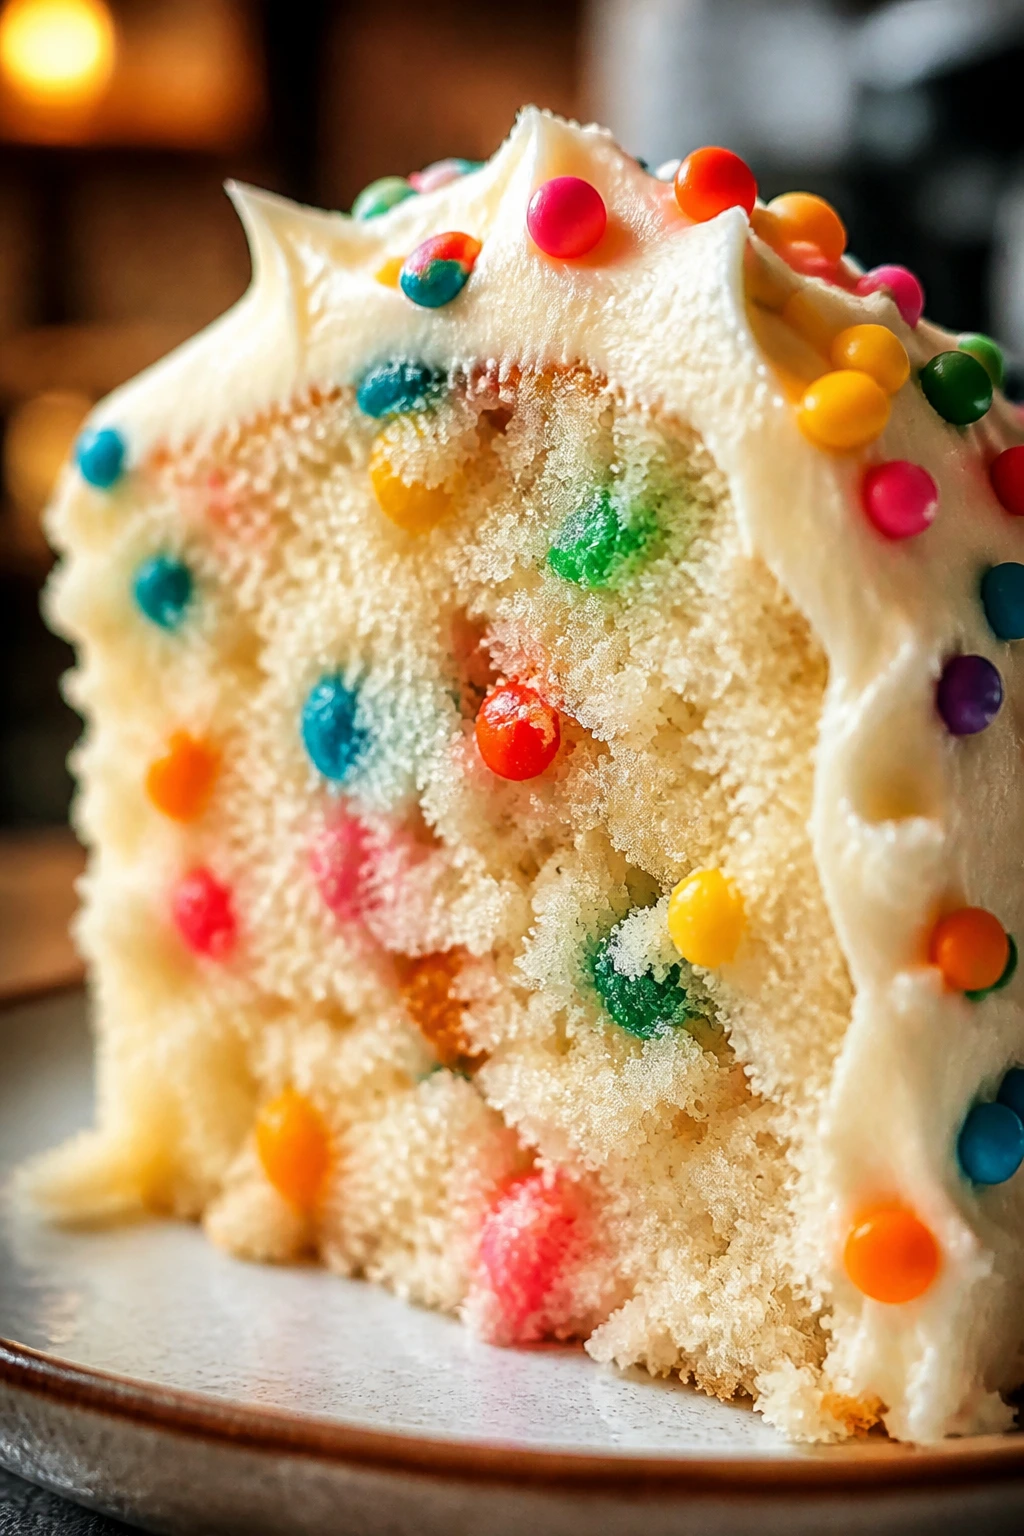
Fluffy colorful candy with cream cheese frosting sounds like a birthday wish written on the back of a grocery receipt, but the version worth baking is a soft vanilla sheet cake with candy tucked through the crumb and a tangy frosting that keeps the sweetness in line. That balance matters. If the cake is too sugary, the candy turns cloying fast. If the crumb is too dense, the whole thing eats like a brick wearing sprinkles.
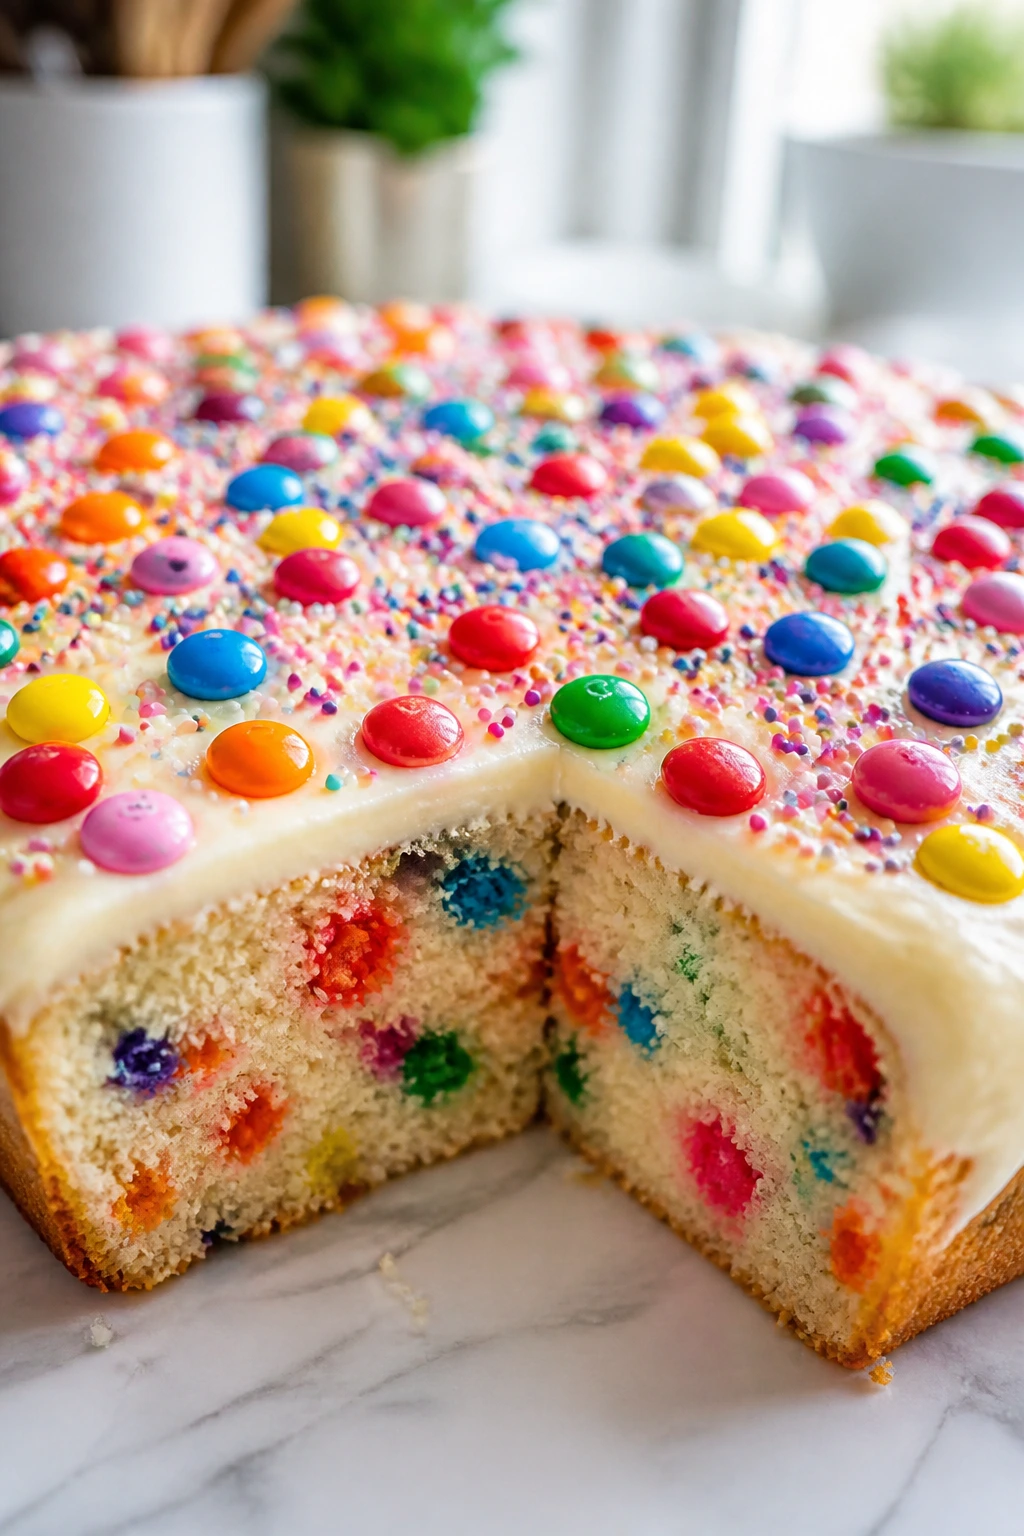
The best version has a little bounce when you press the center, a pale golden edge, and candy pieces that stay visible instead of melting into a muddy blur. Cream cheese frosting does the heavy lifting here. It gives the cake a cool, clean finish, which is exactly why this kind of dessert works better than a plain buttercream smothering.
I’m treating this as a candy-studded vanilla sheet cake, because that’s the form that actually behaves in a kitchen. A layer cake can be lovely, sure, but it’s fussy. A 9×13-inch pan gives you even baking, tidy slices, and enough surface area for a thick frosting layer without the whole thing sliding sideways when you cut it. That’s the sweet spot.
Why This Cake Earns Its Spot at the Center of the Table
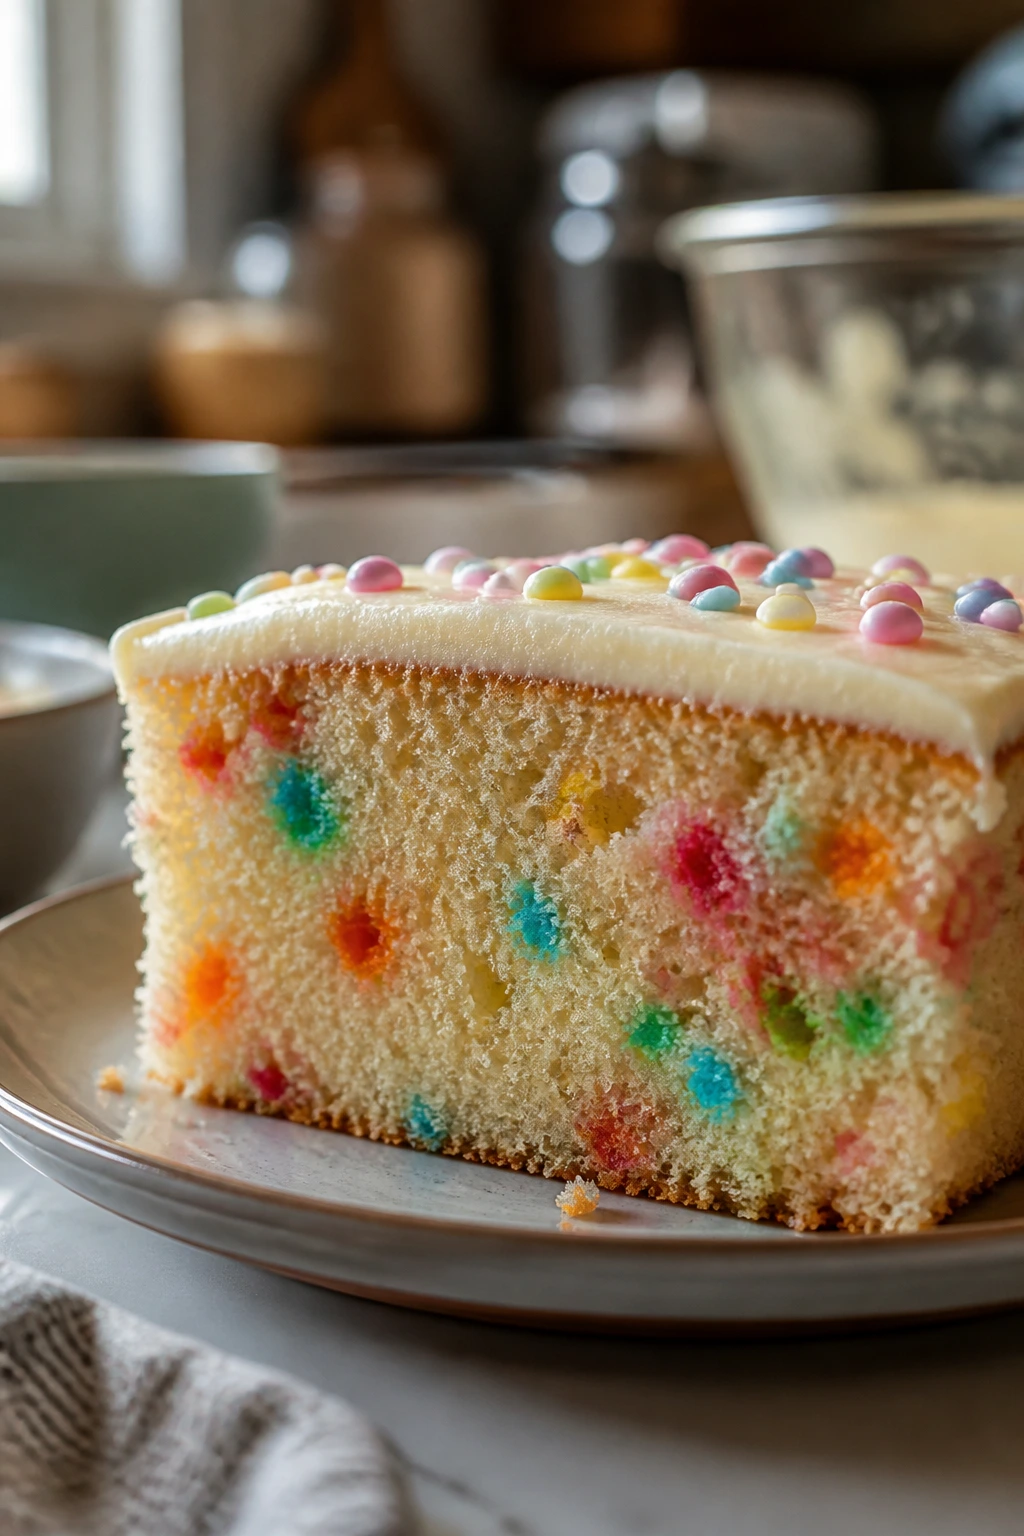
- Soft crumb, not spongey fluff: Sour cream, butter, and the right amount of mixing give the cake a tender crumb that still holds its shape when you cut it.
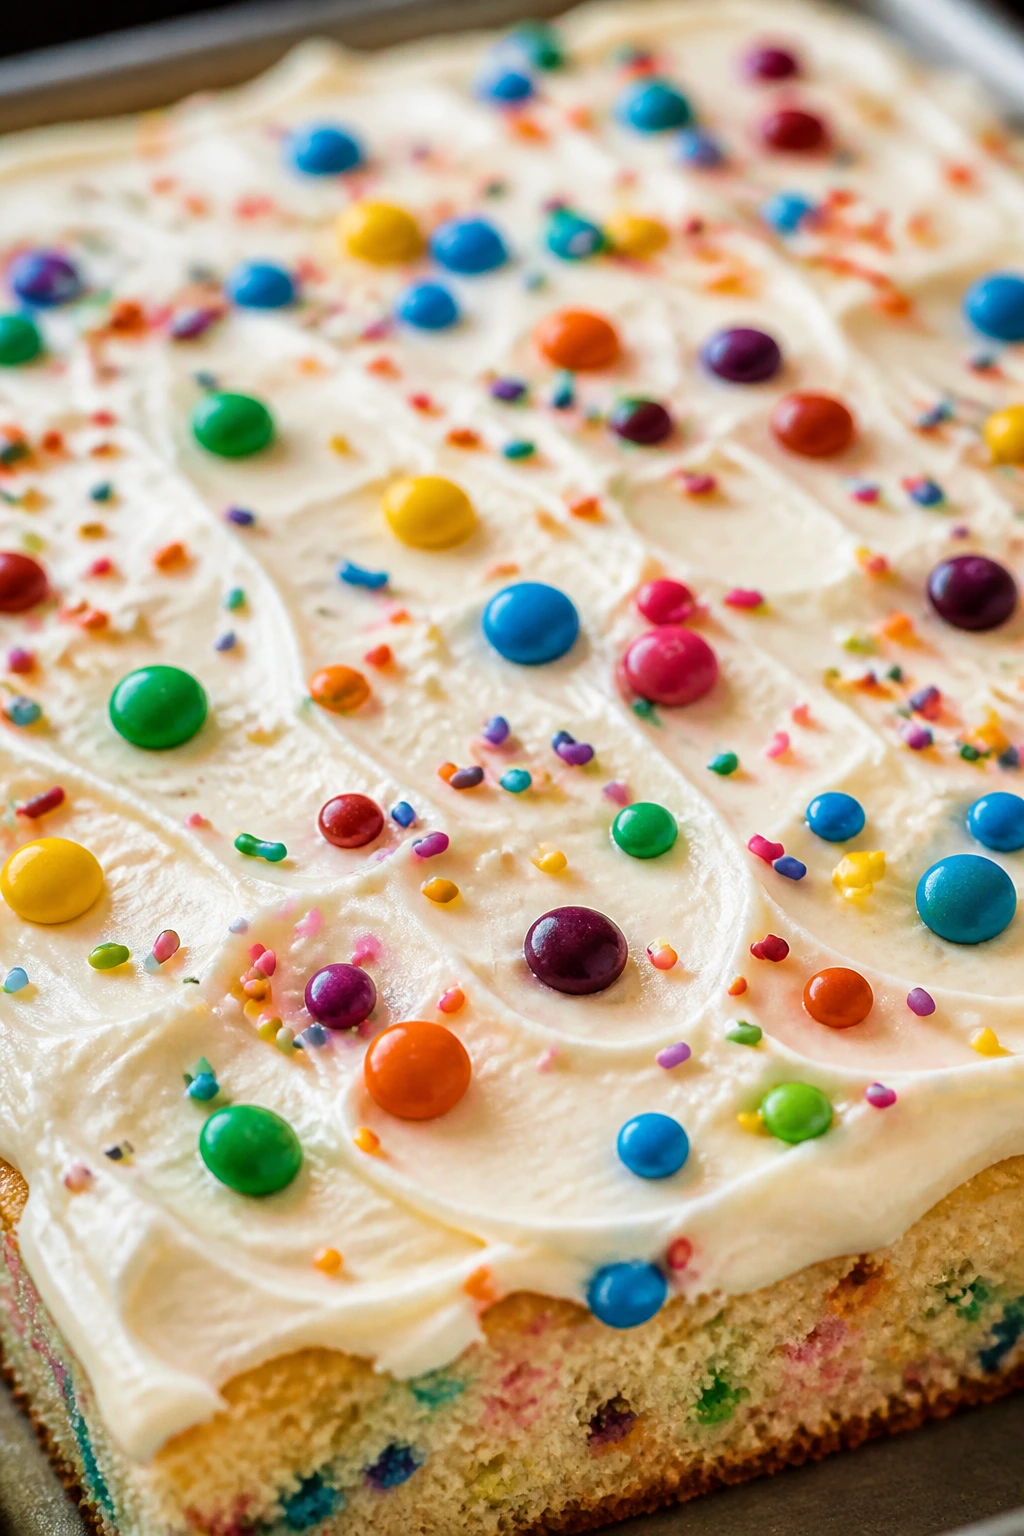
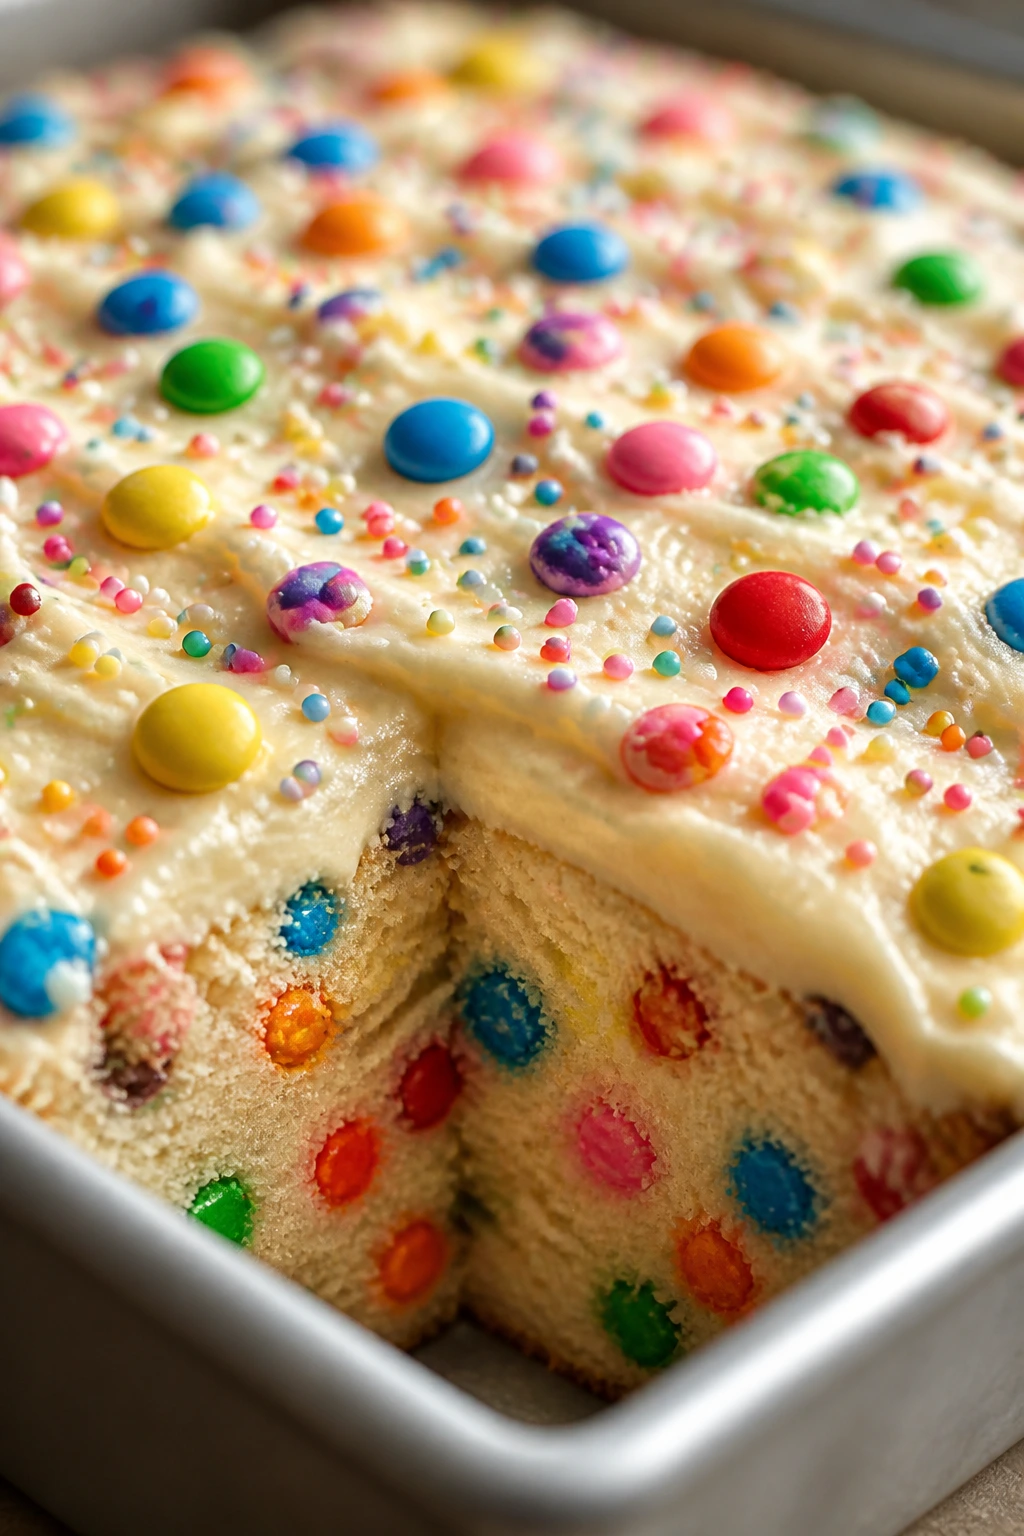
- Color that stays visible: Candy-coated chocolates and jimmies keep their shape better than soft candies, so the cake looks festive all the way through the pan.
- Cream cheese frosting cuts the sweetness: The tang in the frosting keeps each bite from tasting flat or sugary in the wrong way.
- Slices cleanly: A 9×13-inch pan makes squares or rectangles that lift out neatly, which matters when you want the candy to stay inside the cake instead of on the counter.
- Easy to dress up or strip back: You can lean into rainbow sprinkles, choose one candy color, or keep the top simple and let the frosting do the work.
- Better on day one and day two: The crumb stays soft overnight, and the flavor settles a little after chilling, so the cake can work as a make-ahead dessert.
The Pan Size, Yield, and Timing That Keep the Slice Neat
A 9×13-inch metal pan is the right size for this cake because it bakes the batter evenly without forcing the center to catch up with the edges. I prefer metal over glass here. Metal gives you a steadier bake and a better set on the sides, which matters when you’re folding in candy and don’t want any gummy patches hiding near the middle.
Yield: 15 slices
Prep Time: 25 minutes
Cook Time: 35 minutes
Total Time: 2 hours
Difficulty: Intermediate — the steps are straightforward, but the batter, candy, and frosting each need a little attention so the cake stays light and tidy.
Chill/Rest Time: 1 hour to cool completely before frosting, plus 15 minutes after frosting if you want cleaner slices
Best Served: At room temperature, once the frosting has set just enough to hold a knife line
This isn’t the sort of cake you yank out of the pan, frost warm, and hope for the best. It needs a full cool-down. That part is not optional. If you rush it, the frosting softens, the candy on top slides, and the whole surface gets a little greasy in the way only butter and cream cheese can manage when they’re in a hurry.
The Story Behind the Soft Crumb and Tangy Frosting
This cake borrows from confetti cake, birthday cake, and the general bakery habit of making vanilla batter feel festive with color. The difference is the frosting. Cream cheese frosting changes the whole mood. A straight vanilla buttercream would push the sweetness into the foreground and leave you with a dessert that tastes like sugar first and cake second. Cream cheese gives the bite a little edge.
That tang is not there for drama. It has a job. The frosting needs to balance candy pieces that already bring color, texture, and a lot of sweetness. If you’ve ever eaten a slice of celebration cake that looked cute but turned tiresome by the third forkful, you know exactly why this matters.
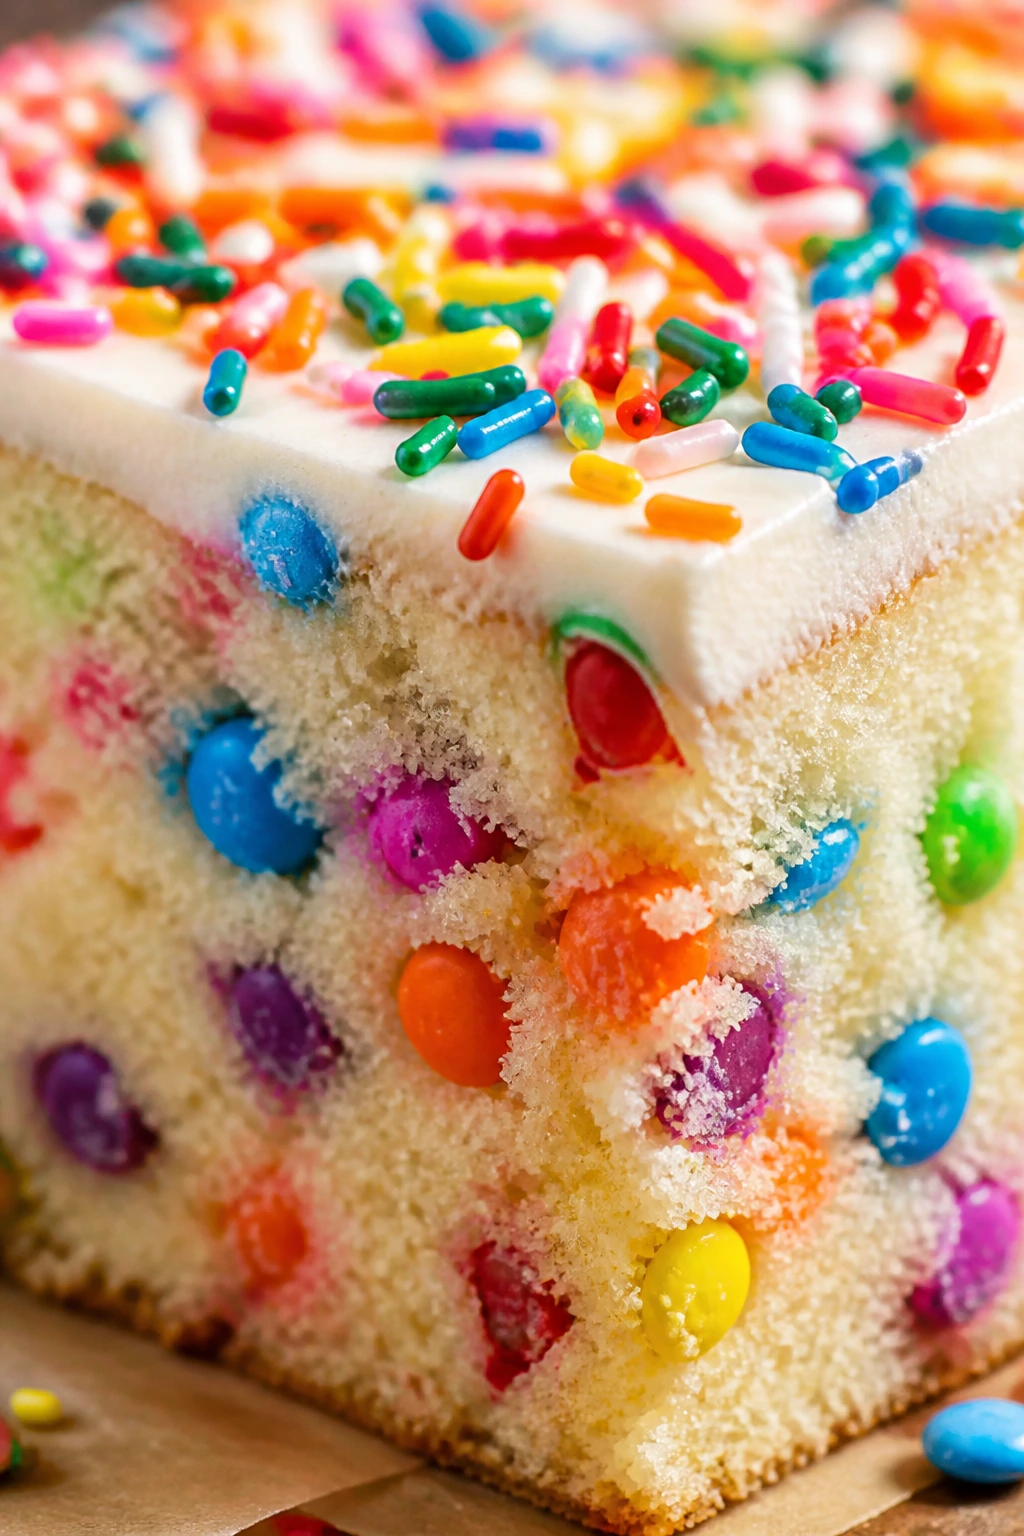
I also like this cake because it does not pretend to be delicate when it is clearly having a party. There are candy pieces in the crumb. There are sprinkles on top. It looks busy, and that’s the point. But the batter itself is built like a real cake, not a novelty dessert. Butter is creamed properly, eggs are added one at a time, and sour cream keeps the interior plush instead of dry.
That combination gives you something better than a sugar rush. It gives you a dessert that keeps its shape on the plate and still feels playful enough to earn a few extra seconds of attention before people start cutting it into squares.
The Clean Ingredient List
For the Cake:
- 2 1/2 cups (300 g) all-purpose flour, spooned and leveled
- 2 1/2 teaspoons baking powder
- 1/2 teaspoon baking soda
- 1/2 teaspoon fine salt
- 1 cup (226 g) unsalted butter, softened to cool room temperature
- 1 3/4 cups (350 g) granulated sugar
- 4 large eggs, room temperature
- 1 tablespoon vanilla extract
- 1/2 teaspoon almond extract, optional but worth it
- 1 cup (227 g) sour cream, room temperature
- 1/2 cup (120 ml) whole milk, room temperature
- 1 cup candy-coated chocolates, roughly chopped if large
- 1/2 cup rainbow sprinkles, jimmies only
- 1 tablespoon all-purpose flour, for tossing the candy
For the Cream Cheese Frosting:
- 8 ounces (227 g) cream cheese, softened
- 1/2 cup (113 g) unsalted butter, softened
- 4 1/2 cups (540 g) powdered sugar, sifted
- 1 teaspoon vanilla extract
- 1/8 teaspoon fine salt
- 1 tablespoon whole milk or heavy cream, plus 1 to 2 teaspoons more if needed
For the Top:
- 1/4 cup candy-coated chocolates
- 2 tablespoons rainbow sprinkles
What the Flour, Butter, and Dairy Need to Stay Light
All-Purpose Flour, Baking Powder, Baking Soda, and Salt
- What to use: 2 1/2 cups all-purpose flour, 2 1/2 teaspoons baking powder, 1/2 teaspoon baking soda, and 1/2 teaspoon fine salt.
- Preparation: Whisk them together in a separate bowl for at least 20 seconds so the leaveners disappear into the flour evenly. If you skip the whisking, you risk one weird bite that tastes a little metallic.
- Substitutions: A 1:1 gluten-free baking blend can replace the flour if it already contains xanthan gum. Keep the same leaveners unless the blend’s package says otherwise.
- Tips: Spoon the flour into the measuring cup and level it off. Packed flour makes a cake that feels tight and dry instead of soft and springy.
Butter, Sugar, Eggs, Vanilla, and Almond Extract
- What to use: 1 cup butter, 1 3/4 cups sugar, 4 eggs, 1 tablespoon vanilla, and 1/2 teaspoon almond extract.
- Preparation: Let the butter soften until you can press a finger into it without it collapsing into oil. Beat the butter and sugar until the mixture turns pale and fluffy, then add the eggs one at a time.
- Substitutions: You can leave out the almond extract if you want a cleaner vanilla profile. If you like a bakery-style aroma, keep it in; it makes the cake smell a little more layered.
- Tips: Cold eggs fight the batter. Room-temperature eggs blend in more smoothly, which helps the cake rise evenly instead of curdling at the edges of the bowl.
Sour Cream and Whole Milk
- What to use: 1 cup sour cream and 1/2 cup whole milk.
- Preparation: Let both sit out long enough to lose the chill. They should still feel cool, not warm.
- Substitutions: Plain full-fat Greek yogurt can replace the sour cream, and buttermilk can stand in for the milk if that’s what you have.
- Tips: Sour cream is doing two jobs here: it loosens the batter without thinning it too much, and it keeps the crumb plush for a couple of days. Don’t swap in low-fat versions unless you enjoy a drier, less rich cake.
How the Candy, Sprinkles, and Frosting Keep This Cake Fun Instead of Messy
Candy-Coated Chocolates
- What to use: 1 cup candy-coated chocolates for the batter and another 1/4 cup for the top.
- Preparation: If the pieces are large, rough-chop them so the cake slices cleanly. Toss the batter mix-ins with 1 tablespoon flour before folding them in.
- Substitutions: Mini candy-coated chocolates work too, and chopped white chocolate pieces can replace part of the mix if you want a softer bite.
- Tips: Candy-coated pieces hold up better than gummies or soft caramels. Those melt, slump, and leave you with pockets that taste sticky instead of bright.
Rainbow Sprinkles
- What to use: 1/2 cup rainbow sprinkles, plus 2 tablespoons for the top.
- Preparation: Use jimmies, not nonpareils. Jimmies stay distinct. Nonpareils bleed and turn the batter into a washed-out confetti mess.
- Substitutions: You can use one-color sprinkles if you want a more restrained look, or swap in pastel jimmies for a softer finish.
- Tips: Fold sprinkles in gently at the end. Too much stirring breaks them and turns the batter murky.
Cream Cheese Frosting
- What to use: 8 ounces cream cheese, 1/2 cup butter, 4 1/2 cups powdered sugar, 1 teaspoon vanilla, 1/8 teaspoon salt, and 1 tablespoon milk or cream.
- Preparation: Soften the cream cheese and butter until they blend without lumps. Sift the powdered sugar if it clumps in the bag.
- Substitutions: If you want a slightly firmer frosting, swap the milk for heavy cream and use the smallest amount that makes it spreadable.
- Tips: Beat the frosting until smooth, but stop once it holds shape. Overbeating can make it loose and glossy, which is the last thing you want before slicing.
The Tools That Make the Cake Easier to Handle
- 9×13-inch metal baking pan: The best size for even baking and neat slices; glass can work, but the edges brown faster.
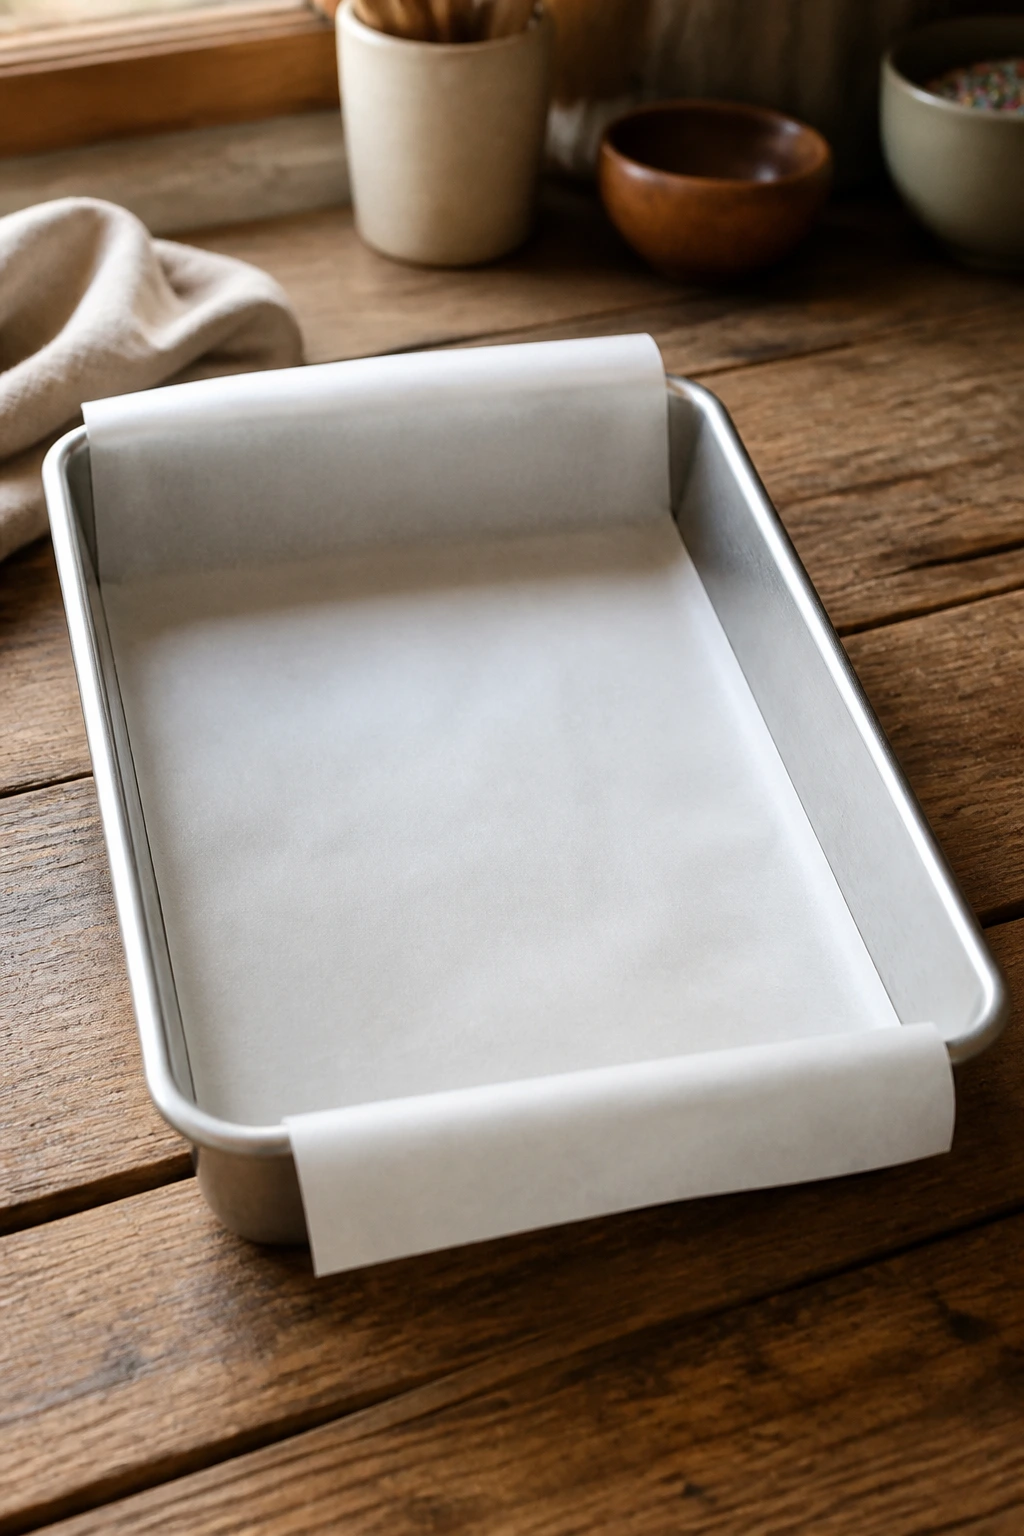
- Parchment paper: Leave an overhang on the long sides so you can lift the cake out without prying.
- Stand mixer or hand mixer: You need enough power to cream the butter and sugar until it turns visibly fluffy.
- Two mixing bowls: One for dry ingredients, one for the candy toss, or one for frosting if you like a tidy setup.
- Fine-mesh sieve: Optional, but it makes the powdered sugar smoother and keeps the frosting from feeling sandy.
- Rubber spatula: Useful for folding in candy without breaking the pieces.
- Offset spatula or butter knife: The frosting goes on better when you’re not trying to spread it with the back of a spoon.
- Cooling rack: Helps the cake cool evenly so the bottom does not steam itself soft in the pan.
- Cake tester or toothpick: A small thing, but it saves you from overbaking the center while the edges look done.
How to Mix, Bake, and Frost the Cake
Prep the Pan and Heat the Oven
- Preheat the oven to 350°F (175°C) and position a rack in the center.
- Line a 9×13-inch metal baking pan with parchment, leaving overhang on the long sides, then lightly grease the exposed corners. Do not skip the parchment overhang if you want easy lifting later.
Mix the Dry Ingredients 3. In a medium bowl, whisk together the flour, baking powder, baking soda, and salt for 20 seconds. 4. In a small bowl, toss the candy-coated chocolates with 1 tablespoon flour until lightly dusted. Shake off the excess. This thin coating helps the candy stay suspended in the batter instead of sliding to the bottom like little hard pebbles.
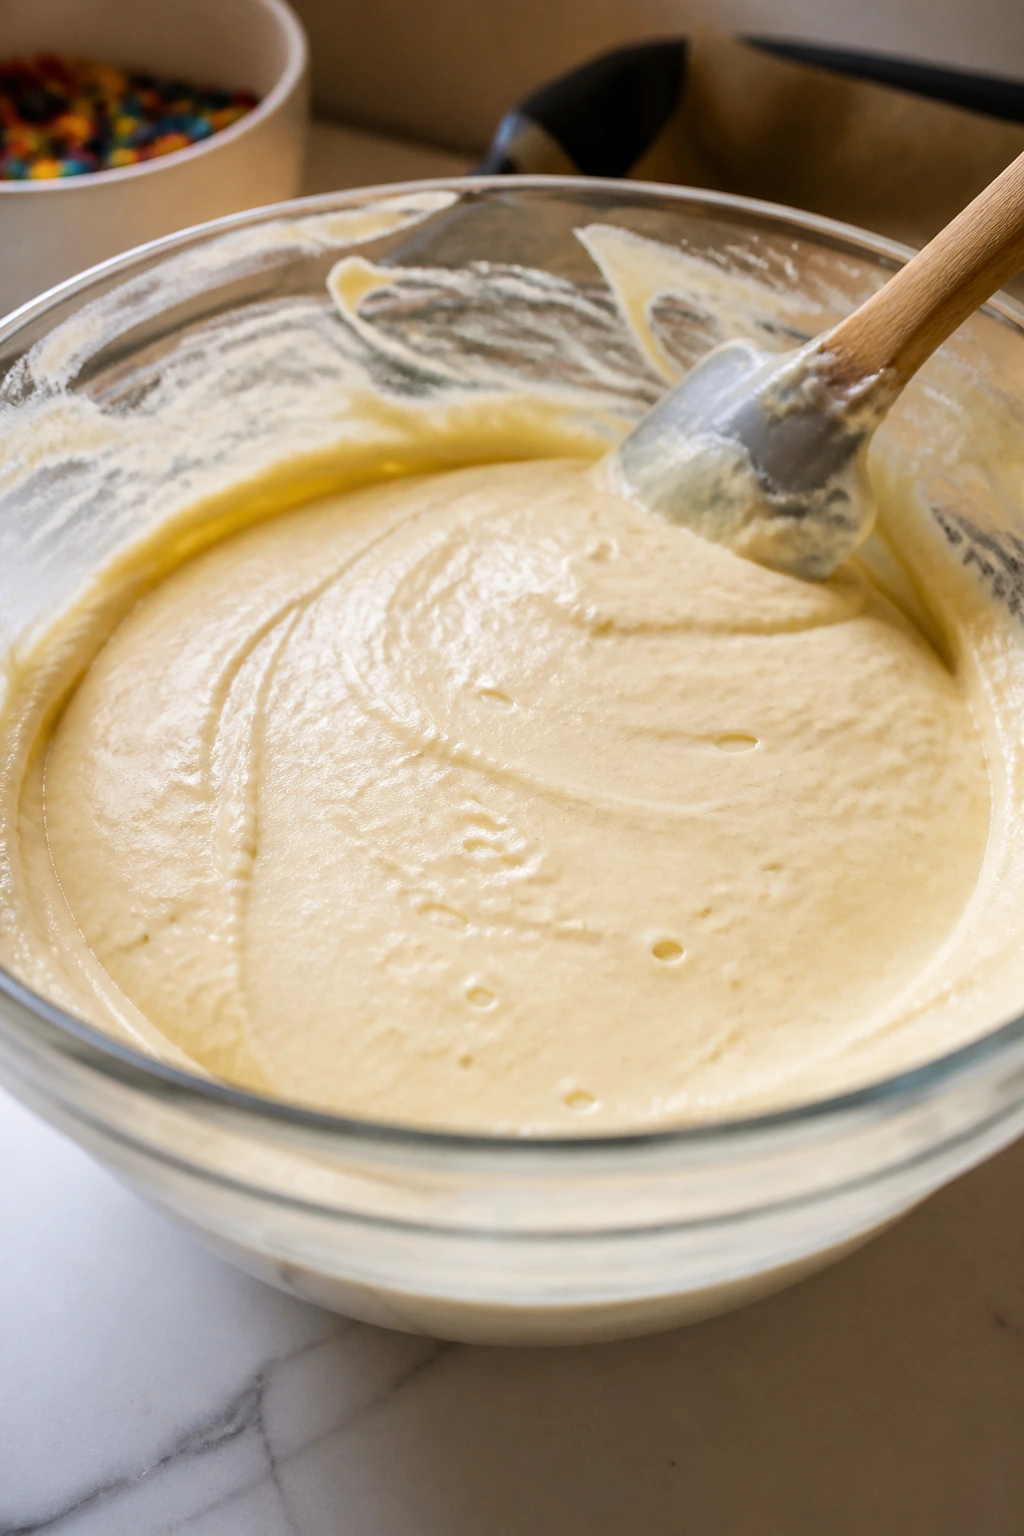
Build the Batter 5. In a large bowl or stand mixer, beat the butter and sugar on medium speed for 3 to 4 minutes until pale, fluffy, and noticeably lighter in texture. If the mixture still looks dense and grainy, keep beating. 6. Add the eggs one at a time, beating for about 20 seconds after each addition. Scrape the bowl after the second egg, then beat in the vanilla and almond extract. The batter may look slightly curdled for a moment. That is fine. 7. Add half the dry ingredients and mix on low speed until just a few streaks remain. Add the sour cream and milk, then the remaining dry ingredients, mixing only until the flour disappears. Stop as soon as the batter comes together. Overmixing here makes the cake heavy. 8. Fold in the floured candy-coated chocolates and 1/2 cup sprinkles with a rubber spatula. Use slow, broad strokes. You want the candy scattered, not crushed.
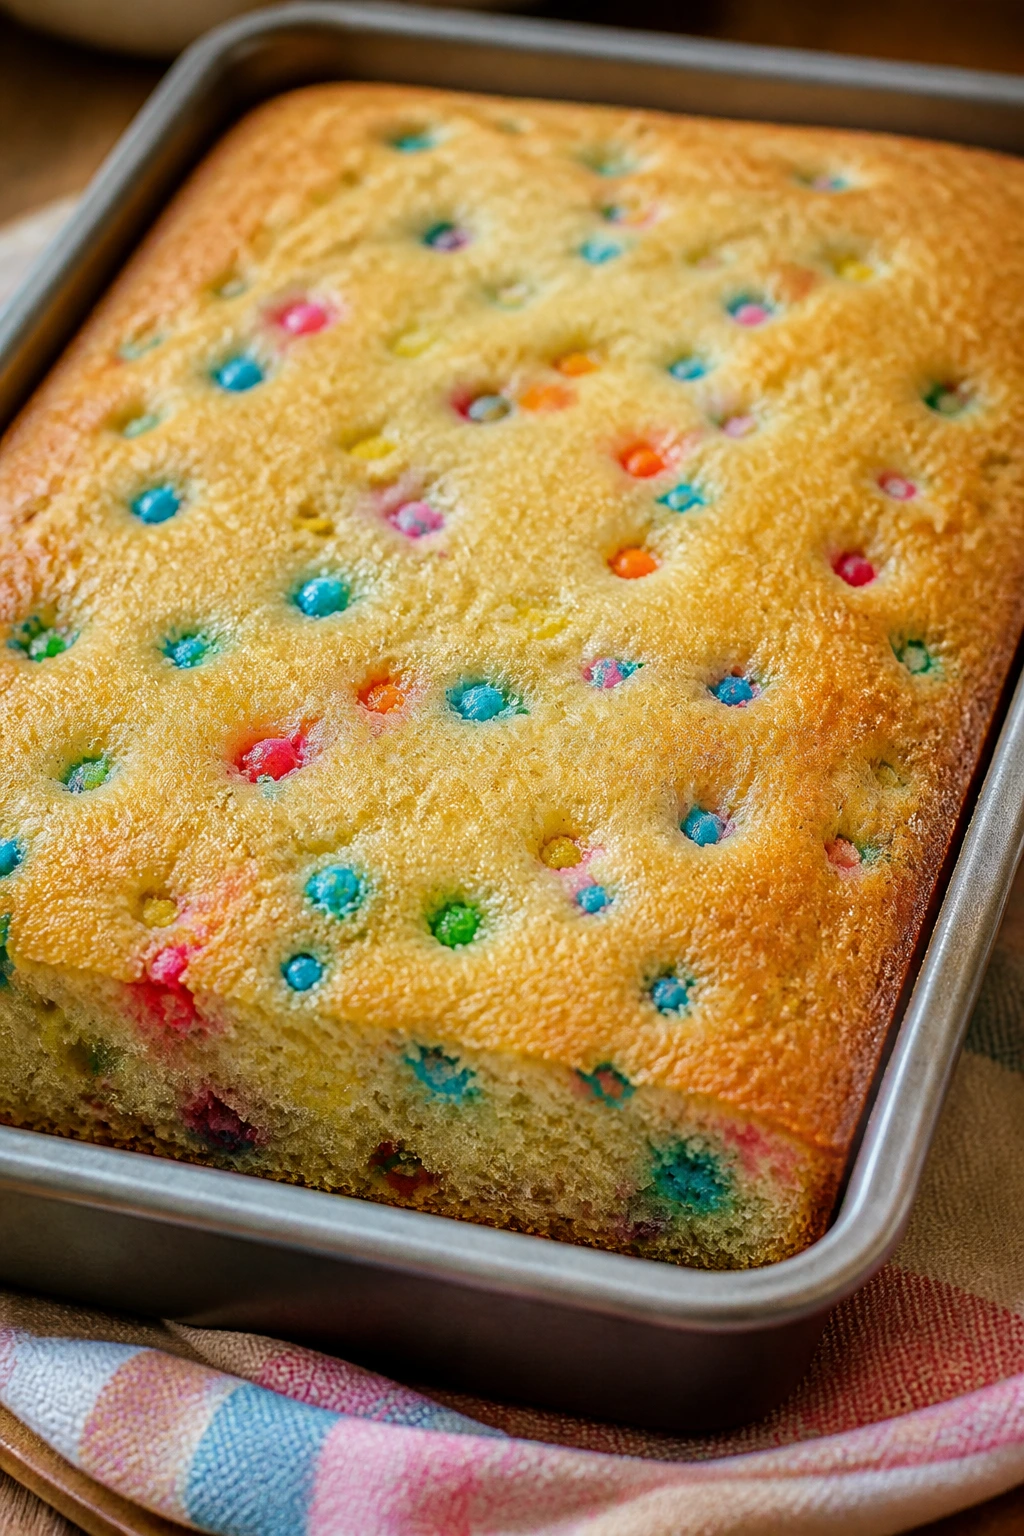
Bake and Cool 9. Scrape the batter into the prepared pan and spread it into an even layer. Scatter the remaining 1/4 cup candy and 2 tablespoons sprinkles over the top if you want the surface to look extra festive. 10. Bake for 32 to 38 minutes, until the top springs back lightly when pressed in the center and a toothpick inserted in the middle comes out with a few moist crumbs. If it comes out with wet batter, give it another 3 to 5 minutes. 11. Set the pan on a cooling rack for 20 minutes, then lift the cake out using the parchment overhang and cool it completely for about 40 more minutes. Never frost a warm cake. The frosting will slide and the candy on top will start drifting around the surface.
Make the Frosting and Finish 12. Beat the cream cheese and butter together on medium speed for about 2 minutes until smooth and lump-free. 13. Add the powdered sugar in two additions, beating on low at first so it does not fly out of the bowl. Beat in the vanilla, salt, and 1 tablespoon milk or cream. If the frosting seems too stiff, add the remaining milk 1 teaspoon at a time. 14. Spread the frosting over the cooled cake in thick, swoopy layers. Press the reserved candy and sprinkles over the top. 15. Chill the frosted cake for 15 minutes if you want extra-clean slices, or cut it straight away for softer edges. Use a sharp knife wiped clean between cuts.
How to Serve It Without Overthinking Dessert

Presentation: A hot knife makes cleaner slices. Dip the blade in hot water, wipe it dry, and cut straight down instead of sawing back and forth. If you want the squares to look neat on a platter, press a few candy pieces into the frosting near the corners of each slice so the decoration looks intentional, not scattered by accident.
Accompaniments: Cold milk is the obvious answer, and it’s the right one. Coffee also works because the bitterness keeps the frosting from feeling too sweet. If you want a bigger dessert plate, add a scoop of vanilla ice cream beside the cake and let the frosting soften into the ice cream’s edge.
Portions: Fifteen smaller squares make sense if the cake follows a meal. If it’s standing in as the main dessert, cut 12 larger pieces and let the frosting do the heavy lifting. The cake is rich enough that a modest slice satisfies, but not so rich that people won’t go back for a second piece if the squares are tiny.
Beverage Pairing: Iced coffee with a splash of milk keeps the whole thing from tasting flat. Sparkling lemonade gives you a brighter, cleaner contrast. If you’re serving it after dinner, a plain glass of cold milk still wins for the same reason it always does: it resets your mouth between bites.
Small Moves That Make a Better Slice
Flavor Enhancement: A little almond extract in the batter and a pinch of salt in the frosting make the candy taste more vivid. Neither one should shout. They’re there to sharpen the vanilla and keep the frosting from tasting like paste.
Customization: If you want more color, add the extra brightness on top instead of piling more into the batter. Too many mix-ins make the crumb crowded and can create heavy streaks near the bottom. White chocolate pieces, pastel candy-coated chocolates, or chopped freeze-dried strawberries all work if you want a different look.
Serving Suggestions: Add a few whole candy pieces right before serving so the top still looks crisp and lively. If the cake has been chilled, let it sit on the counter for 20 to 30 minutes before cutting. The frosting softens just enough to taste creamy again instead of firm and cold.
Make-It-Yours: For a gluten-free version, use a 1:1 baking flour that already includes xanthan gum. For dairy-free needs, use plant-based butter and a dairy-free cream cheese that firms up well when chilled. The texture shifts a little, but the basic structure still holds if you keep the batter unmixed and the cake fully cooled before frosting.
The Mistakes That Flatten the Crumb or Blur the Candy
- Using nonpareil sprinkles inside the batter: They look bright in the jar and dull in the oven. The coating bleeds, the color smears, and the cake can end up looking gray-green in spots. Use jimmies inside the batter and save the tiny round sprinkles for the top, if you use them at all.
- Folding the candy in too early: Candy-coated chocolates can sink if the batter sits while the oven finishes heating or while you answer three texts and lose track of time. Get the oven ready first, fold the candy in last, and move the pan into the oven right away.
- Starting with cold cream cheese: The frosting stays lumpy, then turns overbeaten while you keep trying to fix it. The fix is simple: soften the cream cheese and butter until both yield easily to a fingertip before you start.
- Overmixing after the flour goes in: The batter loses air, the crumb tightens, and the cake bakes up flatter than it should. Mix only until you stop seeing dry flour, then switch to a spatula for the candy.
- Frosting a warm cake: The frosting softens, the candy slides, and the top gets shiny in a way that means trouble. Wait until the cake is fully cool to the touch, even if that means you have to walk away for a while.
- Baking in a glass pan without adjusting the time: The edges brown early while the center stays soft. If glass is all you have, drop the oven temperature by 25°F and expect to add a few minutes to the bake.
Five Ways to Change the Flavor Without Breaking the Cake
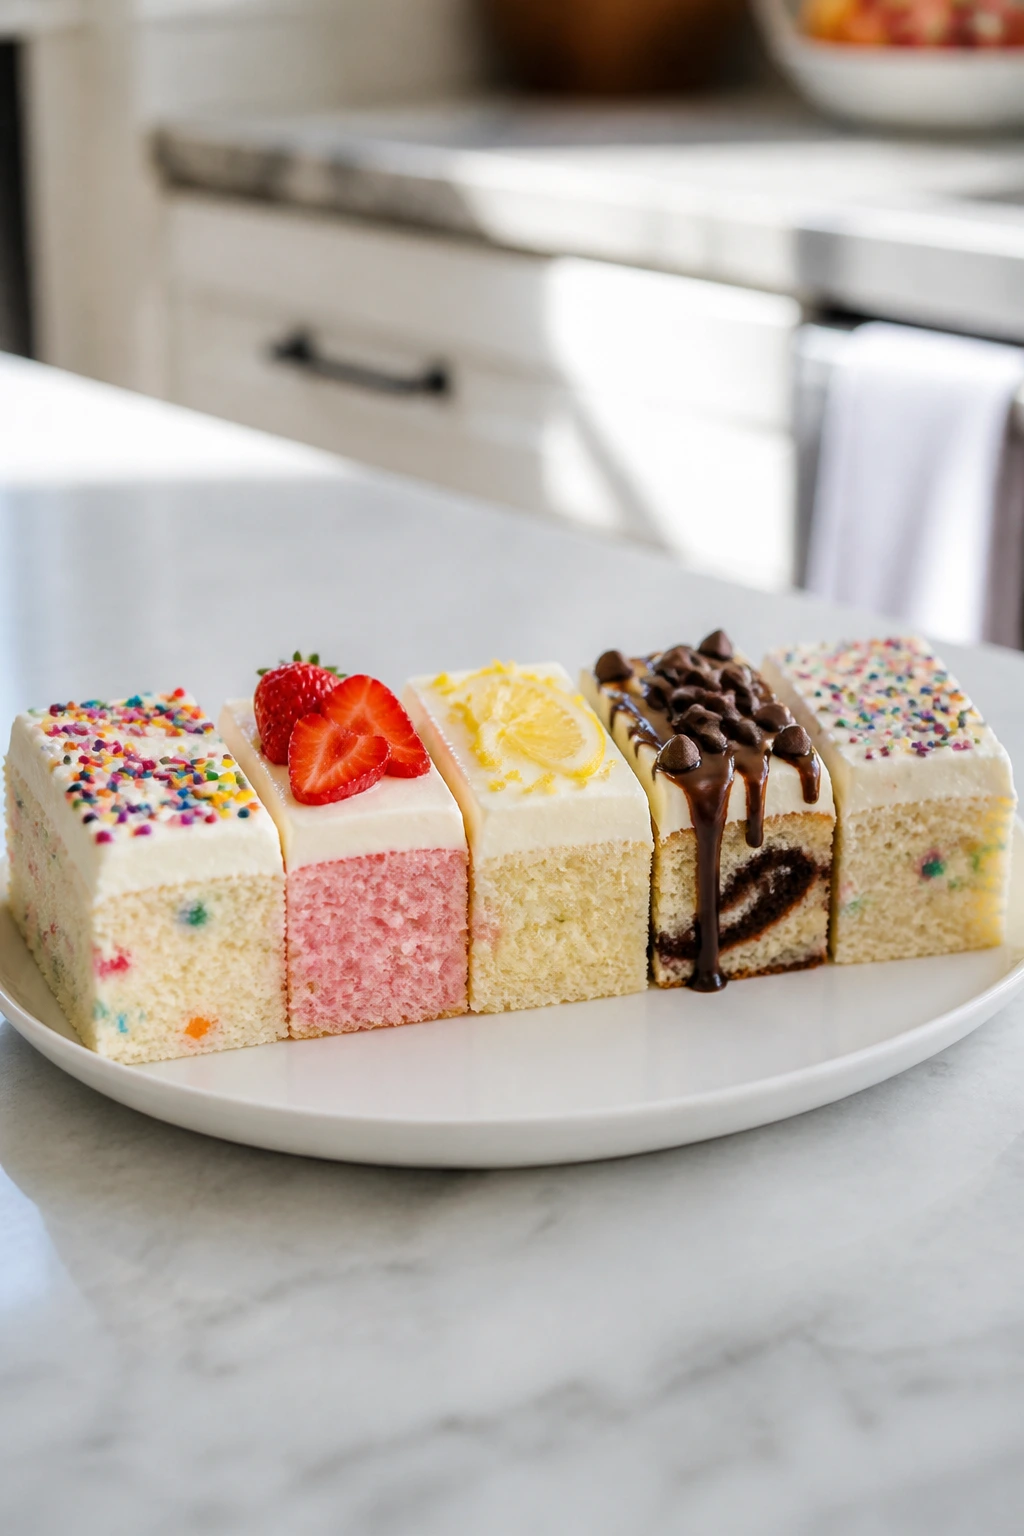
Birthday Confetti Classic
Skip the candy-coated chocolates and use 1 full cup of rainbow jimmies plus 1/2 cup white chocolate chips. The crumb stays softer, and the slices look cleaner because the mix-ins are smaller and less likely to tear the cake when you cut it.
Strawberry Pink Party Slice
Fold 1/2 cup chopped freeze-dried strawberries into the batter and swap the top sprinkles for pink and red candy pieces. The freeze-dried fruit gives you color and tartness without the soggy, jammy pockets fresh fruit can create in cake batter.
Lemon Bright Version
Add 1 tablespoon finely grated lemon zest to the batter and 1 teaspoon lemon zest to the frosting. The citrus sharpens the cream cheese and makes the candy taste a little less sweet, which is useful if you prefer dessert with some edge.
Chocolate Ribbon Cake
Replace 1/2 cup of the flour with unsweetened cocoa powder and use candy-coated chocolates with a mix of white and dark pieces. The result is deeper and less sugary, though the frosting should stay plain vanilla so the whole thing does not turn muddy.
Gluten-Free Celebration Squares
Use a 1:1 gluten-free baking blend and let the batter rest for 10 minutes before baking. That pause helps the starch hydrate and gives the cake a cleaner slice. If the blend feels thirsty, add 1 teaspoon milk to the batter only if it seems stiff.
Keeping the Cake Soft for the Next Few Days
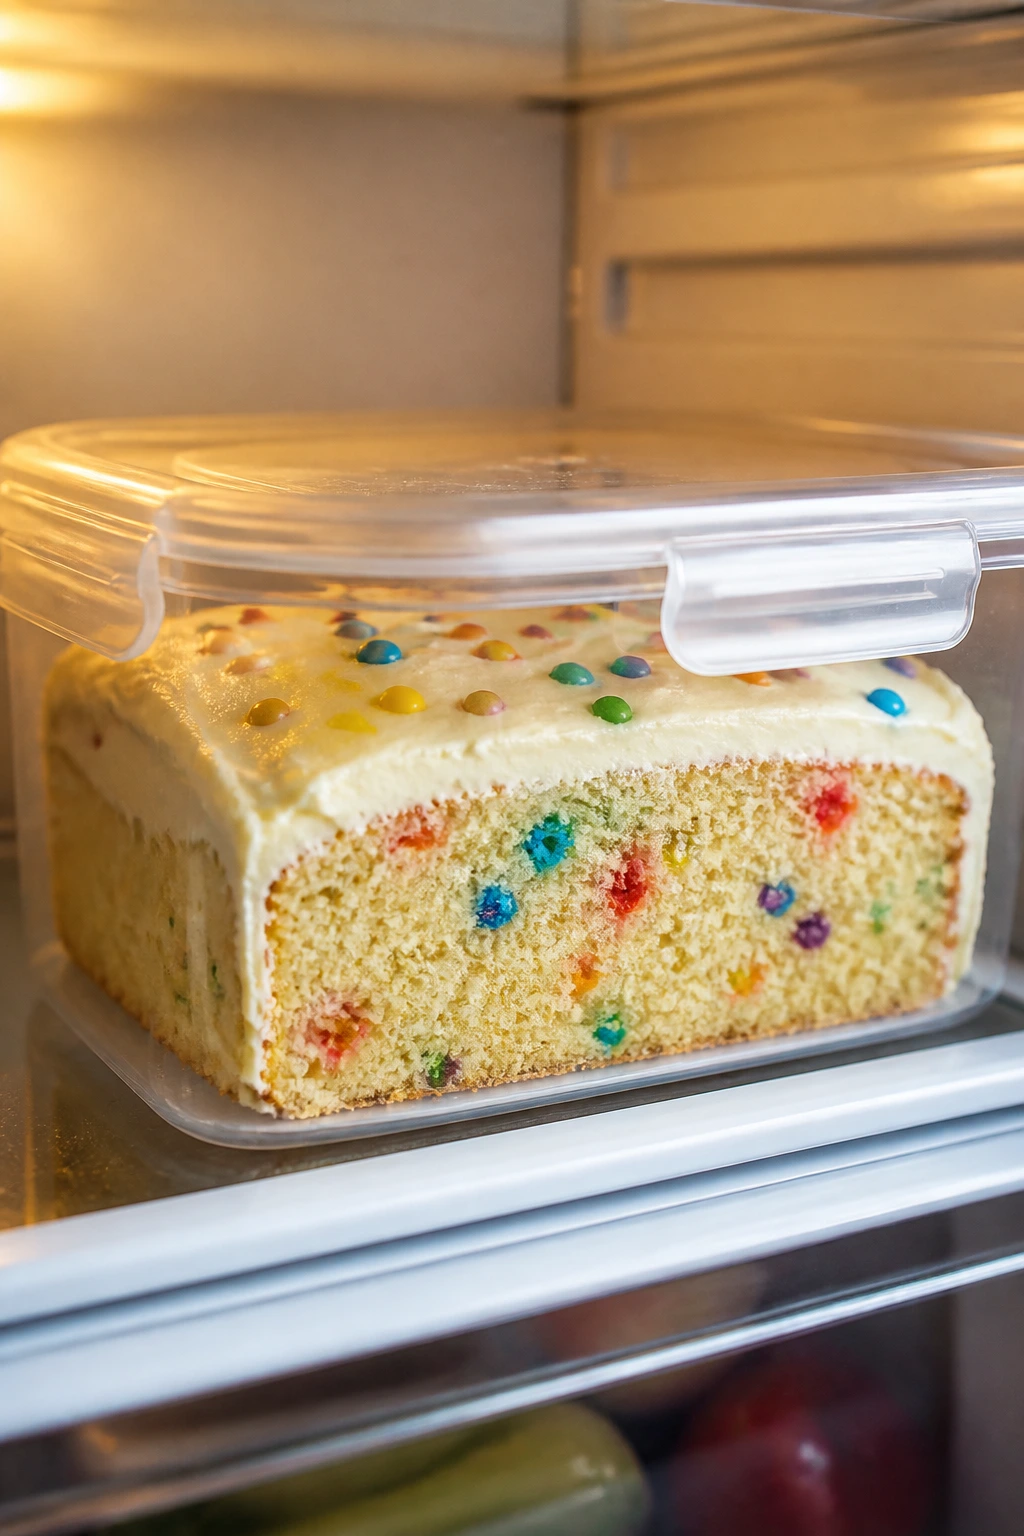
Because the frosting contains cream cheese, this cake should not sit out on the counter for long stretches. At room temperature, keep it out no more than 2 hours. After that, the frosting belongs in the fridge.
In the fridge: Store the cake in an airtight container or cover the pan tightly with plastic wrap for up to 4 days. The crumb firms up a little in the cold, but the flavor settles nicely. If you like a denser bite, this is not a bad thing.
In the freezer: Freeze unfrosted cake slices or fully frosted slices for up to 2 months. Wrap each piece in plastic wrap, then slide the wrapped pieces into a freezer bag or airtight container. Thaw in the fridge overnight, then let the slice sit at room temperature for 20 to 30 minutes before serving.
Make-ahead plan: You can bake the cake layer a day ahead, wrap it well once fully cool, and frost it the next day. In fact, I think that method is cleaner. The crumb rests, the frosting spreads more smoothly, and you’re not trying to balance cooling time with serving time in the same afternoon.
Reheating: Don’t really reheat this cake in the microwave unless you only want the chill taken off a single slice. Ten seconds is plenty. Any more and the frosting loosens, the candy softens, and the whole slice starts to slump.
Questions Bakers Usually Ask Before Starting
Can I use boxed cake mix instead of making the batter from scratch?
You can, but you’ll lose some of the texture control that makes this cake work. If you go that route, use the box mix as directed, then fold in the candy at the very end and still frost only after the cake is fully cool. The scratch version holds the candy better and tastes less sweet in the middle.
Why did my candy sink to the bottom?
Usually it’s one of two things: the candy was too heavy for the batter, or the batter sat too long before baking. Tossing the candy in flour helps, but so does baking immediately after mixing. If you want to be extra careful, reserve more of the candy for the top and use less in the batter.
Can I bake this as cupcakes instead of a sheet cake?
Yes. Line two standard 12-cup muffin tins and fill each cup about two-thirds full. Bake at 350°F for about 18 to 22 minutes, until the tops spring back and a tester comes out with a few moist crumbs. Frost only once they’re completely cool, because cupcake frosting slips even faster than sheet-cake frosting.
Do I have to refrigerate the cream cheese frosting?
Yes. Cream cheese frosting should be refrigerated if it’s not being served right away. The cake tastes best once it has sat at room temperature for about 20 to 30 minutes after chilling, which lets the frosting soften without getting sloppy.
Can I make the frosting a little firmer for piping?
Yes. Use the full amount of powdered sugar, keep the cream cheese and butter only just softened, and skip extra milk unless the frosting feels stiff enough to tear the cake. Chilling the finished frosting for 10 to 15 minutes before piping also helps, especially if your kitchen runs warm.
What if the center looks underbaked but the edges are already browned?
Tent the pan loosely with foil and keep baking in 3- to 5-minute bursts. That keeps the top from over-coloring while the center finishes. A metal pan helps avoid this problem, which is one reason I keep pushing it.
Can I leave out the almond extract?
Absolutely. The cake will still work fine with only vanilla. Almond extract adds a bakery-case aroma and makes the candy flavor pop a little more, but it is a preference, not a requirement.
A Cake That Knows How to Have Fun
The best thing about this cake is that it looks louder than it tastes. That sounds like a backhanded compliment, but it isn’t. The candy gives the first bite its spark, the frosting brings the tang, and the crumb keeps everything anchored so it still feels like cake instead of sugar wearing a costume.
I like desserts that know when to stop. This one does. It brings color, texture, and a little nonsense to the table, then lets the cream cheese frosting do the grown-up work. Bake it for a birthday, a potluck, or one of those weeks when you want the kitchen to smell like vanilla and butter instead of the same old thing.
Fluffy Colorful Candy with Cream Cheese Frosting — Recipe Card
Recipe Name: Fluffy Colorful Candy with Cream Cheese Frosting
Description: A soft vanilla sheet cake studded with candy-coated chocolates and rainbow sprinkles, finished with tangy cream cheese frosting. The crumb stays tender, the candy stays bright, and the frosting keeps the sweetness in check.
Prep Time: 25 minutes
Cook Time: 35 minutes
Total Time: 2 hours
Course: Dessert
Cuisine: American
Servings: 15 servings
Calories: About 575 kcal per serving
Ingredients
For the Cake:
- 2 1/2 cups (300 g) all-purpose flour, spooned and leveled
- 2 1/2 teaspoons baking powder
- 1/2 teaspoon baking soda
- 1/2 teaspoon fine salt
- 1 cup (226 g) unsalted butter, softened to cool room temperature
- 1 3/4 cups (350 g) granulated sugar
- 4 large eggs, room temperature
- 1 tablespoon vanilla extract
- 1/2 teaspoon almond extract, optional but worth it
- 1 cup (227 g) sour cream, room temperature
- 1/2 cup (120 ml) whole milk, room temperature
- 1 cup candy-coated chocolates, roughly chopped if large
- 1/2 cup rainbow sprinkles, jimmies only
- 1 tablespoon all-purpose flour, for tossing the candy
For the Cream Cheese Frosting:
- 8 ounces (227 g) cream cheese, softened
- 1/2 cup (113 g) unsalted butter, softened
- 4 1/2 cups (540 g) powdered sugar, sifted
- 1 teaspoon vanilla extract
- 1/8 teaspoon fine salt
- 1 tablespoon whole milk or heavy cream, plus 1 to 2 teaspoons more if needed
For the Top:
- 1/4 cup candy-coated chocolates
- 2 tablespoons rainbow sprinkles
Instructions
-
Preheat the oven to 350°F (175°C) and line a 9×13-inch metal baking pan with parchment, leaving overhang on the long sides.
-
Whisk together the flour, baking powder, baking soda, and salt. Toss the candy-coated chocolates with 1 tablespoon flour and shake off the excess.
-
Beat the butter and sugar on medium speed for 3 to 4 minutes until pale and fluffy.
-
Add the eggs one at a time, then beat in the vanilla and almond extract.
-
Mix in half the dry ingredients on low speed, then add the sour cream and milk, followed by the remaining dry ingredients. Mix only until combined.
-
Fold in the floured candy-coated chocolates and 1/2 cup sprinkles with a spatula.
-
Spread the batter into the pan, top with the reserved candy and sprinkles, and bake for 32 to 38 minutes until the center springs back and a toothpick comes out with a few moist crumbs.
-
Cool in the pan for 20 minutes, then lift out and cool completely on a rack.
-
Beat the cream cheese and butter until smooth, then add the powdered sugar, vanilla, salt, and milk or cream until the frosting is thick and spreadable.
-
Frost the cooled cake, decorate with the remaining candy and sprinkles, and chill for 15 minutes if you want cleaner slices.
Notes: Use jimmies, not nonpareils, inside the batter. Room-temperature ingredients help the cake bake evenly. Store refrigerated because of the cream cheese frosting.