
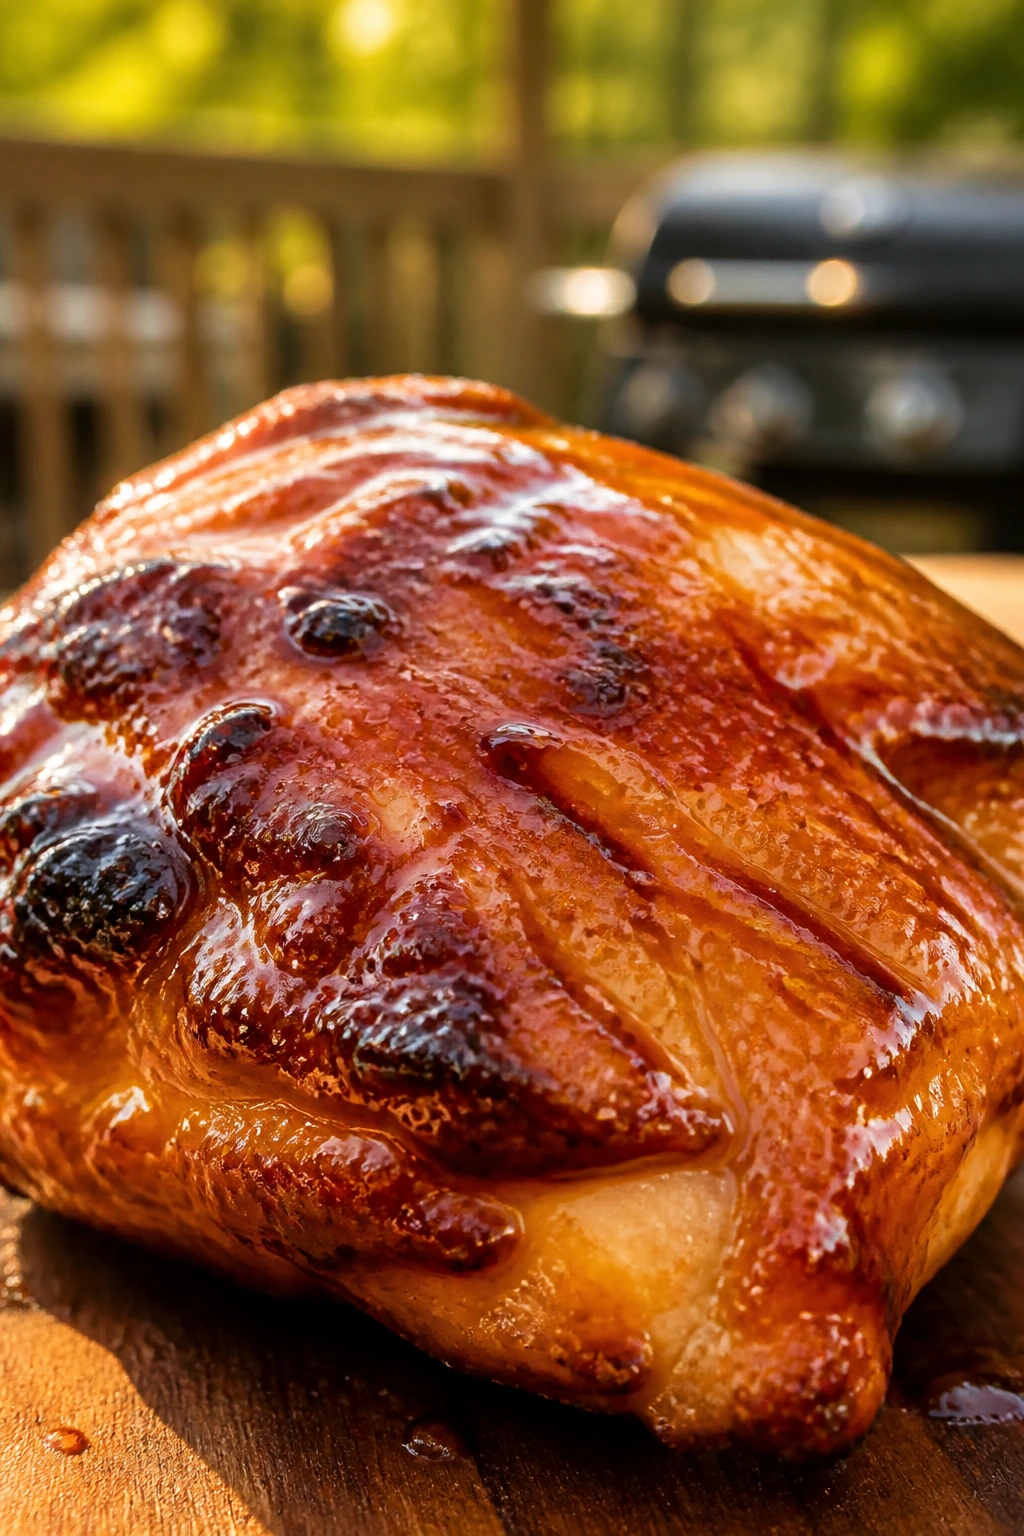
The smell hits first. Honey warms fast on a grill, and when it meets smoky barbecue sauce and chicken fat, the air turns sticky, sweet, and a little wild in the best possible way. Grilled honey BBQ chicken has that effect on a backyard cookout: people start drifting toward the grill before dinner is even called, because the smell alone feels like an announcement.
What makes this style of grilled chicken worth paying attention to is that it can go wrong in a dozen small ways. Sauce that’s too thin slides off. Sauce that’s too sugary burns. Chicken breasts dry out if you turn your back for two minutes. Thighs, though, are a different story. They stay juicy, keep their shape, and take on those dark grill marks without turning leathery.
The trick is timing. Not fancy timing. Just the kind that keeps honey from blackening before the chicken is done and gives you a glaze that clings instead of puddling on the platter. If you’ve ever wanted a cookout dish that tastes like someone paid attention all the way through the grilling process, this is the one to make.
Why This Honey BBQ Chicken Belongs at a Backyard Cookout
Sticky glaze, not burnt sugar: The sauce gets simmered first, so it brushes on as a glossy layer instead of a watery one that runs straight into the flame.
Thighs keep their texture on a hot grill: Boneless thighs are forgiving, which matters when the grill is crowded with corn, burgers, and a pan of onions someone forgot to rotate.
The flavor lands right between sweet and smoky: Honey gives shine and body, barbecue sauce brings smoke and tomato depth, and apple cider vinegar keeps the whole thing from tasting flat.
It works as dinner, sandwiches, or sliced platter meat: Serve the thighs whole, chop them for buns, or slice them over slaw and grilled vegetables.
The make-ahead pieces are practical: The glaze can be cooked ahead, the chicken can be seasoned in advance, and the grill time stays short enough to fit into an active cookout.
Yield, Timing, and the Best Window for the Grill
Yield: Serves 4 to 6
Prep Time: 15 minutes
Cook Time: 15 to 20 minutes
Total Time: 30 to 35 minutes
Difficulty: Beginner — the glaze is simple, the grill time is short, and boneless thighs give you a wide margin before they dry out.
Best Served: Warm, after a brief rest off the grill
Chill/Rest Time: 5 minutes resting after grilling; optional 10 to 15 minutes at room temperature before grilling
A quick note on timing: the sauce can be made first and held on low while the chicken is seasoned and the grill heats. That keeps the whole process moving in a straight line instead of making you juggle raw chicken and a bubbling pan at the same time. On a busy cookout day, that matters more than people admit.
What Goes Into the Chicken and Glaze
For the Chicken:
- 2 pounds boneless, skinless chicken thighs, trimmed of excess fat
- 1 tablespoon olive oil
- 1 teaspoon kosher salt
- 1 teaspoon freshly ground black pepper
- 1 teaspoon smoked paprika
- 1 teaspoon garlic powder
- 1/2 teaspoon onion powder
- 1/4 teaspoon cayenne pepper, optional
For the Honey BBQ Glaze:
- 1 cup thick smoky barbecue sauce
- 1/3 cup honey
- 2 tablespoons apple cider vinegar
- 1 tablespoon Worcestershire sauce
- 1 teaspoon Dijon mustard
- 1 tablespoon unsalted butter
- 1 small garlic clove, finely grated
For Serving:
- 2 tablespoons chopped parsley or thinly sliced scallions
- Extra barbecue sauce, warmed, if you want a saucier finish
The ingredient list is short on purpose. Backyard cooking gets messy when the dish needs too many moving parts, and this one does not. You want chicken that browns well, a glaze that thickens on contact, and enough seasoning to make each bite taste finished before the sauce even lands.
Why the Honey, Vinegar, and Smoke Stay Balanced
Chicken
What to use: 2 pounds boneless, skinless chicken thighs, trimmed and patted dry.
Preparation: Dry the surface with paper towels before seasoning. Moisture on the outside slows browning, and browning is where a lot of the flavor lives here.
Substitutions: Boneless breasts can work if you pound them to an even thickness, and bone-in thighs work if you add more grill time and use indirect heat for part of the cook.
Tips: Thighs tolerate a little more heat than breasts, which makes them the better choice when the grill is crowded or the cookout pace is a little chaotic.
Honey BBQ Glaze
What to use: 1 cup thick barbecue sauce, 1/3 cup honey, 2 tablespoons apple cider vinegar, 1 tablespoon Worcestershire sauce, 1 teaspoon Dijon mustard, 1 tablespoon butter, and 1 grated garlic clove.
Preparation: Simmer everything together until the sauce looks glossy and leaves a faint trail behind a spoon. That extra minute or two makes the difference between a sauce that sticks and one that slides.
Substitutions: Maple syrup can stand in for honey, and a spicy barbecue sauce can replace part of the smoky one if you want more heat. If your bottled sauce is already sweet, cut the honey to 1/4 cup.
Tips: The vinegar matters more than people think. It keeps the glaze from turning sticky-sweet in a way that dulls the chicken instead of sharpening it.
Dry Seasoning
What to use: Salt, black pepper, smoked paprika, garlic powder, onion powder, and a little cayenne if you like a back-of-the-throat burn.
Preparation: Mix the dry seasonings with the oil and rub them evenly over every piece so the chicken is coated, not just dusted.
Substitutions: If you are out of smoked paprika, regular paprika plus a pinch of ground cumin works in a pinch, though the flavor leans earthier and less campfire-like.
Tips: Smoked paprika gives the chicken a deeper color before the glaze goes on, which helps when the sauce gets brushed on near the end and you want the surface to look charred rather than pale and saucy.
Garnishes and Serving Finish
What to use: Chopped parsley or scallions, plus a little extra warm sauce for the platter.
Preparation: Chop the herbs right before serving so they stay bright and sharp on the plate.
Substitutions: Sliced chives, dill, or even a few pickled jalapeños can change the mood without changing the main recipe.
Tips: A fresh green garnish cuts through the glaze in a way that plain brown sauce cannot. The plate looks more awake, and the chicken tastes less heavy.
The Gear That Keeps Sticky Sauce Under Control
- Gas or charcoal grill: Either works; charcoal gives a deeper smoky edge, while gas is easier when you need to keep the heat steady.
- Long-handled tongs: Chicken thighs are slippery with glaze, and tongs give you a better grip than a fork, which you should avoid piercing the meat with.
- Instant-read thermometer: This is the difference between guesswork and done-at-the-right-time chicken.
- Small saucepan: You need a pan for the glaze so the honey can simmer into something clingy before it goes anywhere near the grill.
- Silicone basting brush: It spreads the sauce more evenly than a mop-style brush, and it cleans easier.
- Grill brush or scraper: Clean grates help prevent sticking and keep old char from clinging to the chicken.
- Rimmed tray or platter: Carry the finished chicken off the grill on something that can catch juices and sauce.
- Foil or a cooler side of the grill: If you’re using charcoal, a two-zone setup gives you room to move chicken away from flare-ups.
Grilling the Chicken Step by Step
Make the Honey BBQ Glaze:
-
Combine the barbecue sauce, honey, apple cider vinegar, Worcestershire sauce, Dijon mustard, butter, and grated garlic in a small saucepan.
-
Set the pan over medium heat and stir for 3 to 4 minutes, until the butter melts and the sauce begins to bubble around the edges. The sauce should look smooth, not separated.
-
Lower the heat and simmer for 2 more minutes, stirring often, until the glaze looks glossy and thick enough to coat the back of a spoon. Keep it warm over very low heat while you cook the chicken.
Season the Chicken and Heat the Grill:
-
Pat the chicken thighs dry with paper towels. Toss them with olive oil, salt, black pepper, smoked paprika, garlic powder, onion powder, and cayenne if using.
-
Let the chicken sit at room temperature for 10 to 15 minutes while the grill heats, or cover and refrigerate it for up to 24 hours if you want to season ahead. If it comes from the fridge, give it a few minutes on the counter before grilling so it does not go onto the grate ice-cold.
-
Preheat the grill to medium-high heat, about 425°F to 450°F. Clean the grates, then oil them lightly with a folded paper towel held in tongs. A clean, oiled grate saves a lot of skinless chicken from sticking.
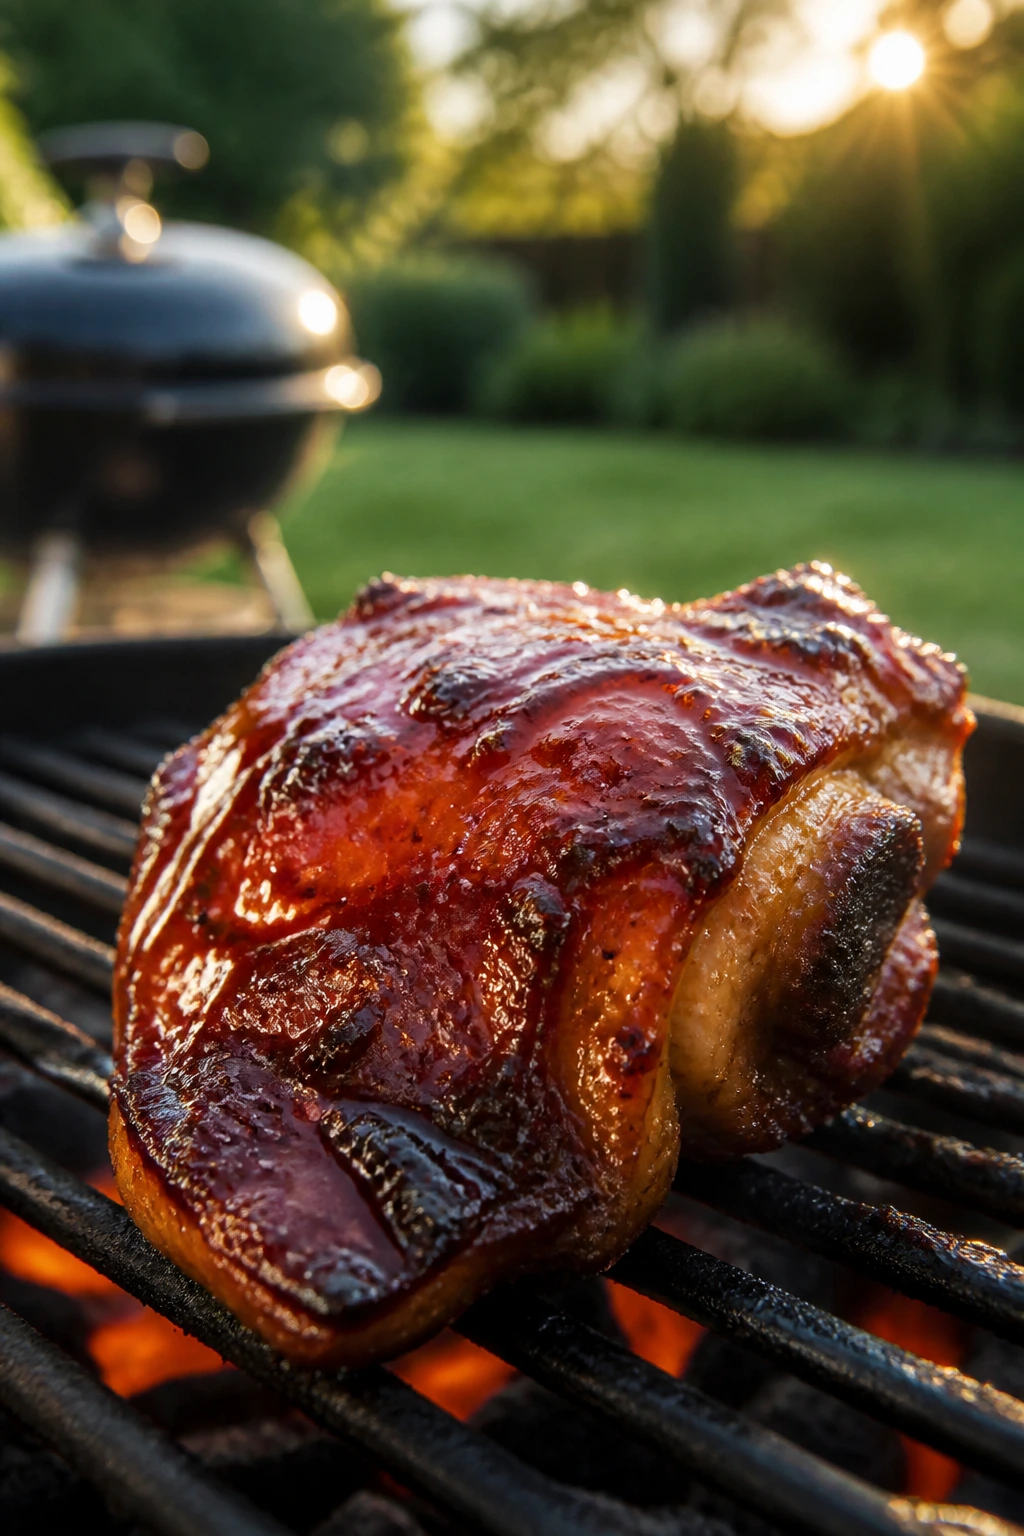
Grill and Glaze:
-
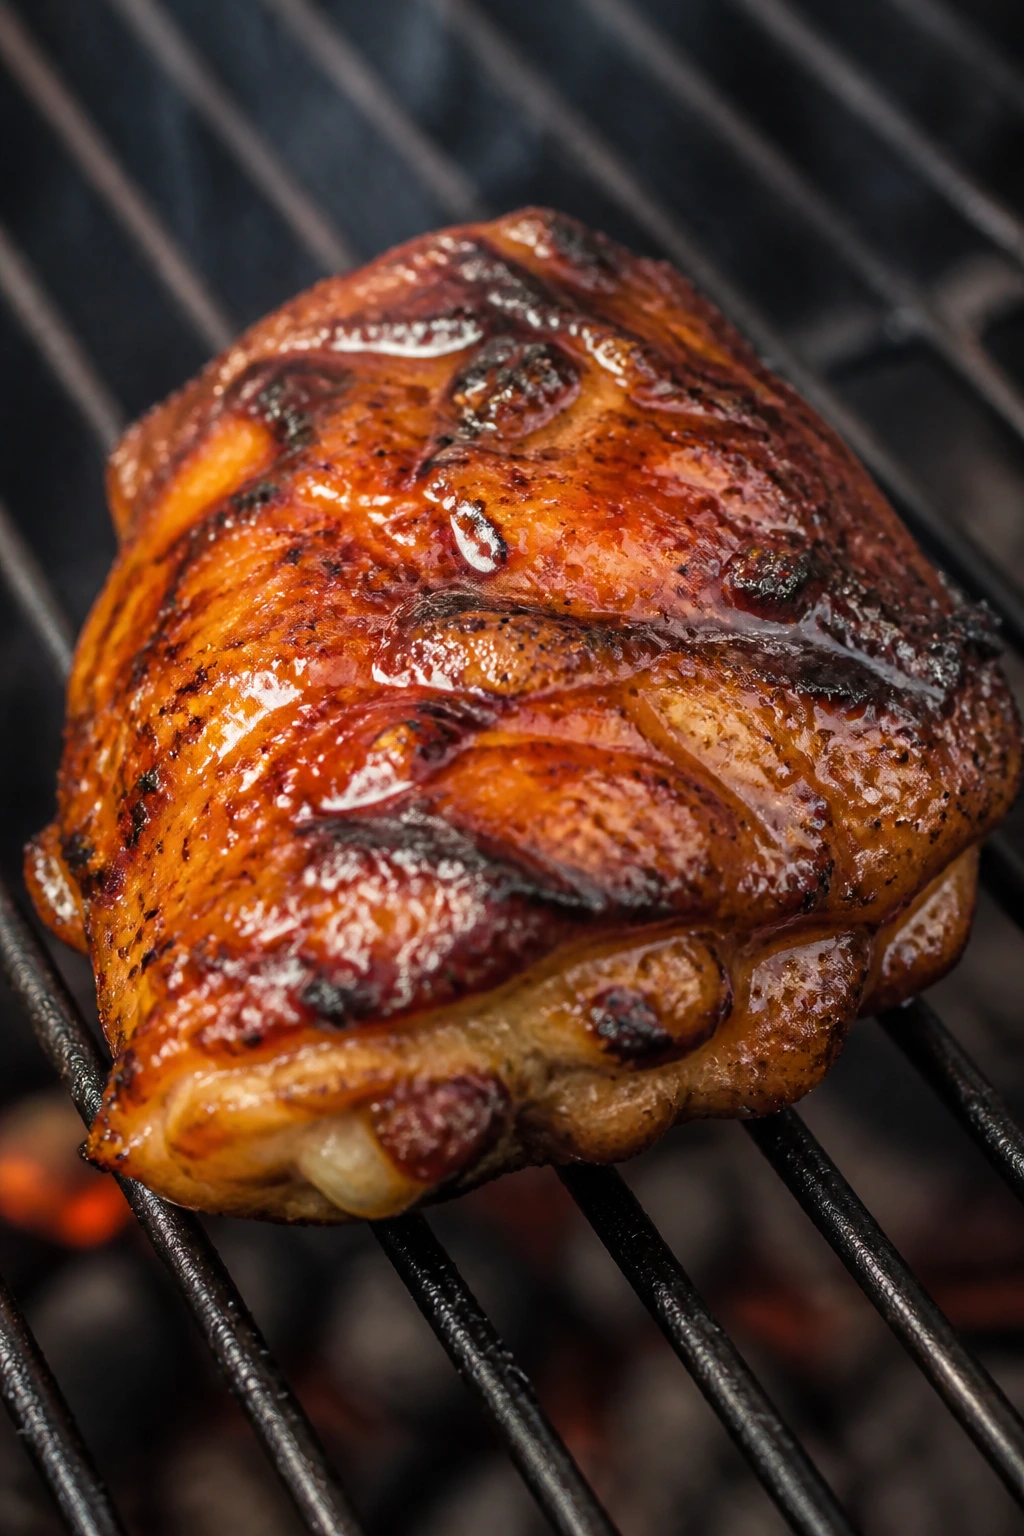
Place the chicken on the hot grill and close the lid. Cook for 4 to 5 minutes on the first side, until the underside has dark grill marks and the chicken releases easily from the grates.
-
Flip the chicken and grill for 3 minutes on the second side. Brush the top with a thin layer of warm glaze, close the lid, and cook for 1 to 2 minutes more.
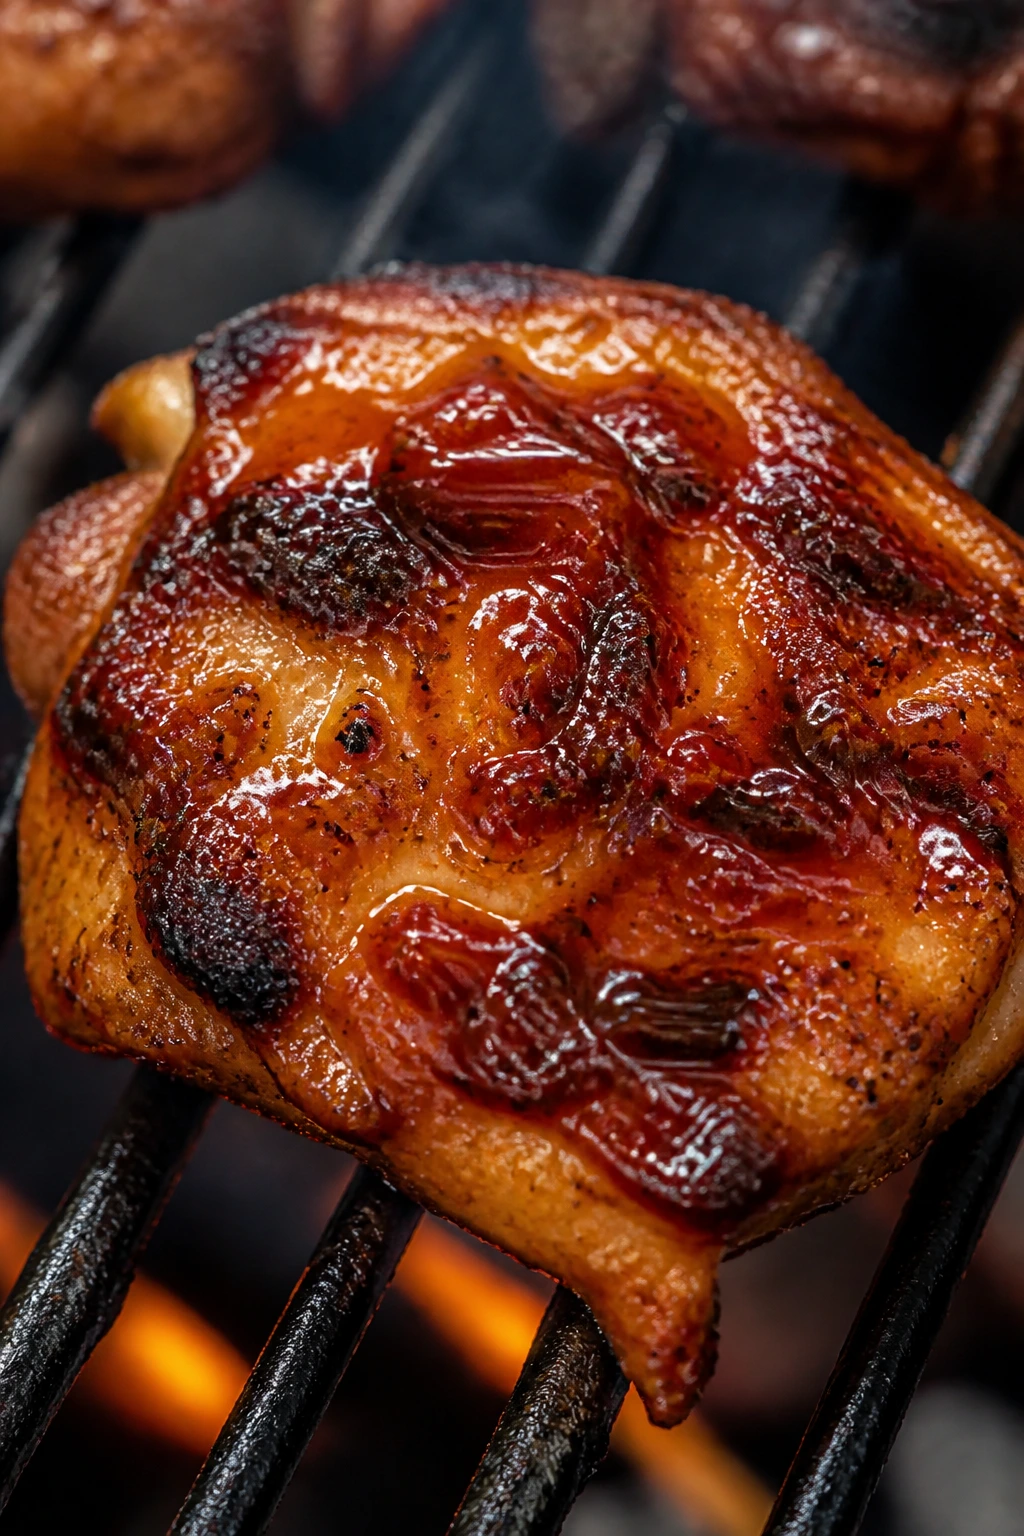
-
Turn the chicken once more, brush the second side lightly with glaze, and continue grilling until the thickest piece reaches 165°F on an instant-read thermometer. Do not coat the chicken heavily too early — honey burns fast and turns bitter if it sits over direct heat for too long.
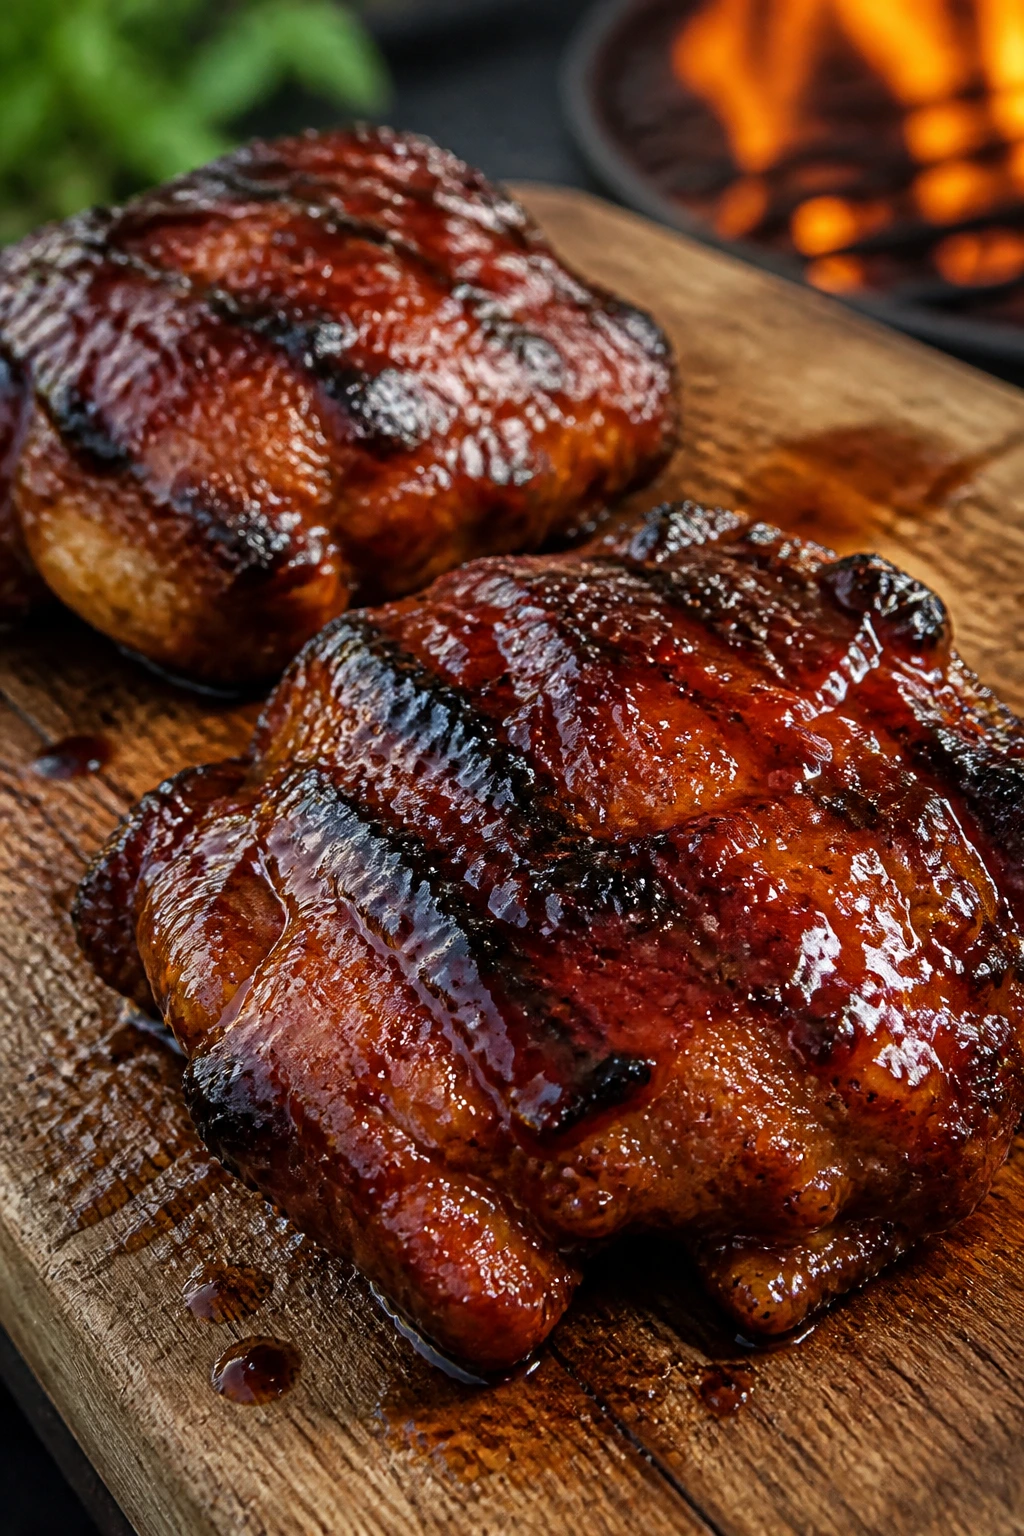
-
Move the chicken to a clean platter and brush it with a final thin layer of glaze while it is still hot. Rest for 5 minutes so the juices settle, then finish with parsley or scallions and serve.
-
If you’re slicing the chicken for sandwiches, cut it across the grain into thick strips after resting. That keeps the pieces tender instead of stringy.
How to Serve It at the Table
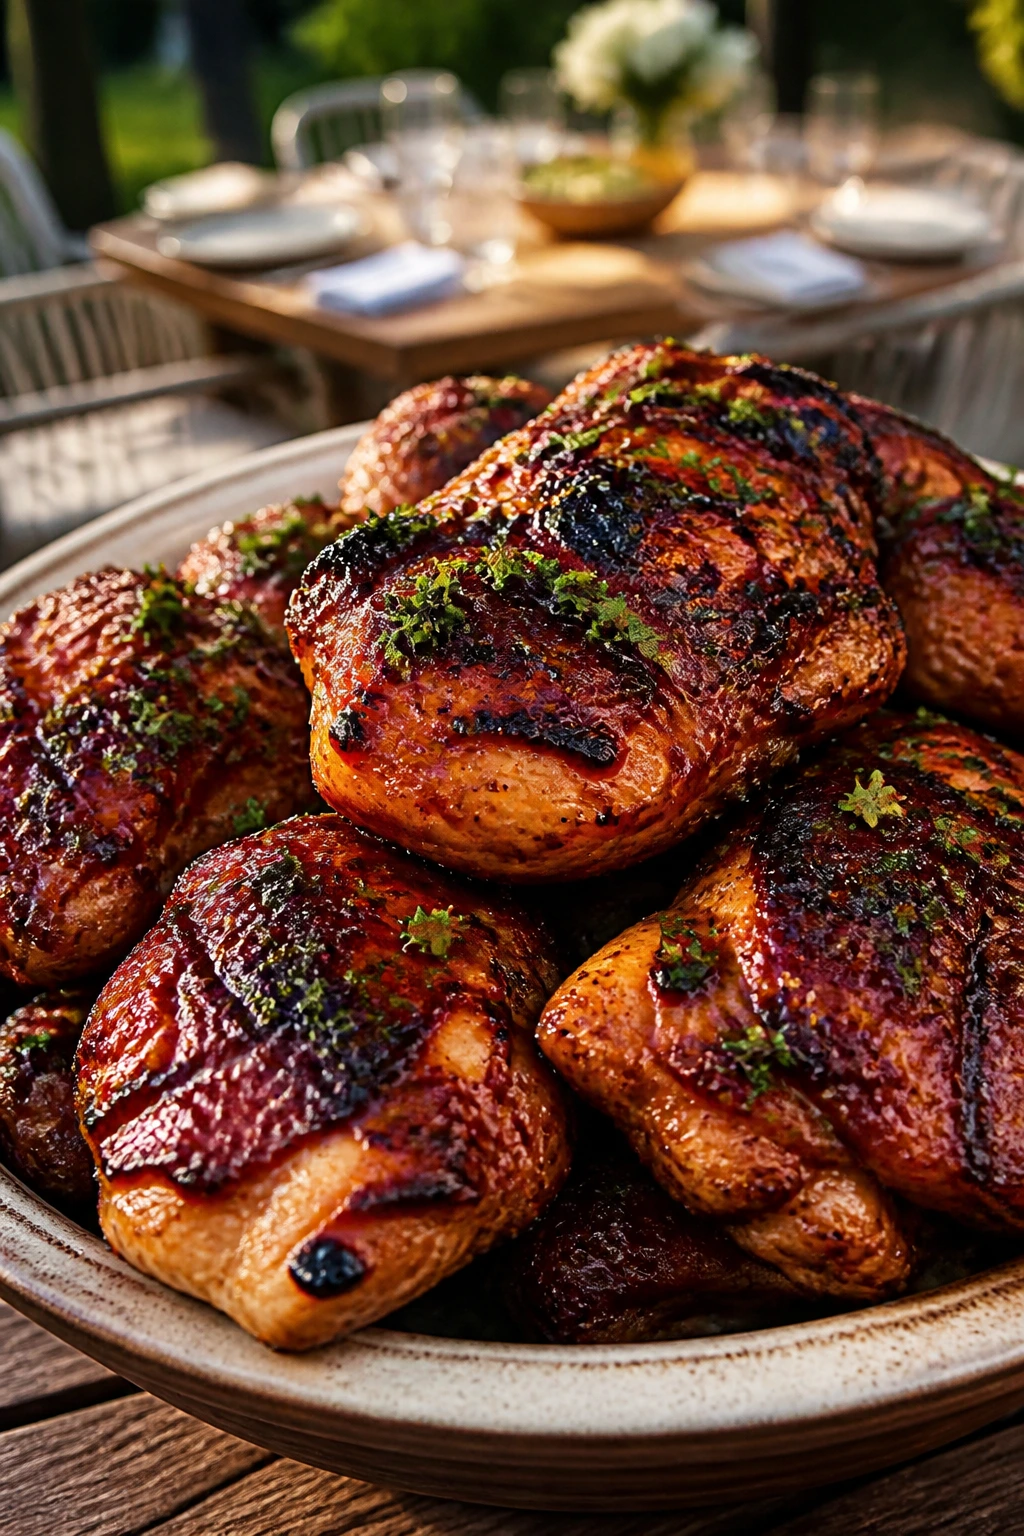
Presentation: Heap the grilled chicken thighs on a wide platter instead of a narrow plate. Spoon a little warm glaze over the top, but leave some char exposed so the surface doesn’t turn glossy and soggy; the dark grill marks are part of the point. A scatter of parsley or scallions gives the whole thing a fresher look.
Accompaniments: I like this with vinegar coleslaw, grilled corn brushed with butter, baked beans, and potato salad that leans mustardy instead of creamy. A pile of sliced tomatoes with salt and black pepper also works, especially when the rest of the table is already heavy with sauces and starches. If you want sandwiches, tuck the sliced chicken into toasted buns with dill pickles and a handful of slaw.
Portions: Two thighs per adult is a sensible place to start, especially if you’re serving a few sides. For sandwiches, one thigh usually makes one generous sandwich once sliced. If the cookout has a lot of other meat on the table, one thigh plus sides can be enough.
Beverage Pairing: Sweet tea with lemon handles the honey well, and a light lager or crisp pilsner keeps the glaze from feeling heavy. For a nonalcoholic option, sparkling lemonade or ginger beer brings enough sharpness to clean up the sticky finish between bites.
Extra Tips for Char, Shine, and Juicier Meat

Flavor Enhancement: Stir a teaspoon of smoked paprika into the glaze if your barbecue sauce tastes flat. It deepens the color and makes the sauce read more grilled than bottled.
Time-Saver: Make the glaze up to a week ahead and keep it in the fridge. Warm it gently in a saucepan before brushing so it loosens back up and spreads in a thin coat.
Heat Control: If your grill has hot spots, park the chicken over the cooler side after the first flip and finish with the lid closed. That keeps the honey from scorching while the inside catches up.
Make-It-Yours: For a sharper finish, add a splash of cider vinegar right after the chicken comes off the grill. For a sweeter edge, brush on a second light coat of warm glaze during the rest period instead of piling on more during grilling.
And one small thing that pays off every time: taste the glaze before it touches raw chicken. If it tastes too sweet in the saucepan, it will taste even sweeter on the grill.
Common Mistakes That Leave You With Bitter Sauce
-
Brushing the glaze on too early: The symptom is a dark, sticky crust that smells burnt before the chicken is done. Fix it by waiting until the final 2 to 3 minutes and using a thin coat first.
-
Grilling wet chicken: If the thighs go onto the grate damp, the surface steams before it browns and the glaze slides around instead of clinging. Pat the chicken dry first, then season it.
-
Skipping the thermometer: Guessing with chicken thighs is a bad habit, because the outside can look done while the thickest part still needs time. Pull the chicken when it reaches 165°F in the center, not when it “looks about right.”
-
Using sauce that is too thin: Watery barbecue sauce drips straight into the flames and leaves little flavor on the meat. Simmer the glaze until it coats a spoon.
-
Crowding the grill: When the pieces touch or sit too close together, they trap steam and weaken the grill marks. Leave space between each piece, and cook in batches if you need to.
-
Resting under a tight lid or foil packet: The trapped steam softens the crust and knocks the glaze back into a wet sheen. Rest the chicken on a platter, loosely covered if needed, not sealed up.
Variations for Heat, Cut, and Crowd Size
Smoky Chipotle Honey BBQ: Stir 1 to 2 teaspoons of minced chipotle in adobo into the glaze. It adds a slow, smoky heat that sits under the honey instead of fighting it.
Tangy Carolina Twist: Swap half the barbecue sauce for a mustard-based barbecue sauce and add an extra tablespoon of apple cider vinegar. The result is sharper, brighter, and better if you like sauce that cuts through fatty sides like macaroni and cheese.
Bone-In Thigh Party Tray: Use bone-in, skin-on thighs instead of boneless and move the chicken to indirect heat after the first sear. Give them more time, then finish over direct heat with glaze near the end; they take longer, but the skin gets a little crackly around the edges.
Chicken Breast Version: Use 4 boneless chicken breasts, pounded to even thickness. Grill them over medium-high heat and pull them as soon as they reach 165°F; breasts dry out faster than thighs, so keep the glaze light and the timing tight.
Skewer Night: Cut the thighs into 1 1/2-inch pieces and thread them onto soaked skewers with red onion or bell pepper. The smaller pieces cook faster, pick up more char, and make serving easier when people are eating standing up.
Storage, Reheating, and Make-Ahead Notes
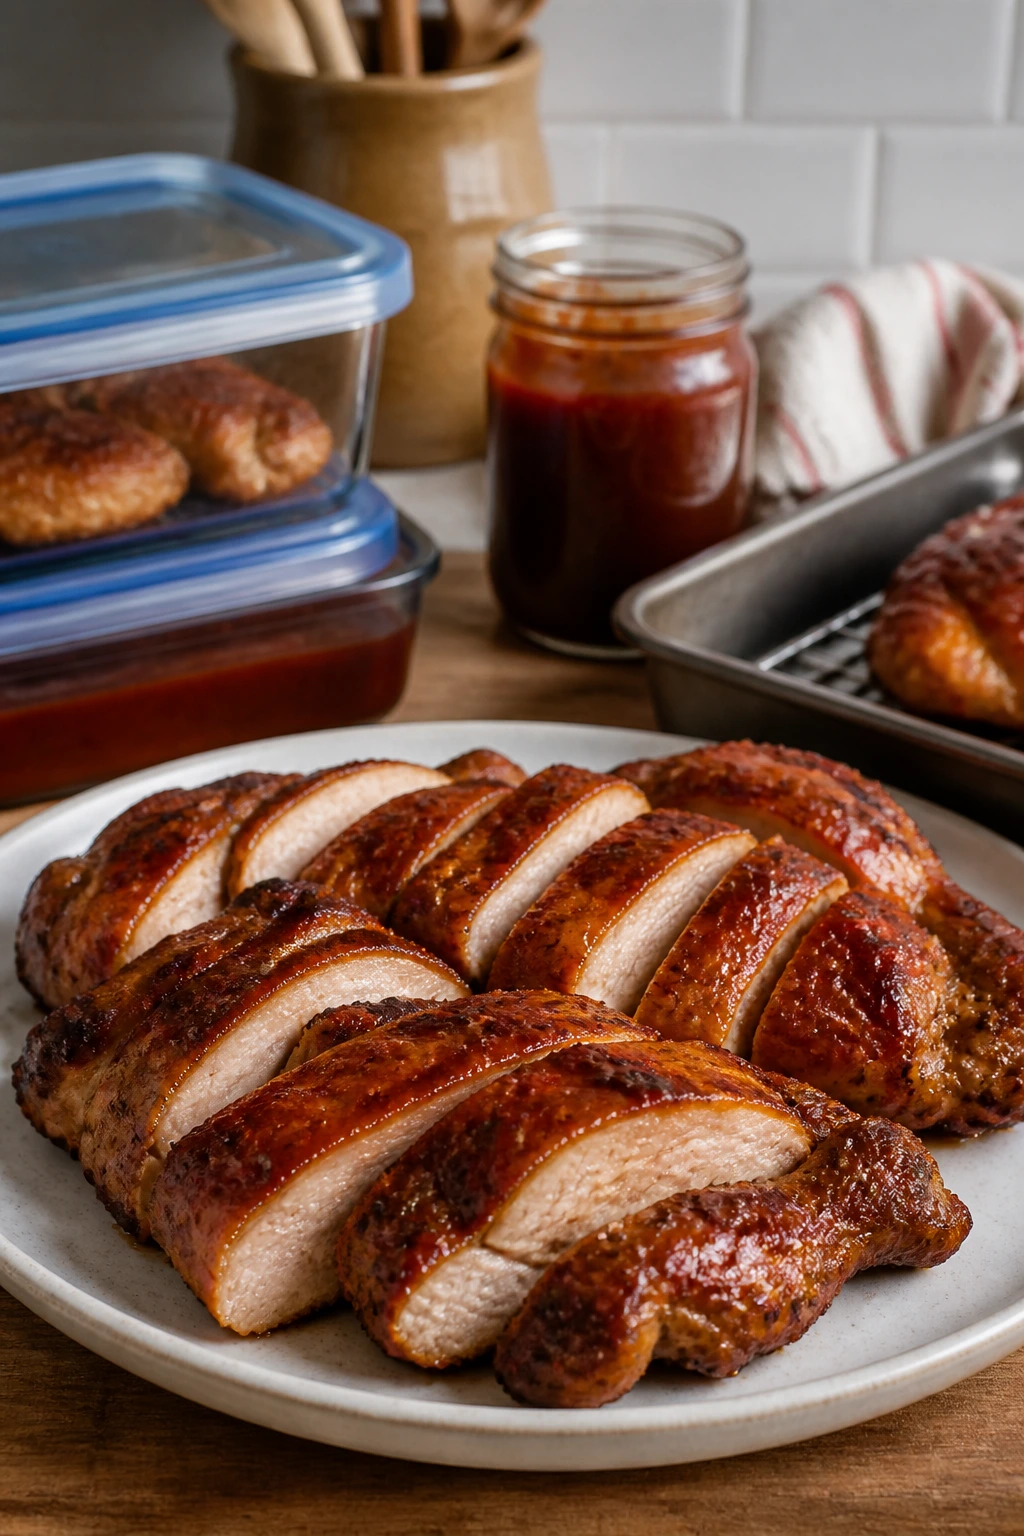
Cooked grilled chicken keeps 3 to 4 days in the refrigerator in a sealed container. Let it cool first, then pack it with a spoonful of extra glaze or a small splash of water so the surface does not dry out overnight. If you want to freeze it, wrap the thighs tightly and store them for up to 2 months; sliced pieces freeze a little more cleanly than whole ones.
The best reheating method is a 325°F oven. Put the chicken in a baking dish, add a tablespoon or two of water or extra sauce, cover loosely with foil, and warm it for 10 to 15 minutes until hot through. If you’re only reheating one or two pieces, a covered skillet over medium-low heat works too, and it keeps the edges from going leathery.
Microwaving is fine in a hurry, but keep the power at 50% and heat in short bursts so the honey glaze does not spatter and harden. A cold leftover thigh sliced over salad, tucked into a wrap, or chopped into rice is often better than trying to force it back into its original grilled state.
For make-ahead work, the glaze can be cooked up to 1 week ahead, and the dry-seasoned chicken can sit in the fridge up to 24 hours before grilling. If you need to split the work across a busy cookout day, that’s the cleanest place to do it.
Backyard Cookout Questions People Actually Ask
Can I use chicken breasts instead of thighs?
Yes, but pound them to an even thickness first so the thin side does not dry out before the thick side finishes. Pull them at 165°F and keep the glaze light until the final minutes.
When should I put the honey BBQ glaze on the chicken?
Near the end, not at the start. Brush it on during the last 2 to 3 minutes of grilling, then add a final thin coat after the chicken comes off the heat.
Can I make the sauce with bottled barbecue sauce?
Absolutely, and that is the point here. Pick a thick sauce with some smoke in it, then add honey, vinegar, Worcestershire, Dijon, and butter so it tastes less like a pantry shortcut and more like a finished glaze.
How do I keep the chicken from sticking to the grill?
Start with a clean grate, oil it while it’s hot, and do not try to flip the chicken too soon. Skinless thighs release more cleanly once they’ve browned, so if a piece resists, give it another 30 to 60 seconds.
What if my grill runs hotter than I expected?
Move the chicken to a cooler zone after the first flip and close the lid. Honey burns quickly over direct flame, so a cooler patch of grate can save the whole batch.
Can I make this ahead for a party?
You can grill it a few hours ahead, cool it, and rewarm it gently in a low oven before serving. The glaze still tastes good later, but the chicken is best if it does not sit under heat lamps or get blasted back into dryness.
Is this good for slicing into sandwiches?
Very. Let the chicken rest, slice it across the grain, and pile it onto toasted buns with pickles and slaw. The glaze clings to the bread in a way that plain grilled chicken never does.
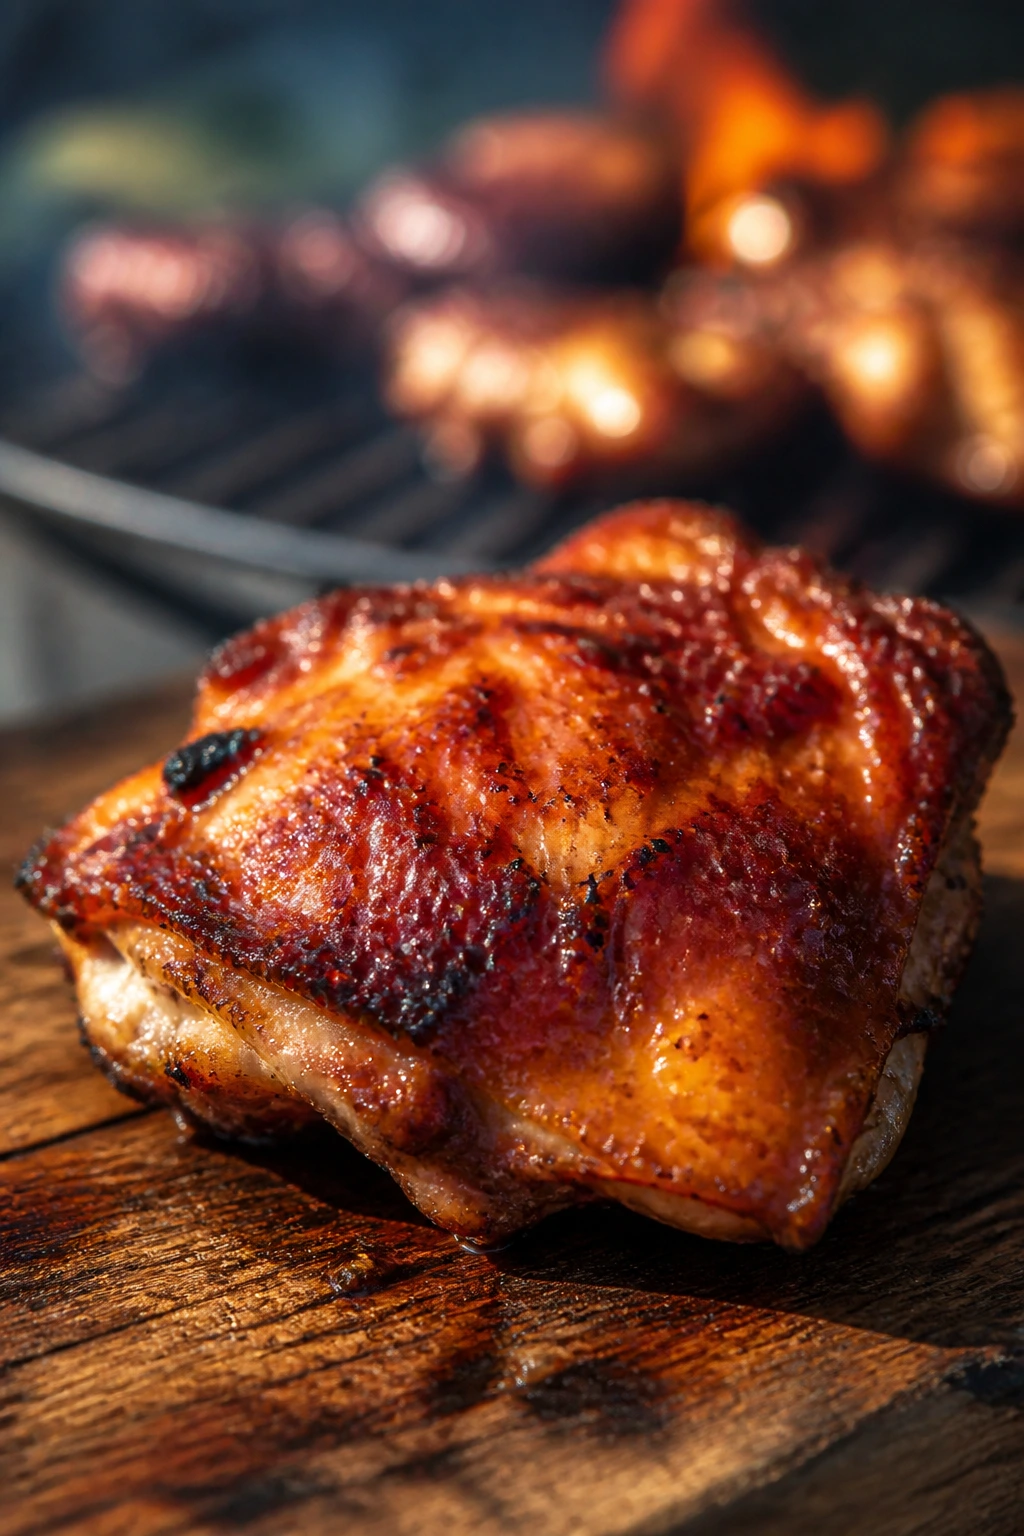
A Sticky Finish Worth Firing Up For
Grilled honey BBQ chicken works because it respects the grill instead of fighting it. The sauce gets thick enough to cling, the chicken stays juicy, and the finishing brush of glaze gives you the kind of shiny, caramelized surface people notice before they take a bite.
I like recipes that behave well under cookout pressure. This is one of them. The sauce can be made ahead, the grill time stays short, and the leftovers hold up long enough to become lunch the next day if the platter somehow survives that long.
Grilled Honey BBQ Chicken Thighs — Recipe Card
Recipe Name: Grilled Honey BBQ Chicken Thighs
Description: Boneless chicken thighs are seasoned, grilled over medium-high heat, and finished with a thick honey BBQ glaze that turns glossy, smoky, and lightly caramelized. It’s built for backyard cookouts and holds up well as a platter, sandwich filling, or sliced weeknight dinner.
Prep Time: 15 minutes
Cook Time: 15 to 20 minutes
Total Time: 30 to 35 minutes
Course: Dinner, Main Course
Cuisine: American, Barbecue
Servings: 4 to 6 servings
Calories: About 385 kcal per serving
Ingredients
For the Chicken:
- 2 pounds boneless, skinless chicken thighs, trimmed of excess fat
- 1 tablespoon olive oil
- 1 teaspoon kosher salt
- 1 teaspoon freshly ground black pepper
- 1 teaspoon smoked paprika
- 1 teaspoon garlic powder
- 1/2 teaspoon onion powder
- 1/4 teaspoon cayenne pepper, optional
For the Honey BBQ Glaze:
- 1 cup thick smoky barbecue sauce
- 1/3 cup honey
- 2 tablespoons apple cider vinegar
- 1 tablespoon Worcestershire sauce
- 1 teaspoon Dijon mustard
- 1 tablespoon unsalted butter
- 1 small garlic clove, finely grated
For Serving:
- 2 tablespoons chopped parsley or thinly sliced scallions
- Extra warm barbecue sauce, optional
Instructions
-
Combine the barbecue sauce, honey, apple cider vinegar, Worcestershire sauce, Dijon mustard, butter, and garlic in a small saucepan.
-
Heat over medium, stirring until the butter melts and the sauce bubbles gently, then simmer 2 minutes until glossy and slightly thickened.
-
Pat the chicken thighs dry, then toss with olive oil, salt, pepper, smoked paprika, garlic powder, onion powder, and cayenne if using.
-
Preheat the grill to medium-high heat, about 425°F to 450°F. Clean and oil the grates.
-
Grill the chicken for 4 to 5 minutes on the first side, until browned and release-ready.
-
Flip and grill 3 minutes on the second side. Brush with a thin layer of glaze during the last 2 to 3 minutes, turning once and brushing the other side lightly.
-
Cook until the chicken reaches 165°F in the thickest part. Transfer to a platter and rest 5 minutes.
-
Brush with a final light layer of warm glaze, garnish with parsley or scallions, and serve.
Notes: Keep the glaze thin at first so it doesn’t burn; make the sauce up to 1 week ahead; thighs can be seasoned up to 24 hours in advance for a deeper flavor.