
A candy-covered cake can go wrong fast. One minute it looks playful and neat; the next, the frosting is slumping, the candy is bleeding color, and the first slice falls apart in a sugary pile. That’s the part most people never mention. Sugar is easy. Structure is harder.
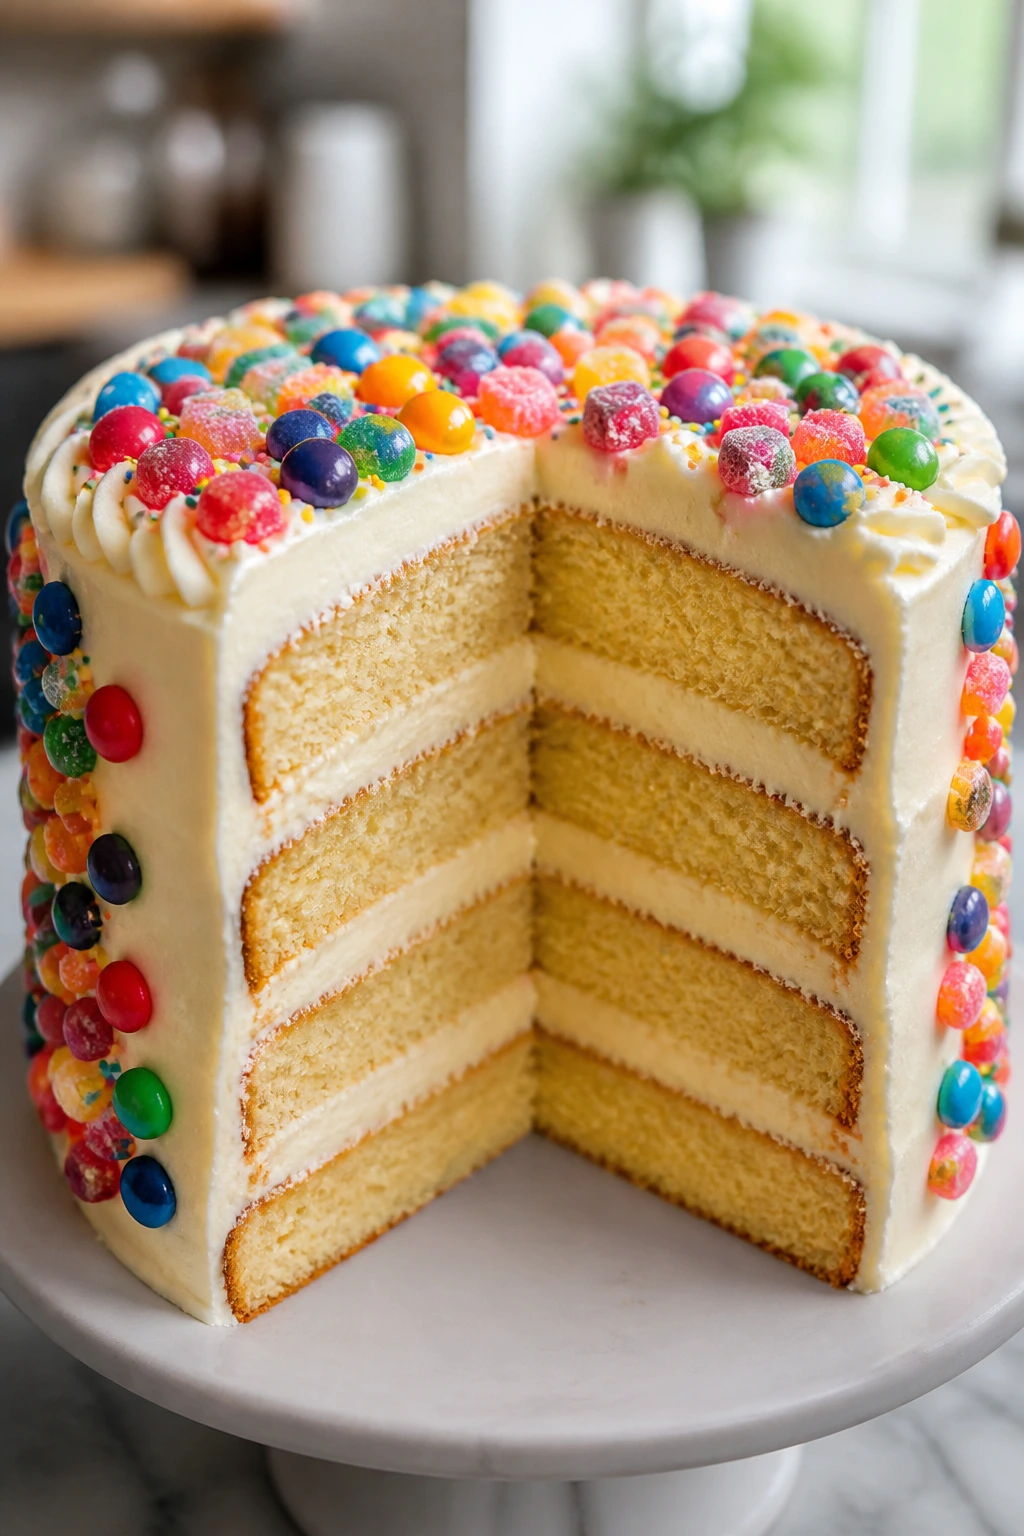
What makes this one worth baking is the contrast. The crumb stays soft because it leans on butter, sour cream, and buttermilk instead of trying to do all the work with sugar alone. The frosting brings that cool, tangy edge cream cheese frosting does so well, and the candy stays where you want it if you treat it like decoration, not filler. That’s the whole trick.
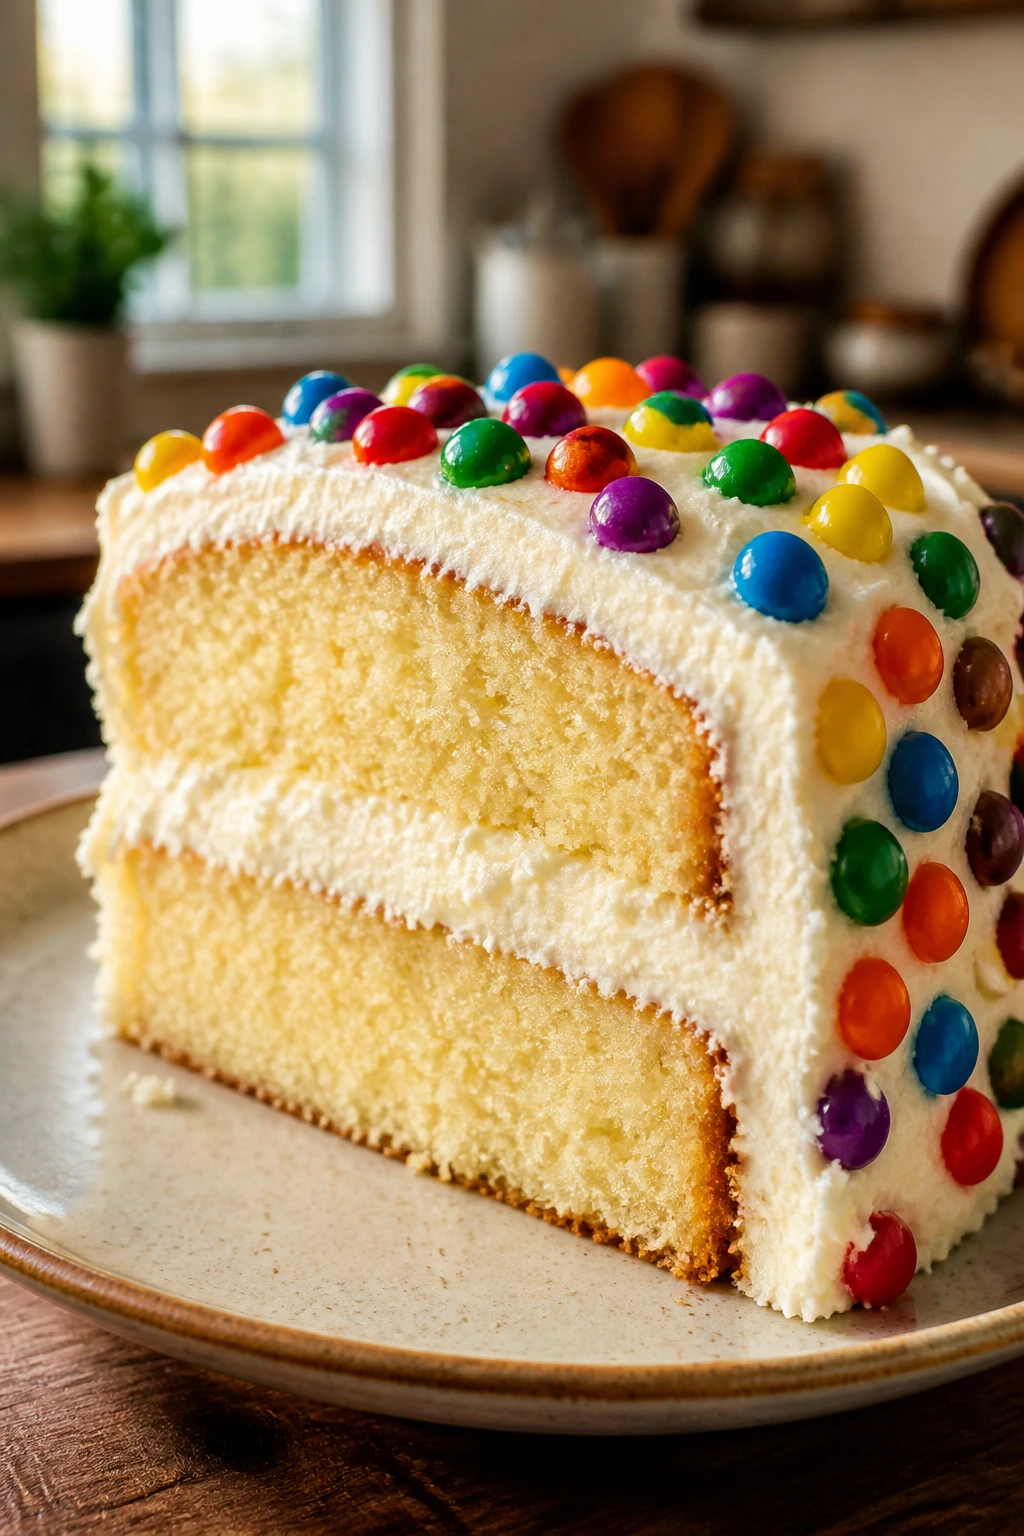
The strange little phrase “Moist Candy Nail Art with Cream Cheese Frosting” sounds like it belongs on a party board, but the actual cake underneath is all sensible baking bones. Tender vanilla layers. Thick frosting that spreads cleanly. Candy pieces placed with intention, almost like little edible brushstrokes. If you’ve ever wanted a cake that looks hand-decorated without requiring a pastry degree, this is the lane.
The best versions of this style of cake are never overloaded. You want enough candy to make every slice feel festive, not so much that the crumb turns heavy or the frosting gets buried under a landslide of sprinkles. The balance matters, and once you get it right, the whole thing tastes like a birthday party that remembered to stay soft.
Why This Cake Earns a Spot on the Table
-
Soft crumb, not a dry sponge: Sour cream and buttermilk keep the cake plush even after a night in the fridge, which is where cream cheese frosting tends to live.
-
Cream cheese frosting does real work here: The tang cuts through the sweetness of the candy, so the cake tastes deliberate instead of cloying.
-
Candy stays decorative instead of messy: When you place the candy on a chilled crumb coat, it sits where you put it instead of sliding through soft frosting.
-
Easy to customize without changing the base: You can shift the candy colors, swap in different chocolates, or change the garnish without rebuilding the whole recipe.
-
It slices cleanly when chilled, then softens beautifully: Fifteen to twenty minutes at room temperature takes the chill off the frosting and makes each bite taste fuller.
Bake Time, Yield, and Difficulty
Yield: 10 to 12 slices
Prep Time: 30 minutes
Cook Time: 28 to 33 minutes
Total Time: 1 hour 45 minutes, including cooling and frosting
Difficulty: Intermediate — the batter is straightforward, but the frosting and candy decoration reward a careful hand.
Chill/Rest Time: 1 hour cooling, plus 20 minutes chilling after the crumb coat
Best Served: Slightly chilled or after 15 to 20 minutes at room temperature
The Ingredients You’ll Need

For the Cake:
- 2 1/2 cups all-purpose flour, spooned and leveled
- 2 1/2 teaspoons baking powder
- 1/2 teaspoon baking soda
- 1 teaspoon fine sea salt
- 1 cup unsalted butter, softened to room temperature
- 1 3/4 cups granulated sugar
- 3 large eggs, room temperature
- 1 tablespoon pure vanilla extract
- 1 cup sour cream, room temperature
- 1 cup buttermilk, room temperature
- 1 cup mini candy-coated chocolates or finely chopped soft candy bars, lightly dusted with flour if you mix them into the batter
For the Cream Cheese Frosting:
- 16 ounces brick-style cream cheese, softened
- 1 cup unsalted butter, softened
- 5 cups powdered sugar, sifted
- 2 teaspoons pure vanilla extract
- 1/4 teaspoon fine salt
For the Candy Decoration:
- 1 1/2 cups assorted candy pieces, such as mini candy-coated chocolates, chopped peanut butter cups, chocolate curls, or sprinkles
- 2 tablespoons chopped toasted nuts or crushed toffee bits, optional
- 1 to 2 tablespoons white chocolate chips, melted, optional for anchoring candy accents
Why Each Ingredient Matters
The Cake Base
What to use: 2 1/2 cups all-purpose flour, 2 1/2 teaspoons baking powder, 1/2 teaspoon baking soda, and 1 teaspoon salt. The flour gives the cake enough body to hold the frosting, while the baking powder and baking soda lift it without making the crumb crumbly.
Preparation: Spoon the flour into the cup and level it off; don’t scoop straight from the bag. That little habit can pack in extra flour and make the cake dry before it even gets to the oven.
Substitutions: A 1:1 gluten-free baking flour blend can replace the all-purpose flour if it contains xanthan gum or a similar binder. If you need to skip baking soda, you can raise the baking powder to 3 teaspoons, though the texture will be a little less springy.
Tips: Salt matters here. The frosting is sweet, the candy is sweet, and a measured teaspoon of fine sea salt keeps the cake from tasting flat.
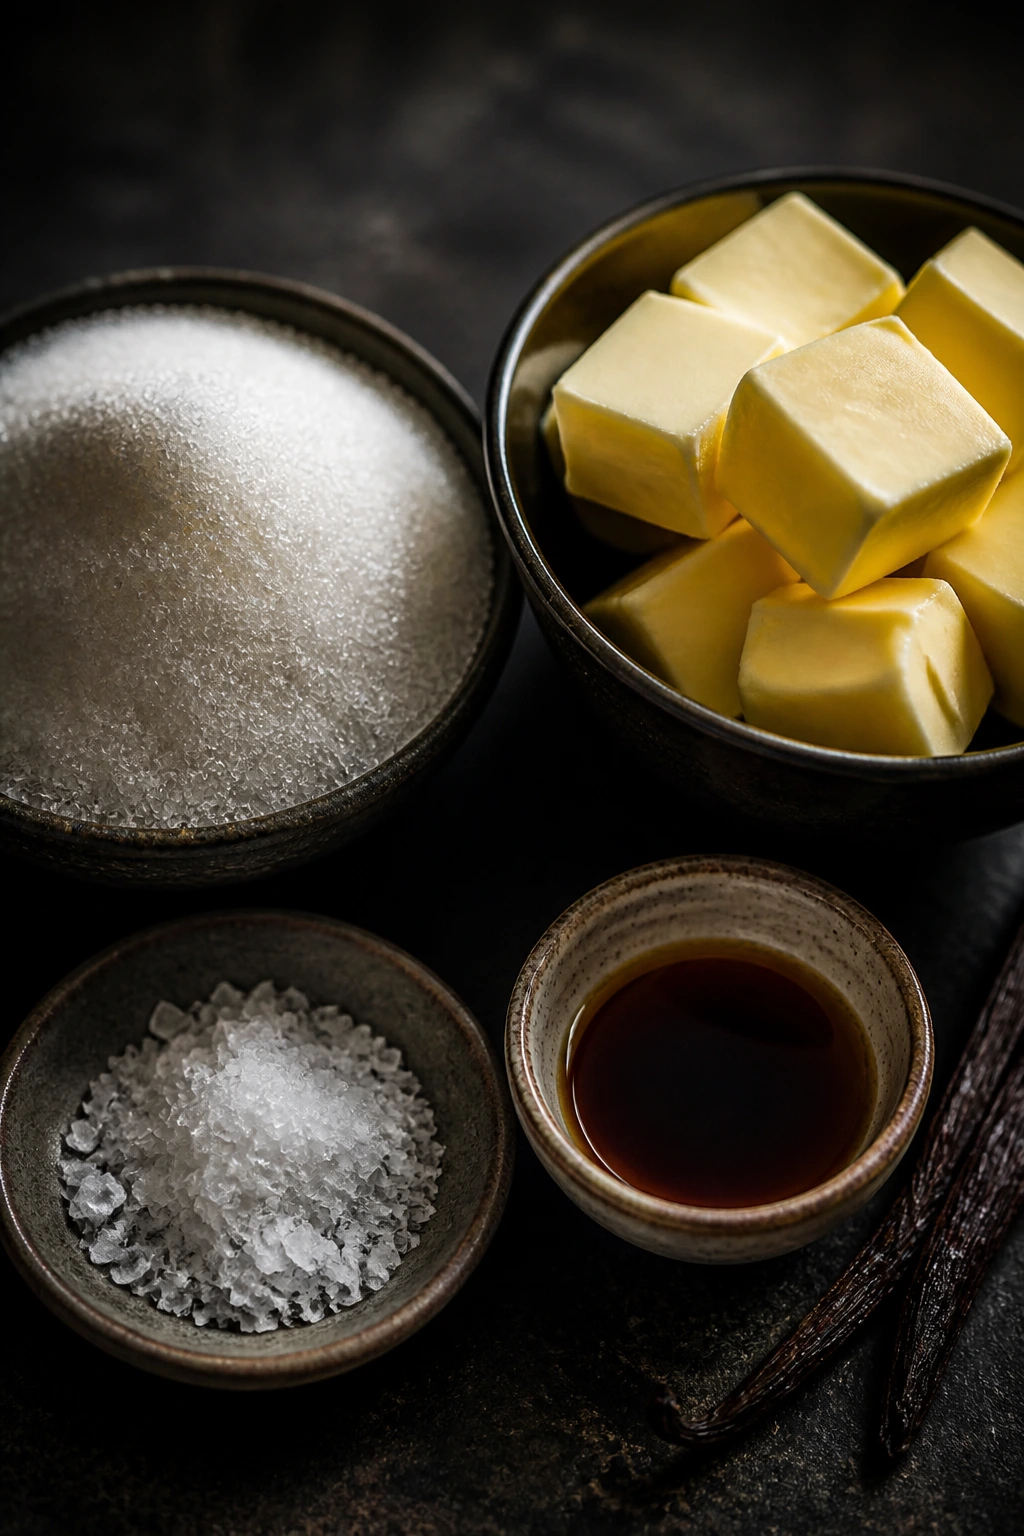
Butter, Sugar, and Eggs
What to use: 1 cup softened unsalted butter, 1 3/4 cups granulated sugar, and 3 large eggs. Butter gives flavor, sugar helps the cake stay tender, and eggs help trap air during creaming.
Preparation: The butter should dent easily when pressed, but it should not look greasy or melted at the edges. If your eggs are cold, sit them in warm water for 10 minutes so they blend smoothly into the batter.
Substitutions: If you prefer a slightly richer cake, replace 2 tablespoons of the butter with neutral oil. For egg-free baking, a reliable store-bought egg replacer can work, but the texture will be tighter and less lofty.
Tips: Creaming the butter and sugar long enough matters more than people think. You want the mixture pale and fluffy, not just mixed together.
The Tangy Dairy
What to use: 1 cup sour cream and 1 cup buttermilk. These two ingredients are the reason the crumb stays soft after chilling under frosting.
Preparation: Bring both to room temperature before mixing. Cold dairy can make the batter look curdled, and while that’s not the end of the world, it does make the emulsion harder to build.
Substitutions: Plain whole-milk yogurt can replace the sour cream, and milk mixed with 1 tablespoon vinegar or lemon juice can stand in for buttermilk in a pinch. Full-fat versions work better than low-fat ones because they bring more body and less watery batter.
Tips: Sour cream is the quiet hero here. It gives the cake that plush, bakery-style bite that survives refrigeration.
Candy and Decoration
What to use: 1 cup candy folded into the batter, plus 1 1/2 cups candy for the top. Mini chocolate candies, chopped soft bars, peanut butter cups, toffee bits, and sprinkles all work in different ways.
Preparation: If you mix candy into the batter, toss the pieces in 1 tablespoon of flour first so they don’t sink. For the top, keep the pieces dry and separate until the cake is frosted and chilled.
Substitutions: Skip the batter candy if you want a cleaner vanilla flavor and keep all the candy on top. If you want a more polished look, use a single color family instead of a mixed candy pile.
Tips: Hard candies can crack your teeth and are awkward on a soft-frosted cake. Chocolate-coated candies, toffee bits, and chopped peanut butter cups are friendlier to eat and easier to place.
Cream Cheese Frosting
What to use: 16 ounces brick-style cream cheese, 1 cup butter, 5 cups powdered sugar, 2 teaspoons vanilla, and 1/4 teaspoon salt. That ratio gives you a frosting thick enough for layers and candy decoration without turning stiff and chalky.
Preparation: Both the cream cheese and butter should be softened before beating. If the cream cheese is too cold, it stays lumpy; if it’s too warm, the frosting turns slack and glossy.
Substitutions: You can trim the sugar to 4 1/2 cups for a less sweet frosting, but the texture will be a little looser. Whipped cream cheese is not a good swap here; it contains more air and less structure.
Tips: Brick-style cream cheese is the only version I trust for layered cakes. Tub cream cheese makes frosting too soft, and it never behaves the same way twice.
Tools That Make the Job Easier
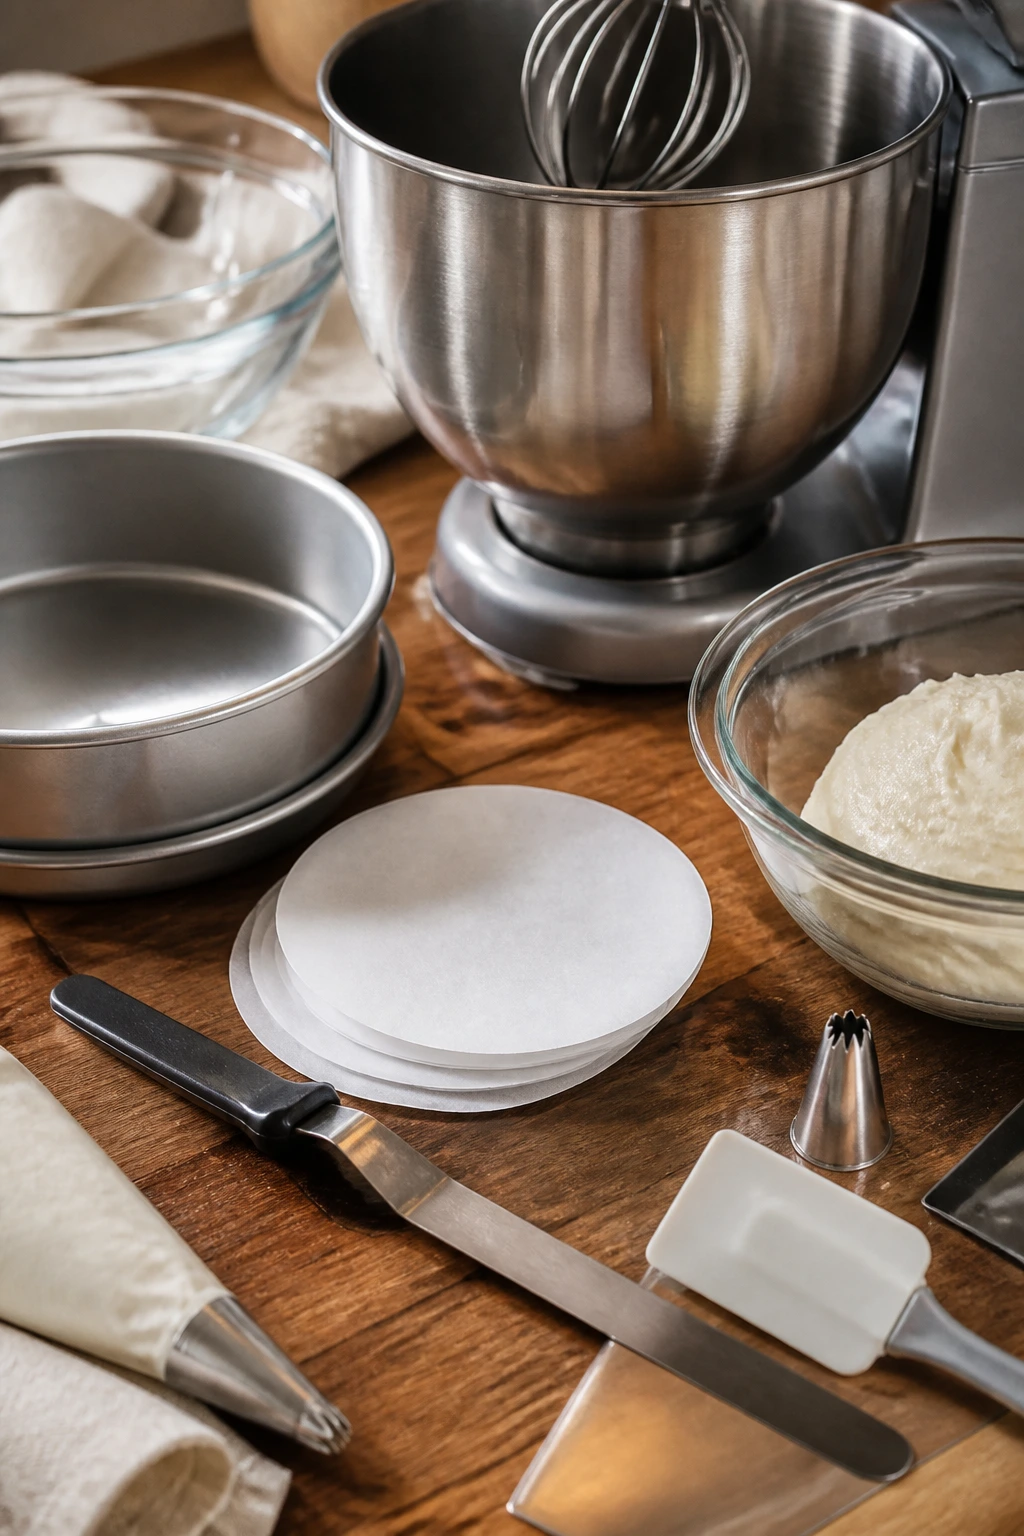
- Two 8-inch round cake pans — The layers bake evenly and stack neatly without wobbling.
- Parchment paper rounds — These save you from the heartbreak of a stuck cake.
- Stand mixer or hand mixer — Either one works; the stand mixer just makes the frosting less tiring.
- Mixing bowls in at least two sizes — One for dry ingredients, one for batter, one for frosting if you like to keep things tidy.
- Rubber spatula — Essential for scraping the bowl and folding in candy without smashing it.
- Offset spatula — This makes smoothing frosting a lot easier, especially on the sides.
- Cooling rack — Cake layers need air all around them or the bottoms can sweat.
- Cake stand or serving plate — A flat, stable surface makes decorating much less annoying.
- Small spoon or tweezers, optional — Handy for placing tiny candy pieces where your fingers can’t quite reach.
Mixing the Batter Without Toughening It
Prepare the Pans and Oven
-
Preheat the oven to 350°F (175°C) and position a rack in the center of the oven.
-
Grease two 8-inch round cake pans with butter or baking spray, then line the bottoms with parchment rounds. Grease the parchment too, then dust each pan lightly with flour and tap out the excess.
-
Set the pans aside and whisk together the flour, baking powder, baking soda, and salt in a medium bowl until the mixture looks even and fine.
That dry bowl is not busywork. It distributes the leavening so one slice does not rise higher than the next.
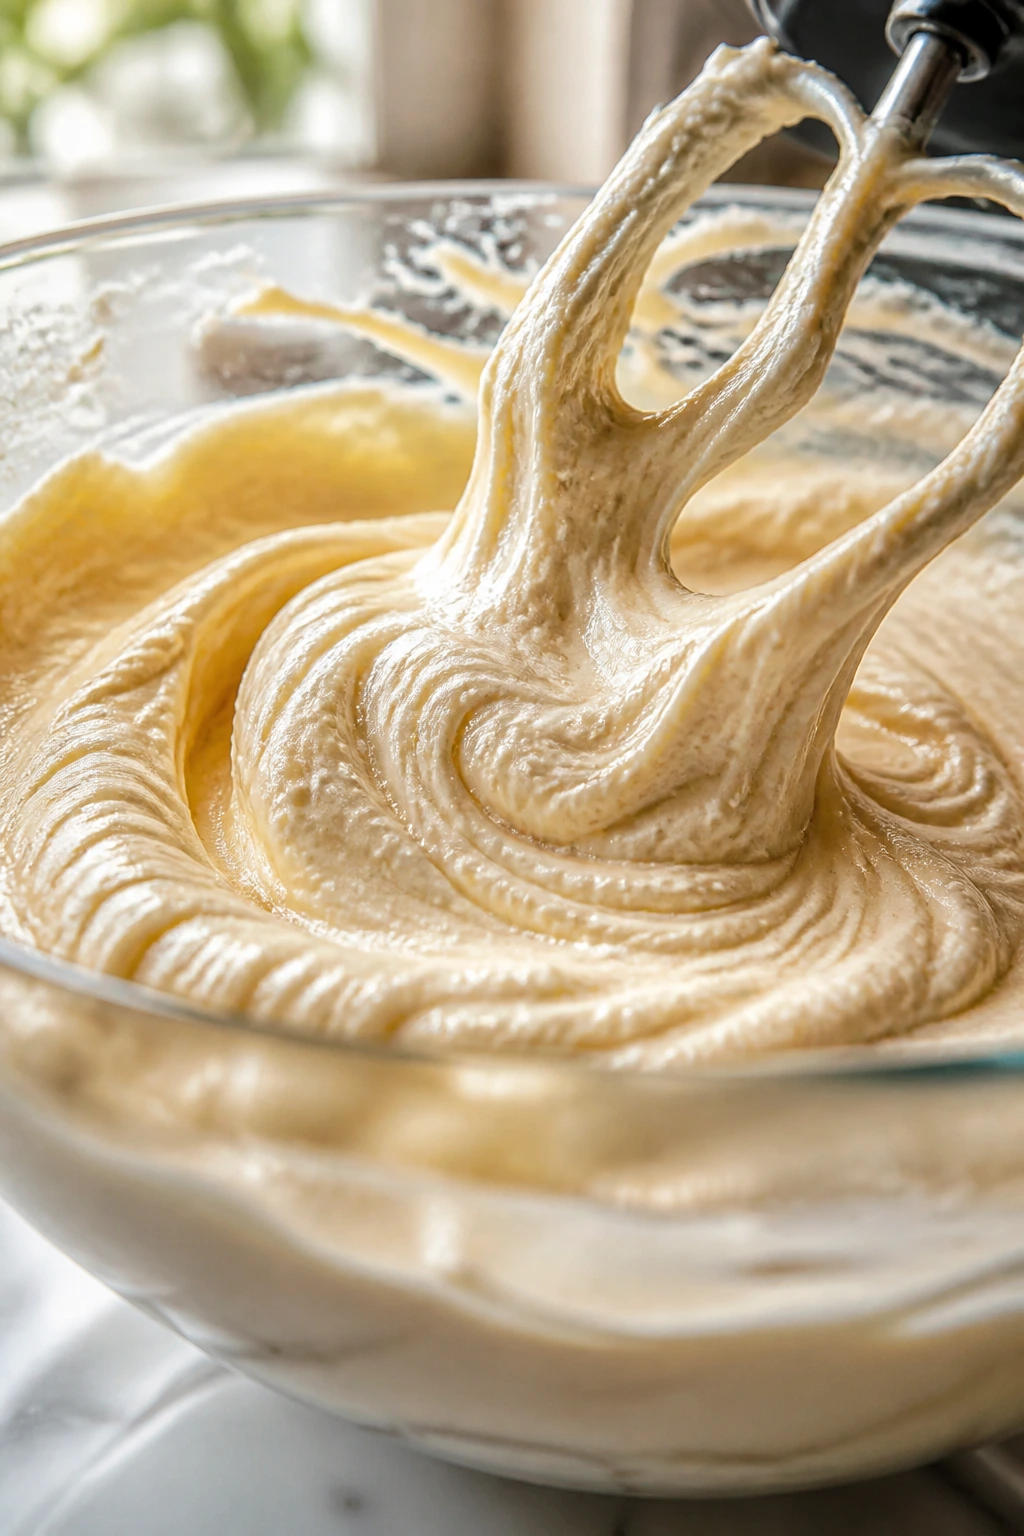
Make the Batter
-
In a large bowl or stand mixer fitted with the paddle attachment, beat the softened butter and granulated sugar on medium speed for 3 to 4 minutes, until the mixture looks pale, fluffy, and a little increased in volume.
-
Add the eggs one at a time, beating for about 30 seconds after each addition and scraping the bowl once or twice. Beat in the vanilla extract.
-
Add the sour cream and mix on low speed until combined. The batter may look a little thick at this stage. That’s fine.
-
Add the dry ingredients in three additions, alternating with the buttermilk in two additions: flour, buttermilk, flour, buttermilk, flour. Mix on low speed only until the last streak of flour disappears. Do not overmix.
-
If you’re using candy in the batter, toss it with 1 tablespoon of flour, then fold it in gently with a spatula. Use a light hand so the pieces stay intact.
A lot of cake trouble starts here. Overmixing develops gluten, and gluten is great for bread, not for a soft candy cake that should slice like velvet.
Bake and Cool
-
Divide the batter evenly between the prepared pans and smooth the tops with a spatula.
-
Bake for 28 to 33 minutes, rotating the pans once halfway through, until the tops spring back lightly when pressed and a toothpick inserted in the center comes out with a few moist crumbs, not wet batter.
-
Cool the cakes in the pans for 10 minutes, then run a thin knife around the edges and invert them onto a wire rack. Peel off the parchment and cool completely, about 1 hour.
If you frost too soon, the frosting will melt and slide. Warm cake is the fastest way to turn a clean layer cake into a leaning mess.
Whipping the Cream Cheese Frosting
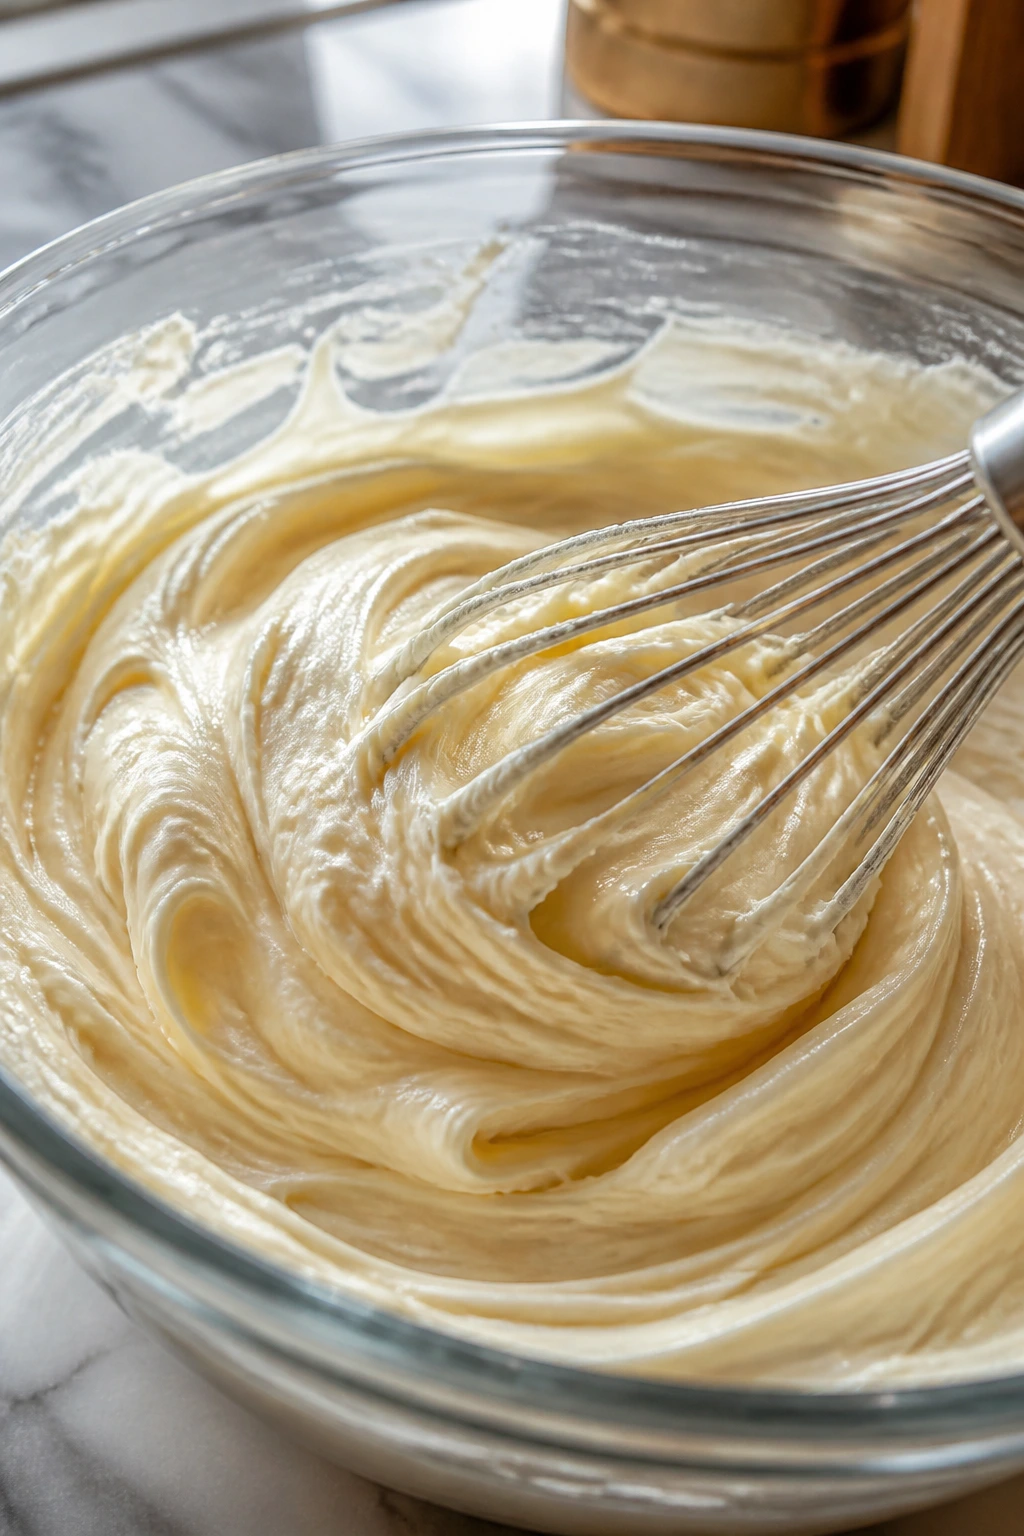
The frosting should taste tangy first and sweet second. That balance is what keeps the whole dessert from feeling heavy after a few bites.
-
In a clean bowl, beat the softened cream cheese and softened butter together on medium speed for 2 minutes, until the mixture is smooth with no little lumps clinging to the sides.
-
Add the powdered sugar in three additions, mixing on low speed after each one so the sugar doesn’t explode across your counter. Once the sugar starts to disappear, add the vanilla and salt.
-
Increase the mixer speed to medium-high and beat for 1 to 2 minutes, until the frosting looks thick, spreadable, and satiny. If it looks too soft, chill it for 10 to 15 minutes before assembling the cake.
This frosting should hold a swoop from your spatula. If it droops immediately, it is too warm or the cream cheese was too loose to begin with.
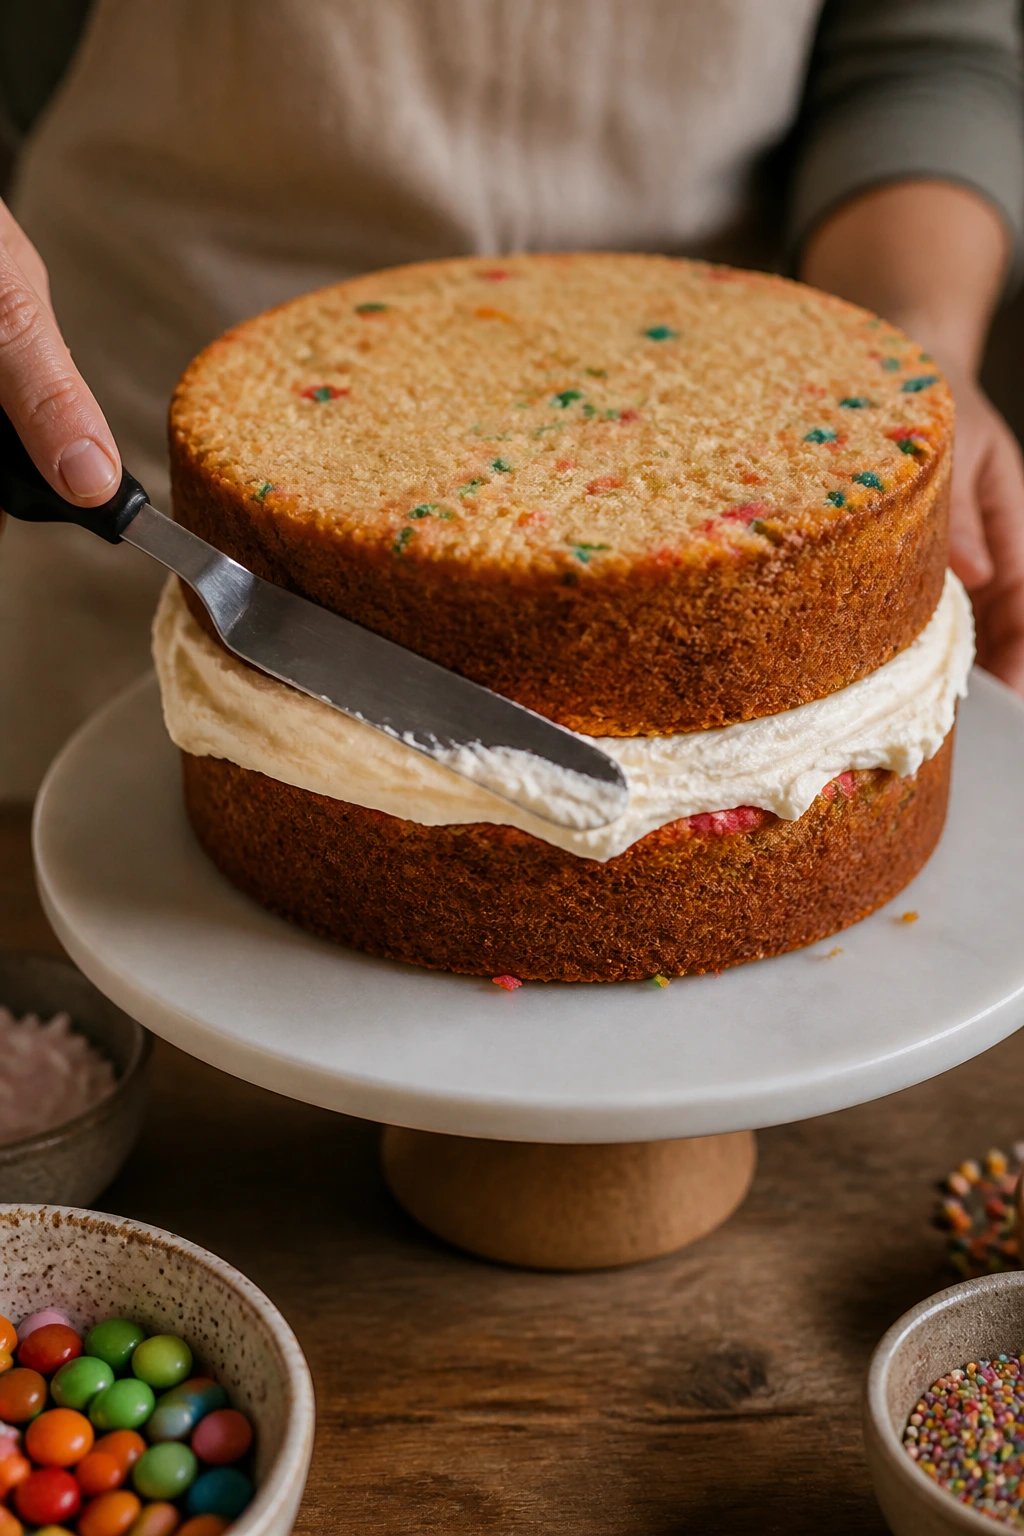
Building the Layers and Decorating the Top
A candy cake only looks polished if the assembly is calm. Rushing the decorating step is how you end up with crumbs in the frosting, candy sliding down the sides, and a cake that looks more tired than festive.
-
If the tops of the cakes domed in the oven, use a serrated knife to level them very gently. You do not need a perfect haircut here; you just want a flat surface.
-
Place the first cake layer on a serving plate or cake stand. Spread about 1 cup of frosting over the top, pushing it just to the edge in an even layer.
-
Set the second cake layer on top, upside down if that gives you a flatter top. Press down lightly with your palm so the cake settles into place.
-
Apply a thin crumb coat over the top and sides with an offset spatula. This layer should look sparse and slightly messy — its job is to trap crumbs, not to look finished. Chill the cake for 20 minutes.
-
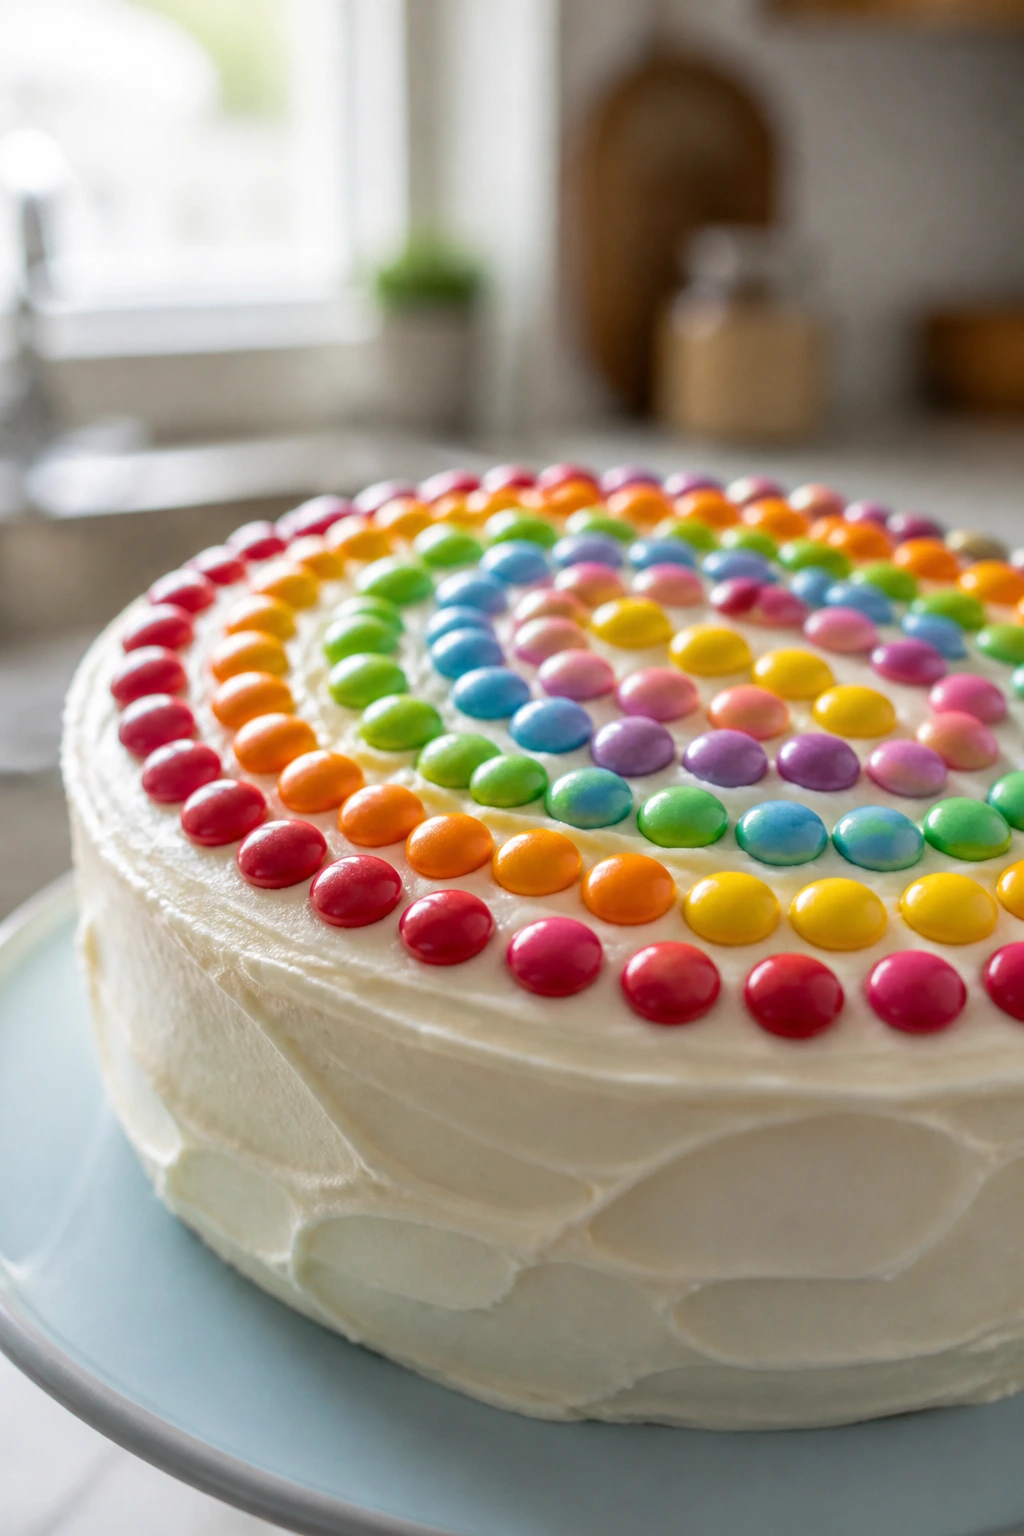
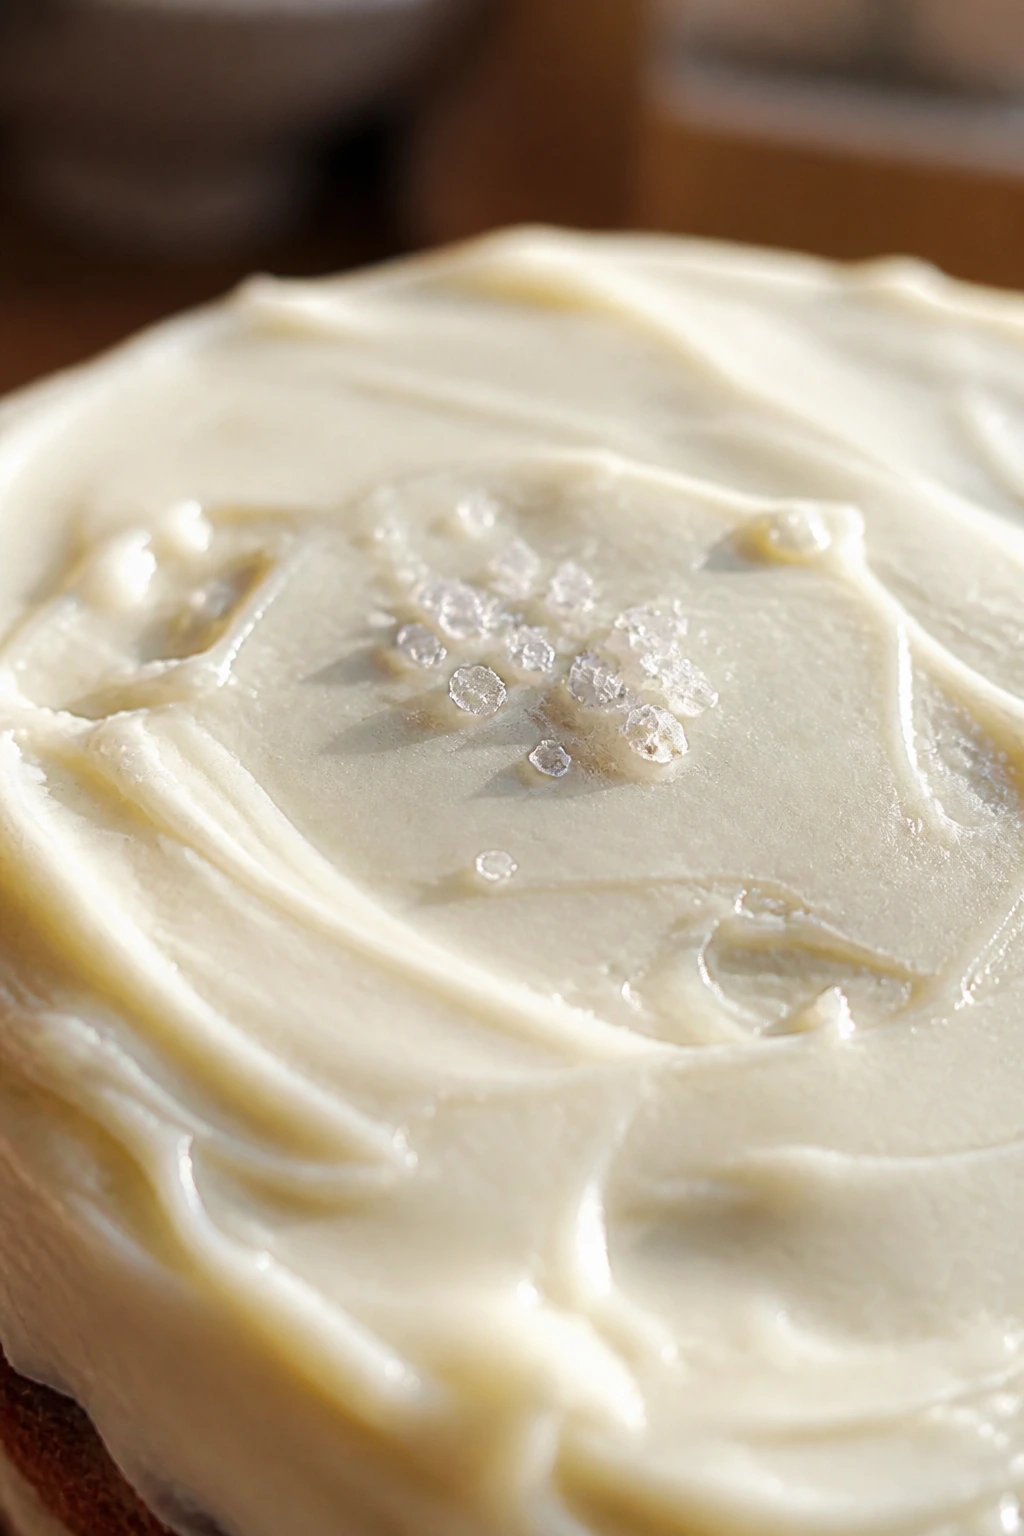
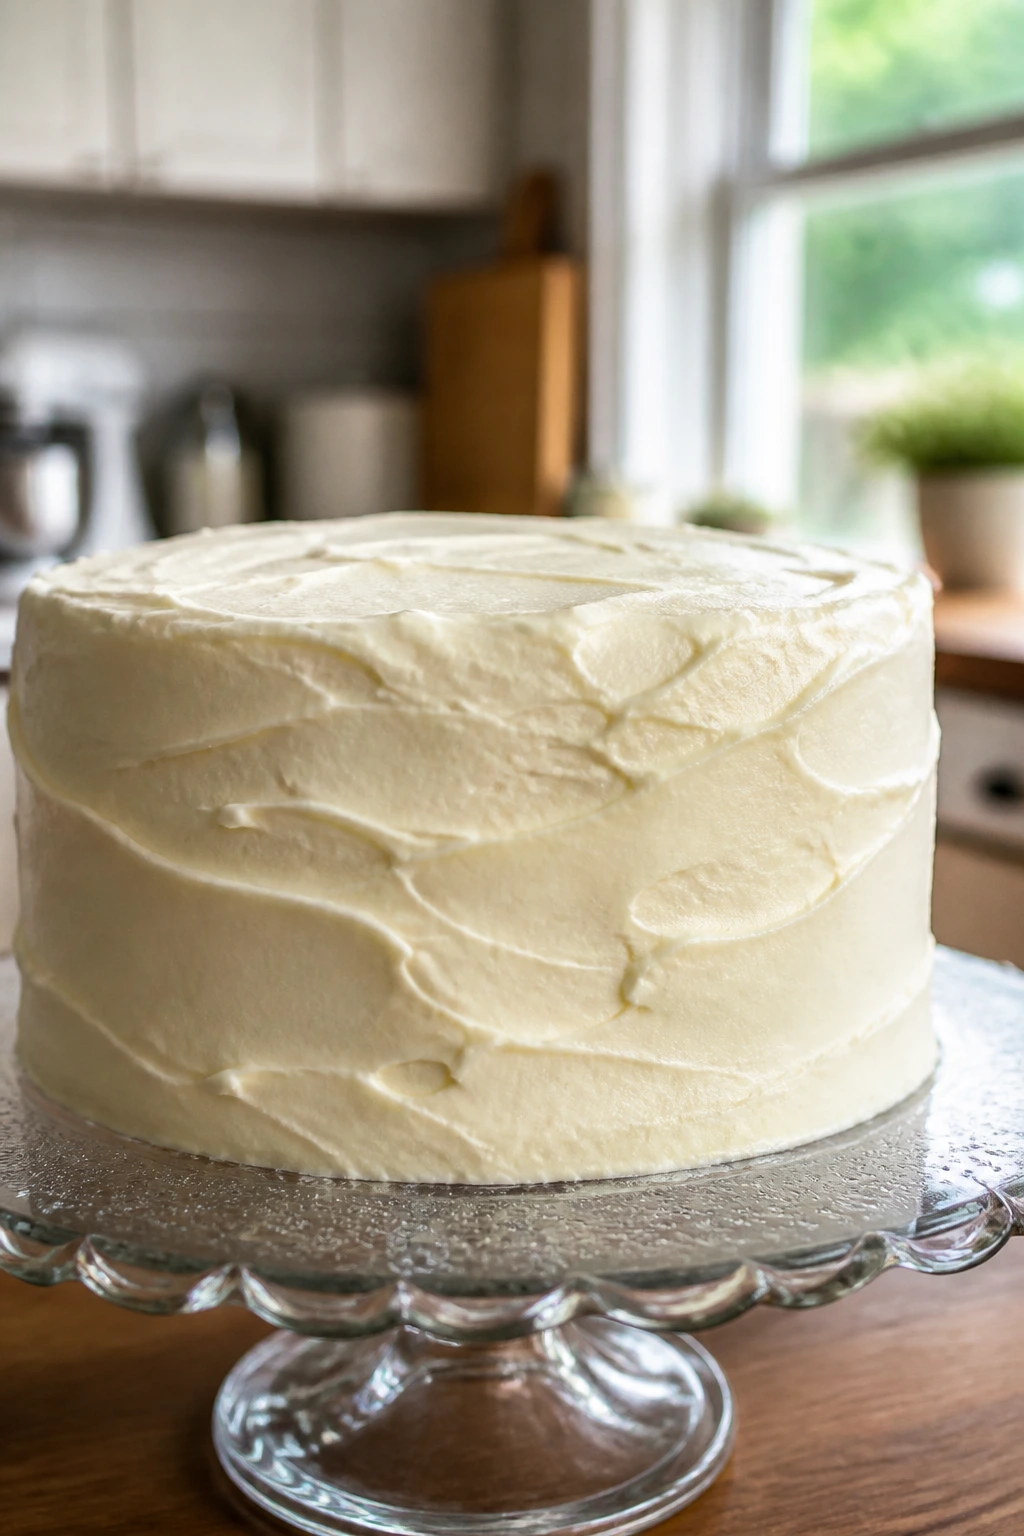
Spread on the final layer of frosting, keeping the sides smooth or leaving soft swirls if you like a more rustic look. I prefer a slightly textured surface because candy sits better on it than on a glassy-smooth finish.
-
Arrange the candy decoration on top and, if you like, around the base or in little vertical clusters on the side. Press each piece gently into the frosting so it sticks, but do not shove it so hard that it tears the surface.
-
If you want a more precise “nail art” look, melt a small handful of white chocolate chips and use a spoon to draw thin lines, dots, or tiny arcs before adding the candy pieces. Chill the cake for 15 minutes so everything sets.
The final look should feel playful, not crowded. A few well-placed clusters are enough. More is not automatically better here.
How to Serve It So the Candy Stays Put
Presentation: Serve the cake on a cool plate or cake stand after it has rested at room temperature for 15 to 20 minutes. That short wait softens the frosting just enough for clean slicing without making the candy sink.
Accompaniments: Cold milk is the obvious pairing, but I like strong coffee or plain black tea because the bitterness keeps the frosting in check. If you want to plate it with something, a small scoop of vanilla bean ice cream is enough — no fruit sauce, no syrup, no extra drama.
Portions: A 2-layer 8-inch cake cuts neatly into 10 to 12 slices. For a smaller group, cut the cake into 8 thick slices and freeze the remaining pieces individually; the frosting actually holds up well once wrapped.
Beverage Pairing: Espresso, hot coffee with a splash of cream, or an unsweetened chai all work. The cake already brings sugar and tang, so a drink with some bite is the right move.
Small Adjustments That Pay Off
Flavor Enhancement: A half teaspoon of almond extract in the frosting gives the cake a bakery-style note that plays well with chocolate candy and vanilla layers. Don’t overdo it; almond can take over fast.
Customization: Use a single candy family if you want a cleaner look. Peanut butter cups give a brown-and-gold palette, mini chocolate candies give a party look, and toffee bits add crunch without making the top busy.
Serving Suggestions: A tiny pinch of flaky salt over the frosting just before the candy goes on can sharpen the flavor. It sounds minor. It isn’t. Salt makes cream cheese frosting taste rounder and keeps the candy from turning syrupy-sweet.
Make-It-Yours: For a dairy-free version, use a reliable plant butter and a brick-style dairy-free cream cheese, then chill the frosting a little longer before assembling. For a gluten-free version, use a 1:1 baking flour blend and expect a slightly softer crumb that benefits from an extra 10 minutes in the fridge before slicing.
Mistakes That Turn a Good Cake Heavy
The first mistake is using cold dairy and cold butter. The batter never emulsifies properly, which leaves you with a lumpy mixture and a dense crumb. Bring the butter, sour cream, buttermilk, and eggs to room temperature before you start. That one change solves a surprising amount of trouble.
The second mistake is treating cream cheese frosting like regular buttercream. It is softer by nature. If you beat it too long after the sugar goes in, it can turn loose and shiny instead of thick and spreadable. Stop once it looks smooth and holds shape, then chill it briefly if needed.
The third mistake is adding too much candy to the batter. A little candy gives pockets of texture. A lot of candy turns the crumb patchy and can sink into the bottom half of the cake. If you want a strong candy look, keep most of the candy on top where it belongs.
The fourth mistake is frosting a warm cake. Even if it feels only a little warm, the frosting will soften and slide, and the candy will drift out of place. Wait for the layers to cool all the way through. Patience is boring here, but it saves the whole cake.
The fifth mistake is using tub cream cheese or whipped cream cheese for the frosting. The texture is wrong from the start. Brick-style cream cheese has more body, less air, and a much better chance of holding a clean edge on a layer cake.
Variations Worth Trying
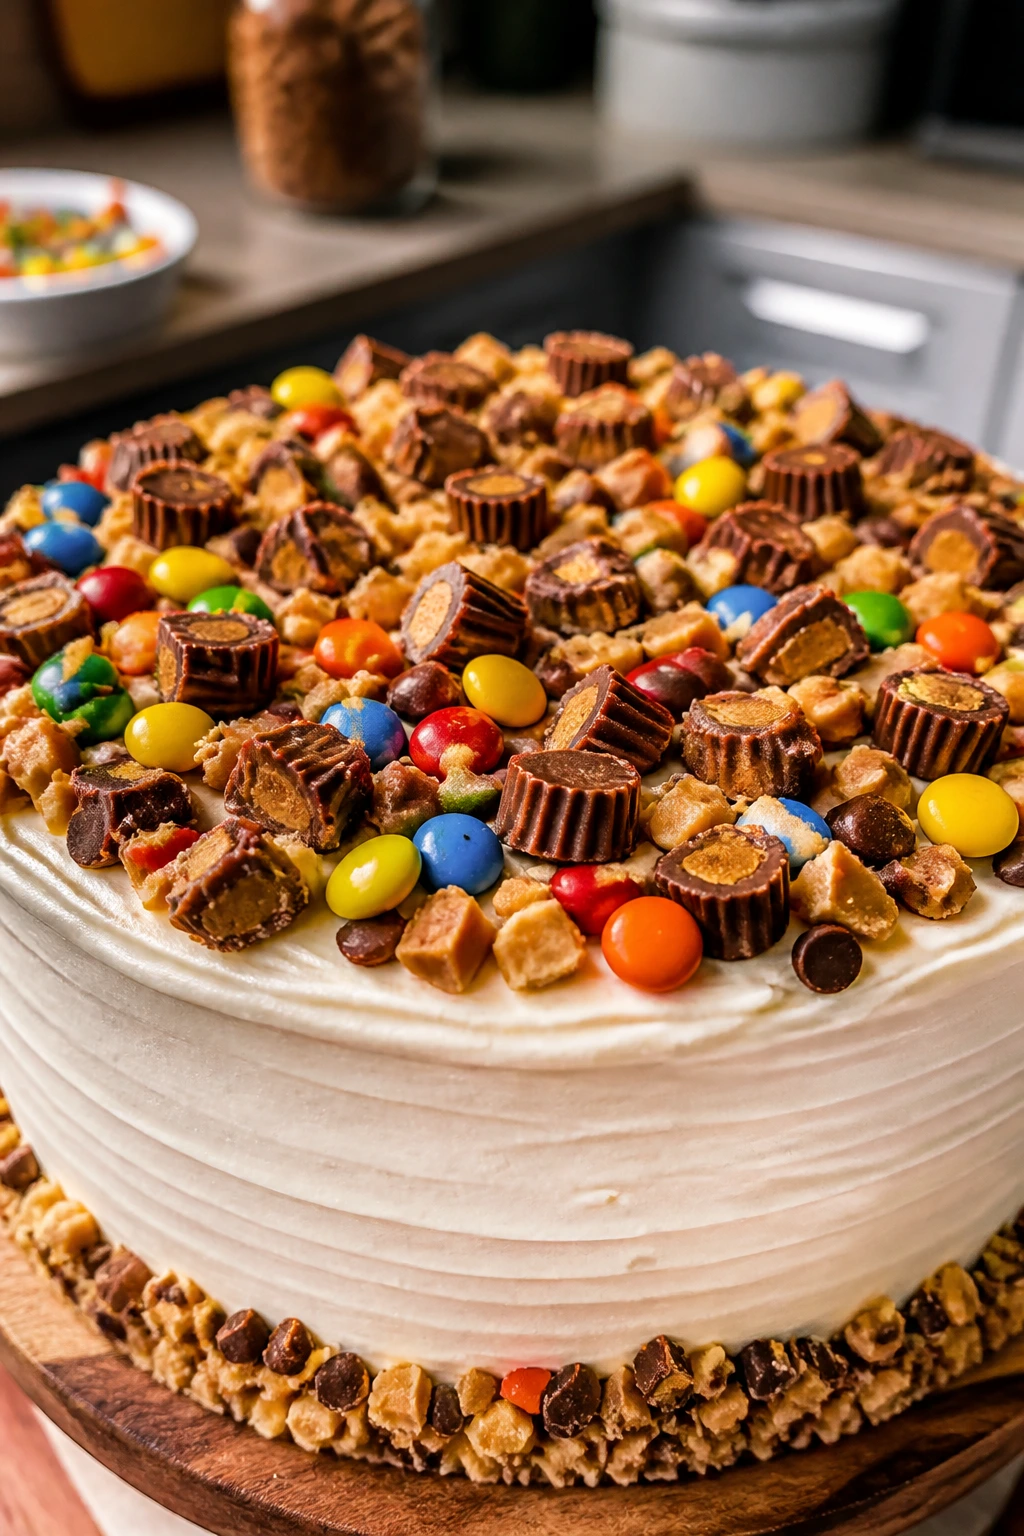
Peanut Butter Cup Party Cake: Fold 1 cup finely chopped peanut butter cups into the batter and use chopped peanut butter cups and mini chocolate candies on top. The peanut butter softens the sweetness of the frosting and gives each slice a more dessert-bar feel.
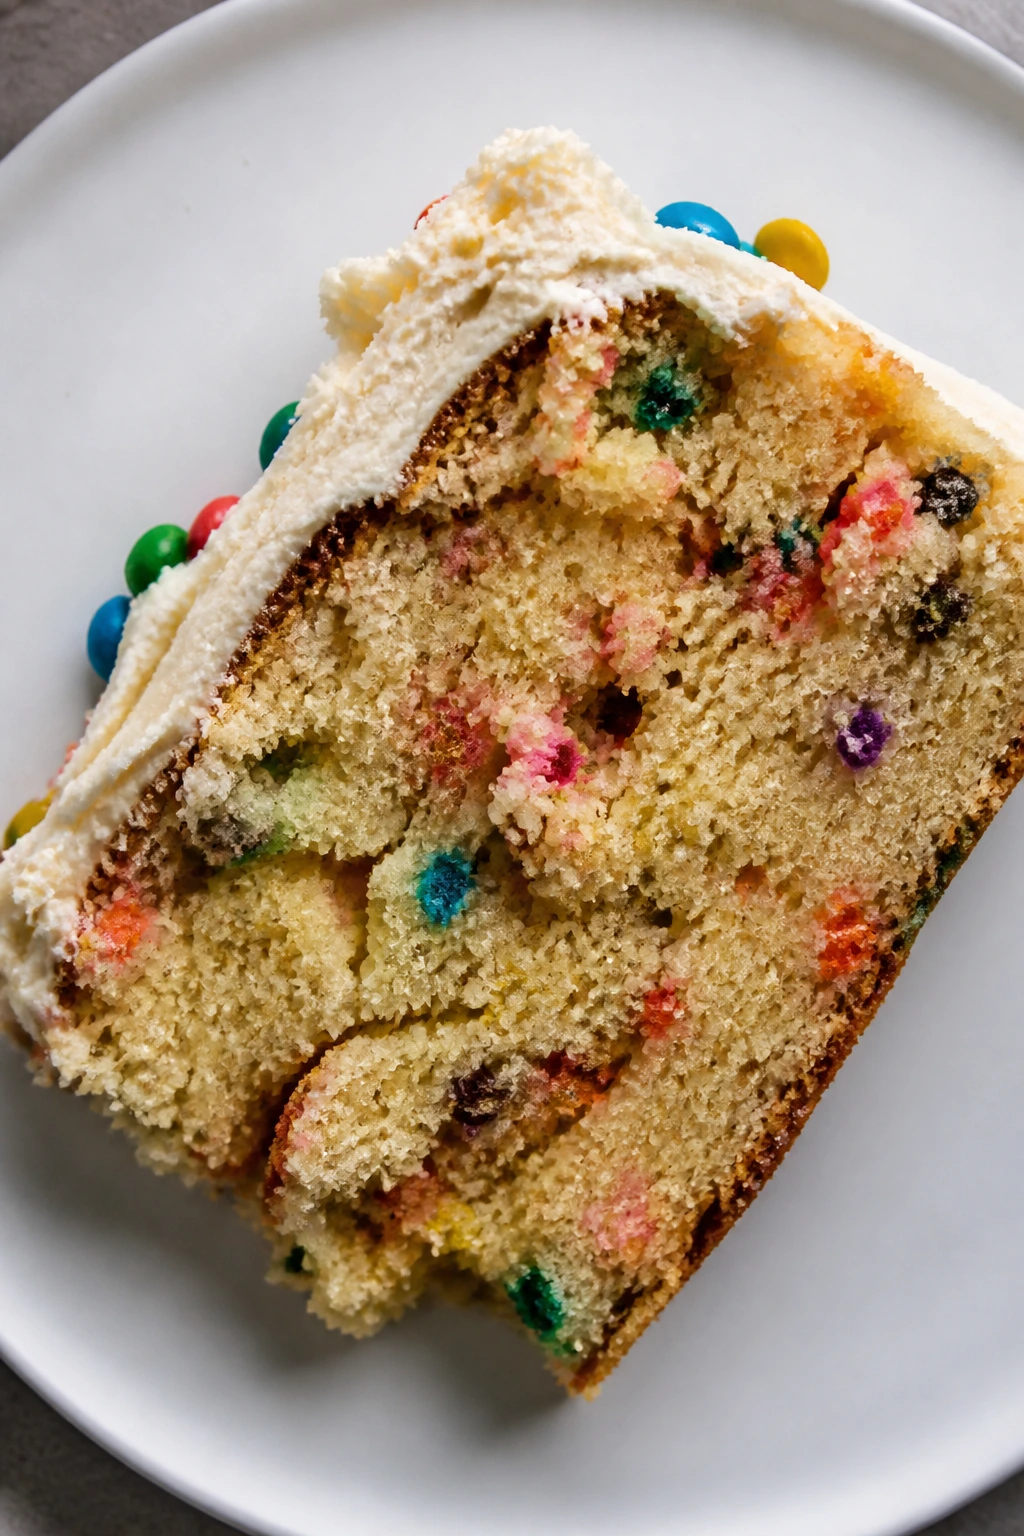
Birthday Confetti Candy Cake: Skip the candy in the batter and fold 1/2 cup rainbow sprinkles into the frosting only at the last second, then cover the top with confetti sprinkles and white chocolate curls. This is the cleanest choice if you want bright color without changing the crumb.
Chocolate-Shell Candy Cake: Replace 1/2 cup of the flour with unsweetened cocoa powder and add a little extra buttermilk, 2 tablespoons at a time, if the batter feels too stiff. The cream cheese frosting still works, but now the candy reads as a topping instead of the main flavor.
Salted Toffee Version: Use chopped toffee bits on top and add 1/4 teaspoon extra salt to the frosting. That tiny bump makes the frosting taste less sugary and gives the cake a more caramel-like finish.
Lemon-Candy Brightener: Add 1 tablespoon lemon zest to the cake batter and 1 teaspoon lemon juice to the frosting. The citrus keeps the dessert from feeling heavy and gives the candy a brighter, cleaner edge.
Keeping the Cake Fresh and Frosting Stable
Cream cheese frosting changes the storage rules a bit. This cake can sit at room temperature for about 2 hours during serving, but after that it should go back into the fridge. Food safety matters here, and the frosting stays better anyway when it’s cold.
For short storage, cover the cake loosely and refrigerate it for up to 4 days. A cake dome works well, but if the candy decorations are delicate, tent the cake with plastic wrap so the top doesn’t get smudged. The candy pieces stay crispest if you decorate the cake close to serving time.
If you want to make the cake ahead, bake the layers 1 day in advance and wrap them tightly once fully cool. They can also be frozen, wrapped in plastic and then foil, for up to 2 months. Thaw the layers overnight in the fridge before frosting. The frosting itself can be made 2 days ahead and kept chilled; re-beat it briefly before using.
Leftover slices freeze well, too. Wrap individual pieces in parchment and then in plastic wrap, then place them in an airtight container. Thaw in the fridge, not on the counter, so the frosting does not turn wet on the outside and firm in the middle.
If the cake firms up too much in the fridge, let a slice sit out for 15 to 20 minutes before eating. That gives the butter in the cake a chance to soften and brings the frosting back to a creamy, sliceable texture.
Questions People Ask Before Baking It
Can I bake this as cupcakes instead of layers?
Yes. Line a muffin tin, fill each cup about two-thirds full, and bake at 350°F for about 18 to 22 minutes. Pipe or spread the cream cheese frosting on top once the cupcakes are completely cool, then decorate with candy right before serving.
What candy works best on cream cheese frosting?
Candy-coated chocolates, chopped peanut butter cups, toffee bits, and small chocolate pieces hold up best. Very hard candies can be awkward to bite through, and sticky gummies tend to sweat in the fridge.
Can I make the cake a day ahead?
Absolutely, and I’d almost argue it tastes better the next day once the crumb settles. Bake and cool the layers, wrap them well, then frost and decorate the next day. If you use delicate candy or sprinkles, add those close to serving time.
Why did my frosting get runny?
Usually the cream cheese was too warm, the butter was too soft, or the mixer ran too long after the sugar went in. Chill the bowl for 10 to 15 minutes, then beat it briefly again. If it still feels loose, add 1/2 cup more powdered sugar and stop there.
How do I keep the candy from sinking into the frosting?
A thin crumb coat and a short chill are the answer. A cold, slightly tacky frosting surface gives candy something to grip, so it stays on top instead of slowly sliding down the sides.
Can I use low-fat cream cheese?
I wouldn’t. Low-fat cream cheese carries more water and less body, which makes the frosting softer and less reliable. Full-fat brick cream cheese gives you the thick texture you need for layers and decoration.
What if the cake layers dome or crack on top?
That’s normal enough. Trim the dome with a serrated knife if you want a flat stack, and don’t worry about small cracks. The frosting covers a lot, and the candy decoration hides the rest.
The Last Slice
A cake like this lives or dies by restraint. The crumb has to stay tender, the frosting has to stay cool and tangy, and the candy has to look placed, not dumped. Get those three things right and the whole dessert feels lively instead of fussy.
I like this style of cake because it gives you room to play without asking you to gamble on structure. You can change the candy, shift the color palette, or lean heavier on chocolate, but the base stays solid. That’s the part worth keeping in your back pocket.
Moist Candy Nail Art with Cream Cheese Frosting — Recipe Card
Recipe Name: Moist Candy Nail Art with Cream Cheese Frosting
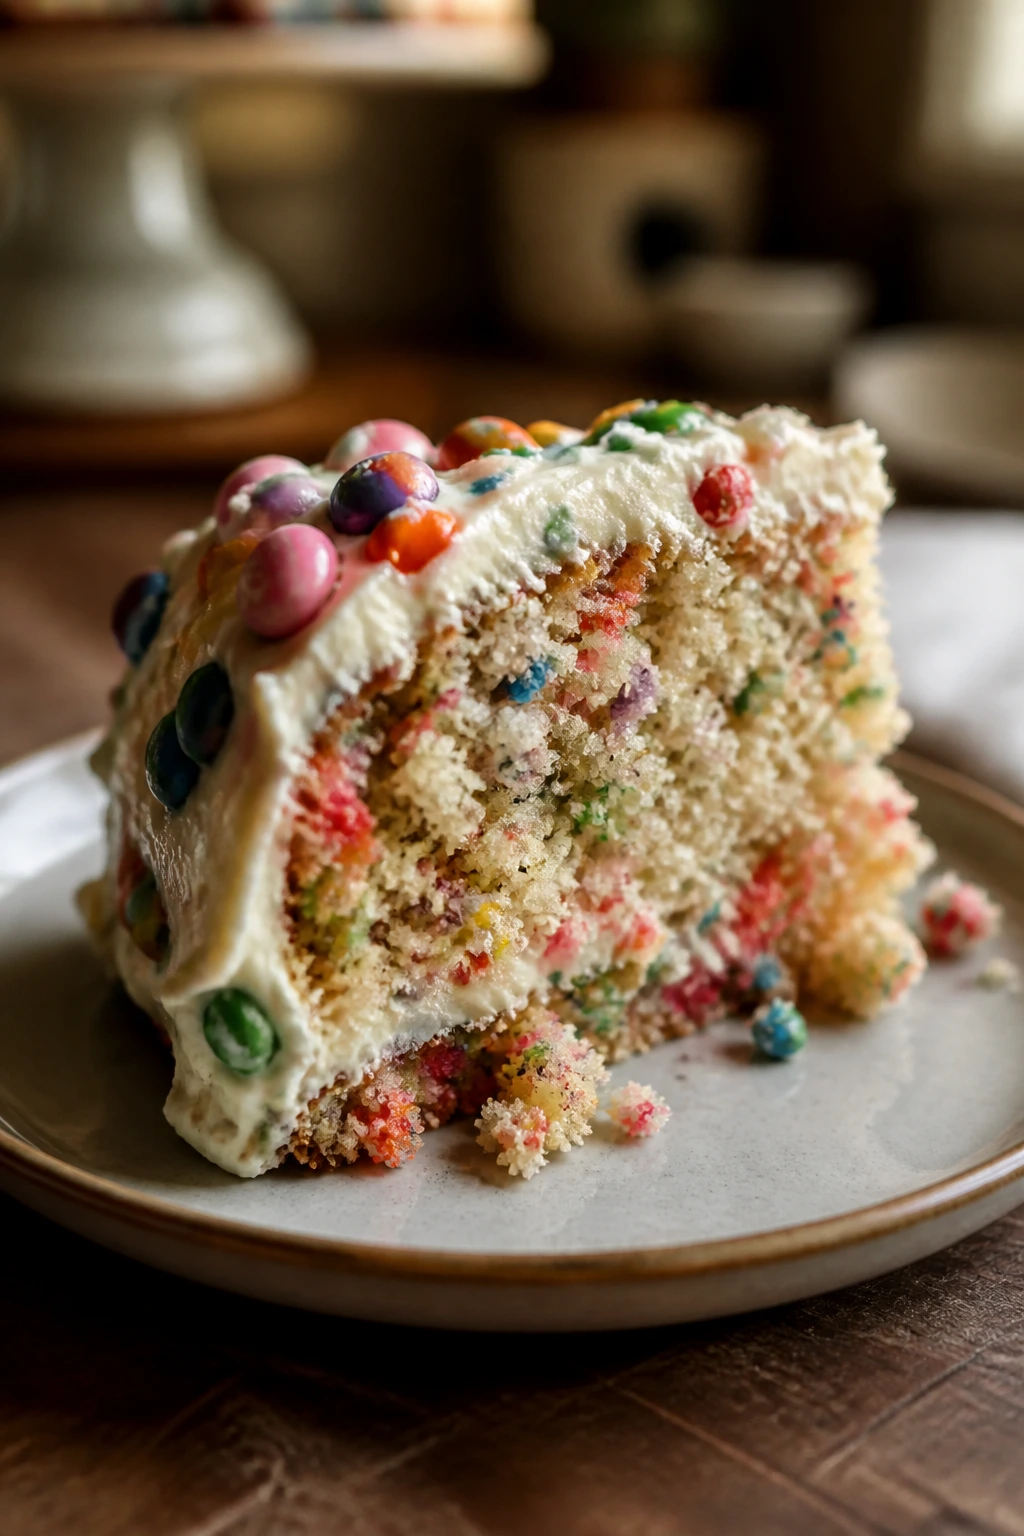
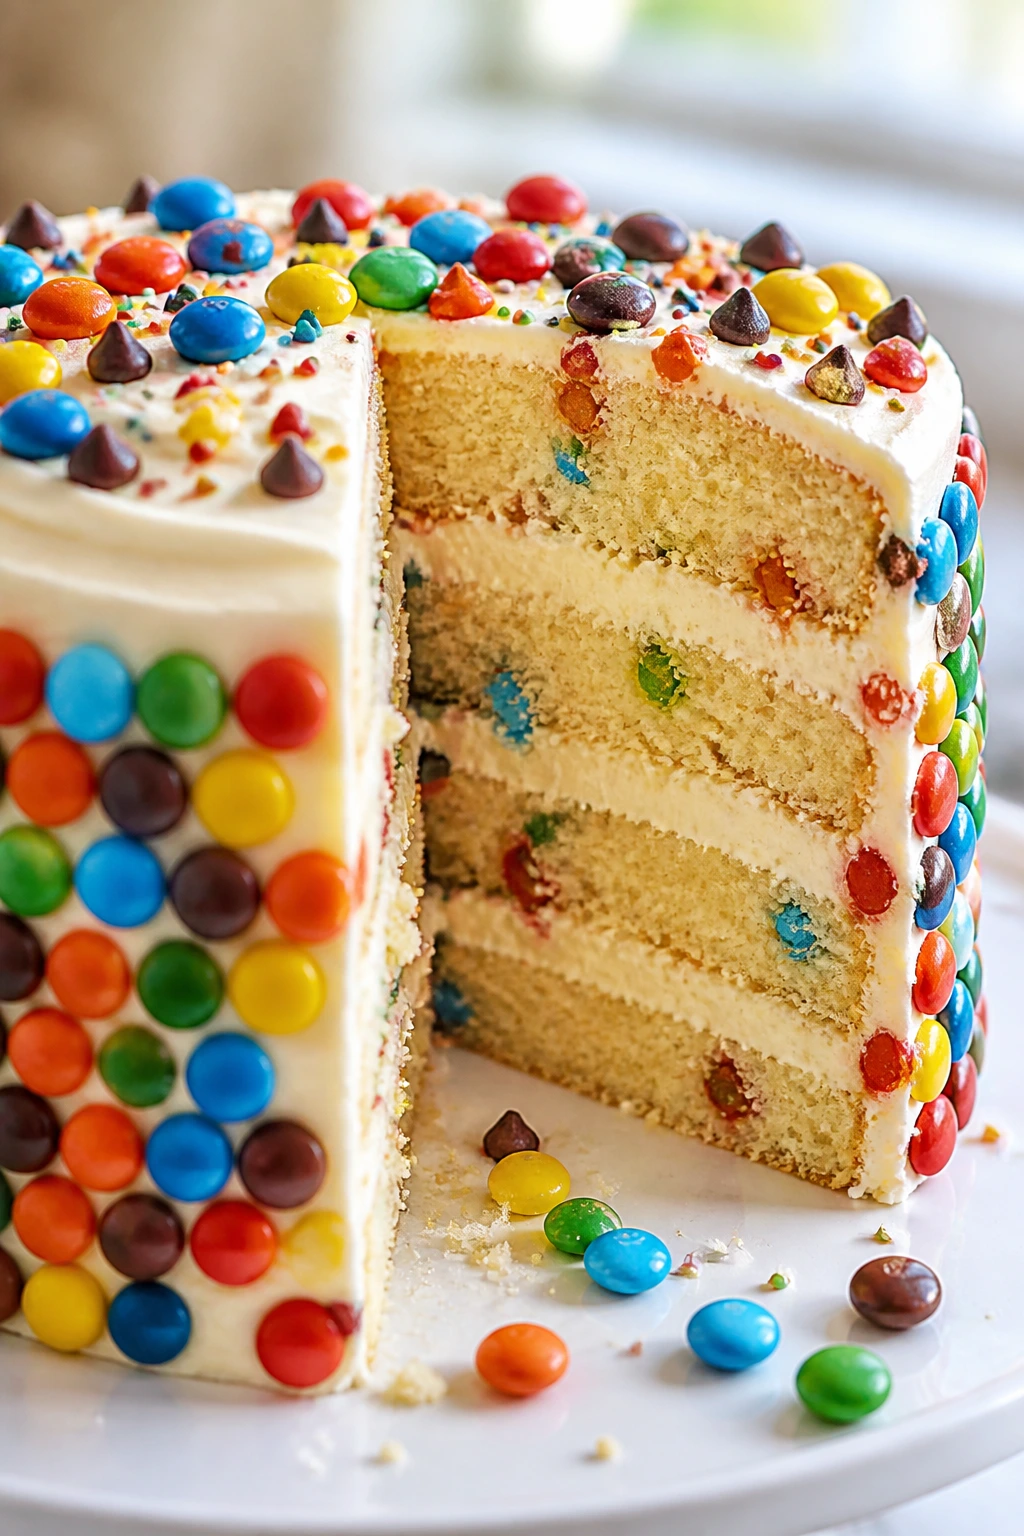
Description: A soft vanilla layer cake with tangy cream cheese frosting and decorative candy accents. The crumb stays tender from sour cream and buttermilk, while the candy adds color, crunch, and a playful finish.
Prep Time: 30 minutes
Cook Time: 28 to 33 minutes
Total Time: 1 hour 45 minutes, including cooling and chilling
Course: Dessert
Cuisine: American
Servings: 10 to 12 slices
Calories: About 540 kcal per serving
Ingredients
For the Cake:
- 2 1/2 cups all-purpose flour, spooned and leveled
- 2 1/2 teaspoons baking powder
- 1/2 teaspoon baking soda
- 1 teaspoon fine sea salt
- 1 cup unsalted butter, softened
- 1 3/4 cups granulated sugar
- 3 large eggs, room temperature
- 1 tablespoon pure vanilla extract
- 1 cup sour cream, room temperature
- 1 cup buttermilk, room temperature
- 1 cup mini candy-coated chocolates or finely chopped soft candy bars, lightly dusted with flour if folded into the batter
For the Cream Cheese Frosting:
- 16 ounces brick-style cream cheese, softened
- 1 cup unsalted butter, softened
- 5 cups powdered sugar, sifted
- 2 teaspoons pure vanilla extract
- 1/4 teaspoon fine salt
For the Candy Decoration:
- 1 1/2 cups assorted candy pieces, such as mini candy-coated chocolates, chopped peanut butter cups, chocolate curls, or sprinkles
- 2 tablespoons chopped toasted nuts or crushed toffee bits, optional
- 1 to 2 tablespoons white chocolate chips, melted, optional for anchoring candy accents
Instructions
-
Preheat the oven to 350°F (175°C) and prepare two 8-inch round cake pans with butter, parchment rounds, and a light dusting of flour.
-
Whisk together the flour, baking powder, baking soda, and salt.
-
Beat the softened butter and sugar for 3 to 4 minutes until pale and fluffy.
-
Add the eggs one at a time, then beat in the vanilla.
-
Mix in the sour cream, then add the dry ingredients in three additions, alternating with the buttermilk in two additions. Mix only until combined.
-
Fold in the candy pieces if using.
-
Divide the batter between the pans and bake for 28 to 33 minutes, until the centers spring back lightly and a toothpick comes out with a few moist crumbs.
-
Cool the cakes in the pans for 10 minutes, then turn them out onto wire racks to cool completely.
-
Beat the cream cheese and butter until smooth, then add the powdered sugar, vanilla, and salt. Beat until thick and spreadable.
-
Level the cakes if needed, then stack them with about 1 cup of frosting between the layers.
-
Apply a thin crumb coat, chill for 20 minutes, then frost the outside of the cake.
-
Decorate with the candy pieces and chill briefly to set before slicing.
Notes: Use brick-style cream cheese, not whipped or tub cream cheese. Add candy decorations close to serving time if you want them to stay crisp. The frosted cake keeps best refrigerated and should sit out no longer than 2 hours.