
Some boxed cakes taste like compromise. A good red velvet cake mix with cream cheese frosting does not have to. Give the mix a little buttermilk, a spoon of sour cream, and enough vanilla to smell when you open the oven door, and the crumb turns softer, darker, and more plush than the back of the box ever promised.
Red velvet is a funny cake. The flavor is subtle, almost shy, and the texture matters more than people think. Too dry, and it tastes like sweet cardboard with red dye. Too sweet, and the cocoa note disappears under the frosting. The whole thing lives or dies on small details: room-temperature dairy, a gentle mix, and frosting that’s thick enough to hold a swirl without sliding down the sides.
Cold ingredients are the enemy here.
Cream cheese frosting is its own little balancing act. If the cream cheese is chilly, you get lumps. If the butter is too soft, you get soup. The sweet spot is soft enough to press with a finger, but still cool to the touch — the kind of texture that beats smooth in the bowl instead of turning glossy and loose.
Why This Box Mix Tastes Better Than the Box Directions
A boxed mix is not the problem. The instructions are the problem.
Those directions are built to work for everyone, which means they usually land in the middle: fine, moist enough, a little anonymous. That’s useful if you need a quick dessert. It’s less useful if you want a cake that tastes like someone cared about the crumb. The small upgrades here — buttermilk, sour cream, vanilla, and a touch more cocoa — do the heavy lifting without turning the recipe into a project.
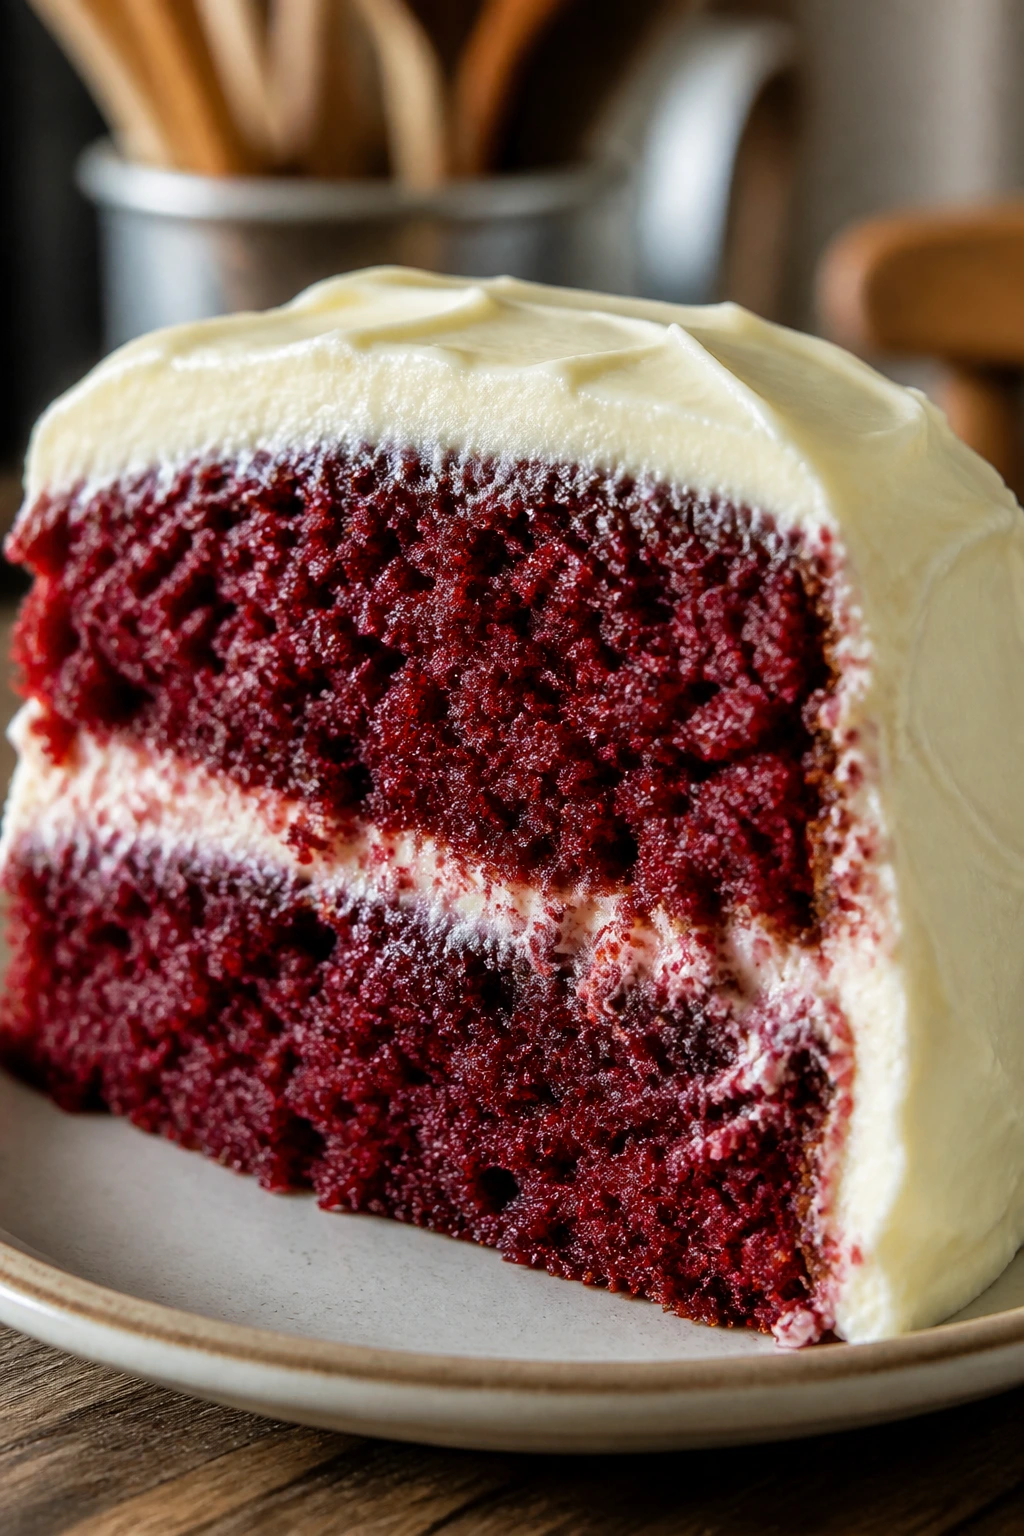
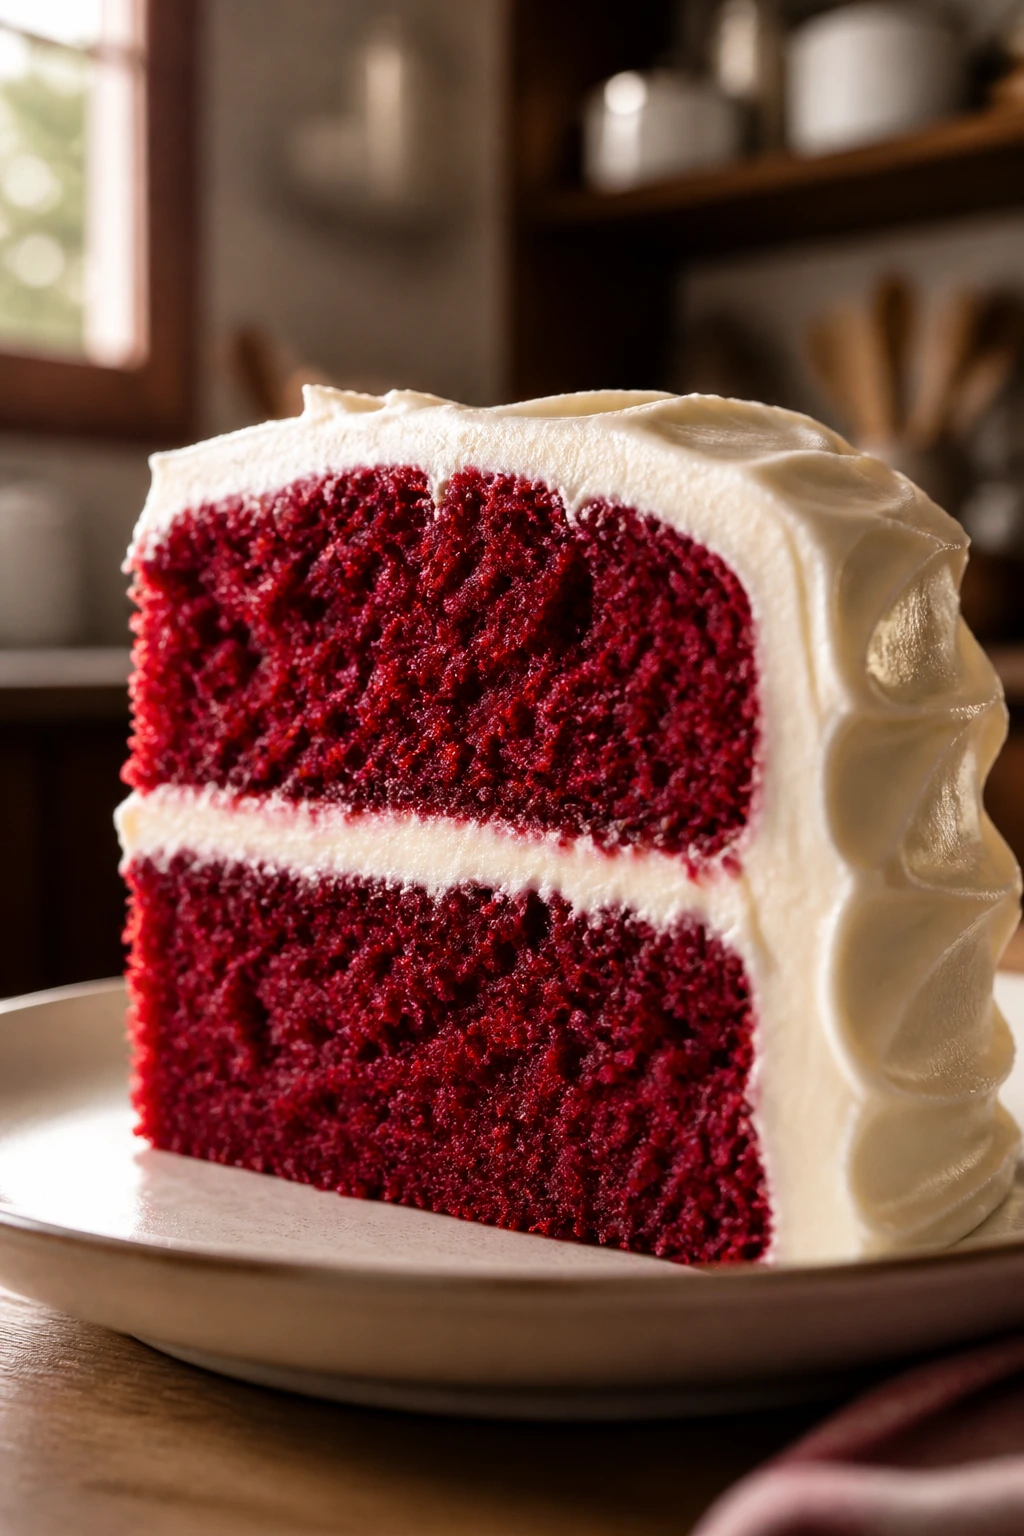
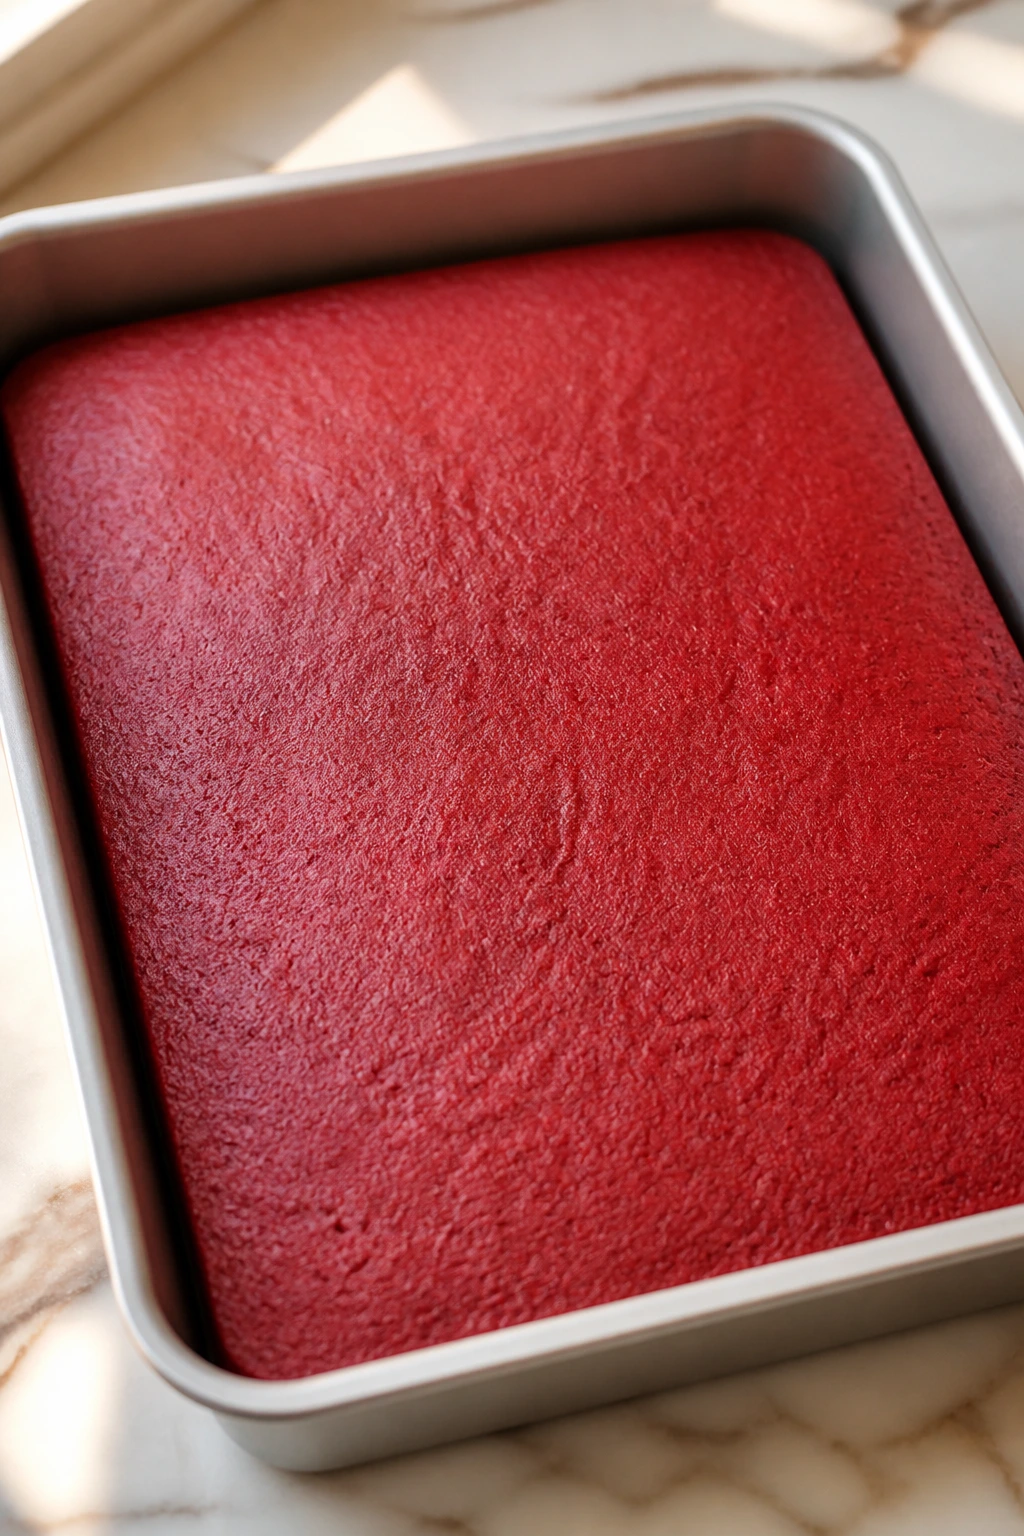
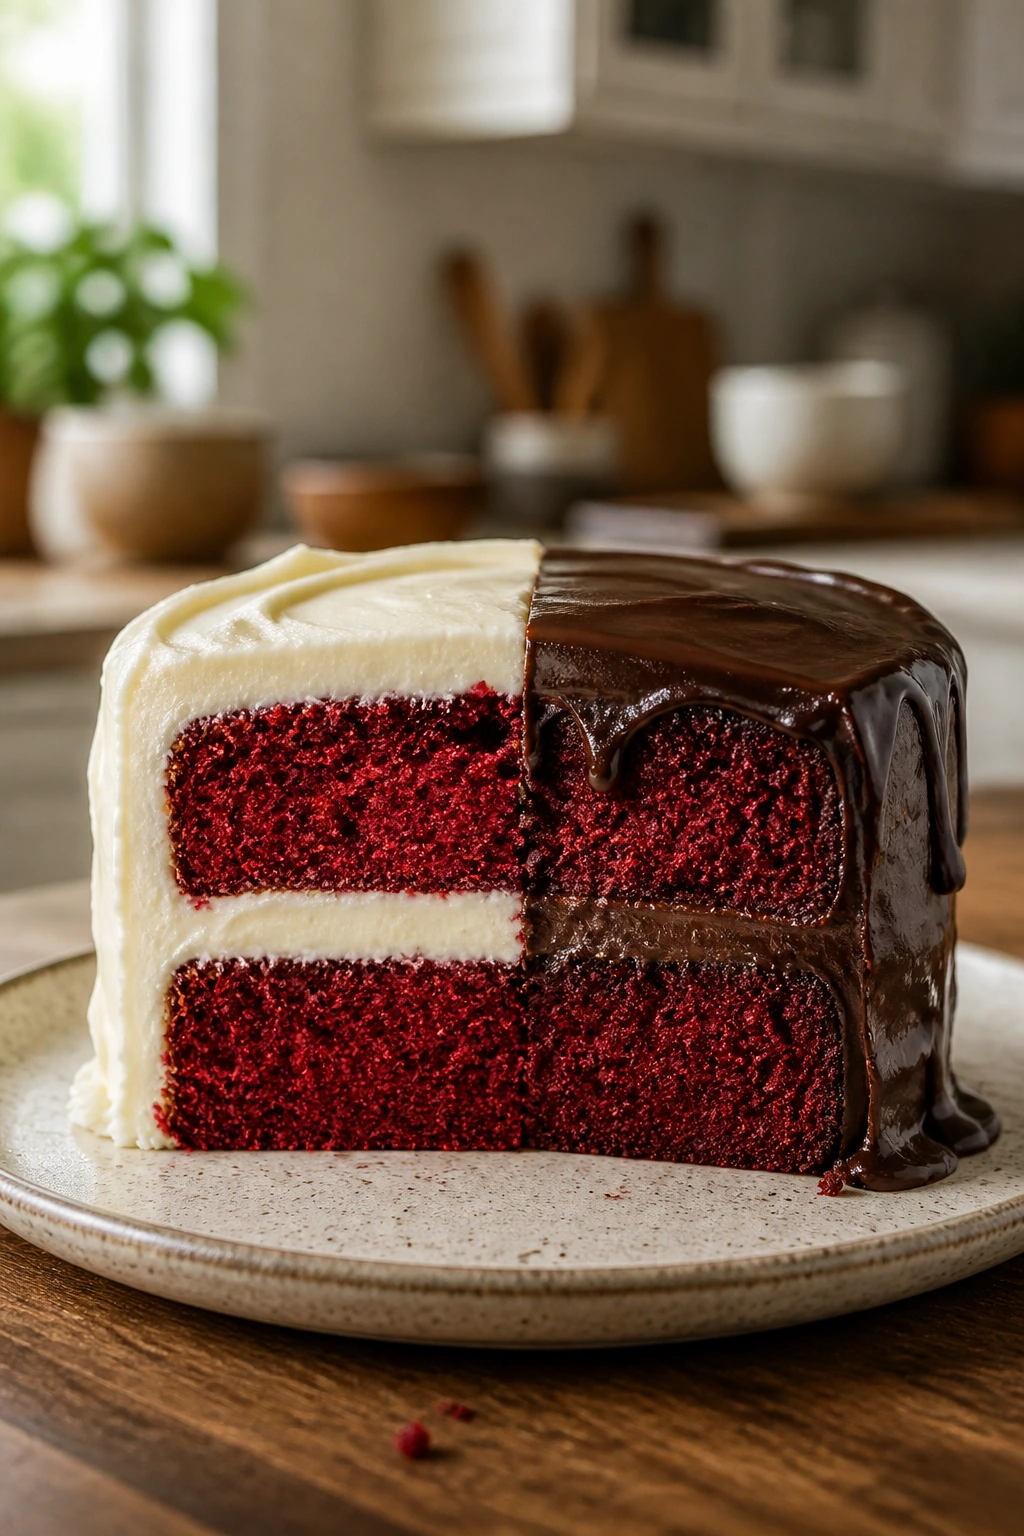
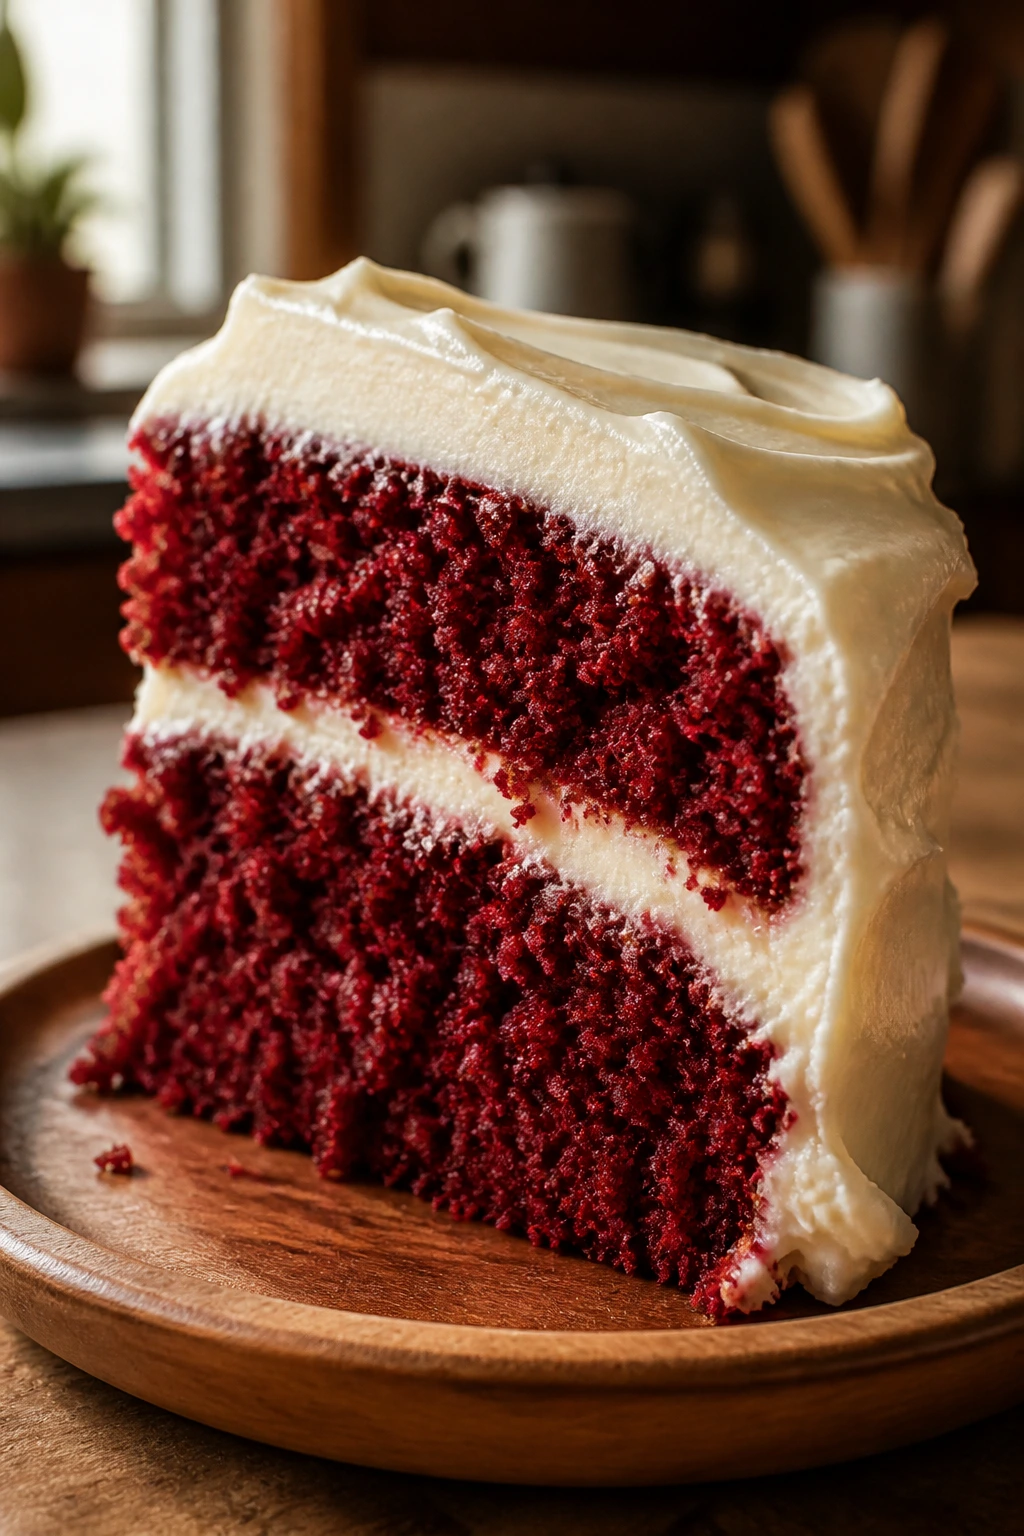
The result is a red velvet layer that slices cleanly but still feels tender on the fork. The flavor is deeper, too. Not chocolate cake deep. Red velvet should never drift all the way there. It needs that faint cocoa backdrop with a tangy edge, and the buttermilk-sour cream combination gives it exactly that.
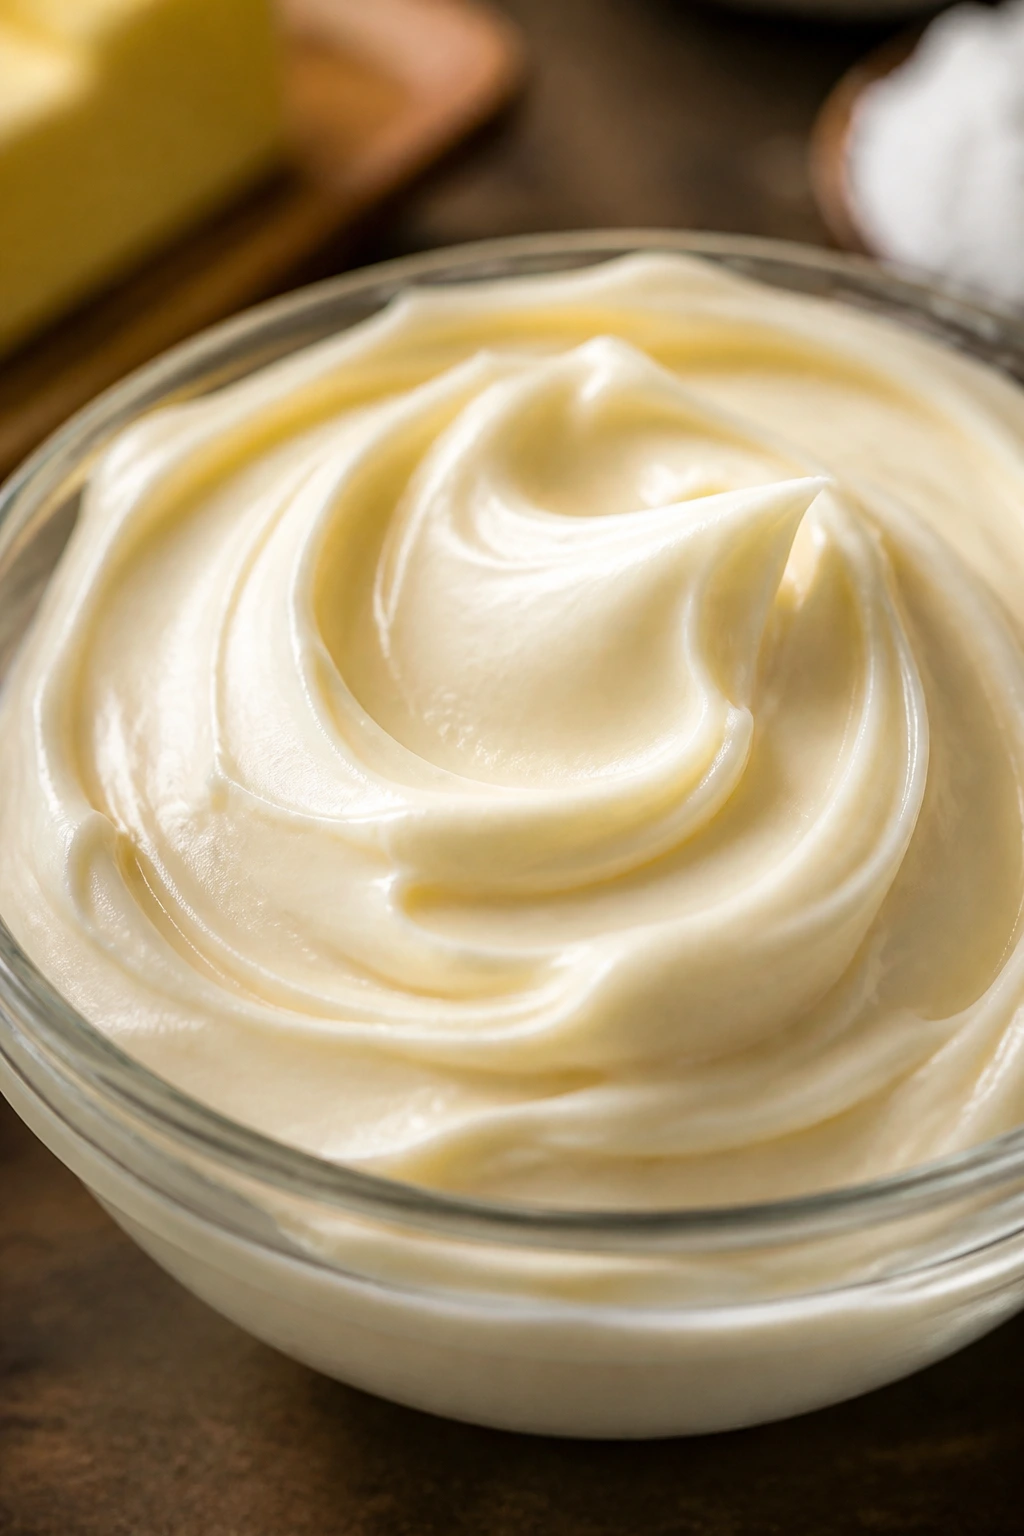
The frosting matters just as much. Cream cheese frosting can be too sweet, too loose, or too airy if you beat it like whipped cream. Here, the ratio leans toward spreadable and thick, which is what you want on a layer cake. It clings to the crumb coat, holds up under a knife, and doesn’t slump into the plate after fifteen minutes on the counter.
Why You’ll Love This Cake
-
Bakery-style crumb: Buttermilk and sour cream keep the cake soft and tight-crumbed, so each slice holds together without feeling heavy.
-
More flavor, not more fuss: The boxed mix does the measuring for you, and the add-ins make the cake taste deliberate instead of off-the-shelf.
-
Cream cheese frosting that behaves: A little butter and sifted sugar make the frosting smooth enough to spread, but sturdy enough to stack.
-
Easy to scale for a crowd: The batter fits two 8-inch layers or a 9×13 pan if you want one pan and fewer moving parts.
-
Better the next day: A short chill firms the frosting and lets the cocoa and vanilla settle in, so the slices cut cleaner after a rest.
-
Friendly to first-timers: There’s no tricky creaming step, no fancy crumb inspection, and no need for a mixer if you’re willing to whisk with some muscle.
Yield, Timing, and Pan Choice
Yield: 10 to 12 slices
Prep Time: 25 minutes
Cook Time: 28 to 32 minutes
Total Time: about 1 hour 40 minutes, including cooling
Chill/Rest Time: 45 minutes to cool completely before frosting, plus 20 to 30 minutes after frosting if you want cleaner slices
Difficulty: Beginner — the method is straightforward, but the frosting rewards careful temperature control.
Best Served: Slightly chilled or at cool room temperature
The Ingredient List for the Cake and Frosting
For the Cake:
- 1 box red velvet cake mix (15.25 oz)
- 1 cup buttermilk, room temperature
- 1/2 cup sour cream, room temperature
- 1/2 cup neutral oil
- 3 large eggs, room temperature
- 1 teaspoon pure vanilla extract
- 1 tablespoon unsweetened cocoa powder
- 1/4 teaspoon fine salt
For the Cream Cheese Frosting:
- 16 oz full-fat cream cheese, softened
- 1/2 cup unsalted butter, softened
- 4 1/2 cups powdered sugar, sifted
- 2 teaspoons pure vanilla extract
- Pinch of fine salt
- 1 to 2 tablespoons heavy cream, only if needed for spreading
Why Each Ingredient Matters
The Box Mix Base
What to use: 1 box red velvet cake mix, ideally the standard 15.25-ounce size.
Preparation: Break up any clumps before you add the wet ingredients. A quick whisk in the mixing bowl is enough.
Substitutions: If your store carries only a 13.25-ounce box, the recipe still works. The layers may bake a touch shorter, but the texture stays right.
Tips: Check the date on the box. Stale leavening is a sneaky reason boxed cakes fall flat, and it shows up most in recipes that depend on lift without a lot of extra flour.
Moisture and Fat
What to use: 1 cup buttermilk, 1/2 cup sour cream, and 1/2 cup neutral oil.
Preparation: Let the buttermilk and sour cream sit out for 20 to 30 minutes before mixing. Cold dairy can make the batter look grainy for a few minutes.
Substitutions: Plain Greek yogurt can stand in for sour cream, and whole milk mixed with 1 tablespoon white vinegar can replace buttermilk if that’s what you have.
Tips: Use a neutral oil, not olive oil. You want the fat to disappear into the cake, not leave a grassy note behind.
Structure and Flavor
What to use: 3 large eggs, 1 teaspoon vanilla, 1 tablespoon unsweetened cocoa powder, and 1/4 teaspoon fine salt.
Preparation: Crack the eggs into a separate bowl first so you can check for shells and make sure they’re evenly mixed before they go into the batter.
Substitutions: If you’re out of vanilla, a half teaspoon of almond extract works, though it changes the profile. Use it only if you like that slight cherry-candy note.
Tips: Don’t skip the salt. Box mixes can taste flat without it, and a tiny pinch makes the cocoa and cream cheese taste fuller instead of one-note.
The Frosting
What to use: 16 oz full-fat cream cheese, 1/2 cup unsalted butter, 4 1/2 cups powdered sugar, 2 teaspoons vanilla, a pinch of salt, and a little heavy cream only if needed.
Preparation: Softened means soft enough to dent, not melted. If the cream cheese is greasy or glossy before you beat it, it’s too warm.
Substitutions: You can use brick-style neufchâtel in a pinch, though the frosting will be looser. Don’t use tub cream cheese; it brings too much water.
Tips: Sift the powdered sugar if it’s clumpy. Cream cheese frosting shows every grain, and it’s annoying to chase lumps around the bowl after the fact.
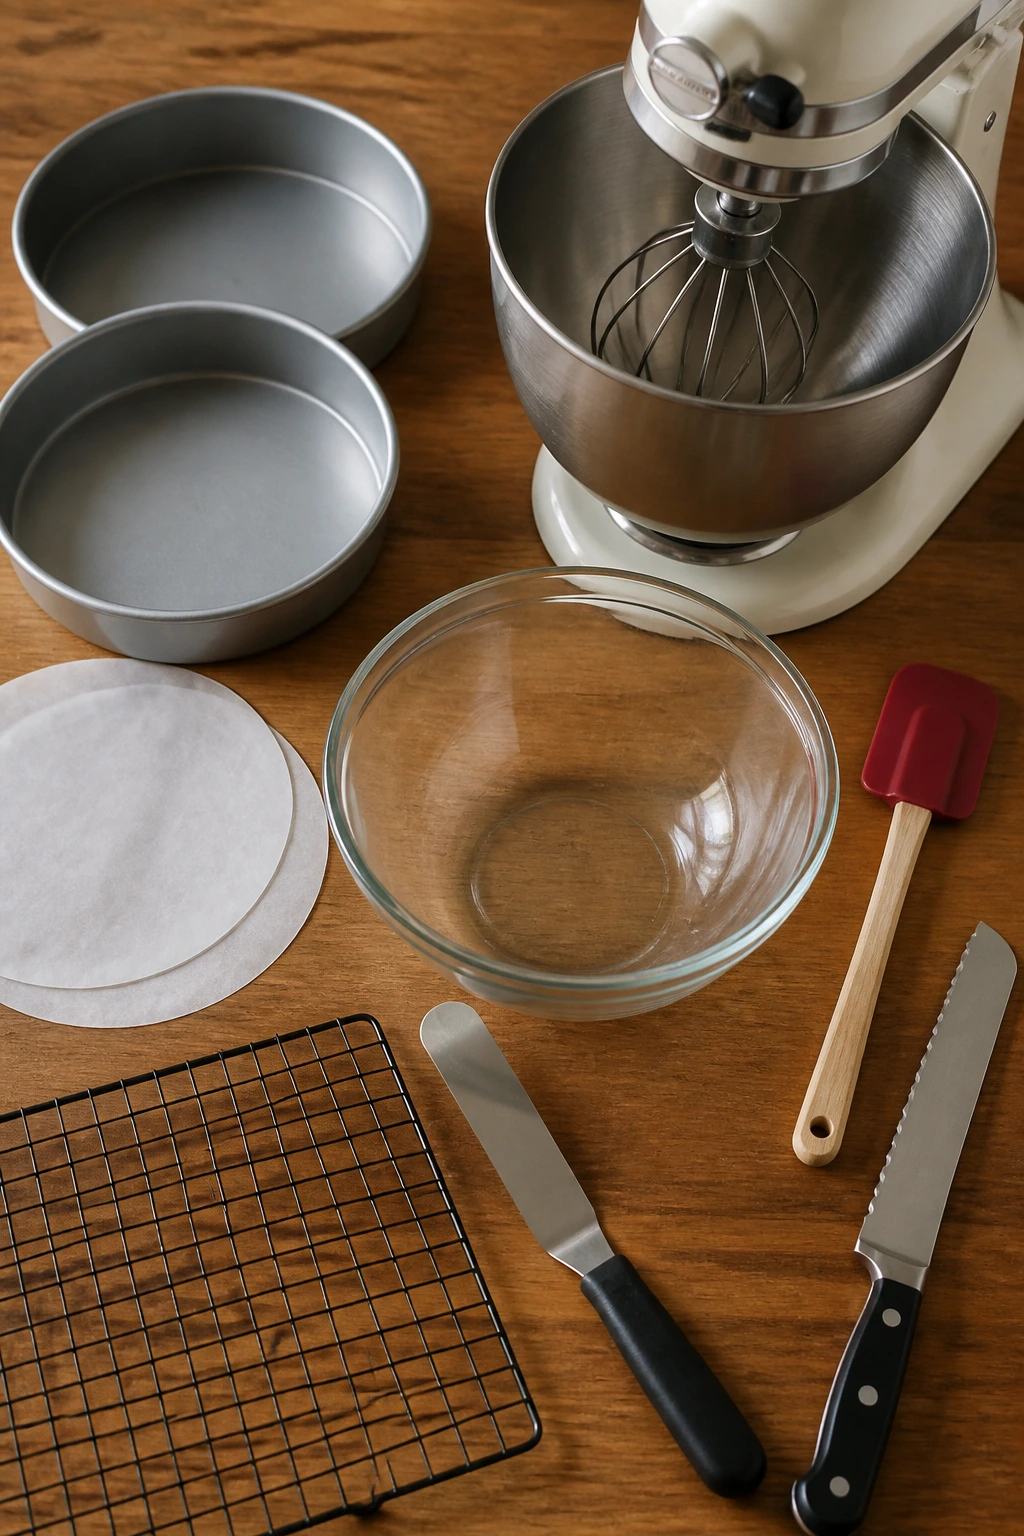
The Tools That Make the Job Easier
-
Two 8-inch round cake pans: The batter fits these neatly and gives you a proper layer cake with enough height for frosting between layers.
-
Parchment paper rounds: These save you from torn bottoms and let the layers release without a fight.
-
Stand mixer or hand mixer: A hand mixer works fine. You’re mostly aiming for smooth batter and a frosting that loses its grainy look.
-
Large mixing bowl: Bigger than you think you need. Box mix batter splashes if the bowl is cramped.
-
Rubber spatula: Essential for scraping the bowl and folding the last streaks of batter without overmixing.
-
Wire cooling rack: Airflow under the cake keeps the bottoms from steaming and going gummy.
-
Offset spatula: Not mandatory, but it makes spreading the frosting around the layers and edges much cleaner.
-
Serrated knife: Handy if the layers dome a little and need leveling.
Mixing the Batter
Prep the Pans and Oven
-
Preheat the oven to 350°F (175°C) and position a rack in the center.
-
Grease two 8-inch round cake pans with butter or nonstick spray, line the bottoms with parchment rounds, then grease the parchment too. Do not skip the parchment if you want the layers to release in one piece.
-
Set the eggs, buttermilk, and sour cream on the counter if you haven’t already. They mix more smoothly when they aren’t fridge-cold.
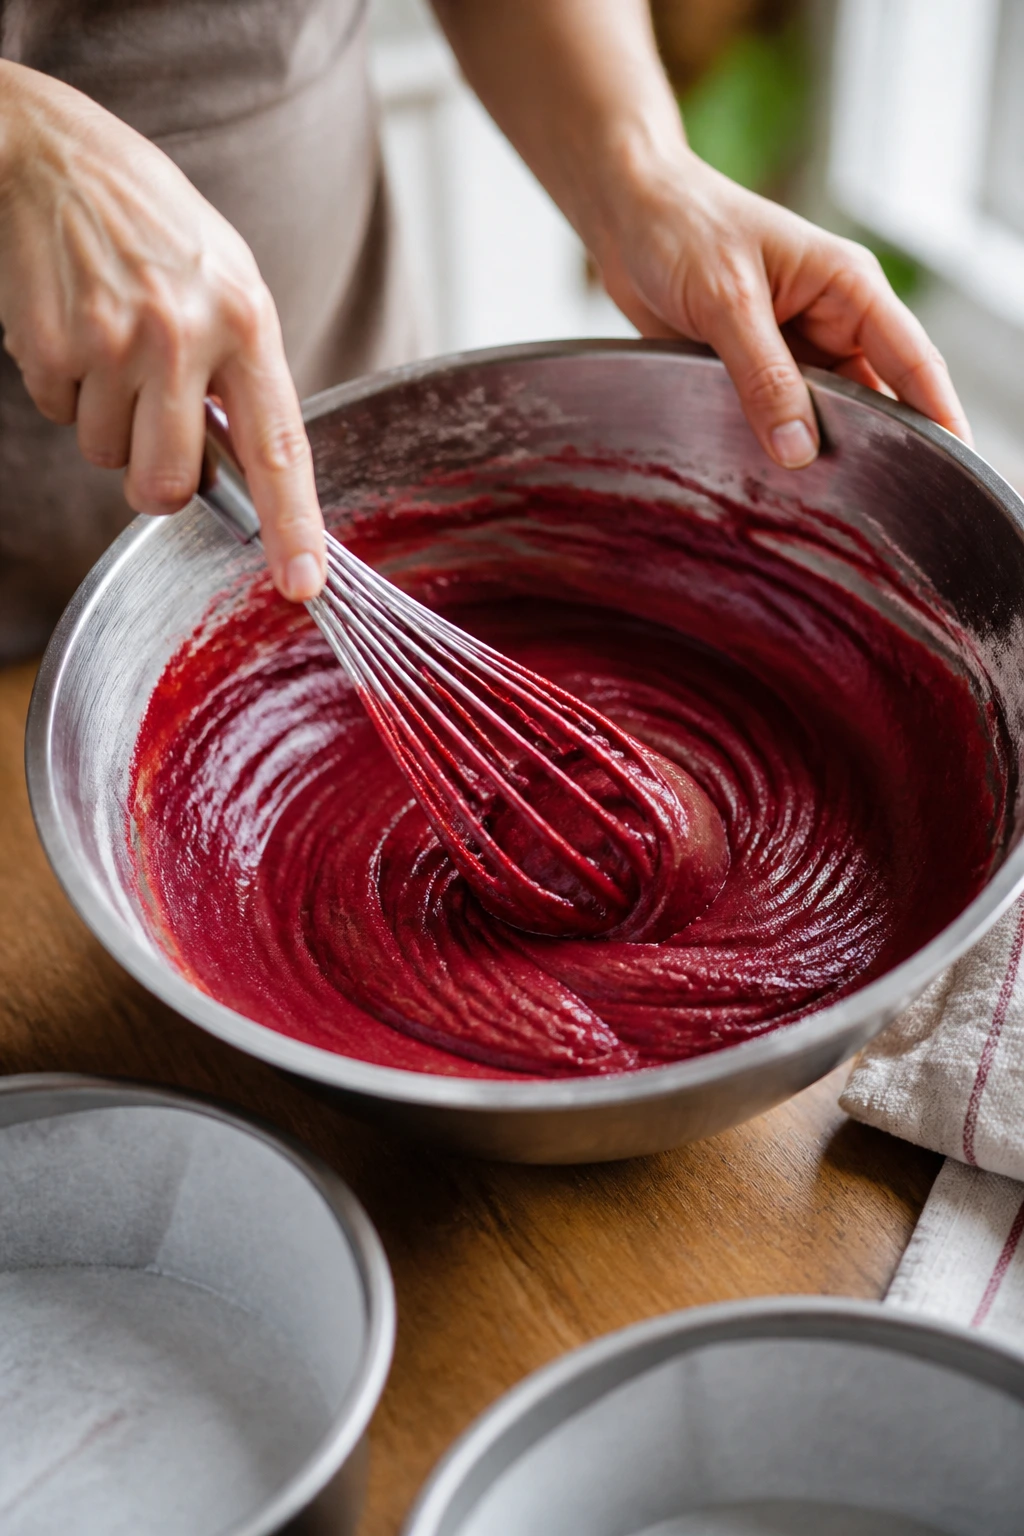
Build the Batter
-
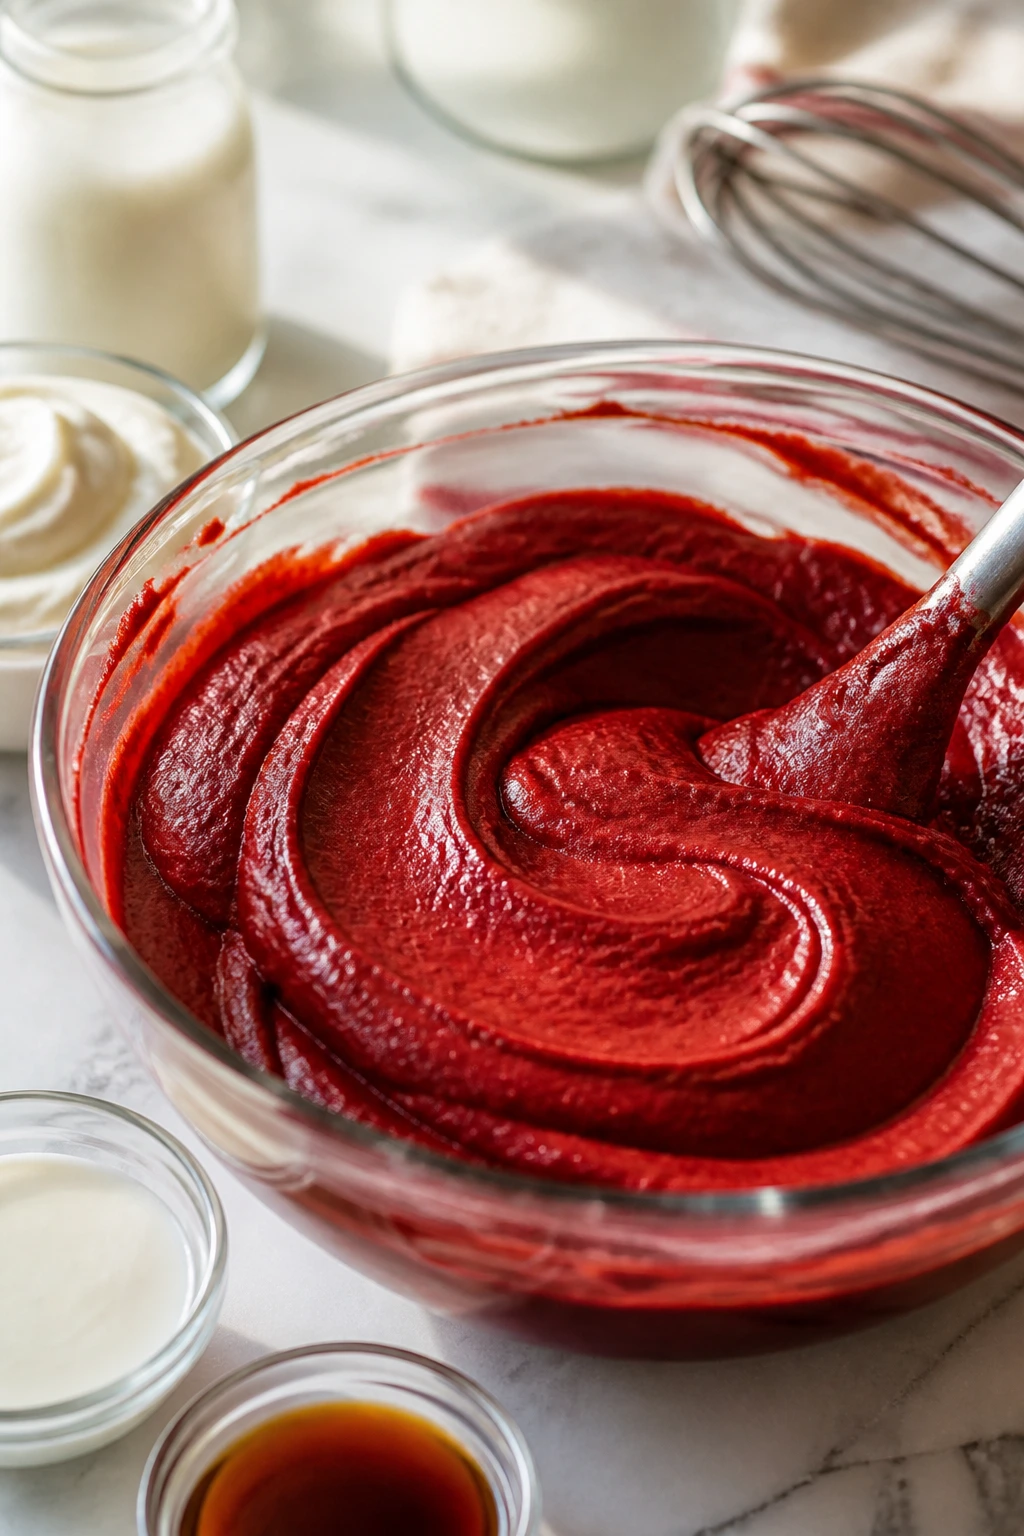
In a large bowl, whisk together the cake mix, cocoa powder, and salt until the cocoa disappears into the dry mix.
-
In a separate bowl, whisk the buttermilk, sour cream, oil, eggs, and vanilla until the mixture looks smooth and pale. A few tiny streaks of sour cream are fine. Big lumps are not.
-
Pour the wet ingredients into the dry ingredients and stir on low speed, or by hand with a spatula, just until the batter comes together and no dry pockets remain. Stop as soon as the flour disappears — extra mixing makes the cake tight and rubbery.
-
Divide the batter evenly between the two pans. Tap each pan once or twice on the counter to knock out large air bubbles.
Baking and Cooling the Layers
-
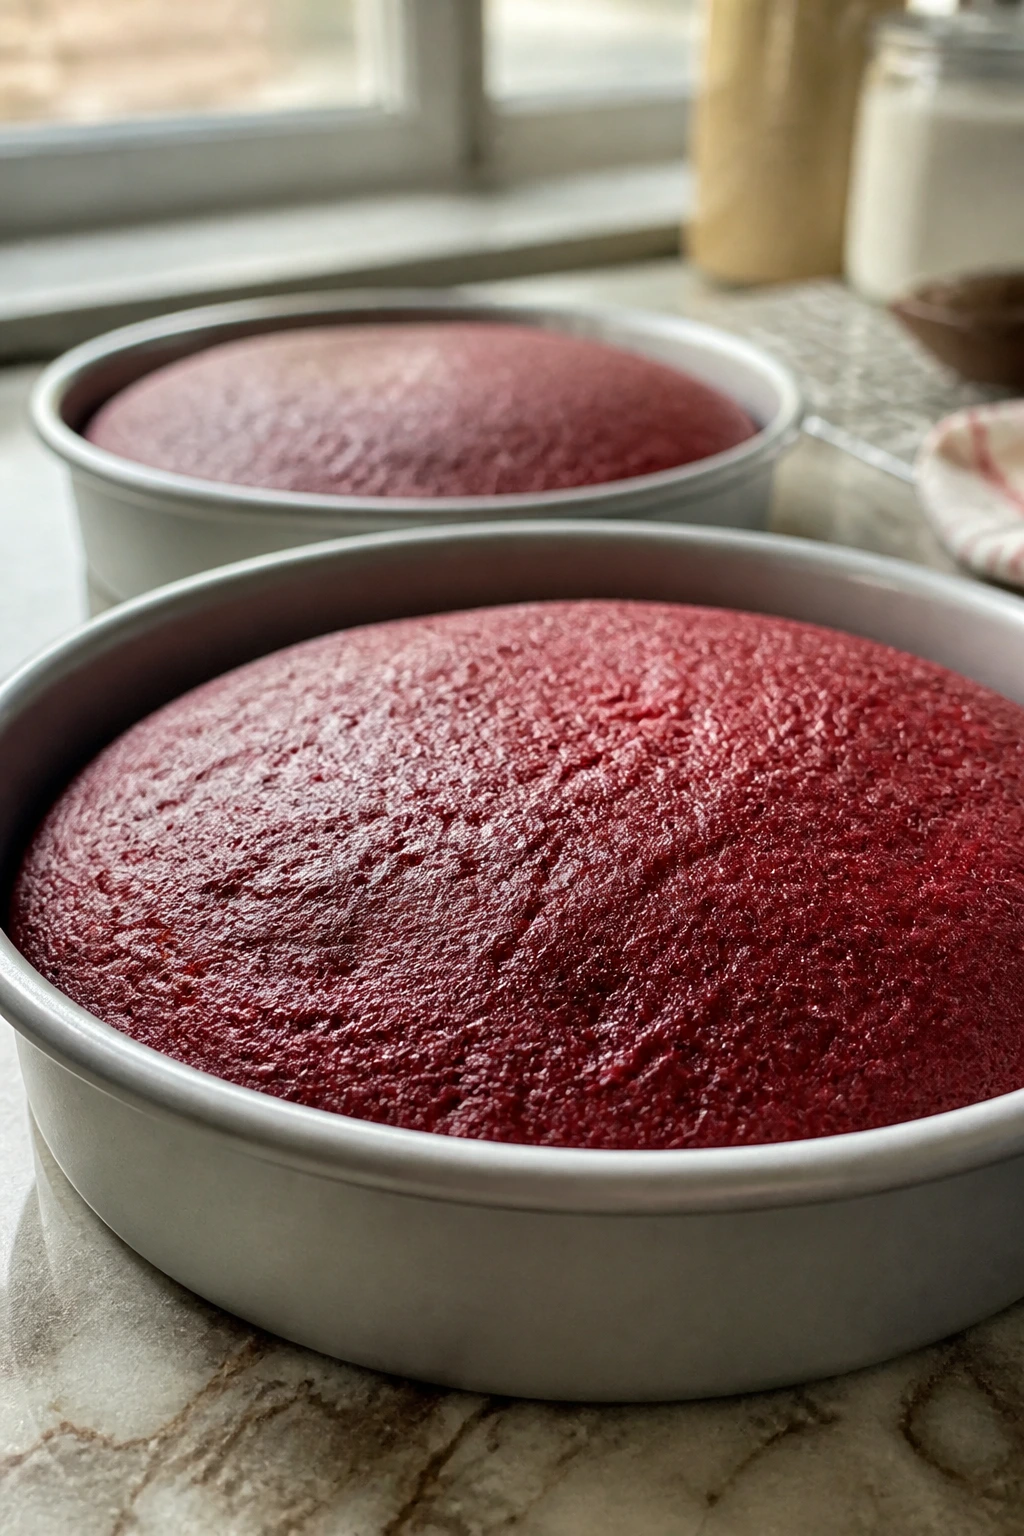
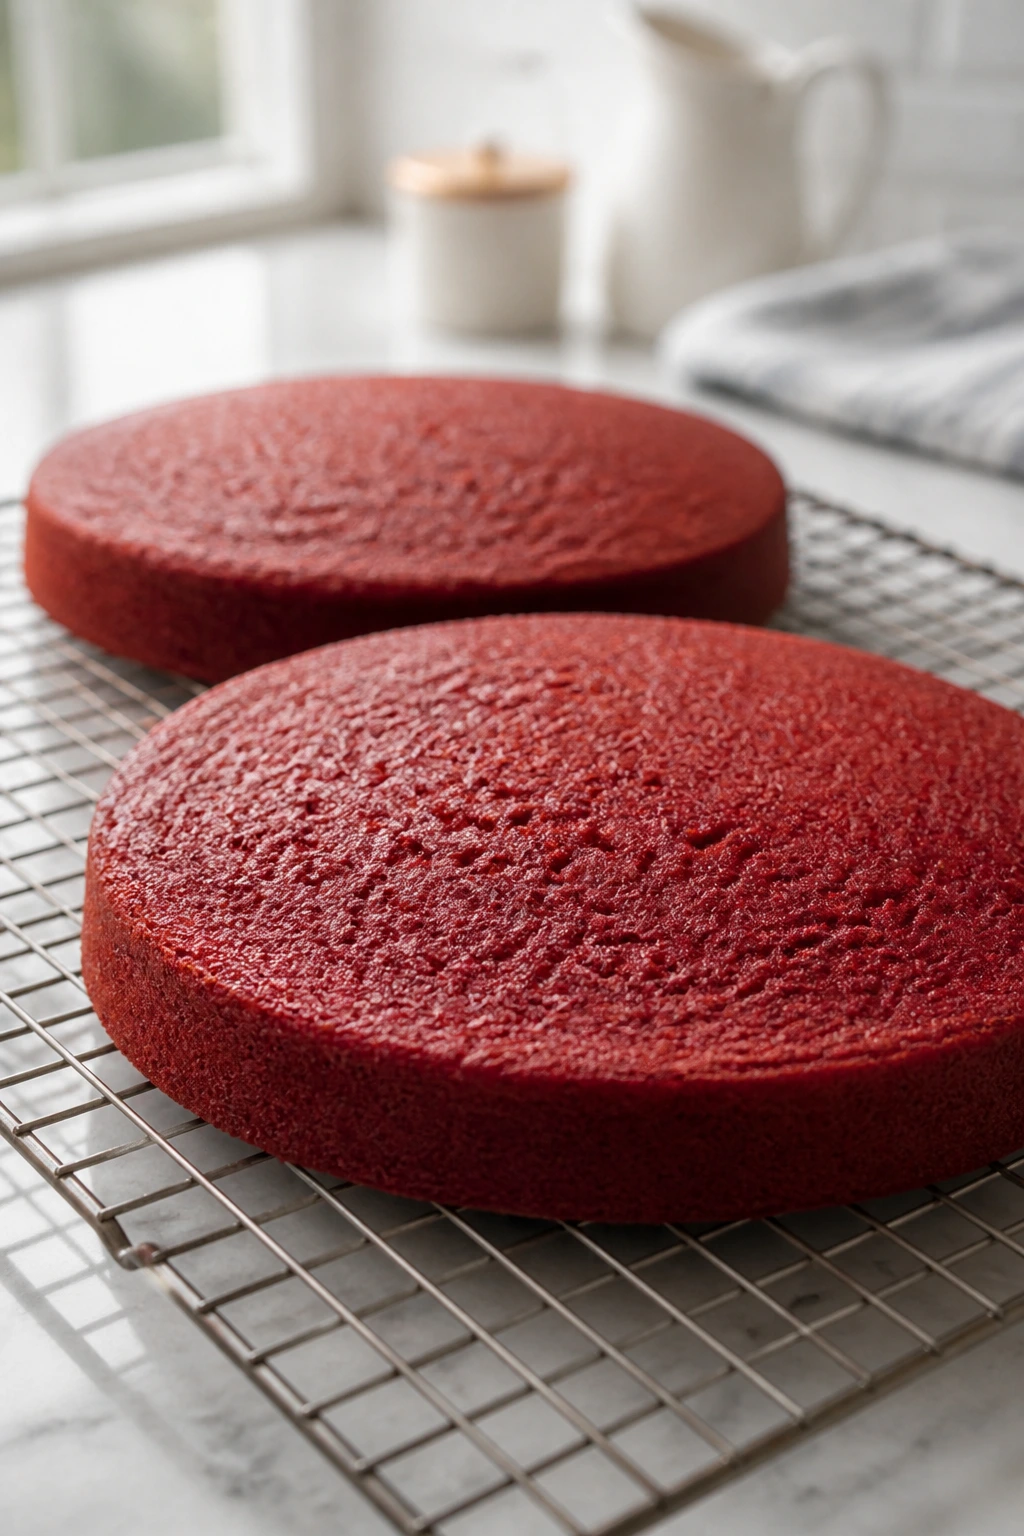
Bake for 28 to 32 minutes, until the tops spring back when touched lightly and a toothpick inserted in the center comes out with a few moist crumbs, not wet batter.
-
Let the cakes cool in the pans for 10 minutes. Run a thin knife around the edges if needed, then invert the layers onto a wire rack, peel off the parchment, and cool completely for 45 to 60 minutes. Frosting a warm cake will melt the whole situation into a red velvet landslide.
-
If the layers dome a little, level them with a serrated knife once they’re fully cool. A flat top makes stacking far less annoying.
Whipping the Cream Cheese Frosting
-
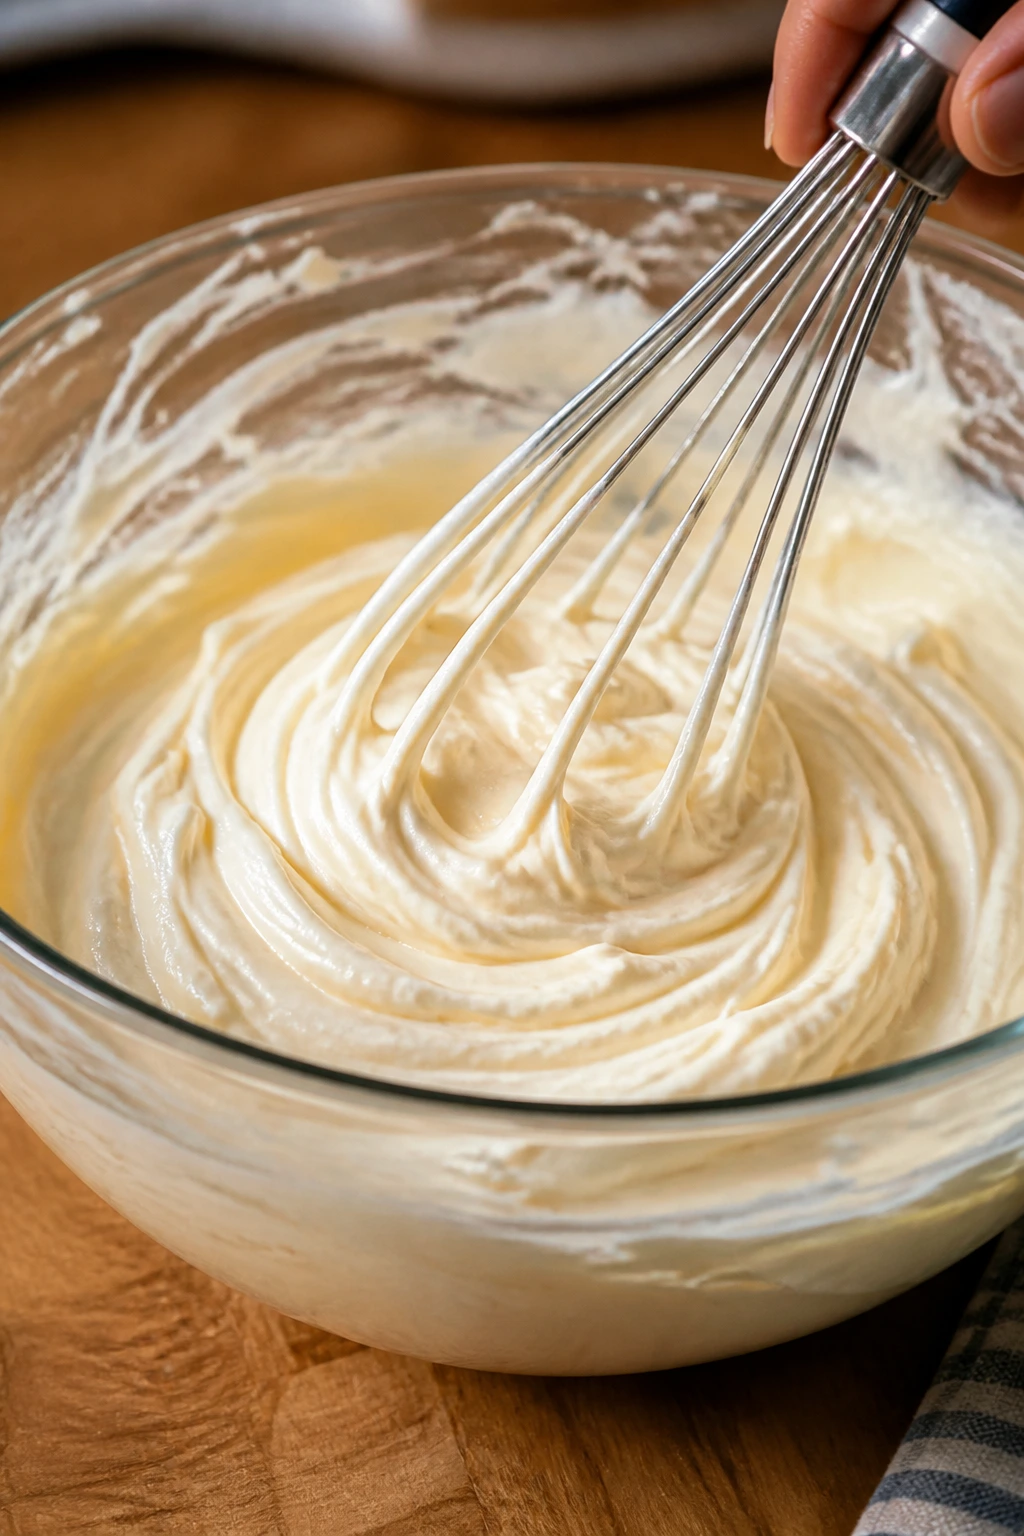
In a large bowl, beat the cream cheese and butter together on medium speed for 1 to 2 minutes, until smooth and fully combined. Scrape the bowl well. A few cold streaks are what cause speckled frosting.
-
Add the powdered sugar in 2-cup additions, beating on low at first so the sugar doesn’t puff all over the kitchen. Once it starts to thicken, add the vanilla and salt, then beat for another 30 to 45 seconds until the frosting is thick, smooth, and spreadable.
-
If the frosting looks loose, chill it in the fridge for 10 to 15 minutes and stir again. If it feels stiff, beat in 1 teaspoon of heavy cream at a time until it spreads without tearing the cake.
Filling and Frosting the Cake
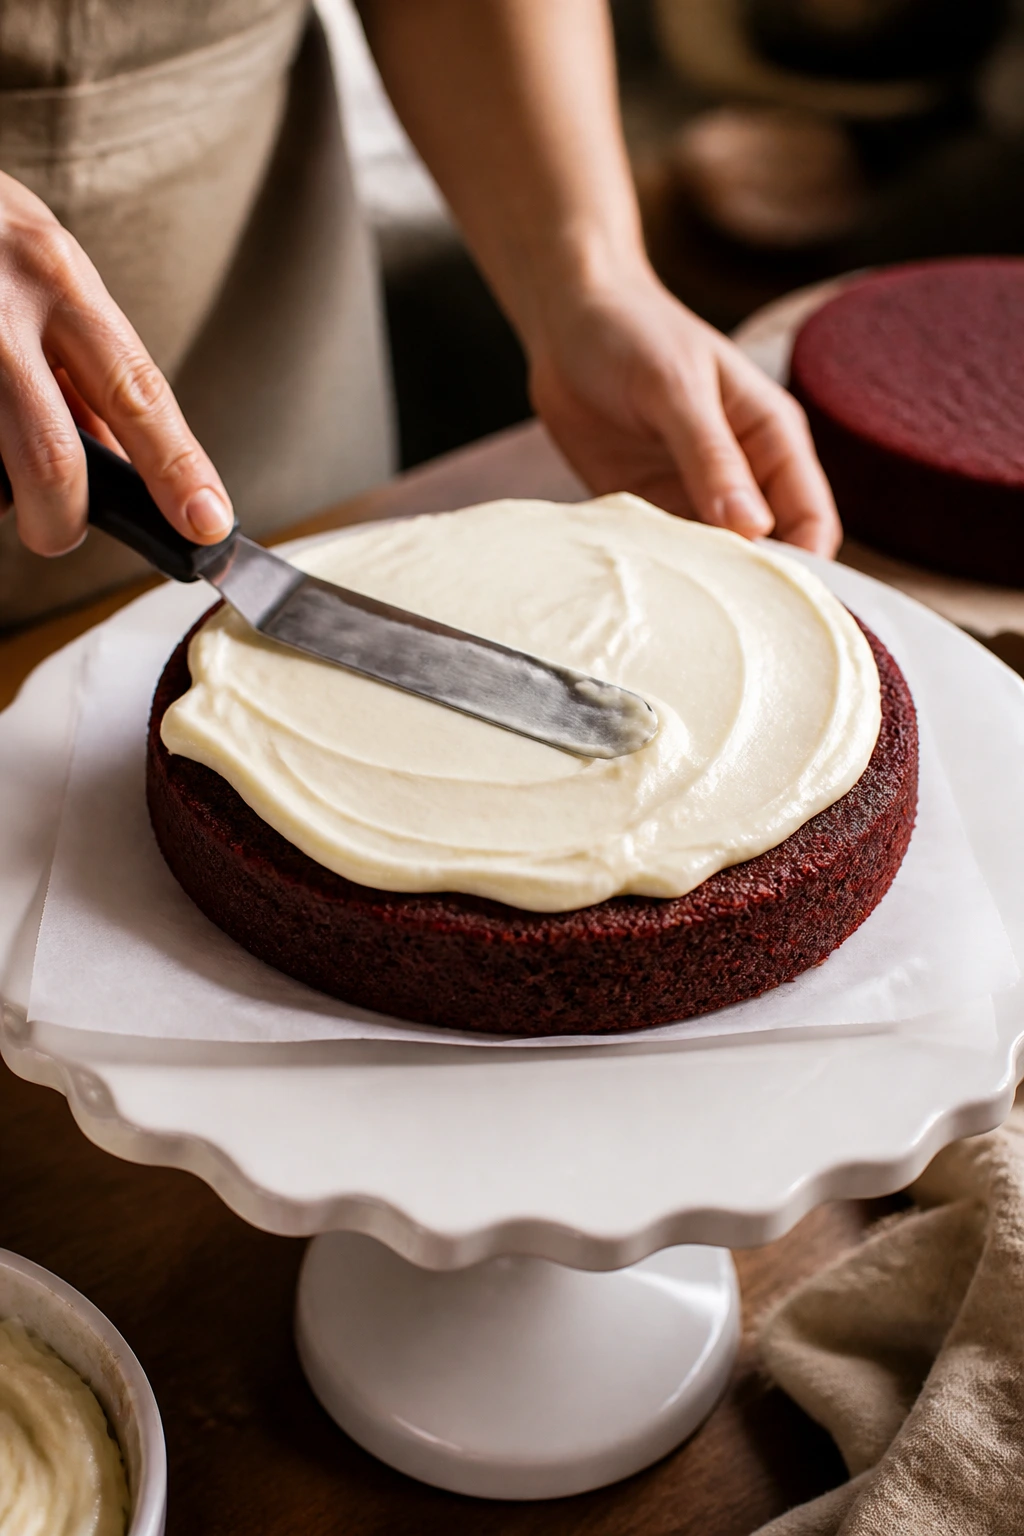
-
Place one cooled layer on a serving plate or cake stand. If you want a cleaner plate, tuck strips of parchment under the edges before frosting.
-
Spread about 3/4 cup frosting over the top, going almost to the edge. Set the second layer on top, flat side up if you leveled it.
-
Apply a thin crumb coat over the top and sides — just enough to trap loose crumbs. Chill the cake for 15 minutes so the coat firms up. That short chill is worth it.
-
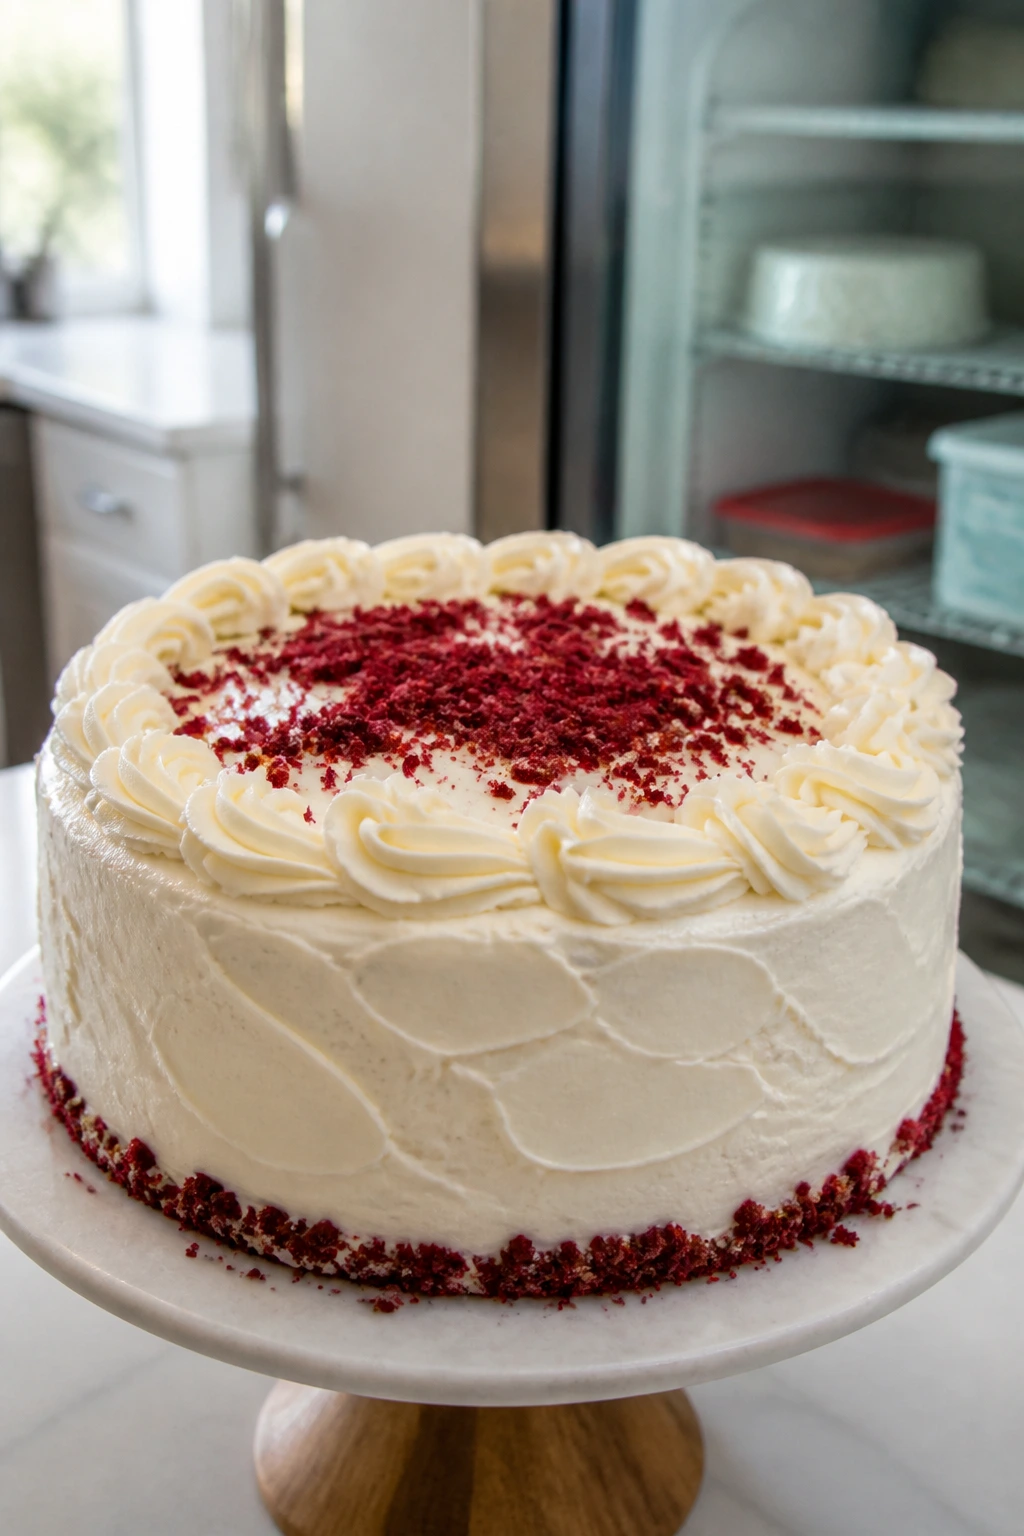
Spread the remaining frosting over the top and sides, then swirl it with an offset spatula or the back of a spoon. If you like, finish with a few cake crumbs, shaved chocolate, or a light dusting of cocoa.
-
Let the finished cake sit for 20 to 30 minutes before slicing if you want the neatest cuts. The frosting settles, the layers hold together, and the knife comes out cleaner.
How to Serve It
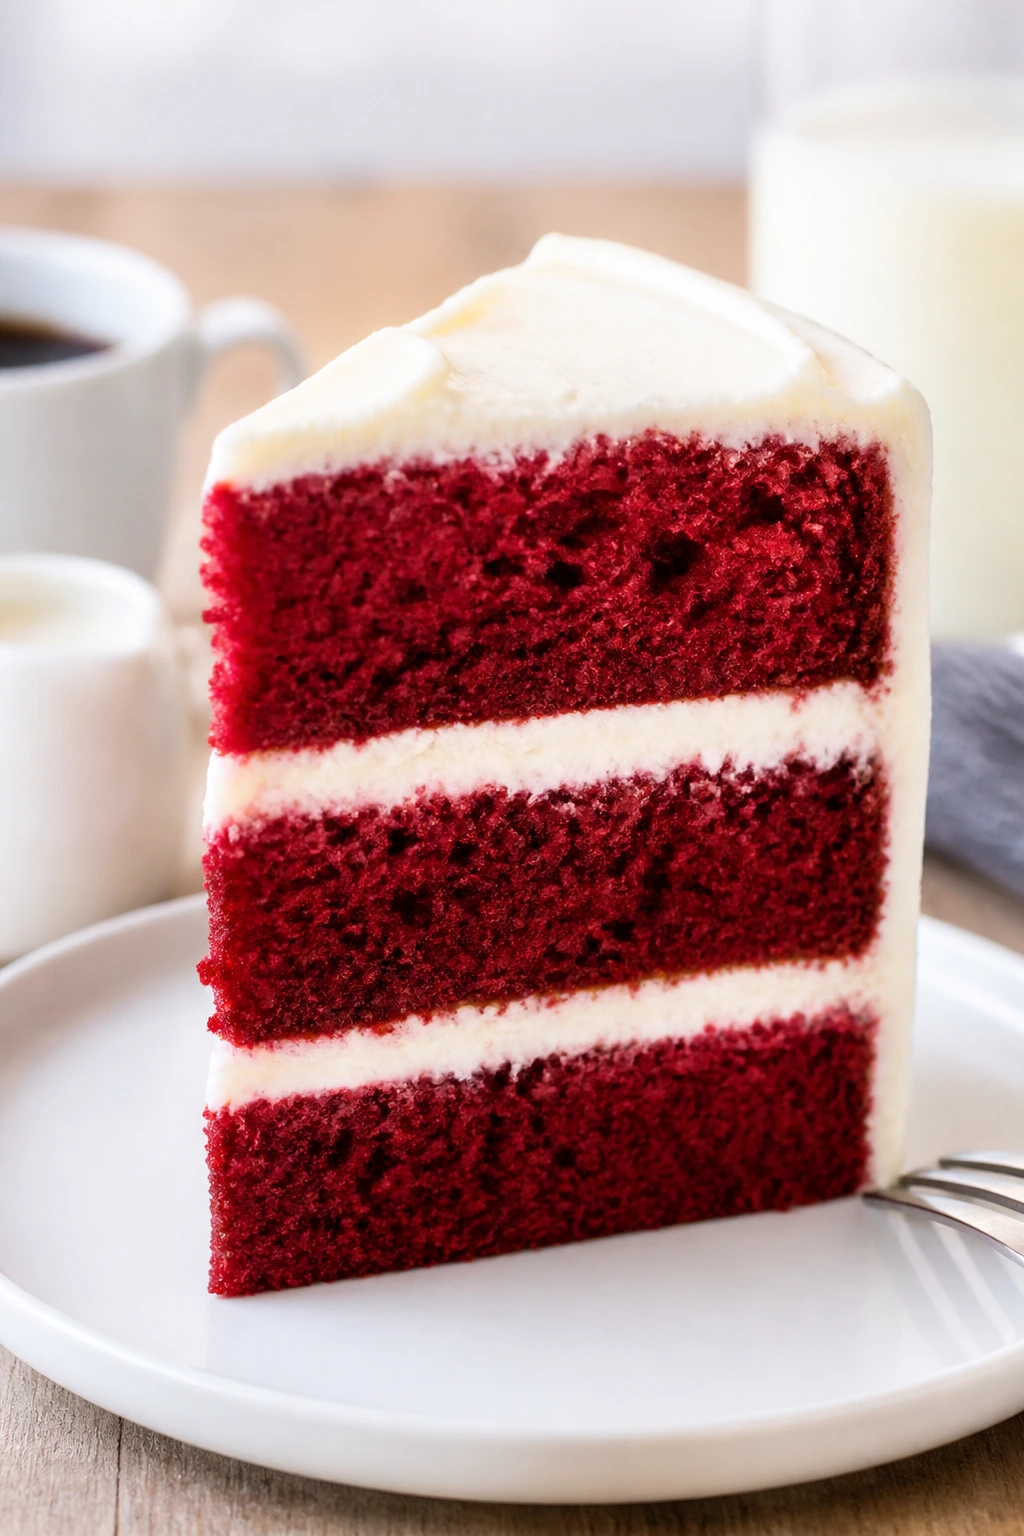
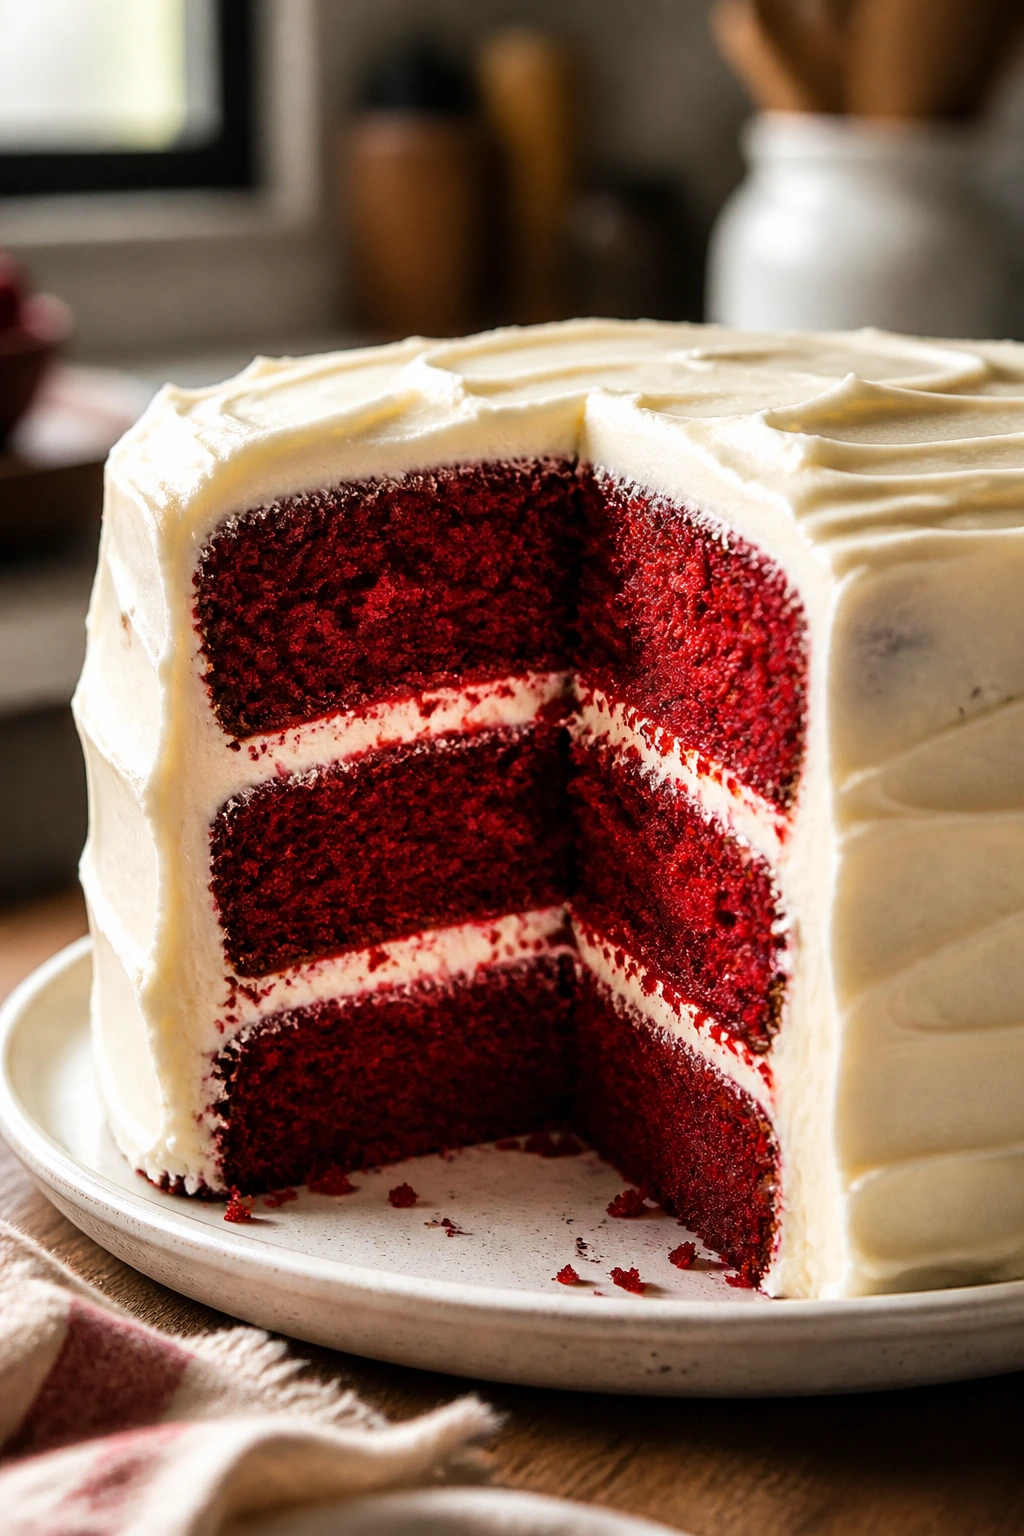
Presentation: A tall slice on a white plate shows off the red crumb against the pale frosting, which is half the pleasure here. If you saved a few cake crumbs from leveling the layers, press them lightly onto the sides for a bakery look that takes about two minutes.
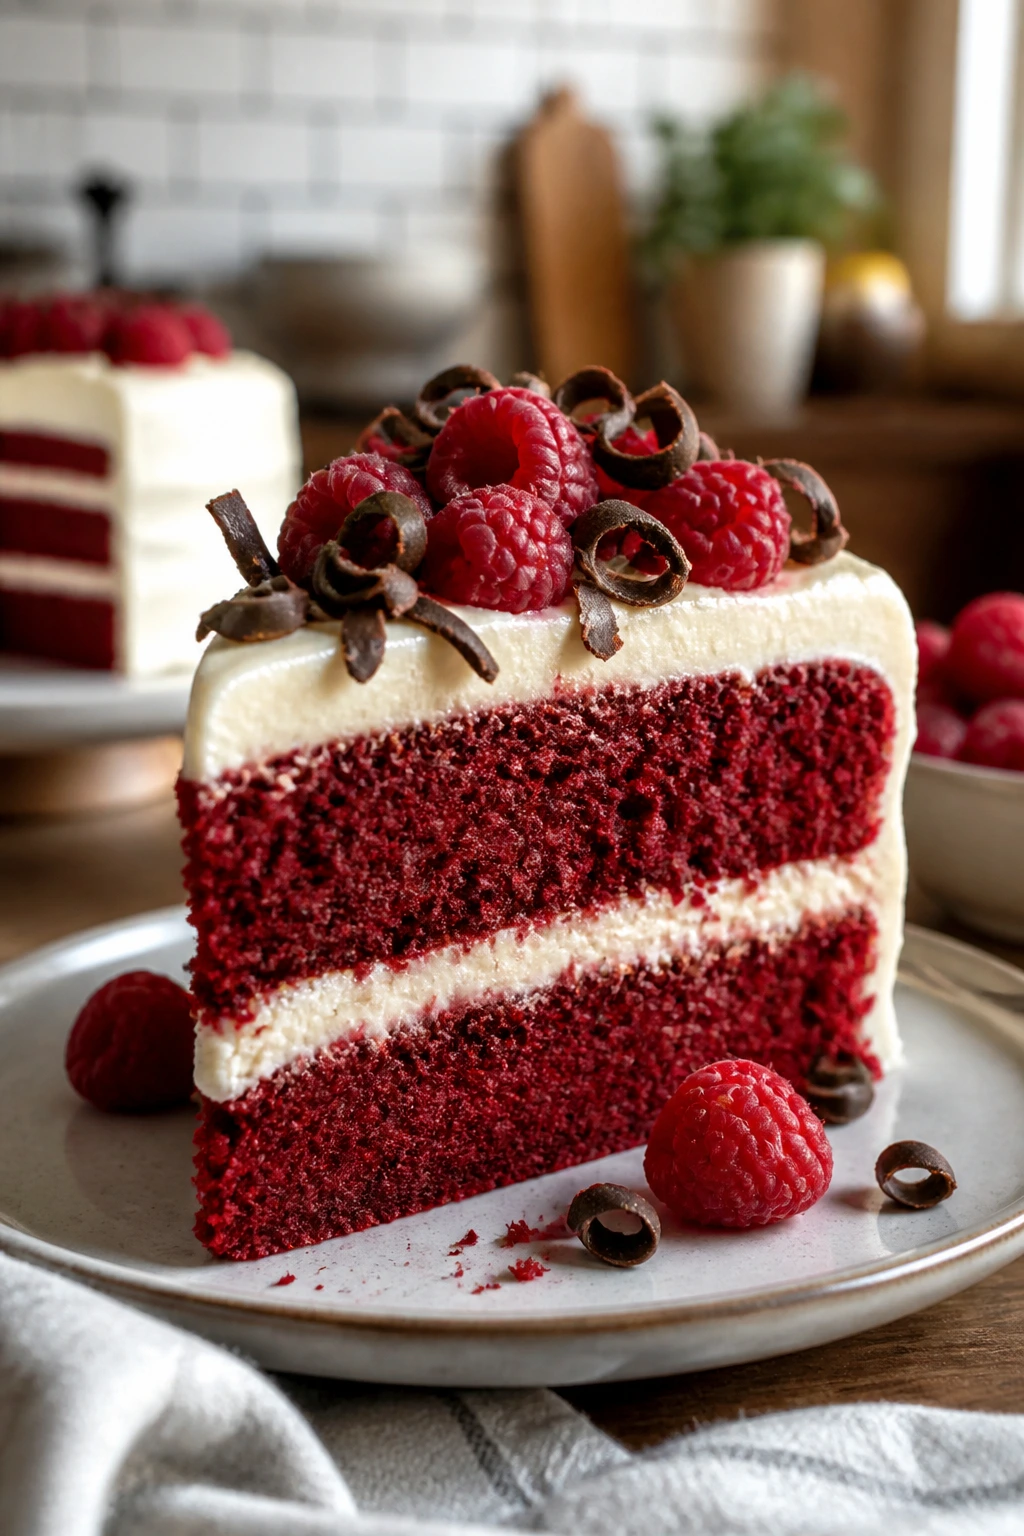
Accompaniments: Keep the sides simple. A few raspberries, a bowl of strawberries, or a scoop of vanilla ice cream all make sense, but they should stay in the background. A strong cup of coffee or a glass of cold milk handles the sweetness better than anything fussy.
Portions: Cut the cake into 10 to 12 slices for a normal dessert portion. If it’s part of a larger spread, 12 thinner slices work fine. For smaller serving platters, chill the cake first so the slices stay neat while you move them.
Beverage Pairing: Black coffee is the obvious choice, and it earns its place. Unsweetened iced tea or a glass of cold whole milk also works, especially if you prefer to keep the frosting front and center.
Extra Tips and Flavor Boosters
Flavor Enhancement: A teaspoon of instant espresso powder stirred into the dry mix deepens the cocoa note without turning the cake into mocha territory. You won’t taste coffee, just a fuller chocolate edge.
Texture Trick: Chill the frosted cake for 20 minutes before serving if the room is warm. The cream cheese frosting firms just enough to cut in clean wedges instead of smearing across the knife.
Time-Saver: Bake the layers a day ahead, wrap them once fully cool, and frost the next day. Cold layers are easier to frost, and the cake actually slices better after that rest.
Serving Suggestions: A few fresh raspberries or a scattering of dark chocolate curls work well on top. Use a light hand. Red velvet already has enough drama without extra clutter.
Make-It-Yours: For a slightly sharper tang, add 1 tablespoon of lemon juice to the frosting. For a softer, sweeter finish, add an extra 1/2 cup powdered sugar and beat until the frosting holds a swoop.
Common Mistakes to Avoid
-
Using cold dairy straight from the fridge: The batter can look curdled and the frosting can turn lumpy. Let the buttermilk, sour cream, cream cheese, and butter soften first.
-
Beating the batter too long: Overmixing after the dry ingredients go in tightens the crumb and steals the soft, tender bite red velvet should have. Stir only until the streaks disappear.
-
Frosting a warm cake: The frosting melts, slips, and makes the layers slide. Wait until the cakes are fully cool, even if that means putting dinner on hold for half an hour.
-
Using low-fat cream cheese: It usually carries more water and gives you a loose frosting that refuses to hold a ridge. Brick-style full-fat cream cheese is the safer bet.
-
Overbaking by a few minutes: Box cakes can go from moist to dry fast. Start checking at 28 minutes and look for a toothpick with moist crumbs, not a clean, dry stick.
-
Skipping the crumb coat: If you want a clean finish, that thin first layer matters. It traps crumbs so the final frosting layer stays smooth instead of speckled with red bits.
Variations and Easy Swaps
Cupcake Route: Divide the batter into 24 lined muffin cups and bake at 350°F for 18 to 22 minutes. Pipe or spoon the frosting on top once the cupcakes are completely cool.
Single-Layer Sheet Cake: Pour the batter into a greased 9×13-inch pan and bake for 30 to 35 minutes. Spread the frosting thickly over the top and add cake crumbs down the center for a simple finish.
Extra-Chocolate Red Velvet: Add another 1 tablespoon cocoa powder and fold in 1/2 cup mini chocolate chips. It pushes the cake toward deeper chocolate while keeping the red velvet tang.
Gluten-Free Swap: Use a gluten-free red velvet mix of similar size and keep the rest of the recipe the same. Check the bake at the earlier end of the time range, because gluten-free batters can dry out faster if they linger in the oven.
Dairy-Free Direction: Use a dairy-free red velvet mix, swap in a thick plant-based yogurt for the sour cream, and frost with a dairy-free cream cheese alternative. The frosting will be a little softer, so chill it before slicing.
Storage, Make-Ahead, and Freezing
A frosted cream cheese cake should not sit out for long. Two hours at room temperature is the outer edge, and less is better if the kitchen is warm. After that, move it to the fridge.
Stored in the refrigerator, the cake keeps well for 3 to 4 days. Cover it with a cake dome, or wrap the cut sides with plastic so the frosting doesn’t pick up fridge odors. The texture actually improves after the first day, once the crumb has had time to settle and the frosting firms up.
For freezing, the easiest route is to freeze the unfrosted layers. Wrap each cooled layer tightly in plastic, then foil, and freeze for up to 2 months. Thaw overnight in the fridge, still wrapped, so condensation forms on the outside of the wrapping instead of on the cake. You can freeze frosted slices too — chill them first, then wrap each slice separately and thaw in the fridge.
The frosting can be made 2 to 3 days ahead and stored in the fridge. Let it soften for 20 minutes, then stir it before spreading. If it looks a little stiff after chilling, a teaspoon of cream or milk loosens it back to a spreadable texture.
Questions Readers Usually Ask
Can I use water instead of buttermilk?
You can, but the cake loses part of its tang and some of the tenderness. If you’re out of buttermilk, mix 1 cup whole milk with 1 tablespoon white vinegar or lemon juice and let it stand for 5 minutes before using.
Do I have to use sour cream?
No, but it adds body that the box mix alone doesn’t have. Plain Greek yogurt is the easiest swap, and it keeps the cake moist without making the crumb greasy.
Can I bake this as a 9×13 cake instead of layers?
Yes. Use a greased 9×13-inch pan and bake a little longer, usually 30 to 35 minutes. Start checking early, because thin sheet cakes can dry out faster than round layers.
Why did my frosting get runny?
Usually the cream cheese or butter was too warm, or the mixture was beaten too long after the sugar went in. Chill the bowl for 10 to 15 minutes, then beat it briefly until it thickens again.
Can I make the layers a day ahead?
Absolutely, and I prefer it that way. Cooled layers wrapped well and chilled overnight frost more cleanly because they’re firm and less crumbly.
What if my cake mix box is a different size?
The batter still works if the mix is a little smaller or larger, but the layer height can change. If the box is much smaller than 15.25 ounces, don’t add extra flour. Keep the other ingredients the same and watch the bake time closely.
Can I use a hand whisk instead of a mixer?
Yes, especially for the batter. The frosting is more work by hand, but a sturdy whisk and a bowl with some patience will get you there. If you go this route, make sure the cream cheese and butter are very soft so the mixture comes together without a fight.
A Cake Worth Baking Again
A red velvet cake mix can be plain and forgettable, or it can taste like you spent far more time on it than you did. The difference is in the small things: a little tang from buttermilk and sour cream, a gentle hand with the batter, and cream cheese frosting that’s thick enough to sit still.
That’s the part I like best. Not the shortcut itself, but the fact that the shortcut can still leave room for taste, texture, and a little care. When you slice into a chilled layer and the knife comes away clean, the whole cake feels more expensive than it was.
Bake it once, and you’ll probably stop following the box directions exactly as written. That’s the right habit to build here.
Rich Red Velvet Cake Mix with Cream Cheese Frosting — Recipe Card
Recipe Name: Rich Red Velvet Cake Mix with Cream Cheese Frosting
Description: A boxed red velvet mix gets a richer crumb from buttermilk and sour cream, then gets finished with a thick, tangy cream cheese frosting. The cake slices cleanly, tastes soft and plush, and holds up well after a short chill.
Prep Time: 25 minutes
Cook Time: 28 to 32 minutes
Total Time: about 1 hour 40 minutes, including cooling
Course: Dessert
Cuisine: American
Servings: 10 to 12 servings
Calories: about 460 kcal per serving
Ingredients
For the Cake:
- 1 box red velvet cake mix (15.25 oz)
- 1 cup buttermilk, room temperature
- 1/2 cup sour cream, room temperature
- 1/2 cup neutral oil
- 3 large eggs, room temperature
- 1 teaspoon pure vanilla extract
- 1 tablespoon unsweetened cocoa powder
- 1/4 teaspoon fine salt
For the Cream Cheese Frosting:
- 16 oz full-fat cream cheese, softened
- 1/2 cup unsalted butter, softened
- 4 1/2 cups powdered sugar, sifted
- 2 teaspoons pure vanilla extract
- Pinch of fine salt
- 1 to 2 tablespoons heavy cream, only if needed
Instructions
-
Preheat the oven to 350°F (175°C). Grease two 8-inch round cake pans, line the bottoms with parchment rounds, and grease the parchment.
-
Whisk the cake mix, cocoa powder, and salt in a large bowl.
-
In a separate bowl, whisk the buttermilk, sour cream, oil, eggs, and vanilla until smooth.
-
Add the wet ingredients to the dry ingredients and stir just until combined. Do not overmix.
-
Divide the batter evenly between the prepared pans and tap each pan on the counter once or twice.
-
Bake for 28 to 32 minutes, until the tops spring back and a toothpick comes out with a few moist crumbs.
-
Cool the cakes in the pans for 10 minutes, then turn them out onto a wire rack and cool completely.
-
Beat the cream cheese and butter until smooth. Add the powdered sugar, vanilla, and salt, then beat until thick and spreadable. Add heavy cream only if needed.
-
Spread frosting between the layers, apply a thin crumb coat, chill for 15 minutes, then frost the top and sides.
-
Rest the finished cake for 20 to 30 minutes before slicing for the cleanest cuts.
Notes: Chill the cake briefly before serving if you want sharper slices. Keep refrigerated because of the cream cheese frosting. For a slightly deeper cocoa flavor, add 1 teaspoon instant espresso powder to the dry ingredients.