
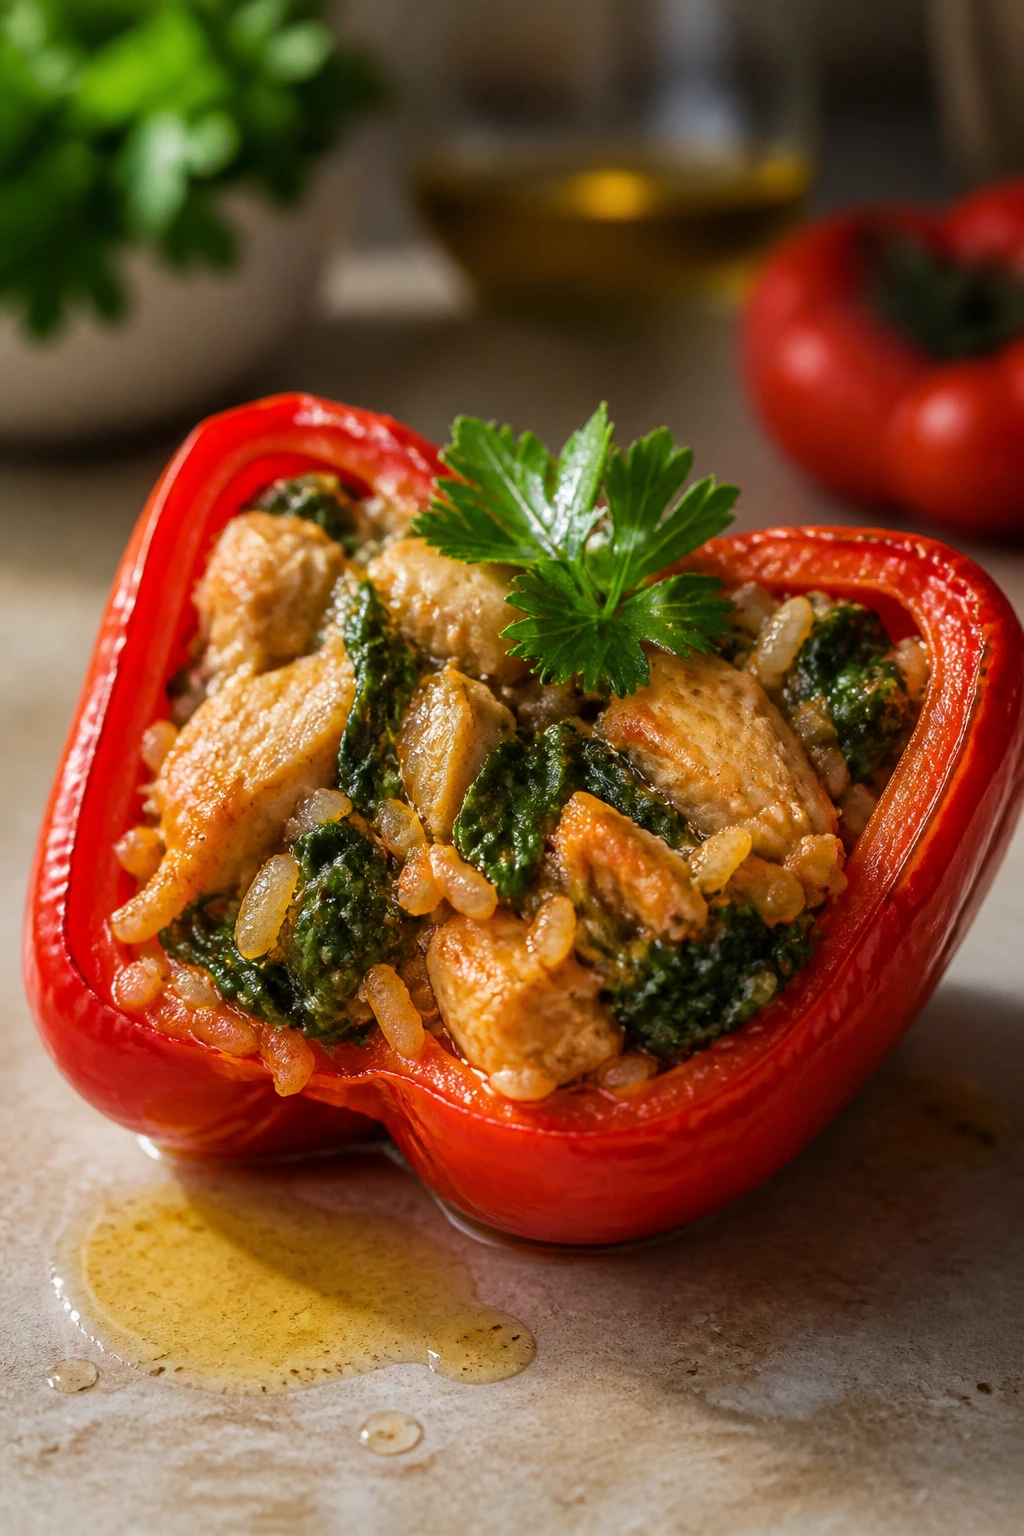
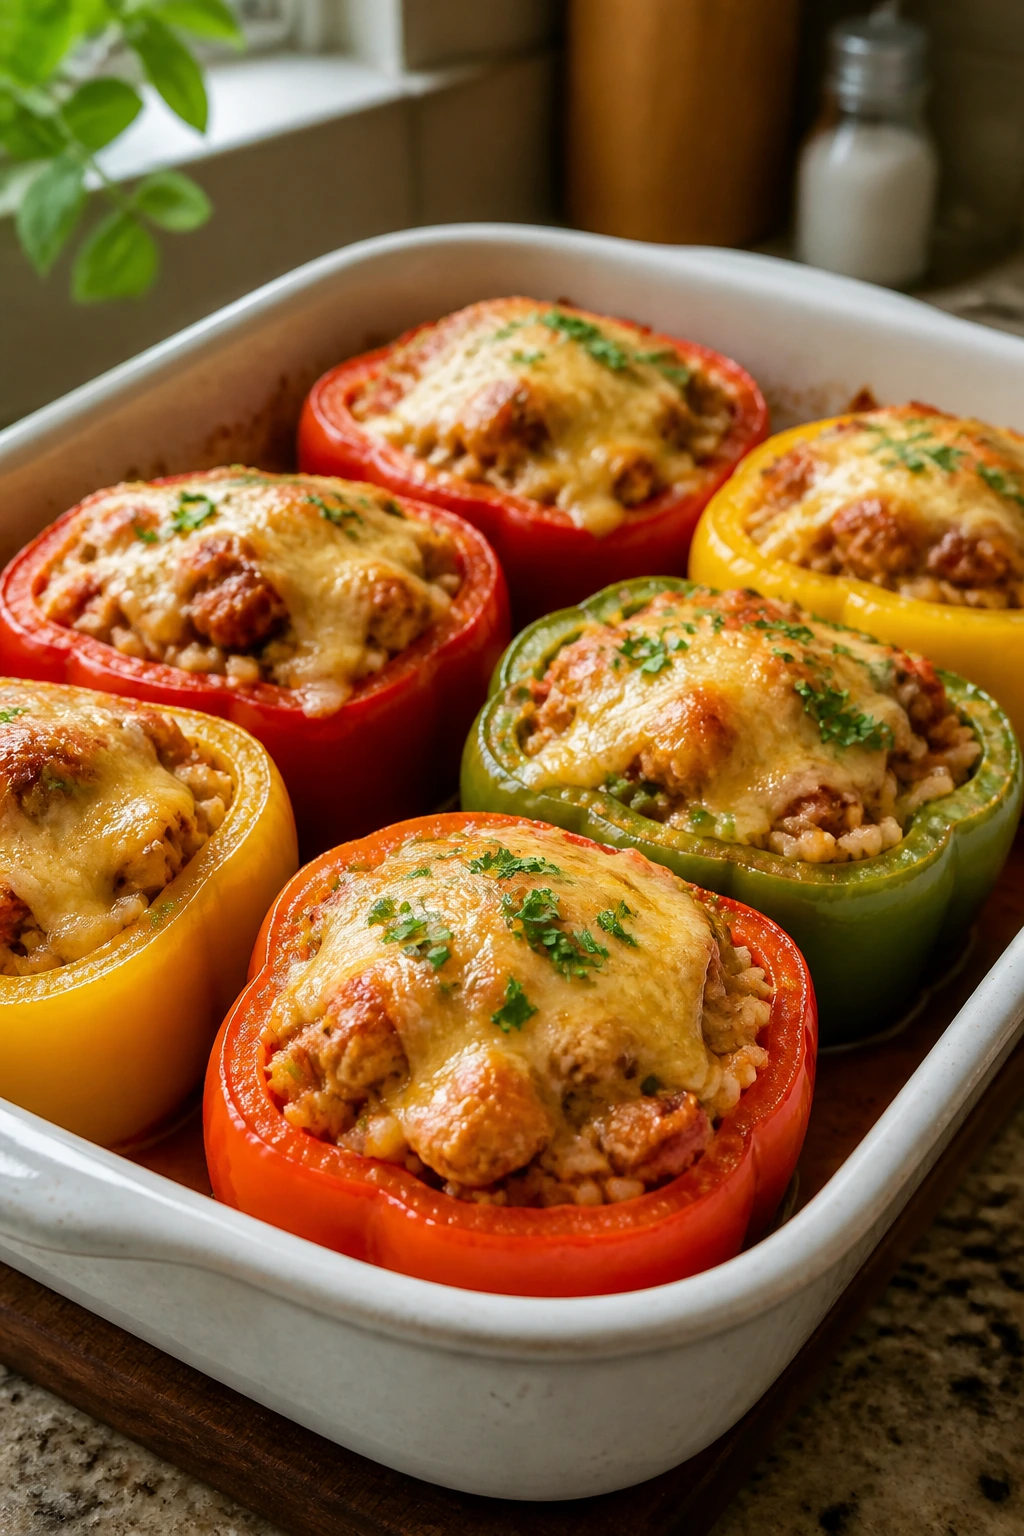
Chicken stuffed bell peppers work best when the pepper is tender enough to give under a fork and the filling tastes like it had a skillet of its own before it ever met the oven. That’s the whole difference between a tray that feels like leftovers and a tray that feels like dinner.
I like this kind of stuffed pepper because it doesn’t ask you to babysit anything. The peppers sit there and soften, the chicken browns in one pan, and the tomato, rice, and cheese settle into something that actually tastes finished. Whole peppers can be awkward and stubborn; halved peppers are a different animal. They lie flat, bake more evenly, and don’t tip over the second you move the dish.
There’s also a practical charm to the dish that gets overlooked. Ground chicken takes seasoning well, bell peppers turn sweet at the edges when they roast, and the whole pan lands in that sweet spot between “enough food for everyone” and “didn’t leave the kitchen looking like a disaster zone.” The useful trick is simple: cook the filling so it already tastes good before stuffing, then give the peppers a short head start in the oven so they come out tender instead of crunchy. That’s where this version earns its keep.
Why This Pan Wins on a Tuesday
- The peppers soften before the filling dries out: A short pre-bake gives the pepper walls time to relax, so you don’t end up with a crisp shell around hot filling.
- The chicken tastes seasoned, not bland: Onion, garlic, tomato paste, smoked paprika, and marinara build flavor in the skillet before the peppers ever go in the oven.
- One pound of chicken goes farther than you’d expect: Rice stretches the filling without making it heavy, and the whole pan still eats like a real main course.
- Cleanup stays mercifully small: One skillet, one baking dish, one cutting board. That’s the kind of math I trust on a weeknight.
- Leftovers hold up better than most stuffed dishes: The tomato and broth keep the filling from drying into little pellets the next day.
- You can lean sweet or savory with the pepper color: Red, yellow, and orange peppers roast softer and sweeter; green peppers bring a sharper bite if that’s what you like.
The Old-School Logic Behind Stuffed Peppers
Stuffed peppers have always been a practical dinner, not a fussy one. A sturdy vegetable gets hollowed out, filled with something seasoned and substantial, then baked until the edges soften and the top turns a little brown. That basic idea shows up in a lot of home kitchens for a reason: it uses what you already have, and it turns a few ordinary ingredients into a meal that looks more deliberate than it is.
Chicken changes the tone in a good way. Beef can push this dish toward heavy. Ground chicken stays lighter on the fork, which lets the pepper flavor come through instead of getting buried under fat and salt. If you use good tomato paste and enough onion, the filling gets this mellow, rounded flavor that tastes like it took more work than it did.
Why halved peppers beat whole peppers here
Whole peppers are cute until dinner is ten minutes late and you’re trying to balance one upright in the oven while it slowly flops over. Halved peppers solve that problem. They sit flat, cook more evenly, and give you a bigger surface area for cheese, which matters more than people admit.
They also cook faster. That matters on busy nights. When you want tender stuffed bell peppers chicken-style, you want the pepper to soften at the same pace the filling warms through. Halving the peppers gives you a much cleaner finish.
The texture you’re chasing
The best bite is soft at the edges and still a little structured in the middle. Not mush. Not raw crunch. The knife should slide through with light resistance, and the pepper should still hold its shape when you scoop out a portion.
That’s why this recipe starts with a short pre-bake. It looks like an extra step on paper, but it pays for itself in the final texture. Skip it at your own risk.
Fast Facts for the Baking Dish
Yield: Serves 6 | Makes 12 stuffed pepper halves
Prep Time: 25 minutes
Cook Time: 35 minutes
Total Time: 1 hour
Difficulty: Beginner — the steps are straightforward, and the oven does the heavy lifting.
Chill/Rest Time: 5 minutes before serving
Best Served: Warm from the oven, while the cheese is still soft and the pepper edges are tender
A 9×13-inch baking dish fits this recipe well if the peppers are medium to large and sliced lengthwise. If your peppers are extra big, use a wide shallow dish so they don’t crowd each other into a strange angle. Crowding is fine. Wobbling is not.
What Goes Into the Filling and Why Each Piece Matters
For the Peppers
- 6 large bell peppers, halved lengthwise and seeded
- 1 tablespoon olive oil
- 1/2 teaspoon kosher salt
For the Chicken Filling
- 1 tablespoon olive oil
- 1 medium yellow onion, finely diced
- 1 pound ground chicken
- 3 garlic cloves, minced
- 2 tablespoons tomato paste
- 1 teaspoon kosher salt
- 1 teaspoon dried Italian seasoning
- 1 teaspoon smoked paprika
- 1/2 teaspoon black pepper
- 1/4 teaspoon red pepper flakes, optional
- 1 cup low-sodium chicken broth, divided
- 1 cup marinara sauce
- 2 cups cooked long-grain white rice, cooled
- 1 1/2 cups shredded mozzarella, divided
- 1/4 cup grated Parmesan
- 2 tablespoons chopped fresh parsley
Bell Peppers
What to use: Six large bell peppers, preferably with thick walls and fairly even shape, so the halves can sit flat in the baking dish.
Preparation: Slice them lengthwise through the stem, pull out the seeds and ribs, and brush the cut sides with olive oil before they go into the oven.
Substitutions: Red, yellow, and orange peppers taste sweeter after roasting. Green peppers are sharper and a little more old-school. Use whatever is on hand, but try to avoid wrinkled peppers with thin walls.
Tips: Thick peppers soften more gracefully and hold the filling better. If a pepper feels flimsy in your hand, it’ll usually slump in the oven too.
Ground Chicken
What to use: One pound of ground chicken. I prefer ground chicken over chopped cooked chicken here because it gives the filling a looser, more spoonable texture.
Preparation: Let it sit out for 10 minutes if it came straight from the fridge. Cold ground meat can steam before it browns, and browning matters here.
Substitutions: Ground turkey works one-to-one. If you only have chopped cooked chicken, use about 2 1/2 cups and skip the browning stage, though the filling will be a little firmer.
Tips: Ground chicken is lean, so don’t treat it like it can carry the whole dish by itself. Onion, tomato paste, and cheese are not decorations here; they keep the filling from eating dry.
Rice and Tomato Base
What to use: Two cups cooked long-grain white rice, cooled, plus one cup marinara sauce and one cup low-sodium chicken broth, divided.
Preparation: Use cooled rice, not warm rice. Warm rice turns gluey once it meets the chicken and sauce.
Substitutions: Brown rice works if you want more chew. Cauliflower rice works too, but you need to cook off extra moisture first or the filling turns wet.
Tips: Long-grain rice stays separate and light. Short-grain rice gets sticky in a way that can make the filling clump instead of mound.
Seasonings and Cheese
What to use: Tomato paste, Italian seasoning, smoked paprika, black pepper, red pepper flakes, mozzarella, Parmesan, and parsley.
Preparation: Measure everything before you heat the pan. Once the chicken is in, the skillet moves fast.
Substitutions: Use provolone or Monterey Jack instead of mozzarella if that’s what you have. Add basil instead of parsley if you want a greener finish.
Tips: Tomato paste should cook long enough to darken slightly and smell sweet. Raw tomato paste tastes flat and tinny; cooked paste tastes like the sauce has a backbone.
The Tools That Keep the Peppers Standing
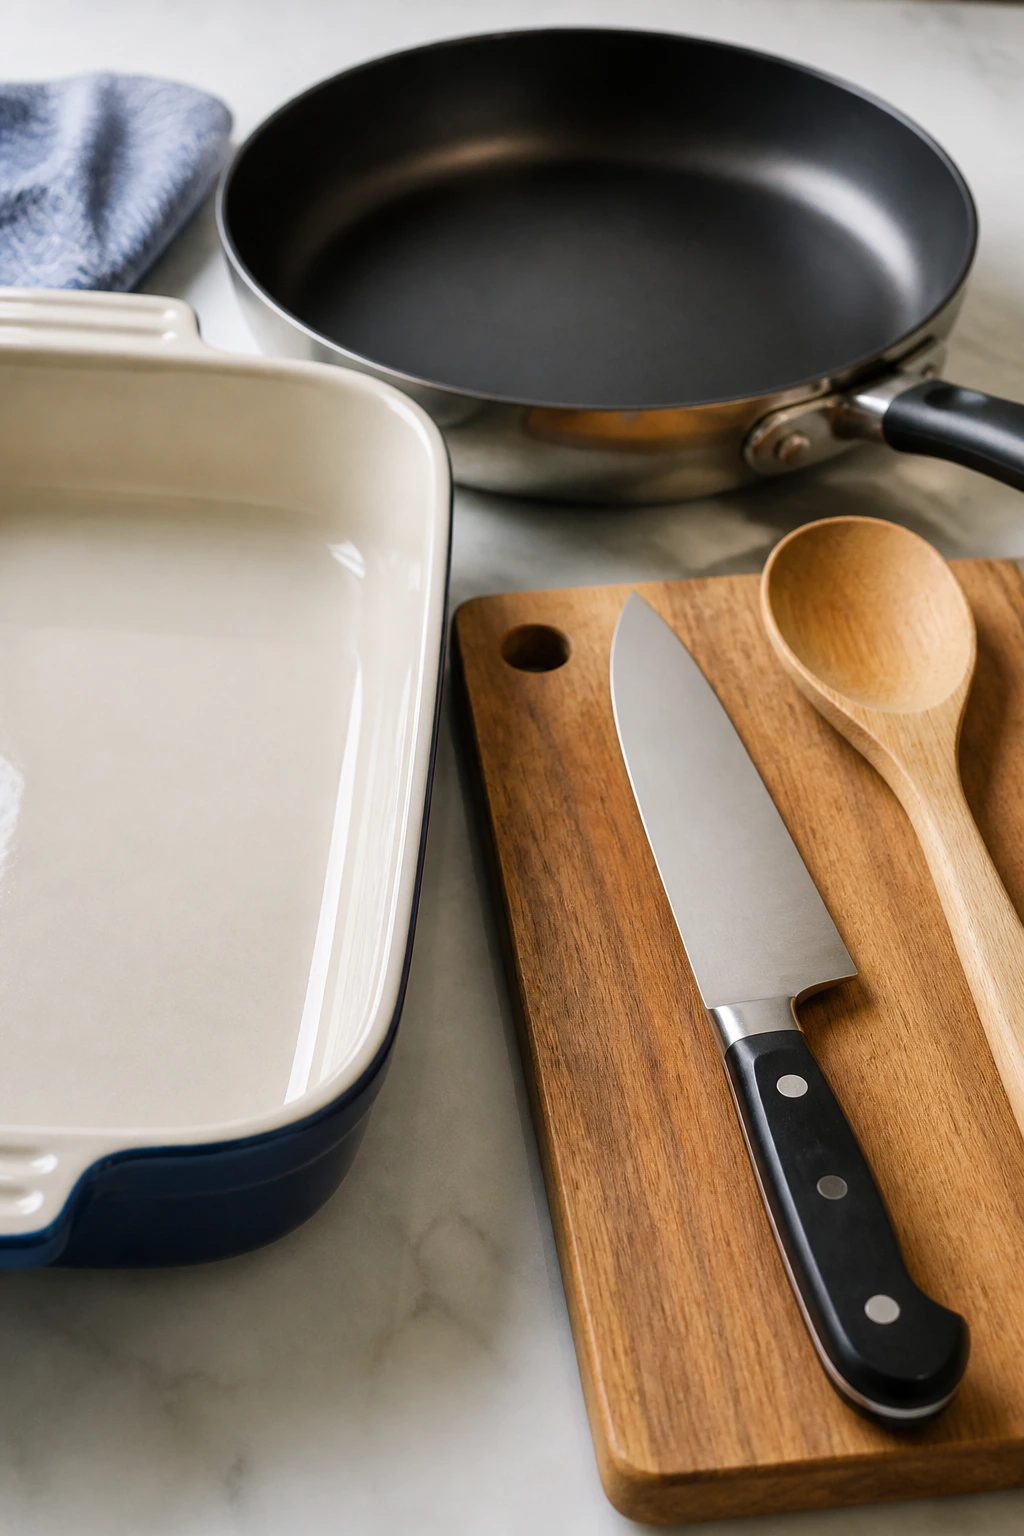
- 9×13-inch baking dish — A shallow dish keeps the pepper halves snug so they don’t slide around.
- Large skillet, 10 to 12 inches — You need enough surface area to brown the chicken instead of steaming it.
- Sharp chef’s knife — A clean cut through the pepper makes the halves sit more evenly.
- Cutting board — Use a stable board; peppers are slippery when you seed them.
- Wooden spoon or spatula — Helpful for breaking up the chicken and scraping up browned bits.
- Measuring spoons and cups — The filling needs enough salt and tomato to taste finished.
- Foil — Useful for covering the dish during the first part of baking if your oven runs hot or your peppers are thick.
- Instant-read thermometer — The cleanest way to check that the filling reaches 165°F in the center.
How to Build the Peppers from Stove to Oven
The filling does not belong in the oven raw. If the chicken is still pale and the onion still tastes sharp, the finished peppers will taste half-cooked no matter how much cheese you put on top.
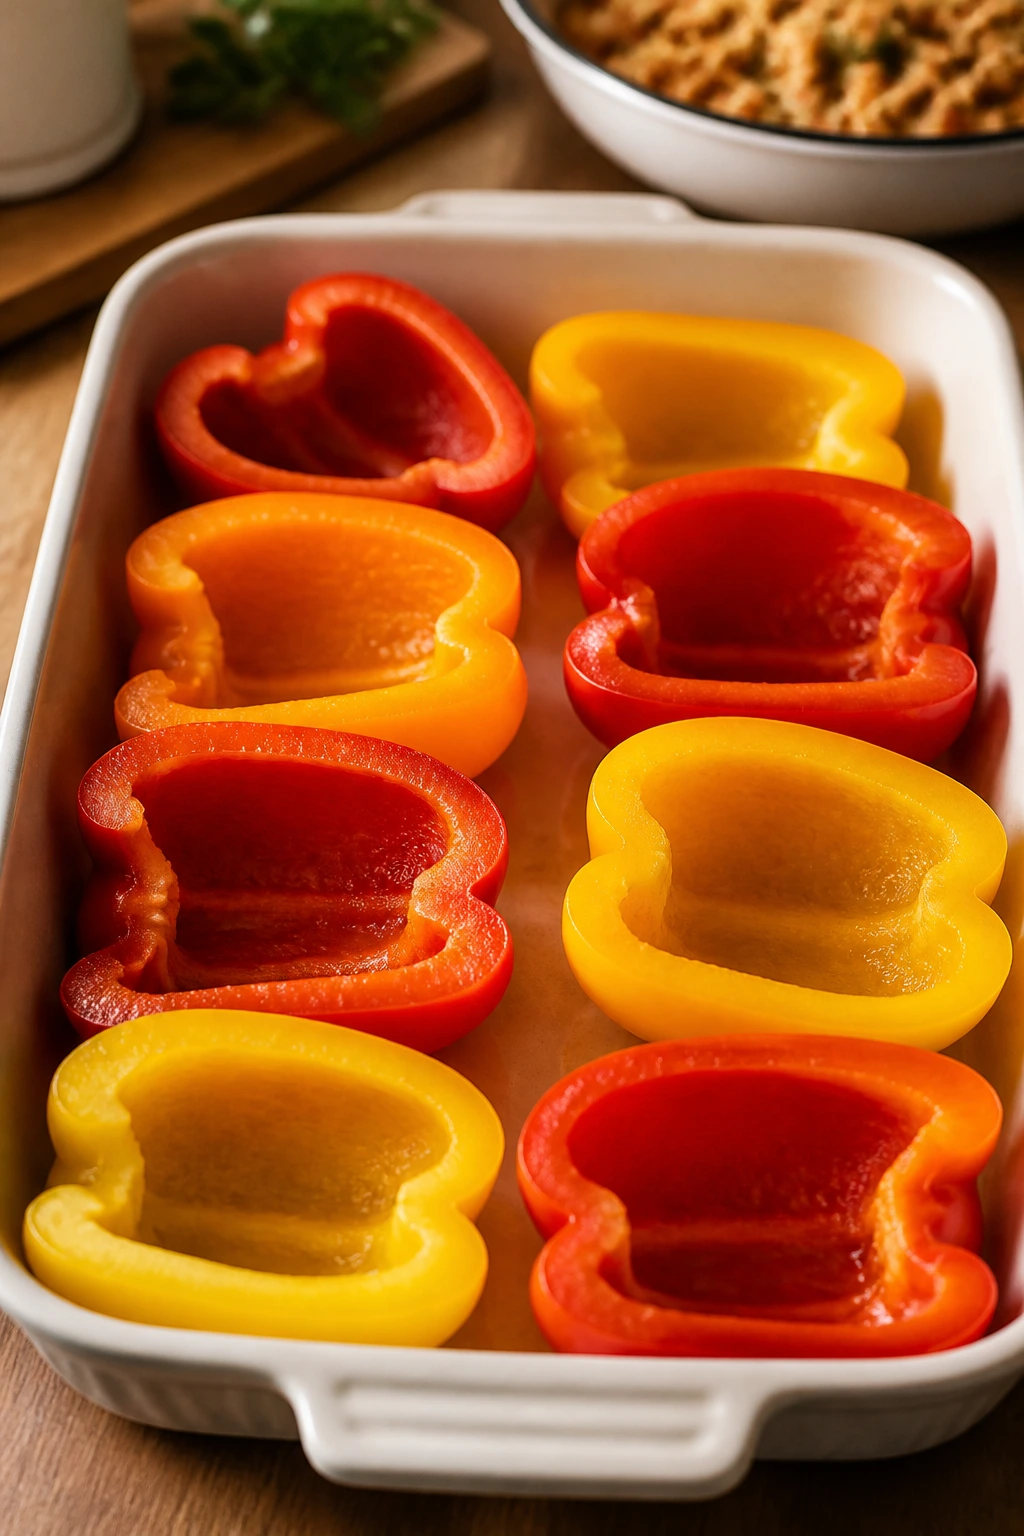
Prepare the Peppers
-
Preheat the oven to 400°F (200°C) and position a rack in the center. Lightly grease a 9×13-inch baking dish with a little oil.
-
Slice the bell peppers lengthwise through the stem, then remove the seeds and white ribs. Arrange them in the baking dish, cut side up.
-
Brush the cut sides with 1 tablespoon olive oil and sprinkle with 1/2 teaspoon kosher salt. Bake the empty pepper halves for 10 minutes, just until they begin to soften at the edges.
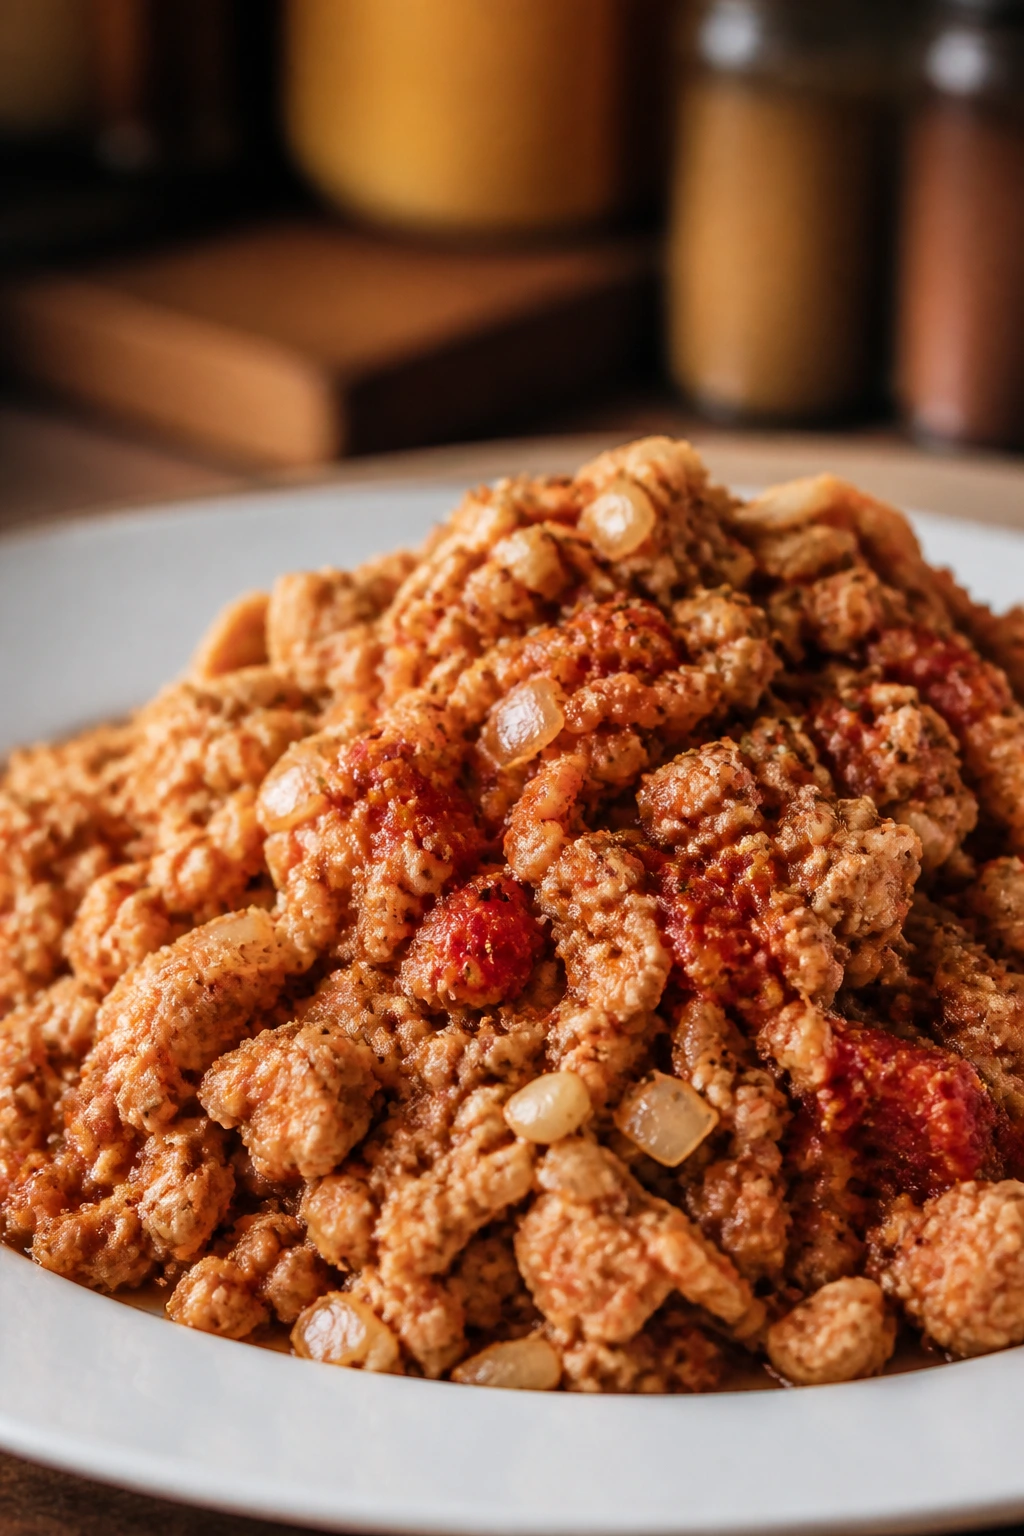
Cook the Filling
-
While the peppers pre-bake, heat 1 tablespoon olive oil in a large skillet over medium-high heat. Add the diced onion and cook for 4 to 5 minutes, stirring often, until translucent and just starting to pick up gold color.
-
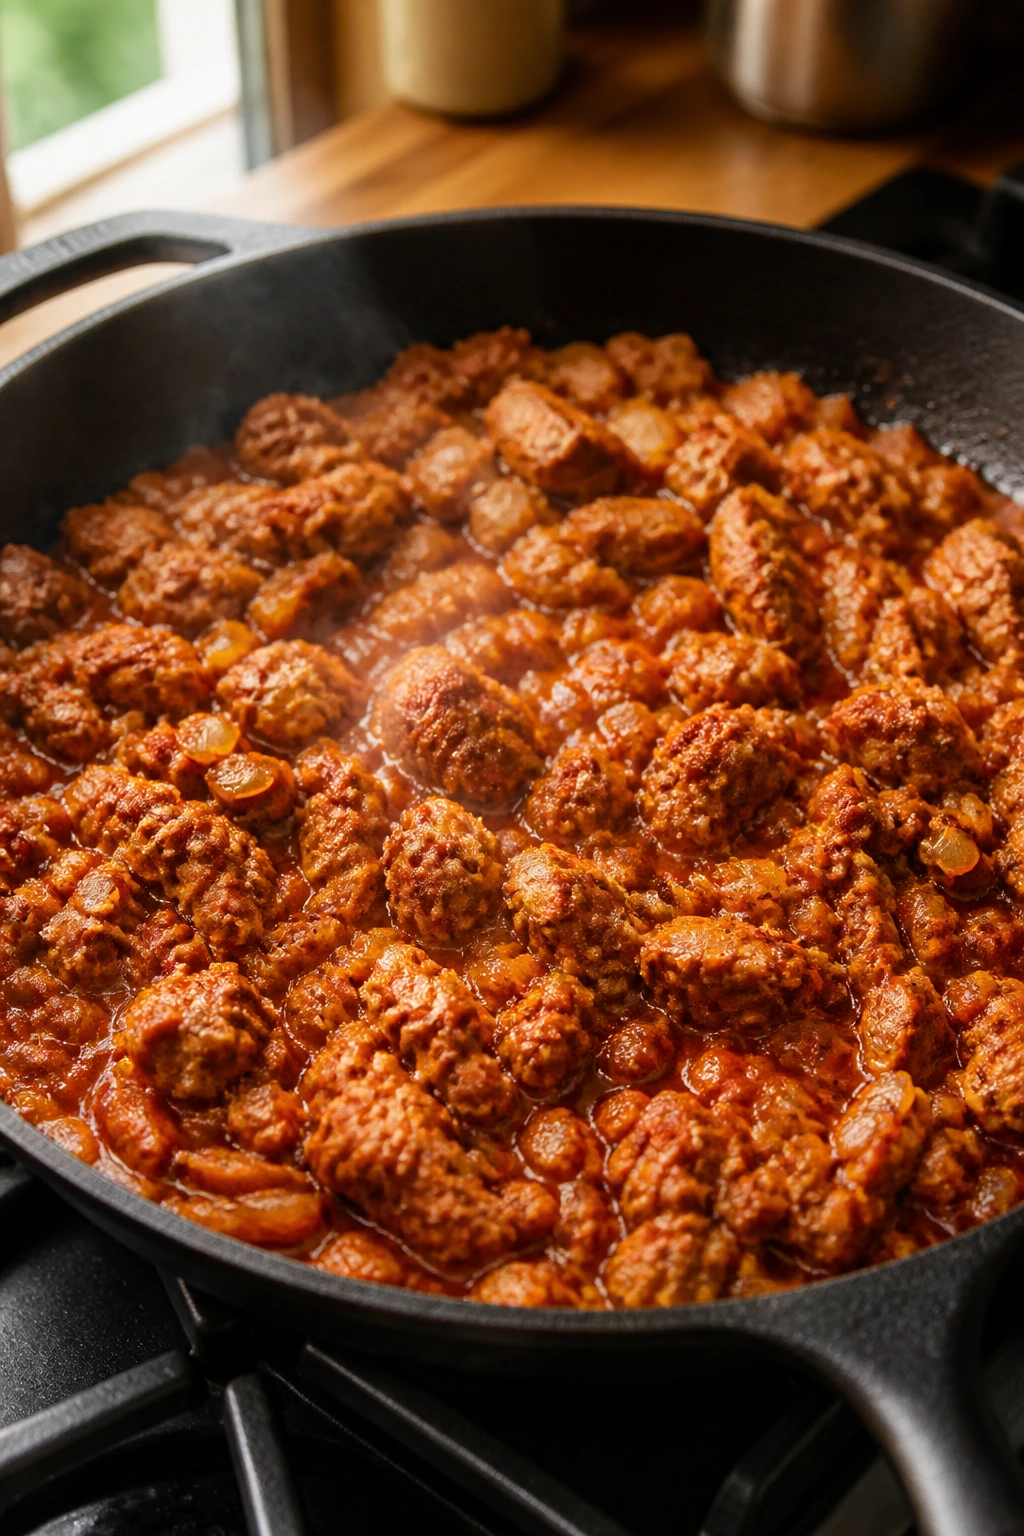
Add the ground chicken, 1 teaspoon kosher salt, Italian seasoning, smoked paprika, black pepper, and red pepper flakes if you’re using them. Cook for 5 to 6 minutes, breaking the chicken apart with a spoon, until no pink remains and some bits are lightly browned. Do not leave the chicken in big chunks unless you want awkward scoops later.
-
Stir in the minced garlic and tomato paste and cook for 1 minute, until the paste darkens a shade and smells sweet rather than sharp.
-
Pour in 1/2 cup of the chicken broth and the marinara sauce. Scrape up any browned bits from the bottom of the skillet. Simmer for 2 minutes, then stir in the cooled rice, 1 cup of the mozzarella, the Parmesan, and the parsley. The mixture should mound on a spoon without running.
Stuff and Bake
-
Spoon the filling into the pepper halves, mounding it lightly. Don’t press so hard that the peppers split. Sprinkle the remaining 1/2 cup mozzarella over the tops.
-
Pour the remaining 1/2 cup chicken broth into the bottom of the baking dish, around the peppers, not over them. Cover the dish loosely with foil and bake for 15 minutes.
-
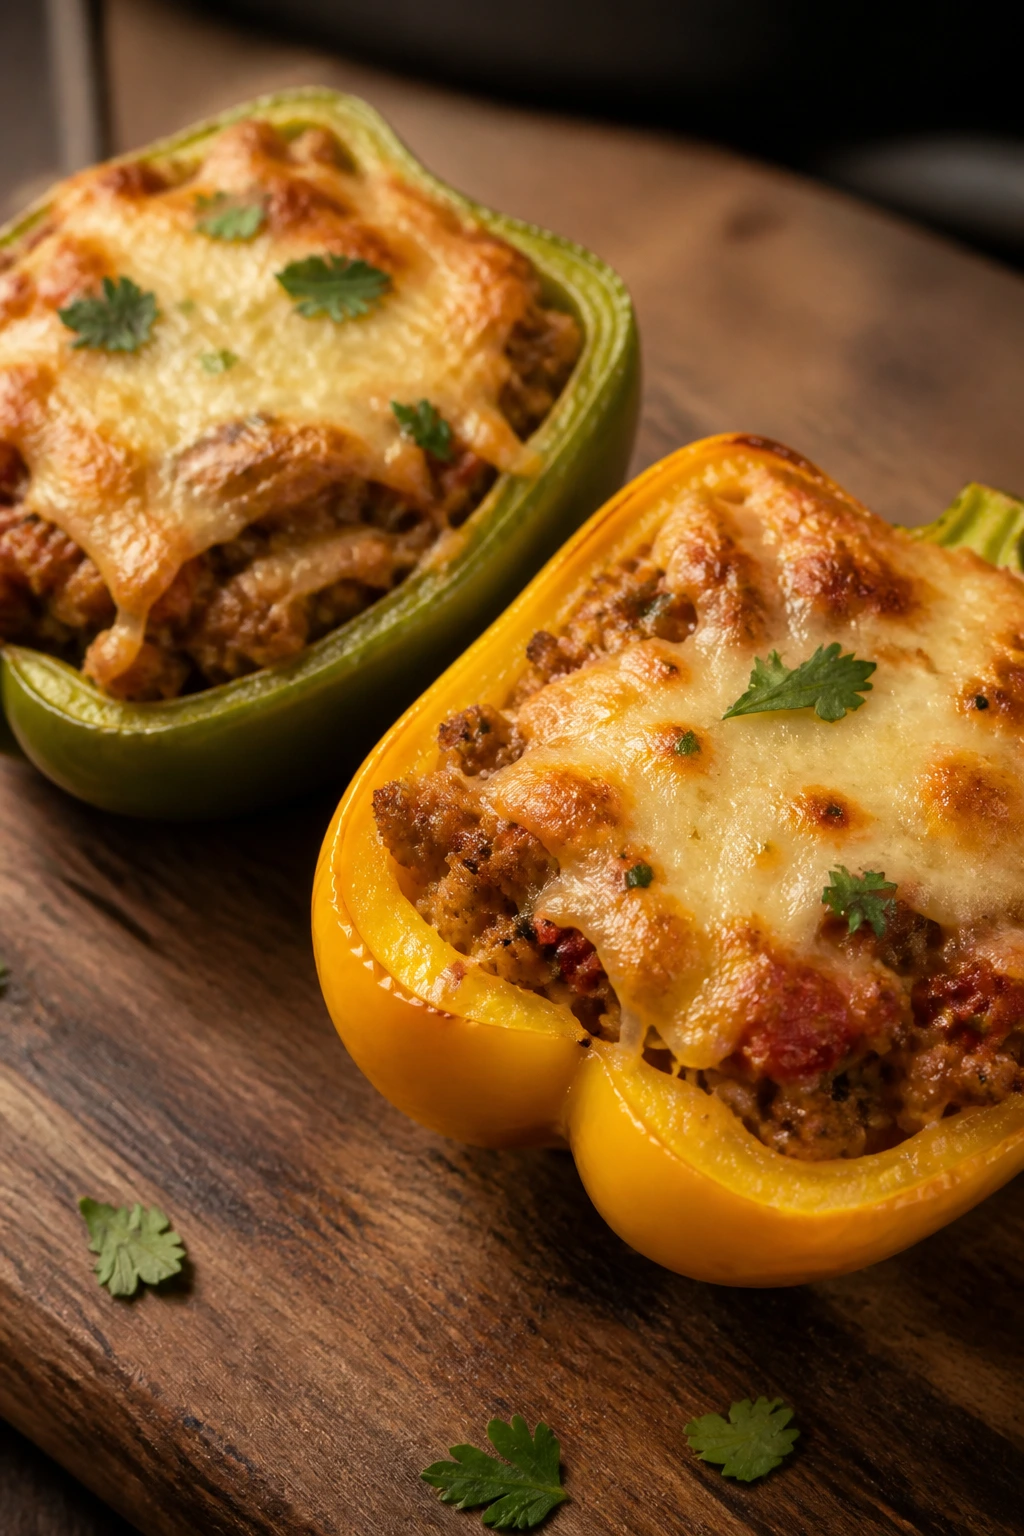
Remove the foil and bake for another 8 to 10 minutes, until the cheese is melted and the peppers are tender enough to pierce with a knife. The filling should register 165°F in the center.
-
Rest the peppers for 5 minutes before serving. The cheese settles, the filling firms up a little, and the whole thing behaves better on the plate.
If you want a little browned cheese on top, broil the dish for 1 to 2 minutes at the end. Stay close. Cheese goes from golden to regret fast.
How to Serve Them Without Making the Plate Feel Heavy
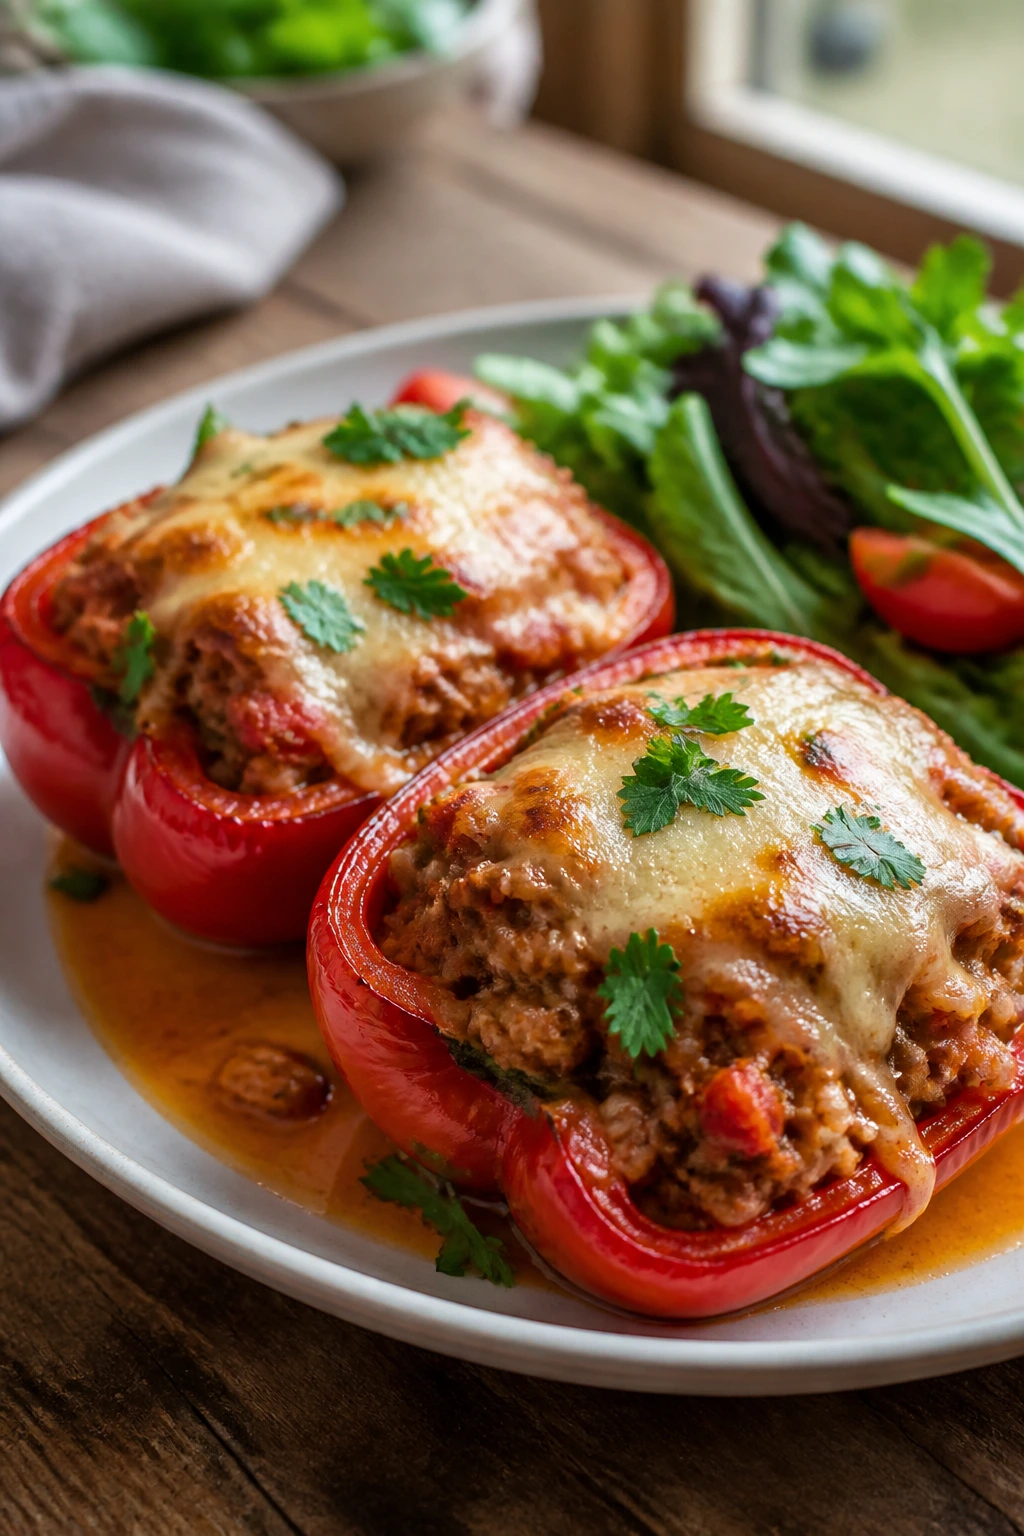
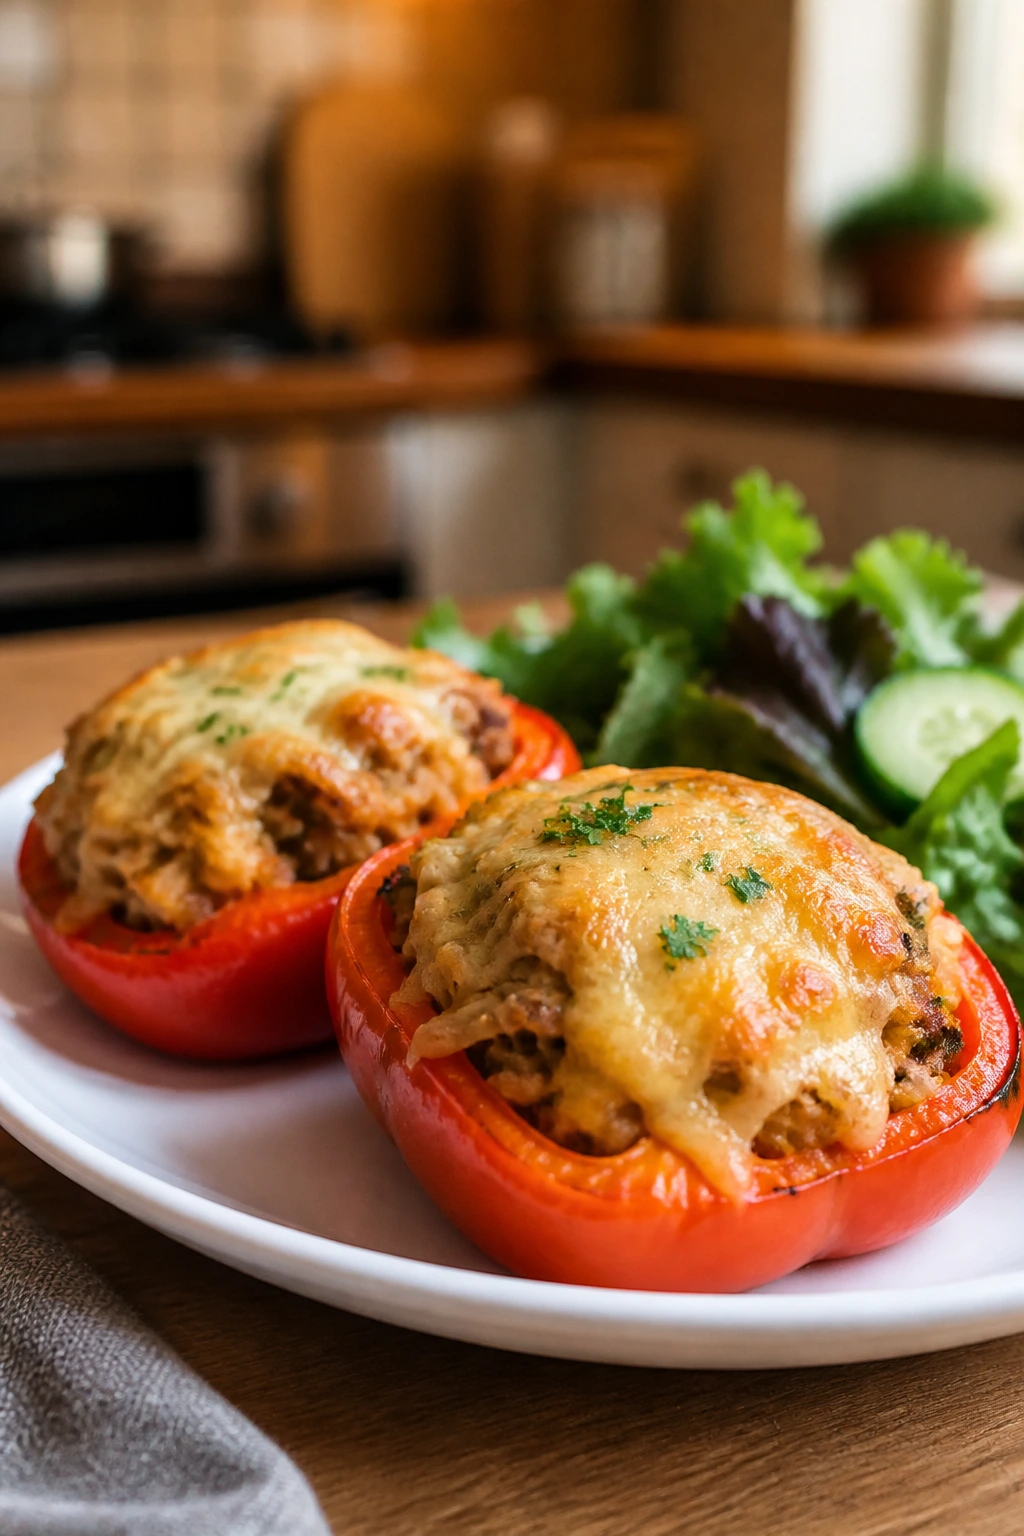
A stuffed pepper can look like a full meal by itself, but it usually eats better with something crisp or sharp beside it. The pepper already gives you softness. The plate wants contrast.
Presentation: Set one or two pepper halves on each plate, then spoon a little of the pan juices around the base. The melted cheese and red tomato sauce give the dish enough color that you do not need to dress it up much. A few chopped parsley leaves are enough if you want the pan to look finished.
Accompaniments: A simple green salad with lemon vinaigrette keeps the plate from getting heavy. Garlic bread works if you want to soak up the sauce. Roasted broccoli, green beans, or even a quick cucumber salad make sense too, especially if the peppers are on the sweeter side.
Portions: Plan on 2 stuffed halves per adult if you’re serving them as the main dish with a light side. If the peppers are especially large or you’re adding bread and salad, one hearty half can be enough. For smaller appetites, one half with a salad is plenty.
Beverage Pairing: A dry rosé or a light red like Pinot Noir sits nicely with the tomato and cheese. If you want something nonalcoholic, sparkling water with lemon or unsweetened iced tea keeps the meal from feeling too heavy.
Small Tweaks That Make the Filling Taste Brighter
Flavor Enhancement: A teaspoon of Dijon mustard stirred into the hot filling sounds odd on paper and works beautifully in practice. It doesn’t make the peppers taste like mustard; it just sharpens the tomato and chicken in a way that feels more complete.
Customization: If you want a greener, fresher pan, stir in a handful of baby spinach right before stuffing the peppers. It wilts in the hot filling and disappears into the rice without adding any extra hassle. A few chopped olives also work if you like a saltier bite.
Serving Suggestions: I like a small spoonful of sour cream or plain Greek yogurt on top when the peppers come out of the oven. It cools the tomato a little and makes the cheese taste richer. A squeeze of lemon over the plate does the same thing in a cleaner way.
Make-It-Yours: For a dairy-free pan, skip the cheese inside and on top, then finish with olive oil, parsley, and a little extra tomato sauce. The dish changes character, but it still eats like a real dinner. For a lower-carb version, replace the rice with cauliflower rice and cook it down first so it doesn’t leak water into the filling.
Common Mistakes That Leave Peppers Blah or Watery
-
Skipping the pepper pre-bake: If the peppers still crunch when you cut into them, they needed that 10-minute head start. Raw bell peppers can take longer than the filling to soften, which leaves you with a hot center and a stubborn shell. Pre-bake them, and the whole dish lands better.
-
Cooking the chicken until it’s dry: Ground chicken dries out fast if you keep it on the stove after the pink is gone. Pull it when it’s just cooked through, then let the oven finish the job. The chicken should taste seasoned and juicy, not like little pebbles.
-
Using filling that’s too wet: If the mixture sloshes in the bowl, the peppers will leak and the bottoms will get mushy. Simmer the tomato and broth long enough that the filling looks thick and spoonable. It should sit on the rice, not run through it.
-
Overstuffing the halves: Piling filling three inches above the pepper looks dramatic for five seconds and then ends in spillover. Mound the filling slightly, but keep it stable. A gentle dome is enough.
-
Forgetting the salt on the peppers: Bell peppers need a little help. Without salt, they can taste thin beside the chicken and tomato. That tiny sprinkle on the cut sides matters more than people think.
-
Using too much liquid in the dish: The broth in the bottom of the pan is there to create a little steam, not to bathe the peppers. If the liquid rises too high, the bottoms go soft in a soggy way. A half cup is plenty.
Variations That Fit Different Kitchens and Diets
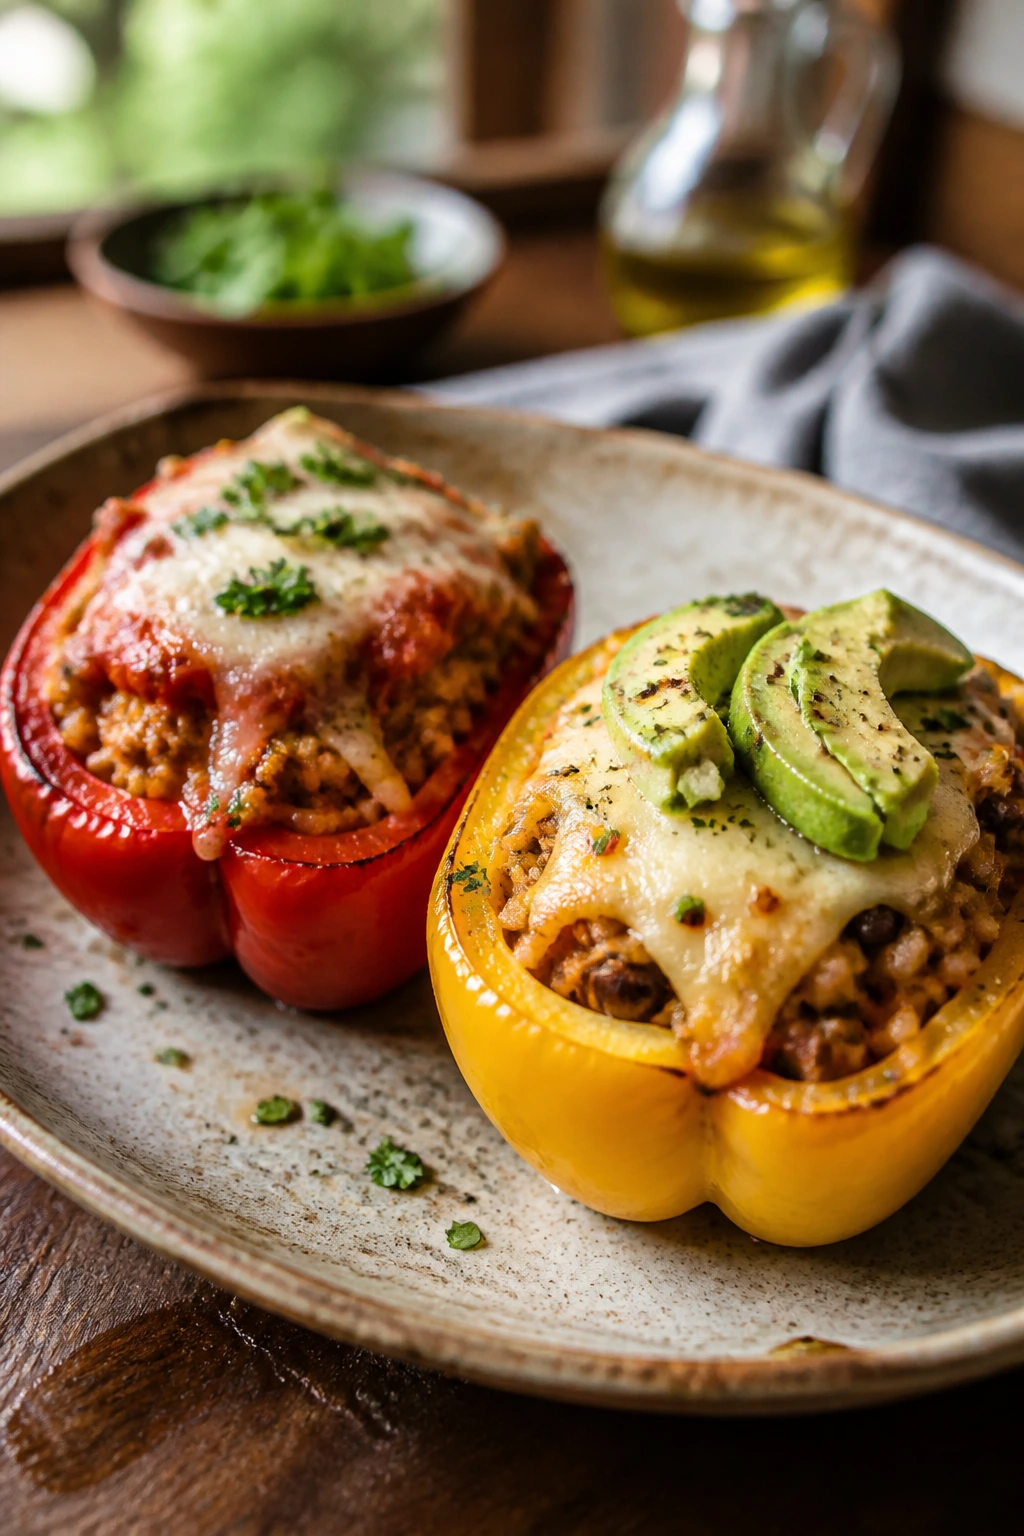
Southwest Pepper Halves
Swap the Italian seasoning and marinara for 1 teaspoon cumin, 1 teaspoon chili powder, and 1 cup salsa. Add 1/2 cup black beans and 1/2 cup corn, then top with pepper jack instead of mozzarella. The filling gets a little smokier and a little brighter, and it works well with avocado on the side.
Creamy Herb Version
Stir 2 ounces of cream cheese into the hot filling along with a handful of chopped spinach and a little extra parsley. The filling turns softer and richer, with a texture that leans almost casserole-like. This is the version I’d make when I want the dish to feel a touch more indulgent.
Cauliflower-Rice Swap
Replace the cooked white rice with 2 cups cauliflower rice and cook the cauliflower in the skillet for 3 to 4 minutes before adding the marinara. You need to cook off the moisture first, or the filling gets watery. This version keeps the same shape but lands lighter on the plate.
Rotisserie Chicken Shortcut
Use 2 1/2 cups chopped cooked chicken instead of ground chicken, and skip the browning step. Sauté the onion, garlic, tomato paste, spices, broth, and marinara, then stir in the chopped chicken and rice. It’s a smart shortcut when you want the same pepper shell with less active cooking.
Basil and Provolone Finish
Swap the mozzarella for provolone and finish the baked peppers with torn basil. The provolone browns a little faster and gives you a sharper, saltier top. It tastes less like a casserole and more like a very organized dinner.
Make-Ahead, Storage, and Reheating Notes
Stuffed peppers hold up well in the fridge, and that’s one reason I keep them in the regular dinner rotation. The filling can be made ahead, the peppers can be split and seeded ahead, and the whole dish can be baked later without much fuss.
Make-ahead: You can cook the filling up to 2 days ahead and keep it covered in the fridge. You can also halve and seed the peppers a day ahead; just store them in an airtight container with a paper towel to catch moisture. If you want to assemble the full dish ahead, do it the same day you plan to bake so the peppers don’t weep too much.
Refrigerator: Store cooked stuffed peppers in an airtight container for up to 4 days. The texture softens a bit after the first day, but the flavor often tastes deeper because the tomato and seasoning settle into the rice.
Freezer: Freeze the baked peppers for up to 2 months. I like to wrap each pepper half tightly, then place them in a freezer-safe container so they don’t pick up freezer smell. The peppers will be softer after thawing, but the filling freezes well.
Reheating: For the oven, place the peppers in a baking dish, cover with foil, and warm at 350°F for 20 to 25 minutes if refrigerated, or 30 to 35 minutes if thawed from frozen. For the microwave, cover a portion with a damp paper towel and heat on medium power in 1-minute bursts until hot in the center. If you want the cheese to look fresh again, uncover the dish for the last few minutes in the oven.
Best texture tip: If you know you’ll freeze them, underbake the peppers by 5 minutes before cooling and freezing. That gives you a little room to finish the texture during reheating instead of crossing your fingers.
Questions People Ask Before Baking Stuffed Peppers
Can I use ground turkey instead of ground chicken?
Yes. Ground turkey works almost the same way, especially if you use the same amount of onion, tomato paste, and cheese. If your turkey is very lean, add an extra tablespoon of broth so the filling doesn’t taste dry.
Do I have to pre-bake the peppers?
For tender stuffed bell peppers chicken-style, I think you should. The peppers need a head start because the filling comes together faster than the shells soften. If you skip that step, expect firmer peppers and a longer final bake.
Can I use uncooked rice?
I wouldn’t for this version. Uncooked rice needs its own liquid and timing, and the filling can dry out or cook unevenly while you wait for the grains to soften. Cooked rice is one of the reasons this dinner stays manageable.
What if I only have whole peppers, not halved ones?
You can stuff whole peppers, but they need more oven time and a steadier pan so they don’t tip. Expect at least 10 to 15 minutes more in the oven, and check the centers carefully. Halves are easier to serve and more reliable for a weeknight.
How do I keep the peppers from getting watery?
Don’t flood the baking dish, and don’t use filling that’s loose or saucy enough to pour. The rice should be cooled, the chicken mixture should be thick, and the broth in the dish should stay low. A little steam helps; a puddle does not.
Can I freeze these before baking?
You can, but I prefer freezing them after baking because the peppers hold together better. If you do freeze before baking, thaw them overnight in the fridge and bake until the filling reaches 165°F and the peppers are tender.
What if the peppers are still firm after the normal bake?
Put the foil back on and give them another 5 to 10 minutes. Very thick peppers sometimes need a little longer, especially if they were straight from the fridge. If the filling is already hot and the peppers are stubborn, this is the moment to be patient.
A Dinner That Doesn’t Fight Back
A good weeknight dinner should know its job. It should not ask for three pans and a prayer. It should not leave you with a raw pepper shell and a dry filling that tastes like it was assembled under protest.
This one behaves. The peppers soften, the chicken gets browned before it gets stuffed, and the cheese stays in the right amount—enough to make the top feel finished, not so much that it turns greasy. If you’ve been burned by stuffed peppers that looked better than they ate, this is the version that fixes the memory.
There’s also room to play once you’ve made it once. Swap the rice, change the cheese, tilt it toward Southwest flavors or basil-heavy tomato comfort, and the structure still holds. That’s the real value here. The dish is flexible without becoming vague, which is more useful than sounding fancy.
Tender Stuffed Bell Peppers Chicken — Recipe Card
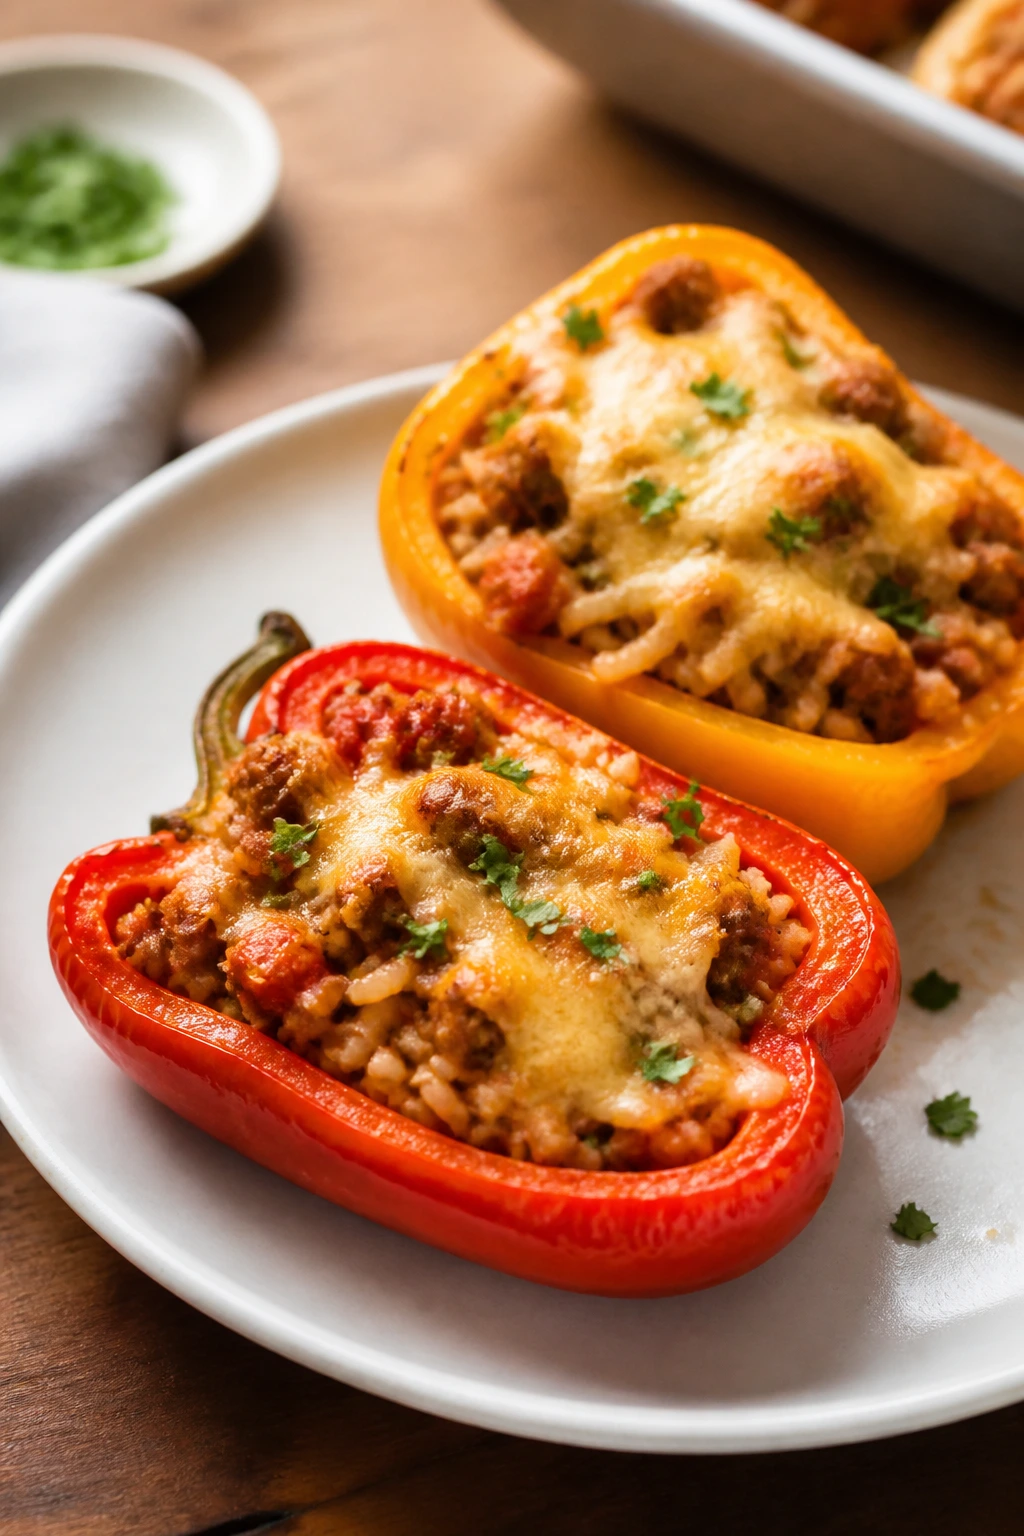
Recipe Name: Tender Stuffed Bell Peppers Chicken
Description: Halved bell peppers are pre-baked until tender, then filled with a savory ground chicken, rice, tomato, and cheese mixture and baked until hot and melty. The peppers stay soft without collapsing, and the filling tastes complete, not rushed.
Prep Time: 25 minutes
Cook Time: 35 minutes
Total Time: 1 hour
Course: Dinner
Cuisine: American
Servings: 6
Calories: about 370 kcal per serving
Ingredients
For the Peppers
- 6 large bell peppers, halved lengthwise and seeded
- 1 tablespoon olive oil
- 1/2 teaspoon kosher salt
For the Chicken Filling
- 1 tablespoon olive oil
- 1 medium yellow onion, finely diced
- 1 pound ground chicken
- 3 garlic cloves, minced
- 2 tablespoons tomato paste
- 1 teaspoon kosher salt
- 1 teaspoon dried Italian seasoning
- 1 teaspoon smoked paprika
- 1/2 teaspoon black pepper
- 1/4 teaspoon red pepper flakes, optional
- 1 cup low-sodium chicken broth, divided
- 1 cup marinara sauce
- 2 cups cooked long-grain white rice, cooled
- 1 1/2 cups shredded mozzarella, divided
- 1/4 cup grated Parmesan
- 2 tablespoons chopped fresh parsley
Instructions
-
Preheat the oven to 400°F (200°C) and lightly grease a 9×13-inch baking dish.
-
Arrange the halved peppers cut side up, brush with 1 tablespoon olive oil, and sprinkle with 1/2 teaspoon kosher salt. Bake for 10 minutes.
-
Heat 1 tablespoon olive oil in a large skillet over medium-high heat. Cook the onion for 4 to 5 minutes until translucent.
-
Add the ground chicken, garlic, tomato paste, salt, Italian seasoning, smoked paprika, black pepper, and red pepper flakes. Cook for 5 to 6 minutes until no pink remains.
-
Stir in 1/2 cup chicken broth and the marinara sauce. Simmer for 2 minutes, then mix in the rice, 1 cup mozzarella, Parmesan, and parsley.
-
Spoon the filling into the peppers, top with the remaining 1/2 cup mozzarella, and pour the remaining 1/2 cup chicken broth into the bottom of the dish.
-
Cover loosely with foil and bake for 15 minutes. Uncover and bake for 8 to 10 minutes more, until the peppers are tender and the filling reaches 165°F.
-
Rest for 5 minutes before serving.
Notes:
Use cooled rice for the best texture. If your peppers are especially thick, add 5 extra minutes under foil. Ground turkey can stand in for the chicken one-to-one.