
Juicy chicken breast for weeknight dinners is not luck; it’s a handful of small habits that stop the meat from turning stringy before the rice is even done. A lot of people treat chicken breast like it’s supposed to behave on its own. It doesn’t. It needs the same kind of attention you’d give a delicate fish fillet or a steak with a narrow doneness window.
I’ve cooked enough dry chicken breast to know exactly where it goes wrong. The thick end needs five more minutes, the thin tip is already heading toward chalk, and the cook standing at the stove starts guessing because the top looks pale and the skillet sounds right. That’s the trap. Color is a liar. Sound is not much better.
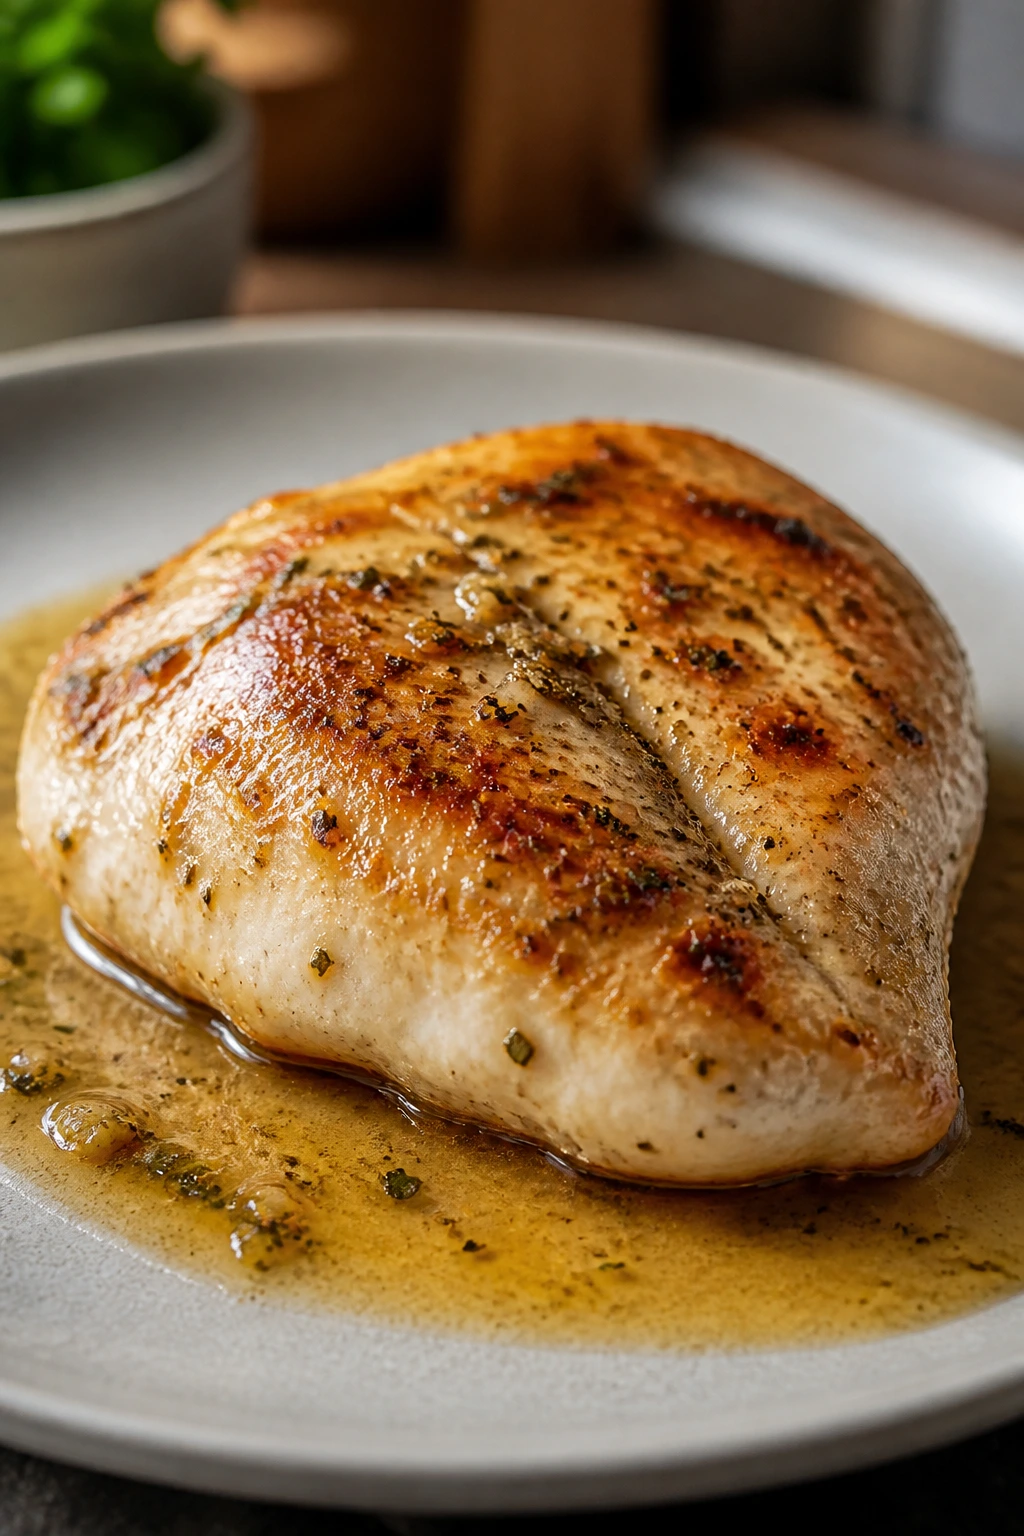
The fix is boring in the best way: even thickness, salt, heat, and a thermometer. Add a quick pan sauce, and suddenly the whole thing eats like dinner from a place that cares about the plate, not just the clock. Keep the process tight, keep the heat controlled, and the chicken stays sliceable and moist instead of collapsing into dry fibers the second your knife hits it.
Why This Chicken Breast Method Earns Its Keep on Busy Nights
-
Even thickness saves the whole pan: A 3/4-inch breast cooks in one clean window, so the thin edge doesn’t get punished while the center catches up.
-
A short salt rest does real work: Fifteen minutes gives the salt time to season the meat surface and calm the protein just enough to help it hold onto moisture.
-
The pan sauce makes the plate feel finished: Butter, garlic, broth, and lemon pull the browned bits off the skillet and turn them into something worth spooning over rice, pasta, or potatoes.
-
You only need pantry food: There’s no special marinade, no overnight prep, and no odd ingredient that gets used once and then stares at you from the back of the fridge.
-
The thermometer removes the guesswork: Pulling the chicken at 160°F and letting it rest to 165°F is the difference between juicy slices and the dry, fibrous breast people complain about.
-
It scales cleanly: Two people or six, the method stays the same, which is exactly what a weeknight dinner should do.
Why Chicken Breast Gets Dry So Fast
Chicken breast is lean. That’s the whole problem, and also the reason people keep trying to “fix” it with long marinades, complicated sauces, or low and slow cooking that feels safer than it is. Breast meat has very little fat to cushion overcooking, so the second the temperature climbs too far, the muscle fibers squeeze out moisture and the texture goes from tender to cottony fast.
The shape makes things worse. Grocery-store chicken breasts are often thick on one end and narrow on the other, which means one piece of the same breast reaches done early while the bulk of it is still catching up. If you leave the whole thing in the pan until the middle is done by sight, the thin end has already crossed the line. That’s why even thickness matters so much here. It’s not fussy. It’s basic physics.
Heat carryover does its own damage. A chicken breast that reads 165°F in the pan can jump a few degrees while it rests on the board, especially if it’s large or the skillet was screaming hot. That’s why I like to pull it a little early, then give it five minutes under loose foil. The exterior relaxes, the juices settle back into the meat, and the slices look glossy instead of dry and jagged.
Salt helps more than people give it credit for. Not a half-day brine or a gallon of flavored liquid—just enough salt, with enough time, to season the meat and help it hold onto moisture under heat. That tiny pause before cooking is one of the easiest upgrades in the whole kitchen.
Timing, Yield, and the Ingredient Lineup
A short rest in salt is the part that gets skipped most often, and it’s the part that changes the final texture the most. Don’t rush it. That little window is where the seasoning sinks in and the surface dries enough to brown properly.
Yield: Serves 4
Prep Time: 10 minutes
Cook Time: 15 minutes
Total Time: 25 minutes active, plus 15 minutes resting time
Difficulty: Beginner — the steps are simple, but the thermometer and the even thickness matter.
Chill/Rest Time: 15 minutes at room temperature for the salted chicken, plus 5 minutes after cooking
Best Served: Hot, sliced against the grain, with the pan sauce spooned over the top
For the Chicken:
- 4 boneless, skinless chicken breasts, 6 to 8 ounces each, pounded to even 3/4-inch thickness if needed
- 1 1/2 teaspoons kosher salt
- 1 teaspoon freshly ground black pepper
- 1 teaspoon garlic powder
- 1 teaspoon paprika
- 1 tablespoon olive oil
For the Pan Sauce:
- 2 tablespoons unsalted butter
- 2 cloves garlic, minced
- 1/2 cup low-sodium chicken broth
- 1 tablespoon lemon juice
- 1 tablespoon chopped fresh parsley
What Each Ingredient Is Doing in the Pan
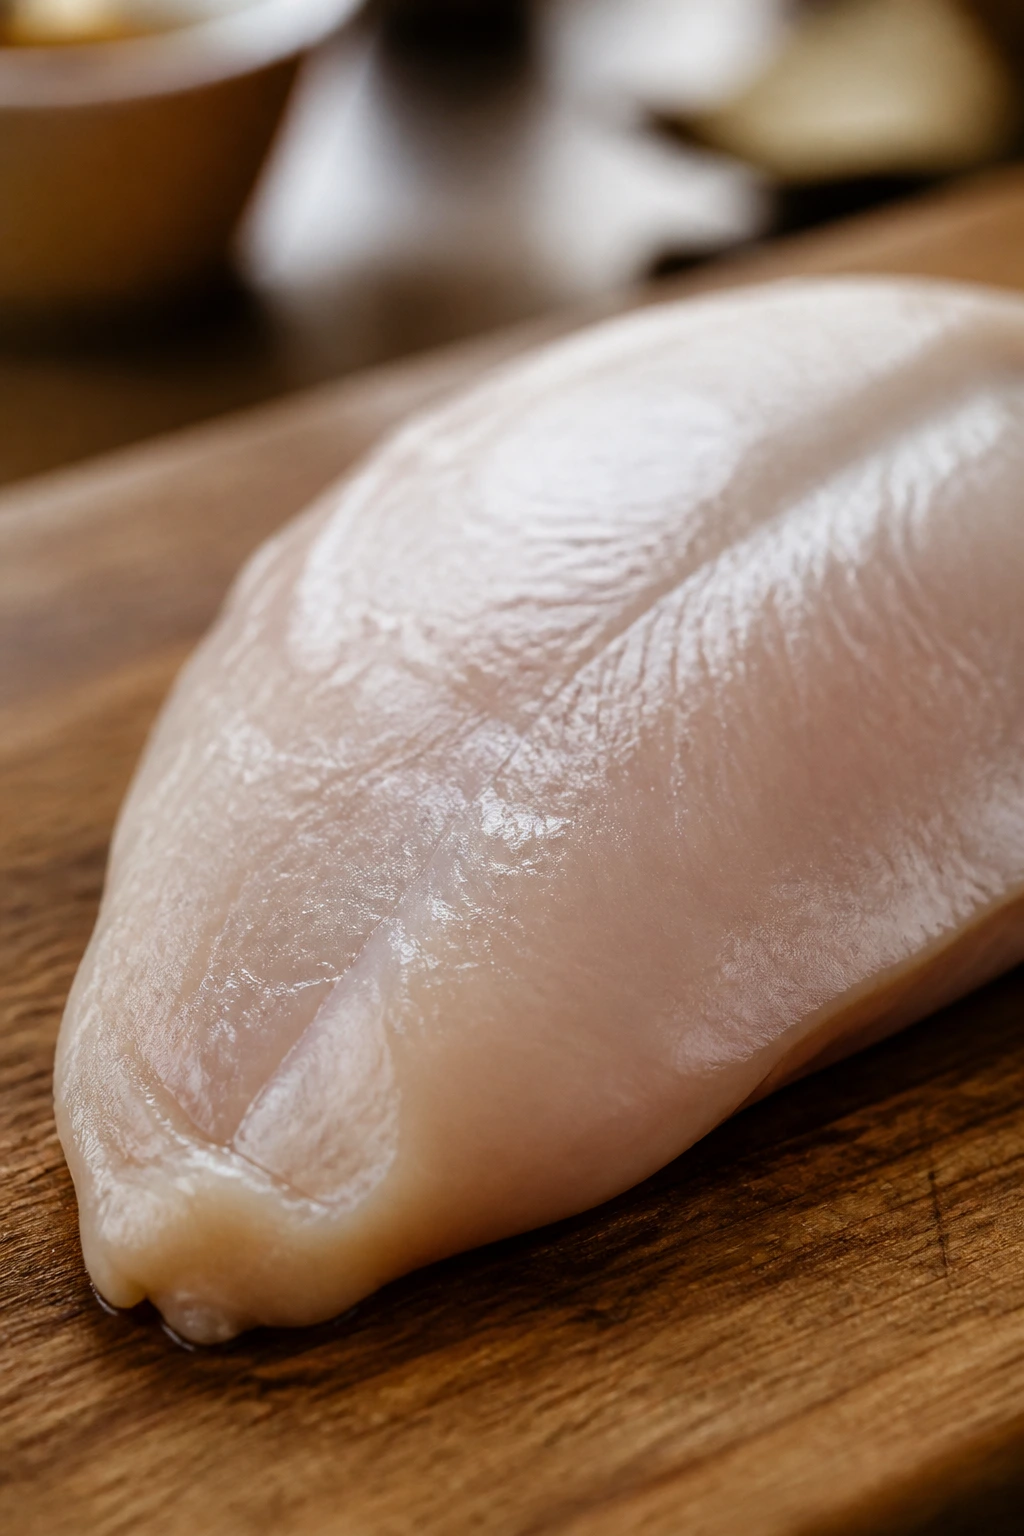
Chicken Breasts
- What to use: 4 boneless, skinless chicken breasts, 6 to 8 ounces each. If one breast is noticeably thicker than the others, butterfly it or pound it flatter before cooking.
- Preparation: Pat the meat dry with paper towels, then pound the thick end so the entire piece is closer to 3/4 inch. That single move makes the sear and the finish line up instead of fighting each other.
- Substitutions: Chicken cutlets work, and so do thin-sliced breasts; just shorten the cook time by a few minutes. Bone-in breasts are a different project and need longer, more uneven cooking.
- Tips: Buy pieces that are close in size if you can. One giant breast and three small ones will cook like four different recipes.
Kosher Salt, Pepper, Garlic Powder, and Paprika
- What to use: 1 1/2 teaspoons kosher salt, 1 teaspoon black pepper, 1 teaspoon garlic powder, and 1 teaspoon paprika. That is enough to season the surface without turning the chicken into a spice crust.
- Preparation: Mix the black pepper, garlic powder, and paprika together before they touch the chicken. It keeps the coating even and saves you from over-seasoning one side while the other stays pale.
- Substitutions: Table salt works, but use less by volume because it packs tighter. Smoked paprika can replace regular paprika if you want a deeper, warmer flavor; use the same amount.
- Tips: Garlic powder browns better here than fresh garlic would. Fresh garlic goes into the sauce, where it can soften and perfume the butter without burning in the skillet.
Olive Oil and Butter
- What to use: 1 tablespoon olive oil for searing and 2 tablespoons unsalted butter for the sauce. Olive oil gives you the first hot contact; butter gives the sauce its round, silky finish.
- Preparation: Let the oil heat until it shimmers before the chicken goes in. Add the butter after the chicken comes out so it doesn’t brown too fast or pick up scorch marks from the sear.
- Substitutions: Avocado oil or another neutral oil with a higher smoke point can replace olive oil. For a dairy-free finish, use another tablespoon of oil instead of butter and add a tiny splash more broth.
- Tips: Salted butter can work, but the sauce tastes cleaner when you control the salt yourself. Butter should smell nutty and warm, not burnt.
Broth, Lemon, and Parsley
- What to use: 1/2 cup low-sodium chicken broth, 1 tablespoon lemon juice, and 1 tablespoon chopped fresh parsley. These three ingredients wake up the skillet without dragging the dish into full sauce mode.
- Preparation: Keep the broth ready before you start cooking. The sauce comes together fast, and you do not want to be mincing garlic while the pan is smoking.
- Substitutions: Vegetable broth works if that’s what you have, and lime can step in for lemon in a pinch. Chives or dill can replace parsley if you want a softer, greener finish.
- Tips: Low-sodium broth matters because the pan already holds salt from the chicken and the browned bits. Too-salty broth makes the sauce taste blunt instead of bright.
What You Need Beside the Stove
A good chicken breast dinner is less about fancy gear and more about not being annoyed by bad tools. I’d rather cook this in an ordinary skillet with a decent thermometer than in a gorgeous pan I don’t trust.
- 12-inch skillet, stainless steel or cast iron: Big enough to give the chicken room to brown instead of steam.
- Instant-read thermometer: The single best tool in this recipe; it keeps you from guessing at doneness.
- Meat mallet or rolling pin: Useful for flattening thicker breasts to an even thickness.
- Tongs: Better than a fork, because they don’t puncture and leak juices.
- Small bowl: For mixing the spice blend before it hits the chicken.
- Cutting board with a groove: Catches resting juices so they don’t run over the counter.
- Sharp knife: Needed for slicing the chicken against the grain at the end.
- Spoon or small ladle: For the pan sauce and for basting the top of the chicken with butter if you want a little extra gloss.
The Skillet Method, Step by Step
Dry Brine and Shape the Chicken:
- Pat the chicken breasts dry with paper towels and trim away any loose fat or thin flaps. If any breast is thicker than about 3/4 inch on one end, place it between two sheets of plastic wrap or parchment and pound that end until the whole piece is even. Even thickness is not optional here; it’s what keeps one end from drying out while the other catches up.
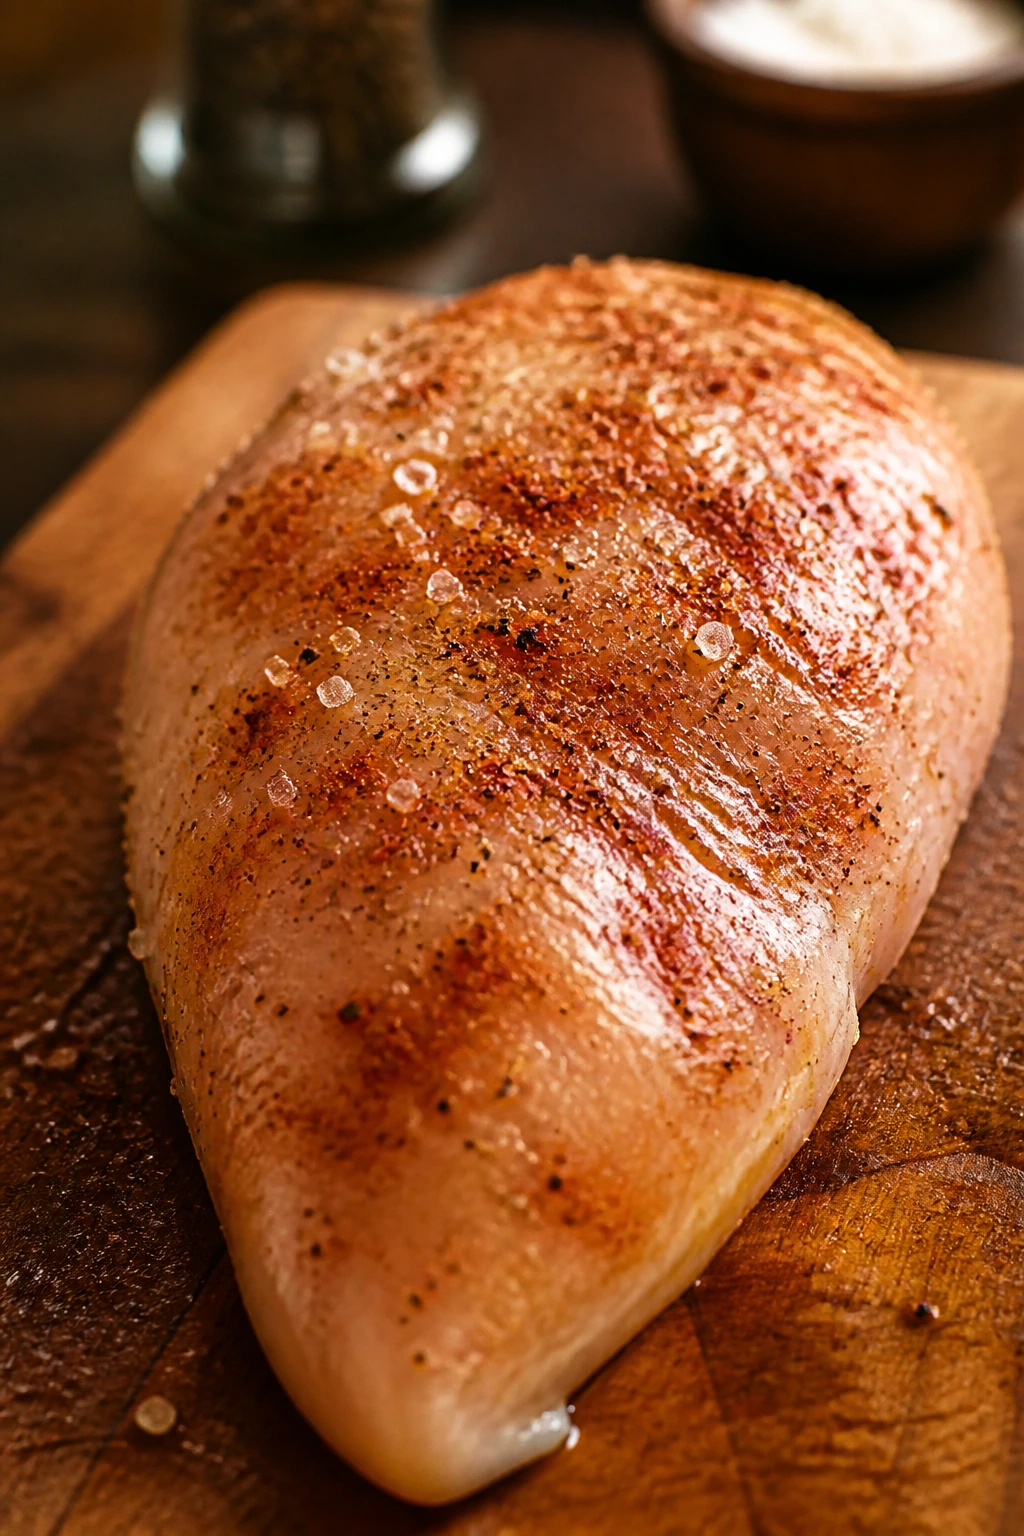
- Sprinkle the chicken all over with the kosher salt and set it on a plate for 15 minutes at room temperature. The surface will look a little glossy as the salt starts to work. That is good.
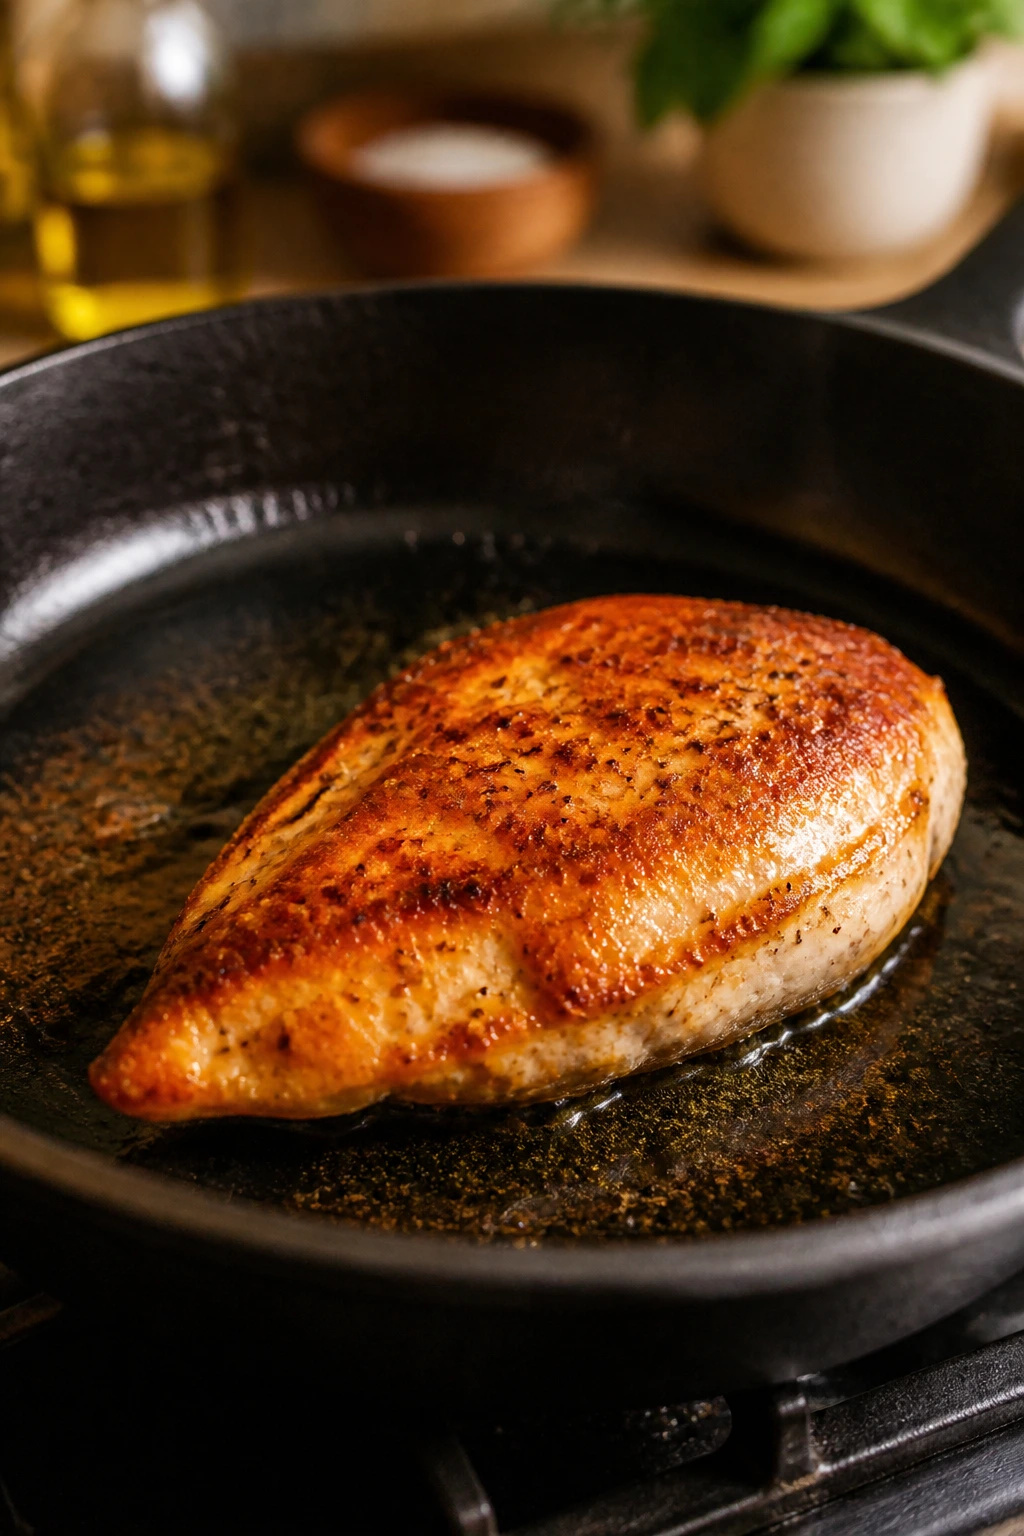
Season and Sear: 3. Mix the black pepper, garlic powder, and paprika in a small bowl. Rub the spice mix over both sides of the chicken, pressing lightly so it sticks. 4. Heat the olive oil in a 12-inch skillet over medium-high heat for about 2 minutes, until the oil shimmers and loosens across the pan. Lay the chicken in smooth-side down and leave it alone. Do not move it for the first 4 to 5 minutes or the surface will tear and the browning will suffer. 5. Cook the first side for 5 to 6 minutes, until deep golden and the chicken releases easily from the pan. Flip it with tongs, then reduce the heat to medium. 6. Cook the second side for 4 to 6 minutes, depending on thickness, until an instant-read thermometer inserted into the thickest part reads 155°F to 160°F. The center should feel firm but still springy when pressed. If the spices start to darken too fast, lower the heat right away.
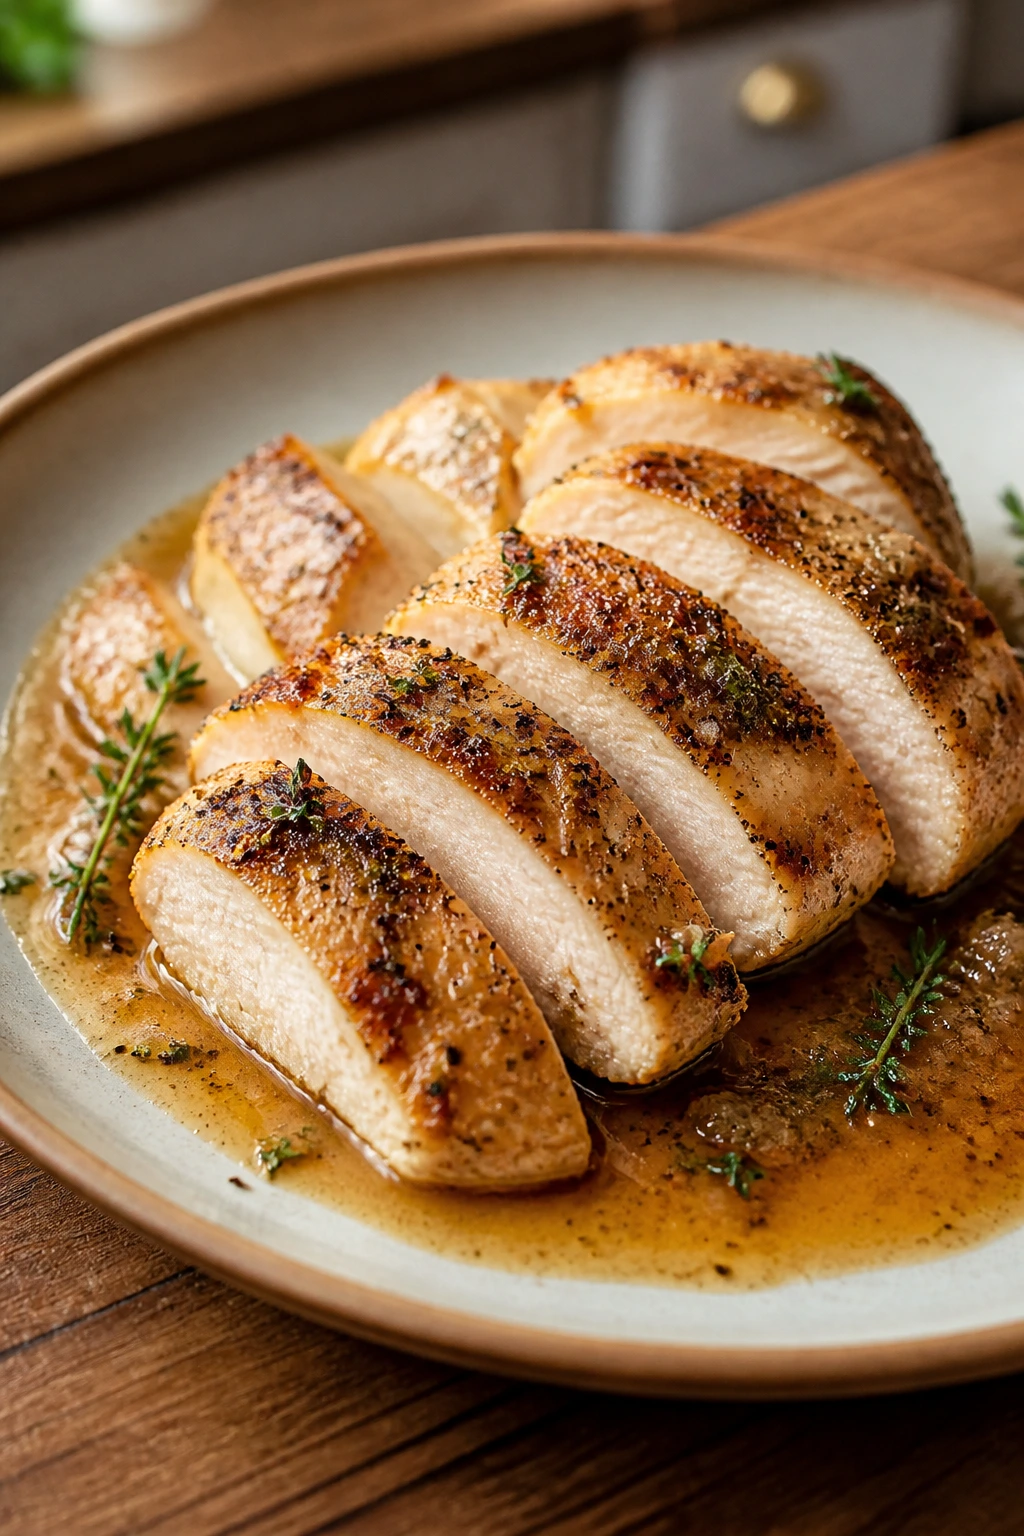
Build the Pan Sauce and Rest: 7. Transfer the chicken to a plate and tent it loosely with foil. Add the butter to the skillet, followed by the minced garlic, and stir for 20 to 30 seconds until fragrant but not brown. The garlic should smell sweet and warm, not sharp. 8. Pour in the chicken broth and lemon juice, scraping up the browned bits on the bottom of the pan with a wooden spoon. Let the sauce bubble for 1 to 2 minutes, just until it looks glossy and lightly reduced. 9. Stir in the parsley, spoon the sauce over the chicken, and let the meat rest for 5 minutes before slicing. The temperature should climb to 165°F while it rests. Slice against the grain and serve with the sauce pooled over the top.
How to Tell the Chicken Is Done Without Guessing
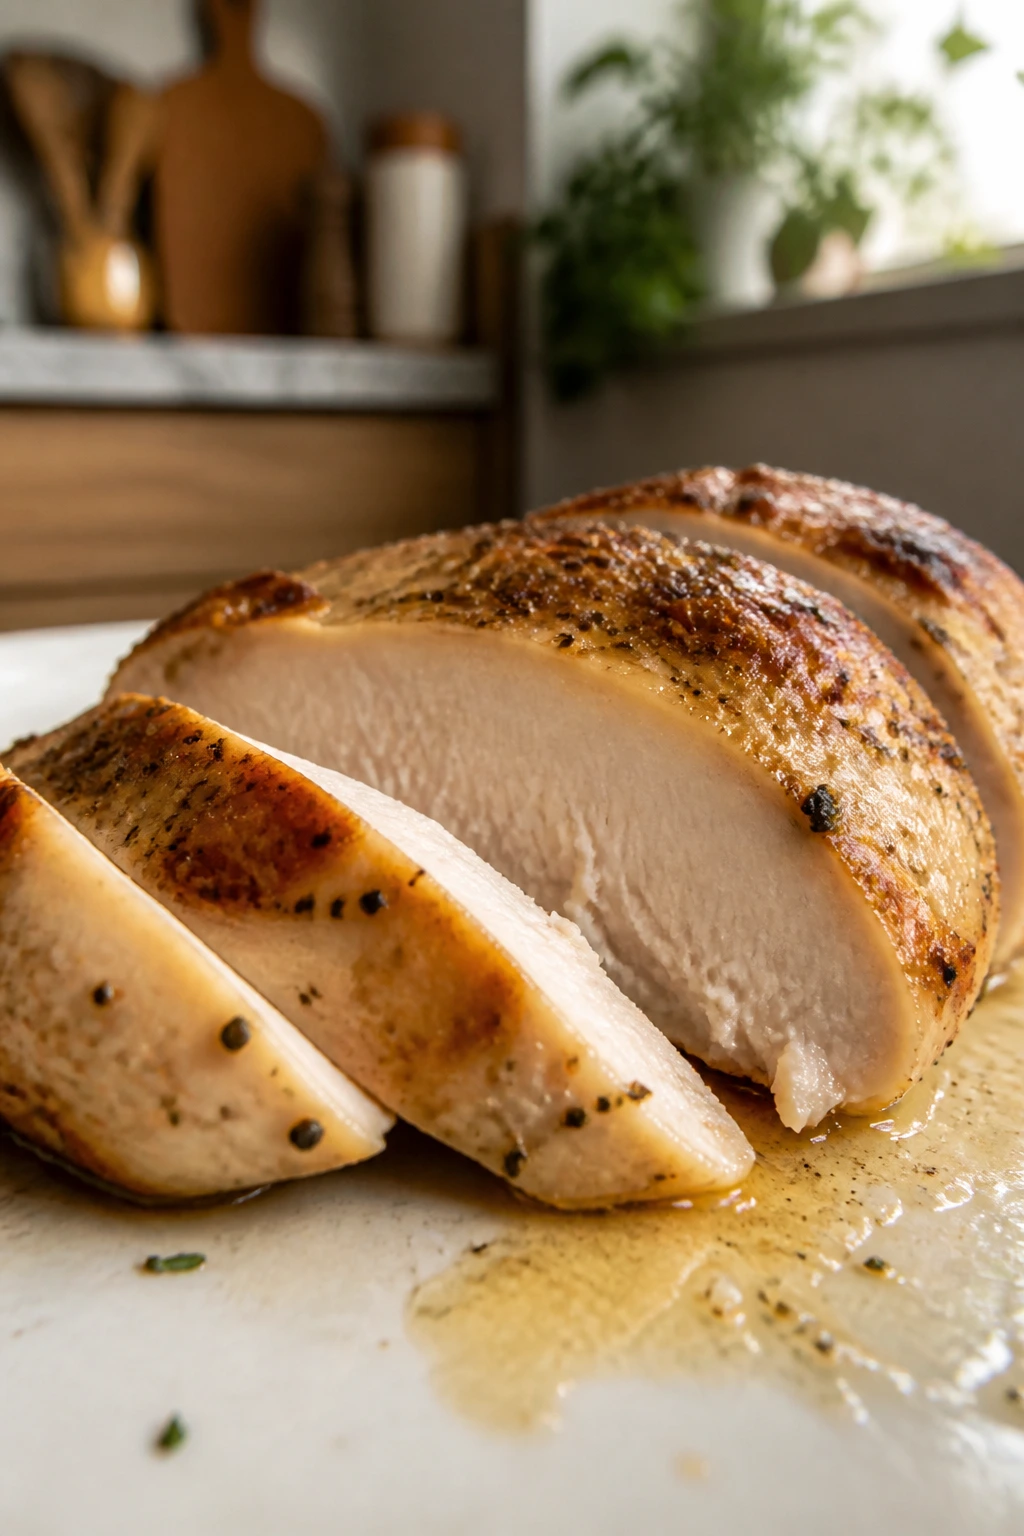
Color is a liar.
A pale center does not always mean raw, and a white-looking piece that feels firm is often already past the point where it will stay juicy. The thermometer wins this argument every time. For boneless chicken breast, I want the thickest part to hit 160°F before it comes off the heat. The carryover does the last little bit of work while it rests.
Insert the thermometer from the side if you can. That puts the probe into the center of the meat instead of barely grazing the top. If you jam the probe down from above, it can miss the thickest section and give you a false read. That’s how people end up with either dry chicken or chicken they’re nervous to eat.
The touch test has some use, but it’s a backup, not a plan. A done breast feels springy, not floppy, and the juices should look clear at the cut edge. Still, I would rather slice one breast open than trust my fingers if I have to choose between the two. A cheap instant-read thermometer costs less than one ruined dinner.
And don’t forget the rest. The skillet may be off the heat, but the meat is still cooking for a few minutes on the board. That last stretch is where the texture settles and the juice stays inside the slice instead of puddling across the cutting board.
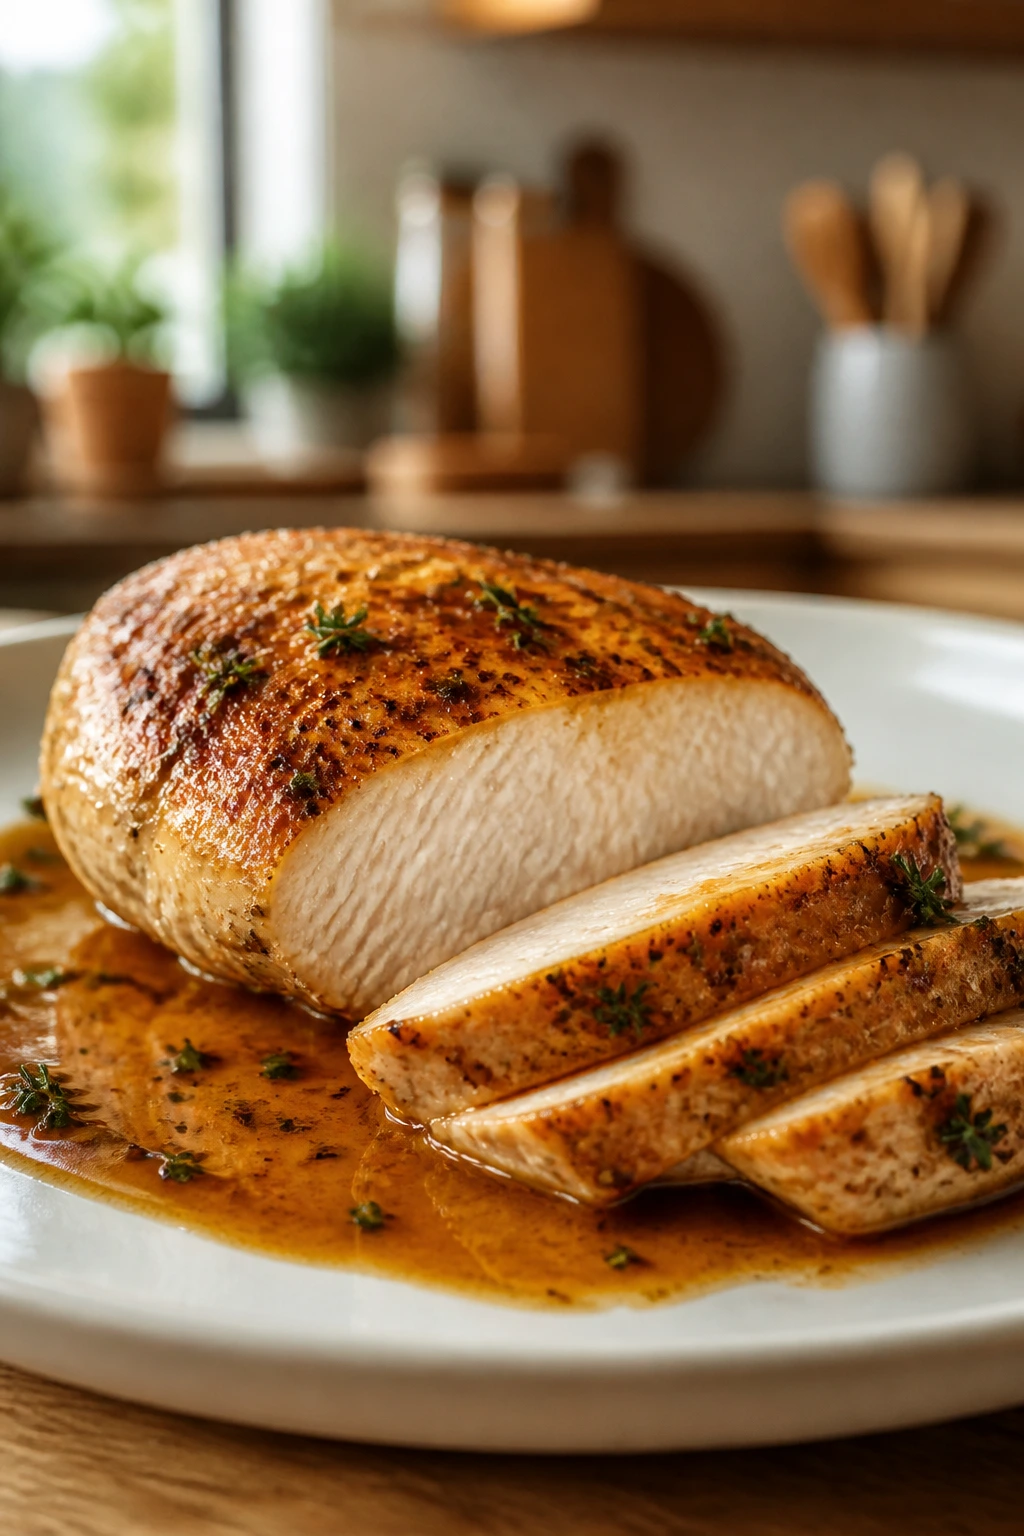
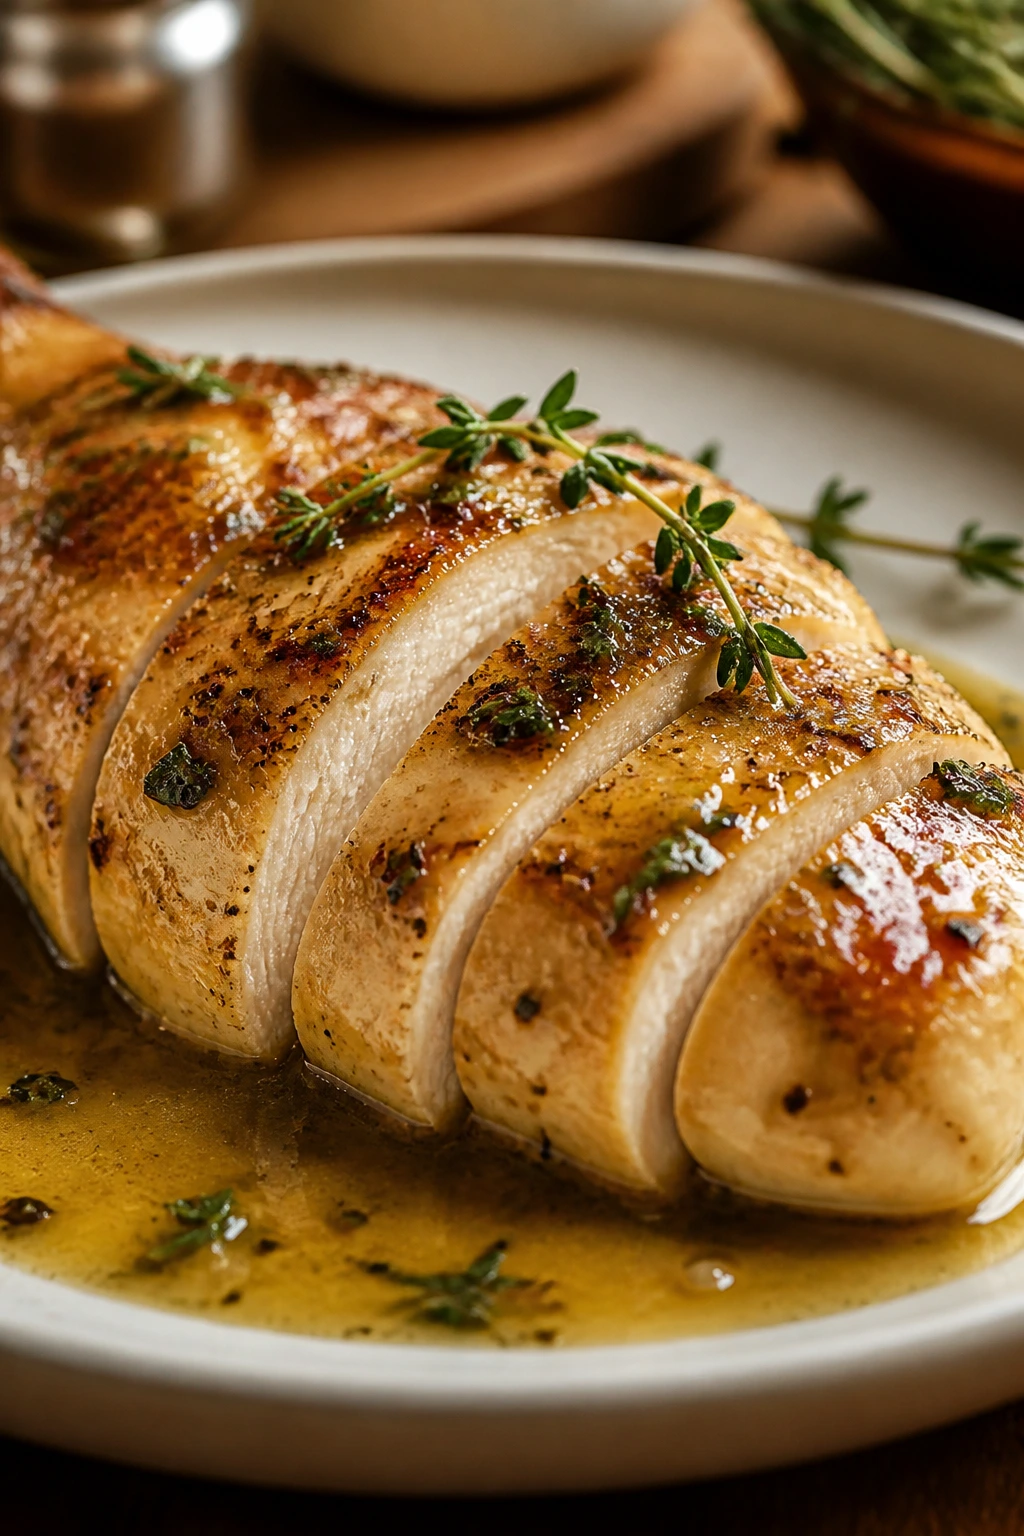
How I’d Plate It on a Real Weeknight
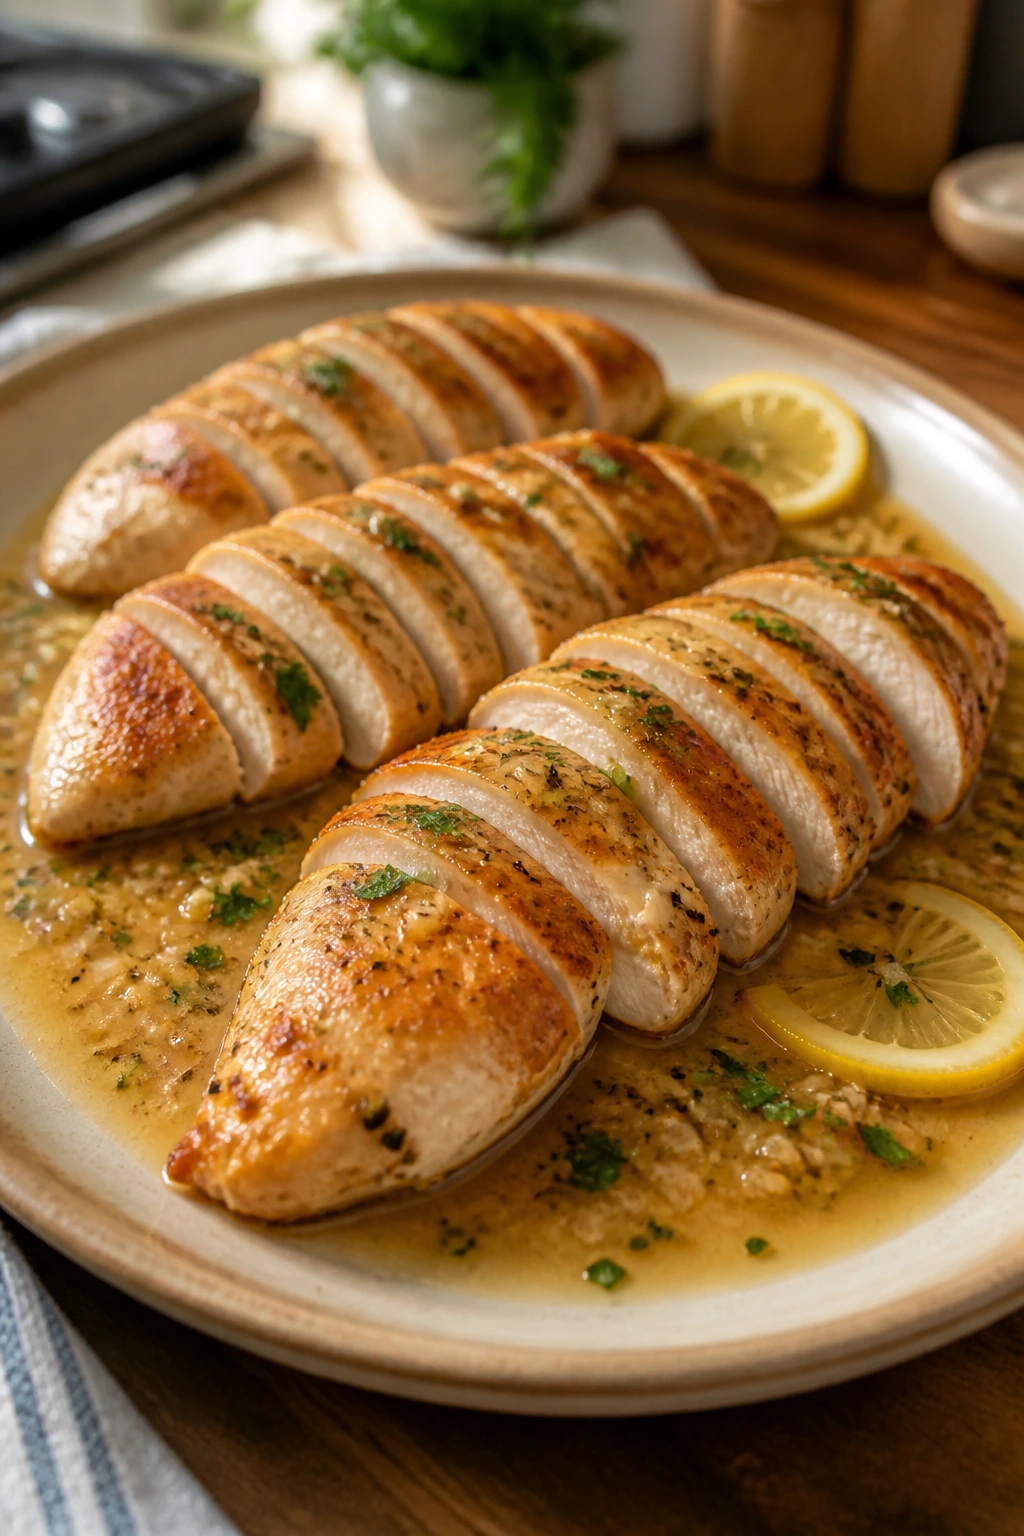
Presentation: Slice the chicken on a slight bias into 1/2-inch pieces, then fan the slices across a warm plate. Spoon the pan sauce over the center so it runs into the slices and gathers at the bottom of the plate instead of disappearing into the board.
Accompaniments: Buttered rice is my first choice because it catches the lemon-garlic sauce without getting heavy. Roasted broccoli, green beans, or Brussels sprouts handle the pan sauce well too, and mashed potatoes turn the whole thing into a one-plate dinner that doesn’t need much else. If you want something lighter, a sharp romaine salad with a plain vinaigrette works better than a creamy dressing.
Portions: One 6- to 8-ounce breast is a solid serving for most adults when it’s paired with a starch and a vegetable. If the breasts are especially large, slice one breast and split it between two plates once you’ve got sides on the table. The sauce stretches farther than you’d think.
Beverage Pairing: A cold sparkling water with lemon keeps the plate bright. If you want something with a little more character, a dry white wine like Sauvignon Blanc or a plain iced tea with no sugar fits the garlic-butter note without drowning it.
The Small Adjustments That Make the Meat Stay Juicy
Flavor Enhancement: Add a few thyme leaves or a small sprig of rosemary to the butter as the garlic softens. The herbs wake up fast in hot fat, and they give the sauce a more finished smell without making the recipe fussy.
Time-Saver: Season the chicken up to 12 hours ahead and keep it uncovered on a plate in the fridge. The surface dries slightly, which helps browning, and you only have to move it to room temperature for a few minutes before it hits the pan.
Cost-Saver: Buy family packs of chicken breasts and split the largest pieces into cutlets before freezing them. Thin, even pieces cook faster, and they’re less likely to dry out than one giant breast with a narrow tail hanging off the end.
Pro Move: Save the minced garlic for the sauce instead of putting it in the spice rub. Fresh garlic in the hot oil burns quickly and turns bitter in a way that cheapens the whole pan. Garlic powder on the chicken and fresh garlic in the butter gives you the best of both worlds.
Make-It-Yours: A teaspoon of Dijon stirred into the pan sauce makes the flavor sharper and gives the sauce a little body. If you like heat, a pinch of red pepper flakes can go into the butter for the last 15 seconds of cooking.
The Mistakes That Turn Chicken Breast Chalky
-
Skipping the even-thickness step: The chicken looks fine on the outside, but the thin end dries out while the thick end catches up. Pound the breast or butterfly it before it goes near heat.
-
Starting with wet chicken: Surface moisture blocks browning and makes the skillet smell like steam instead of sear. Pat every breast dry before salting and again before seasoning if the salt has drawn out a lot of moisture.
-
Crowding the skillet: Too many breasts at once drops the pan temperature and gives you gray chicken instead of a browned crust. Cook in batches if your skillet can’t fit all four with space around them.
-
Moving the chicken too early: If you try to flip before the crust forms, the meat sticks and tears. Wait until the chicken releases on its own, then turn it once.
-
Cooking by color alone: Cooked chicken can still look faintly pink in the center, especially around the bone-free thick section if the lighting is bad. Use a thermometer and trust the number, not the color.
-
Skipping the rest: The juices need a few minutes to settle after the heat is off. Slice immediately and they run right onto the board, leaving the meat dry no matter how carefully you cooked it.
Flavor Swaps When You’re Sick of Plain Chicken
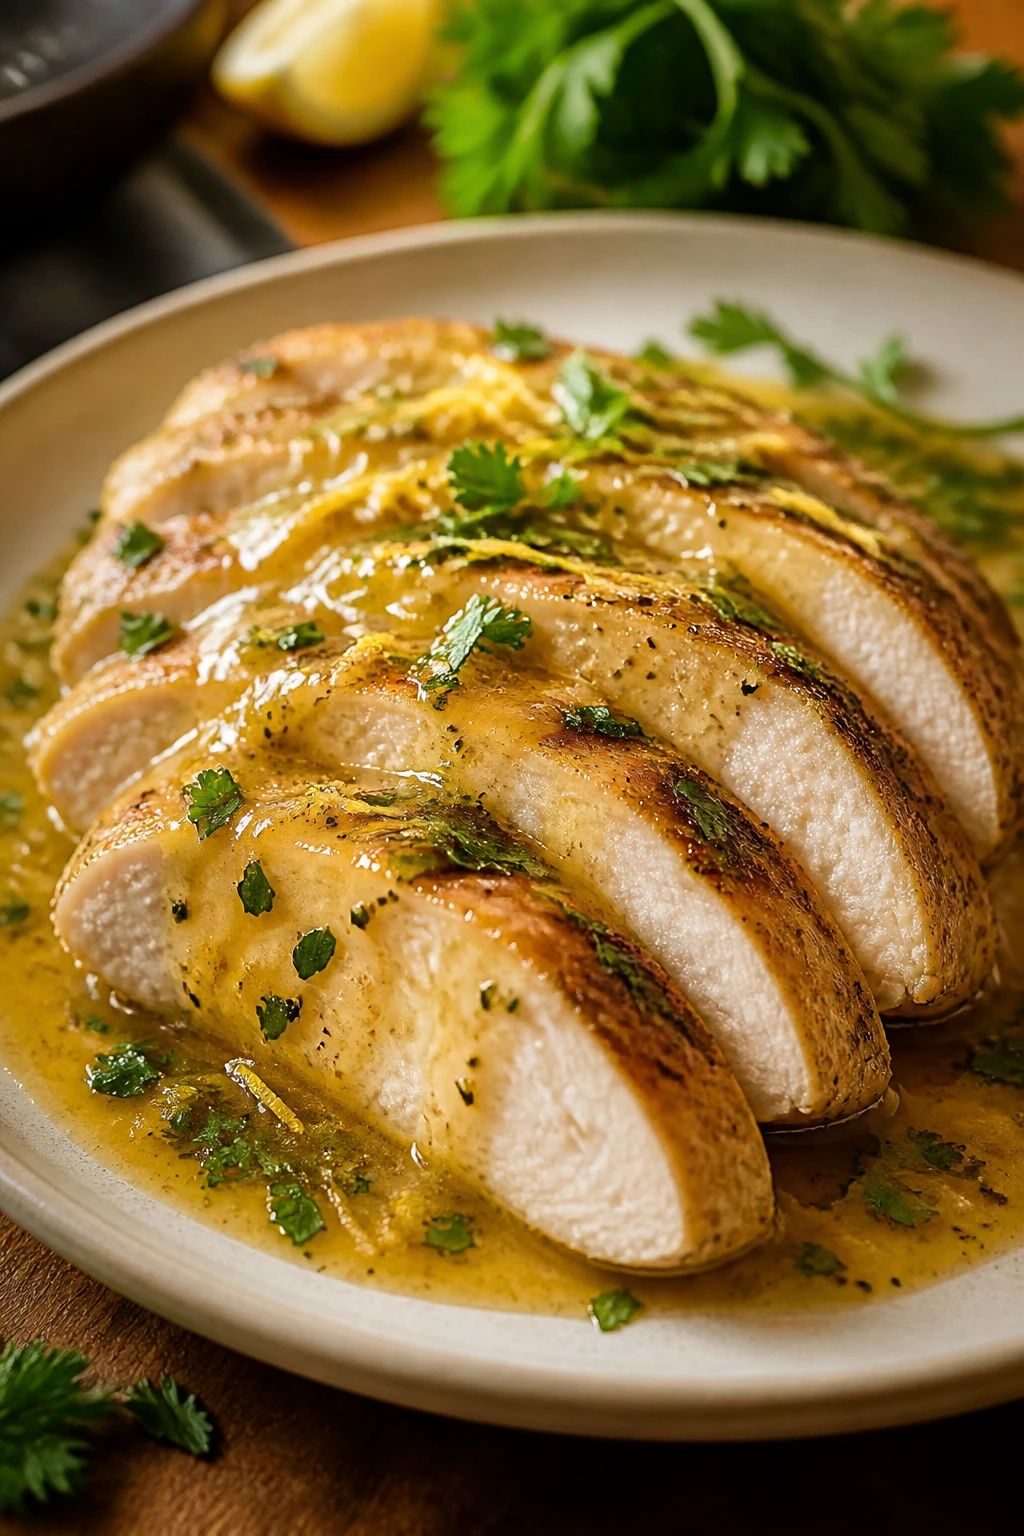
Lemon-Herb Finish: Swap the paprika for 1 teaspoon dried oregano and finish the sauce with extra lemon zest. The flavor turns brighter and more Mediterranean, especially if you serve it with rice or a chopped cucumber salad.
Smoky Paprika and Cumin Chicken: Use smoked paprika instead of regular paprika and add 1/4 teaspoon ground cumin to the spice mix. The chicken gets a deeper, warmer flavor that works well with roasted potatoes or corn.
Caper Butter Chicken: Stir 1 tablespoon rinsed capers into the pan sauce with the broth and lemon. The capers bring a briny bite that cuts through the butter and makes the chicken taste sharper and less plain.
Creamy Dijon Skillet: After the broth reduces, whisk in 2 tablespoons heavy cream and 1 teaspoon Dijon mustard. The sauce turns silkier and thicker, and it clings to slices better if you’re serving the chicken over noodles.
Dairy-Free Garlic Pan Chicken: Skip the butter and use 1 more tablespoon olive oil for the sauce, then finish with parsley and an extra squeeze of lemon. You lose a little richness, but the dish stays clean and bright.
Make-Ahead, Fridge Life, and Reheating Without Rubber
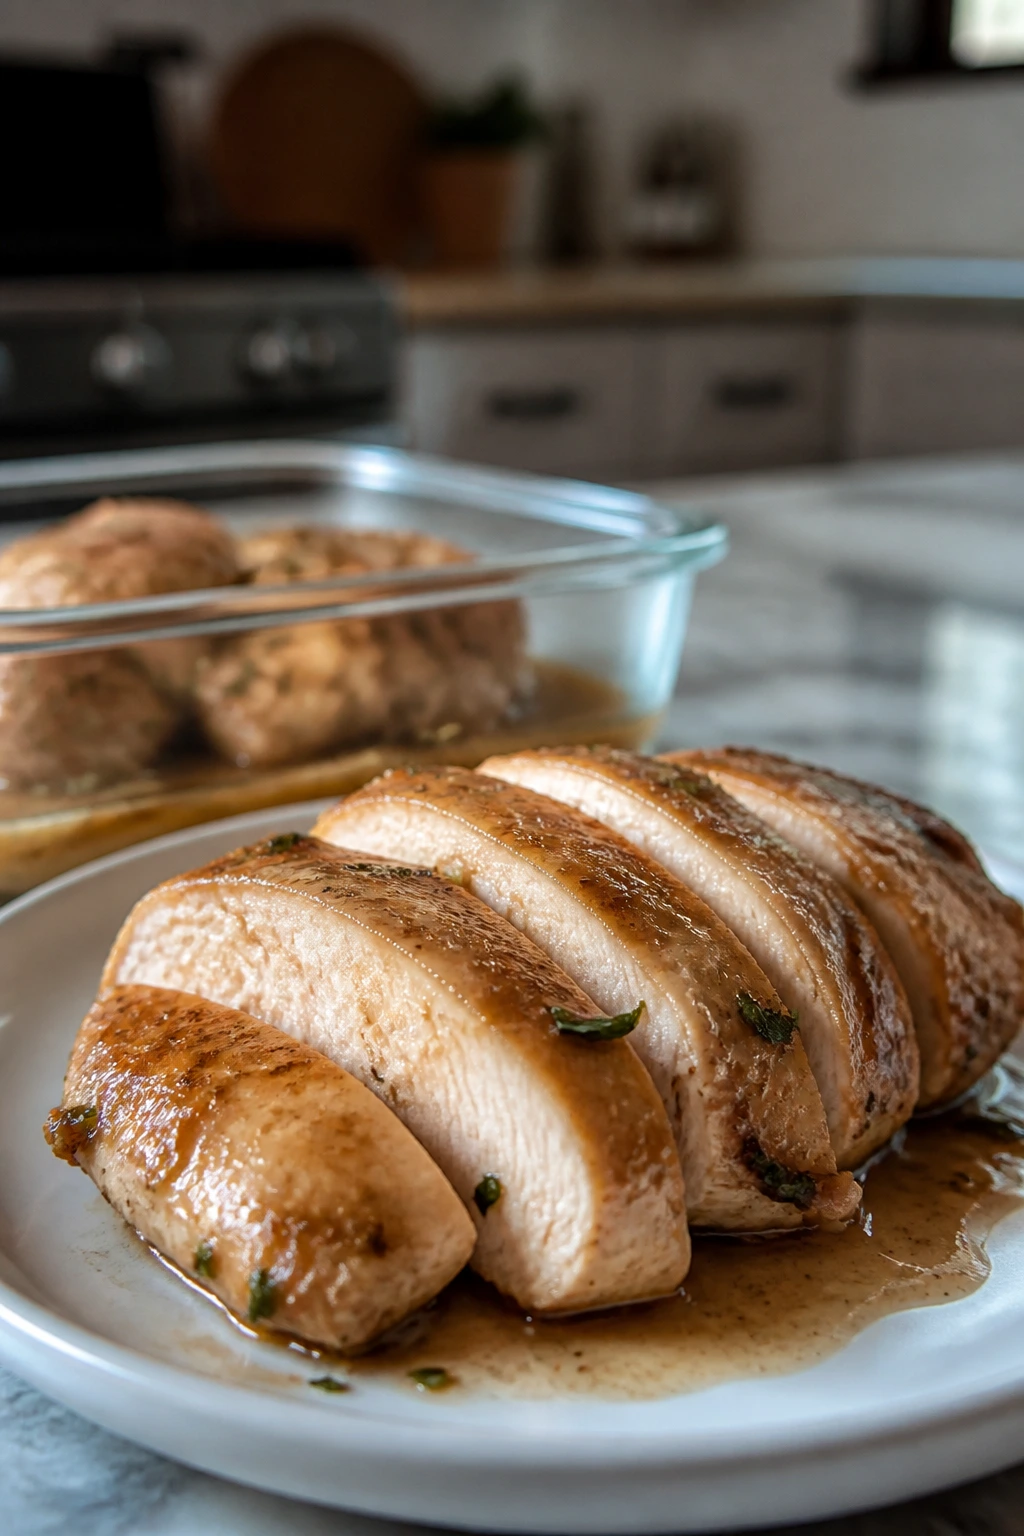
Cooked chicken breast keeps well, but only if you cool it and store it with a little care. Once it’s off the heat, let it rest just long enough to settle, then move it into a shallow container so it cools faster. Shallow layers beat a deep, steamy pile every time.
Room temperature: Don’t leave the cooked chicken out longer than 2 hours. If the kitchen is warm, I would aim for less.
Refrigerator: Store the chicken in an airtight container for 3 to 4 days. If you’ve got extra pan sauce, pour a spoonful over the top before sealing the container; that little bit of moisture helps the slices stay usable for leftovers.
Freezer: Freeze cooked chicken for up to 2 months, wrapped tightly and then tucked into a freezer bag or container. Slice the chicken before freezing if you plan to use it for salads, wraps, or quick lunches. Whole pieces stay a little juicier, but slices thaw and reheat faster.
Reheating: The gentlest method is a covered skillet over low heat with 1 or 2 tablespoons of broth. Warm the chicken just until it’s heated through, then stop. For the oven, use 300°F and cover the dish with foil for 10 to 12 minutes. The microwave works in a pinch, but use 50% power and short bursts so the edges don’t dry out before the middle is hot.
The pan sauce is best fresh, but it can be saved and reheated too. If it thickens in the fridge, loosen it with a teaspoon of water or broth and whisk it while it warms. If you know you’ll want leftovers, hold back the parsley until the end so the herb stays green instead of turning dull in the container.
Questions People Ask Before Cooking Chicken Breast
Can I use chicken cutlets instead of whole breasts?
Yes, and they cook faster. Thin cutlets usually need about 3 to 4 minutes per side, so watch the thermometer closely and pull them early. The method stays the same; the timing just shrinks.
Do I really need a thermometer for this recipe?
You don’t need one the way you need a pan, but you’ll get better chicken with one. Breast meat has a narrow window between done and dry, and a thermometer removes the guesswork that ruins most home-cooked chicken.
Can I skip the pan sauce?
You can, but I wouldn’t unless the chicken is going into a salad or a wrap with its own dressing. The sauce gives the recipe moisture and keeps the browned pan bits from going to waste.
What if my chicken breasts are huge?
Butterfly them or slice them horizontally into two thinner cutlets before cooking. Huge breasts are the main reason this recipe goes wrong, because the outside overcooks before the center catches up.
Can I bake this instead of using a skillet?
Yes. Sear the chicken first if you want color, then finish in a 400°F oven until it reaches 160°F in the thickest part. You’ll lose some of the browned fond that makes the pan sauce special, but the chicken still stays juicy if you watch the temperature.
Why does my cooked chicken sometimes look a little pink even when it’s done?
That can happen for a few reasons, including the age of the chicken, the lighting in your kitchen, or the paprika on the surface. Temperature is what matters. If the thermometer says 160°F in the center and the meat has rested, the slight pink tint is not a problem.
How far ahead can I season the chicken?
Up to 12 hours ahead is ideal for this method, and overnight is fine if you want an even drier surface for browning. Keep it uncovered or loosely covered in the fridge so the skinless surface isn’t sitting in a wet puddle.
A Chicken Breast Habit Worth Keeping
The nicest thing about a reliable chicken breast method is how ordinary it feels once you’ve done it a few times. No drama. No guessing. Just a hot skillet, a little salt, a quiet sear, and a thermometer doing the honest work that eyes and guesswork can’t.
That’s the part I like most. Once you stop treating chicken breast like a gamble, it turns into a real dinner tool instead of a last-minute scramble. It can sit next to rice, pasta, potatoes, salad, or roasted vegetables and still hold its own, which is exactly what weeknight cooking needs from a protein. The next time a pack of chicken breasts lands in your fridge, this is the move that keeps dinner from sliding sideways.
Juicy Chicken Breast for Weeknight Dinners — Recipe Card
Recipe Name: Juicy Chicken Breast for Weeknight Dinners
Description: Boneless chicken breasts are salted, seared until golden, and finished with a quick lemon-garlic pan sauce so the meat stays tender and the plate doesn’t feel dry. It’s a practical skillet dinner that works with rice, pasta, potatoes, or vegetables.
Prep Time: 10 minutes
Cook Time: 15 minutes
Total Time: 25 minutes active, plus 15 minutes resting time
Course: Main Course
Cuisine: American
Servings: 4 servings
Calories: About 315 kcal per serving
Ingredients
For the Chicken:
- 4 boneless, skinless chicken breasts, 6 to 8 ounces each, pounded to even 3/4-inch thickness if needed
- 1 1/2 teaspoons kosher salt
- 1 teaspoon freshly ground black pepper
- 1 teaspoon garlic powder
- 1 teaspoon paprika
- 1 tablespoon olive oil
For the Pan Sauce:
- 2 tablespoons unsalted butter
- 2 cloves garlic, minced
- 1/2 cup low-sodium chicken broth
- 1 tablespoon lemon juice
- 1 tablespoon chopped fresh parsley
Instructions
-
Pat the chicken breasts dry, pound them to even thickness if needed, and sprinkle with kosher salt. Rest for 15 minutes.
-
Mix the black pepper, garlic powder, and paprika, then rub the seasoning over both sides of the chicken.
-
Heat the olive oil in a 12-inch skillet over medium-high heat. Sear the chicken 5 to 6 minutes on the first side until golden.
-
Flip the chicken, reduce the heat to medium, and cook 4 to 6 minutes more until the thickest part reaches 155°F to 160°F.
-
Transfer the chicken to a plate and tent loosely with foil. Add the butter and minced garlic to the skillet.
-
Pour in the chicken broth and lemon juice, scraping up the browned bits. Simmer 1 to 2 minutes, then stir in the parsley.
-
Spoon the sauce over the chicken, rest 5 minutes, slice against the grain, and serve.
Notes: Pull the chicken at 160°F and let it rest so it finishes at 165°F. If the breasts are very thick, butterfly them before pounding. The sauce is best fresh, but leftovers keep well for 3 to 4 days in the fridge.