
A college dinner has to pass three tests before it earns a spot in the regular rotation: it has to be cheap, fast, and forgiving enough to survive a kitchen with one good pan and a wildly inconsistent schedule. If a recipe needs six specialty ingredients, three bowls, and a calm hour you do not have, it stops being a dinner idea and turns into homework.
The best college dinner ideas are a little scrappy. They lean on pasta, rice, eggs, tortillas, frozen vegetables, canned beans, and the sort of cheese that melts into almost anything without asking questions. They also know when to keep their heads down. No fancy knife work. No weird flour. No ingredient that lives in one tiny store across town.
That does not mean boring. Quite the opposite. Garlic butter pasta tastes rich because the starch helps thicken the sauce. Quesadillas get crisp enough to sound good when you cut into them. A baked potato can feel like a real meal when you pile on broccoli and cheddar. The trick is using a few smart moves instead of a lot of expensive ones.
Why These 14 Dinners Belong in a Campus Kitchen
- Tiny-Kitchen Friendly: Every recipe here works with a skillet, a pot, a sheet pan, or a microwave-safe bowl, so you are not depending on a full chef’s setup.
- Budget-Smart Staples: Beans, rice, pasta, eggs, tortillas, and frozen vegetables do most of the heavy lifting, which keeps the grocery bill sane.
- Actually Filling: These dinners lean on protein, fiber, or both, so you are not hunting for snacks an hour later.
- Leftover-Ready: Several of these reheat well for lunch the next day, and a few taste better after the flavors settle.
- Flexible on a Student Schedule: If you have 10 minutes, 20 minutes, or a little more, there is something here that fits the gap between class, work, and whatever else is stacked on your calendar.
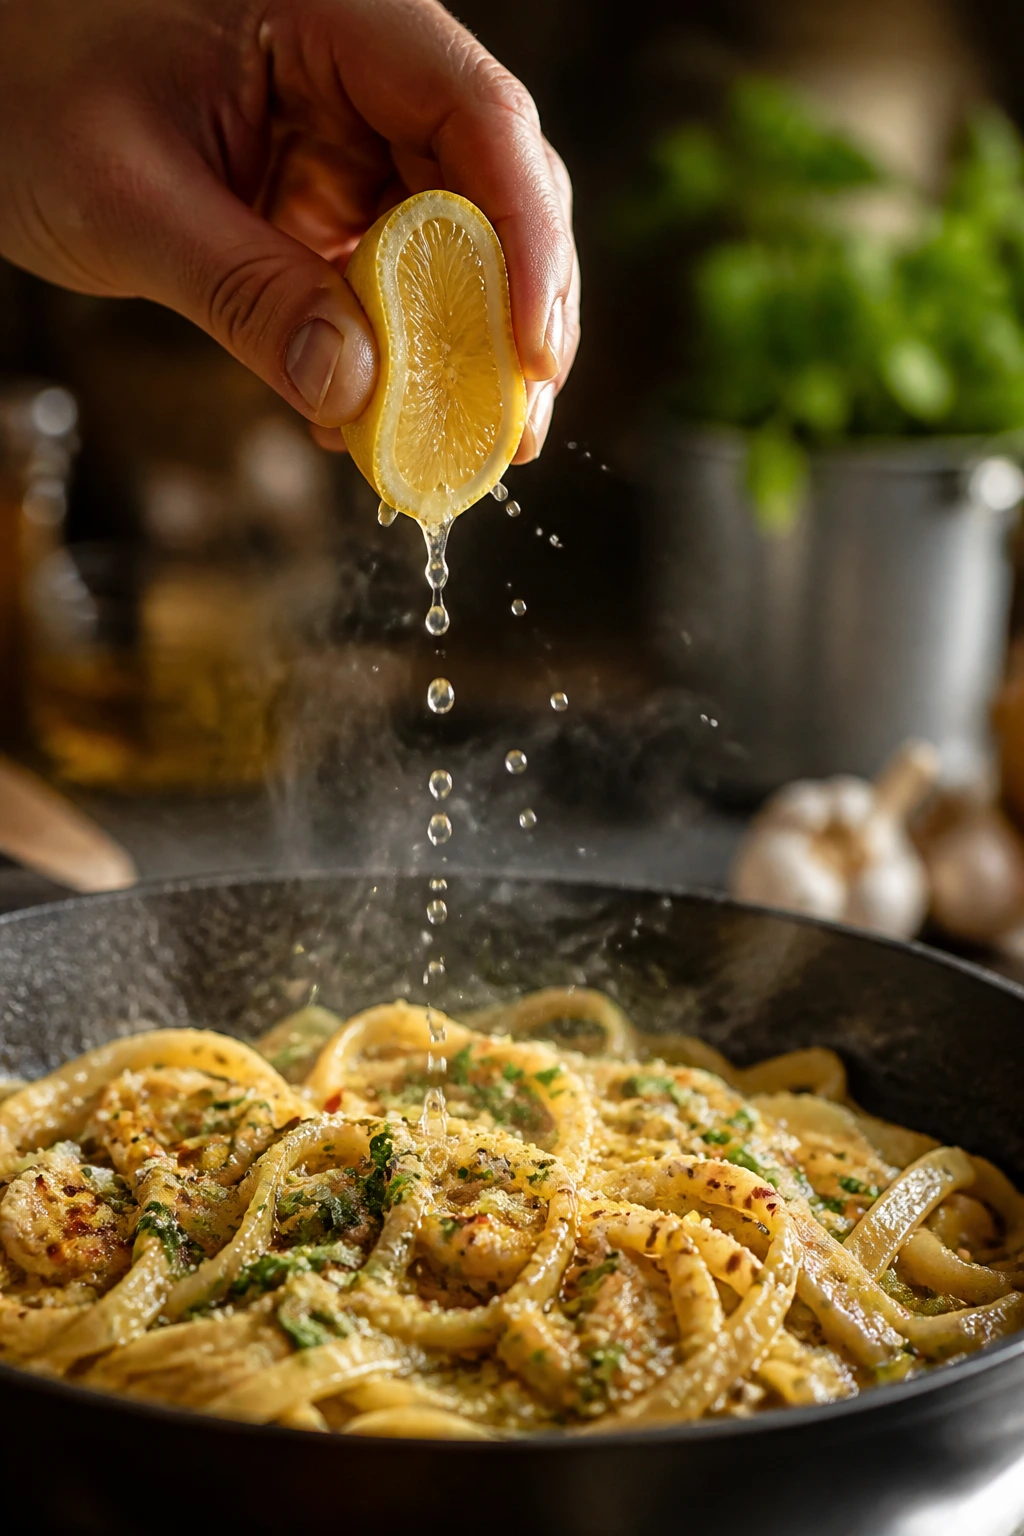
1. One-Pan Garlic Butter Pasta with Peas and Parmesan
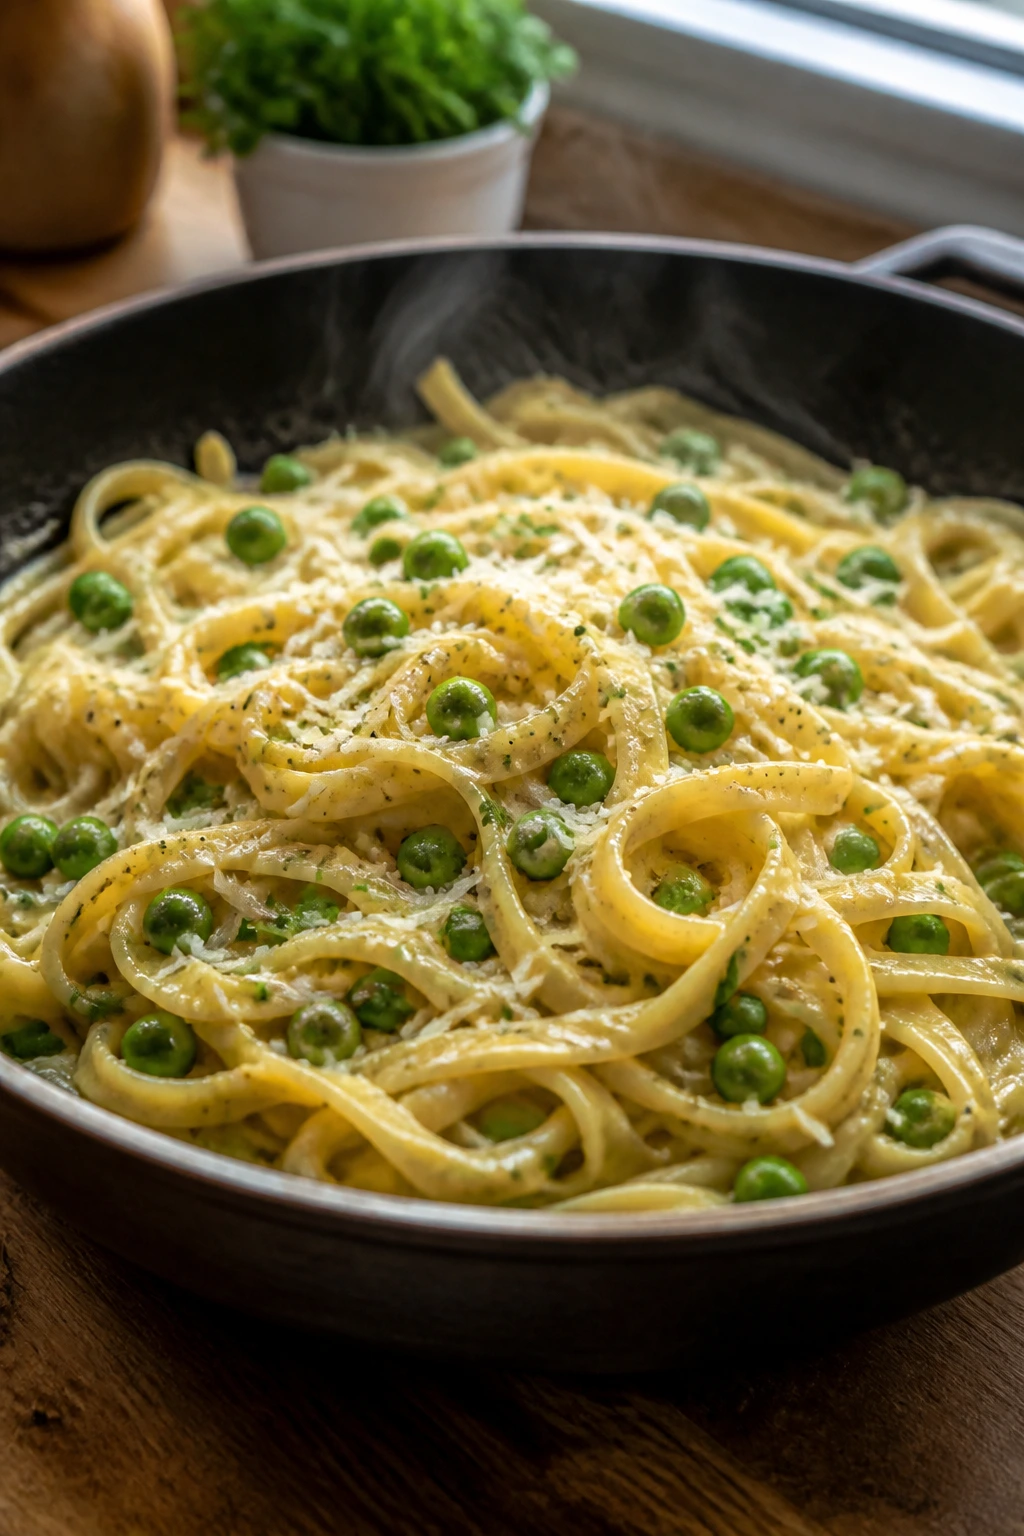
This is the kind of dinner that makes a cramped kitchen feel less hostile. The pasta turns glossy, the garlic smells sweet instead of sharp, and the peas bring little pops of freshness that keep the whole bowl from feeling heavy. It tastes like you spent more than 20 minutes on it, which is a nice trick when your brain is tired and your budget is thin.
Why It Works:
Cooking the pasta in the same pan with the broth gives the water enough starch to turn into a light sauce instead of a bowl of drained noodles. That matters. The pasta absorbs flavor as it cooks, the peas thaw in the last couple of minutes, and the parmesan melts into the liquid so you end up with something silky rather than watery. A wide skillet helps here because the pasta sits in a shallow layer and cooks more evenly.
Key Ingredients
- 8 oz spaghetti or linguine
- 2 tbsp unsalted butter
- 1 tbsp olive oil
- 3 cloves garlic, minced
- 2 1/2 cups low-sodium chicken broth or water
- 1/2 tsp kosher salt, plus more to taste
- 1 cup frozen peas
- 1/2 cup whole milk or half-and-half
- 1/2 cup finely grated parmesan
- 1/4 tsp black pepper
- 1 tsp lemon zest or a handful of chopped parsley, optional
Quick Steps
- Melt the butter and olive oil in a large skillet over medium heat. Add the garlic and cook for about 30 seconds, just until it smells sweet and the edges are barely sizzling.
- Add the dry pasta, broth, and salt. Bring the pan to a boil, then drop the heat to a lively simmer.
- Cook for 8 to 10 minutes, stirring often, until the pasta is tender and most of the liquid has been absorbed.
- Stir in the peas and milk, then cook for 1 to 2 minutes until the peas are hot and the sauce looks loose and creamy.
- Add the parmesan, black pepper, and lemon zest. Toss until the noodles are glossy and the sauce clings to them instead of pooling at the bottom.
- Taste and add a pinch more salt if needed. Serve right away.
Tips and Variations
- Use broth if you have it; water works, but broth gives the sauce more depth.
- If the pan looks dry before the pasta is done, add 2 to 4 tablespoons of water.
- Toss in leftover rotisserie chicken, cooked shrimp, or sautéed mushrooms if you want more protein.
2. Tuna Melt Quesadilla
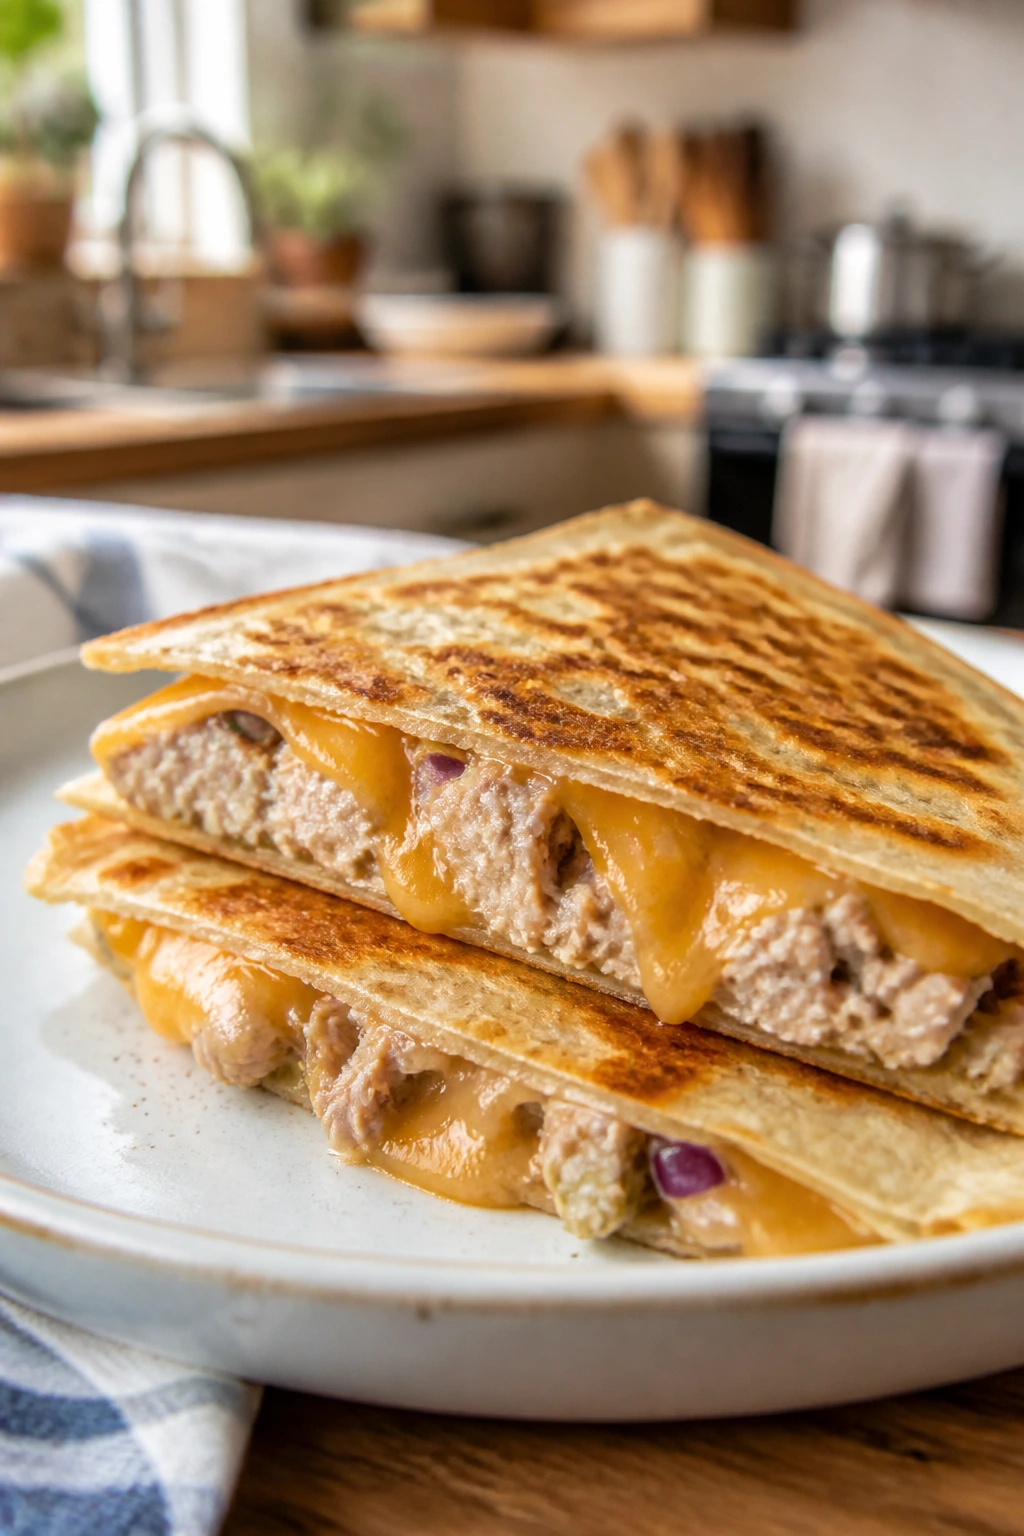
A tuna melt quesadilla is what happens when a pantry lunch learns how to act like dinner. The tortilla gets crisp, the cheese turns stretchy, and the tuna filling stays savory without getting soggy. It is fast, a little old-school, and far better than it has any right to be.
Why It Works:
Tuna is already cooked, which means the whole job becomes about texture and heat control. You mix in just enough mayo or yogurt to bind the filling, then let the skillet do the rest: one side crisps while the cheese melts and seals the layers together. Keep the heat at medium. Too hot, and the tortilla burns before the center warms through.
Key Ingredients
- 1 can tuna, 5 oz, drained well
- 2 tbsp mayonnaise or plain Greek yogurt
- 1 tsp Dijon mustard
- 2 tbsp finely chopped pickle or celery
- 1/4 tsp black pepper
- 4 flour tortillas, 8-inch
- 1 cup shredded cheddar or Monterey Jack
- 1 tbsp butter or oil for the skillet
- 2 tomato slices, optional
- Hot sauce, optional
Quick Steps
- Mix the tuna, mayo or yogurt, Dijon, pickle or celery, and black pepper in a small bowl.
- Heat a skillet over medium heat and add a thin layer of butter or oil.
- Lay one tortilla in the skillet, sprinkle half the cheese over it, then spread the tuna mixture on top and add tomato slices if using.
- Finish with the remaining cheese and the second tortilla. Cook for 2 to 3 minutes, until the bottom is golden and the cheese starts to melt.
- Flip carefully and cook for another 2 minutes, pressing lightly with a spatula so the quesadilla seals and browns evenly.
- Rest for 1 minute, then cut into wedges and serve.
Tips and Variations
- Drain the tuna well or the filling turns loose and muddy.
- Use pickles for tang, celery for crunch, or both if you like contrast.
- Add a spoonful of sriracha mayo if you want it louder.
3. Sheet Pan Chicken Fajitas
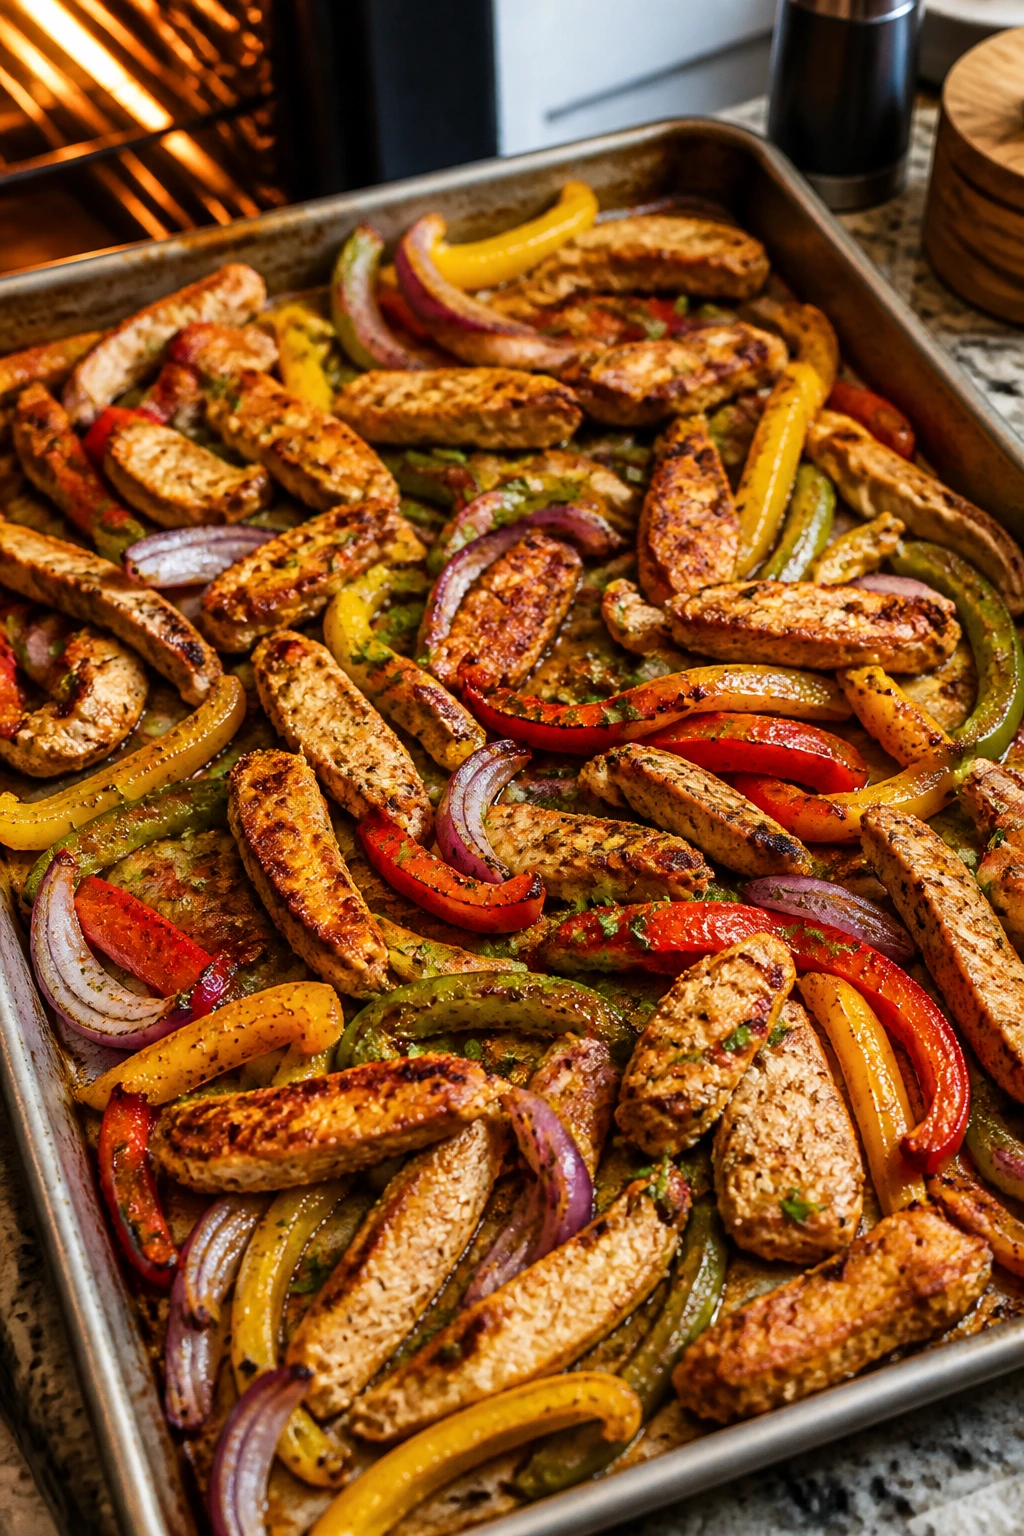
How do you feed four people with one sheet pan and half a bottle of fajita seasoning? You slice the chicken thin, throw peppers and onions into the mix, and let the oven do the hard part. The result is colorful, smoky, and much easier than standing over a skillet in batches.
Why It Works:
Thin slices of chicken and vegetables cook at nearly the same pace, which is the whole secret. A hot oven caramelizes the pepper edges while the onions soften into something sweet and supple. If the pan is crowded, the food steams instead of roasts, so give everything room and use two pans if the ingredients are packed in too tightly.
Key Ingredients
- 1 1/2 lbs boneless, skinless chicken breasts or thighs, thinly sliced
- 3 bell peppers, sliced
- 1 large onion, sliced
- 2 tbsp olive oil
- 1 tbsp chili powder
- 1 tsp ground cumin
- 1 tsp garlic powder
- 1 tsp smoked paprika
- 1/2 tsp kosher salt
- 1/2 tsp black pepper
- 8 small tortillas
- 1 lime, cut into wedges
- Salsa or sour cream, optional
Quick Steps
- Heat the oven to 425°F and line a large sheet pan with foil or parchment.
- Toss the chicken, peppers, onion, olive oil, chili powder, cumin, garlic powder, paprika, salt, and pepper in a large bowl.
- Spread everything across the pan in one even layer. The chicken should not be piled up.
- Roast for 18 to 22 minutes, stirring once halfway through, until the chicken is cooked through and the vegetables have browned at the edges.
- If you want more color, broil for 1 to 2 minutes at the end, watching closely so the peppers do not scorch.
- Warm the tortillas, squeeze lime over the filling, and serve with salsa or sour cream.
Tips and Variations
- Thighs stay juicier than breasts, especially if you tend to forget things in the oven.
- Slice the chicken thin so it finishes at the same time as the peppers.
- Leftovers are excellent in rice bowls or breakfast burritos.
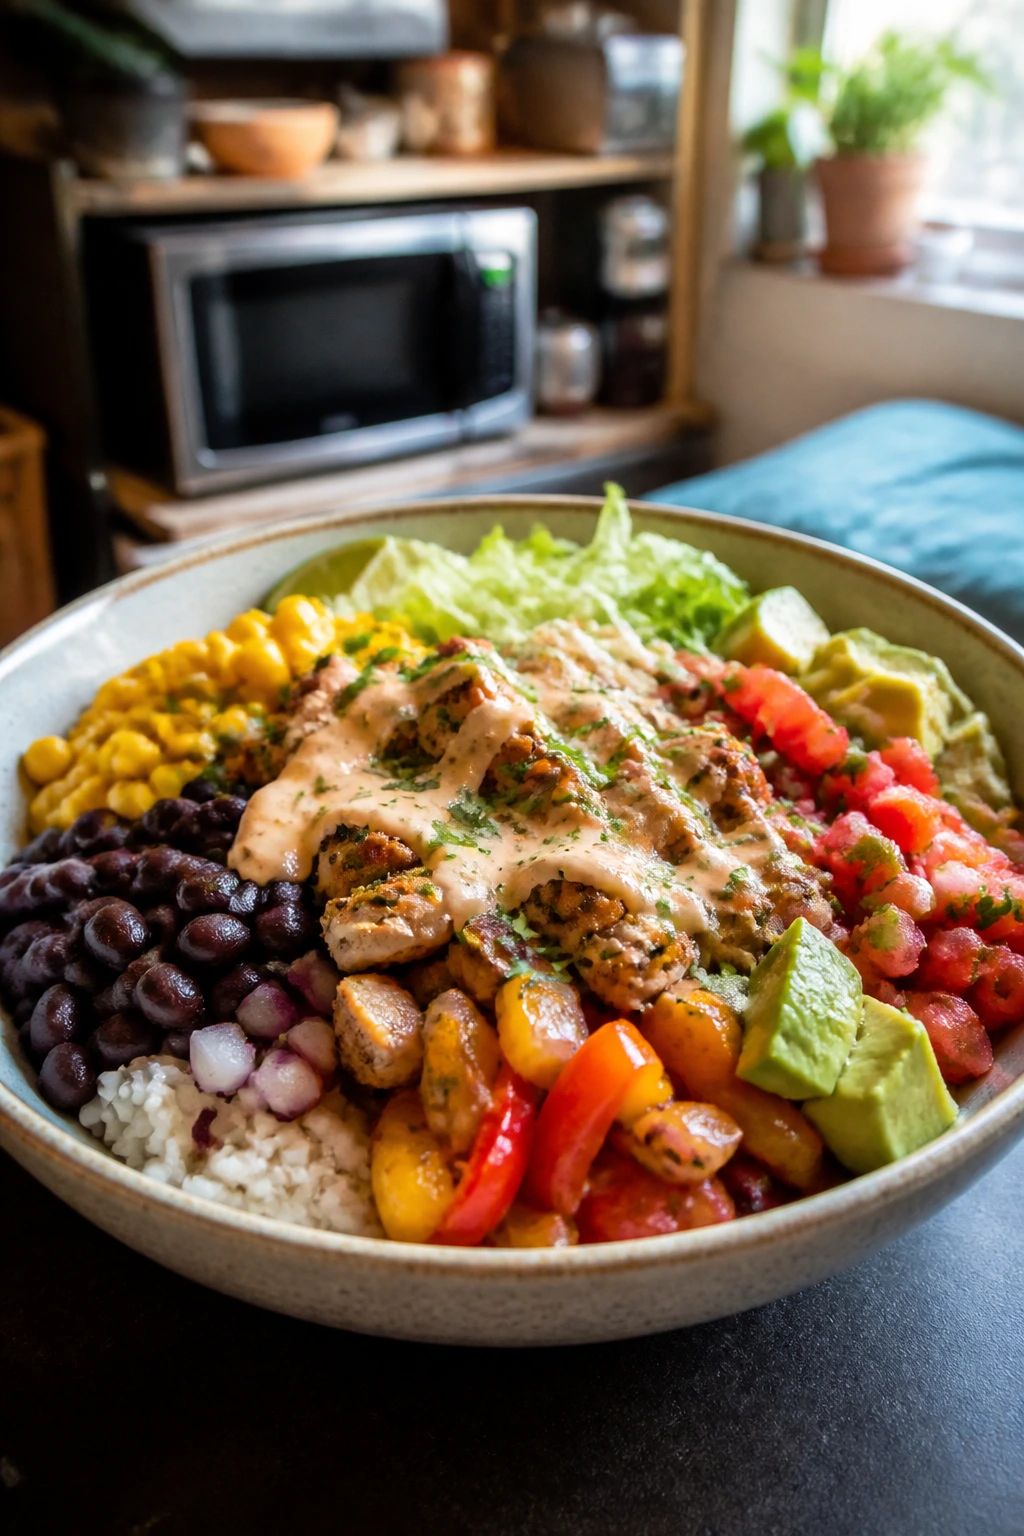
4. Microwave Bean-and-Rice Burrito Bowl
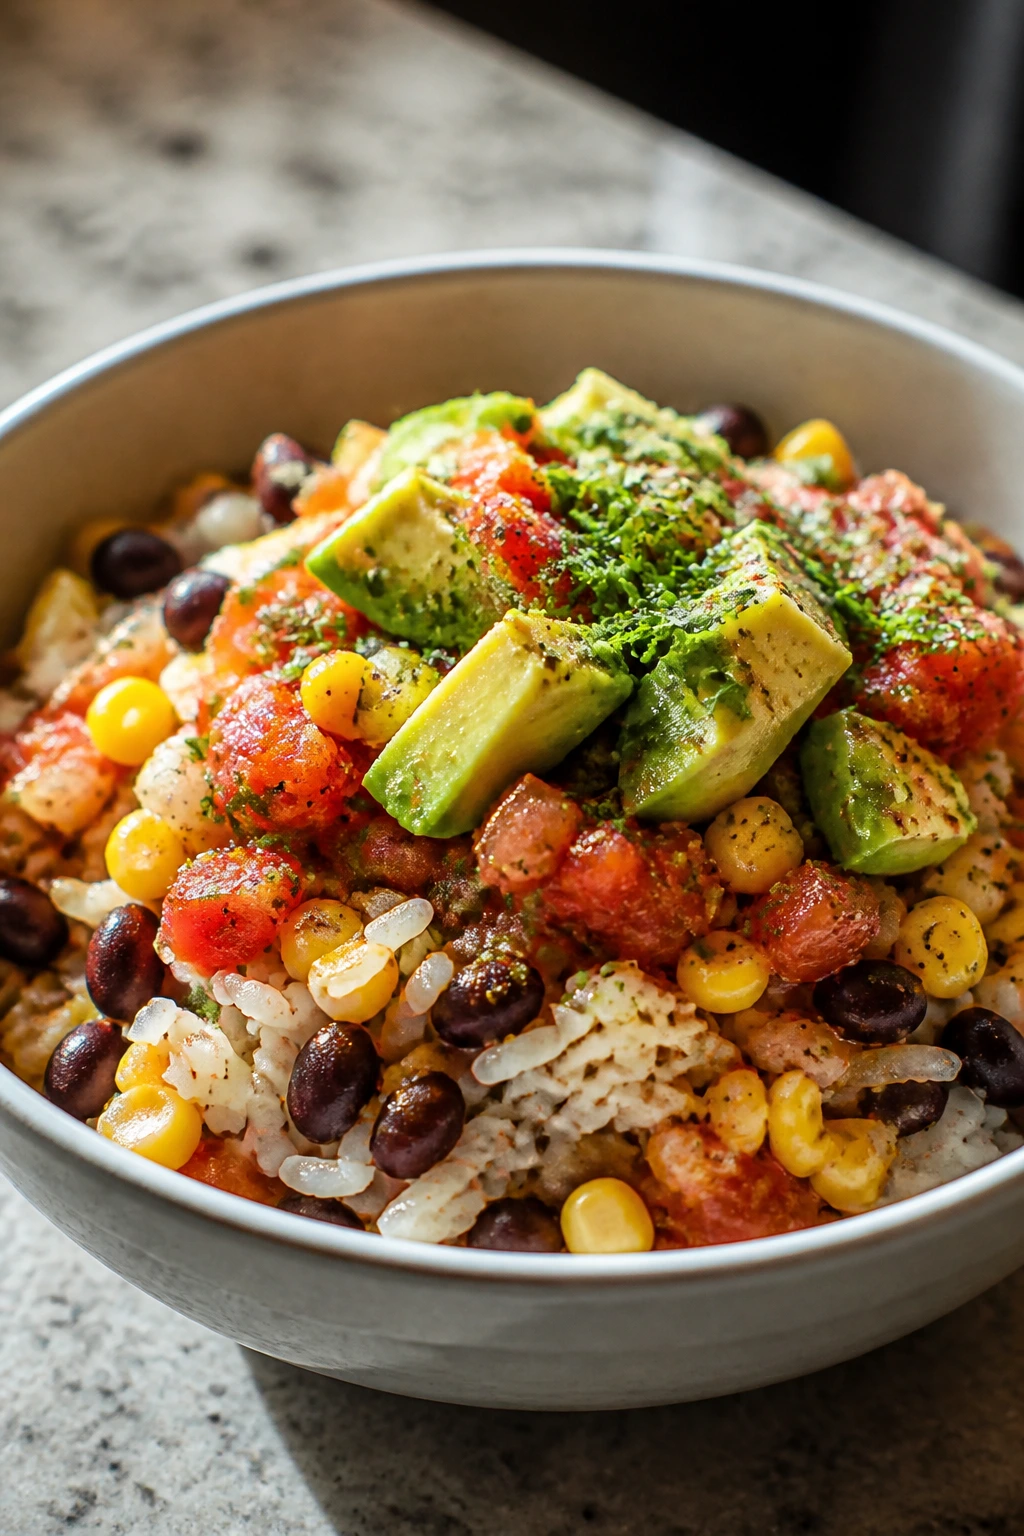
Microwave dinners can do more than survive. They can actually taste alive if you build them with enough texture and seasoning. This bowl is warm, salty, a little creamy, and fast enough to make between classes without turning the kitchen into a disaster zone.
Why It Works:
Rice and beans give you the kind of steady, filling base that college dinners need. The microwave handles the cooking without drying things out, and the salsa brings acidity so the bowl does not taste flat. Frozen corn adds sweetness and bite, while avocado or yogurt gives the whole thing enough richness to feel finished.
Key Ingredients
- 1 cup instant rice or 1 microwave rice pouch
- 1 cup water or broth, if using instant rice
- 1 can black beans, drained and rinsed
- 1 cup frozen corn
- 1/2 cup salsa
- 1/2 tsp taco seasoning
- 1/2 cup shredded cheddar
- 1 avocado, sliced
- 2 tbsp plain Greek yogurt or sour cream
- Lime wedges, optional
Quick Steps
- If using instant rice, combine the rice and water in a microwave-safe bowl, cover loosely, and microwave according to the package directions until tender.
- Stir the black beans, corn, and taco seasoning into the hot rice. Cover and microwave for 1 to 2 minutes, until everything is steaming.
- Add the salsa and half the cheese, then stir until the cheese starts to melt and the mixture thickens a bit.
- Top with avocado, yogurt or sour cream, and the remaining cheese.
- Finish with lime juice if you have it, then eat while hot.
Tips and Variations
- Leftover rice works too. Just heat it with a splash of water before adding the toppings.
- If you want more protein, add chopped rotisserie chicken or a fried egg.
- Bagged shredded lettuce can go on top for crunch, but add it at the very end.
5. Chili Oil Ramen with Egg and Greens
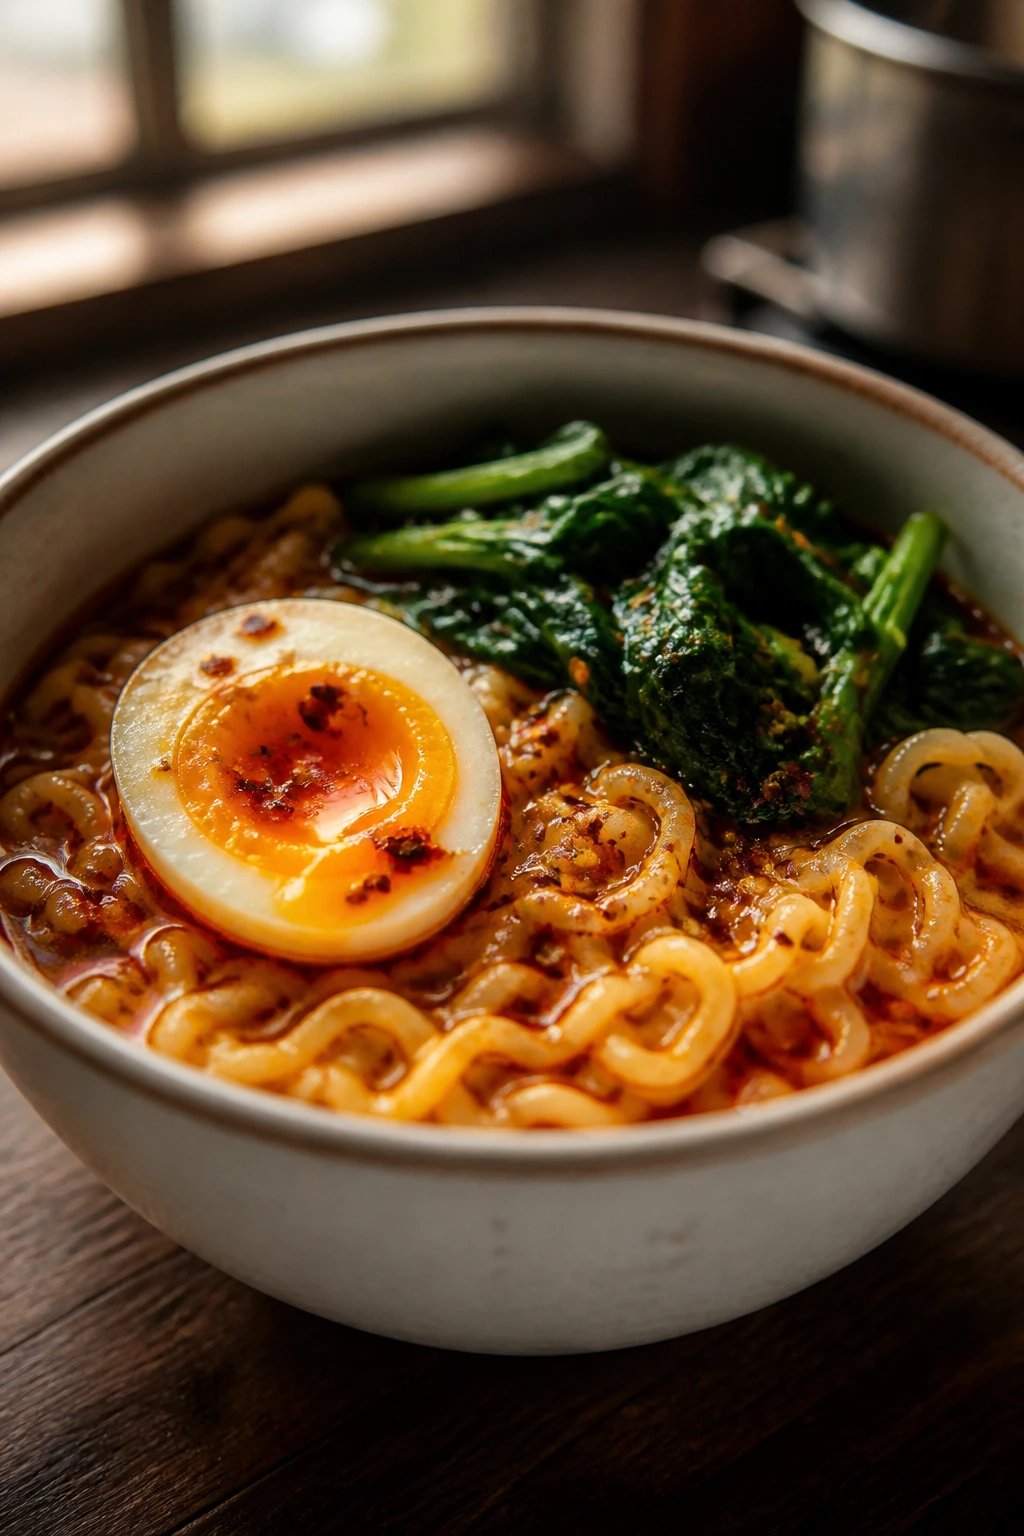
Instant ramen does not need to stay sad. A spoonful of chili crisp, a couple of eggs, and a handful of spinach turn it into a bowl that feels intentional instead of desperate. It still cooks in minutes, which is the real miracle on a night when you are dragging.
Why It Works:
Ramen noodles are built for quick cooking, and their starch helps the broth feel thicker than it really is. Adding the eggs directly to the simmering liquid means they poach gently and soak up flavor without needing a second pan. Spinach wilts in less than a minute, which keeps the greens bright instead of floppy and gray.
Key Ingredients
- 2 packs instant ramen noodles, seasoning packets reduced or used lightly
- 2 eggs
- 1 tbsp chili crisp or chili oil
- 1 tbsp soy sauce
- 1 tsp sesame oil
- 2 cups baby spinach
- 2 scallions, sliced
- 1 tsp rice vinegar, optional
- 1 tbsp peanut butter, optional for a richer broth
- 3 cups water
Quick Steps
- Bring the water to a simmer in a medium saucepan.
- Add the ramen noodles and cook for 2 minutes, stirring once so they loosen and do not clump.
- Crack in the eggs, cover the pan, and cook for 2 to 3 minutes until the whites are set but the yolks are still soft.
- Stir in the spinach, soy sauce, sesame oil, chili crisp, and rice vinegar or peanut butter if using. The spinach should wilt almost immediately.
- Ladle into bowls and top with scallions. Eat right away, while the noodles are still springy.
Tips and Variations
- Use only half the seasoning packet if the broth tastes too salty.
- A spoonful of peanut butter makes the broth nutty and richer; it sounds odd, then tastes right.
- Add frozen dumplings or leftover chicken if you have them.
6. Black Bean Sweet Potato Tacos
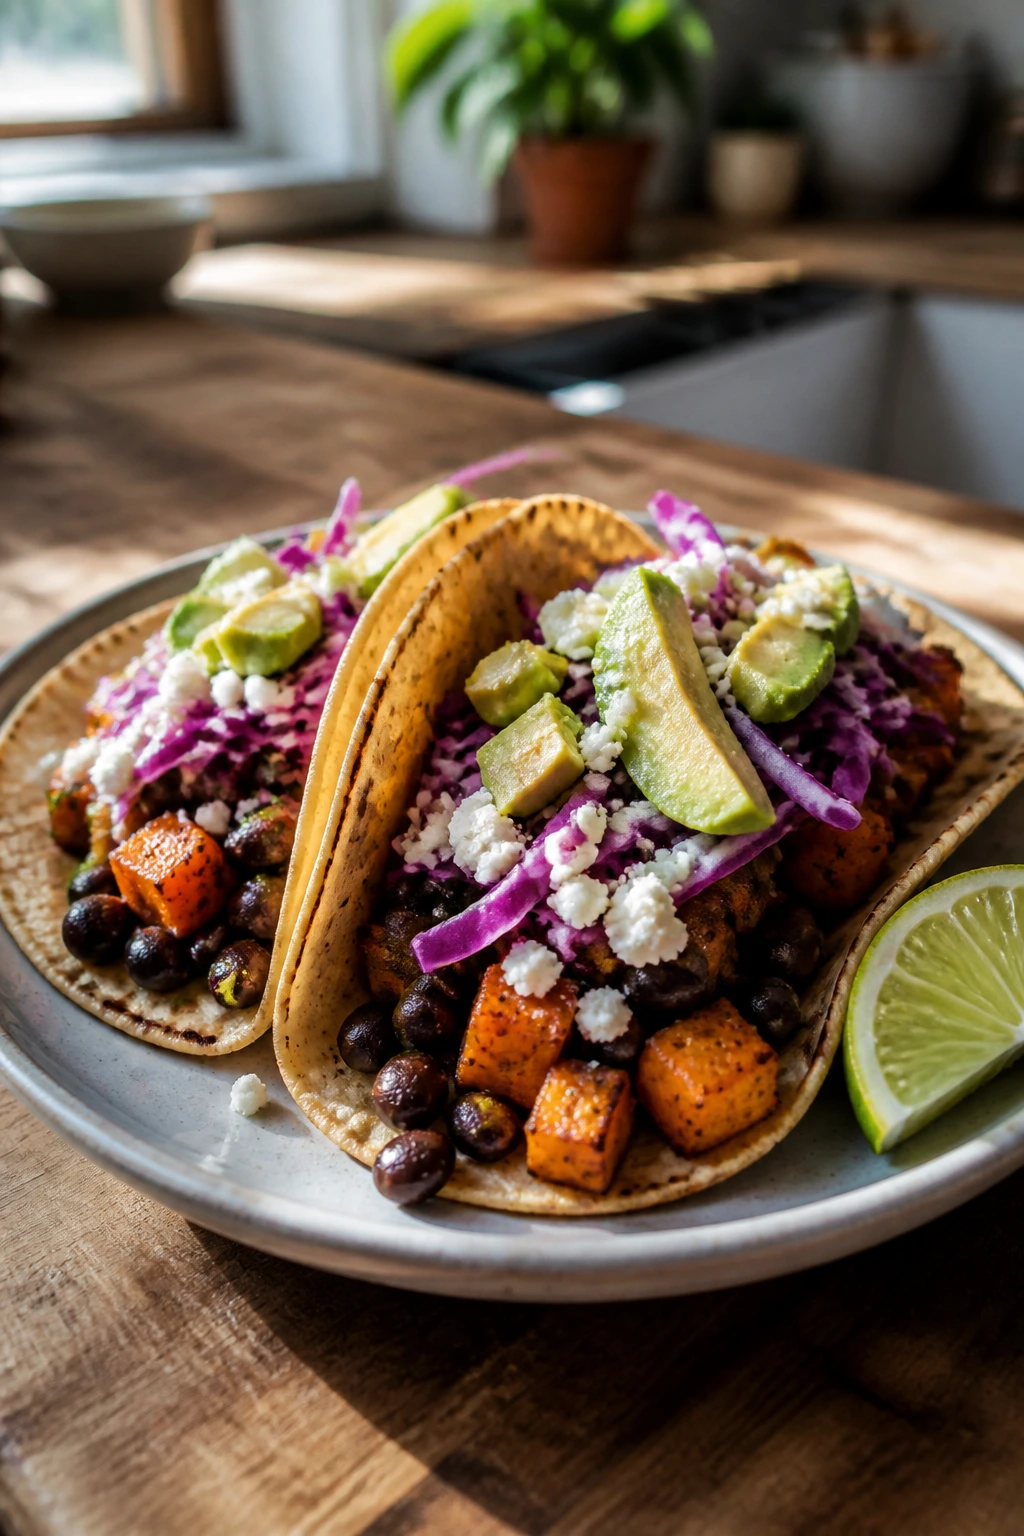
Roasted sweet potatoes smell nutty and a little caramelized, which is already enough to make the kitchen feel kinder. Add black beans, lime, and a little cheese, and you get tacos that are cheap, filling, and bright enough to wake up a tired weeknight.
Why It Works:
Sweet potatoes bring natural sweetness and substance, while black beans add protein and a soft, earthy base. Roasting the potatoes gives you edges that brown instead of steam, and the tortillas give the whole thing a handheld shape that feels less like “I need to eat” and more like dinner. The lime matters too. It cuts through the starch and keeps the tacos from turning heavy.
Key Ingredients
- 2 medium sweet potatoes, peeled and cubed
- 1 tbsp olive oil
- 1 tsp cumin
- 1 tsp chili powder
- 1/2 tsp kosher salt
- 1 can black beans, drained and rinsed
- 8 small corn or flour tortillas
- 1 avocado, sliced
- 1 cup shredded cabbage or bagged slaw
- 1/2 cup crumbled cotija or shredded cheddar
- 1 lime, cut into wedges
- Salsa or hot sauce, optional
Quick Steps
- Heat the oven to 425°F and line a baking sheet with parchment.
- Toss the sweet potato cubes with olive oil, cumin, chili powder, and salt. Spread them out and roast for 20 to 25 minutes, flipping once, until the edges are browned and the centers are tender.
- Warm the black beans in a small saucepan over medium heat for 3 to 4 minutes, or microwave them with a splash of water.
- Warm the tortillas in a dry skillet or directly over a low gas flame if you have one.
- Fill each tortilla with sweet potatoes, black beans, cabbage, avocado, cheese, and lime juice.
- Add salsa or hot sauce if you want more punch, then serve immediately.
Tips and Variations
- If you are in a rush, microwave the sweet potatoes until tender, then finish them in a hot skillet for color.
- Bagged slaw gives you crunch without chopping a thing.
- A spoonful of Greek yogurt works well if you want a cooler, creamier taco.
7. Greek Chickpea Pita Bowls
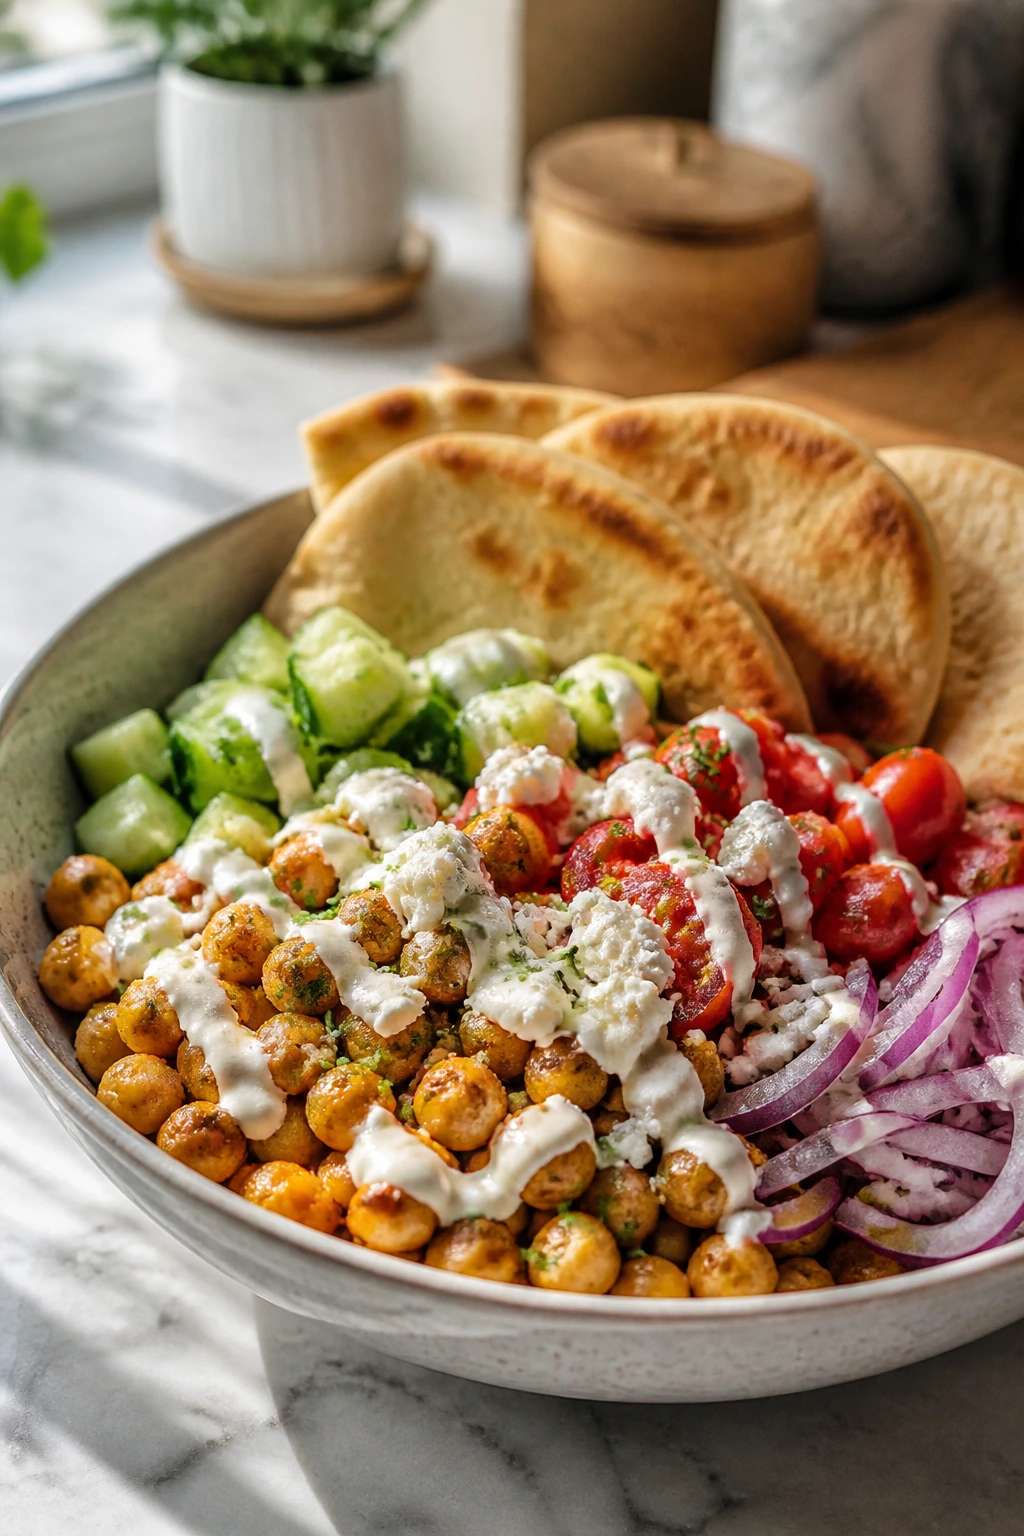
Chickpeas are the most useful bargain in the store. They hold their shape, take on flavor fast, and make a dinner feel more substantial without asking for much in return. This bowl is fresh, salty, and easy to assemble after a long day of classes.
Why It Works:
The chickpeas get warmed with oregano and garlic powder, which gives them enough seasoning to stand on their own instead of fading into the background. Raw cucumber, tomatoes, and onion provide crunch and juiciness, while feta adds a salty finish that makes the whole bowl taste composed. A yogurt sauce keeps things creamy without heavy cooking.
Key Ingredients
- 2 cans chickpeas, drained and rinsed
- 1 tbsp olive oil
- 1 tsp dried oregano
- 1/2 tsp garlic powder
- 1/2 tsp kosher salt
- 1 cucumber, diced
- 1 pint cherry tomatoes, halved
- 1/4 red onion, thinly sliced
- 1/2 cup feta cheese
- 4 pita rounds or naan
- 1/2 cup plain Greek yogurt
- 1 tbsp lemon juice
- 1 tsp tahini, optional
Quick Steps
- Heat the olive oil in a skillet over medium heat. Add the chickpeas, oregano, garlic powder, and salt.
- Cook for 4 to 5 minutes, stirring often, until the chickpeas are hot and lightly browned in spots.
- Stir the Greek yogurt with lemon juice and tahini if using.
- Split the pita rounds or warm the naan in the microwave or toaster.
- Fill each pita or bowl with chickpeas, cucumber, tomatoes, onion, and feta. Drizzle with the yogurt sauce.
- Eat while the chickpeas are warm and the vegetables are still cold and crisp.
Tips and Variations
- A squeeze of lemon right at the end makes the chickpeas taste brighter.
- If you want a little more heft, add cooked rice or couscous beneath the vegetables.
- Swap feta for shredded mozzarella if that is what the fridge has.
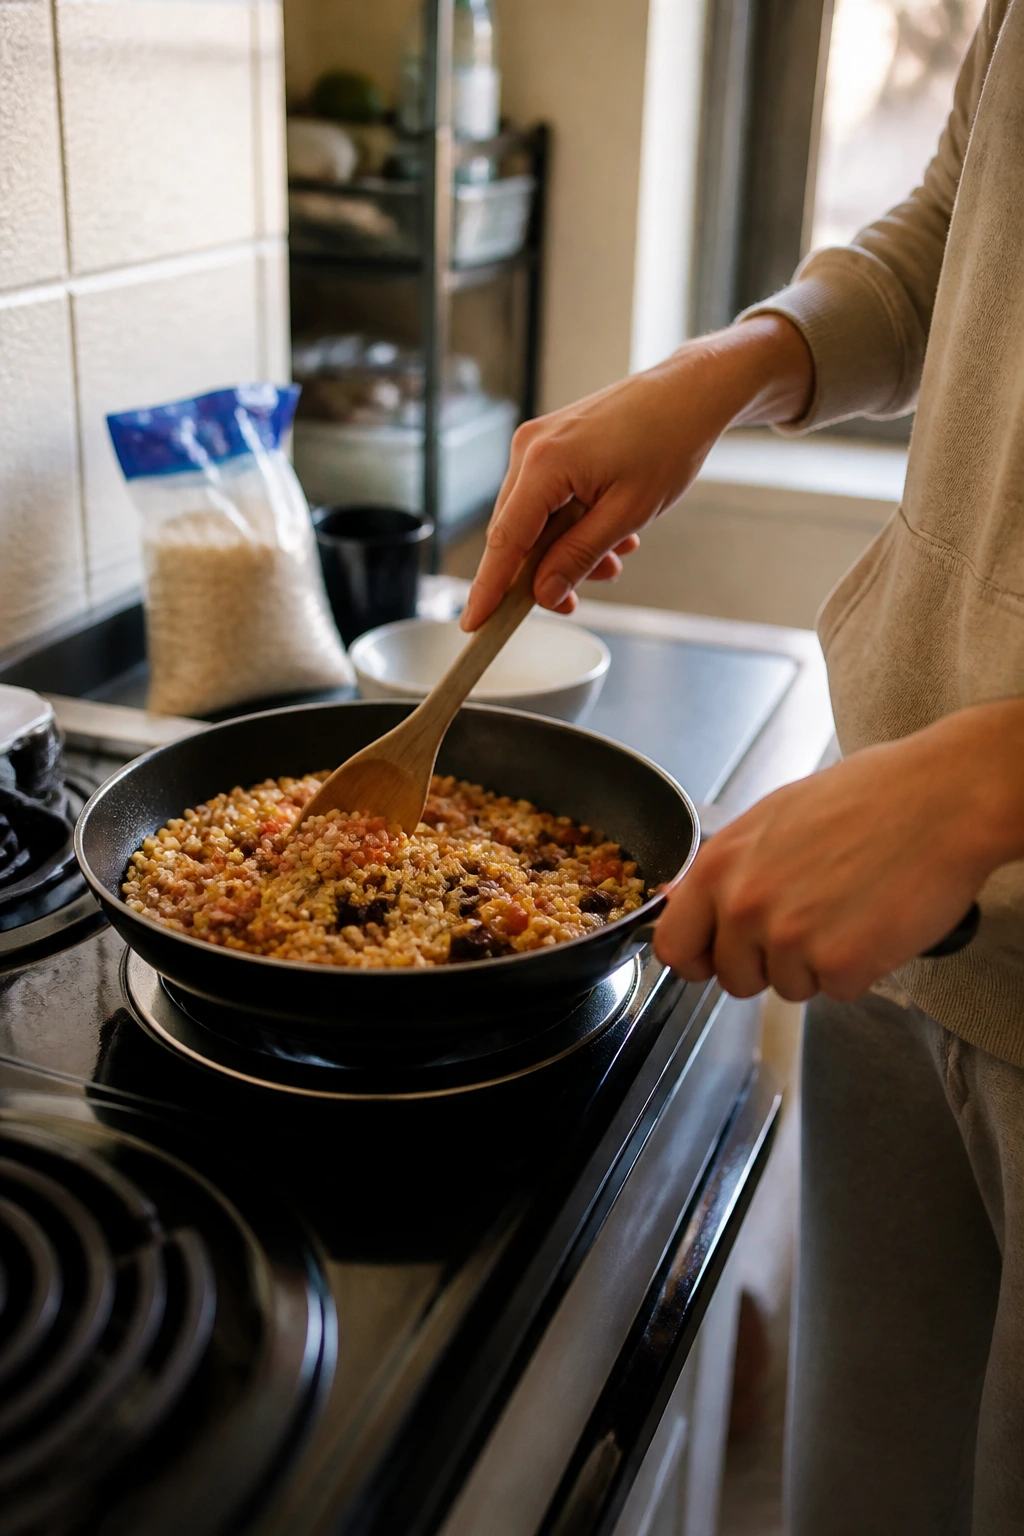
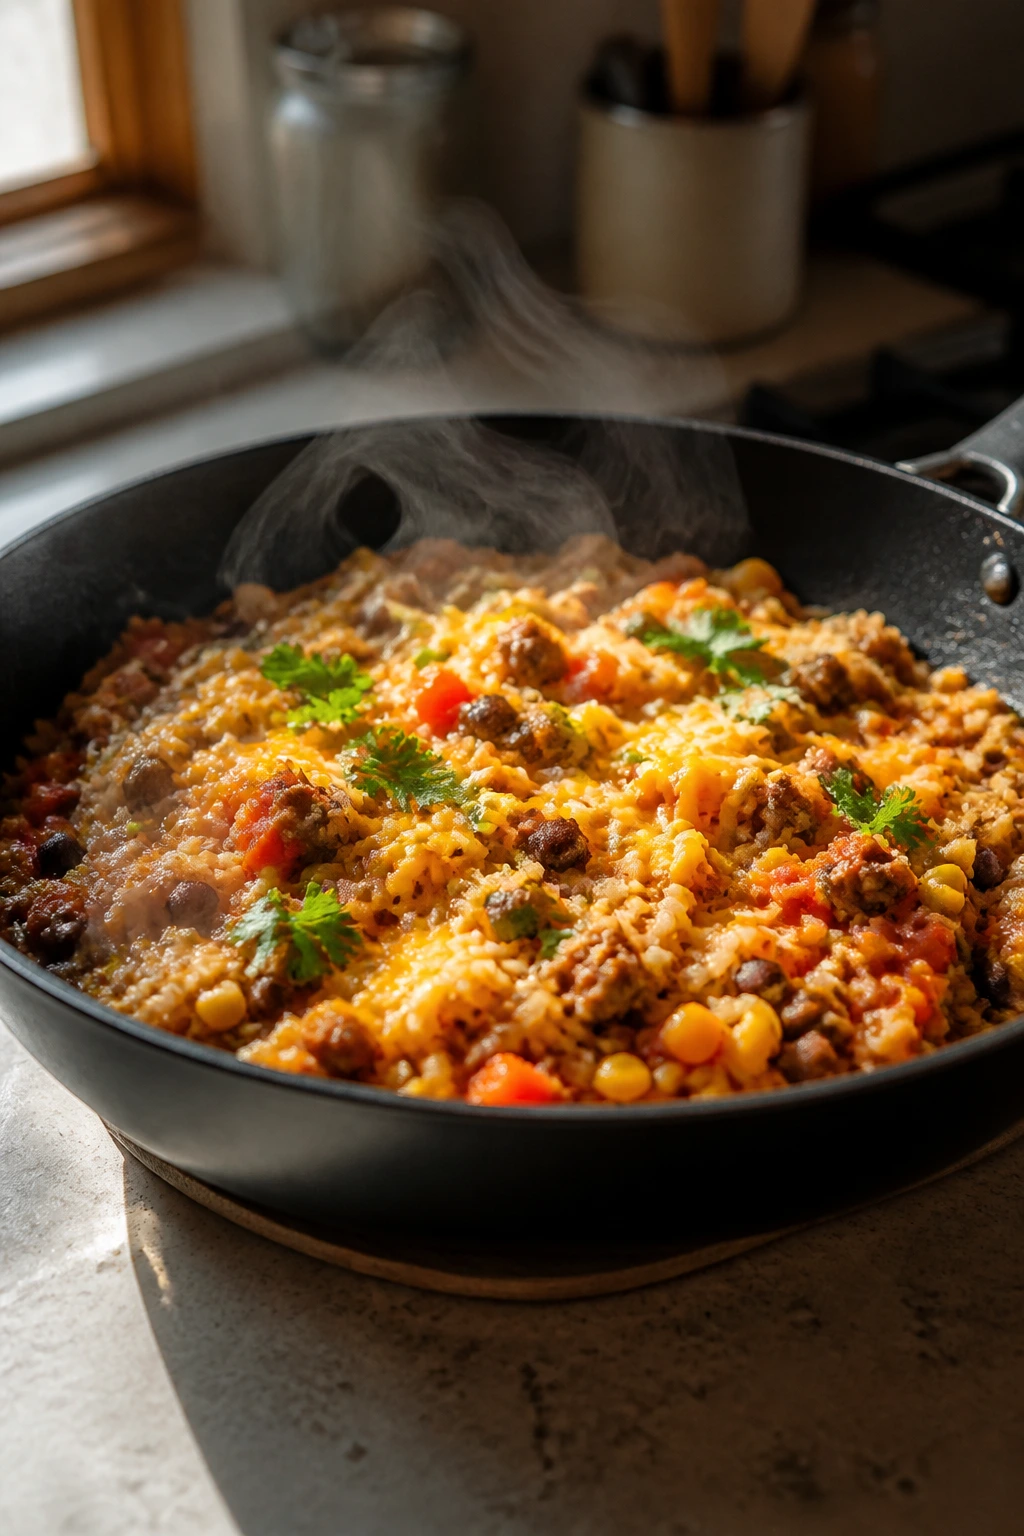
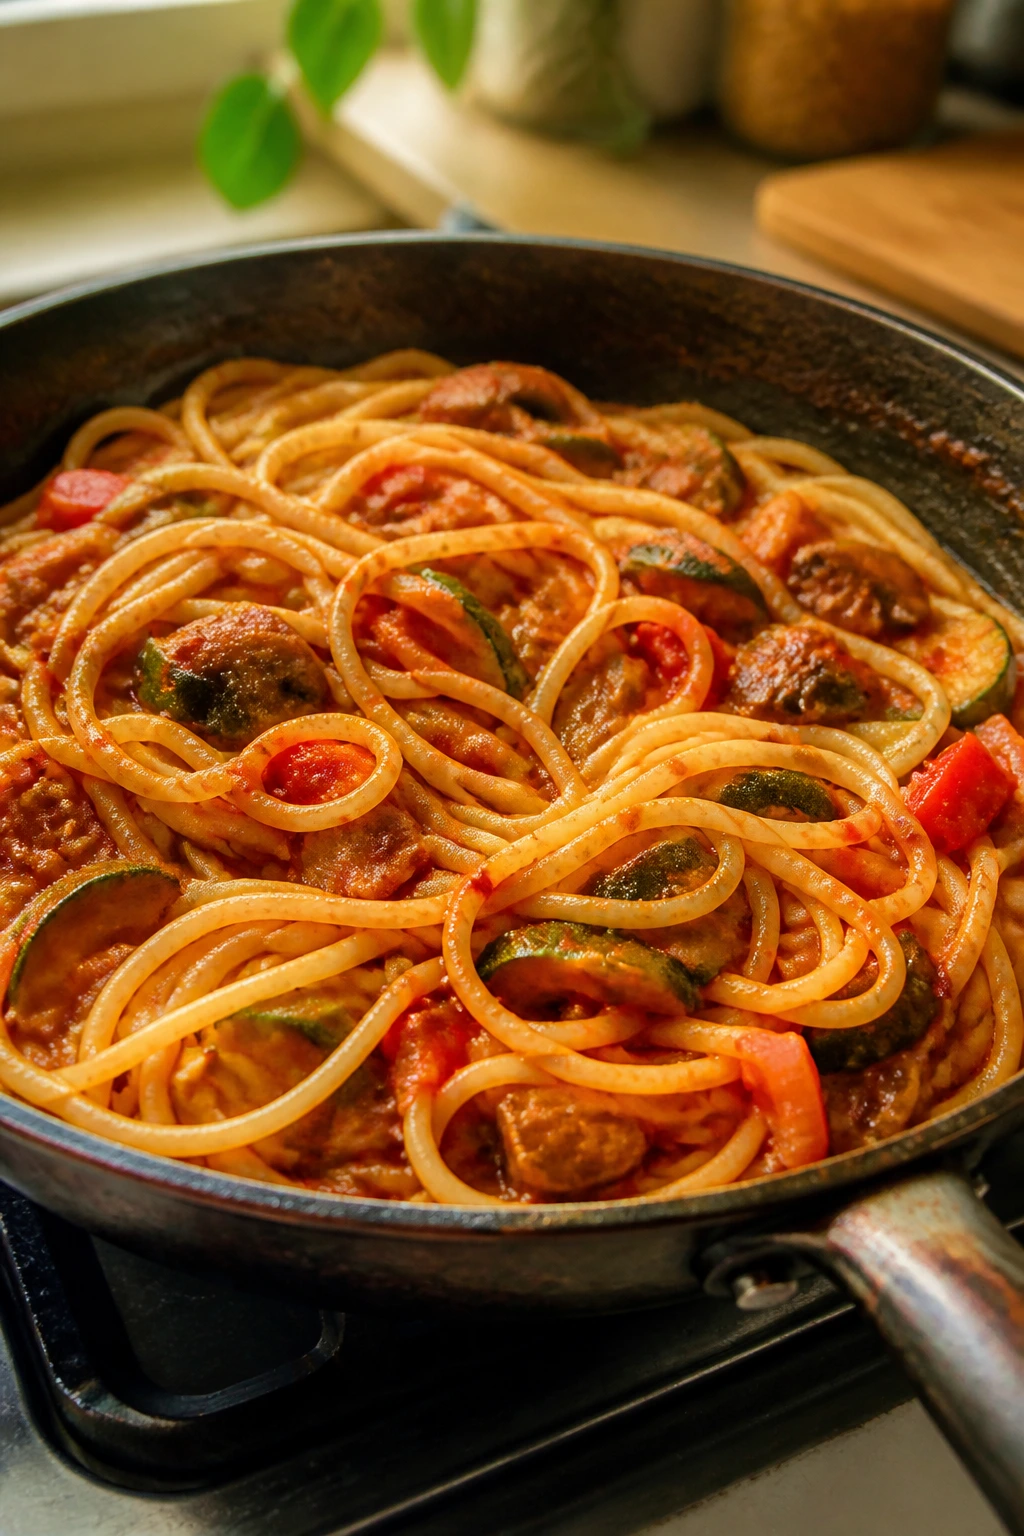
8. Ground Turkey Skillet Rice
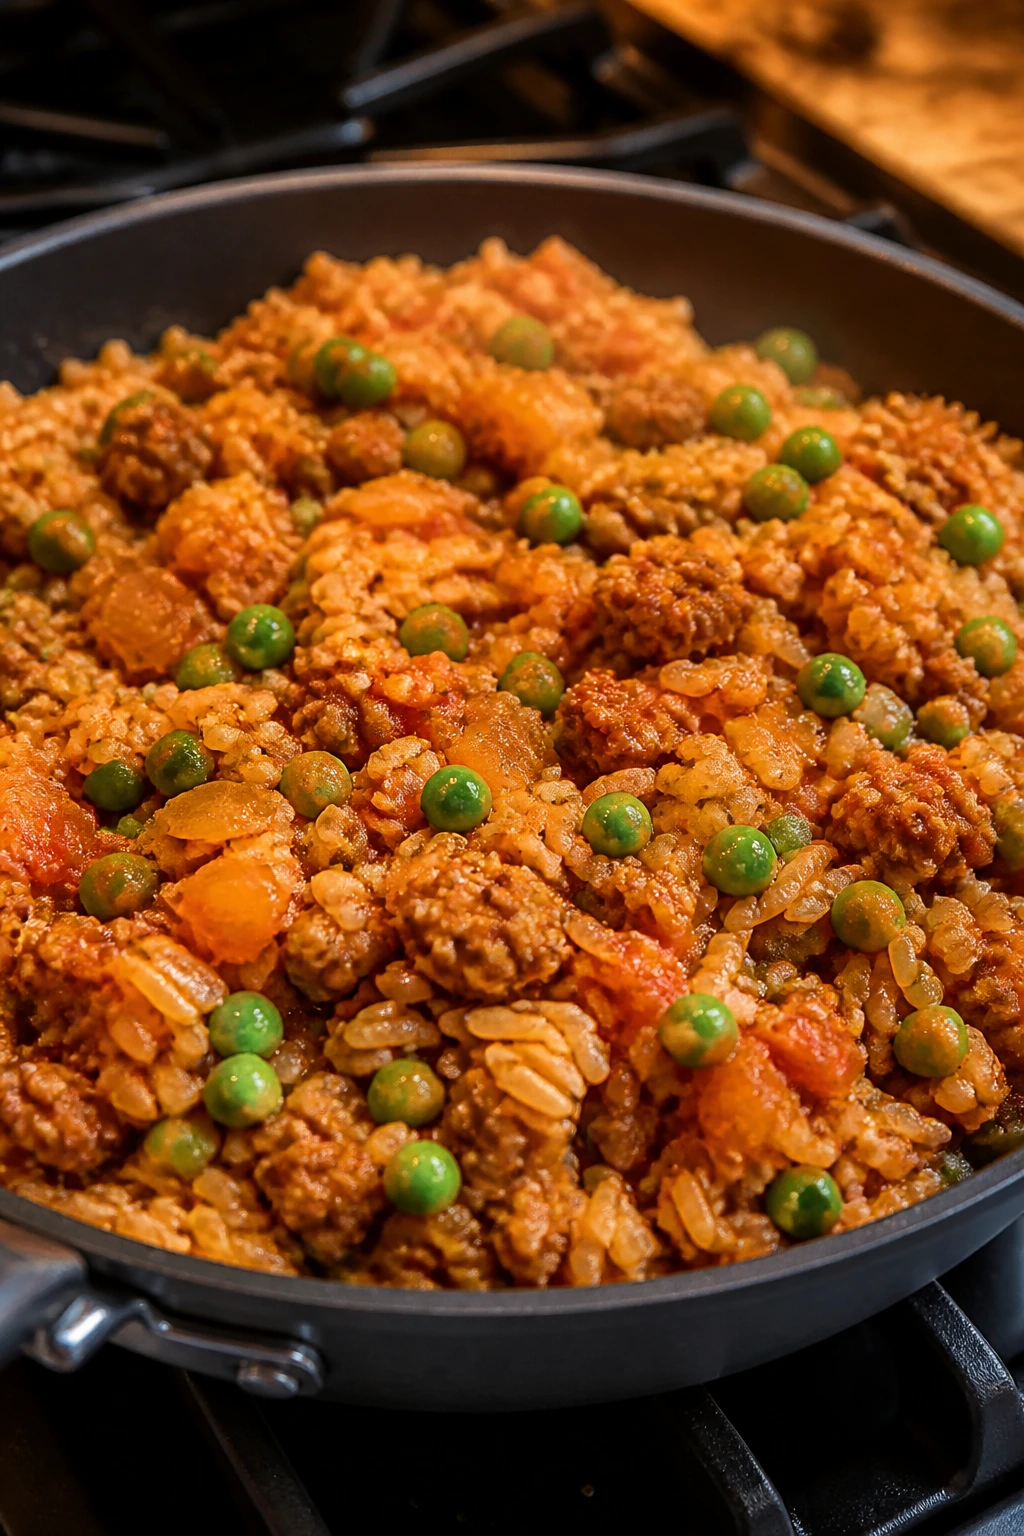
Ground turkey gets boring only when you refuse to season it. Give it onion, garlic, paprika, cumin, and rice, and it turns into a one-pan dinner that feels far more organized than the average student meal. The tomato broth cooks down into something savory and satisfying.
Why It Works:
This recipe uses the rice as both starch and sponge. It absorbs the broth, tomato juice, and seasonings while the turkey browns, which means the whole pan tastes connected instead of separate. Frozen peas or mixed vegetables can go in near the end, which keeps their color and stops them from going mushy.
Key Ingredients
- 1 lb ground turkey
- 1 tbsp olive oil
- 1 small onion, diced
- 2 cloves garlic, minced
- 1 cup long-grain rice, rinsed
- 1 can diced tomatoes, 14.5 oz
- 2 cups chicken broth
- 1 tsp paprika
- 1 tsp cumin
- 1/2 tsp kosher salt
- 1/2 tsp black pepper
- 1 cup frozen peas or mixed vegetables
- 1/2 cup shredded cheese, optional
Quick Steps
- Heat the olive oil in a deep skillet over medium-high heat. Add the onion and cook for 3 minutes, until it starts to soften.
- Add the ground turkey and cook for 5 to 6 minutes, breaking it up with a spoon, until it is no longer pink.
- Stir in the garlic, paprika, cumin, salt, and pepper, then add the rice, diced tomatoes, and broth.
- Bring the pan to a simmer, cover it, and cook for 18 to 20 minutes over low heat until the rice is tender and most of the liquid is gone.
- Stir in the frozen peas or vegetables and cook for 2 more minutes.
- Sprinkle with cheese if you want it richer, then let the pan sit off the heat for 3 minutes before serving.
Tips and Variations
- Rinse the rice so the grains stay separate instead of sticky.
- If the pan dries out before the rice is tender, add 1/4 cup water and keep going.
- Leftovers reheat well with a splash of broth.
9. Pesto Tortellini with Peas
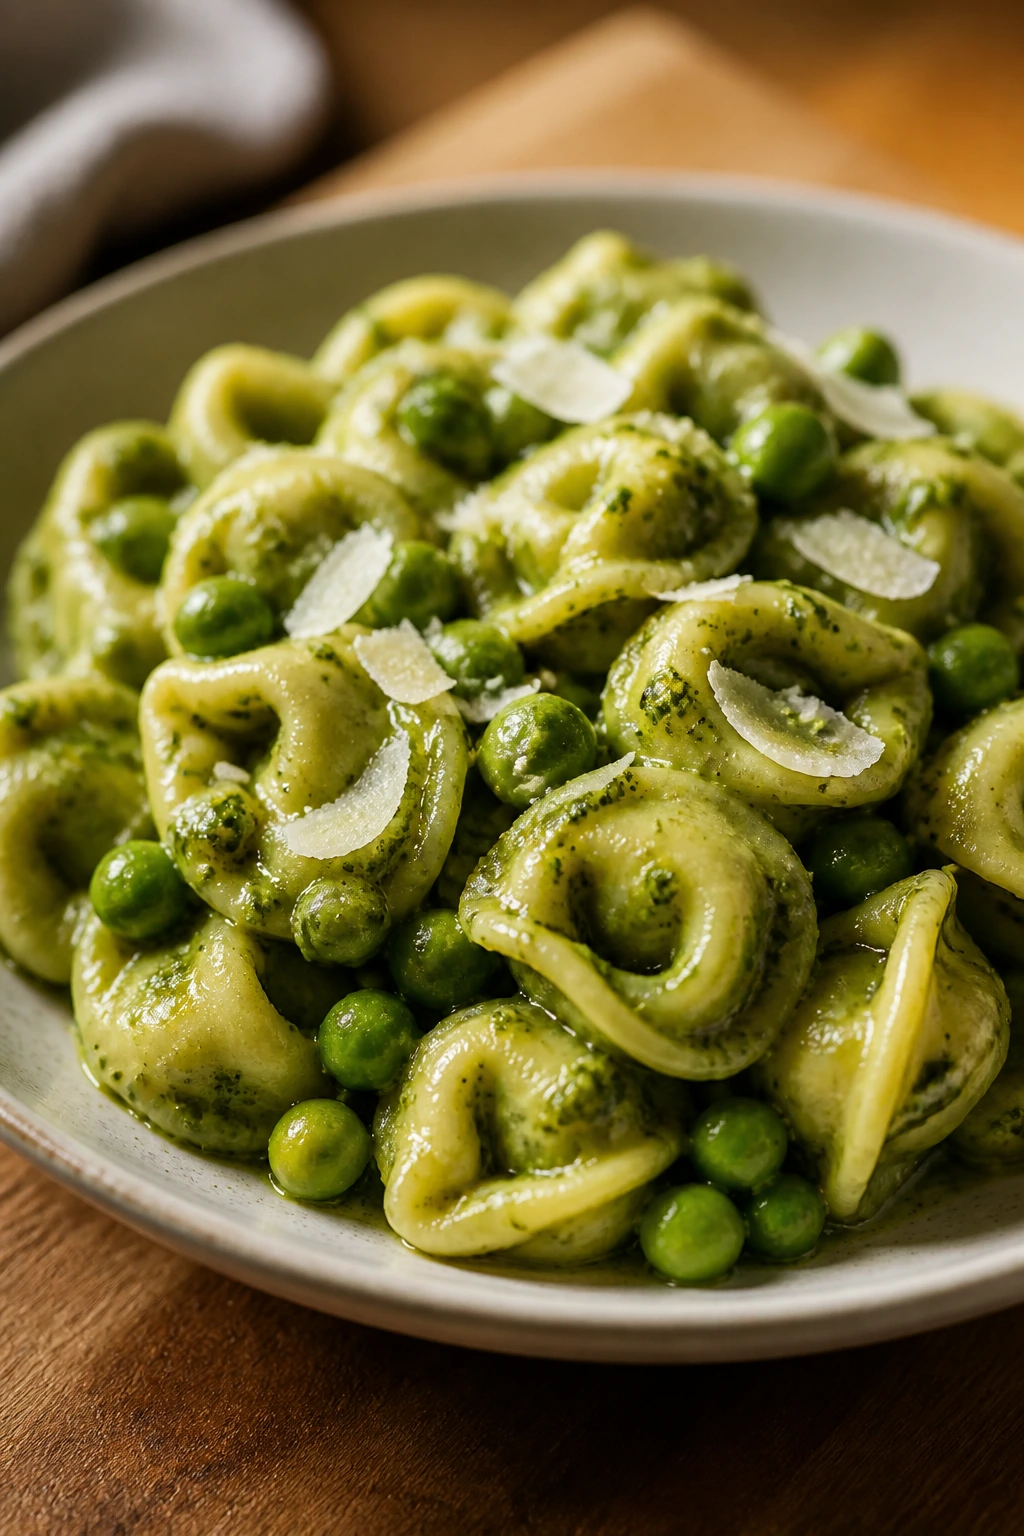
Unlike dry boxed pasta, tortellini comes stuffed and forgiving. That makes it a strong move for a student dinner when the fridge is half empty and you need something that feels a little more like a treat. Pesto, peas, and parmesan do the rest.
Why It Works:
Fresh or refrigerated tortellini cooks fast, so you do not need a long boil or a complicated sauce. The peas can finish in the same pot, which saves time and keeps cleanup low. Pesto coats the pasta better when you thin it with a bit of pasta water or cream, because the starch helps the sauce cling instead of sliding off.
Key Ingredients
- 1 package refrigerated cheese tortellini, 20 oz
- 1 cup frozen peas
- 1/2 cup basil pesto
- 1/3 cup reserved pasta water or cream
- 1/2 cup grated parmesan
- 1 tbsp butter or olive oil
- Black pepper, to taste
- 1 cup cherry tomatoes, halved, optional
Quick Steps
- Bring a pot of salted water to a boil.
- Add the tortellini and cook according to the package directions, usually 3 to 4 minutes.
- Add the peas during the last minute so they heat through without losing their color.
- Drain the pasta, reserving 1/3 cup of the cooking water.
- Return the tortellini and peas to the pot, then add pesto, butter or olive oil, parmesan, and enough pasta water to make the sauce silky.
- Toss with black pepper and cherry tomatoes if using, then serve hot.
Tips and Variations
- A squeeze of lemon brightens the pesto if it tastes heavy.
- Use cream for a richer sauce, but pasta water works fine if you are keeping it light.
- Add shredded chicken, crispy bacon, or spinach if you need more bulk.
10. Egg Fried Rice with Frozen Veggies
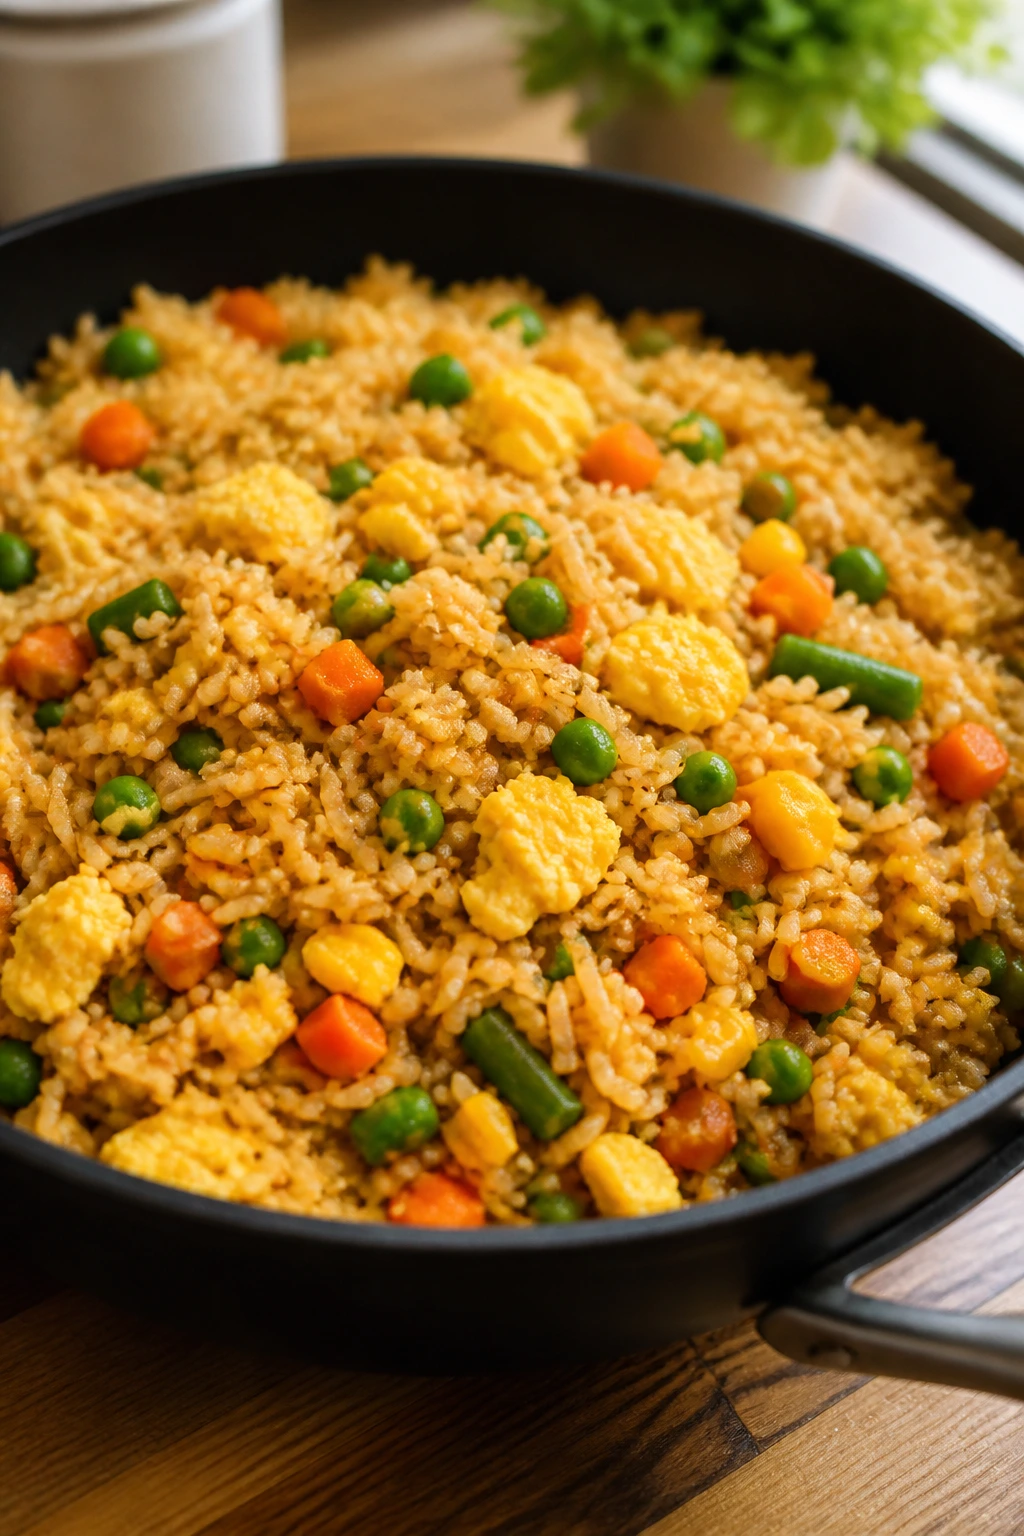
Leftover rice turns into dinner faster than you think. Add eggs, frozen vegetables, soy sauce, and a little sesame oil, and you get a skillet meal that tastes like takeout without the delivery fee. It is one of the few recipes here that actively benefits from cold rice.
Why It Works:
Cold rice dries out a little in the fridge, which helps the grains stay separate in the pan. That means you get fried rice instead of rice mash. Scrambling the eggs first creates little soft curds that fold through the rice, and the frozen vegetables cook quickly without soaking up too much oil.
Key Ingredients
- 3 cups cold cooked rice
- 3 eggs, beaten
- 2 cups frozen mixed vegetables
- 2 tbsp neutral oil
- 3 tbsp soy sauce
- 1 tsp sesame oil
- 2 scallions, sliced
- 1 clove garlic, minced, optional
- 1 tsp sriracha, optional
- 1/2 cup diced ham, cooked chicken, or edamame, optional
Quick Steps
- Heat 1 tablespoon of the oil in a large skillet over medium-high heat. Add the eggs and scramble them just until set, then move them to a plate.
- Add the remaining oil to the pan, then cook the frozen vegetables for 3 to 4 minutes until the ice is gone and the vegetables are hot.
- Stir in the garlic if using and cook for 30 seconds.
- Add the rice and break up any clumps with a spatula. Cook for 3 to 5 minutes, stirring often, until the grains are hot and a little toasted.
- Return the eggs to the pan and add the soy sauce, sesame oil, and sriracha if using.
- Toss in the scallions and protein, if using, then serve immediately.
Tips and Variations
- Use day-old rice for the best texture.
- A tiny splash of water helps if the rice sticks to the pan before the soy sauce goes in.
- Fried rice is a great cleanup meal when you have random leftovers hanging around.
11. Baked Potato Bar with Broccoli and Cheddar
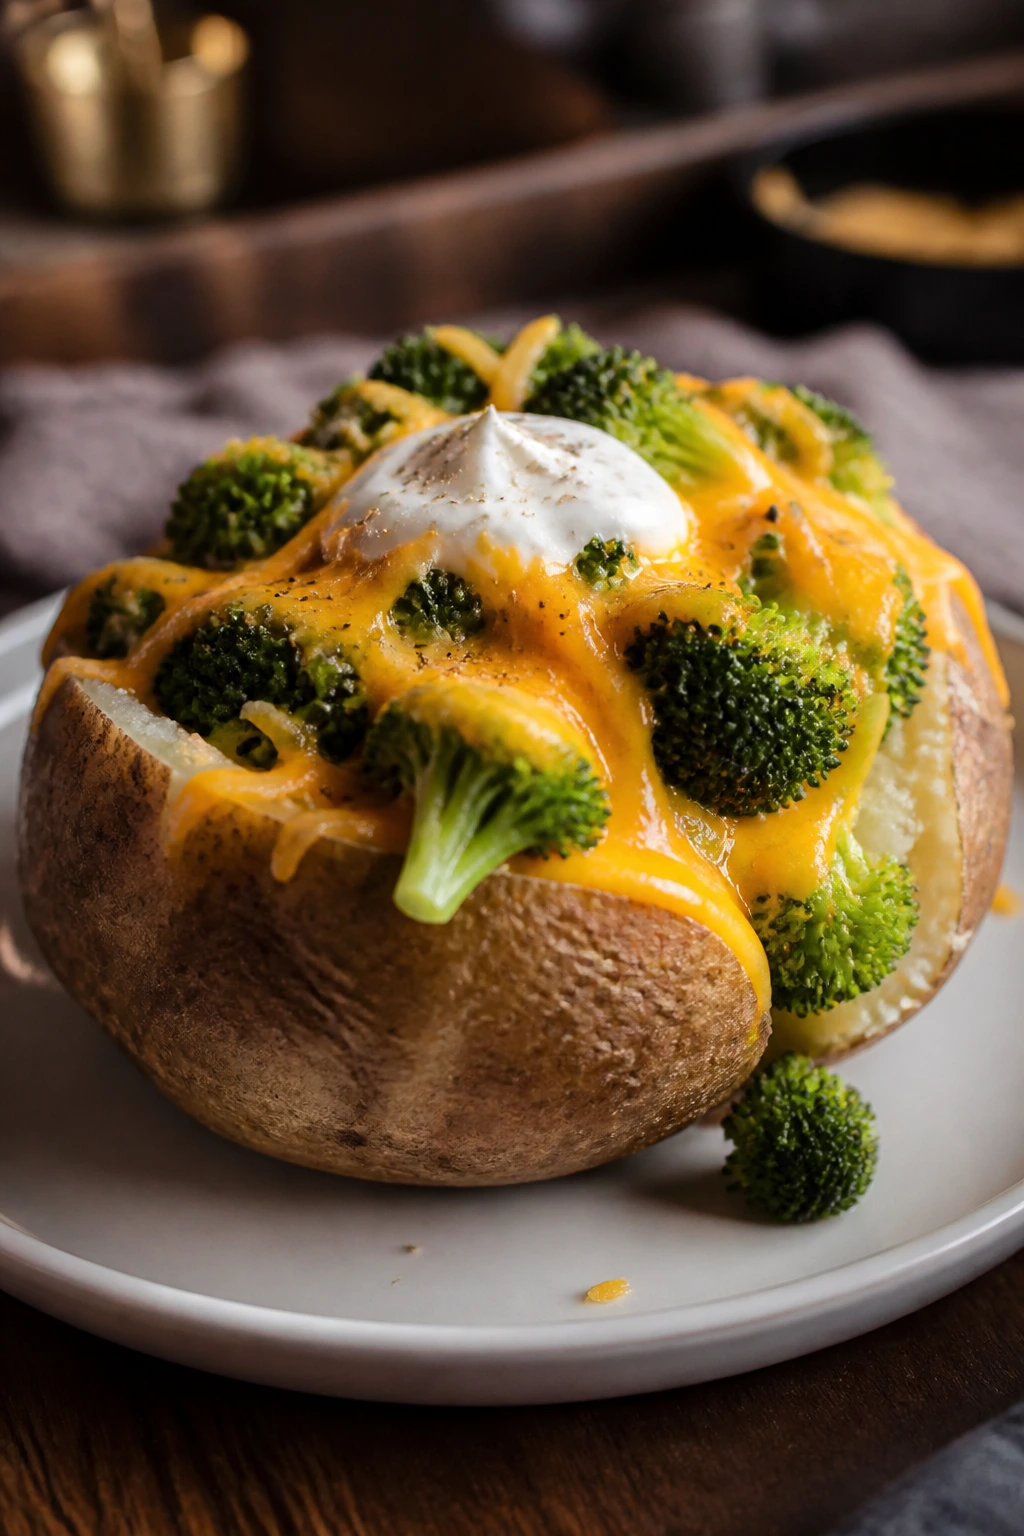
Can a baked potato count as dinner? Absolutely, if you load it with enough good stuff. The skin gets crisp, the inside goes fluffy, and the broccoli and cheddar make the whole thing feel like more than a side dish pretending to be a meal.
Why It Works:
Potatoes are cheap, sturdy, and easy to batch-cook. They also carry toppings well, which is useful when your pantry is in a weird state. Broccoli adds color and a bit of freshness, while sour cream or Greek yogurt gives the whole plate the creamy finish people expect from a loaded potato.
Key Ingredients
- 4 russet potatoes, scrubbed clean
- 2 cups broccoli florets
- 2 tbsp olive oil
- Salt and black pepper
- 2 tbsp butter
- 1 cup shredded cheddar
- 1/2 cup sour cream or Greek yogurt
- 2 scallions, sliced
- 2 slices cooked bacon, crumbled, optional
- 1 tsp garlic powder, optional
Quick Steps
- Heat the oven to 425°F. Poke each potato several times with a fork, rub with olive oil, and sprinkle with salt.
- Place the potatoes directly on the oven rack or on a sheet pan and bake for 45 to 55 minutes, until the skins feel crisp and a knife slides in easily.
- Steam or microwave the broccoli with a splash of water for 3 to 4 minutes until bright green and tender.
- Split the potatoes open and fluff the insides with a fork. Add butter, salt, pepper, and garlic powder if using.
- Top with broccoli, cheddar, sour cream or yogurt, scallions, and bacon if using.
- Serve while the cheese is melty and the potato steam is still rising.
Tips and Variations
- Microwaving the potatoes for 5 to 7 minutes before baking cuts down the oven time.
- Pre-shredded cheese works, but a block melts better.
- Any leftover chili, beans, or sausage can turn the potato into a bigger meal.
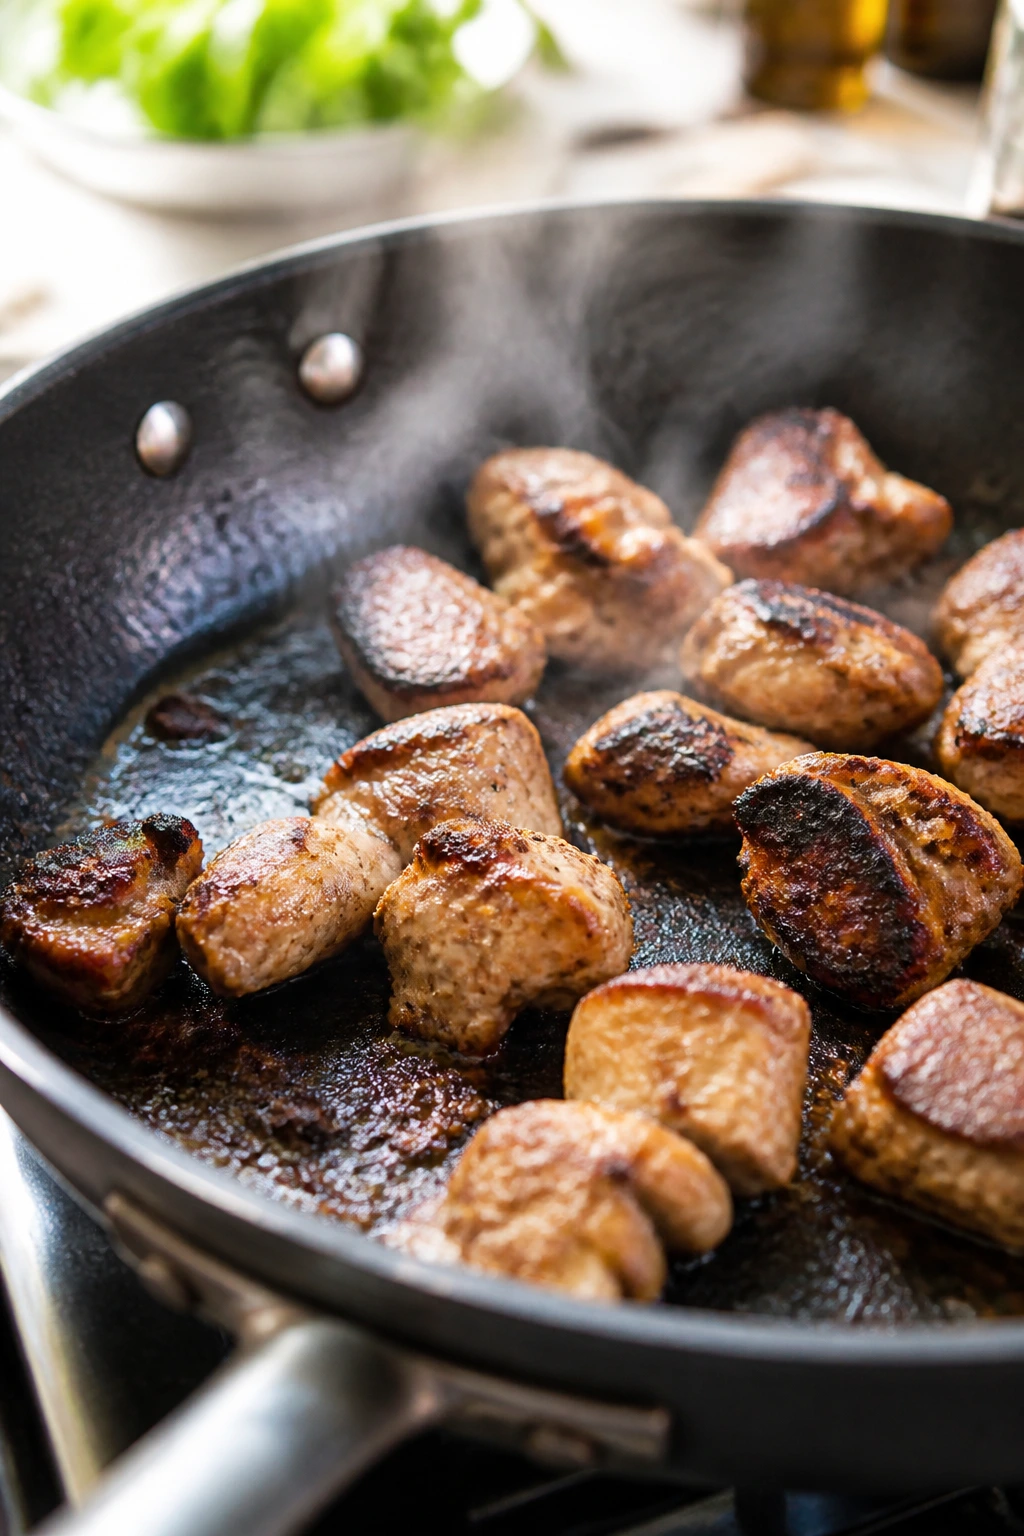
12. Sausage, Cabbage, and Potato Skillet
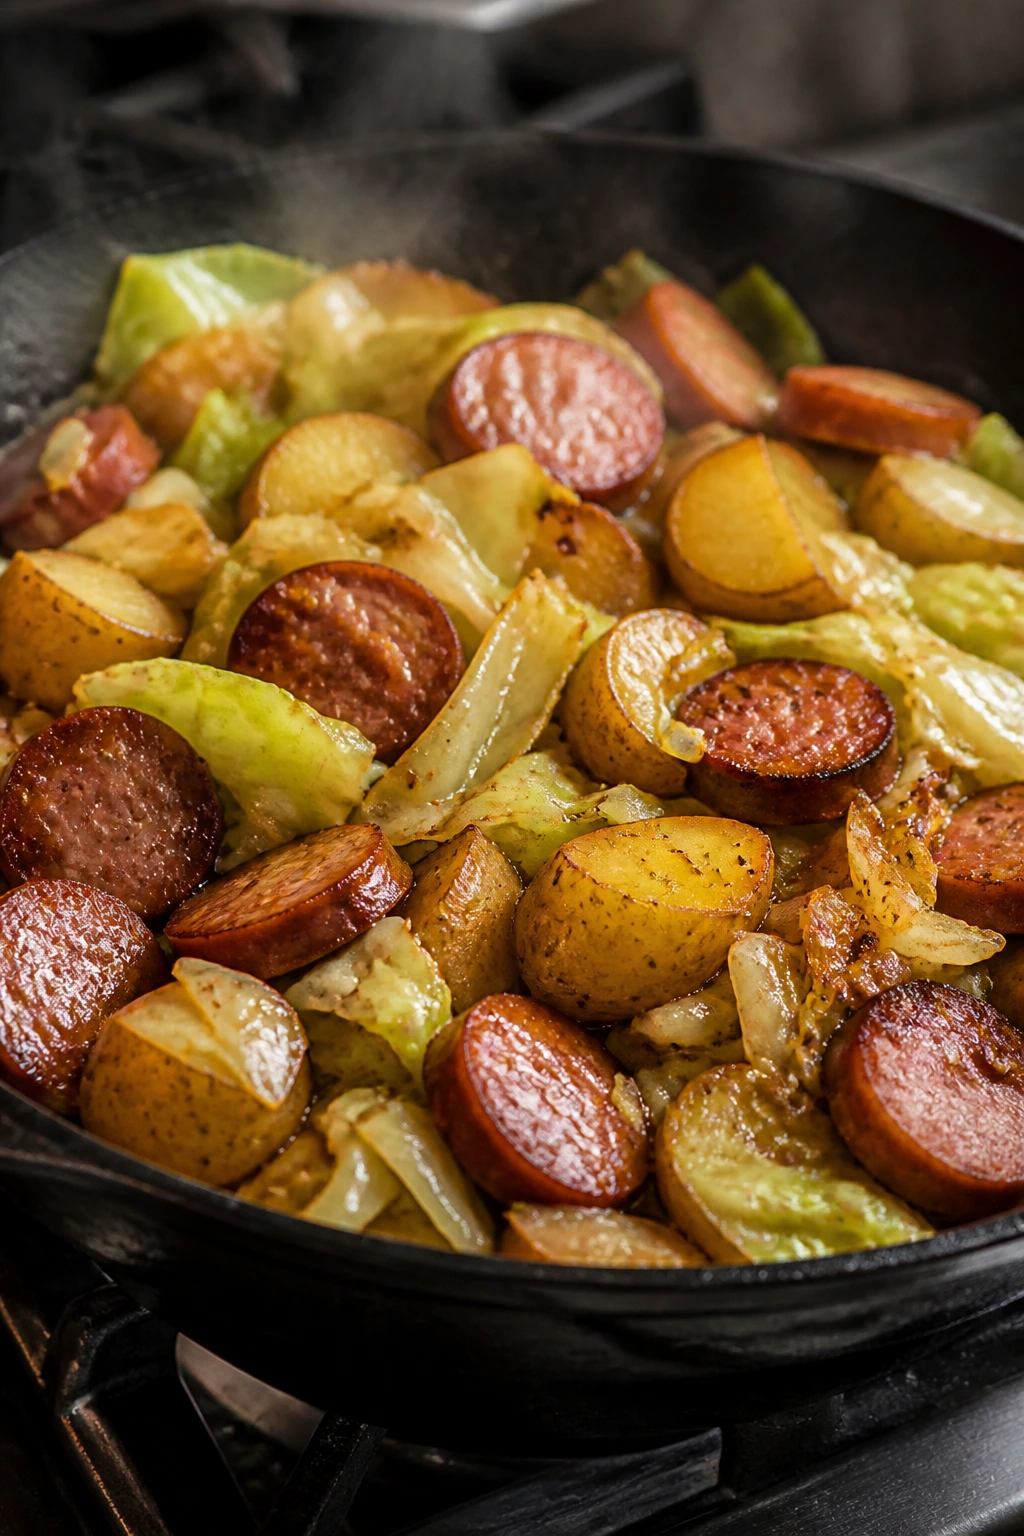
Smoked sausage brings the salt and sizzle; cabbage brings the chew. Put them with potatoes in one skillet, and you get a dinner that feels sturdy enough to handle a bad day. It is plain in the best way. Honest, cheap, and filling.
Why It Works:
Sausage browns quickly and leaves enough fat in the pan to help the potatoes and cabbage pick up flavor. The potatoes take the longest, so they go in first with a lid and a splash of water to soften the centers. Cabbage cooks down fast, which means it can join later without turning mushy.
Key Ingredients
- 12 oz smoked sausage, sliced into coins
- 1 lb baby potatoes, halved
- 1 small cabbage, sliced
- 1 onion, sliced
- 2 tbsp oil
- 1 tsp garlic powder
- 1 tsp paprika
- 1/2 tsp kosher salt
- 1/2 tsp black pepper
- 1 tbsp mustard or apple cider vinegar
- Chopped parsley, optional
Quick Steps
- Heat the oil in a large skillet over medium-high heat. Add the sausage and brown it for 3 to 4 minutes.
- Add the potatoes and 1/4 cup water. Cover the skillet and cook for 10 to 12 minutes, stirring once or twice, until the potatoes start to soften.
- Stir in the onion, cabbage, garlic powder, paprika, salt, and pepper.
- Cook uncovered for 8 to 10 minutes, stirring often, until the cabbage is tender and the potatoes are browned in spots.
- Add the mustard or vinegar and stir for 30 seconds.
- Finish with parsley if you have it, then serve straight from the skillet.
Tips and Variations
- If the potatoes are large, cut them smaller so they cook at the same pace as the cabbage.
- Use kielbasa, chicken sausage, or andouille depending on what is on sale.
- A spoonful of mustard at the end sharpens the whole pan.
13. Tomato Soup Grilled Cheese Upgrade
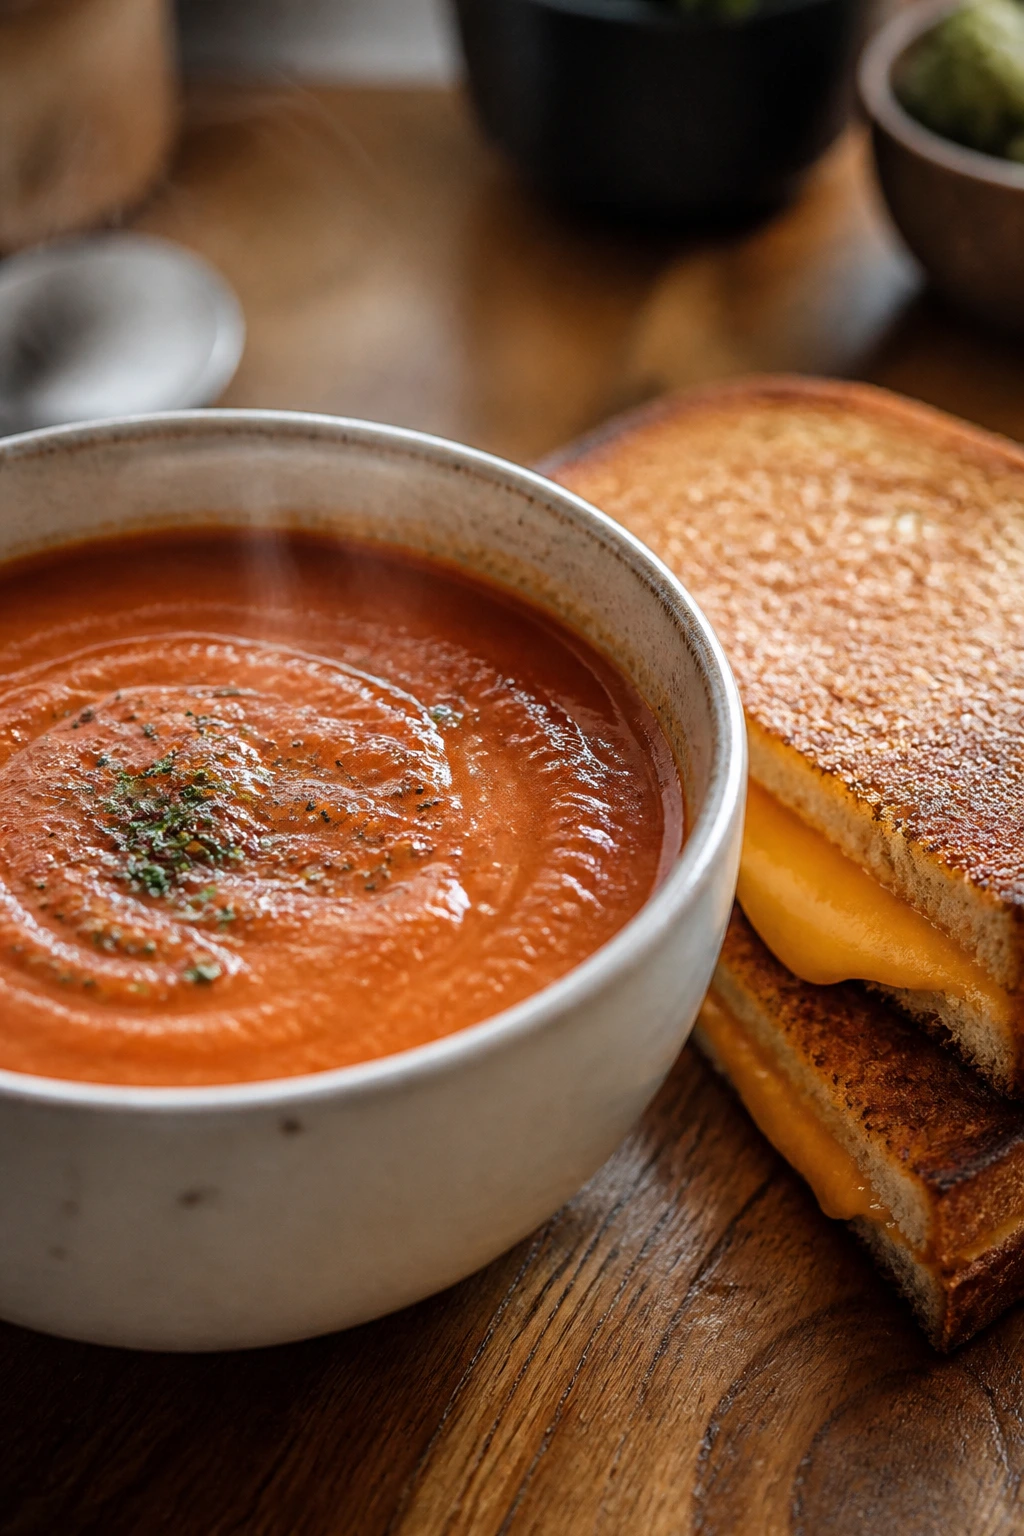
Tomato soup should smell sweet, not tinny. A quick sauté of onion and garlic fixes that, and the grilled cheese on the side makes the meal feel like a real answer to a cold, tired evening. Add white beans if you want the soup to work harder.
Why It Works:
Canned crushed tomatoes are useful, but they need a little help. Onion, garlic, basil, and a touch of sugar round out the acidity so the soup tastes full rather than flat. The grilled cheese gives you crunch and fat, which is the part that turns soup into dinner.
Key Ingredients
- 2 tbsp butter
- 1 small onion, diced
- 2 cloves garlic, minced
- 1 can crushed tomatoes, 28 oz
- 2 cups broth
- 1/2 cup milk or cream
- 1 tsp dried basil
- 1 tsp sugar, optional
- 1 can white beans, drained and rinsed, optional
- 8 slices bread
- 8 slices cheddar or American cheese
- 1 tbsp mayonnaise for the bread, optional
Quick Steps
- Melt the butter in a saucepan over medium heat. Add the onion and cook for 4 to 5 minutes until soft.
- Stir in the garlic and cook for 30 seconds.
- Add the tomatoes, broth, basil, sugar, and white beans if using. Simmer for 12 to 15 minutes.
- Blend the soup if you want it smoother, then stir in the milk or cream. Do not let it boil after the dairy goes in.
- Build the sandwiches with cheese between slices of bread and grill them in a skillet over medium heat until both sides are golden and the cheese melts.
- Ladle the soup into bowls and serve with the sandwiches alongside or cut into strips.
Tips and Variations
- White beans make the soup more filling without changing the flavor much.
- Use mayonnaise on the outside of the bread if you want a deeper golden crust.
- A pinch of red pepper flakes gives the soup a little heat.
14. Teriyaki Tofu Noodle Bowl
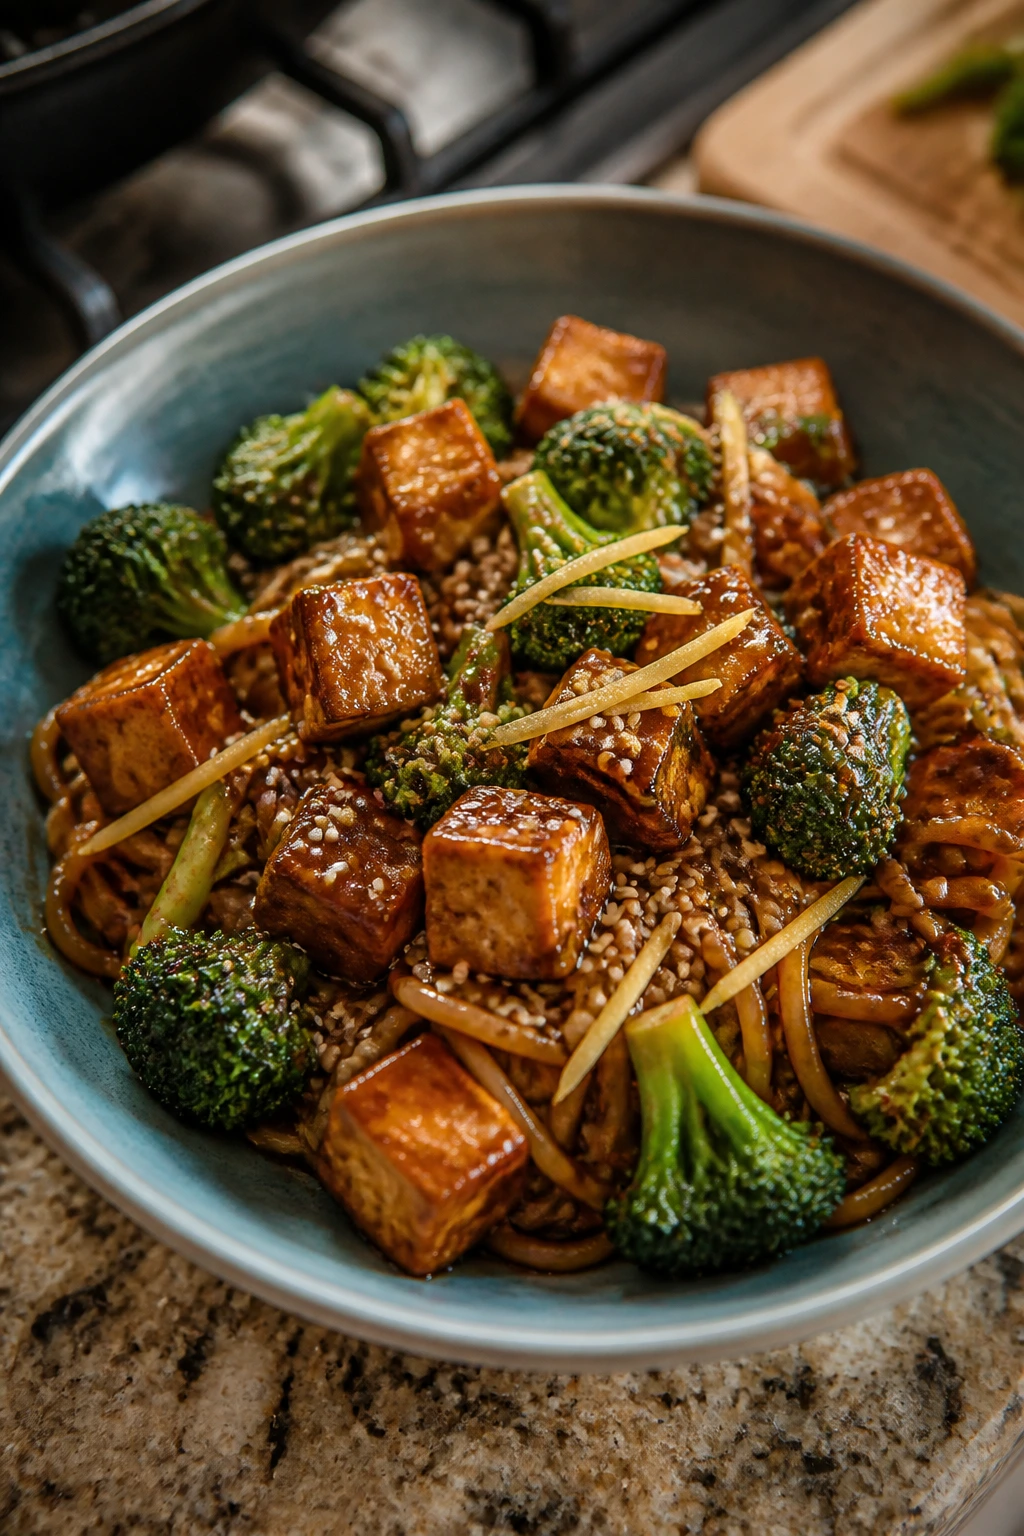
Tofu only tastes bland when you stop at the package. Press it, brown it, and coat it with a glossy sauce, and it becomes one of the easiest meatless dinners on the list. The noodles soak up the teriyaki, the broccoli brings crunch, and the whole bowl comes together with very little drama.
Why It Works:
Extra-firm tofu holds its shape best, especially when you toss it with a little cornstarch before frying. That gives the cubes a crisp surface instead of a soft, spongy one. The noodles cook separately, which keeps the final bowl from turning muddy, and the teriyaki sauce clings better when the tofu and vegetables are hot.
Key Ingredients
- 14 oz extra-firm tofu, pressed and cubed
- 1 tbsp cornstarch, optional but useful
- 8 oz noodles, such as soba, rice noodles, or spaghetti
- 2 cups frozen broccoli or stir-fry vegetables
- 2 tbsp neutral oil
- 1/4 cup teriyaki sauce
- 1 tbsp soy sauce
- 1 tsp sesame oil
- 1 tsp grated ginger or 1/2 tsp ground ginger
- 2 scallions, sliced
- Sesame seeds, optional
Quick Steps
- Pat the tofu dry and toss it with cornstarch if using. Heat 1 tablespoon of the oil in a skillet over medium-high heat.
- Add the tofu and cook for 8 to 10 minutes, turning the cubes until all sides are golden and crisp.
- Meanwhile, cook the noodles according to the package directions. Drain and set aside.
- Add the remaining oil and the frozen vegetables to the skillet. Cook for 4 to 5 minutes until the vegetables are hot and most of the water has cooked off.
- Stir in the teriyaki sauce, soy sauce, ginger, and sesame oil. Add the noodles and tofu back to the pan and toss until everything is coated and glossy.
- Top with scallions and sesame seeds before serving.
Tips and Variations
- Press tofu between two plates if you do not own a tofu press.
- Add a spoonful of peanut butter to the sauce for a thicker, richer coating.
- If you want more heat, stir in chili crisp at the end.
Why One-Pan, One-Pot, and Microwave Dinners Work So Well
Campus cooking gets easier the moment you stop asking every meal to be elaborate. One-pan dinners and microwave bowls are not “less than.” They are smart. They shorten cleanup, cut down on dishes that disappear in shared kitchens, and reduce the number of ways a tired evening can go sideways.
The real win is attention. A skillet meal asks you to watch one pan, not three. A microwave bowl lets you turn rice, beans, and salsa into dinner without hovering over a stove. That matters when you are juggling class notes, a group project, a late shift, and a fridge that looks like a half-finished puzzle.
There is a quieter benefit too: these methods make leftovers better behaved. Sauce-coated pasta, rice bowls, fajita filling, soup, and skillet meals all reheat more predictably than delicate dishes that dry out at the first sign of a microwave. Students do not need more complicated dinners. They need ones that still work when reheated in a plastic container at 11 p.m.
Essential Equipment for These Recipes
- Large skillet: Needed for pasta, quesadillas, fried rice, turkey rice, and sausage-cabbage dinners.
- Sheet pan: The best friend of fajitas and roasted sweet potatoes; choose a rimmed one so juices stay put.
- Medium saucepan with lid: Useful for soup, ramen, and the few rice dishes that need a proper simmer.
- Microwave-safe bowl with a loose cover: The burrito bowl and quick veggie heating depend on one of these.
- Sharp chef’s knife: Slicing peppers, onions, cabbage, and potatoes goes faster and safer with a decent blade.
- Cutting board: A sturdy board matters more than people think; wobble is annoying and dangerous.
- Measuring cups and spoons: Rice, pasta, sauce, and spice ratios are easier to keep sane when you measure.
- Wooden spoon or spatula: Good for stirring rice without shredding it or scratching the pan.
- Colander or strainer: Useful for rinsing beans, draining pasta, and keeping canned ingredients from watering down a dish.
- Tongs: Handy for flipping tortillas, tossing chicken fajitas, and moving hot potatoes around.
- Airtight storage containers: Leftovers last longer and smell less weird when they are sealed properly.
- Fine grater or box grater: Fresh parmesan melts better than the bagged stuff, and the texture is worth the extra minute.
Smart Shopping and Ingredient Tips
A college grocery trip goes better when you shop like you only have one shot at it. Start with ingredients that can appear in more than one meal: rice, tortillas, pasta, canned beans, frozen peas, frozen corn, garlic, onions, eggs, yogurt, and a few blocks of cheese. Those items stretch across this whole list, which means fewer weird leftovers sitting in the fridge.
Canned and frozen ingredients are not second-rate here. Frozen broccoli, peas, mixed vegetables, and corn often hold up better than tired produce that has been hanging around in a crisper drawer. Canned beans should be rinsed unless the recipe says otherwise; that drops the salt level and gets rid of the thick canning liquid that can make a bowl taste dull. For tuna, look for solid chunks if you want firmer texture, and drain it well. For chicken, thighs are more forgiving than breasts if you tend to overcook things.
Cheese is worth a quick thought too. Pre-shredded cheese is fine when speed matters, but blocks melt more smoothly because they do not carry the anti-caking powder. For tortillas, buy the size that matches your pan. Eight-inch flour tortillas are the easiest all-around choice, while corn tortillas work better for the sweet potato and fajita tacos if you like a firmer bite. Shelf-stable broth, salsa, soy sauce, pesto, and teriyaki sauce keep these meals from tasting flat without forcing you to buy a whole pantry of specialty jars.
How to Serve These Recipes
Presentation:
Serve skillet meals in wide, shallow bowls so the steam can rise and the toppings do not disappear under the base. Quesadillas and grilled cheese look better cut cleanly on a board with a little salsa or soup on the side. For tacos and burrito bowls, set out the toppings separately if you want a more relaxed, build-your-own feel.
Accompaniments:
A bagged salad, sliced fruit, tortilla chips, steamed broccoli, or a simple cucumber salad can round out nearly any dinner here without much effort. Garlic bread works with the soup and pasta. For the richer dishes, something crisp and cold is welcome.
Portions:
Most of these recipes feed 2 to 4 people, but they scale both up and down without much trouble. If you are cooking for one, freeze half the fajita filling, turkey rice, or soup before it gets lost in the fridge. If you are feeding roommates, double the rice bowls, pasta, and taco fillings before you double the toppings.
Beverage Pairing:
Cold water with lime is the default answer for a reason. Iced tea, sparkling water, milk with the grilled cheese meal, or a simple fruit juice all sit well next to these dinners. Keep it plain. The food is already doing enough.
Additional Tips and Flavor Boosters
Flavor Enhancement:
A finishing squeeze of lemon or lime wakes up pasta, beans, taco fillings, and chickpeas in a way that salt alone cannot. Chili crisp, hot sauce, and a spoonful of pesto go a long way too. Small finishers matter more than people think, especially when the base ingredients are inexpensive.
Customization:
Treat these recipes like templates. Add spinach to pasta, swap chicken for tofu, throw leftover corn into the burrito bowl, or put cabbage into the rice skillet. The structure stays the same even when the details change, which is why these dinners work so well for students who shop based on what is on sale.
Serving Suggestions:
Fresh herbs, scallions, crumbled chips, toasted sesame seeds, or a spoonful of yogurt are easy ways to make a plain bowl feel finished. Use crunch where you can get it. That could mean cabbage in tacos, crispy tofu in noodles, or a handful of tortilla chips on the side of soup.
Make-It-Yours:
For a higher-protein version, add eggs, chicken, tofu, Greek yogurt, or extra beans. For dairy-free meals, use olive oil, nutritional yeast, or a plant-based cheese that melts well enough for your taste. For a cheaper plate, keep the toppings simple and let the starch and protein do the real work.
Make-Ahead, Storage, and Reheating Guidance
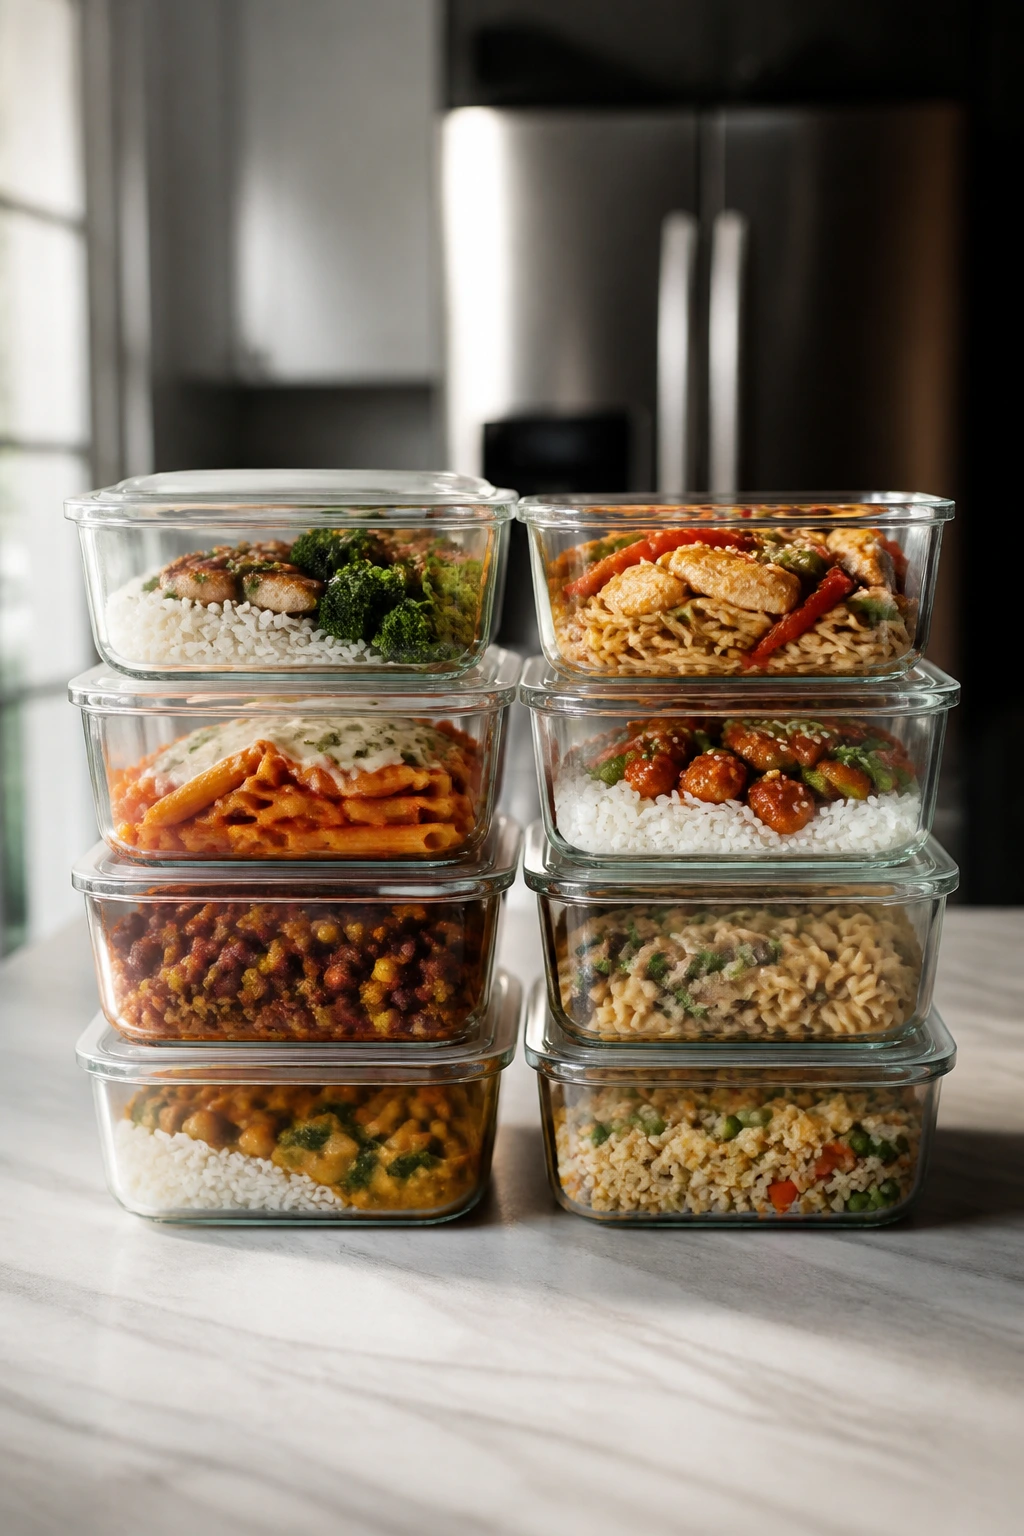
Most of these dinners hold up well for 3 to 4 days in the refrigerator if you cool them and pack them in shallow containers. Pasta, rice bowls, turkey skillet meals, soup, fajita filling, and chickpea bowls all fit that timeline nicely. Anything with avocado, tortilla chips, or fresh greens should be stored with those parts separate if you want the texture to stay decent.
Freezing works best for the sturdier recipes: turkey skillet rice, tomato soup, fajita filling, sausage and cabbage, and some pasta sauces freeze for up to 2 months without much trouble. Rice bowls and noodle dishes can freeze too, but the texture softens a bit, so I would keep those for short-term storage rather than relying on the freezer as a full backup plan. Potatoes are the least freezer-friendly of the bunch; they turn grainy if you freeze them after baking.
For reheating, use the method that matches the food. Microwave pasta, rice, and skillet meals with a splash of water or broth and cover them loosely so the steam can loosen the sauce. Reheat soup on the stovetop over medium heat until it is hot all the way through. Bring tortilla fillings back in a skillet if you can, because that keeps the edges from going limp. Chicken and sausage should be reheated until steaming, and rice should be hot in the center, not just warm on top. If you made a meal with egg or dairy, stir gently while reheating so it does not split or dry out.
One more thing: do not leave cooked food sitting out for half the evening while you finish a call or a paper. Pack leftovers once they have stopped steaming hard and get them into the fridge within two hours. That boring little habit saves more dinners than any fancy recipe ever will.
Campus-Friendly Variations to Try
Microwave-Only Rescue:
Use the burrito bowl, ramen, and soup as your base and lean on microwave rice, steam-in-bag vegetables, and pre-cooked protein. This is the easiest route when a stove is not available or the shared kitchen is occupied. Keep a mug, a bowl, and a plate in rotation, and you can still eat something that feels like dinner.
Bean Boost Build:
Swap beans into the chicken fajitas, the turkey skillet, and even the pasta if you want a cheaper, higher-fiber meal. Black beans, chickpeas, and white beans each bring a different texture, so the dinner does not feel repetitive. This is the move for anyone trying to stretch groceries across a long week.
Dairy-Free Desk Dinner:
Use olive oil, dairy-free yogurt, and nutritional yeast instead of butter, cream, and parmesan. The garlic pasta, burrito bowl, tacos, and tofu noodle bowl adapt especially well. You lose some richness, but not the whole meal, which is the part that matters.
High-Protein Swap:
Add eggs to ramen and fried rice, choose chicken thighs or ground turkey, and lean on Greek yogurt in place of sour cream where it fits. Tofu also earns its spot here when it is pressed and browned first. The point is not to chase protein for its own sake; it is to make dinner keep you full long enough to matter.
Heat-Lover’s Version:
A spoonful of chili crisp, sliced jalapeño, hot sauce, or crushed red pepper can wake up nearly every recipe on this list. I would start small and taste as you go, because it is easier to add heat than take it back out. The pasta, ramen, tacos, and soup take heat especially well.
Gluten-Free Mix:
Corn tortillas, rice noodles, gluten-free pasta, and rice bowls make the switch easy. Keep an eye on sauces and seasoning packets, though, because soy sauce and some pre-made broths can hide wheat. Tamari is the simplest swap if you need a gluten-free soy sauce.
Common Mistakes to Avoid
Underseasoning the base.
A lot of student cooking goes flat because the cook seasons only the top. Salt the pasta water, season the chicken, season the rice, season the beans. If the base is dull, the toppings will not save it.
Crowding the pan.
This shows up in fajitas, potatoes, tofu, and sausage meals. When too much food sits in one layer, it steams instead of browns. Use a bigger pan, split the batch, or cook in two rounds if you want real color.
Using wet ingredients without draining them.
Tuna, beans, canned tomatoes, and thawed vegetables can dump extra liquid into the pan. That leads to soggy quesadillas, loose burrito bowls, and pasta that never tightens up. Drain what needs draining, and rinse beans if the recipe calls for it.
Cooking rice or pasta past the point of rescue.
Old rice is great for fried rice, but freshly mushy rice is not. Pasta should still have a little bite when you pull it off the heat because it keeps softening as it sits. If you cook until everything feels completely tender in the pan, it usually ends up too soft by the time you eat.
Forgetting the acid.
Lime, lemon, vinegar, salsa, and tomatoes are not decoration. They keep cheesy, starchy, or rich meals from tasting heavy and flat. A little acid at the end is often the difference between “fine” and “I would make that again.”
Storing leftovers in one big heap.
Big containers trap steam and make everything soggy. Spread leftovers into smaller containers so they cool faster and reheat more evenly later. It is one of those tiny habits that pays off all week.
Frequently Asked Questions

What are the cheapest dinner ideas for college students?
The cheapest meals here usually come from pasta, rice, beans, eggs, potatoes, and tortillas. Garlic butter pasta, burrito bowls, fried rice, and potato bars can all be built from low-cost staples without much waste. If you shop around those ingredients first, dinner gets a lot easier to keep under control.
Can I make these dinners in a dorm room without a stove?
Yes, a few of them adapt well to microwave-only cooking. The burrito bowl, ramen, and some parts of the soup or potato bar can be done with a microwave, a bowl, and a little patience. Keep an eye on package directions and use a larger bowl than you think you need so nothing boils over.
What is the best dinner to meal prep for the week?
Turkey skillet rice, fajita filling, soup, and sausage-cabbage skillet all hold up well for several days. They reheat cleanly and stay tasty even after a few rounds in the microwave. I would avoid pre-making avocado-based toppings or grilled cheese sandwiches, because those fall apart fast.
How do I keep pasta and rice from getting mushy in leftovers?
Stop cooking them while there is still a little firmness left, then cool them quickly in shallow containers. Add a splash of water or broth when reheating so the grains and noodles loosen instead of clumping. Cold rice also works better for fried rice than fresh rice, which is one reason that recipe shows up here.
What if I do not eat meat?
You can still use most of this list with small swaps. Skip the chicken and sausage, then lean on chickpeas, tofu, beans, eggs, and cheese where they fit. The burrito bowl, chickpea pita bowls, tofu noodle bowl, and pesto tortellini already lean vegetarian or meat-free.
How do I make these recipes more filling without spending much more?
Add beans, eggs, potatoes, rice, or extra frozen vegetables. Those ingredients are cheap and do a lot of quiet work at the table. Greek yogurt is another useful add-in because it adds protein and creaminess at the same time.
Can I freeze these dinners?
Some of them, yes. Soup, turkey rice, fajita filling, and sausage-cabbage freeze well for up to 2 months. Pasta, potatoes, and dairy-heavy dishes are less friendly to the freezer, so keep those for the fridge and eat them first.
What if my dinner tastes bland after I cook it?
Add salt first, then acid, then heat. A squeeze of lemon, lime, or a spoonful of salsa often wakes the dish up faster than more cheese or more sauce. If it still tastes sleepy, finish with black pepper, chili crisp, or a little parmesan.
A Better Weeknight Habit
The best college dinner ideas are not the prettiest ones on paper. They are the meals you can make when your brain is fried, your wallet is thin, and your kitchen is shared with people who never rinse their own dishes. That is the real test.
Keep a few of these in your back pocket, and weeknights stop feeling like a daily scavenger hunt. A skillet meal, a bowl meal, and one sheet-pan dinner can carry a lot of weight when life gets messy, which, honestly, is most of college.