
A crispy chicken dinner can fall apart fast. The crust burns before the middle cooks through, or the chicken hits the plate looking golden and lands on the fork tasting soft and a little tired. That’s the trap with a lot of breaded chicken recipes: they promise crunch, then lose it the second the pan cools.
The fix is not a long ingredient list or a fussy sauce. Thin cutlets, a dry dredge, panko with a little Parmesan, and a skillet that’s hot enough to sizzle on contact — that’s the whole game. When those pieces line up, you get a chicken crust that crackles at the edge, stays put, and tastes like someone paid attention.
I keep coming back to this style of chicken because it solves the actual weeknight problem. You don’t need an hour and a half, and you don’t need to babysit an oven. You need dinner that lands on the table with a hot center, a shattery crust, and enough leftovers to make tomorrow easier. That’s what this one does, and it does it without acting precious about it.
Why This Crispy Chicken Dinner Keeps Getting Repeated
-
It cooks fast because the chicken is thin: Cutlets hit 165°F in minutes, so you’re not waiting around while the breading dries out in the pan.
-
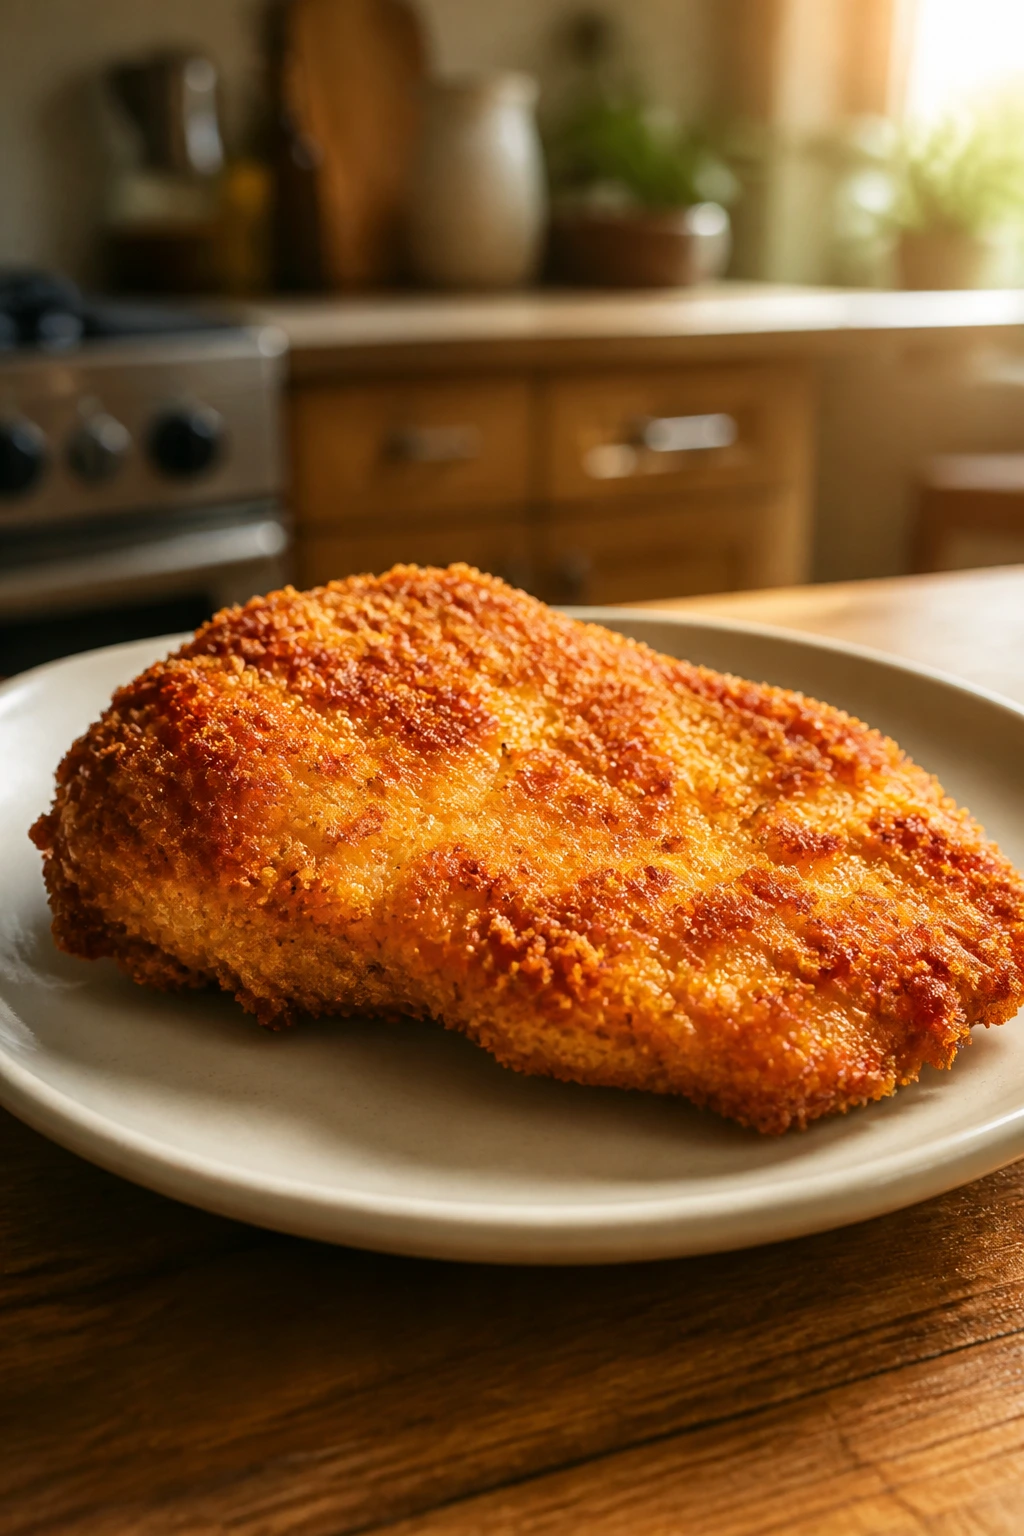
The crust has texture, not just color: Panko and finely grated Parmesan make little jagged bits that brown into a rough, crunchy shell instead of a flat coating.
-
The ingredients are pantry-friendly: Flour, eggs, crumbs, oil, lemon, and a few spices cover most of the work.
-
It turns into dinner with almost no extra thought: A green salad, roasted potatoes, buttered rice, or blistered green beans all fit beside it.
-
The leftovers reheat well enough to be worth keeping: A hot oven or air fryer brings the crust back instead of turning it into sad, limp chicken.
-
It feels like a real meal, not a compromise: That matters more than people admit. A Tuesday-night dinner should still have a little snap to it.
Timing, Yield, and Best Served
Yield: Serves 4
Prep Time: 20 minutes
Cook Time: 12 to 16 minutes
Total Time: 32 to 36 minutes
Difficulty: Beginner to Intermediate — the process is straightforward, but you do need to watch the skillet heat and avoid crowding.
Chill/Rest Time: 5 to 10 minutes resting after breading, optional but useful
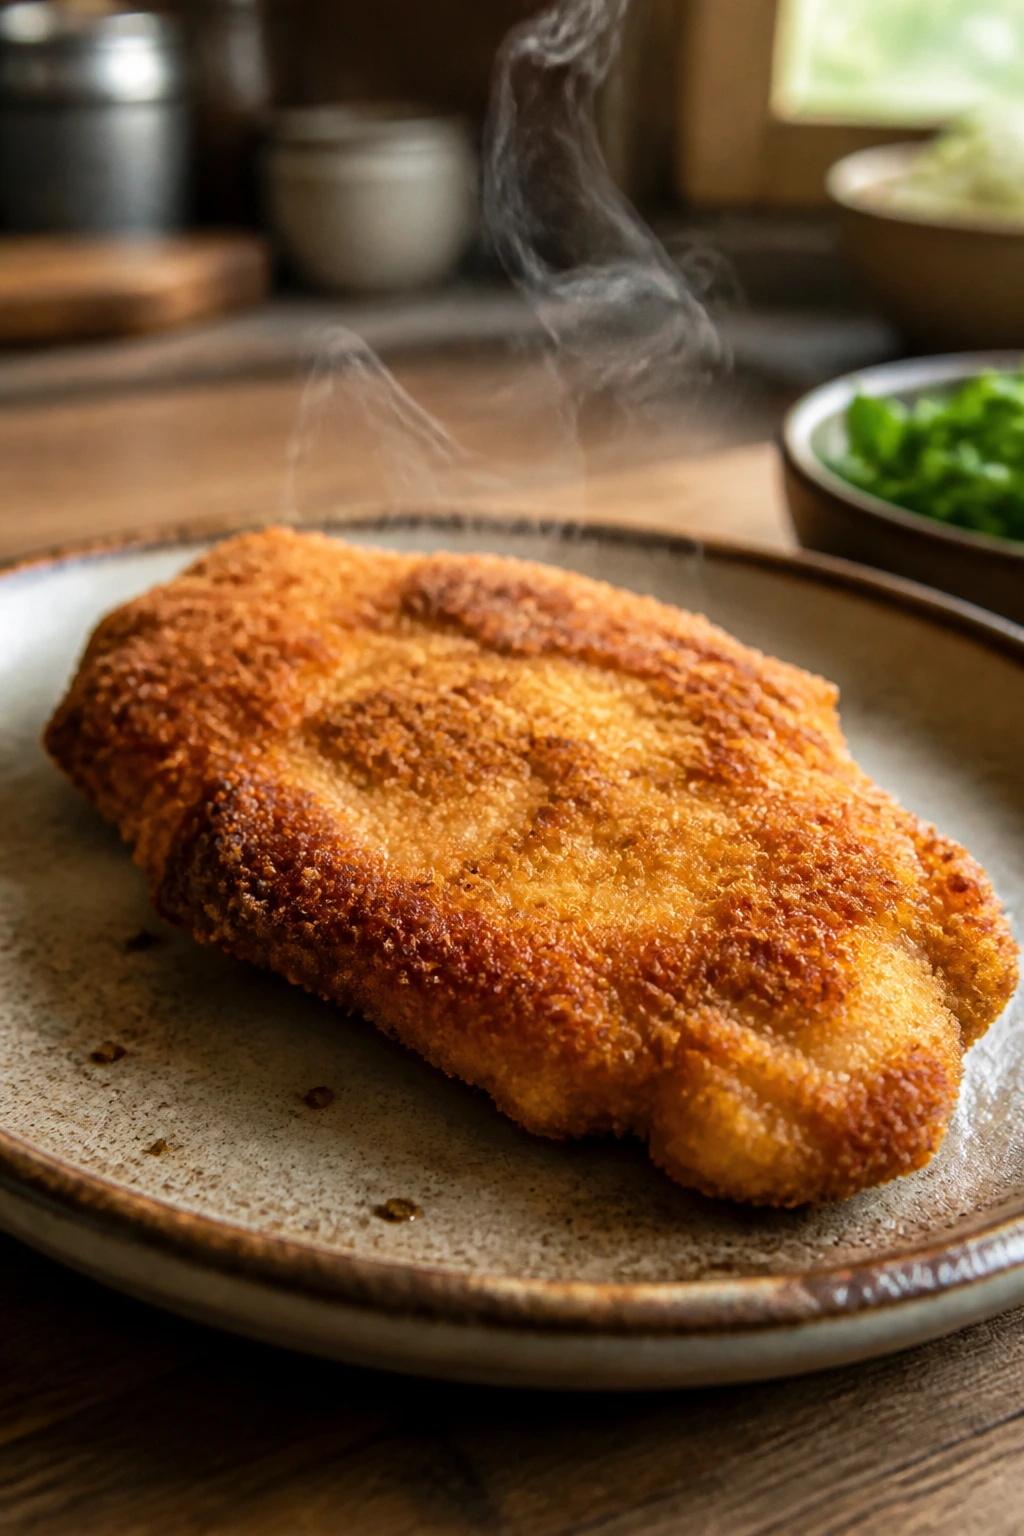
Best Served: Right after a short rest, while the crust is still crisp enough to make a clean, sharp sound when you cut it
The Short Ingredient List That Does the Heavy Lifting
For the Chicken:
- 1 1/2 pounds boneless, skinless chicken breasts, sliced horizontally into 4 cutlets
- 1 teaspoon kosher salt
- 1/2 teaspoon black pepper
For the Coating:
- 1/2 cup all-purpose flour
- 2 tablespoons cornstarch
- 1/2 teaspoon kosher salt
- 1 teaspoon garlic powder
- 1 teaspoon paprika
- 2 large eggs
- 1 tablespoon water
- 1 1/2 cups panko breadcrumbs
- 1/2 cup finely grated Parmesan cheese
For Frying and Finishing:
- 3 tablespoons neutral oil, such as avocado, canola, or grapeseed
- 1 tablespoon unsalted butter
- 1 lemon, cut into wedges
- 2 tablespoons chopped fresh parsley
- Pinch red pepper flakes, optional
Where Crispy Chicken Cutlets Came From and Why They Work So Well
Chicken cutlets are one of those old, practical ideas that never needed much improvement. Slice the meat thinner, flatten it to even thickness, coat it, cook it fast, and you get dinner that tastes far more deliberate than the actual effort behind it. That logic shows up in schnitzel, chicken Milanese, and a thousand home-kitchen versions that use whatever crumbs are in the pantry.
The reason this shape works so well on a weeknight is mechanical. Thin meat cooks before the coating dries out. A cutlet has more surface area, which means more room for the breading to brown. And because the pieces are even, you don’t end up with one end that’s overcooked while the center is still pale and stubborn.
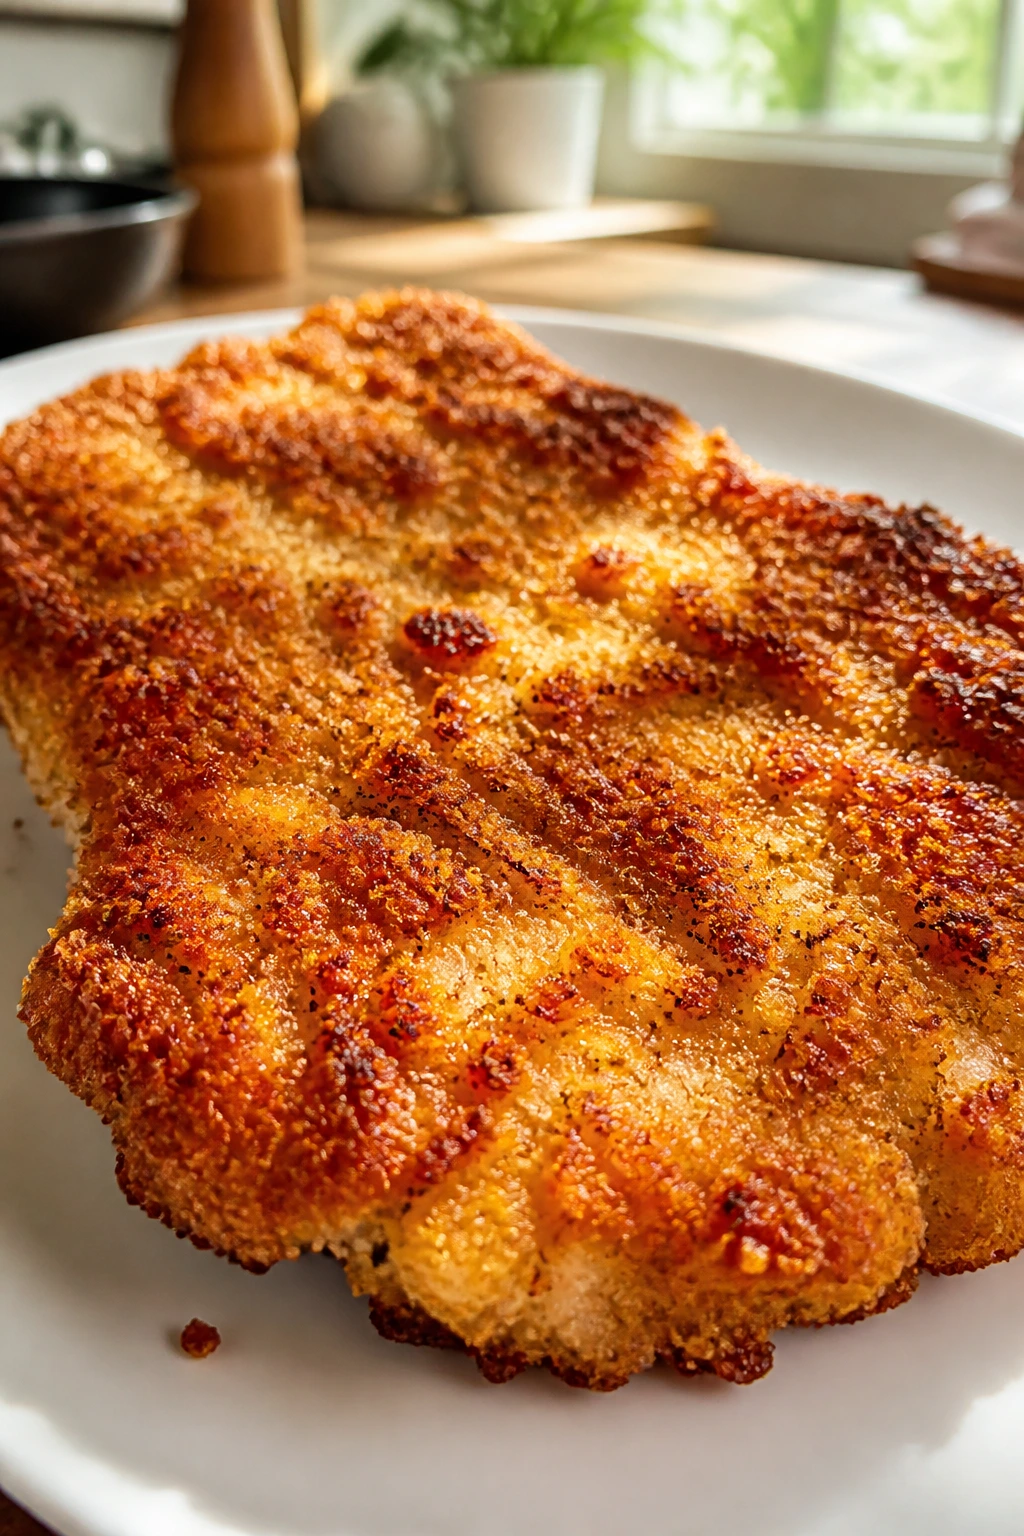
Panko matters here, too. The crumbs are jagged and airy, not fine and dusty. They catch oil in little pockets, then crisp into rough edges that stay crunchy longer than standard breadcrumbs. I prefer that texture every time. It feels less like a uniform shell and more like a real crust that happens to be very good at its job.
What Each Ingredient Does in the Pan
The Chicken
What to use: 1 1/2 pounds boneless, skinless chicken breasts, sliced horizontally into 4 cutlets.
Preparation: Slice each breast in half horizontally, then pound the pieces between sheets of parchment or plastic to an even 1/2-inch thickness. Pat them dry before seasoning.
Substitutions: Boneless, skinless chicken thighs work if you want a richer bite, though they need a little more attention because they aren’t as flat. Thin turkey cutlets also behave well with this breading.
Tips: Even thickness matters more than almost anything else here. A thicker tip will lag behind the rest of the cutlet and tempt you to overcook the whole piece.
The Coating
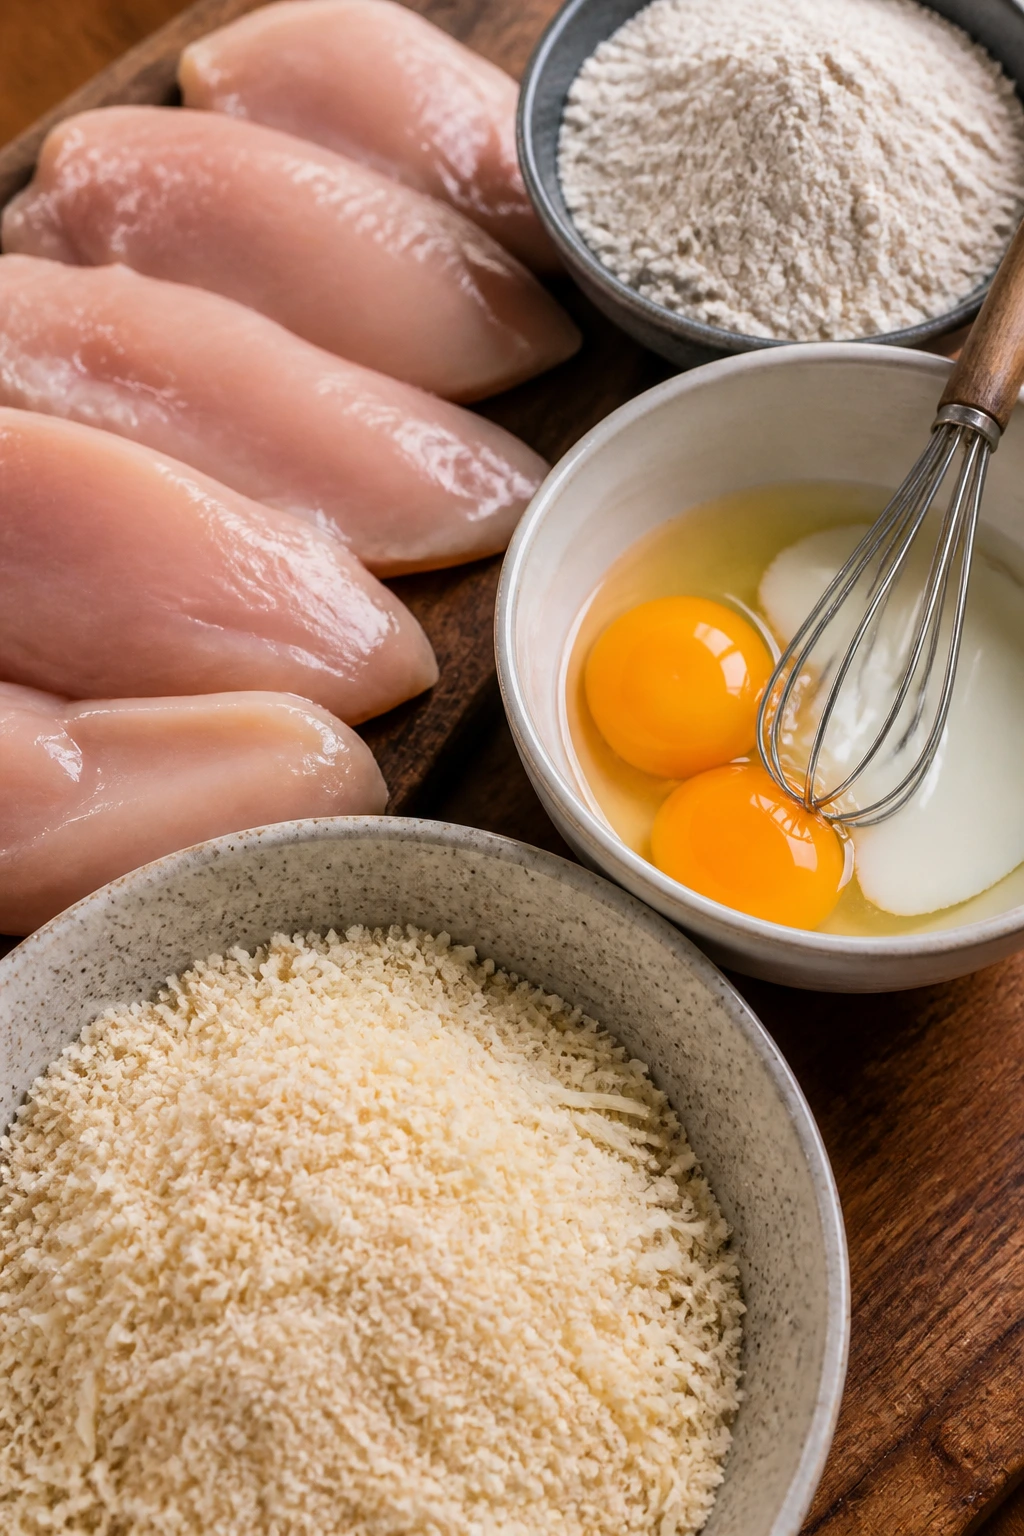
What to use: 1/2 cup all-purpose flour, 2 tablespoons cornstarch, 1/2 teaspoon kosher salt, 1 teaspoon garlic powder, 1 teaspoon paprika, 2 eggs, 1 tablespoon water, 1 1/2 cups panko, and 1/2 cup finely grated Parmesan.
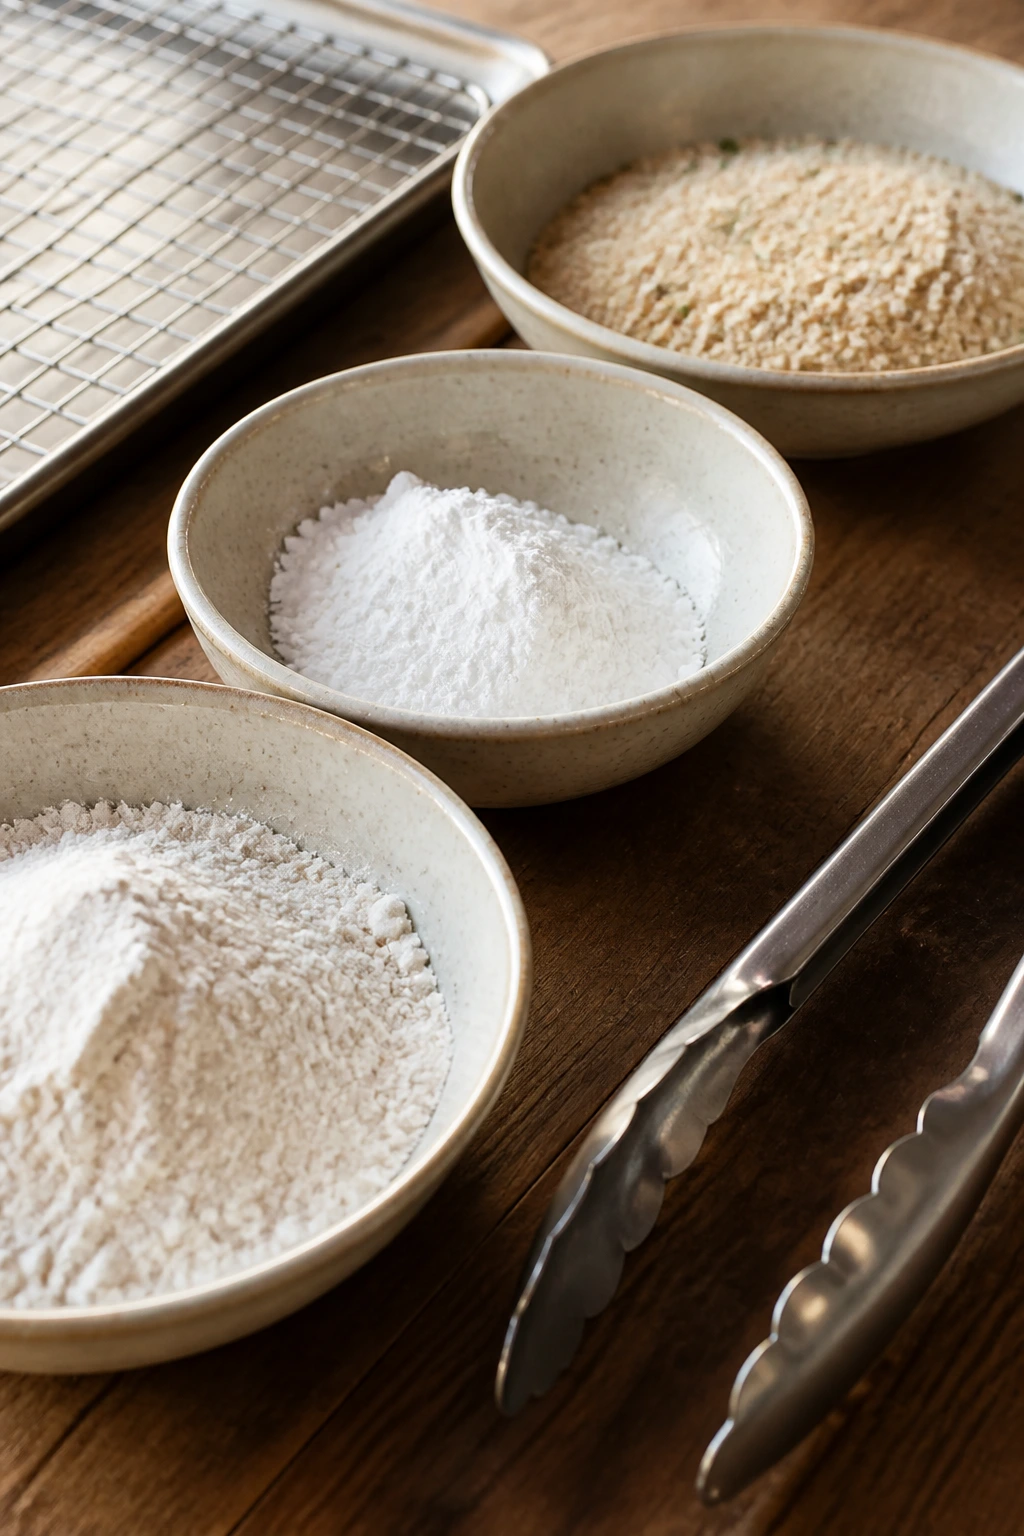
Preparation: Keep the dry dredge in one shallow bowl, the egg wash in another, and the panko-Parmesan mixture in a third. Mixing the crumbs and cheese together first keeps the coating even.
Substitutions: Use a gluten-free flour blend and gluten-free panko if you need a gluten-free crispy chicken dinner. If you don’t have Parmesan, a small amount of finely grated Pecorino works, though it brings a saltier edge.
Tips: The Parmesan should be finely grated, not shredded into larger strands. Fine cheese blends into the crumbs and browns more evenly; larger shreds can burn before the cutlet is done.
The Fat and Finish
What to use: 3 tablespoons neutral oil, 1 tablespoon unsalted butter, 1 lemon, 2 tablespoons chopped parsley, and an optional pinch of red pepper flakes.
Preparation: Heat the oil and butter together so the butter adds flavor but the oil carries the frying without smoking too fast. Keep the lemon wedges ready before the chicken goes in.
Substitutions: Ghee can replace the butter if you want a higher smoke point. Olive oil works in a pinch, though I prefer a neutral oil here because the crust already has enough personality.
Tips: The pan should be hot enough that a loose crumb sizzles right away. Too cool, and the coating drinks oil instead of crisping.
The Tools That Keep the Crumb Dry
-
Cutting board: Use a sturdy board with enough room to slice the breasts horizontally without chasing them across the counter.
-
Sharp chef’s knife: A sharp knife makes the horizontal cut cleaner and safer. A dull knife tends to saw, which makes the cutlets uneven.
-
Meat mallet or rolling pin: Either one works for flattening the cutlets to a consistent thickness. A heavy skillet can stand in if that’s what you have.
-
Three shallow bowls or pie plates: You need separate spaces for the flour, egg wash, and crumb mixture.
-
12-inch skillet: Big enough to hold two cutlets at once without crowding. Cast iron or stainless steel both work if you can manage the heat.
-
Tongs: They make flipping cleaner and keep the coating from getting scraped off with a spatula.
-
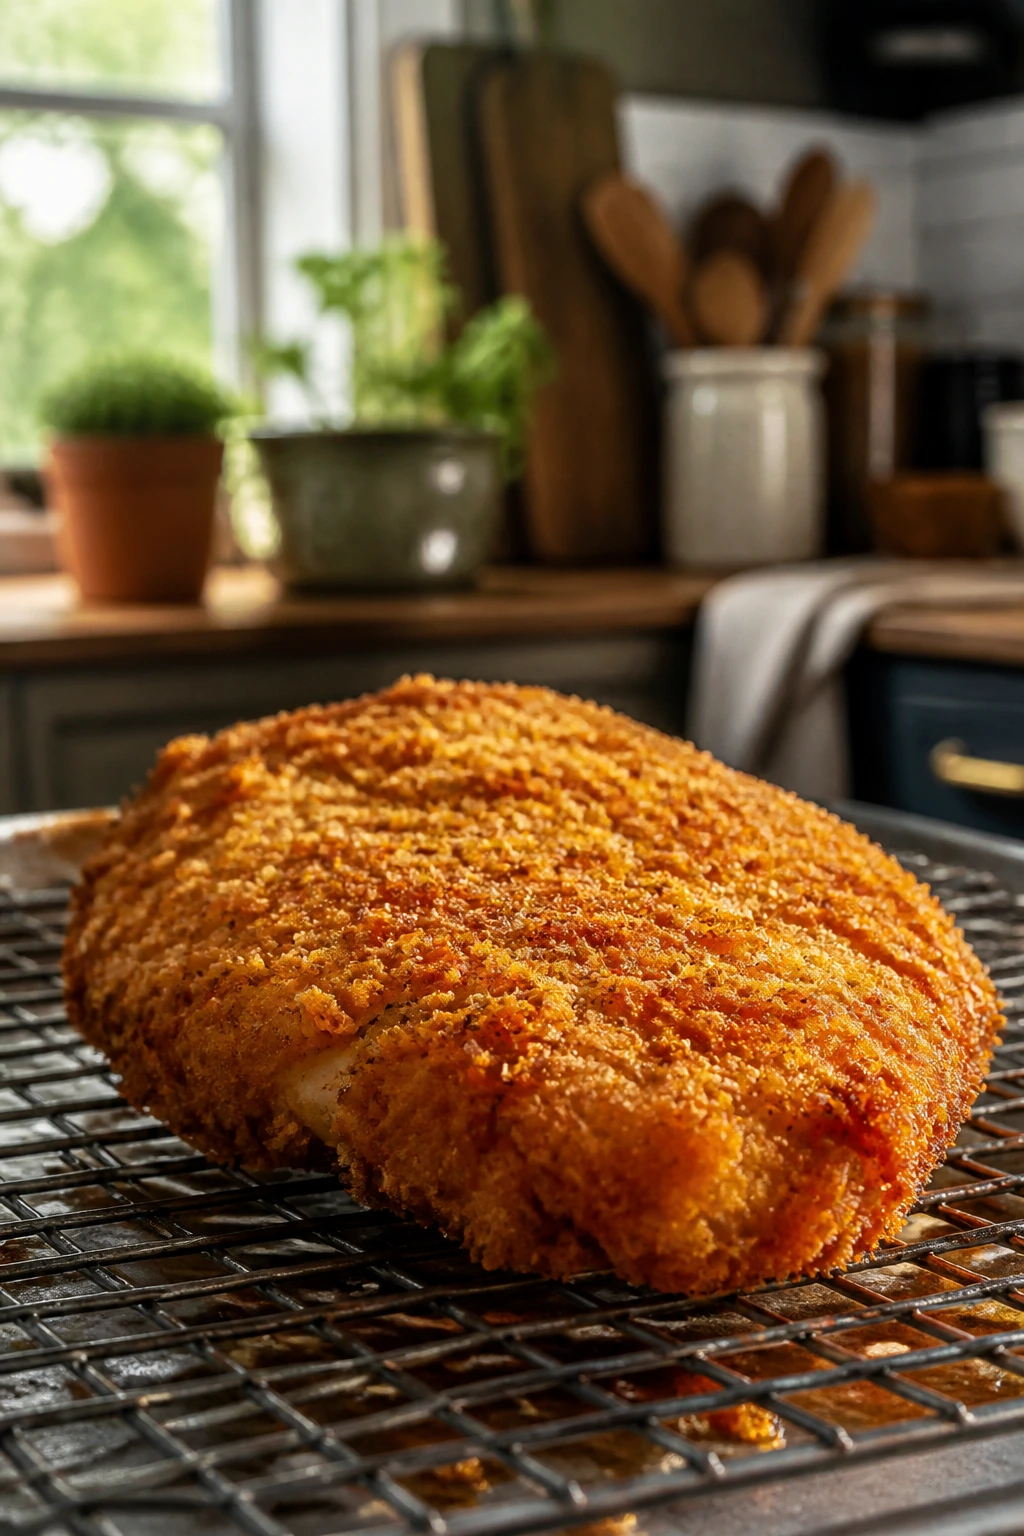
Wire rack set over a sheet pan: This is the part I insist on. The rack keeps the underside crisp while the chicken rests.
-
Instant-read thermometer: Helpful, not glamorous, and worth it. Aim for 165°F in the thickest part.
Step-by-Step: From Cutlets to Golden Crust
Prep the Chicken and the Breading Line
-
Slice the chicken breasts horizontally into 4 thin cutlets, then place each piece between sheets of parchment and pound to an even 1/2-inch thickness.
-
Pat the cutlets dry with paper towels and season both sides with 1 teaspoon kosher salt and 1/2 teaspoon black pepper. Let them sit for 5 to 10 minutes while you set up the bowls.
-
In the first shallow bowl, whisk together the flour, cornstarch, 1/2 teaspoon kosher salt, garlic powder, and paprika. In the second bowl, whisk the eggs with the water until smooth. In the third bowl, mix the panko and Parmesan until the cheese is evenly distributed.
Bread the Chicken
-
Dredge one cutlet in the flour mixture, turn to coat both sides, and shake off the excess. Dip it into the egg wash, letting the excess run back into the bowl. Press it into the panko mixture on both sides so the crumbs cling in a thick, even layer.
-
Set the breaded cutlet on a wire rack and repeat with the remaining pieces. Let the chicken rest for 5 to 10 minutes before frying. Do not skip this pause — the coating sets a little, which keeps it from flaking off in the pan.
Fry and Finish
-
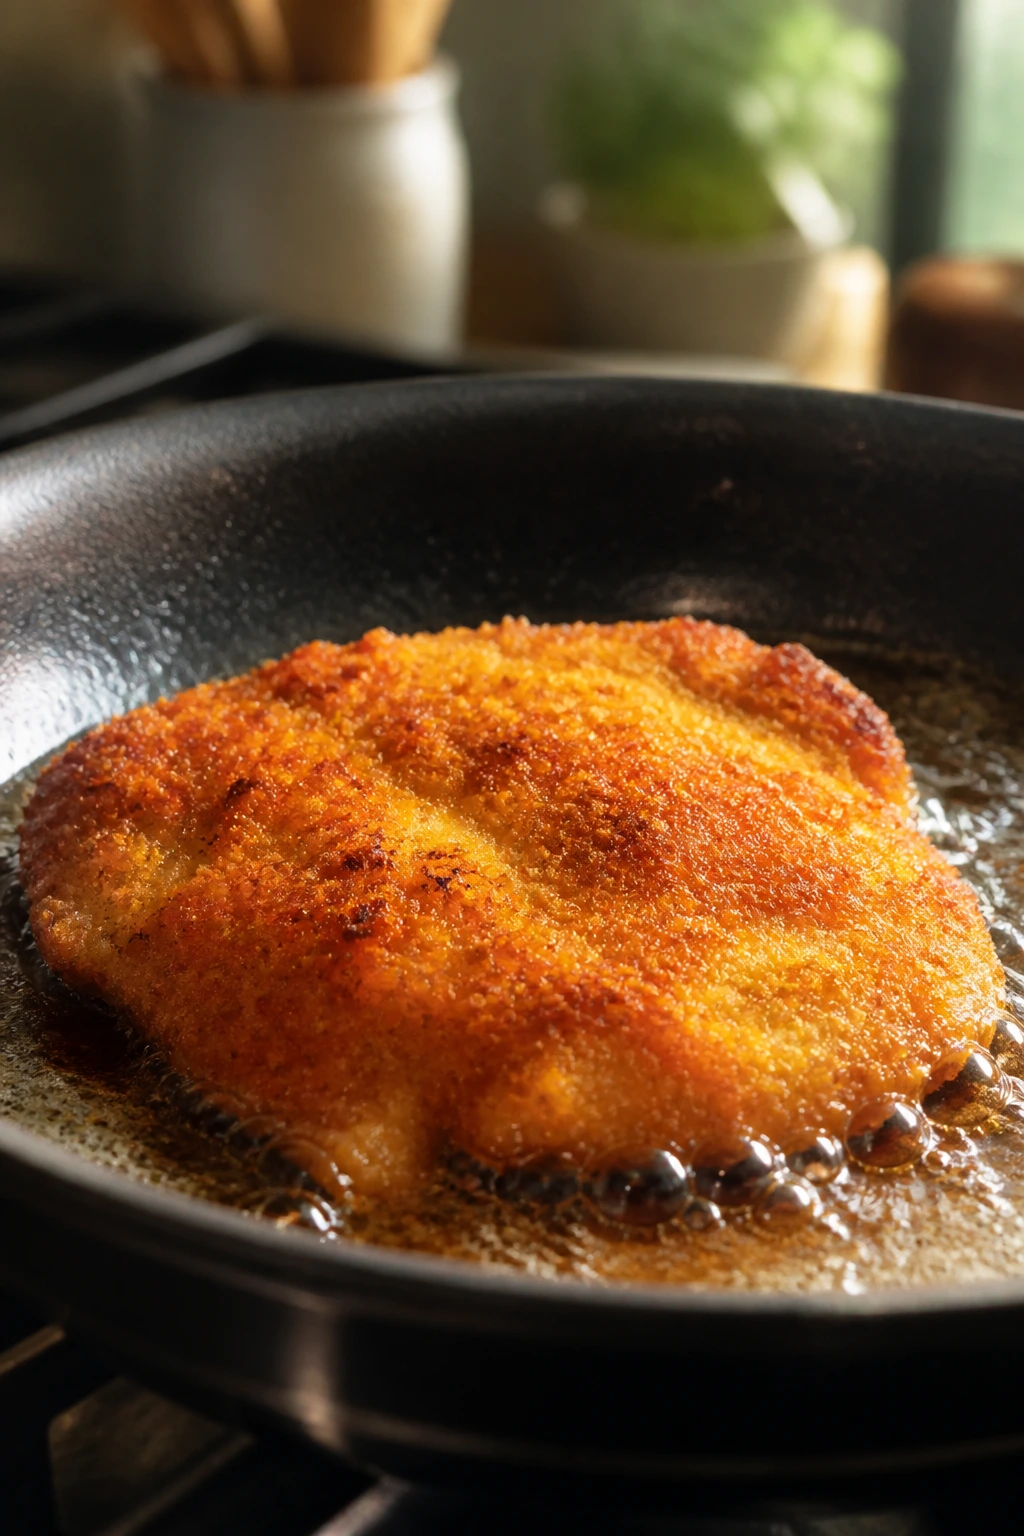
Heat the oil and butter in a 12-inch skillet over medium heat until the butter foams and the oil shimmers, about 2 to 3 minutes. If you have a thermometer, aim for about 340°F to 350°F. Add 2 cutlets and cook for 3 to 4 minutes on the first side, until deep golden and the edges look crisp.
-
Flip the cutlets and cook for another 2 to 4 minutes, until the second side is golden brown and the thickest part reads 165°F. If the crust browns too fast, lower the heat right away; hot crust and raw chicken is a bad trade.
-
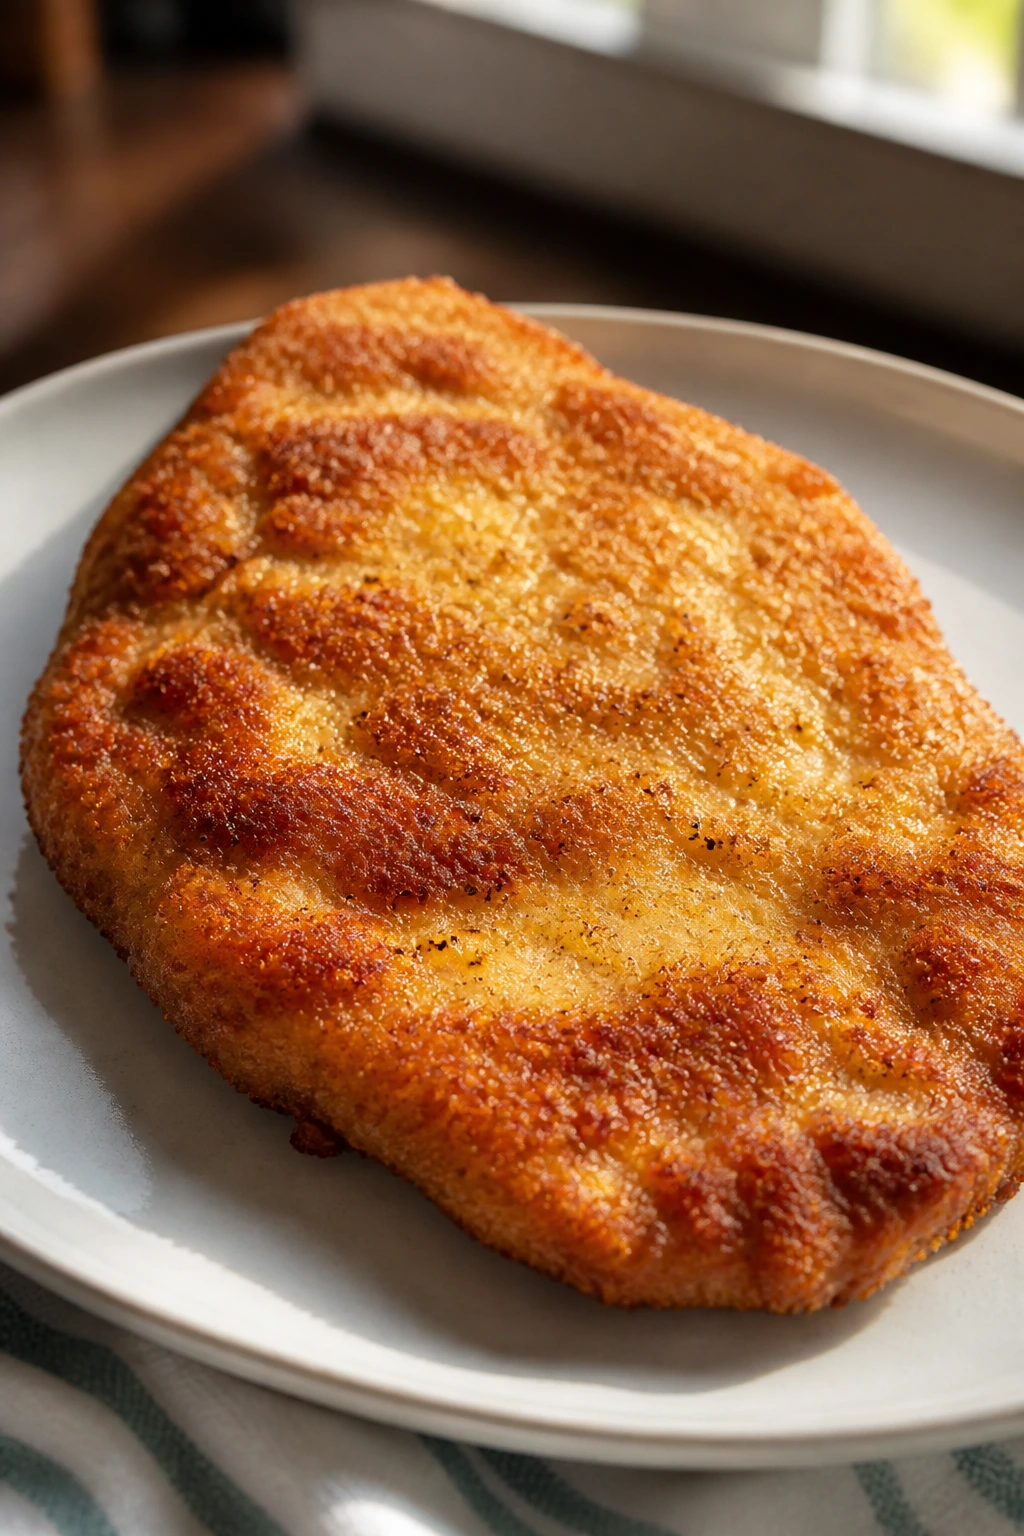
Transfer the chicken to the wire rack, sprinkle with a pinch of salt, add parsley, and squeeze lemon over the top. Let the cutlets rest for 3 to 5 minutes before slicing so the juices settle and the crust stays crisp.
How to Plate It Like Dinner, Not Just Fried Chicken
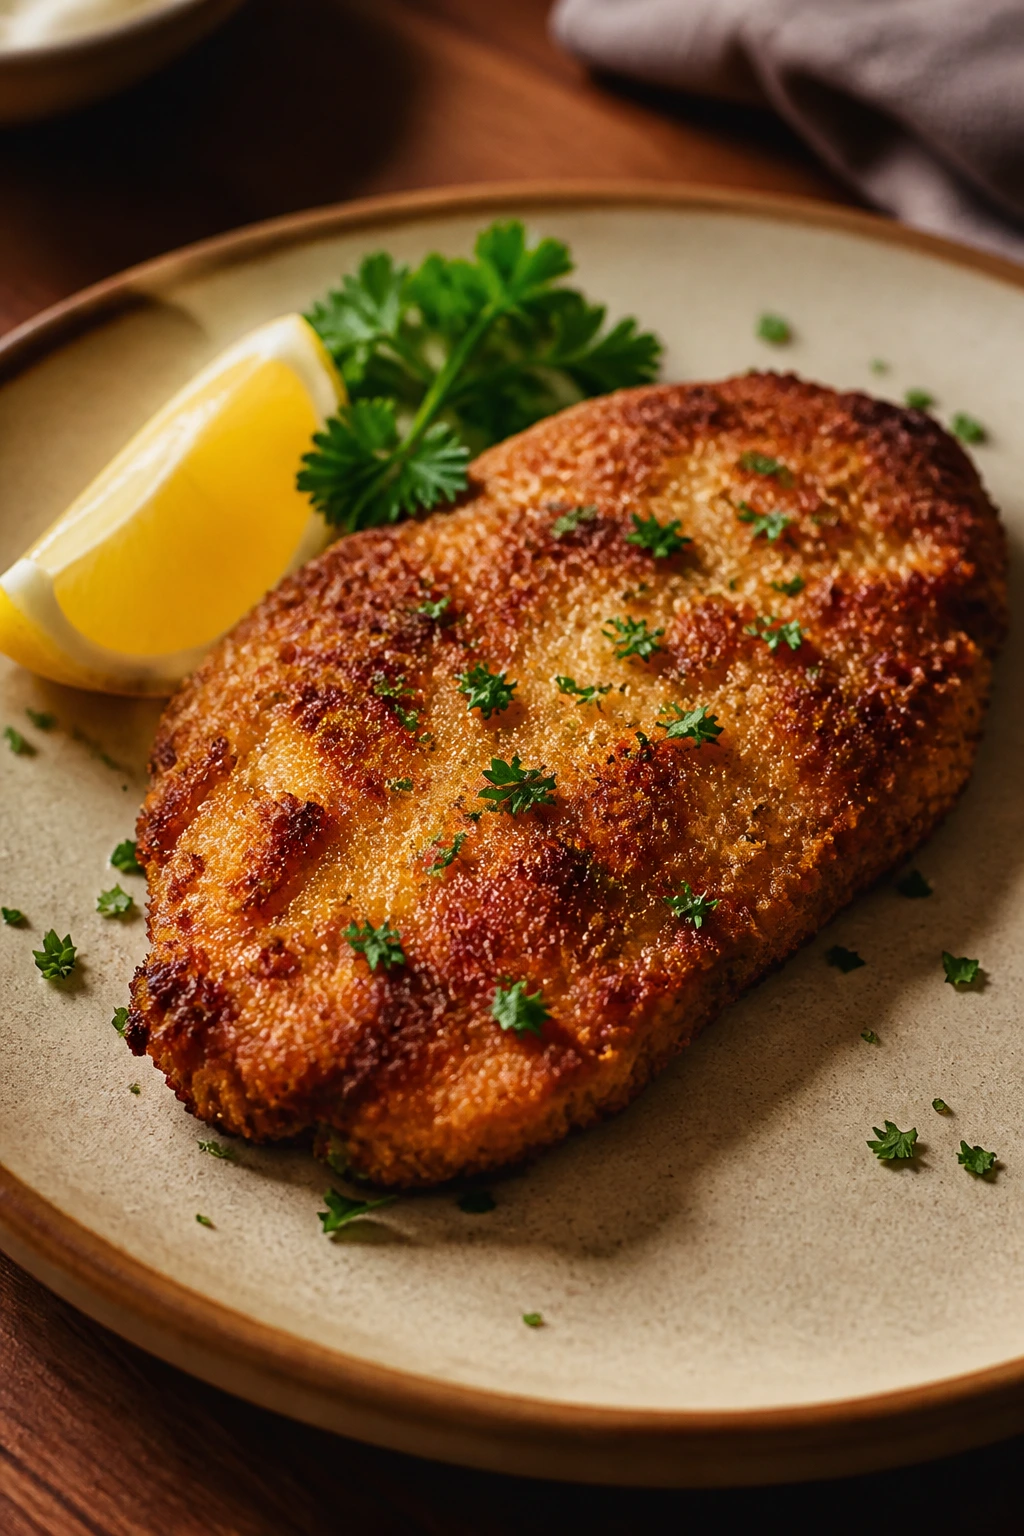
Presentation: Put the cutlet slightly off-center on a warm plate so the crust stays visible. A lemon wedge on the side and a scatter of parsley are enough; you do not need to bury the chicken under sauce unless you want to.
Accompaniments: I like this with a sharp green salad, buttered rice, garlicky green beans, or roasted baby potatoes. If you want the fastest path, a bagged arugula salad with olive oil and lemon takes almost no effort and cuts through the richness of the crust.
Portions: One cutlet per adult is a normal serving if you’ve got sides. If the cutlets are large, slice them on the bias and fan the pieces over potatoes or greens. That trick makes the plate look fuller and stretches the meal without making it feel skimpy.
Beverage Pairing: Sparkling water with lemon is clean and easy. A crisp lager or a dry white wine, especially Sauvignon Blanc, plays well with the Parmesan crust and the fried edges.
The plate should look like dinner that knows what it is. Warm chicken, bright lemon, a green side with some bite, and enough space on the plate that the crust doesn’t steam itself into surrender.
Practical Tips That Matter More Than They Seem
Flavor Enhancement: Grate a little lemon zest into the panko mixture if you want the crust to smell brighter the second it hits the pan. The zest doesn’t make the chicken taste like lemon cake — it just wakes up the crumbs.
Time-Saver: Buy chicken breasts that have already been cut into cutlets if your butcher or grocery counter offers them. I still pound them a bit, because even “cutlets” can vary by half an inch, and that difference shows up when you fry.
Pro Move: Let the breaded cutlets sit on the rack for 10 minutes before they go into the skillet. The coating hydrates just enough to cling, which means less crumb fallout and a cleaner crust.
Cost-Saver: A block of Parmesan you grate yourself is usually cheaper than pre-grated tubs, and you only need half a cup. If panko is what’s missing from your pantry, crushed saltines or unsweetened cornflake crumbs can step in, though the texture shifts a little.
Finish Like You Mean It: Salt the chicken again the moment it comes out of the skillet, while the surface is still hot and a little tacky with oil. That final pinch lands better than trying to season the crust after it has cooled.
Common Mistakes That Turn a Crispy Chicken Dinner Soft
-
Using chicken that’s still thick in the middle: The outside browns before the center catches up, and then you’re tempted to keep it in the pan too long. Fix it by pounding the cutlets to an even 1/2-inch thickness before you bread them.
-
Skipping the wire rack: Paper towels soak up grease, but they also trap steam underneath the cutlets. The bottom crust softens in minutes. A rack keeps air moving around the chicken so the coating stays crackly.
-
Crowding the skillet: Too many pieces at once drops the oil temperature and turns the breading oily. Fry in two batches if you need to. It is worth the extra few minutes.
-
Turning the heat too high: Parmesan burns faster than plain breadcrumbs. If the pan is screaming hot, the crust goes dark and bitter before the chicken reaches 165°F. Medium heat is the sweet spot here.
-
Pressing too lightly into the crumbs: If the breading barely sticks, pieces fall off in the pan and leave bald spots. Press the cutlet firmly into the panko so the crust really grabs.
-
Cutting too soon: Juices run out and the crust loses its crisp edge. Give the chicken 3 to 5 minutes on the rack before slicing.
Variations Worth Trying When You Want a Change
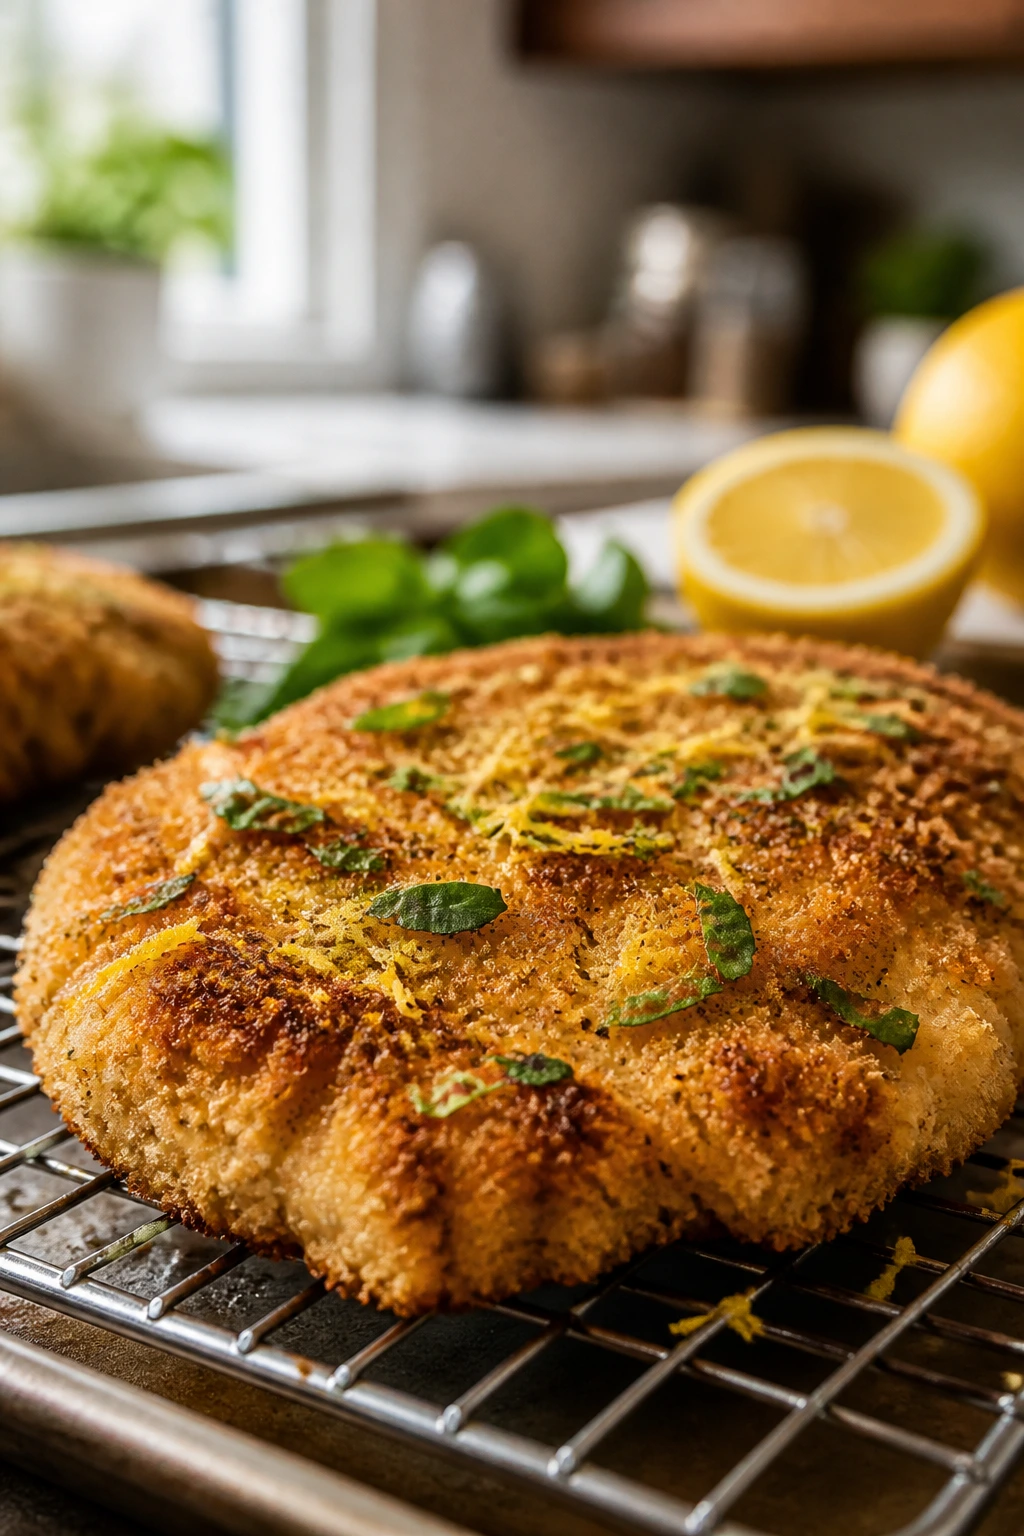
Lemon-Herb Milanese Style: Add 1 teaspoon lemon zest and 1 tablespoon chopped basil to the panko mixture, then serve the cutlets over arugula with shaved Parmesan. It feels a little lighter and more restaurant-like, though the method stays the same.
Spicy Pantry Crunch: Add 1/2 teaspoon cayenne and an extra pinch of red pepper flakes to the flour mixture. The heat lands in the crust, which is where I want it, rather than in a heavy sauce that hides the chicken.
Gluten-Free Crunch Cutlets: Swap the all-purpose flour for a gluten-free flour blend and use gluten-free panko. If your crumbs are on the coarse side, crush them lightly with your hands so they cling better to the egg wash.
Air Fryer Shortcut: Spray the breaded cutlets lightly with oil and air fry at 400°F for 10 to 12 minutes, flipping halfway through. You lose a little of the skillet flavor, but you keep the crunch and skip the stovetop cleanup.
Thigh Cutlet Version: Use boneless, skinless chicken thighs pounded to an even thickness for a juicier result. They need a touch more cook time, and they’re not as tidy to slice, but they do bring more richness.
Storing, Freezing, and Reheating the Leftovers
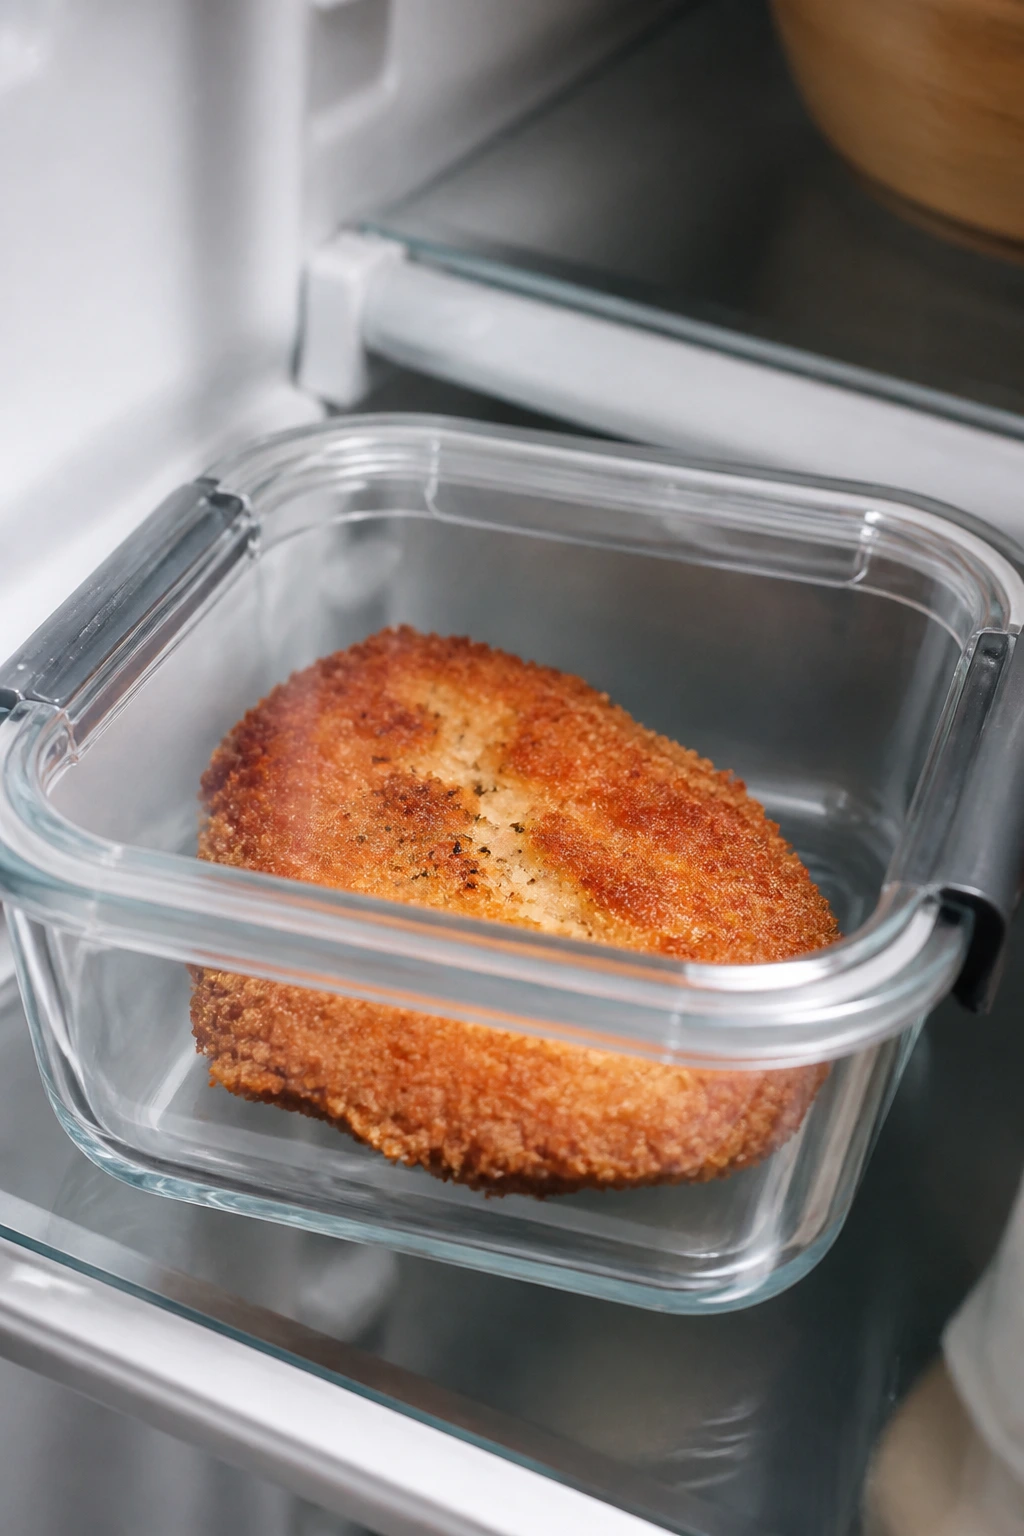
Let the chicken cool for no more than 2 hours at room temperature, then store it in an airtight container in the fridge for 3 to 4 days. I like to line the container with a paper towel underneath and another one loosely over the top, because that catches a bit of surface moisture without smothering the crust.
For the freezer, wrap each cooled cutlet separately or freeze them in a single layer on a sheet pan until firm, then move them to a freezer bag. They keep well for up to 2 months. If you stack them while they’re still soft, the crusts glue together and you lose half the point.
Reheat in a 400°F oven for 10 to 12 minutes, or in an air fryer at 375°F for 4 to 6 minutes, until the crust feels dry and the center is hot. A skillet on medium heat works too — 2 to 3 minutes per side, uncovered. I would avoid the microwave unless you’re using it as a brief first step and then finishing in a dry pan or oven, because the coating goes limp fast.
If you want to make ahead, bread the cutlets up to 4 hours in advance and keep them uncovered on the rack in the fridge. That little chill helps the coating set. You can also bread them, freeze them raw on a tray, and cook them from thawed later, which is a good move when you know a busy week is coming.
Crispy Chicken Dinner Questions People Ask
Can I use chicken thighs instead of breasts?
Yes, and the flavor is deeper. Boneless thighs need to be pounded to an even thickness so they cook at the same pace as the rest of the cutlet, and they usually take a minute or two longer in the pan.
Do I really need cornstarch in the flour mixture?
You don’t need it, but it helps. Cornstarch dries the first coating a little and gives the breading a crisper finish, especially if your chicken releases a bit of moisture while it sits.
Can I bake the chicken instead of frying it?
You can, though the texture shifts. Bake on a wire rack set over a sheet pan at 425°F for about 18 to 22 minutes, flipping once and spraying or brushing the cutlets lightly with oil. The crust will be drier and less rich than pan-fried chicken, but still good.
Why is my breading falling off?
Usually the chicken was too wet, or the cutlets went into the pan before the coating set. Pat the chicken dry, press the crumbs on firmly, and let the breaded cutlets rest for 5 to 10 minutes before frying.
What if my chicken breasts are huge?
Slice them horizontally first, then pound the cutlets to even thickness. Big breasts have thick centers that cook unevenly, and that’s how you end up with dry edges and a pale middle.
Can I make this ahead for dinner later in the day?
Yes. Bread the cutlets and hold them on a rack in the fridge for a few hours. Cook them when you’re ready to eat, not too far ahead, because the crust is at its best right out of the skillet.
What’s the best way to keep leftovers crisp?
Reheat in a hot oven or air fryer without covering them. If you cover them tightly, the steam softens the crust before the heat has a chance to work.
What sides turn this into a full dinner fast?
A bagged salad, microwaved rice, or roasted baby potatoes all fit. If you want the least effort possible, I’d go with a peppery green salad and something starchy like potatoes or buttered noodles.
A Chicken Dinner Worth Keeping Around
The best thing about this style of crispy chicken dinner is how little it asks for once you know the pattern. Thin cutlets. A dry coating. Hot fat. A short rest on a rack. That’s it. No drama, no long marinades, no sauce that has to rescue a mediocre crust.
And the result feels bigger than the effort. The first slice gives you the crunch, the middle stays juicy, and the lemon at the end keeps the whole plate from tasting heavy. That is the kind of dinner that earns repeat status without needing a sales pitch.
Keep a lemon in the crisper, keep panko in the pantry, and this one will keep showing up when the day runs long and dinner still needs to be worth sitting down for.
Crispy Chicken Dinner — Recipe Card

Recipe Name: Crispy Chicken Dinner
Description: Thin chicken cutlets coated in a Parmesan-panko crust and pan-fried until golden, then finished with lemon and parsley. Serve with potatoes, salad, rice, or vegetables for a weeknight dinner that still has real crunch.
Prep Time: 20 minutes
Cook Time: 12 to 16 minutes
Total Time: 32 to 36 minutes
Course: Dinner, Main Course
Cuisine: American
Servings: 4 servings
Calories: About 420 kcal per serving
Ingredients
For the Chicken:
- 1 1/2 pounds boneless, skinless chicken breasts, sliced horizontally into 4 cutlets
- 1 teaspoon kosher salt
- 1/2 teaspoon black pepper
For the Coating:
- 1/2 cup all-purpose flour
- 2 tablespoons cornstarch
- 1/2 teaspoon kosher salt
- 1 teaspoon garlic powder
- 1 teaspoon paprika
- 2 large eggs
- 1 tablespoon water
- 1 1/2 cups panko breadcrumbs
- 1/2 cup finely grated Parmesan cheese
For Frying and Finishing:
- 3 tablespoons neutral oil, such as avocado, canola, or grapeseed
- 1 tablespoon unsalted butter
- 1 lemon, cut into wedges
- 2 tablespoons chopped fresh parsley
- Pinch red pepper flakes, optional
Instructions
-
Slice the chicken breasts horizontally into 4 cutlets and pound them to an even 1/2-inch thickness. Pat dry and season with salt and pepper.
-
Whisk the flour, cornstarch, salt, garlic powder, and paprika in one shallow bowl. Whisk the eggs and water in a second bowl. Mix the panko and Parmesan in a third bowl.
-
Dredge each cutlet in the flour mixture, dip in the egg wash, and press into the panko mixture until well coated. Rest on a wire rack for 5 to 10 minutes.
-
Heat the oil and butter in a 12-inch skillet over medium heat until shimmering. Fry the cutlets in batches for 3 to 4 minutes per side, until golden and the center reaches 165°F.
-
Transfer to the rack, sprinkle with a little salt, add parsley, and squeeze lemon over the top. Rest for 3 to 5 minutes before serving.
Notes: Use a wire rack, not paper towels, if you want the crust to stay crisp. Reheat leftovers in a 400°F oven or air fryer. For a brighter crust, add a little lemon zest to the panko.