
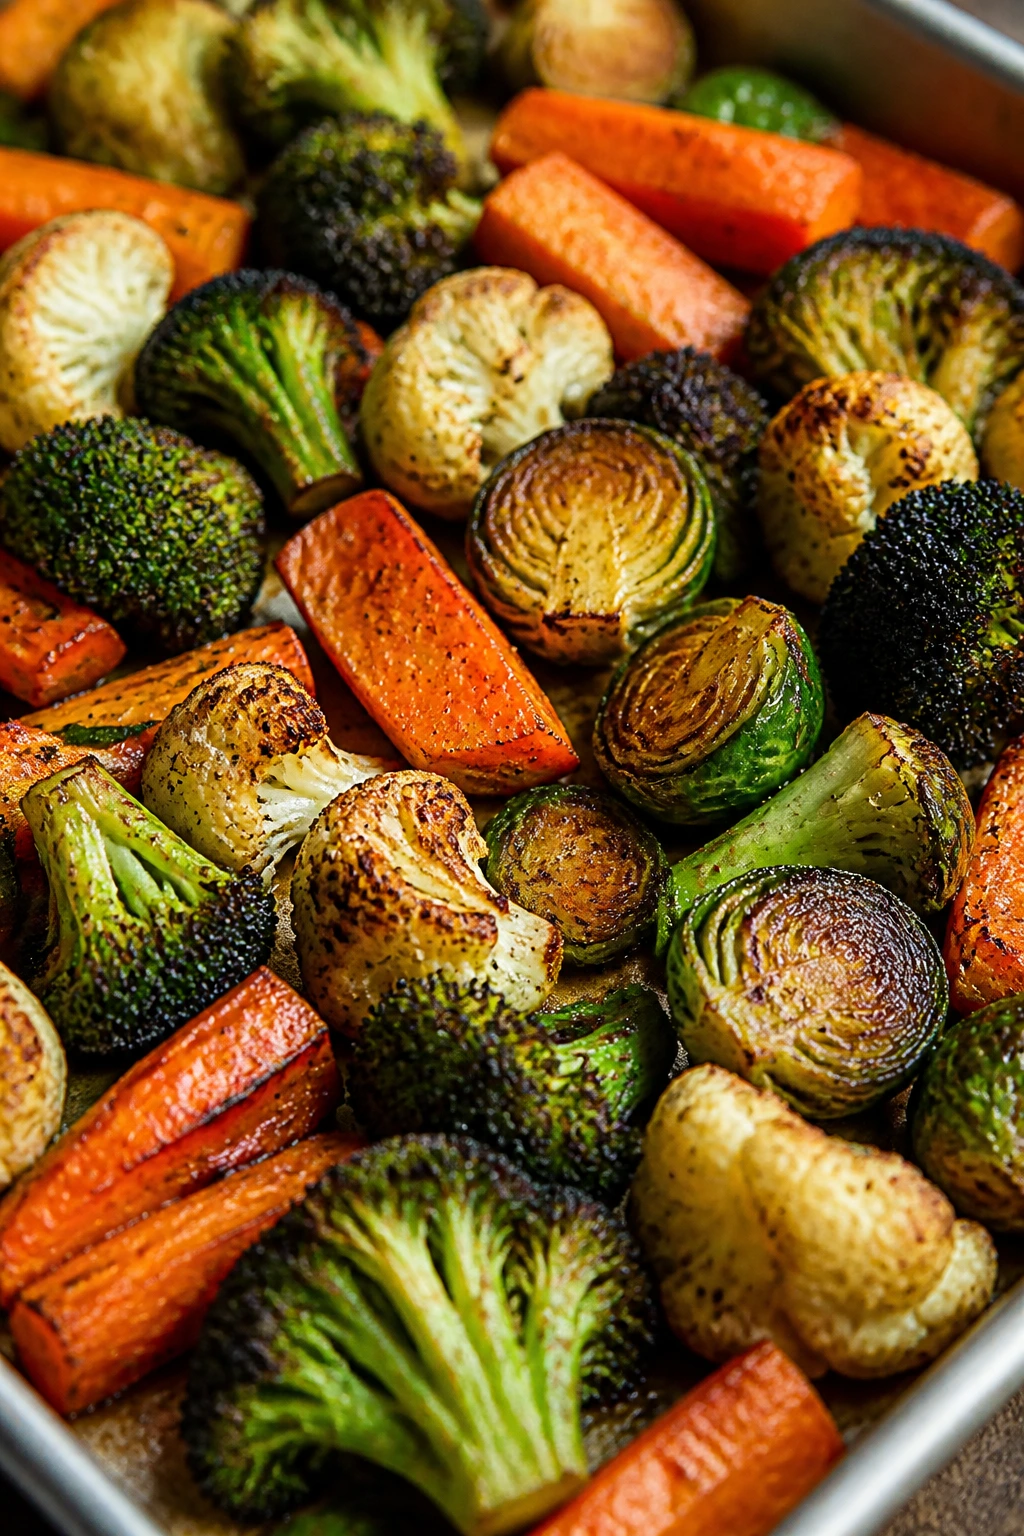
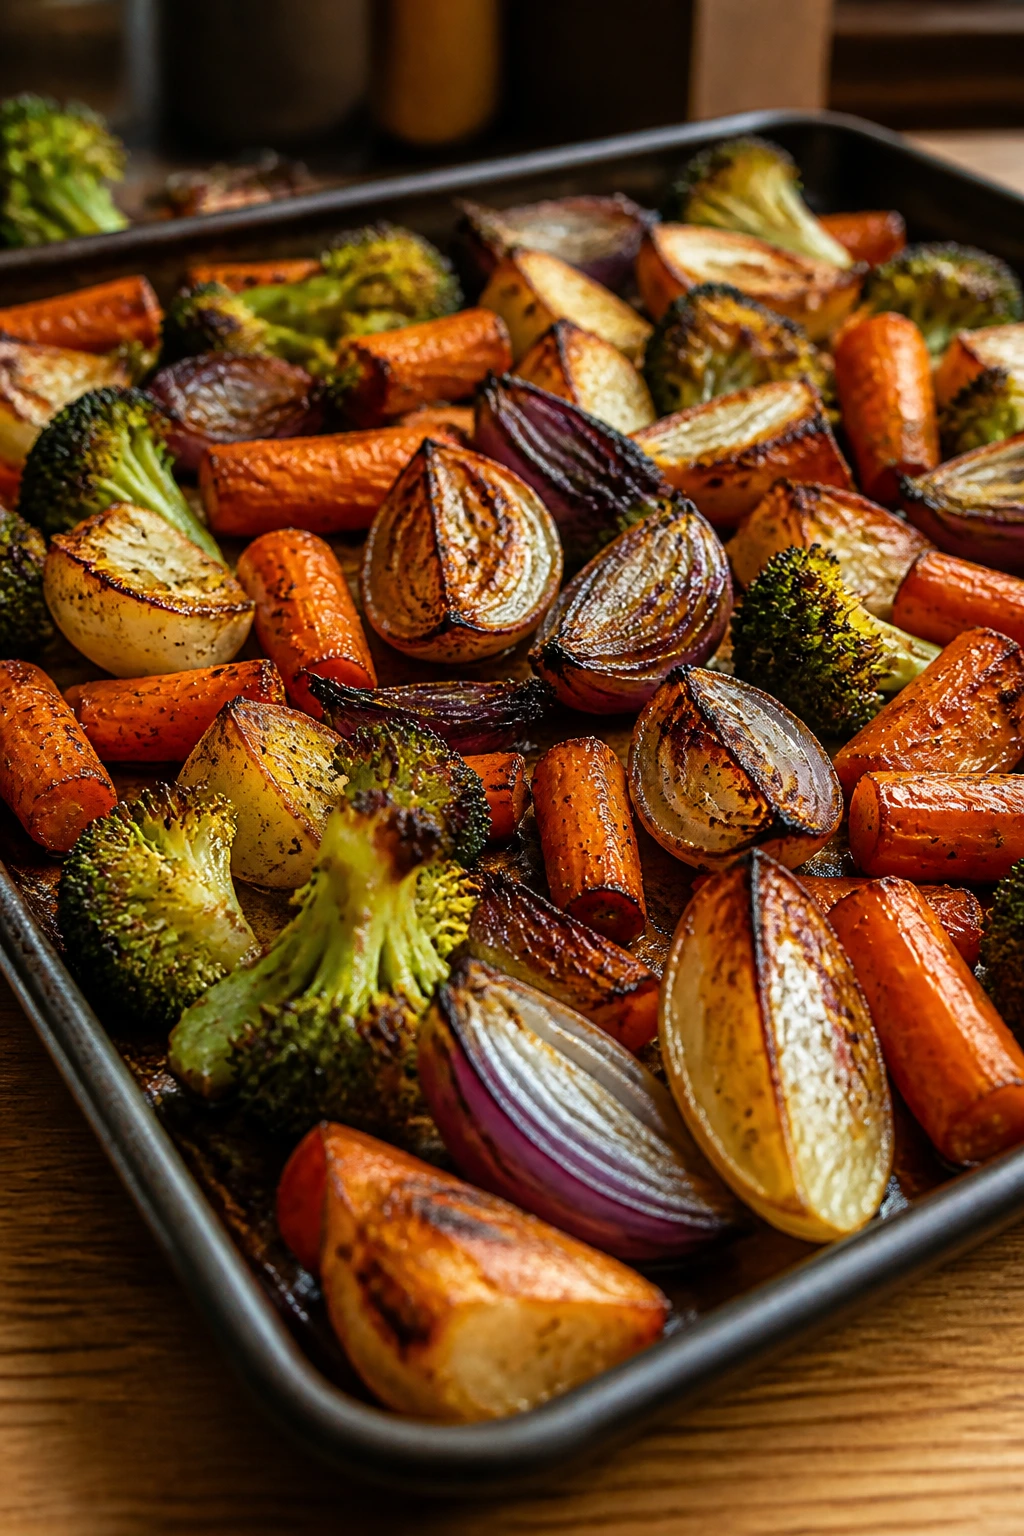
A pan of crispy home grown vegetables can save dinner from that dull, soggy middle ground where healthy food starts to feel like homework. When the carrots still taste like carrots, the broccoli edges turn deep brown, and the onions pick up those sticky little charred spots on the corners, you do not need much else. A spoonful of yogurt, a fried egg, a scoop of beans, maybe a piece of toast to mop up the oil left on the tray — that’s a proper meal.
Garden vegetables are tricky in one specific way. They’re often better than store-bought produce in flavor, but they can also be wetter, dirtier, and more uneven in size than the tidy stuff from the market. That’s not a flaw. It’s the price of freshness, and it’s manageable once you know how to handle the moisture, the cut size, and the heat.
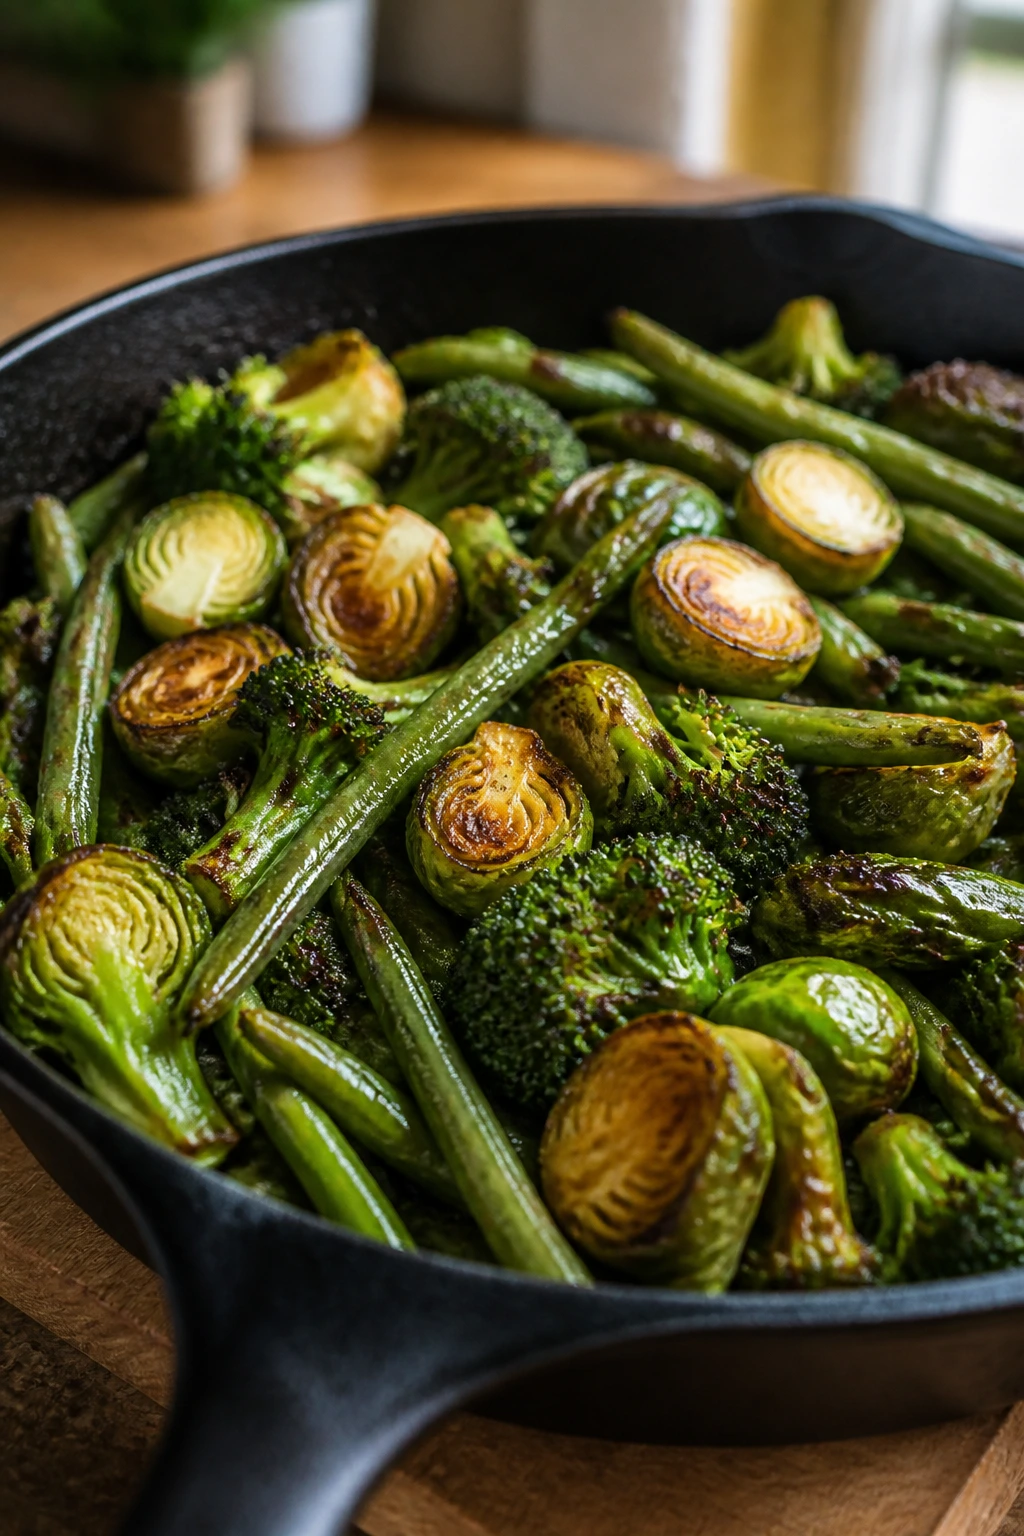
I’ve got a soft spot for vegetables that keep some bite. Limp zucchini and pale, steaming carrots are a waste of good produce. Give me browned broccoli, blistered beans, and a tray that smells like garlic and olive oil. The trick is not mystery or luck. It’s a few specific moves that let the oven do the work without turning your harvest into soup.
Why This Way of Cooking Works
-
High heat gives you flavor, not just doneness: A hot oven pushes water off the surface fast enough for browning to start, which is where that roasted, nutty taste comes from.
-
Home-grown vegetables need less dressing than you think: Freshly picked produce already has strong flavor, so a thin coat of oil, salt, and one or two seasonings is enough to carry it.
-
The tray becomes dinner, not a side dish: Once the vegetables crisp up, they can sit beside beans, eggs, tofu, or grains and hold their own instead of hiding under sauce.
-
Different vegetables can share one method: Broccoli, cauliflower, carrots, Brussels sprouts, green beans, radishes, and fennel all respond well to the same basic heat-and-space setup.
-
You control the oil without losing texture: A light coating is enough for browning. Too much oil makes vegetables glossy and slippery instead of crisp.
-
It works with whatever came in from the garden: A mix of small harvests — two carrots, a few handfuls of beans, half a head of cauliflower — can become dinner instead of waiting for a “better” recipe.
Choosing Vegetables That Brown Instead of Go Soft
Some vegetables crisp beautifully, and some need a little help. That’s the first decision, and it matters more than the seasoning. A garden basket full of produce is not one uniform thing; each vegetable has its own water content, skin thickness, and sugar level, which changes how it behaves in a hot oven.
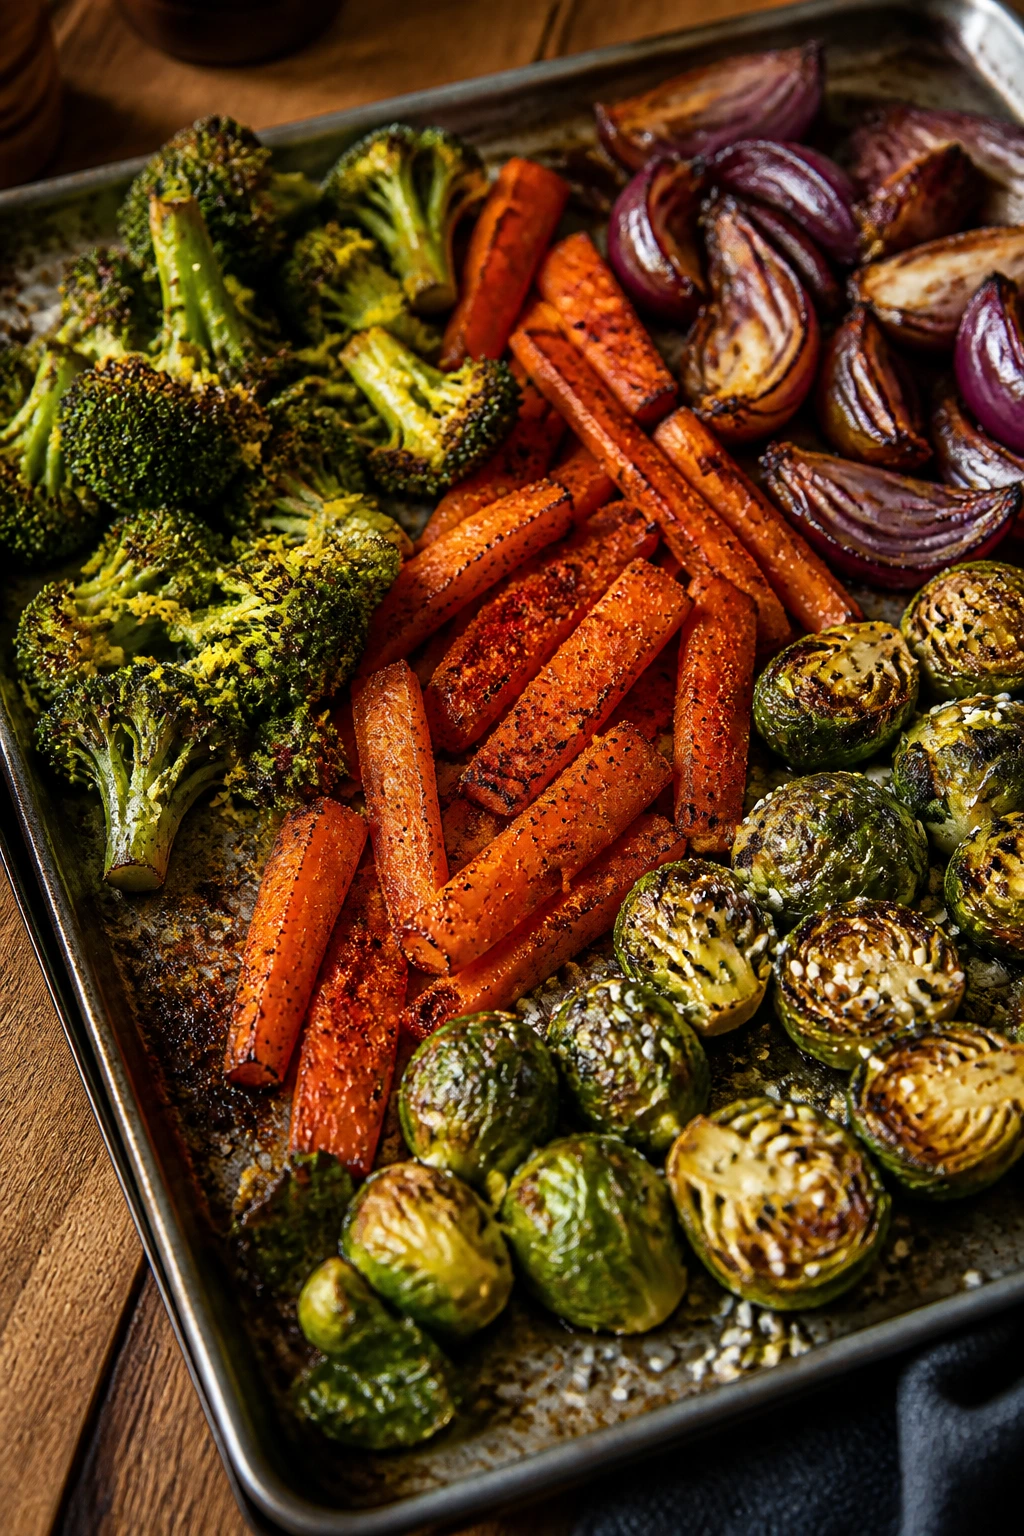
Broccoli and cauliflower are the easy winners. Their florets create little ridges and crags that catch oil and turn brown fast, especially when you cut them into pieces with flat sides. Brussels sprouts do the same thing once you halve them and expose the cut face. Carrots are almost unfairly good here because they sweeten as they roast and keep their shape even when they sit next to louder vegetables like onions or peppers.
Green beans, snap peas, and asparagus are the fast crowd. They need less time and higher heat, and they work best when you’re after charred tips and a snap in the middle. Radishes deserve more attention than they get; once roasted, they lose that raw pepper bite and turn mild, almost buttery. Fennel is another sleeper — the edges go caramel-colored, and the anise flavor softens into something rounder and warmer.
Vegetables That Need More Care
Zucchini, eggplant, and tomatoes all bring more water to the party. That does not mean you should avoid them. It means they need different treatment. Zucchini does best in thick half-moons or long planks, not tiny cubes that collapse into mush. Eggplant wants enough oil to keep it from drying out at the edges, but not so much that it turns greasy. Cherry tomatoes don’t crisp in the strict sense; they blister, split, and concentrate. That’s fine. Just call it what it is and cook them with the vegetables that can handle a little juice.
Leafy vegetables are a different category entirely. Kale can become crisp if you tear it, dry it well, and roast it fast, but spinach and lettuce belong elsewhere. I love a mixed tray, but I’m not sentimental about including the wrong thing just because it grew in the same bed.
Dry Them Like You Mean It
Wet vegetables steam. Dry vegetables roast. That’s the whole game, and it’s the part people skip because it feels fussy. It isn’t fussy. It’s the difference between browned edges and pale, slippery cubes that slump on the plate.
If your vegetables came from the garden, they probably arrived with dirt, dew, or plain old field moisture tucked into every crease. Rinse them well, but do not rush from sink to pan. Shake off the water, then dry them with a clean towel or a salad spinner if the vegetable is leafy. For broccoli, cauliflower, beans, and herbs, I usually lay everything out for a few minutes after washing so the surface water can evaporate before I season it.
A little air time helps more than people think. Cut carrots, squash, and onions can sit on a towel for 10 to 15 minutes while the oven heats. That small pause lets the moisture migrate away from the surface, which means the oil can actually coat the vegetable instead of sliding around in little wet patches. If you season damp vegetables, the salt starts pulling water out right away, and then you’re back in steam territory.
When to Salt and When to Wait
Salt is a tool, not a reflex. For sturdy vegetables like broccoli, cauliflower, carrots, and Brussels sprouts, I salt right before they go on the tray so the surface stays dry long enough to brown. For very watery vegetables, especially zucchini and eggplant, a short pre-salt can help draw out moisture if you give them time to drain and blot them well afterward. That step is worth doing only when the vegetable is especially wet or you’ve got a summer harvest that seems to sweat the second you cut it.
One more thing. If your vegetables are chilled from the fridge, give them a few minutes on the counter. Ice-cold vegetables take longer to heat through, and the extra time in the oven often means more moisture loss before the browning starts. Room-temperature pieces, even for 15 minutes, cook more evenly.
Shape, Size, and the Flat Side Rule
You can do everything else right and still end up with a mixed tray of soft and burnt pieces if the cuts are all over the place. Uniform size matters because the oven is unforgiving. A fat carrot chunk and a tiny broccoli floret do not finish together. One of them will still be hard when the other one has dried into a shriveled little fossil.
The easiest way to think about it is this: give the oven some flat surfaces. Flat sides touch the hot pan, and contact is what makes browning happen. A round object can roast, sure, but a vegetable with one cut face on the sheet pan will brown faster and more evenly.
Carrots like thick diagonal coins or batons. Diagonal slices expose more surface than straight rounds, which means more browning and less boilerplate softness. Brussels sprouts should be halved from top to root, with the cut face down on the pan. Broccoli and cauliflower do best in florets with some stem attached and a few open edges. If the pieces are tiny, they dry out before the stems turn tender.
Cuts That Match the Vegetable
-
Carrots: 1/2-inch diagonal coins or thick sticks. Thin slices cook too fast and lose their sweet middle.
-
Broccoli: Medium florets with a little stalk still on each one. The stalk gives you something firm to bite into.
-
Cauliflower: Florets that are large enough to stay intact, but not so big they trap steam inside.
-
Brussels sprouts: Halve them, or quarter them if they’re large. The cut side is your browning side.
-
Zucchini: Thick half-moons or long planks, about 1/2-inch thick. Small cubes will collapse before they crisp.
-
Green beans or snap peas: Leave them whole. Their shape already works.
-
Radishes and fennel: Wedges. More surface, better texture.
A mixed tray should be built around timing, not just whatever is in the basket. Carrots and fennel can start first. Broccoli and Brussels sprouts can join a few minutes later. Tender vegetables like asparagus, snap peas, or cherry tomatoes go in last. That staggered approach keeps one kind of vegetable from overcooking while another is still catching up.
Seasoning for Brown Edges Instead of Steamed Bits
Seasoning matters here, but not in the heavy-handed way some roasted vegetable recipes pretend it does. You do not need a wet marinade. You need enough oil to coat the surface, enough salt to wake up the vegetable, and enough seasoning to make the tray smell like someone knows what they’re doing.
Start with a light hand. For about 1 1/2 to 2 pounds of vegetables, 1 1/2 to 2 tablespoons of oil is usually enough if the pieces are cut well and the tray isn’t crowded. Olive oil is my default for its flavor. Avocado oil works if you want a more neutral taste and a little more heat tolerance. The vegetables should look lightly glossy, not drenched.
Salt should taste like the vegetables have been listened to. That sounds sentimental, but it’s practical. A half teaspoon of kosher salt per pound is a useful starting point, then adjust to taste after roasting. Black pepper is fine, but garlic powder, smoked paprika, cumin, or crushed fennel seed can do more work with less effort. Fresh garlic can burn fast at high heat, so I usually add it near the end or use powder early and chopped garlic later.
A Tiny Dusting That Helps
For watery vegetables, a pinch of cornstarch can make a real difference. One teaspoon per pound is enough for zucchini, eggplant, or very moist summer squash. Toss it in after the oil and before the vegetables hit the tray. It gives the surface a little extra dryness, which helps create a thin, crisp edge instead of a floppy one. Do not overdo it. Too much turns the coating chalky.
Acid is for after roasting. Lemon juice, sherry vinegar, red wine vinegar, or a spoonful of yogurt sauce brightens the finished tray, but if you pour acidic ingredients on before the oven, you’ll slow the browning. That’s one of those small details that sounds minor until you taste the difference. Flat vegetables are one thing. Flat flavor is another.
The Sheet-Pan Method for Crispy Home Grown Vegetables
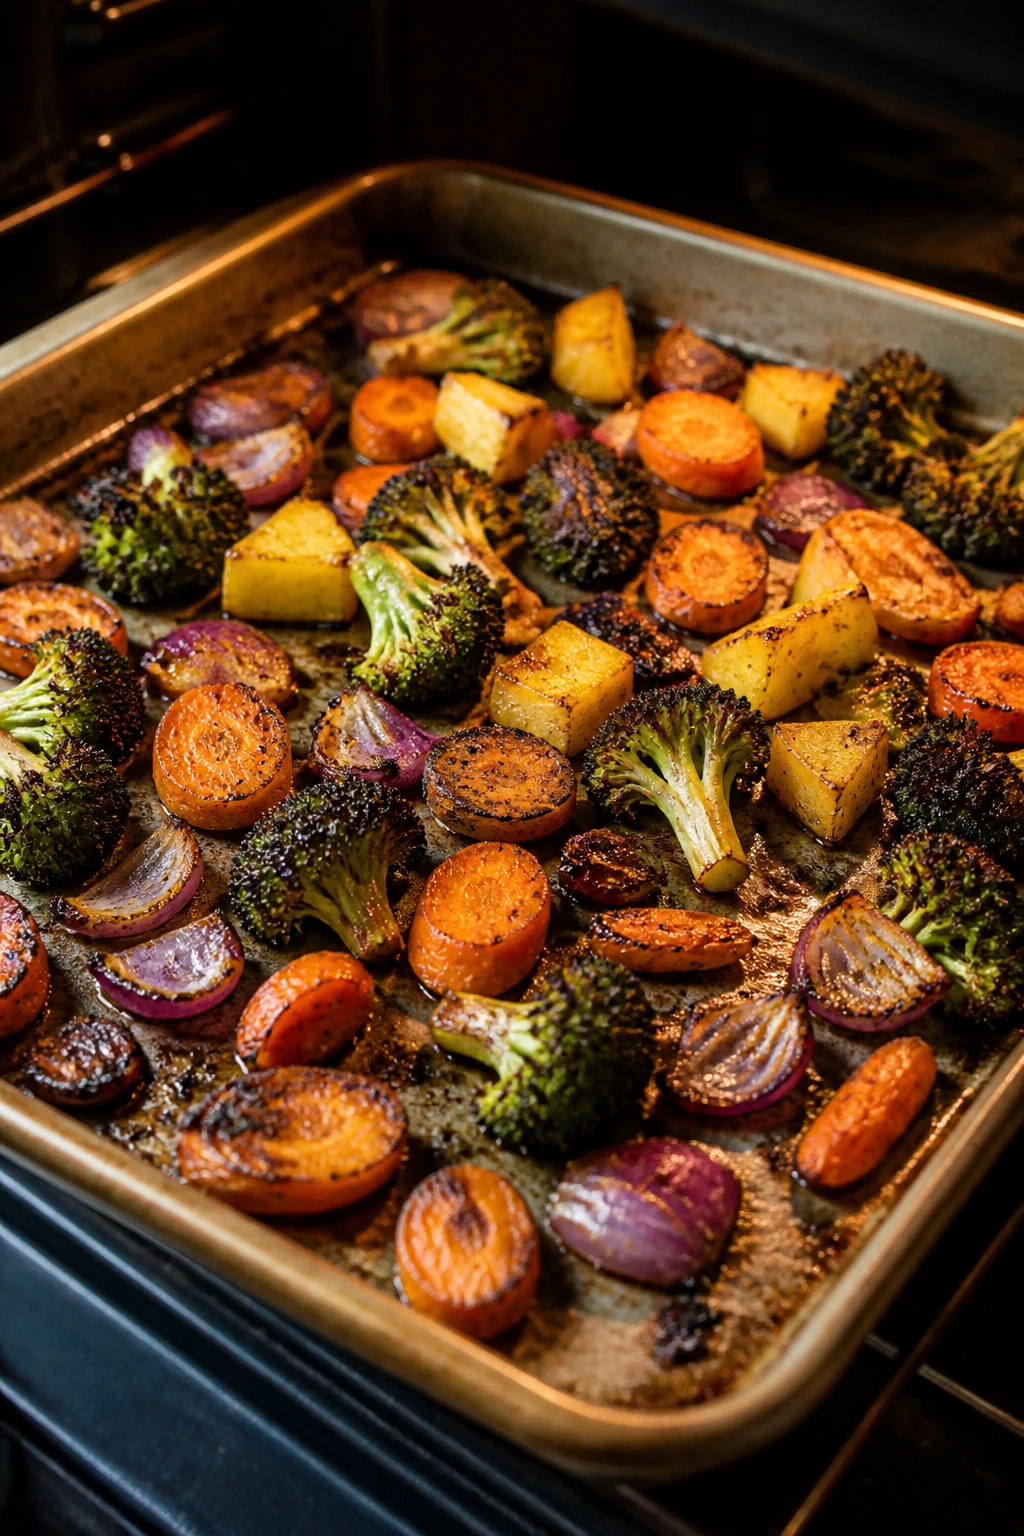
The oven method is the one I trust most for a healthy dinner because it handles volume well and doesn’t ask you to stand over a skillet for 20 minutes. High heat, a preheated pan, and enough space between pieces will do more for texture than any complicated trick.
Preheat and prepare the pan.
- Set the oven to 425°F (220°C) and place a rimmed sheet pan inside while it heats. Give the pan at least 10 minutes so the vegetables hit a hot surface instead of a cold one.
- If you’re cooking a large batch or mixed vegetables with different times, use two sheet pans rather than crowding one.
Season the vegetables.
3. Toss 1 1/2 to 2 pounds of cut vegetables with 1 1/2 to 2 tablespoons of oil, 1/2 to 3/4 teaspoon kosher salt, and your chosen seasonings in a large bowl. Add 1 teaspoon cornstarch only if the vegetables are especially watery, like zucchini or summer squash.
4. Mix until every piece looks lightly coated, not wet. If oil pools in the bottom of the bowl, you used too much.
Roast with space.
5. Carefully pull the hot sheet pan from the oven and spread the vegetables out in a single layer. Put cut sides down where you can, especially on broccoli, cauliflower, Brussels sprouts, carrots, and fennel.
6. Roast for 15 to 25 minutes, depending on the vegetable mix. Flip once halfway through if the pieces are thick or if your oven browns unevenly. Smaller or tender vegetables may need only 12 to 15 minutes; denser ones can take closer to 30.
Watch the cues, not just the clock.
7. You’re looking for deep golden edges, tender centers, and a few dark spots that smell nutty rather than burnt. A fork should slide into carrots and Brussels sprouts without resistance. Broccoli should have crisp tips and bronzed florets, not dried-out stems.
8. Finish with lemon juice, vinegar, fresh herbs, or a small spoonful of sauce right after the tray comes out. That last step keeps the flavors lively without making the vegetables soggy.
A couple of blunt notes: if the tray is piled up, the vegetables will steam. If the pan is cool, they’ll start sweating before they brown. If your oven runs soft, leave them in a few minutes longer and move the pan to a higher rack for the final stretch. The vegetables should smell roasted and a little sweet. If they smell wet, they need more time.
Air Fryer, Cast Iron, and Broiler Finish
The oven is the workhorse, but it isn’t the only tool worth using. Some nights, a smaller batch or a tighter timeline makes another method feel smarter. The texture changes too, and that can be useful.
Air Fryer for Small Batches
An air fryer gives you intense circulation, which is useful for green beans, Brussels sprouts, cauliflower, and broccoli. I’d use 375°F to 400°F and cook in a single layer for 8 to 15 minutes, shaking the basket once or twice. The result is usually a little drier and sharper at the edges than oven-roasted vegetables, especially with smaller pieces. It’s a fine choice if you’re making dinner for one or two people and don’t want to heat a whole oven.
The catch is capacity. Air fryers punish crowding even more than sheet pans do. If the basket is stuffed, the vegetables bounce in their own steam and lose the crisp factor fast.
Cast Iron for Char and Speed
A cast-iron skillet is good for vegetables that already have some moisture but can stand up to direct heat: asparagus, zucchini planks, sliced peppers, green beans, or leftover roasted vegetables that need a second life. Heat the skillet until it’s hot, add the oil, then cook the vegetables in a single layer for several minutes without stirring too much. You want contact with the metal, not a constant toss.
This method gives you deep browning in less time, but it demands attention. Walk away and the pieces will scorch. Stir too often and they won’t get the edges you want.
Broiler Finish for the Last Bit of Crunch
The broiler is not a cooking method by itself here. It’s a finishing move. Once vegetables are mostly tender, 1 to 3 minutes under the broiler can sharpen the edges, especially on cauliflower, Brussels sprouts, and carrots. Keep the tray on an upper rack and watch it the whole time. Broilers don’t care if you blink.
The best use for a broiler is the final minute or two after oven roasting. That’s when the outside gets more color without drying the centers out. If you like a little char on the outer leaves of Brussels sprouts, this is the move.
How to Build a Real Dinner Around the Tray
A tray of vegetables becomes dinner when it gets company. That company doesn’t have to be elaborate. In fact, the more elaborate you make it, the easier it is to bury the part you worked hardest on. The vegetables should still taste like the lead actor.
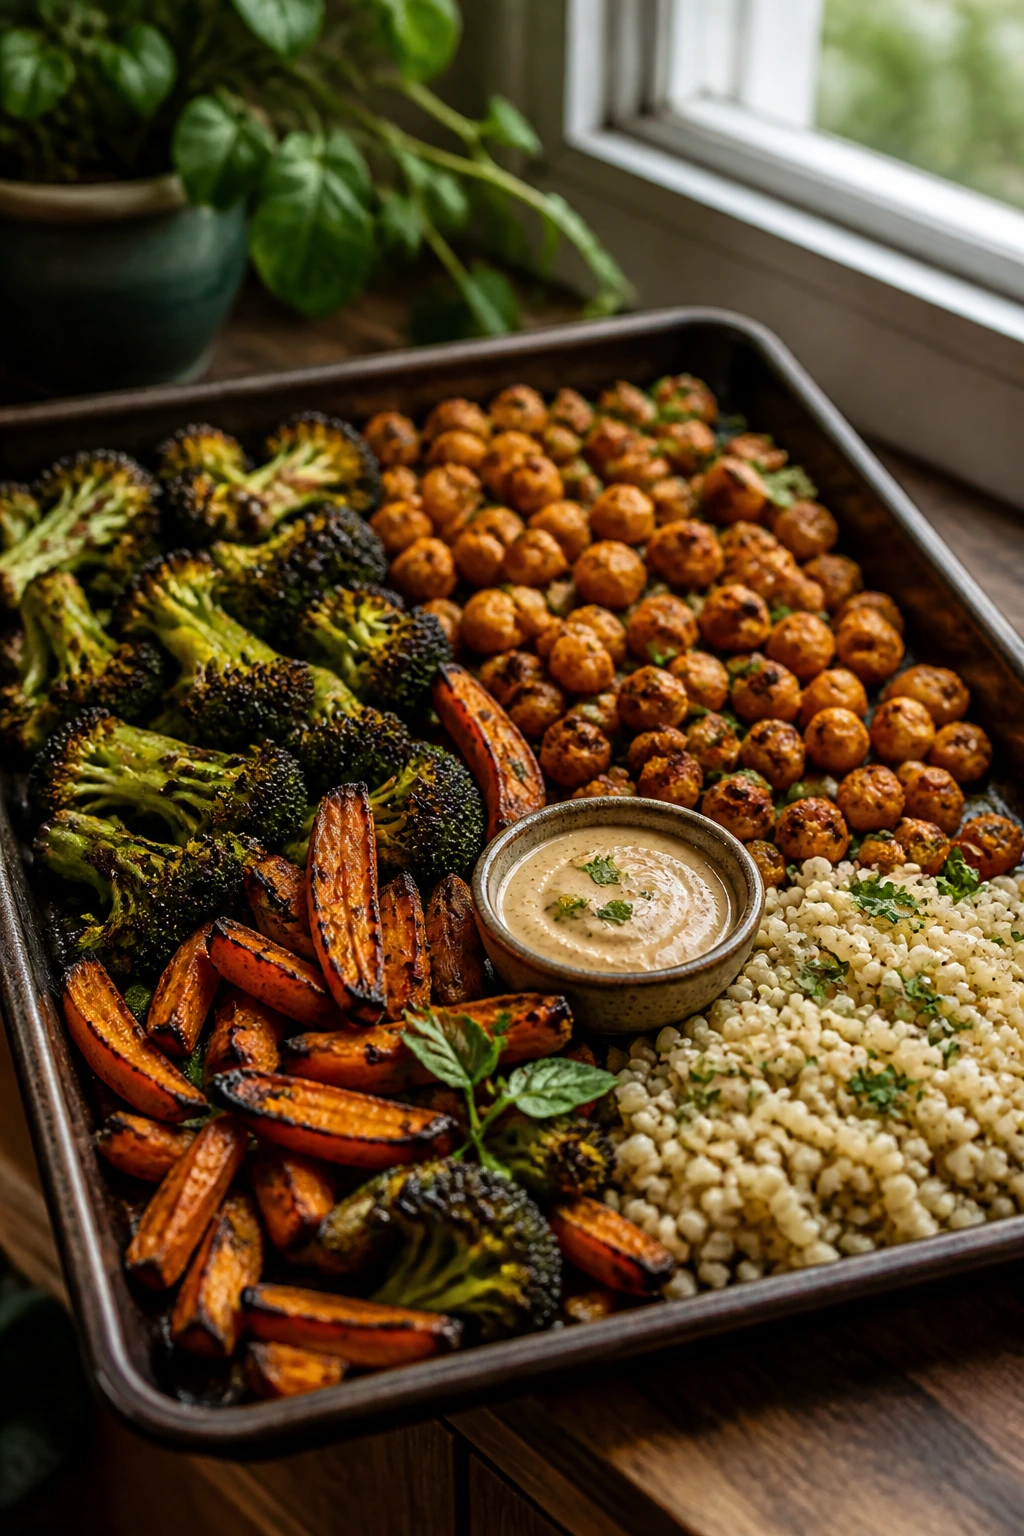
A simple formula works better than a complicated plan: one pile of crispy vegetables, one protein, one starch or legume, one sauce. That’s enough to make the meal feel complete without turning the kitchen into a project. For protein, think chickpeas, white beans, lentils, tofu, tempeh, Greek yogurt, eggs, or a crumble of feta if you eat dairy. For starch, choose rice, quinoa, farro, potatoes, or a piece of toasted bread that can catch the juices.
I like roasted vegetables with something creamy on the side because the contrast is good. A spoon of tahini sauce, garlicky yogurt, or hummus changes the tray from “nice vegetables” to actual dinner. The trick is to spoon the sauce around the vegetables or serve it underneath, not drown the crisp parts. Nobody needs a soggy sacrifice after all that careful roasting.
Plate It Like You Mean It
A shallow bowl is often better than a flat plate. You can mound the grains or beans, scatter the vegetables on top, then finish with herbs, seeds, and a squeeze of lemon. If you’re serving the vegetables beside something else, keep the crispy pieces on the outside edge of the plate where they won’t get crushed by forks and elbows. Sounds fussy. It matters.
For a richer dinner, add one soft thing and one crunchy thing. Maybe roasted carrots and cauliflower with yogurt underneath and toasted pumpkin seeds on top. Maybe green beans with chickpeas, feta, and herbs. That contrast keeps the plate from tasting samey, which is the real danger with vegetable-forward meals. Not blandness. Repetition.
Small Moves That Make the Tray Better
A few little habits change roasted vegetables more than any fancy seasoning mix. I use these all the time because they’re cheap, easy, and they fix the exact problems that make people think their vegetables “just don’t crisp.”
Use a hot pan. A preheated sheet pan gives the vegetables a head start on browning. The first minute on metal matters more than the fifth minute of roasting.
Finish with acid, not before. A squeeze of lemon, a splash of vinegar, or a spoon of yogurt sauce wakes up the vegetables after they’re done. If you add those too early, the heat dulls the flavor and softens the surface.
Think in layers. Start sturdier vegetables first, then add tender ones later. That one habit is worth more than memorizing a dozen recipes.
Keep a little contrast on hand. Toasted sesame seeds, chopped parsley, dill, mint, flaky salt, or a few grated curls of hard cheese can change the whole tray. The vegetables don’t need much, but they do need one sharp finishing note.
Buy time with two pans. If you’re feeding more than two people, use two sheet pans instead of cramming everything into one. Swap their positions halfway through if your oven has a hot back corner. That’s not glamorous. It works.
If you like vegetables with a stronger edge, broil them for the final minute or two. If you like them a little softer, pull them when the edges are amber instead of dark brown. There’s room there. The exact line depends on the vegetable and on what you’re serving with it, which is why I always say to taste the tray before you season it at the end. A final pinch of salt can do more than another five minutes in the oven.
Mistakes That Make Roasted Vegetables Sad
The failures are predictable, which is good news. If you know what ruins a tray, you can stop doing it.
Crowding the pan is the biggest one. Packed vegetables trap steam, and steam keeps the surface too wet to brown. The symptom is obvious: pale vegetables, soft texture, and little puddles of liquid at the bottom of the tray. The fix is to use a larger pan or split the batch between two pans.
Cutting everything to the same size without thinking about density is another problem. A carrot chunk and a broccoli floret do not cook at the same rate. If the cuts are mismatched, some pieces burn while others stay firm in the middle. Match size to vegetable density, and give hard vegetables a head start if needed.
Using too much oil makes the tray shiny but not crisp. You’ll notice slippery vegetables and soft edges instead of roasted surfaces. A light coat is enough. If you can see oil pooling, that’s too much.
Adding wet sauce too early ruins the crust you worked for. Anything creamy, acidic, or sweet should go on after roasting unless it’s part of a separate glaze. Once the vegetables are coated in sauce before they hit the oven, they steam in their own dressing.
Skipping the preheat feels harmless and isn’t. A cold pan delays browning, especially on vegetables with a lot of water. The result is soft bottoms and uneven color. Put the pan in while the oven heats and let it get properly hot.
Assuming every garden vegetable belongs on the same tray causes more frustration than it should. Tomatoes, zucchini, beans, and carrots can all roast, but not all at the same time, and not in the same way. Stagger them or roast them separately. That’s the whole answer, and it’s a lot easier than trying to rescue a limp tray after the fact.
Flavor Variations for Different Nights
Lemon-Herb Garden Tray
Toss the vegetables with olive oil, salt, black pepper, chopped thyme, and rosemary, then finish with lemon zest and lemon juice after roasting. This version works best with broccoli, carrots, cauliflower, and Brussels sprouts because the herbs match their earthy, browned flavor without taking over. I reach for it when the tray needs to taste clean and bright instead of heavy.
Smoky Paprika and Garlic
Use smoked paprika, garlic powder, black pepper, and a little cumin in the seasoning mix. It turns carrots, cauliflower, and green beans into something deeper and more savory, especially if you serve them with beans or a yogurt sauce. If you like a tiny bit of heat, add cayenne or crushed red pepper, but keep it modest so the vegetable flavor still comes through.
Sesame-Chili Crisp Finish
Roast the vegetables plainly, then toss them with a spoonful of chili crisp, toasted sesame oil, and sesame seeds after they come out of the oven. This is one of the best ways to wake up broccoli, radishes, and Brussels sprouts. Use a light hand with the sesame oil; it should smell nutty, not swamp the tray.
Parmesan and Black Pepper
For dairy eaters, grate a little Parmesan over the vegetables during the last 3 to 4 minutes of roasting so it melts and browns at the edges. This is especially good on cauliflower and zucchini. The cheese gives the vegetables a salty, savory finish that tastes more substantial than it sounds.
Tahini and Sumac Bowl Style
Drizzle the cooked vegetables with tahini thinned with lemon juice and warm water, then dust the top with sumac. The sauce clings nicely to roasted carrots, cauliflower, and fennel. This version feels a little more dinner-party than weeknight, but it’s still made from pantry things and a bowl.
Tools and Pantry Staples I Reach For
-
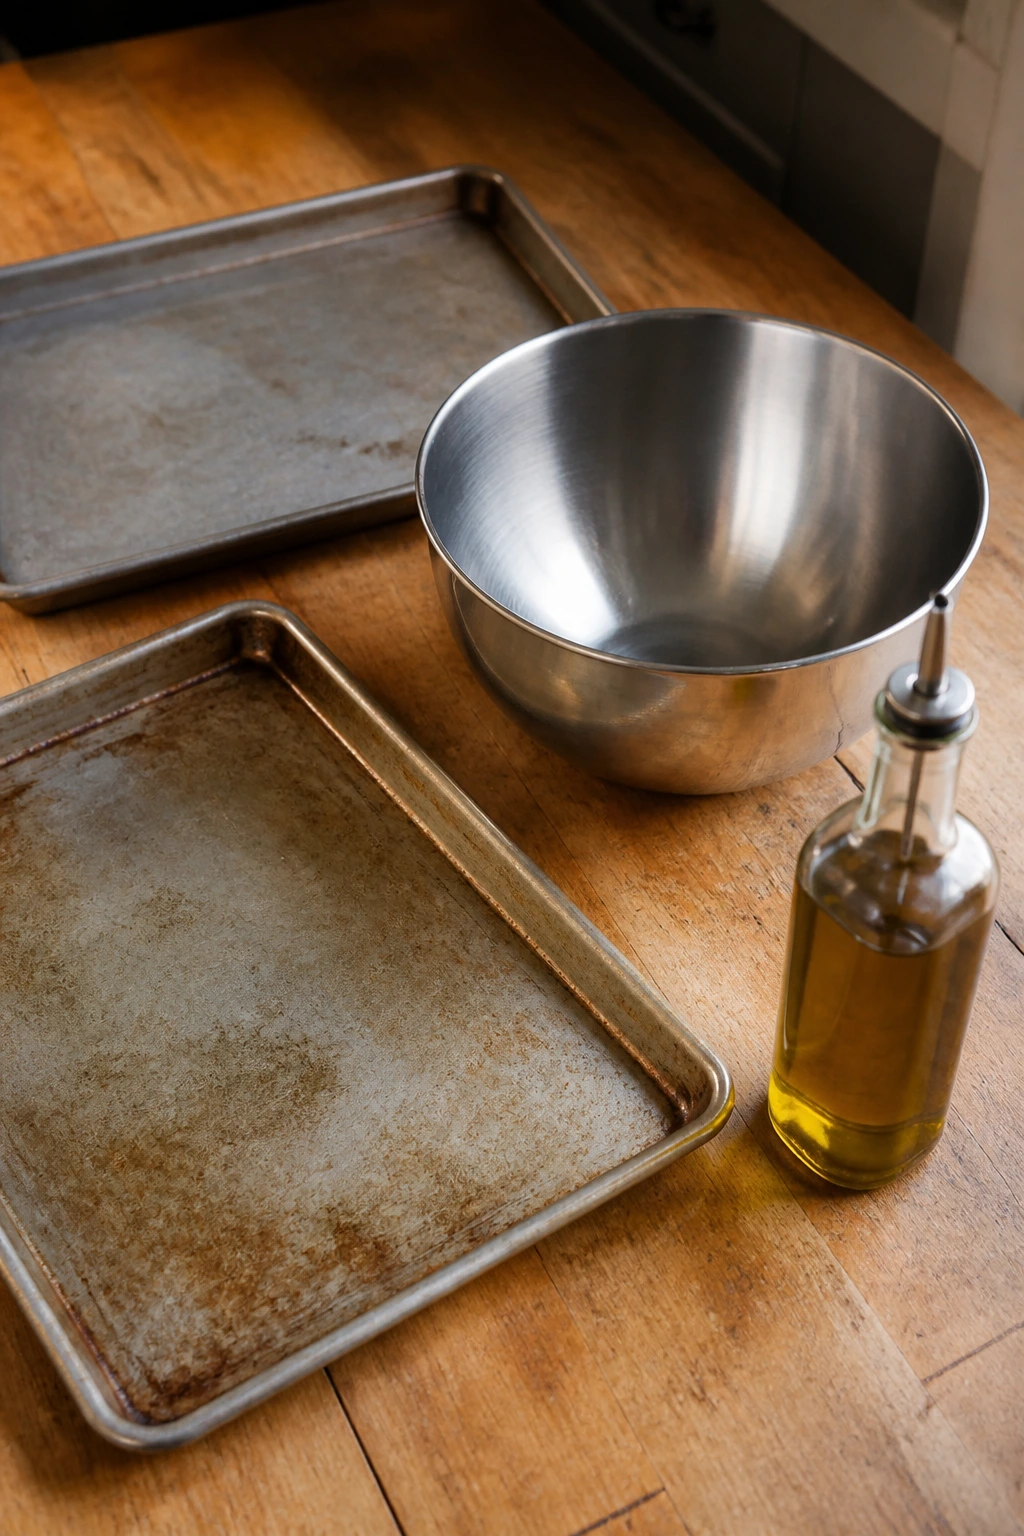
Rimmed sheet pan: A sturdy metal tray with sides keeps oil and vegetable juices from sliding off the edge.
-
Second sheet pan: Worth having if you cook for more than two people or mix vegetables with different roasting times.
-
Large mixing bowl: Big enough to toss vegetables without oil ending up on the counter.
-
Chef’s knife: A sharp knife makes uniform cuts easier, which matters a lot more than people think.
-
Cutting board with a damp towel underneath: Stops the board from skating around when you’re slicing carrots or squash.
-
Salad spinner or clean kitchen towels: Essential if your vegetables come in wet from the garden or washing.
-
Silicone spatula or tongs: Helps turn vegetables without scraping off the browning bits too early.
-
Parchment paper, optional: Useful for easier cleanup, though bare metal browns a little harder.
-
Olive oil or avocado oil: Choose one with a flavor you like; you need enough to lightly coat the vegetables, not soak them.
-
Kosher salt and black pepper: The base layer. If these are weak, the vegetables will be weak too.
-
Garlic powder, smoked paprika, cumin, red pepper flakes: A few dry seasonings go farther than a heavy sauce.
-
Lemons or vinegar: For the finishing hit that keeps the tray from tasting flat.
-
Tahini, Greek yogurt, or feta, optional: Helpful when you want the vegetables to become a fuller dinner plate.
Storage, Reheating, and Make-Ahead Notes
Roasted vegetables keep best when they’re treated like leftovers, not like a casserole. Let them cool to room temperature before packing them away, then store them in an airtight container in the fridge for 3 to 4 days. If you stack them while they’re still hot, the trapped steam softens the crust and gives you limp leftovers by morning.
The freezer is a mixed bag. Sturdy vegetables like cauliflower, broccoli, carrots, and Brussels sprouts can be frozen for about 1 to 2 months, but they’ll lose some of the crisp edge after thawing. Zucchini and tomatoes are poor freezer candidates for this use; they come back soft and watery. If you’re freezing, spread the vegetables in a single layer first so they harden separately, then bag them once frozen.
Reheating in the microwave works in a pinch, but it’s not the move if you care about texture. A 425°F oven for 8 to 12 minutes on a sheet pan brings back some edge. An air fryer does the job even faster, usually 3 to 6 minutes at 375°F to 400°F, depending on the vegetable. Add a fresh squeeze of lemon or a spoon of sauce after reheating so the flavor wakes back up.
For make-ahead work, you can wash, dry, and cut the vegetables up to 24 hours ahead. Store them in the fridge with a paper towel in the container to catch extra moisture, and wait to oil and season them until just before roasting. Dense vegetables like carrots and cauliflower hold well. Cut zucchini and squash are fussier, so I’d prep those closer to cooking time if possible.
Leftover roasted vegetables are better than they look. Toss them into eggs, fold them into grain bowls, pile them into sandwiches, or chop them into a warm bean salad. They do not need to stay a side dish.
Questions People Ask Before They Start
Can I roast a mix of home-grown vegetables on one pan?
Yes, but only if you respect the cooking times. Put hard vegetables like carrots and cauliflower on the tray first, then add faster-cooking vegetables like asparagus or cherry tomatoes later. If everything has different sizes and water levels, two pans are often easier than forcing one tray to do all the work.
Do I need to peel vegetables from the garden?
Not always. Young carrots, baby beets, and thin-skinned squash can often be scrubbed clean and left unpeeled, which saves time and keeps some texture. If the skin is tough, dusty, or blemished, peel it. I’d rather taste a clean vegetable skin than fight through a leathery one.
What if my vegetables keep turning soft instead of crisp?
Nine times out of ten, the pan is crowded or the vegetables are too wet. Dry them harder, space them out more, and use a hotter oven or a preheated sheet pan. If the vegetables are zucchini or tomatoes, accept that they’ll blister and soften rather than crisp in the same way broccoli does.
Is parchment paper a bad idea?
Not bad, just a tradeoff. Parchment makes cleanup easier and keeps sticky bits from welding themselves to the pan, but bare metal gives you a little more browning. If crisp edges matter most, I prefer bare metal for the final minutes, though parchment is perfectly fine for regular weeknight cooking.
How do I keep zucchini from going watery?
Cut it thick, salt it lightly if it’s especially moist, and roast it hot without crowding. A tiny dusting of cornstarch helps too. Zucchini won’t behave like cauliflower, so judge it by browned edges and a tender bite rather than expecting a brittle crunch.
Can I use frozen vegetables?
You can, but the texture will be softer. Frozen cauliflower and broccoli work best if you roast them straight from frozen at high heat and give them plenty of space. Don’t thaw them first unless you enjoy soggy trays. Frozen zucchini and tomatoes are a much harder sell here.
What’s the best way to make this a full vegetarian dinner?
Add a protein with some chew: chickpeas, white beans, lentils, baked tofu, or halloumi if you eat dairy. Then add a grain like farro or rice and finish with a sauce that has tang, such as lemon-tahini or garlicky yogurt. That gives the vegetables a proper role instead of leaving them to fill the whole plate alone.
Can I prep the vegetables the night before?
Yes. Wash, dry, and cut them, then store them in the fridge with a paper towel to catch moisture. Keep the oil and seasoning separate until right before roasting so the vegetables don’t start sweating in the container.
A Tray Worth Repeating
A good tray of roasted vegetables is not about discipline. It’s about knowing which vegetables deserve high heat, which ones need a little help, and when to stop touching the pan. Once those pieces click, a healthy dinner stops feeling like a compromise and starts feeling like the best thing on the table.
That’s what makes crispy home grown vegetables worth repeating. You get the sweetness from the garden, the browned edges from the oven, and enough flexibility to turn a few carrots and a handful of beans into something that feels deliberate. Keep a hot sheet pan in your back pocket, and dinner gets easier in a way that never feels cheap.