
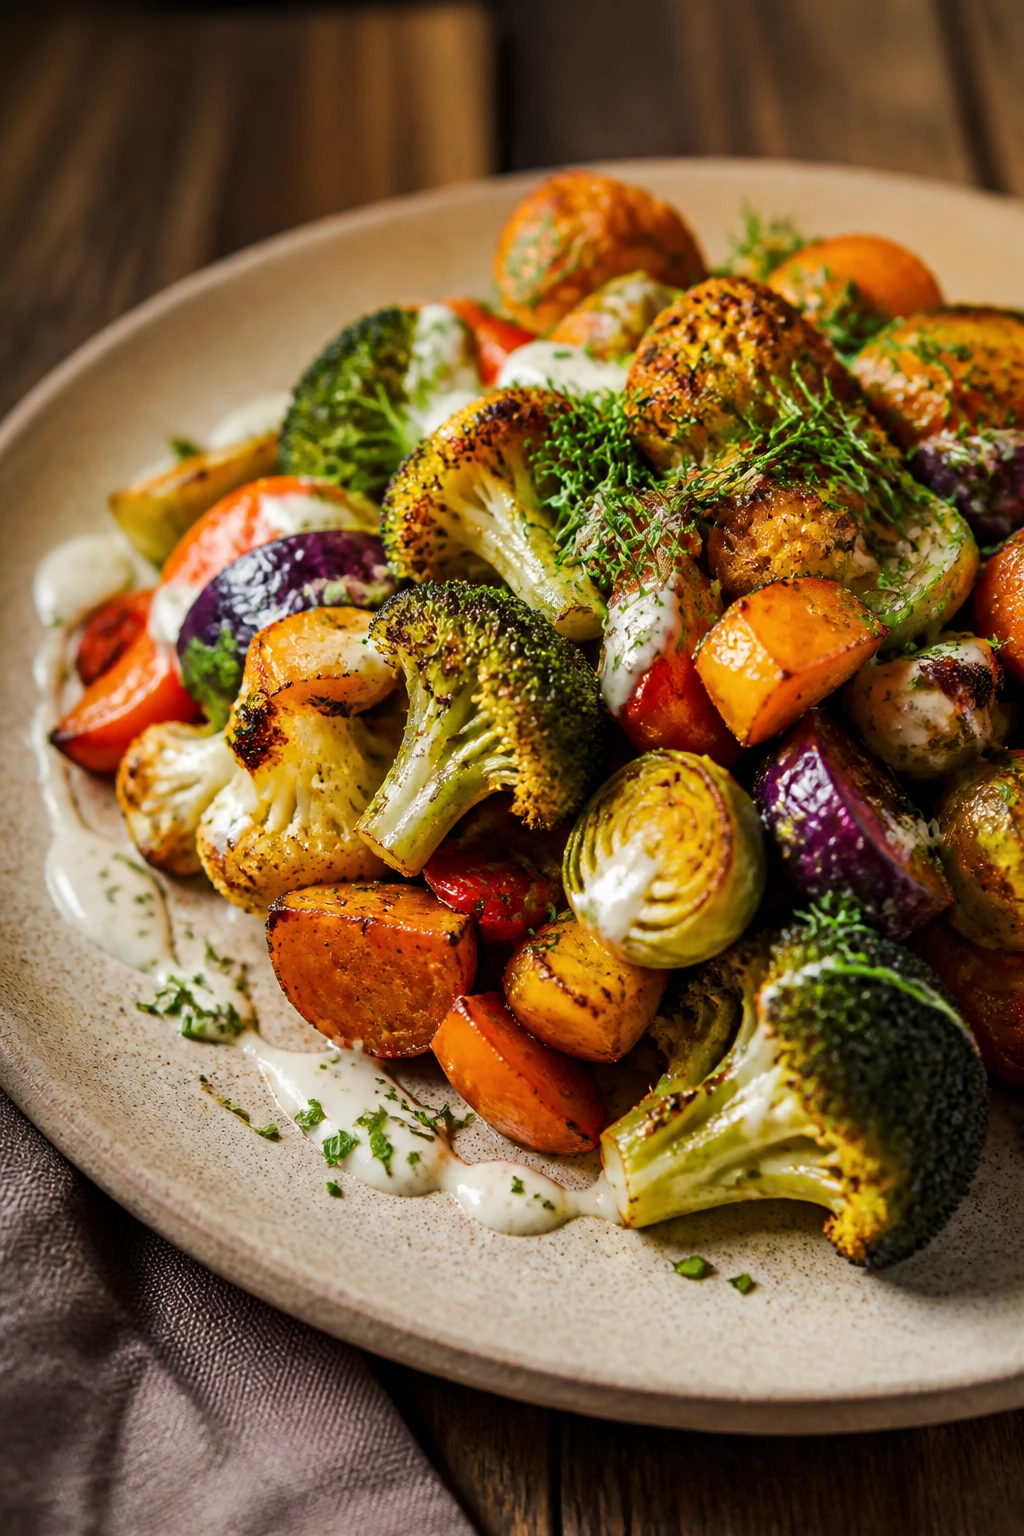
Crispy vegetables for a healthy dinner are one of those things people keep chasing and then accidentally sabotage with too much oil, not enough heat, or a crowded pan. The idea is simple enough: hot edges, tender centers, a little browning, and enough salt to make the vegetables taste like themselves instead of like warm water in disguise. But getting there takes a little more care than most recipes admit.
The good news is that you do not need fancy ingredients or a chef’s kitchen. A rimmed sheet pan, a solid skillet, or an air fryer basket can turn broccoli, cauliflower, Brussels sprouts, carrots, and green beans into something with real texture and actual dinner appeal. The trick is understanding which vegetables want high heat, which ones need drying first, and which ones should be finished with acid or herbs at the end so they stay bright instead of flat.
Crowding is the silent killer. So is treating zucchini the same way you treat carrots. Once you start sorting vegetables by water content and cut size, the whole thing gets easier, and the results start looking intentional instead of accidental.
Why Crispy Vegetables Earn a Spot at Dinner
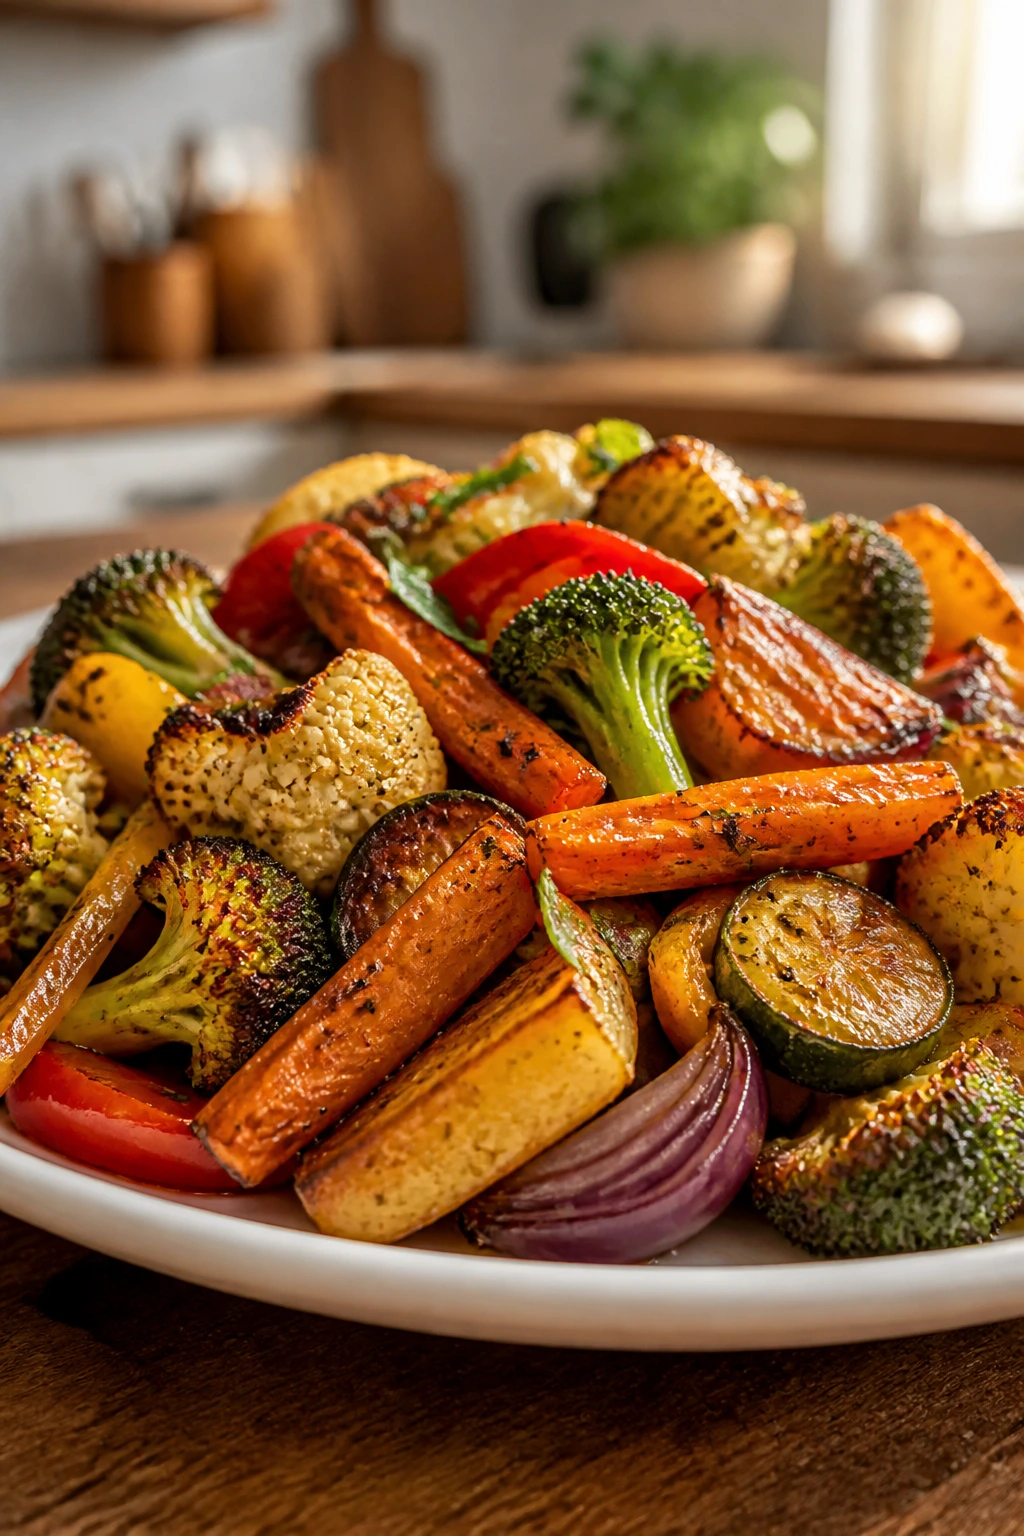
They give the plate shape, not just color: A tray of browned broccoli or caramelized cauliflower has a texture that stands up to grains, beans, tofu, eggs, or fish without turning limp under the sauce.
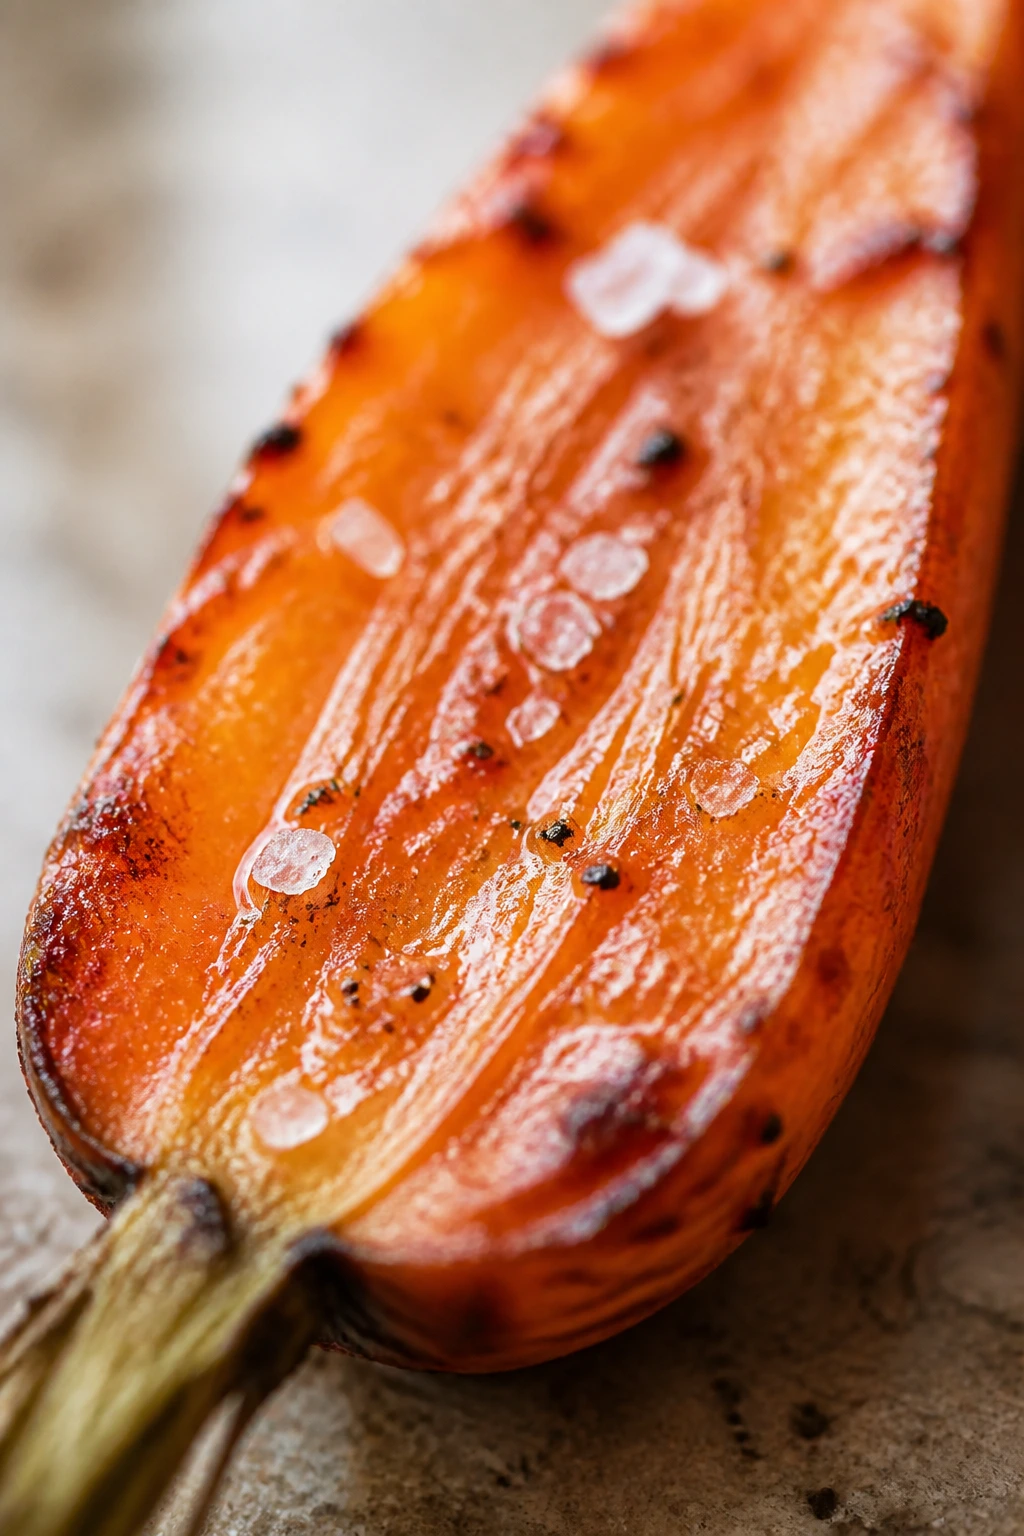
They taste sweeter at the edges: High heat drives off surface moisture and concentrates natural sugars, so carrots get toastier, Brussels sprouts lose their bitterness, and onions pick up a jammy edge.
They work with low-drama ingredients: You can get a real dinner out of olive oil, salt, pepper, and one squeeze of lemon. No long sauce list required.
They make vegetables feel like the main event: Half a plate of steamed squash feels like a duty. Half a plate of crisp-edged vegetables feels like a meal.
They fit almost any schedule: Sheet pan, air fryer, and skillet methods all work, which means you can make dinner with the equipment you already own and the vegetables already in the crisper drawer.
The Vegetables That Brown Instead of Turning Soft
Some vegetables are born for crisp edges. Others need a little coaxing. And a few will never act like fries, no matter how politely you ask.
The sturdy ones
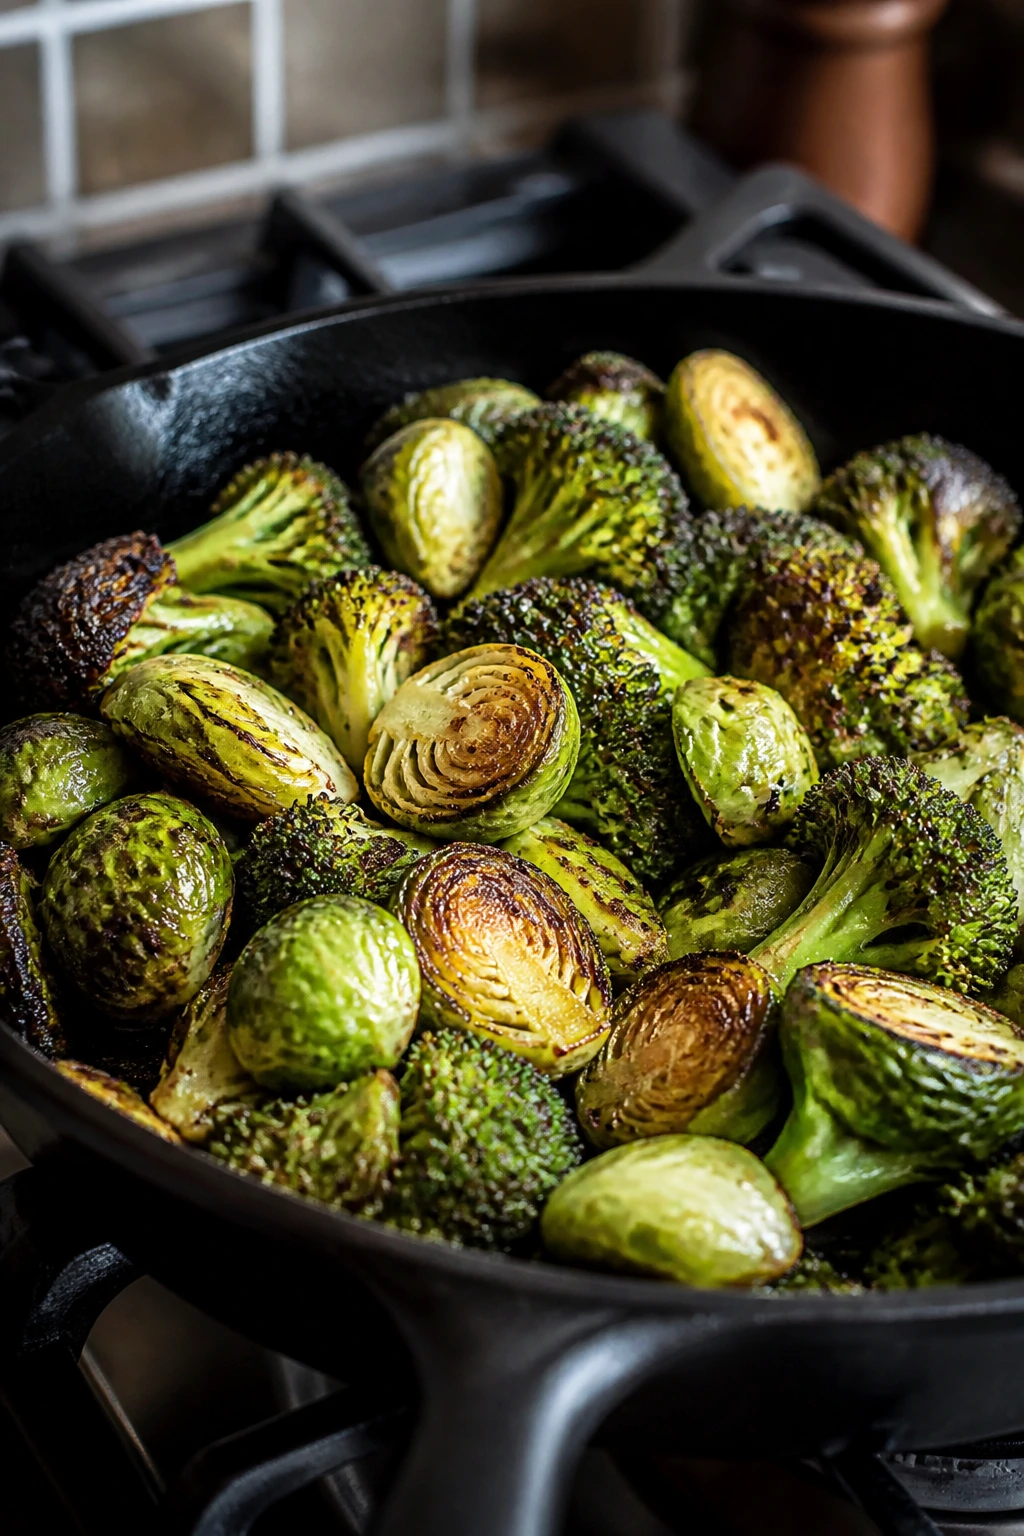
Broccoli, cauliflower, Brussels sprouts, green beans, carrots, and cabbage are the vegetables I reach for when I want real browning. Their structure holds up to high heat, and their cut surfaces can take on color without collapsing. If you cut cauliflower into flat-sided florets and place them cut-side down, you get those deeply browned patches that taste nutty instead of raw.
Brussels sprouts are their own little gift. Halve them, trim the stem only enough to remove the tough end, and give the cut side direct contact with the pan. That’s where the good stuff happens.
The ones that need help
Zucchini, eggplant, mushrooms, asparagus, and bell peppers can absolutely be part of a crispy vegetable dinner, but they need more attention. Zucchini and eggplant carry a lot of water, so they benefit from salting, blotting, and slightly larger cuts. Mushrooms need space and heat; otherwise, they steam and slump before they ever brown. Asparagus cooks fast enough that you can go from crisp-tender to floppy in a minute.
I like these vegetables best when they’re handled as a side character, not the whole cast.
The cut matters more than the vegetable
Dense vegetables should be cut into roughly 1-inch pieces so the outside browns before the inside turns mush. Tender vegetables should stay larger. Thin carrot coins will dry out before they caramelize; thick carrot sticks can get sweet and browned while still holding a bit of bite.
That’s one of the quiet truths behind crispy vegetables for a healthy dinner: shape changes everything. A broccoli floret with a flat face behaves differently from the same floret chopped into fuzzy little crumbs. Same vegetable. Different result.
The Moisture Problem and How to Beat It
Water is the thing standing between you and crisp edges. Every drop on the surface of a vegetable has to leave before browning can start, and that means a wet pan spends its first minutes making steam instead of color.
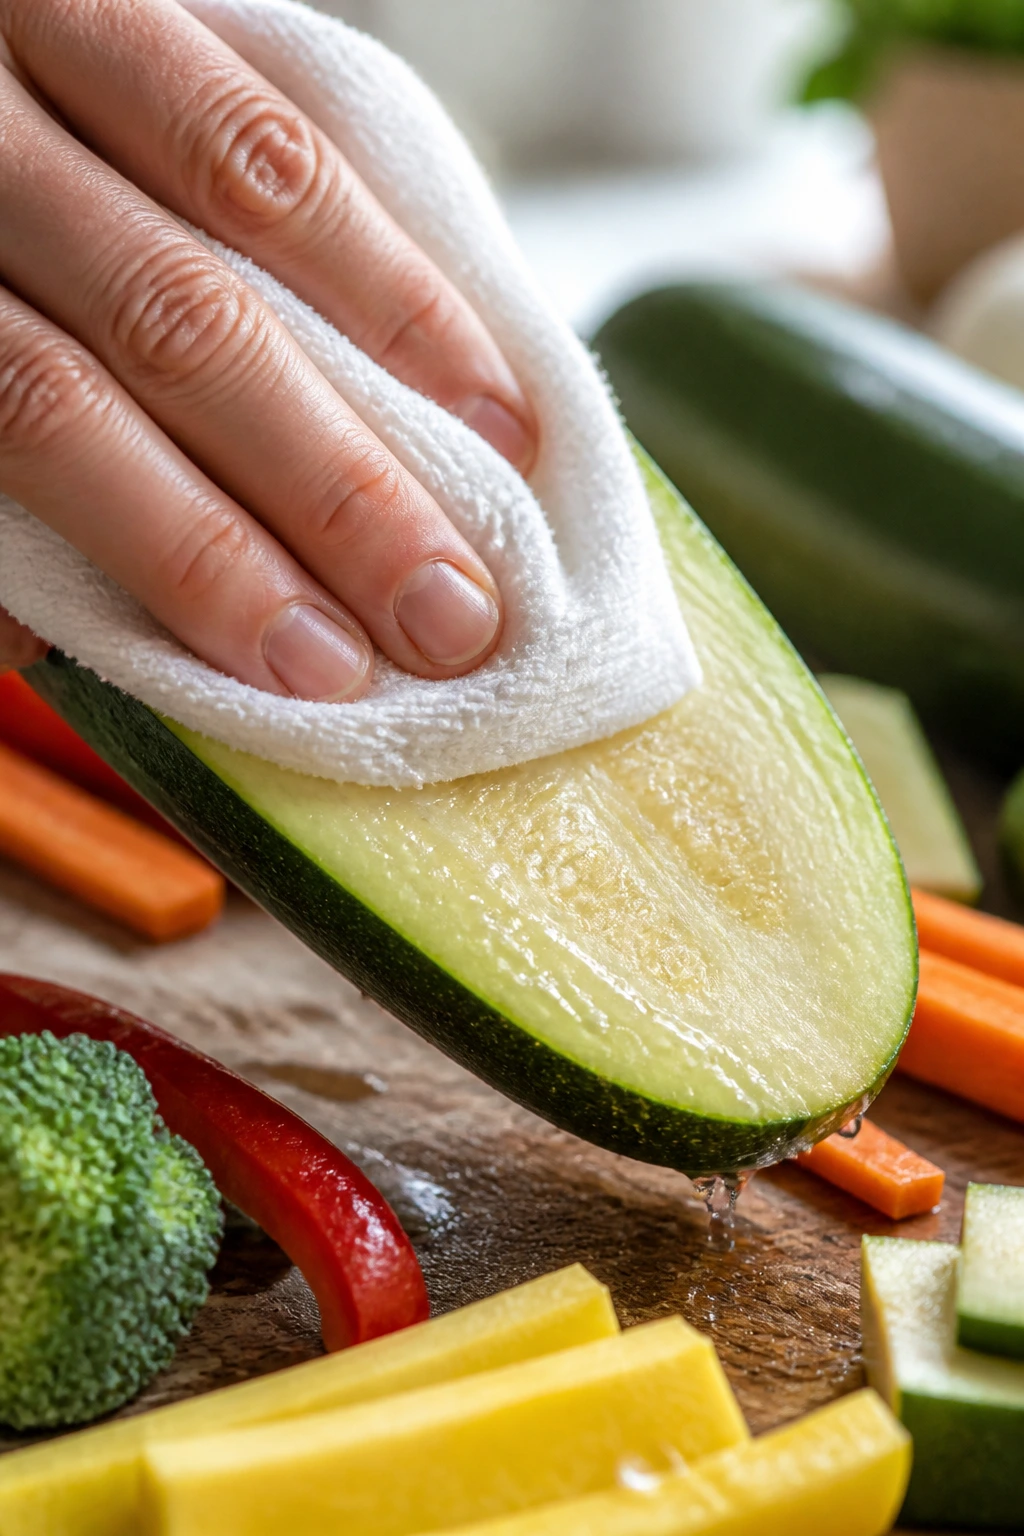
That’s why washing and then tossing vegetables straight into oil is such a mistake. You can get away with it once in a while, but the pan will hiss, the vegetables will soften, and you’ll end up waiting much longer for browning than you expected. The fix is boring and effective: dry the vegetables better than you think you need to.
A salad spinner helps with leafy or cut greens. Clean kitchen towels work for everything else. For watery vegetables like zucchini or eggplant, salt them lightly, let them sit for 10 to 20 minutes, and blot the released moisture before they ever meet the oven. That one step changes the texture more than most people expect.
Preheating the pan is another underused trick. A hot sheet pan gives the vegetables immediate contact heat, which means the bottoms start to sear before the vegetable can give up too much water. It’s a little rude, in the best possible way.
And then there’s crowding. If the pieces touch in thick layers, the moisture has nowhere to go. The pan turns damp, the edges pale, and dinner looks more like a vegetable stew that lost its confidence.
A Simple Sheet-Pan Method for Deep Brown Edges
A sheet pan is the easiest place to start because it does most of the work for you. Once you learn the rhythm, you can swap in almost any sturdy vegetable and still get dinner on the table without fuss.
Preheat and heat the pan:
-
Set the oven to 425°F / 220°C and place a rimmed sheet pan inside while the oven heats. Give the pan at least 10 minutes to get hot.
-
Cut the vegetables into even pieces. Keep dense vegetables like carrots and cauliflower on the smaller side, and leave tender vegetables like asparagus or bell peppers in larger pieces so they don’t overcook.
Dry and season:
-
Pat the vegetables dry with a clean kitchen towel or paper towels. If you washed them ahead of time, let them sit uncovered for a few minutes so extra moisture can evaporate.
-
Toss the vegetables with 1 to 2 tablespoons of oil per pound, plus salt and pepper. Use only enough oil to make the surfaces look lightly glossy, not slick.
-
Add any dry seasonings now, but hold back on fresh garlic, fresh herbs, and cheese until after roasting. Fresh garlic burns fast at high heat and turns bitter long before the vegetables are ready.
Roast and finish:
-
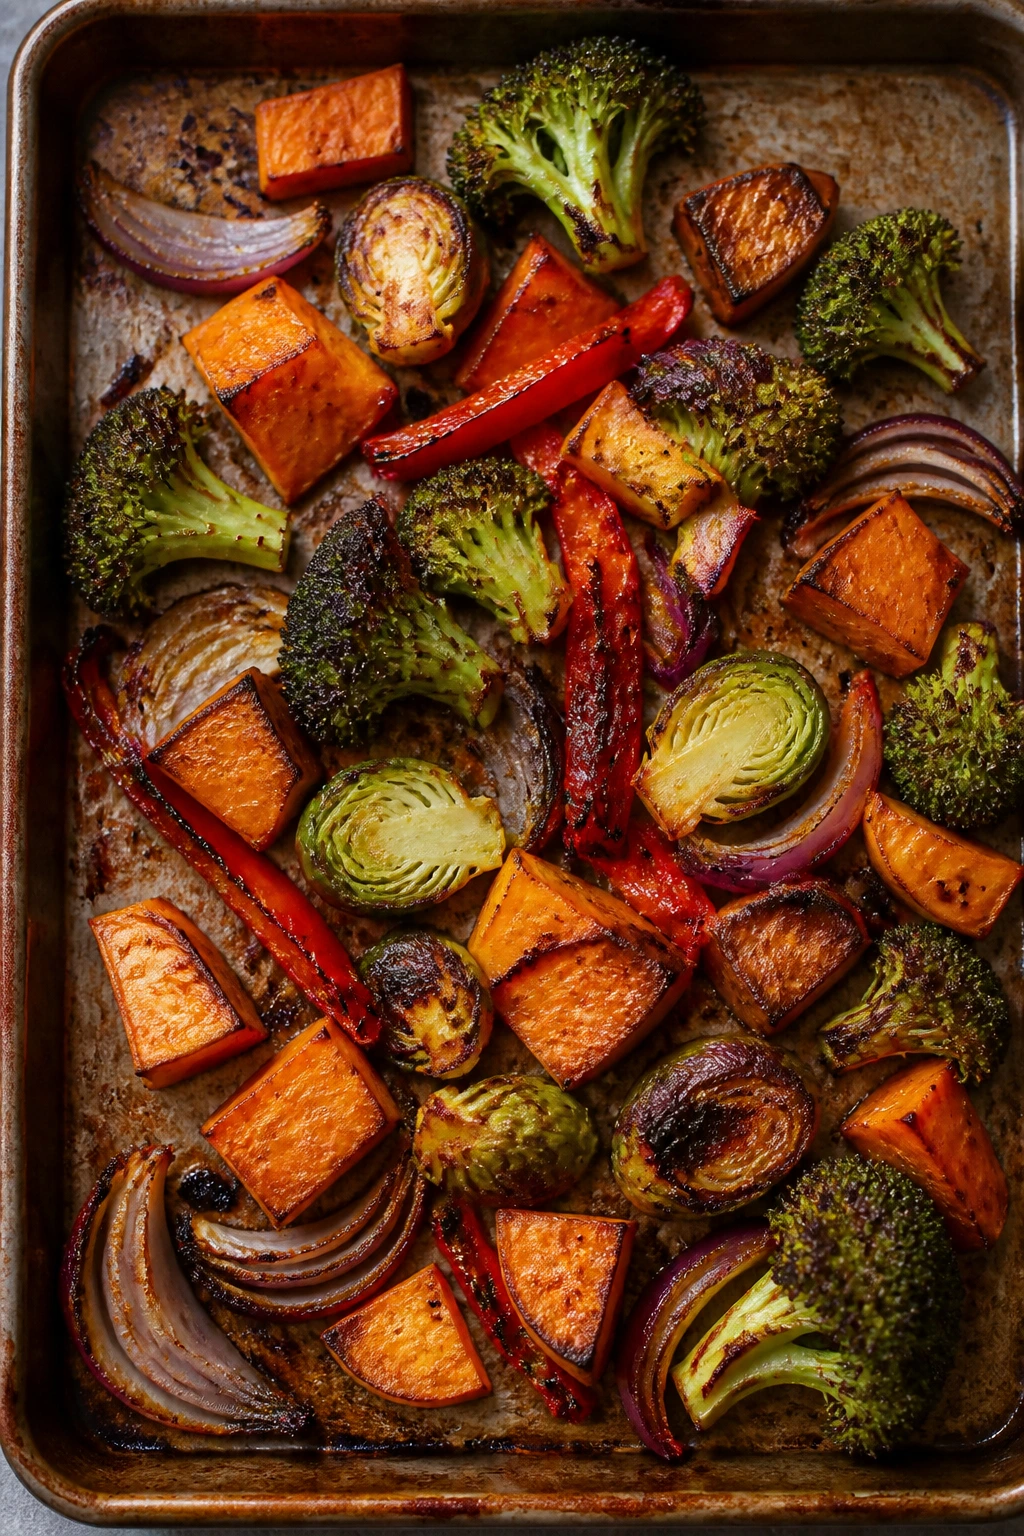
Pull the hot sheet pan from the oven and spread the vegetables in a single layer, with space around each piece. If you’re cooking Brussels sprouts or cauliflower, place as many pieces cut-side down as possible.
-
Roast for 15 to 25 minutes, depending on the vegetable. Broccoli and cauliflower usually need around 18 to 22 minutes; carrots and Brussels sprouts may need a little longer; asparagus needs less. Stir or flip once only if the bottoms are browning too hard before the centers are tender.
-
Finish with lemon juice, vinegar, chopped herbs, or a spoonful of tahini once the vegetables come out of the oven. That last hit of acid wakes up the whole pan.
I like this method because it gives you control. You can stop early if you want more bite, or hold the pan in for another few minutes if your oven runs cool and the vegetables still look pale.
Air Fryer Vegetables for Small-Batch Speed
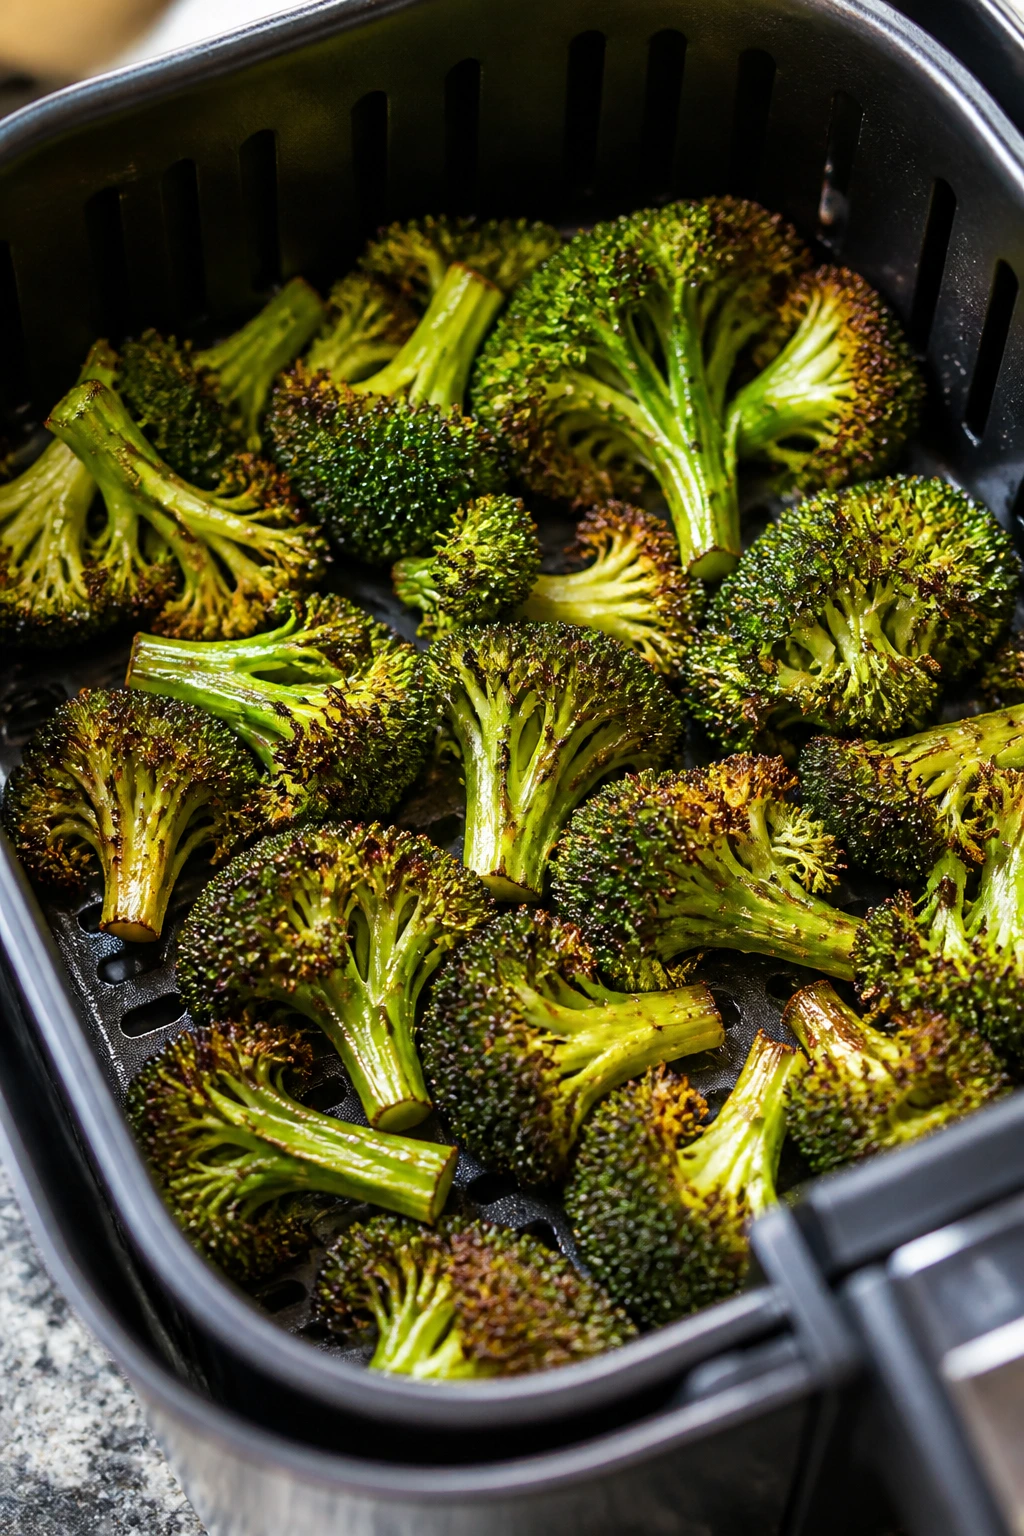
The air fryer is ruthless in a good way. It blasts hot air around the food, which means you get quick browning on broccoli, Brussels sprouts, cauliflower, and carrots without waiting for a full oven to heat up. It’s the method I reach for when I’m cooking for one or two and don’t want to sacrifice an entire sheet pan to dinner.
The catch is batch size. Air fryers reward space even more than ovens do. If you pile in too many vegetables, the basket becomes a little steam chamber and the crispness drops off fast. Keep the layer loose, and don’t be shy about cooking in two rounds if that’s what the basket demands.
A temperature around 390°F to 400°F works well for most sturdy vegetables. Broccoli florets may take 8 to 10 minutes, Brussels sprouts 10 to 14 minutes, and carrot sticks 12 to 15 minutes depending on thickness. Shake the basket halfway through so the pieces don’t glue themselves to the bottom.
I also prefer less oil in the air fryer than on a sheet pan. A light coat is enough. Too much oil can pool under the food and leave the vegetables looking shiny instead of crisp.
Best candidates for the basket
- Broccoli florets with a little stem left on them
- Halved Brussels sprouts
- Cauliflower florets
- Thin carrot sticks
- Green beans
- Small cubes of kabocha or butternut squash
Vegetables I’d rather roast
Mushrooms, zucchini, and eggplant can work in the air fryer, but they lose their shape fast and need more attention. If you want them to stay chewy and browned rather than wrinkled, the oven or skillet usually gives a better finish.
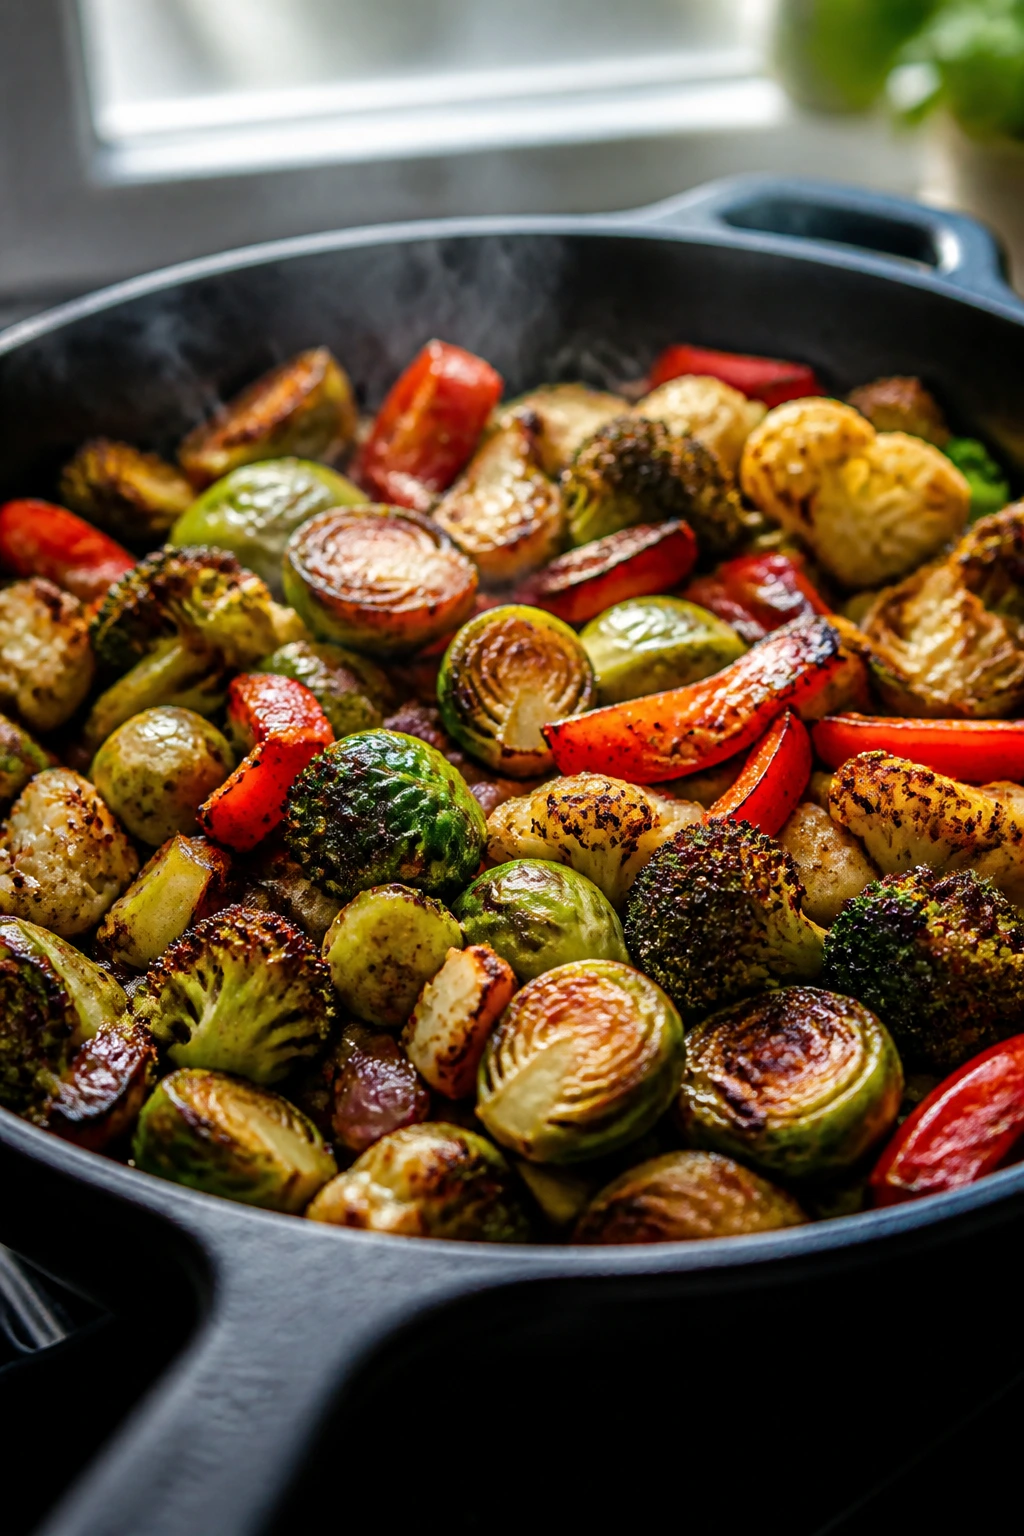
Skillet-Cooked Vegetables When You Want More Searing
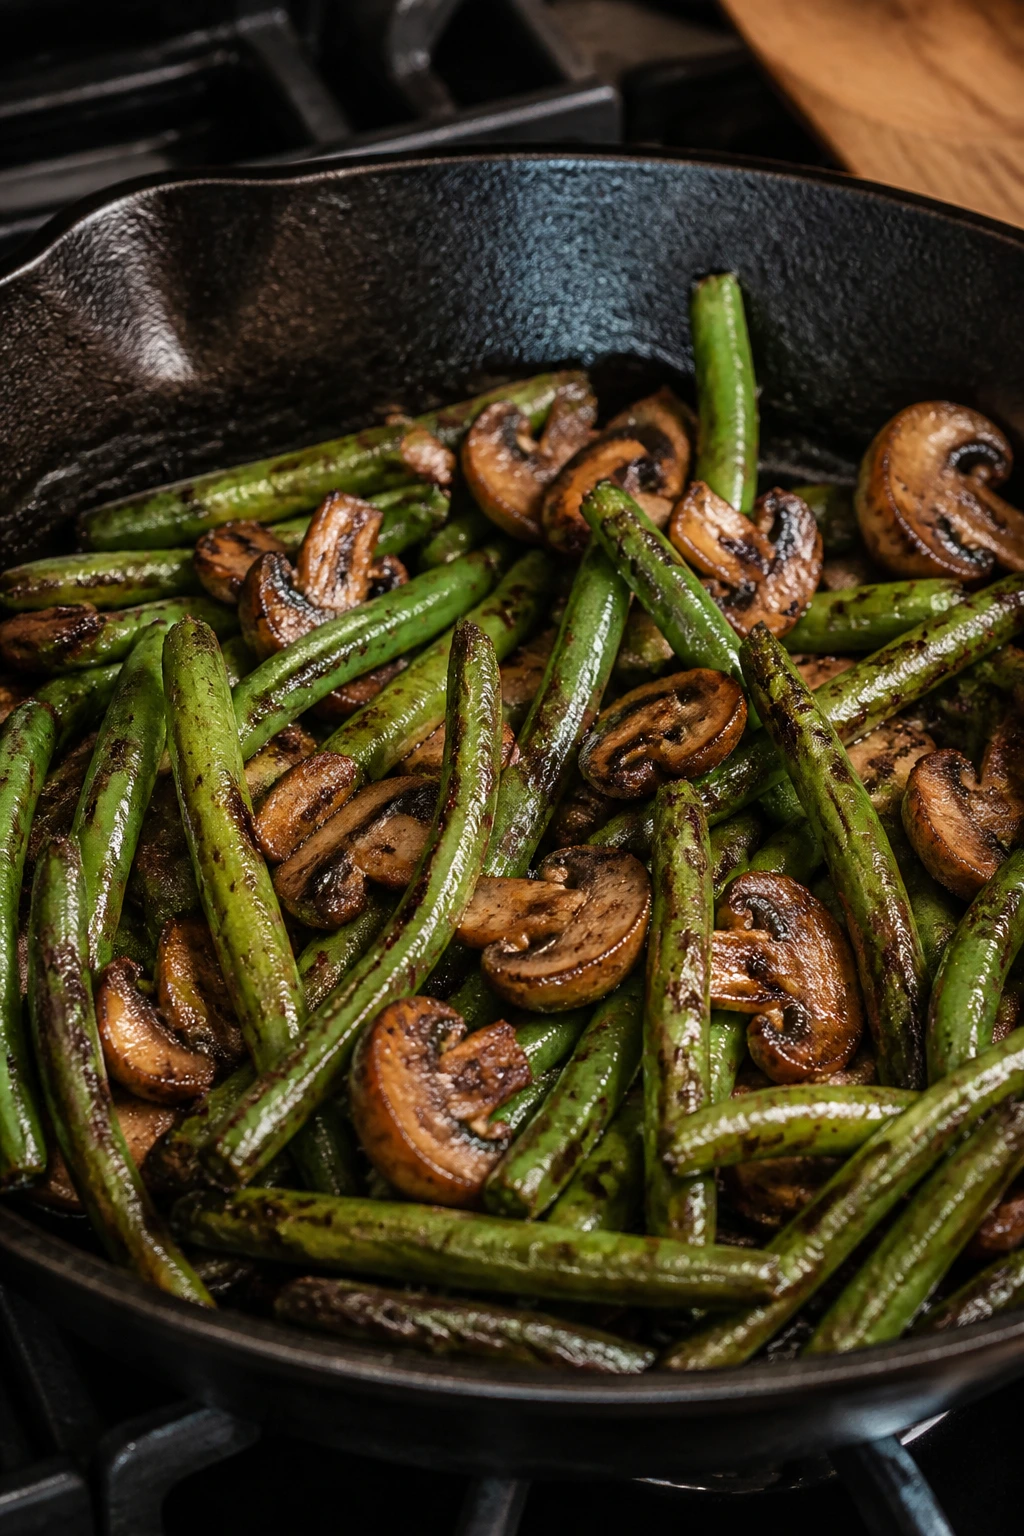
A hot skillet gives vegetables a different kind of crispness. The browning is tighter, darker, and more concentrated, with little charred spots that the oven can’t quite mimic. If you’ve ever loved the edges of pan-fried green beans or the almost candy-like surface on sautéed Brussels sprouts, this is why.
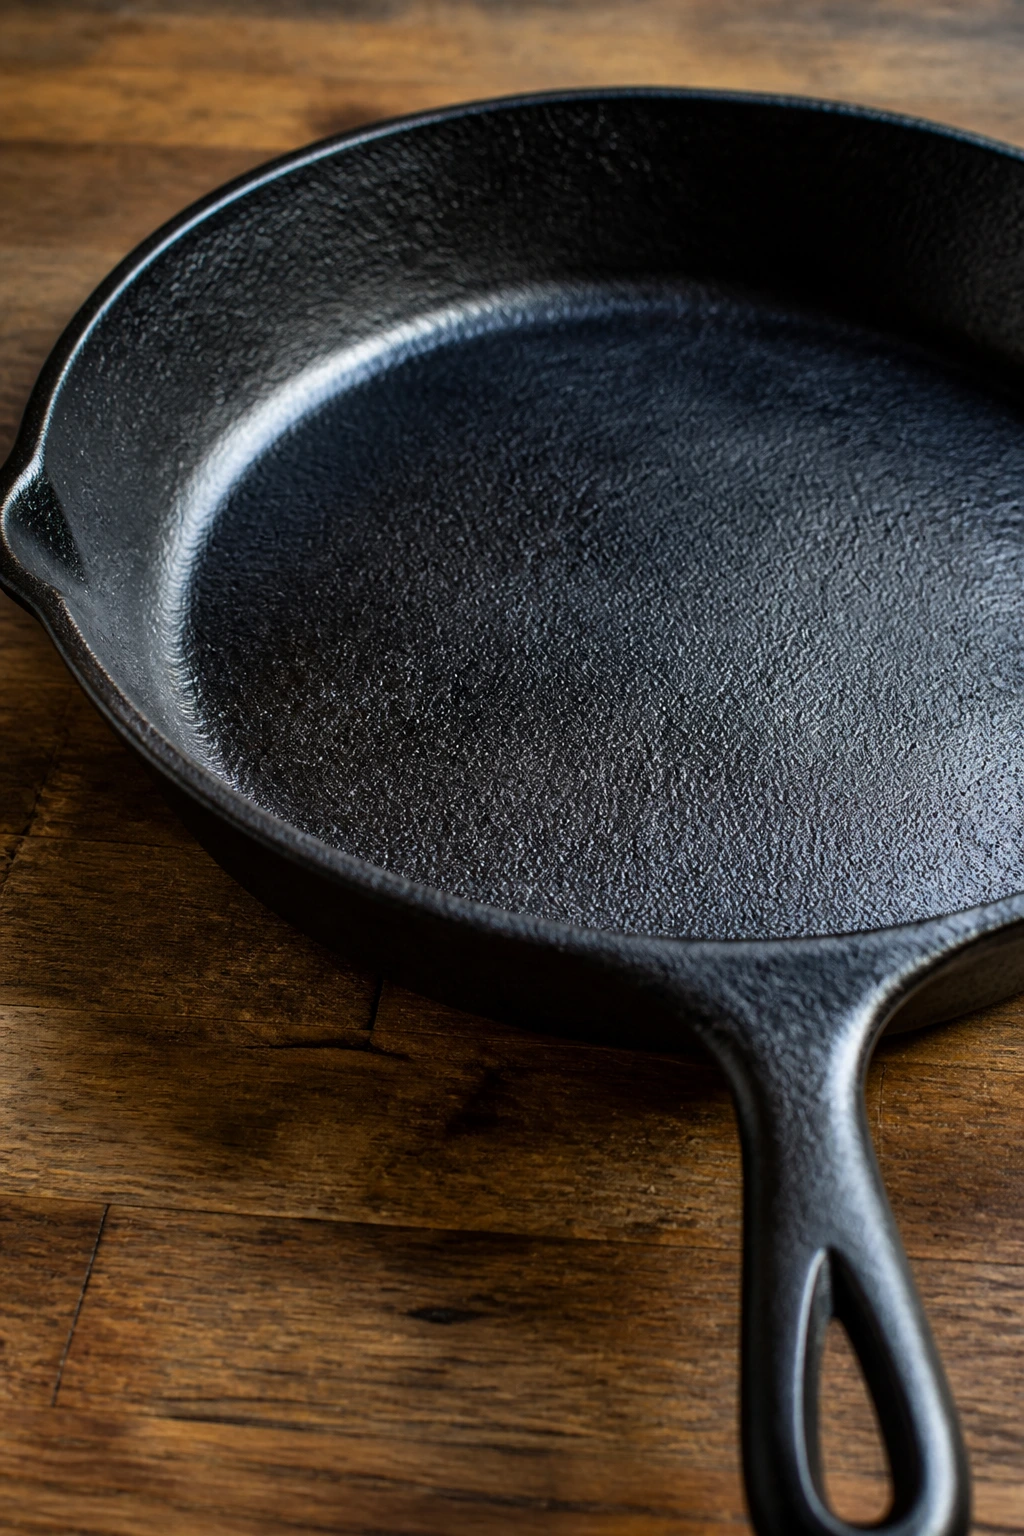
Cast iron is my favorite tool for this. Stainless steel works too. The pan needs enough mass to hold heat when the vegetables hit it, because a flimsy pan cools too fast and the vegetables start to sweat before they brown.
The trick is to resist stirring. Put the vegetables in the pan, spread them out, and let them sit long enough to form a crust. If you keep moving them around, they’ll pale and soften. Green beans, sliced cabbage, mushrooms, asparagus, and small Brussels sprouts are especially good in a skillet because they pick up color quickly.
A medium-high flame is usually enough. Add the oil first, wait until it shimmers, then add the vegetables in a single layer. You should hear a clean sizzle. If the pan is quiet, it isn’t hot enough yet.
A skillet also gives you a nice place to finish with butter, sesame oil, miso, soy sauce, or a splash of vinegar. Just do the finishing at the end. Butter in particular can burn if you start with it, and burnt butter is not the same thing as browned butter, no matter how many times people try to pretend otherwise.
Seasoning, Oils, and Finishing Touches
The best seasoning for crispy vegetables is the kind that survives heat. That means salt, pepper, dry spices, and a finishing layer that comes in after roasting or searing, not before.
Salt and oil
Salt does more than season. It pulls surface moisture, which helps vegetables brown instead of steam. I like kosher salt because it distributes easily and doesn’t clump. For oil, use just enough to coat the cut surfaces. Olive oil is fine for many vegetable dinners, but if you’re roasting hard at 425°F or higher, avocado oil or refined olive oil gives you a little more breathing room.
Dry spices
Garlic powder, onion powder, smoked paprika, cumin, coriander, curry powder, za’atar, and chili flakes all behave well under heat. Fresh garlic is a different story; it burns fast and can turn a whole tray bitter. If you want fresh garlic flavor, roast the vegetables first and toss with minced garlic in lemon juice or olive oil afterward.
A light dusting of cornstarch can help some vegetables crisp, especially if they’re a little damp. Don’t turn the pan into a paste. A small amount, tossed with oil, is enough to rough up the surface and encourage browning.
Finishing touches
Lemon juice, lime juice, sherry vinegar, rice vinegar, chopped parsley, dill, cilantro, toasted sesame seeds, flaky salt, nutritional yeast, parmesan, and tahini all do a lot of work at the end. They add contrast. That contrast matters because browned vegetables can taste deep and sweet, but they still need something bright or creamy to keep the plate awake.
I’m especially fond of acid on roasted carrots and Brussels sprouts. A tiny splash makes the sweetness taste cleaner.
How to Build a Full Healthy Dinner Around Them
A tray of crispy vegetables can be dinner on its own only if you give it enough company. The company doesn’t have to be complicated. It just needs contrast.
The easiest structure is the one used by the USDA MyPlate model and the Harvard Healthy Eating Plate: a large share of vegetables, a solid protein, and a grain or starch to round things out. That’s not a diet rule to suffer through. It’s a plate layout that prevents dinner from leaning too hard in one direction. Half the plate can be vegetables. A quarter can be protein. The rest can be rice, potatoes, whole grain toast, or another starch that catches whatever sauce you’re using.
Crispy vegetables are especially good with soft foods. Think warm rice, quinoa, couscous, mashed potatoes, white beans, lentils, hummus, a fried egg, tofu, or yogurt. The crisp vegetables bring the bite; the rest of the plate keeps the meal from feeling brittle or dry.
Here are a few combinations that actually work:
- Roasted broccoli, chickpeas, lemon tahini, and brown rice
- Brussels sprouts, farro, a fried egg, and parmesan
- Cauliflower, white beans, herby yogurt, and toasted pita
- Carrots, lentils, cumin, and a spoonful of garlic yogurt
- Green beans, tofu, sesame dressing, and jasmine rice
That’s the whole trick. Make the vegetables crisp, then give them something soft, creamy, or starchy to lean against. Dinner feels finished when every bite has contrast.
The Small Set of Tools That Makes the Difference
You do not need a crowded kitchen for this. A few specific tools make crisp vegetables much easier, and I’d choose these over any gadget that promises magic.
-
Rimmed half-sheet pan: The workhorse for roasting. A rim keeps oil and juices from spilling, and a heavy pan browns better than a thin flimsy one.
-
Cast-iron skillet: Best for deep searing and crisp edges on vegetables like green beans, mushrooms, and Brussels sprouts.
-
Stainless-steel skillet: A good second choice if you don’t own cast iron. It heats quickly and gives strong browning when preheated properly.
-
Air fryer basket: Useful for smaller batches and quick weeknight cooking. The open basket helps hot air move around the vegetables.
-
Clean kitchen towels or paper towels: Drying matters. A lot.
-
Tongs or a thin spatula: Good for flipping without smashing the browned sides you worked for.
-
Salad spinner: Not glamorous, but excellent for drying herbs, green beans, and other washed vegetables fast.
-
Sharp knife and sturdy cutting board: Uneven cuts lead to uneven cooking, which is how you end up with burned tips and raw centers on the same pan.
-
Parchment paper: Helpful for cleanup, though a bare oiled pan usually browns a little more aggressively.
Smart Shopping and Ingredient Choices
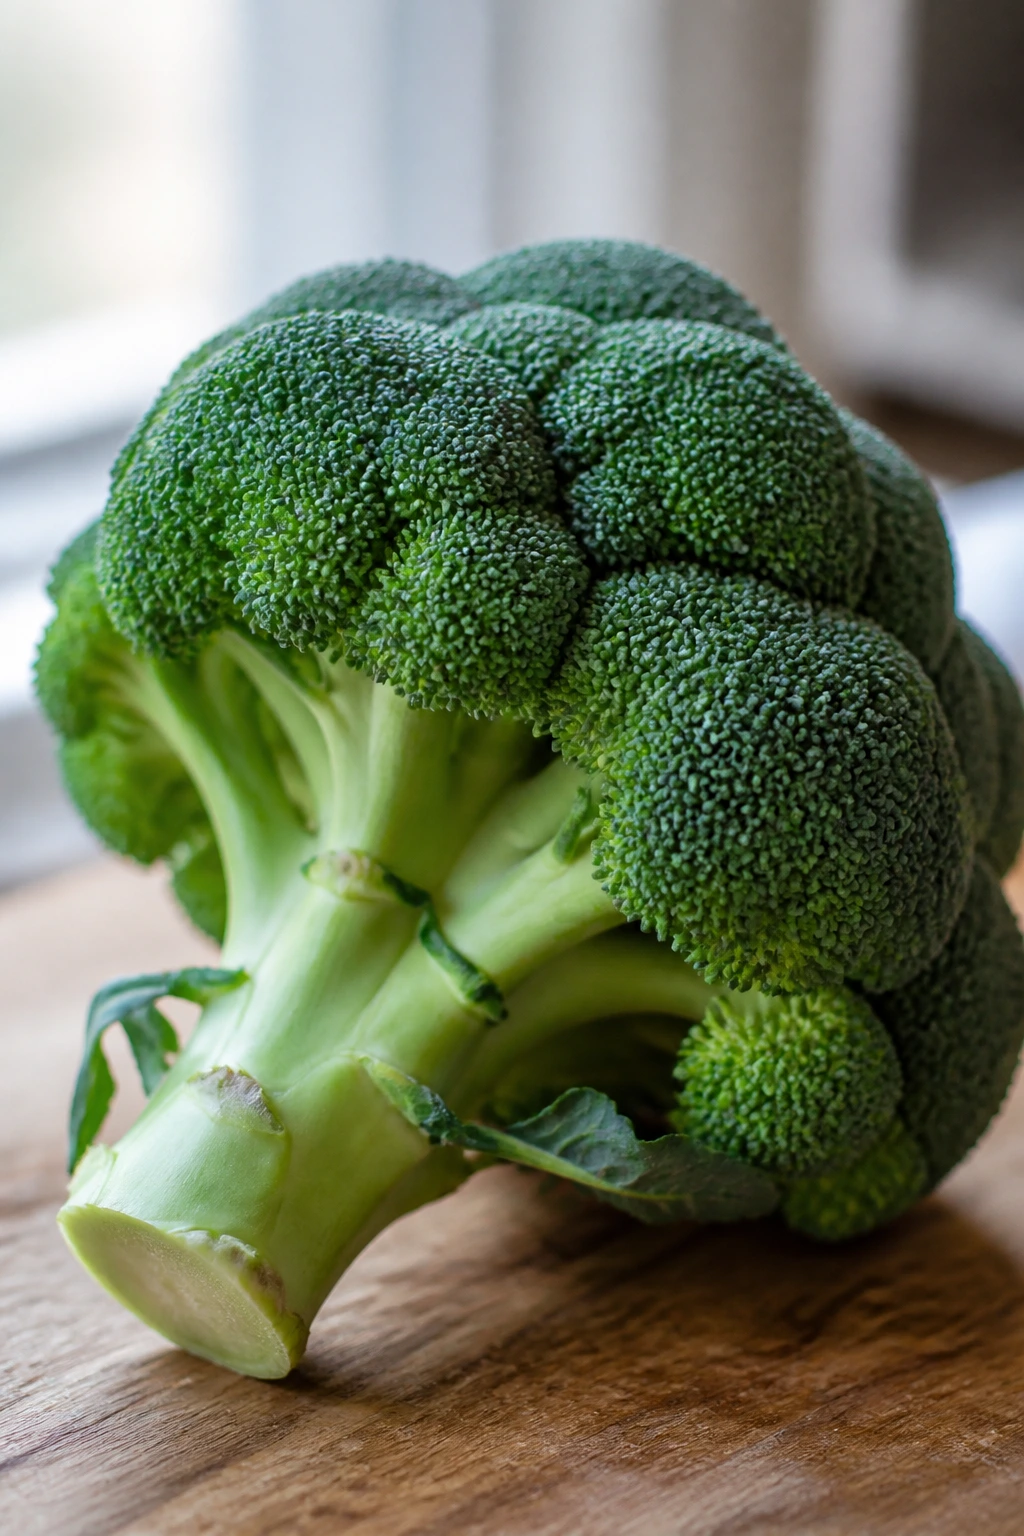
The vegetables you buy will decide half the result before you even turn the oven on. A good head of broccoli should have tight florets and a firm stem. If the tips are yellowing or the stem feels rubbery, it’s already on the downhill slope. Cauliflower should feel heavy for its size, with a compact head and no dark soft spots hiding under the leaves.
Brussels sprouts are worth being picky about. Smaller to medium sprouts tend to cook more evenly, and the leaves should be tight, not flappy or dry. If the outer leaves are falling off like confetti, trim a little and move on, but don’t expect miracles from a tired bag.
Carrots are better when they’re firm and not split. Thin to medium carrots brown faster and stay sweeter. Mushrooms should feel dry, not slimy. Wet mushrooms steam before they sear, which is why they sometimes go gray in the pan instead of taking on that deep brown color people want.
Frozen vegetables deserve more respect than they usually get. The USDA counts frozen vegetables as vegetables for good reason: they’re picked and frozen near peak ripeness, and that makes them useful when the fresh produce drawer looks sad. For roasting, frozen broccoli and cauliflower can work, but they need room, high heat, and a little extra drying if you thaw them first. For best texture, I’d use frozen vegetables as a backup plan, not as a silent apology.
Pre-cut vegetables are fine if you’re going to cook them soon. The cut surfaces dry out faster, which can actually help browning, but the clock matters. Buy them when convenience matters more than perfect texture, and use them quickly.
How to Serve Crispy Vegetables So They Feel Like Dinner
Presentation: Pile the vegetables on a warm platter or shallow bowl so the browned sides stay visible. If you drown them in sauce from the start, you lose the whole point. Drizzle sauces around or under the vegetables instead, then finish with herbs, seeds, or a bright squeeze of citrus right before the plate hits the table.
Accompaniments: Soft grains work best — rice, quinoa, farro, couscous, or mashed potatoes give the crisp edges something to land on. Add a protein with some body, like tofu, tempeh, eggs, chickpeas, or white beans, and the meal stops reading like a side dish. A simple chopped salad with lemon or vinegar can cut through the richness without competing with the vegetables.
Portions: As a side, plan on 1 to 1½ cups per person. If the vegetables are the center of the plate, I’d aim closer to 2 to 3 cups and add protein plus a starch so no one leaves hungry. For kids or lighter appetites, a smaller serving with a dip often works better than a huge mound of naked vegetables.
Beverage Pairing: Sparkling water with lemon is clean and obvious in the best way. A dry riesling, sauvignon blanc, or light lager works nicely if you want alcohol. Unsweetened iced green tea is another quiet winner, especially with sesame, ginger, or soy-based flavors.
Additional Tips and Flavor Boosters
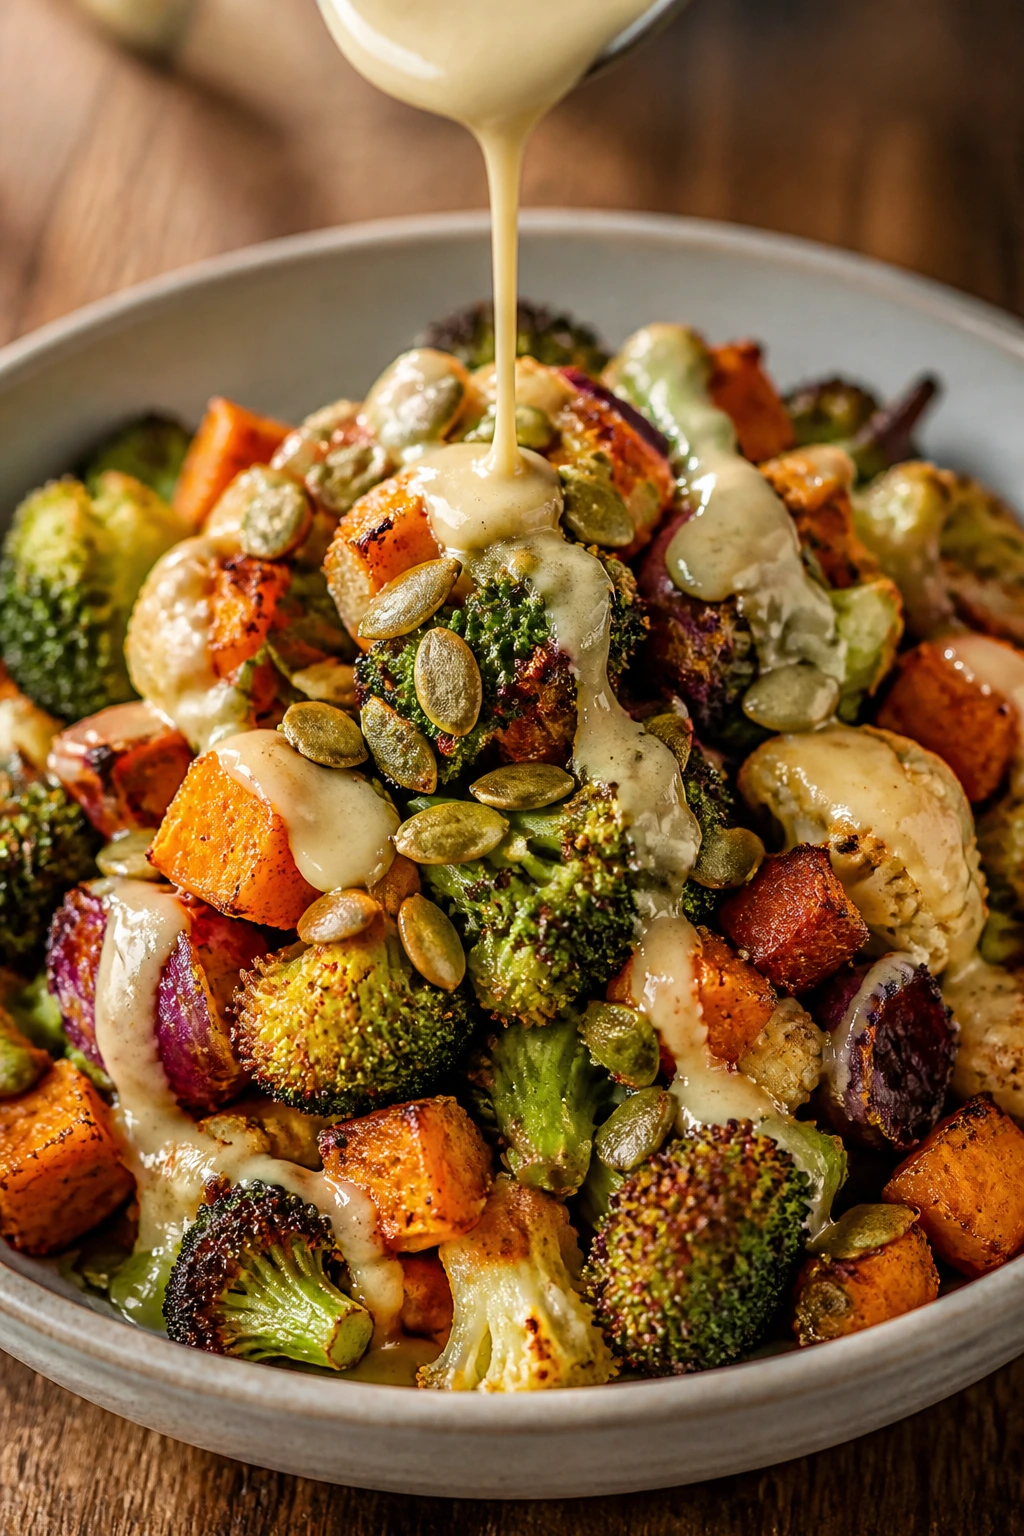
Flavor Enhancement: A tiny finishing splash can change everything. Lemon juice, sherry vinegar, or rice vinegar brings roasted vegetables back to life after the heat flattens the top notes. If you like richer flavors, a spoonful of tahini thinned with water and garlic makes a good drizzle.
Customization: Add chickpeas to the pan for the last 15 minutes if you want more body in the meal. Toasted pumpkin seeds, sunflower seeds, or chopped almonds add crunch without asking much of the oven. A dusting of parmesan at the end turns broccoli and cauliflower into something with more grit and salt.
Serving Suggestions: Fresh herbs belong at the end, not before. Parsley, dill, mint, cilantro, or basil will all keep their shape and color if you scatter them over the hot vegetables right before serving. Zest from a lemon or lime gives you perfume without extra liquid.
Make-It-Yours: For a vegan version, skip cheese and use nutritional yeast, tahini, or a miso-lemon dressing. For gluten-free meals, avoid breadcrumb-heavy finishes or swap in gluten-free panko. If you want a lower-sodium plate, lean harder on acid, herbs, garlic powder, and toasted seeds so the vegetables still taste complete.
Common Mistakes That Keep Vegetables Soft

-
Crowding the pan: The symptom is pale vegetables with soft spots and no real browning. The fix is to use a larger pan or split the vegetables across two pans so steam has somewhere to go.
-
Cutting pieces into mixed sizes: If some pieces are burnt while others are raw, the cut was uneven. Keep the pieces close in size and sort by density if you’re cooking more than one vegetable together.
-
Using too much oil: A greasy sheen can look appetizing for a second, then turn the vegetables heavy. Toss until the surfaces are lightly coated and stop there.
-
Adding wet sauce before cooking: Soy sauce, tomato sauce, or watery marinades can keep the surface from browning. Roast first, sauce later.
-
Starting with fresh garlic in a hot roast: Burnt garlic tastes bitter and spreads that bitterness across the pan. Use garlic powder during cooking or add fresh garlic after the heat is off.
-
Pulling the pan too early: Good browning takes more time than many people expect. If the vegetables look cooked but still pale, give them another few minutes until the edges go deep gold or brown.
Variations and Flavor Paths
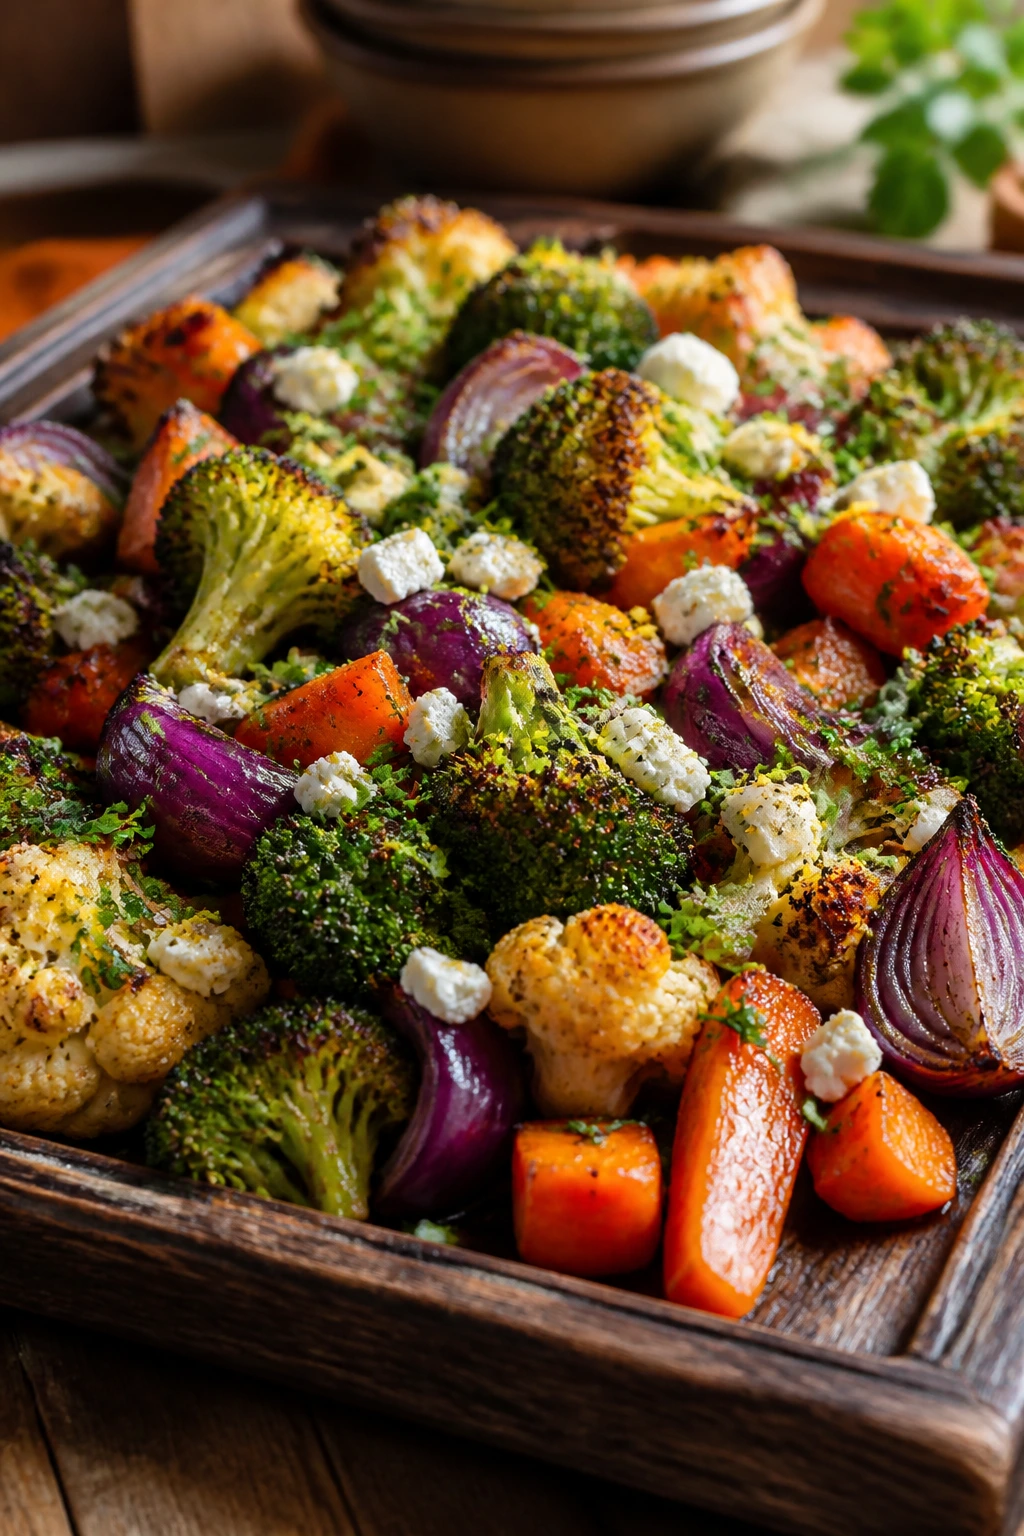
Mediterranean Lemon-Herb Tray: Broccoli, cauliflower, and red onion love olive oil, oregano, lemon zest, and a final shower of parsley. Crumbled feta on top gives the plate a salty finish that works especially well with chickpeas or farro.
Smoky Paprika and Tahini: This one leans warm and a little earthy. Use cauliflower and carrots, season with smoked paprika, cumin, and black pepper, then finish with tahini loosened with lemon juice and warm water.
Sesame-Ginger Skillet: Green beans, mushrooms, and thin-sliced cabbage make a sharp, savory mix in a hot skillet. Add grated ginger near the end, then a small splash of soy sauce and toasted sesame seeds right before serving.
Parmesan Herb Crunch: Brussels sprouts and asparagus take on a sharper, saltier edge when you add parmesan at the end. If you want extra crunch, scatter a few breadcrumbs into the pan during the last couple of minutes so they toast instead of burn.
Harissa Chickpea Dinner Bowl: Roast carrots, cauliflower, and red onion with harissa paste thinned in oil, then serve over rice with chickpeas and a spoonful of yogurt or tahini. It’s a strong move when you want dinner to feel louder without getting complicated.
Storage, Reheating, and Make-Ahead Moves
Crispy vegetables are at their best the moment they leave the heat. After that, the edges start softening. That doesn’t mean leftovers are doomed, but it does mean you should reheat them with heat, not with wishful thinking.
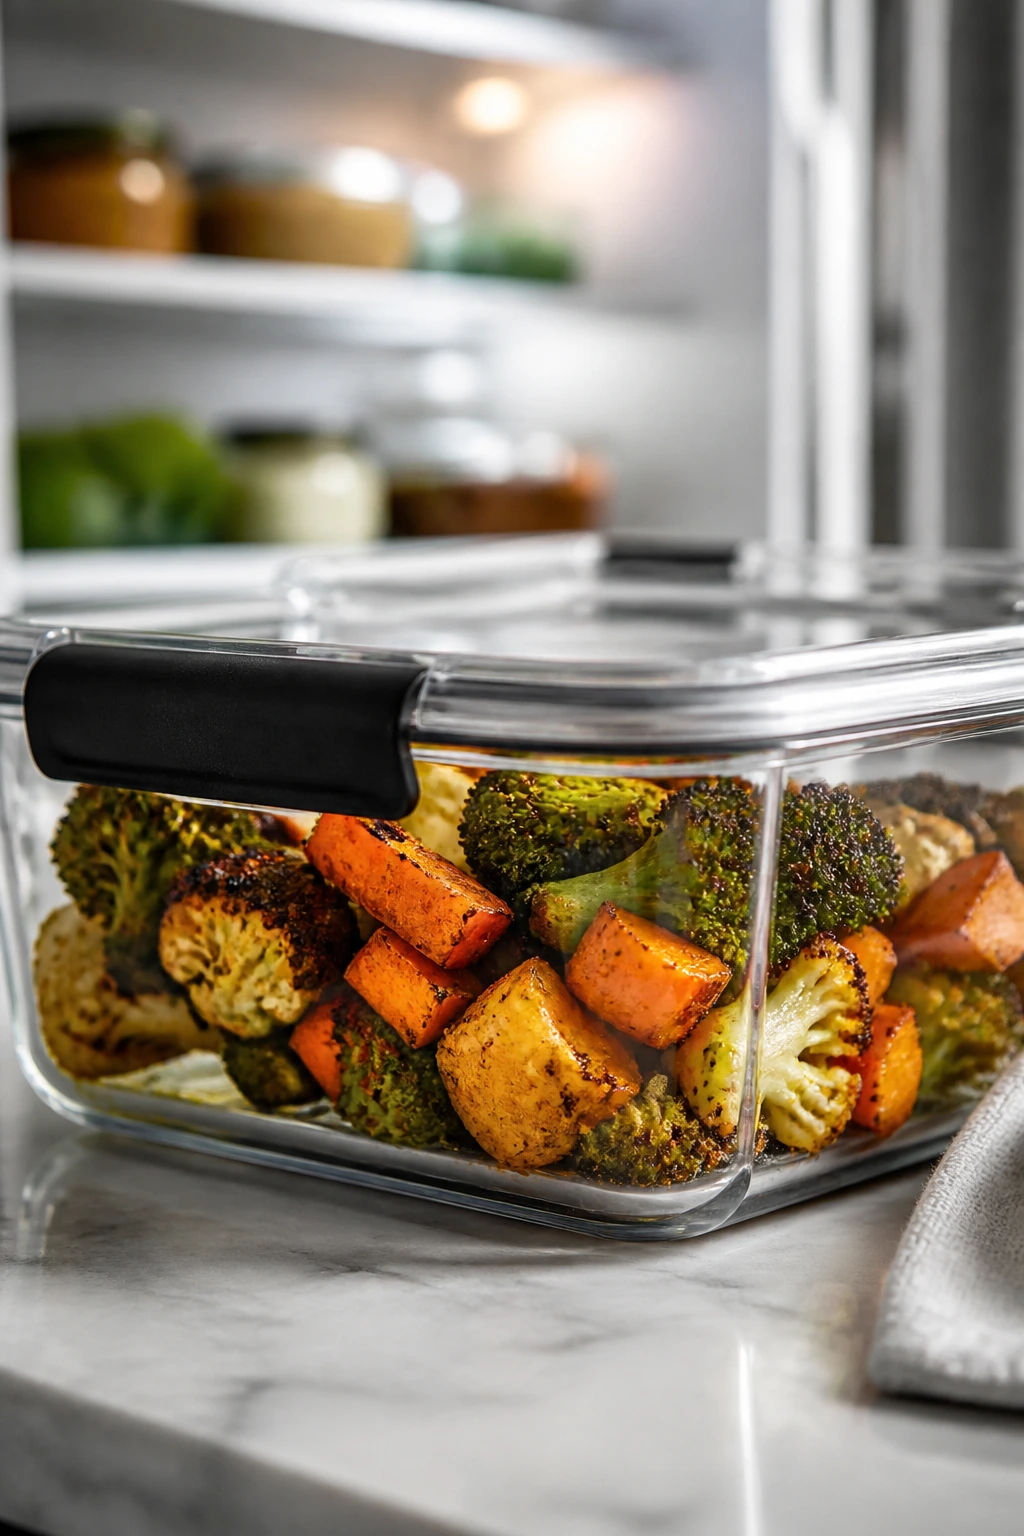
Refrigerate leftover vegetables in a shallow airtight container for 3 to 4 days. If they’re sauced, expect the texture to soften faster. Sturdy vegetables like broccoli, cauliflower, Brussels sprouts, carrots, and green beans hold up better than zucchini or eggplant.
For reheating, the oven and air fryer are the best tools. Spread the vegetables on a sheet pan and warm at 400°F / 205°C for 8 to 10 minutes, or use an air fryer at 375°F to 390°F for 4 to 6 minutes. A skillet over medium-high heat also works well for smaller portions. The microwave will warm them, sure, but it also turns the browned surfaces limp, and there’s no point pretending otherwise.
Freezing is possible for some roasted vegetables, but the texture changes. Use it for broccoli, cauliflower, Brussels sprouts, or carrots if you accept a softer result later. Freeze in a single layer first, then store in a freezer bag for up to 2 months. Zucchini and eggplant don’t freeze nearly as gracefully.
For make-ahead prep, wash and chop sturdy vegetables 1 to 2 days ahead and store them dry in a container lined with paper towels. Keep sauces separate. If you dress the vegetables too early, they lose the crispness you wanted in the first place.
Questions People Always Ask About Crispy Vegetables
Which vegetables get crispiest in a healthy dinner?
Broccoli, cauliflower, Brussels sprouts, carrots, green beans, and cabbage give the most reliable browning. They hold structure under heat and their cut surfaces can actually crisp instead of collapsing.
Can I use frozen vegetables and still get good texture?
Yes, especially with broccoli, cauliflower, and Brussels sprouts. They won’t be quite as crisp as fresh, but if you keep them in a single layer and cook them hot and fast, they can still give you useful browning. Dry them well if you thaw first.
Why do my vegetables keep turning soggy?
Usually it’s one of three things: too much moisture, not enough heat, or a crowded pan. A wet surface has to steam off before browning can start, so the vegetables spend too long softening instead of searing.
Is the air fryer better than the oven?
For small batches, yes, it can be. The air fryer browns fast and gives you crisp edges with less waiting. For larger dinners, the oven is easier because you can cook more vegetables at once without overfilling the basket.
How much oil do I really need?
Less than most people use. You want a thin coating — enough to glisten, not enough to pool. About 1 to 2 tablespoons per pound is a useful starting point for roasting, and even less may be enough in the air fryer.
Can I make crispy vegetables without breadcrumbs or flour?
Absolutely. Browning comes from dry heat, spacing, and the right cut size, not from coating everything in crumbs. Breadcrumbs are a bonus, not the foundation.
What if I want to add sauce without losing the crunch?
Serve the sauce on the side or drizzle it under the vegetables instead of over the top. A thick sauce, like tahini or yogurt dressing, is less likely to flatten the edges than a watery one. Use it as a finishing layer, not a bath.
Can these vegetables become the main dinner instead of a side?
Yes, and they often should. Add a protein and a starch — tofu, beans, eggs, grains, or potatoes — and the vegetables become the most interesting part of the plate instead of an afterthought.
How do I know when they’re done?
Look for browned edges, tender centers, and a smell that leans sweet and nutty rather than raw. If the vegetables still look pale and damp, they need more time. If they’re shriveling and darkening too fast, the heat is too high or the pieces are too small.
A Hot Pan, a Better Dinner
Crispy vegetables are not trying to be fries. They’re trying to be better vegetables — the kind that bring texture, salt, and real flavor to a dinner plate without asking you to build a whole meal around them. That shift matters. Once vegetables have some browning, they stop behaving like a duty and start acting like food people actually reach for.
The practical part is mercifully simple: dry them, cut them with some thought, give them space, and use more heat than you think you need. Finish with acid, herbs, or a sauce that respects the crisp edges instead of smothering them. That’s the line between a limp pile and a dinner worth repeating.
The next time the fridge looks a little ragged, don’t wait for the perfect main course. Heat the pan, grab the broccoli or Brussels sprouts, and let the vegetables carry more of the meal than people expect.