
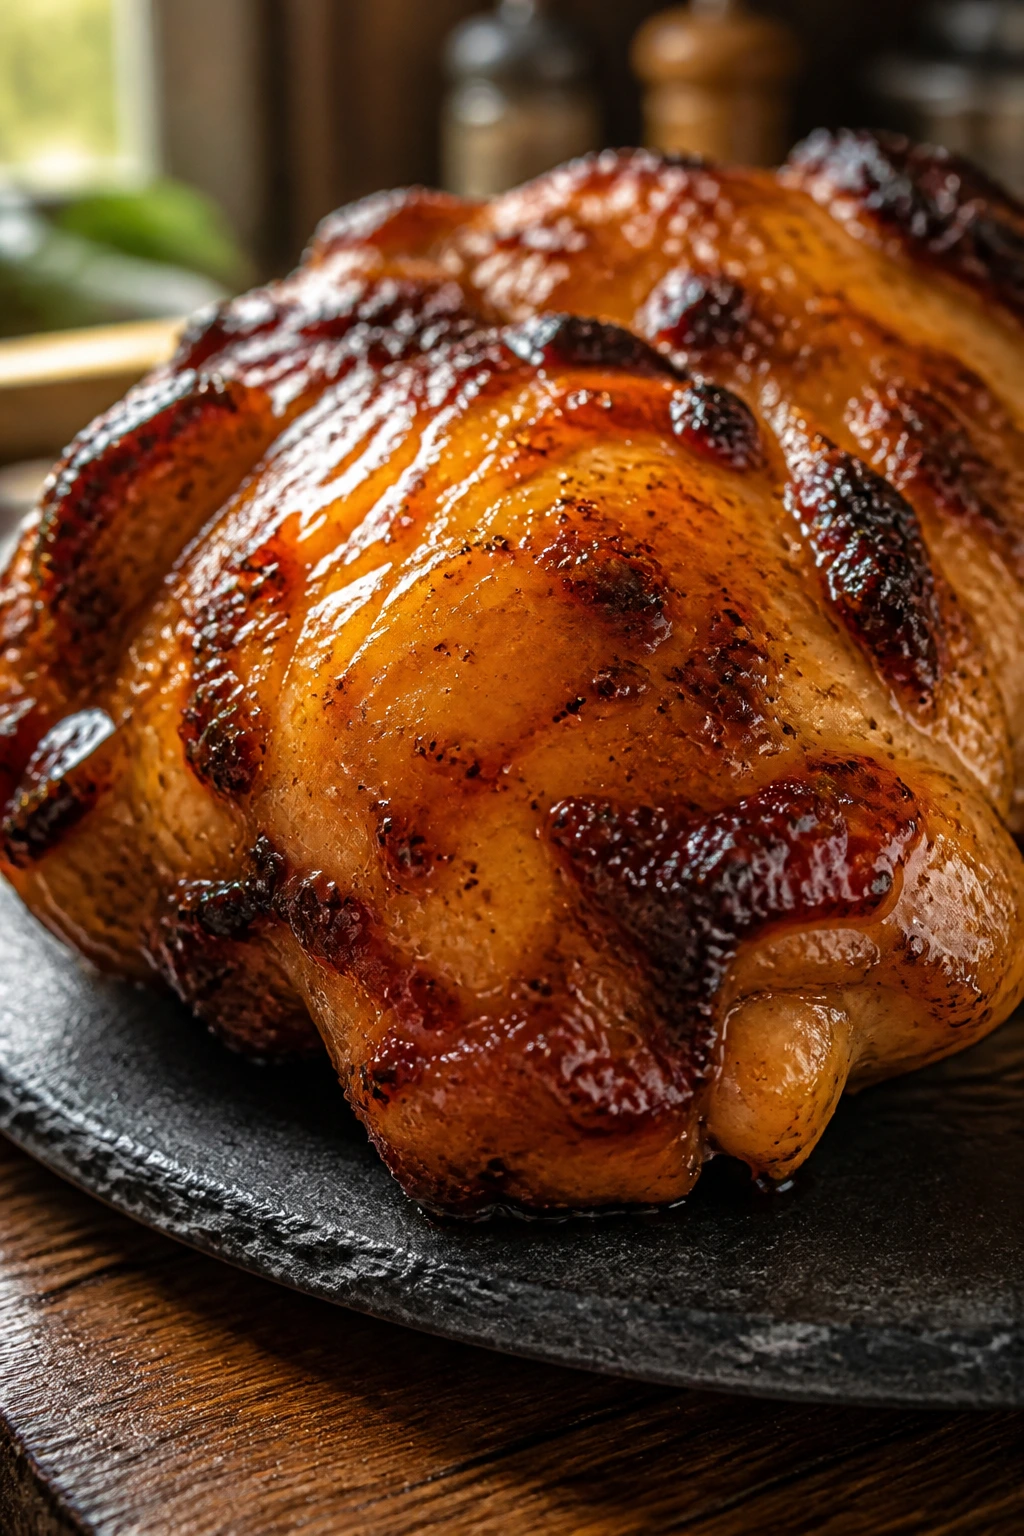
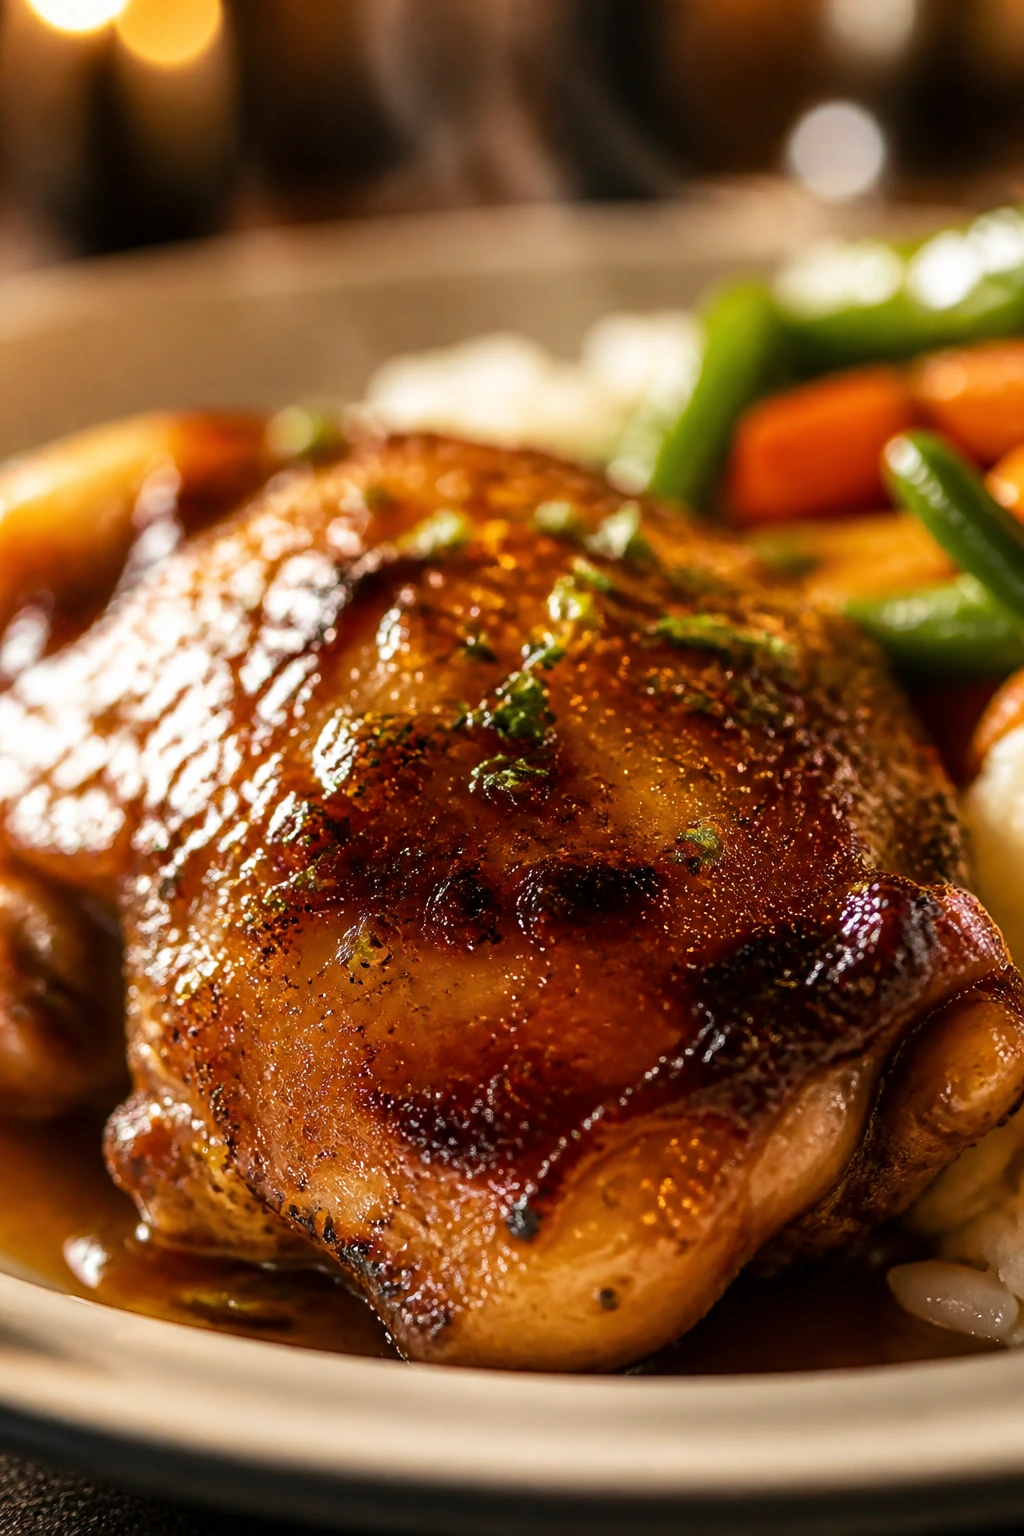
The quickest way to wreck chicken on a busy night is to treat it like an afterthought. One minute it’s glossy and tender; the next, it’s dry at the edges and stubborn in the middle. That’s why juicy honey chicken deserves a little more respect than the average skillet dinner. Get the heat right, give the glaze a few minutes to reduce, and the whole pan turns sticky, savory, and faintly garlicky in a way that makes plain rice taste like it got dressed up.
I reach for boneless thighs here because they forgive a hot pan better than breasts do. They stay plump, they brown without turning leathery, and they carry honey better than leaner cuts. The sauce matters, too. Honey on its own is cloying; honey with soy sauce, vinegar, garlic, and a touch of ginger tastes sharp, salty, and rounded, with that lacquered finish people usually assume came from takeout.
The trick is not complicated, but it is specific. Dry the chicken. Coat it lightly. Sear it in batches so it browns instead of steaming. Then let the sauce bubble just long enough to go shiny and cling to the meat without turning into candy. Get those pieces right, and you end up with a weeknight dinner that smells like toasted garlic and sweet soy the second the lid comes off the skillet.
Why This Honey Chicken Earns a Spot on a Busy Night Table
- The chicken stays tender: Thighs keep their bite even if they sit in the pan a minute too long, which matters when you’re answering a text or turning rice off the stove.
- The glaze stays balanced: Honey brings the sweetness, but soy sauce and apple cider vinegar keep it from turning syrupy or flat.
- The whole dish comes together fast: Once the chicken is cut and seasoned, the skillet work takes about 15 to 20 minutes.
- The sauce clings instead of pooling: A light cornstarch coating gives the glaze something to grab, so every piece comes out shiny rather than wet.
- It plays well with leftovers: The sauce thickens overnight, which means lunch the next day has more punch than it did the night before.
- It uses ordinary groceries: No hunting for obscure ingredients. If you keep honey, soy sauce, garlic, and vinegar around, you’re already halfway there.
Yield: Serves 4 to 6
Prep Time: 15 minutes
Cook Time: 20 minutes
Total Time: 35 minutes
Chill/Rest Time: 5 minutes
Difficulty: Beginner — the method is straightforward, and a thermometer takes the guesswork out of the chicken.
Best Served: Right away, while the glaze is still glossy and the chicken is hot enough to steam the rice beneath it.
The Ingredient List That Makes the Glaze Work
For the Chicken
- 2 pounds boneless, skinless chicken thighs, trimmed of excess fat and cut into large bite-size pieces if needed
- 1/3 cup cornstarch
- 1 teaspoon kosher salt
- 1/2 teaspoon black pepper
- 1 teaspoon garlic powder
- 1 teaspoon smoked paprika
- 2 tablespoons neutral oil, such as avocado or canola
For the Honey Garlic Glaze
- 1/2 cup honey
- 1/3 cup low-sodium soy sauce
- 3 tablespoons apple cider vinegar
- 4 garlic cloves, minced
- 1 teaspoon fresh ginger, finely grated
- 2 tablespoons water
- 2 teaspoons cornstarch mixed with 2 tablespoons cold water
- 1 tablespoon unsalted butter
For Finishing
- 2 green onions, thinly sliced
- 1 tablespoon sesame seeds
- 1/4 teaspoon red pepper flakes, optional
Why Each Ingredient Keeps the Chicken Juicy
Chicken Thighs: The Part That Forgives a Hot Pan
What to use: 2 pounds boneless, skinless chicken thighs, trimmed of obvious fat and cut into pieces that are roughly the same size.
Preparation: Pat the thighs dry with paper towels before seasoning. If one end is much thicker than the other, flatten it gently with the heel of your hand so the pieces cook at the same pace.
Substitutions: Boneless chicken breasts work if you slice them into thinner cutlets, but they need more attention and less time in the pan. Chicken tenderloins also work, though they cook very fast and can go from perfect to dry in a blink.
Tips: Thighs give you a wider margin for error, which is why I prefer them here. They also brown with a deeper edge than breasts, so the final dish tastes richer even before the sauce hits it.
Cornstarch, Spices, and the Thin Crust
What to use: 1/3 cup cornstarch, 1 teaspoon kosher salt, 1/2 teaspoon black pepper, 1 teaspoon garlic powder, and 1 teaspoon smoked paprika.
Preparation: Toss the chicken until every piece has a light, powdery coat. You want a dusting, not a thick shell; if the pieces look pasty, shake off the excess.
Substitutions: If you want a wheat-based coating, use 1/4 cup all-purpose flour instead of the cornstarch, but you’ll lose some of the crisp snap on the edges. Arrowroot can replace cornstarch if that’s what you keep in the pantry.
Tips: The coating does two jobs. It helps the chicken brown, and it gives the glaze a little body so the sauce doesn’t slide off the meat and pool at the bottom of the pan.
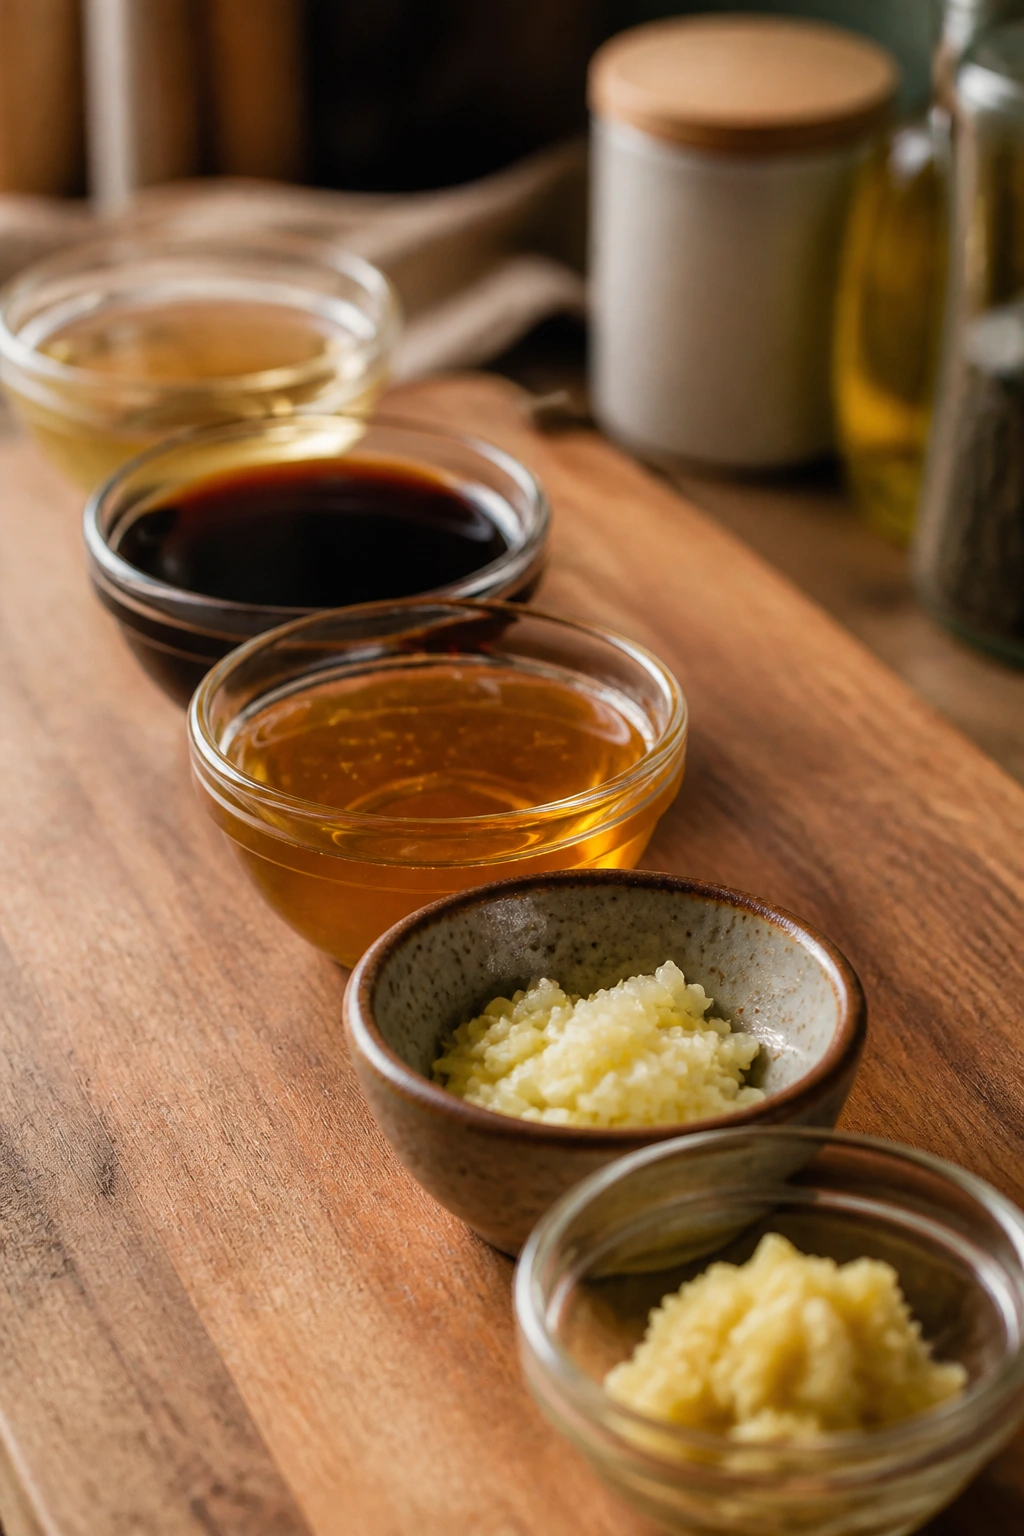
Honey, Soy Sauce, Vinegar, Garlic, and Ginger
What to use: 1/2 cup honey, 1/3 cup low-sodium soy sauce, 3 tablespoons apple cider vinegar, 4 minced garlic cloves, and 1 teaspoon grated fresh ginger.
Preparation: Whisk the sauce before the chicken goes into the pan so the honey is fully dissolved and the vinegar is evenly spread through the mixture.
Substitutions: Rice vinegar works if that’s what you have, though it tastes softer than apple cider vinegar. Tamari can replace soy sauce for a gluten-free version, and coconut aminos can work too, though the sauce will be sweeter and darker.
Tips: Honey burns faster than people expect. That’s why it stays in the sauce, not in a hot pan by itself. Garlic and ginger need only a short simmer; if they darken, the sauce starts tasting harsh.
Butter, Water, and the Final Shine
What to use: 2 tablespoons water, 2 teaspoons cornstarch mixed with 2 tablespoons cold water, and 1 tablespoon unsalted butter.
Preparation: Mix the cornstarch slurry in a separate cup so it’s smooth before it touches the pan. Slice the green onions before you start cooking; by the time you need them, your hands will be covered in sauce.
Substitutions: A splash of chicken stock can replace water if you want a slightly deeper savory note. If you skip the butter, the sauce will still work, but it won’t have the same rounded finish.
Tips: The butter goes in at the end, off the heat. That last tablespoon gives the glaze a satin look and softens the edges of the vinegar without making the dish feel heavy.
The Pan and Tools That Make This Easy
A good honey chicken dinner doesn’t need a pile of equipment. It does need a few specific things that help the chicken brown instead of sulk.
- 12-inch skillet, preferably heavy-bottomed: A cast-iron or stainless skillet holds heat better than a thin pan, which matters the second the chicken goes in.
- Tongs: The fastest way to flip the chicken without tearing the crust.
- Medium mixing bowl: Big enough to toss the chicken with the coating without launching cornstarch onto the counter.
- Small whisk: Useful for blending the glaze so the honey and soy sauce stay smooth.
- Measuring spoons and cups: Honey is forgiving, but the sauce needs the right balance to taste sharp instead of syrupy.
- Instant-read thermometer: The cleanest way to know the chicken is done without slicing into every piece.
- Rubber spatula or wooden spoon: Handy for scraping up the browned bits when the sauce goes in.
- Plate or rimmed tray: Set the seared chicken aside here while you build the glaze.
How to Cook Juicy Honey Chicken Step by Step
Prep and Coat
-
Pat the chicken dry with paper towels, then trim any loose fat. If the thighs are very large, cut them into bite-size pieces so they cook evenly and finish at the same time.
-
Mix the coating in a medium bowl with the cornstarch, salt, black pepper, garlic powder, and smoked paprika. Add the chicken and toss until every piece is lightly dusted. Do not pack on a thick layer; the chicken should look seasoned, not paste-covered.
Sear and Build Color
-
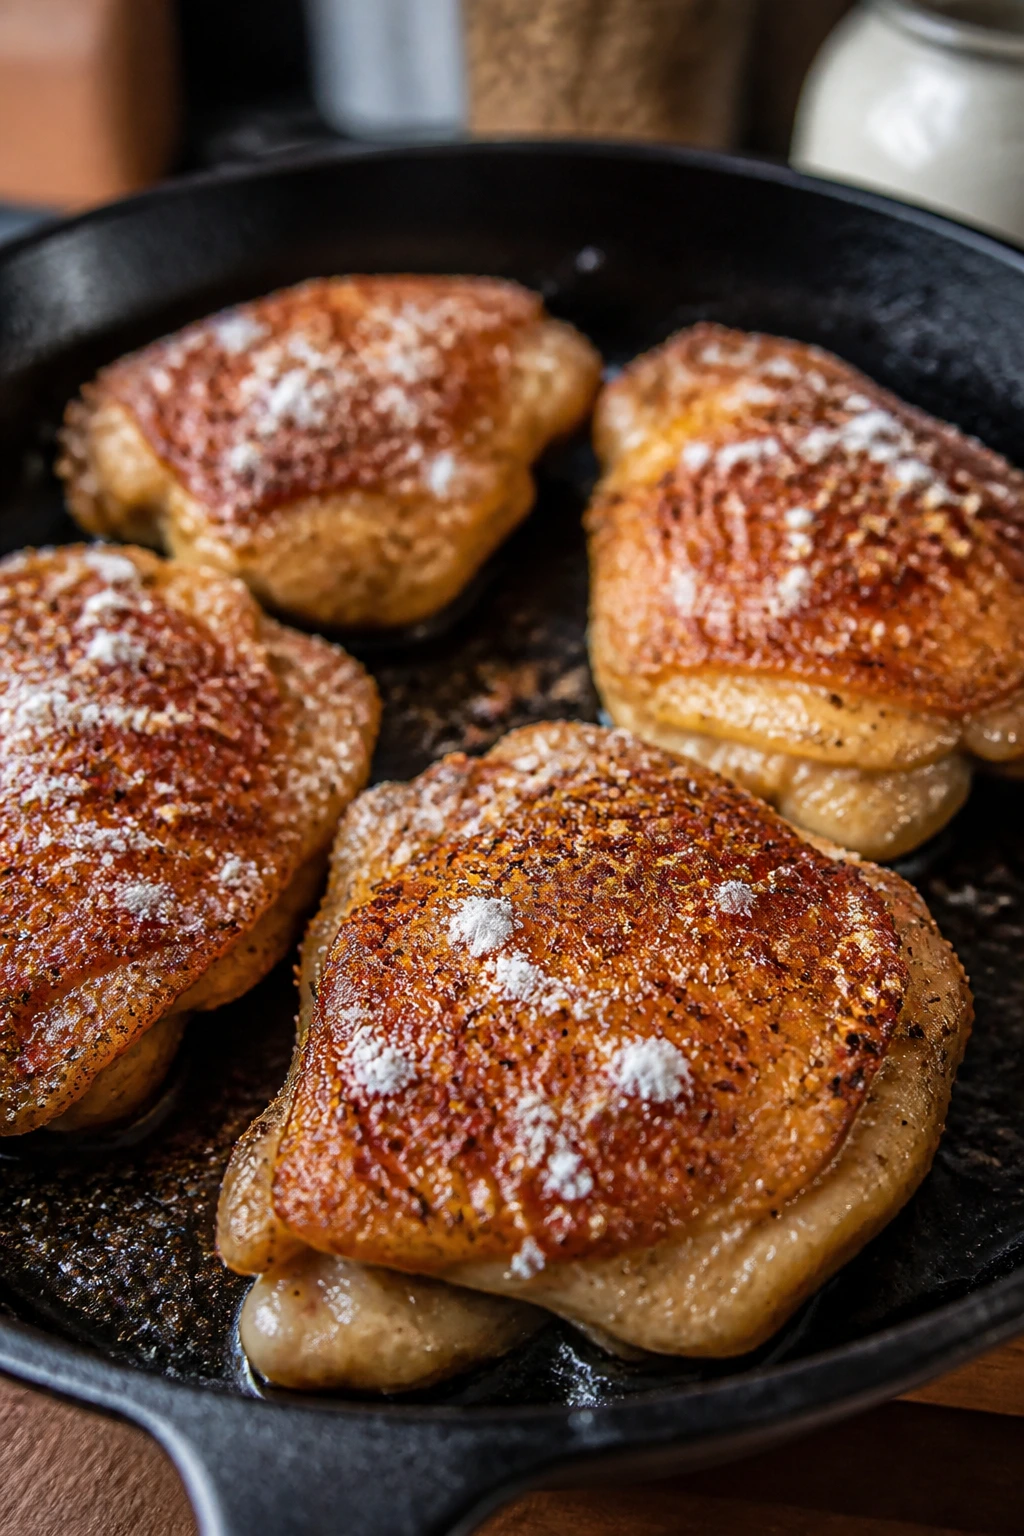
Heat the skillet over medium-high heat and add the neutral oil. When the oil shimmers and slides easily across the pan, lay in the chicken in a single layer. Work in batches if needed. Crowding the pan will steam the chicken instead of browning it.
-
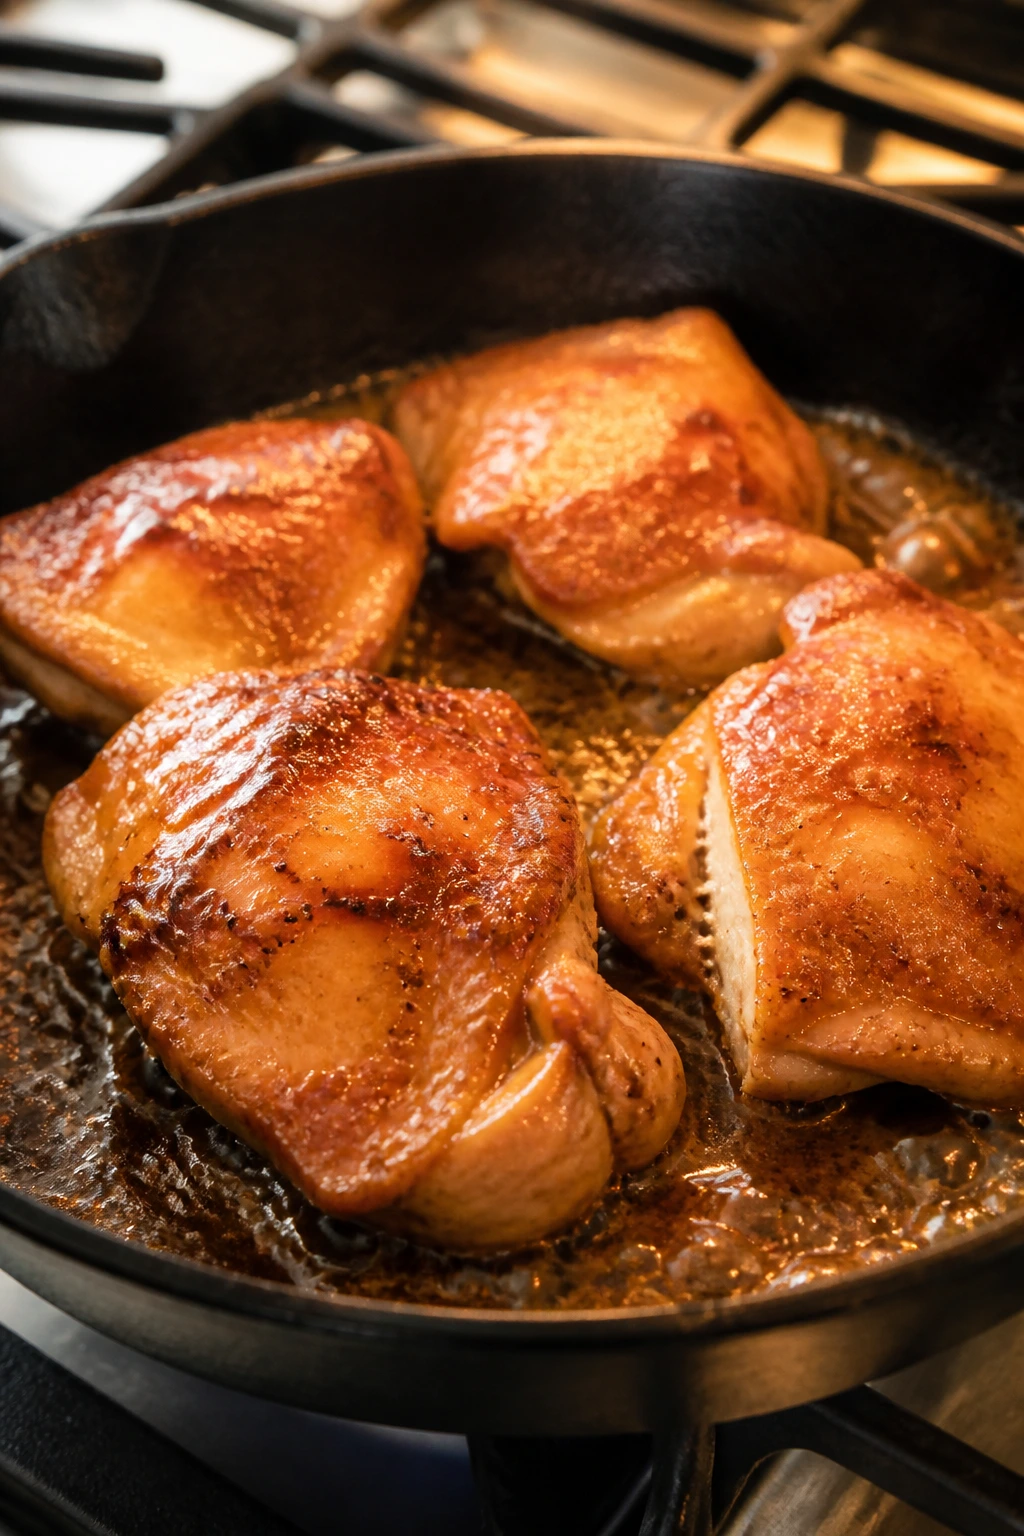
Sear the first side for 4 to 5 minutes without moving it. You’re looking for a deep golden crust on the bottom and edges that have turned opaque about two-thirds of the way up. Flip and cook the second side for another 3 to 4 minutes.
-
Check the temperature in the thickest piece. Pull the chicken when it reaches 165°F, or just slightly before if you know it will spend another minute or two in the sauce. Transfer the chicken to a plate and keep it nearby.
Make the Glaze
-
Lower the heat to medium and add the garlic and ginger to the same skillet. Stir for 20 to 30 seconds, just until the garlic smells sweet and sharp instead of raw. Pour in the honey, soy sauce, apple cider vinegar, and water, then stir and scrape up the browned bits from the bottom of the pan.
-
Simmer the sauce for 2 to 3 minutes. It should bubble in small, active bursts and start to look glossy around the edges. Whisk in the cornstarch slurry and simmer for 30 to 60 seconds more, until the sauce lightly coats the back of a spoon.
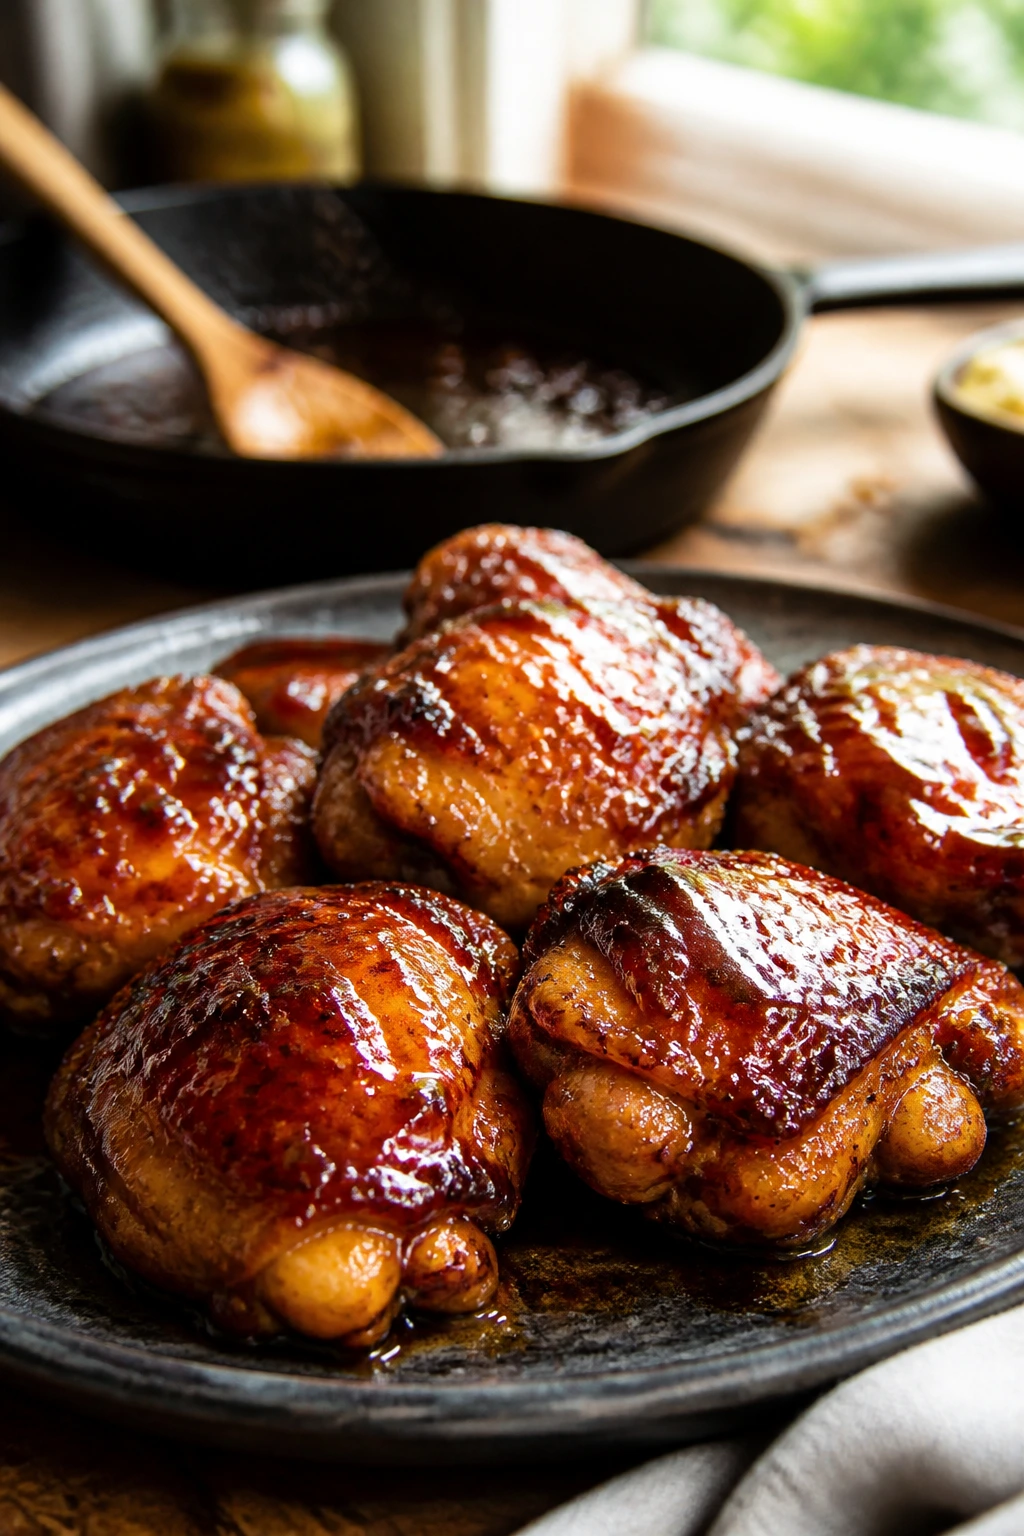
Finish and Serve
-
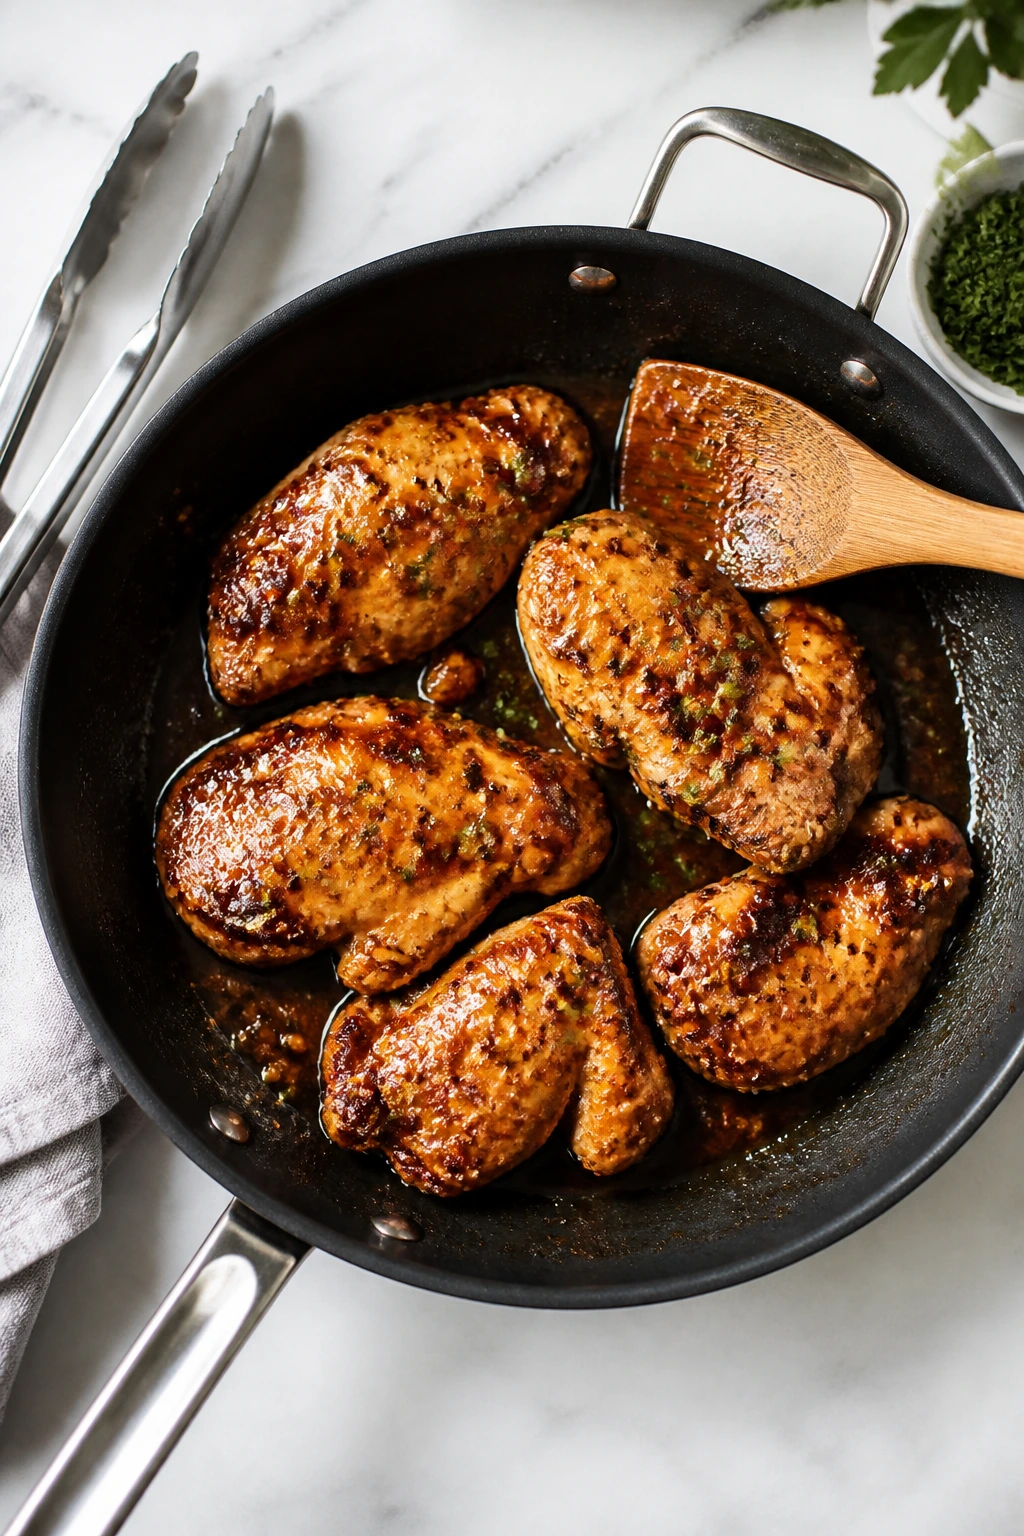
Return the chicken to the skillet and toss gently until every piece is coated and heated through, about 1 to 2 minutes. If the sauce looks too thick, add 1 tablespoon of water at a time. If it looks thin, let it bubble for another 30 seconds.
-
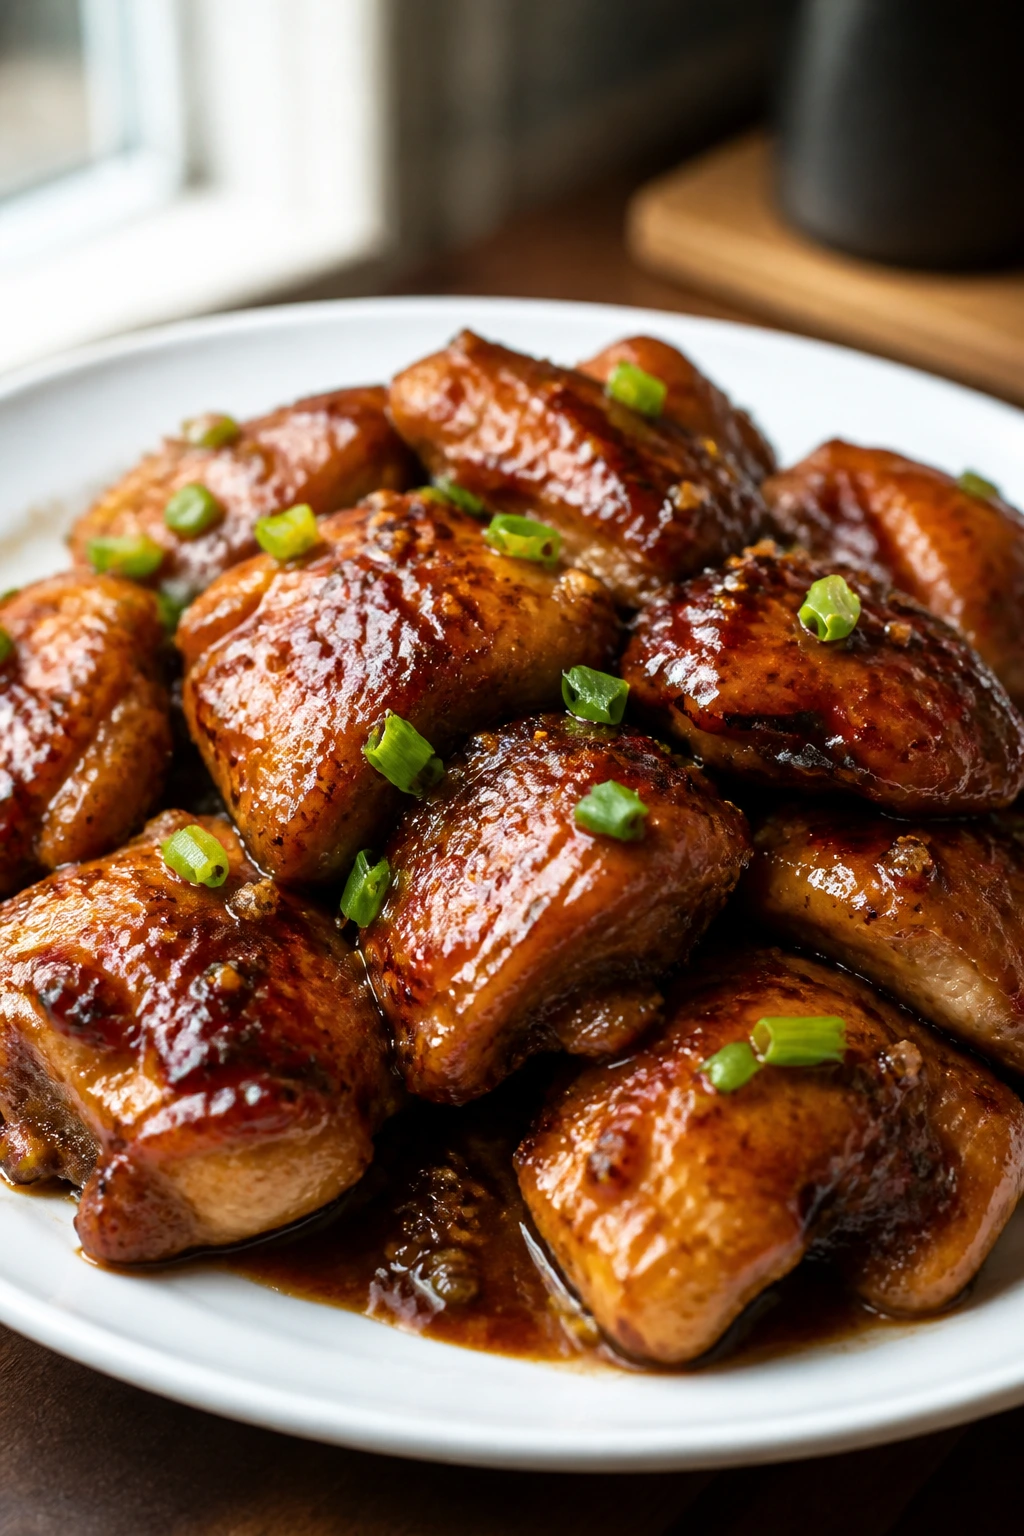
Turn off the heat and stir in the butter until it melts into the glaze. Sprinkle over the green onions, sesame seeds, and red pepper flakes if you like a little heat. Let the chicken rest for 5 minutes so the sauce settles and clings instead of running off the plate.
What to Serve With Honey Chicken on a Busy Night
What goes beside sticky honey chicken matters more than people think. The sauce is bold enough to need a neutral base, and the chicken is rich enough to welcome something crisp or green on the side.
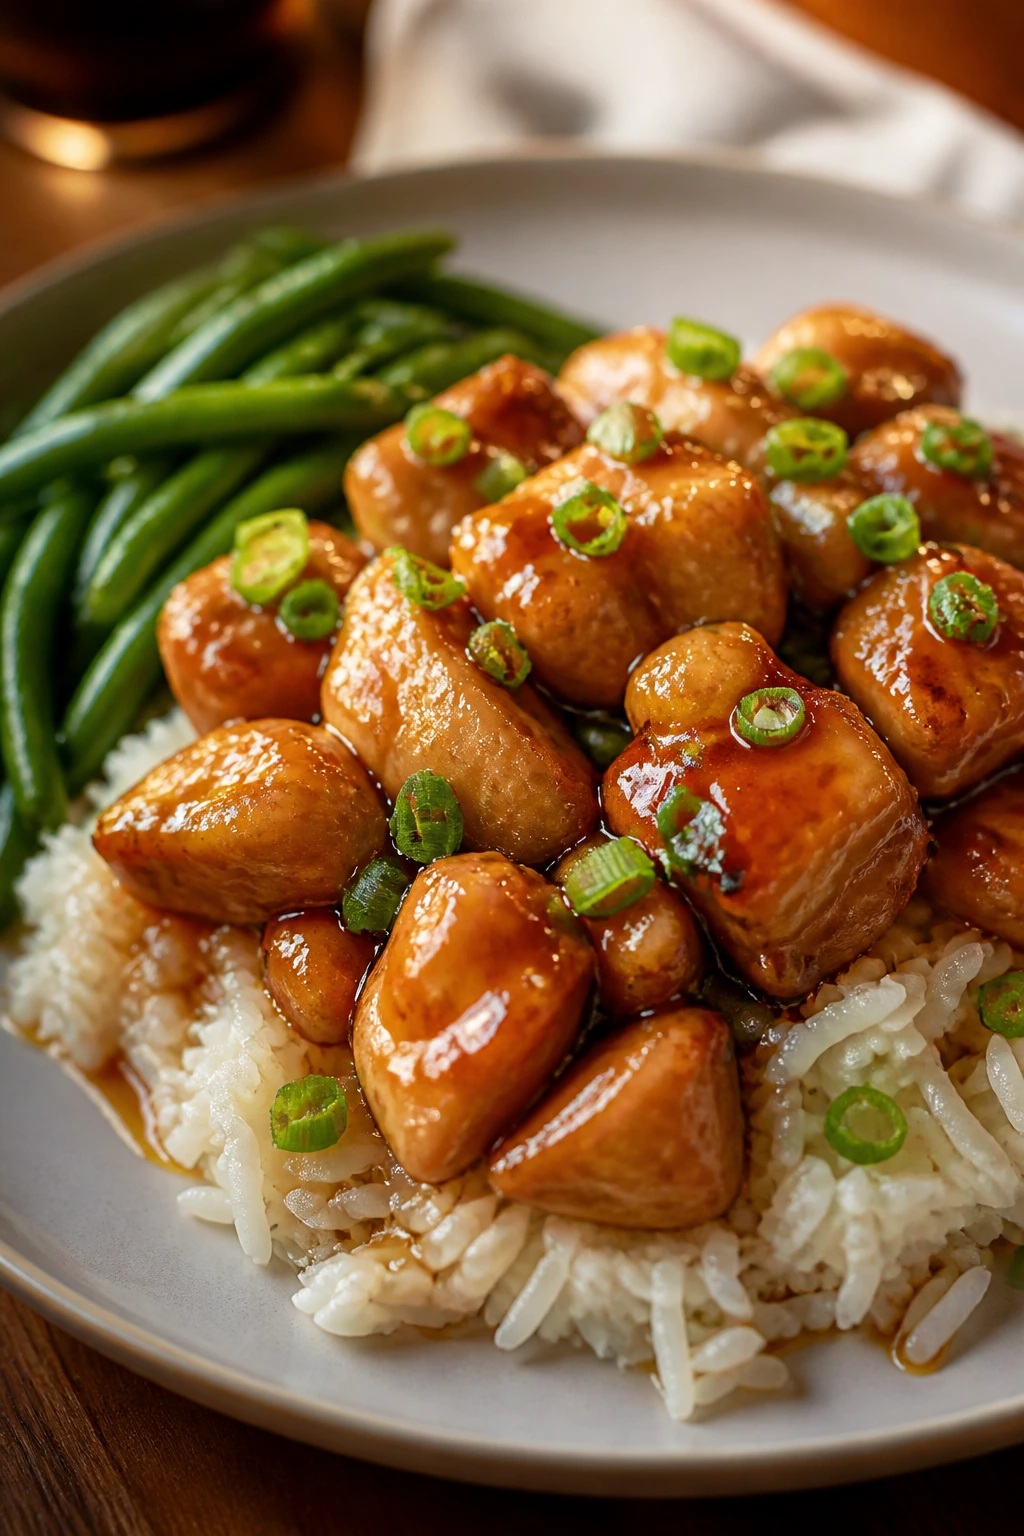
Presentation: Spoon the chicken over a mound of steamed jasmine rice or short-grain rice, then drizzle the pan glaze over the top so it runs into the rice. A scatter of green onions gives the plate a fresh, sharp finish that cuts through the honey.
Accompaniments: Steamed broccoli, snap peas, sautéed bok choy, or roasted carrots all work because they give you bite and color without stealing the sauce. If you want bread, soft dinner rolls or warm naan can mop up the glaze, though rice does the job better.
Portions: Plan on about 6 ounces of cooked chicken per adult serving, with 1/2 to 1 cup of rice on the side. If you’re feeding bigger appetites, stretch the meal with an extra vegetable rather than piling on more sauce.
Beverage Pairing: Cold lager, sparkling water with lime, or unsweetened iced tea keeps the glaze from feeling too heavy. If you want a wine, a dry Riesling or a light Pinot Gris handles the sweet-salty balance without fighting it.
Extra Tips for Better Color, Better Texture, and a Cleaner Glaze
Flavor Enhancement: A teaspoon of toasted sesame oil at the very end adds a nutty edge, but use it sparingly. Too much sesame oil flattens the glaze and makes everything taste the same.
Time-Saver: Mix the dry coating and the glaze separately up to a day ahead. When dinner starts, you’re really only searing chicken and reducing sauce, which cuts the active work way down.
Pro Move: If you want deeper color, let the seasoned chicken sit on a rack for 10 to 15 minutes before it hits the skillet. The coating dries a little and browns more cleanly.
Cost-Saver: Thighs are usually cheaper than breasts and far more forgiving here. If you find a family pack, portion it into freezer bags with the seasoning mix already measured out for another night.
Common Mistakes That Dry Out Honey Chicken
Most problems with honey chicken start before the sauce does. People blame the glaze when the real issue is heat control, wet chicken, or trying to rush the sear.
Wet chicken, pale crust: If the chicken goes into the skillet damp, the coating turns gummy and the bottom never gets that browned edge. Pat it dry first, and don’t be shy about using a few paper towels.
Cranking the heat too high: Honey burns fast. If the burner is screaming hot, the garlic turns bitter and the glaze tastes sharp in the wrong way. Medium-high is enough for browning; once the sauce goes in, drop to medium.
Crowding the skillet: Packed chicken steams because the moisture has nowhere to go. Cook in two batches if you need to. It takes a few extra minutes, but the difference in color and texture is obvious.
Adding the honey too early: Honey in a bare hot pan can scorch before the rest of the sauce has a chance to balance it. Keep it in the whisked glaze and let it simmer with the vinegar and soy sauce.
Skipping the thermometer: Thighs are forgiving, but they still need to reach a safe temperature. Pulling them too early leaves chewy spots; leaving them too long dries out the edges. A thermometer settles the argument fast.
Overreducing the sauce: If you walk away and let it bubble too long, the glaze turns sticky in a hard, candy-like way. Stop when it coats a spoon and still looks fluid enough to move.
Variations and Adaptations to Try
Spicy Chili Honey Chicken: Add 1 to 2 teaspoons of chili garlic paste or 1/2 teaspoon cayenne to the glaze. The heat sits in the back of the throat and gives the sweetness more shape, especially if you serve it over plain rice.
Sesame-Ginger Chicken: Increase the grated ginger to 2 teaspoons and finish with an extra 1 teaspoon of toasted sesame oil plus a heavier sprinkle of sesame seeds. This version tastes sharper and a little more aromatic, which I like with sautéed greens.
Gluten-Free Honey Chicken: Use tamari instead of soy sauce and keep the cornstarch coating as written. Nothing else needs to change, and the texture stays the same.
Oven-Baked Version: Lay the coated chicken on a parchment-lined sheet pan and bake at 425°F for 18 to 22 minutes, flipping once halfway through. Warm the glaze in a saucepan on the stove, then toss the baked chicken in it right before serving.
Lemon-Honey Chicken: Add 1 tablespoon of lemon juice and 1 teaspoon of zest to the finished sauce. The lemon makes the honey taste brighter and stops the glaze from feeling heavy on the tongue.
Make-Ahead, Storage, and Reheating Guidance
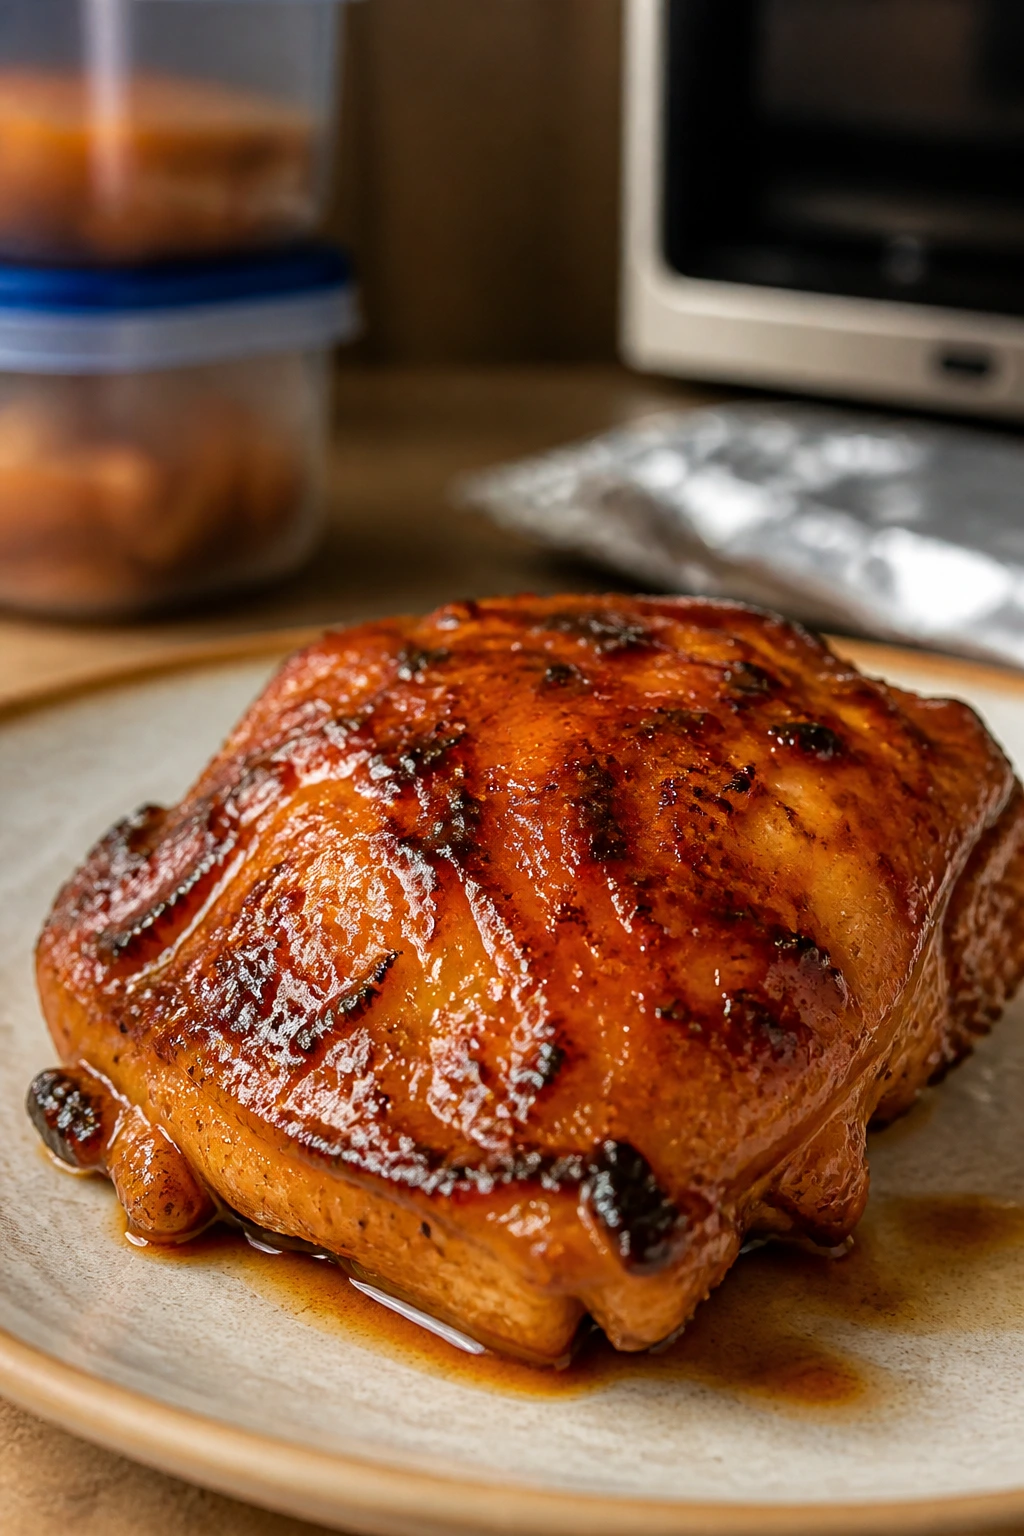
Honey chicken keeps well, but the texture changes if you treat it like soup. Once the chicken cools, pack it into an airtight container and refrigerate it within 2 hours. It will hold for 3 to 4 days in the fridge, and the sauce will thicken a bit as it chills.
For freezing, portion the chicken and sauce together in freezer-safe containers or zip-top bags, pressing out as much air as possible. It keeps for up to 2 months. Thaw it overnight in the refrigerator rather than on the counter, because the glaze gets sticky and uneven if it warms too fast.
Reheating works best on the stovetop. Put the chicken in a skillet over low heat with 1 to 2 tablespoons of water, cover loosely, and warm it for 5 to 7 minutes, stirring once or twice. The water loosens the glaze so it coats again instead of turning into a tacky film.
The microwave works in a pinch. Use short bursts of 30 to 40 seconds, cover the container, and stir between rounds. That keeps the sauce from splitting and helps the chicken warm through without drying at the edges.
If you want to make parts ahead, whisk the sauce up to 3 days in advance and keep it refrigerated. You can also season the chicken a few hours ahead and leave it covered in the fridge. I would not cook the whole dish too far ahead unless you plan to reheat it gently; the sauce is good later, but the chicken is best when it hasn’t spent the whole night sitting in a pan.
Questions People Ask Before Cooking Honey Chicken
Can I use chicken breasts instead of thighs?
Yes, but slice the breasts into thinner cutlets or even bite-size pieces so they cook evenly. Pull them a little earlier than thighs and let carryover heat finish the job; breasts dry out faster, so the thermometer matters more here.
Why did my honey sauce turn thin and watery?
Usually the pan was too cool, or the chicken released more moisture than expected. Let the sauce bubble a little longer, then whisk in another small spoonful of cornstarch slurry if it still looks loose.
Can I make this without cornstarch?
You can use flour for the coating, and you can thicken the sauce by reducing it longer, but the gloss won’t be quite the same. Cornstarch gives the glaze that clean, shiny cling that makes the dish look finished.
How do I keep the garlic from burning?
Add it after the chicken comes out of the pan and lower the heat to medium before it hits the skillet. Garlic only needs 20 to 30 seconds of heat before the liquid goes in; if it darkens, the whole sauce picks up a bitter edge.
Can I bake the chicken and still get a good glaze?
Yes. Bake the chicken on a sheet pan, then simmer the sauce separately on the stove and toss everything together at the end. The chicken won’t have quite as much crust as the skillet version, but the flavor still lands.
Is this too sweet for dinner?
Not if you keep the vinegar and soy sauce in the mix. The honey gives the glaze body, but the soy and acid stop it from tasting like dessert.
What if I want it spicier?
Add red pepper flakes, chili garlic paste, or a spoonful of sambal oelek to the glaze. Start small, taste after a minute of simmering, and add heat in steps so you don’t blow past the sweet-savory balance.
Can I double the recipe for a bigger crowd?
Yes, but brown the chicken in batches so the pan stays hot. If you double everything and cram the skillet, the chicken will steam and the glaze will taste flat instead of concentrated.
A Chicken Dinner That Stays Tender
Some weeknight dinners feel like damage control. This one doesn’t. The skillet gives you browned edges, the sauce gives you shine, and the chicken stays tender enough that nobody starts picking around the plate looking for the least-dry piece.
That’s the real appeal of honey chicken done this way. It is fast, but not careless. Sweet, but not sticky in the wrong way. And once you’ve made it a couple of times, you stop checking the recipe and start trusting your nose: garlic blooming in oil, honey turning glossy in the pan, the whole thing smelling like dinner before the rice is even done.
Juicy Honey Chicken — Recipe Card
Recipe Name: Juicy Honey Chicken
Description: Tender boneless chicken thighs are lightly coated, seared until golden, then tossed in a glossy honey-garlic soy glaze with a little vinegar to keep the sweetness sharp. Serve it over rice with vegetables on the side.
Prep Time: 15 minutes
Cook Time: 20 minutes
Total Time: 35 minutes
Course: Dinner, Main Course
Cuisine: American-inspired
Servings: 4 to 6 servings
Calories: About 420 kcal per serving
Ingredients
For the Chicken
- 2 pounds boneless, skinless chicken thighs, trimmed of excess fat and cut into large bite-size pieces if needed
- 1/3 cup cornstarch
- 1 teaspoon kosher salt
- 1/2 teaspoon black pepper
- 1 teaspoon garlic powder
- 1 teaspoon smoked paprika
- 2 tablespoons neutral oil, such as avocado or canola
For the Honey Garlic Glaze
- 1/2 cup honey
- 1/3 cup low-sodium soy sauce
- 3 tablespoons apple cider vinegar
- 4 garlic cloves, minced
- 1 teaspoon fresh ginger, finely grated
- 2 tablespoons water
- 2 teaspoons cornstarch mixed with 2 tablespoons cold water
- 1 tablespoon unsalted butter
For Finishing
- 2 green onions, thinly sliced
- 1 tablespoon sesame seeds
- 1/4 teaspoon red pepper flakes, optional
Instructions
-
Pat the chicken dry, trim any loose fat, and cut large thighs into bite-size pieces if needed.
-
Toss the chicken with cornstarch, salt, pepper, garlic powder, and smoked paprika until lightly coated.
-
Heat the oil in a 12-inch skillet over medium-high heat. Sear the chicken in a single layer for 4 to 5 minutes on the first side, then 3 to 4 minutes on the second side, until browned and cooked through to 165°F.
-
Transfer the chicken to a plate. Lower the heat to medium and add the garlic and ginger to the skillet. Stir for 20 to 30 seconds.
-
Add the honey, soy sauce, vinegar, and water. Scrape up the browned bits and simmer for 2 to 3 minutes.
-
Whisk in the cornstarch slurry and simmer for 30 to 60 seconds, until the sauce lightly coats a spoon.
-
Return the chicken to the skillet and toss to coat for 1 to 2 minutes. Stir in the butter off the heat.
-
Finish with green onions, sesame seeds, and red pepper flakes if using. Rest for 5 minutes before serving.
Notes: Use thighs for the juiciest result. Reheat gently with a splash of water to loosen the glaze. If the sauce thickens too much, thin it with 1 tablespoon of water at a time.