
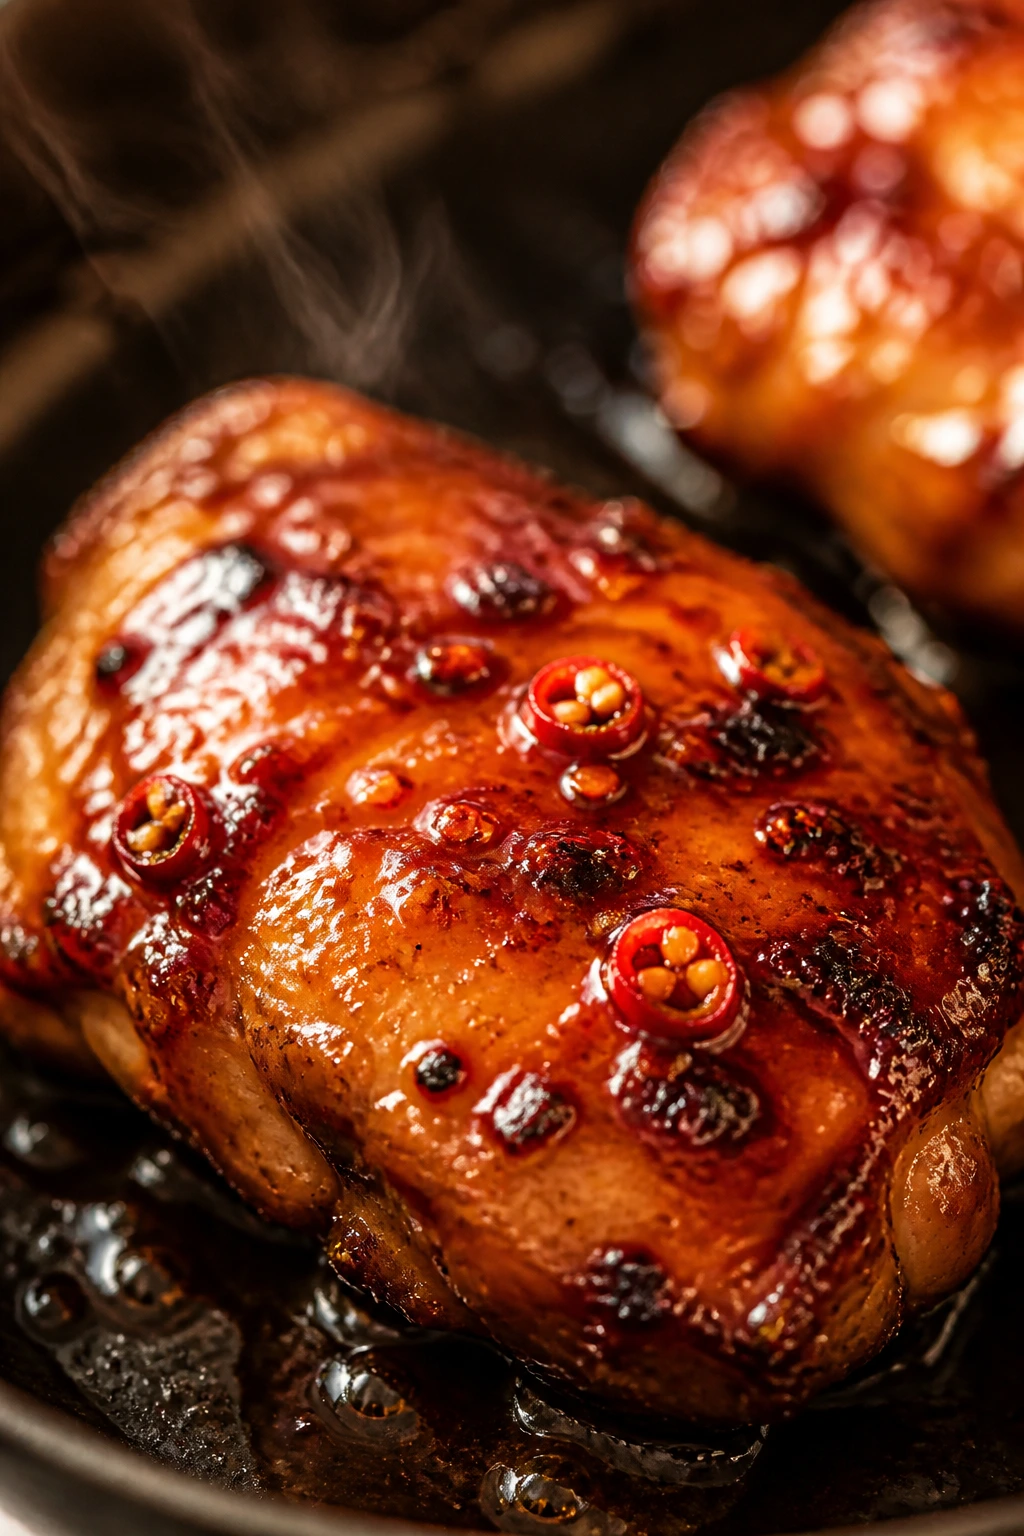
Sweet and sour teriyaki glaze has one job: make plain food look lacquered and taste like somebody in the kitchen knew exactly what they were doing. Not vaguely. Exactly. The good kind of sticky is the point here — the kind that clings to chicken skin, slides into the ridges of broccoli florets, and leaves a shiny trail on the spoon when you lift it out of the pan.
Most bottled versions miss that balance. They lean sweet until the whole thing tastes flat, or salty until you need a gulp of water after two bites. The fix is not complicated. It’s acid, fruit, soy, a little sugar, a little honey, and a fast cornstarch finish that turns the whole mixture from thin sauce into a proper glaze.
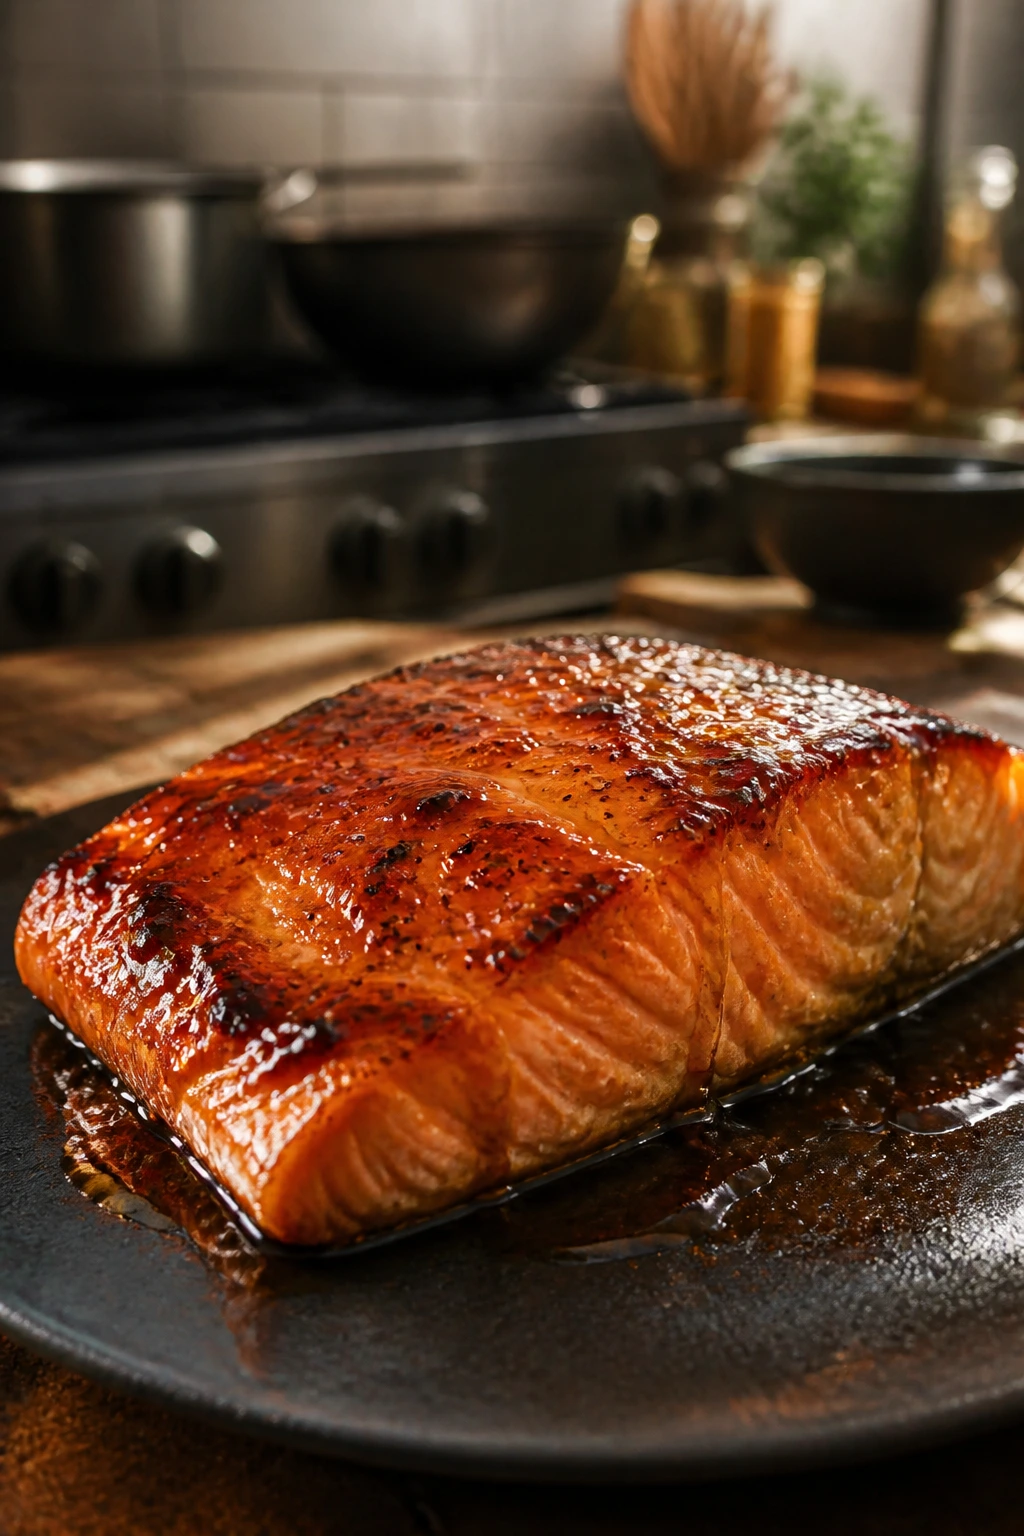
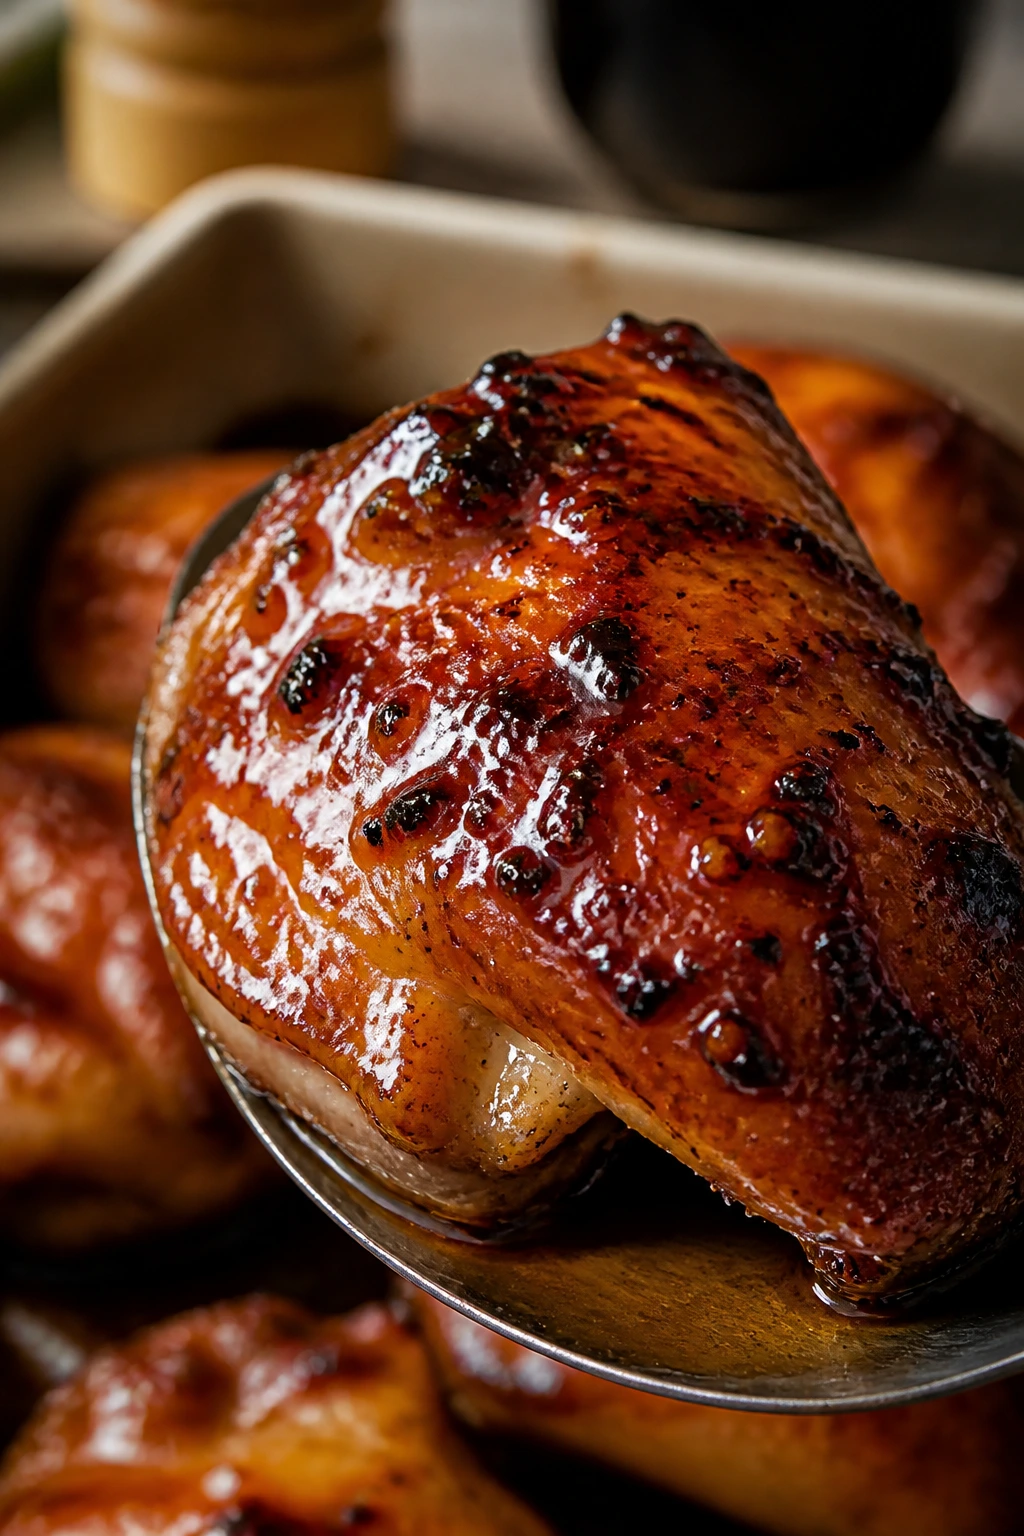
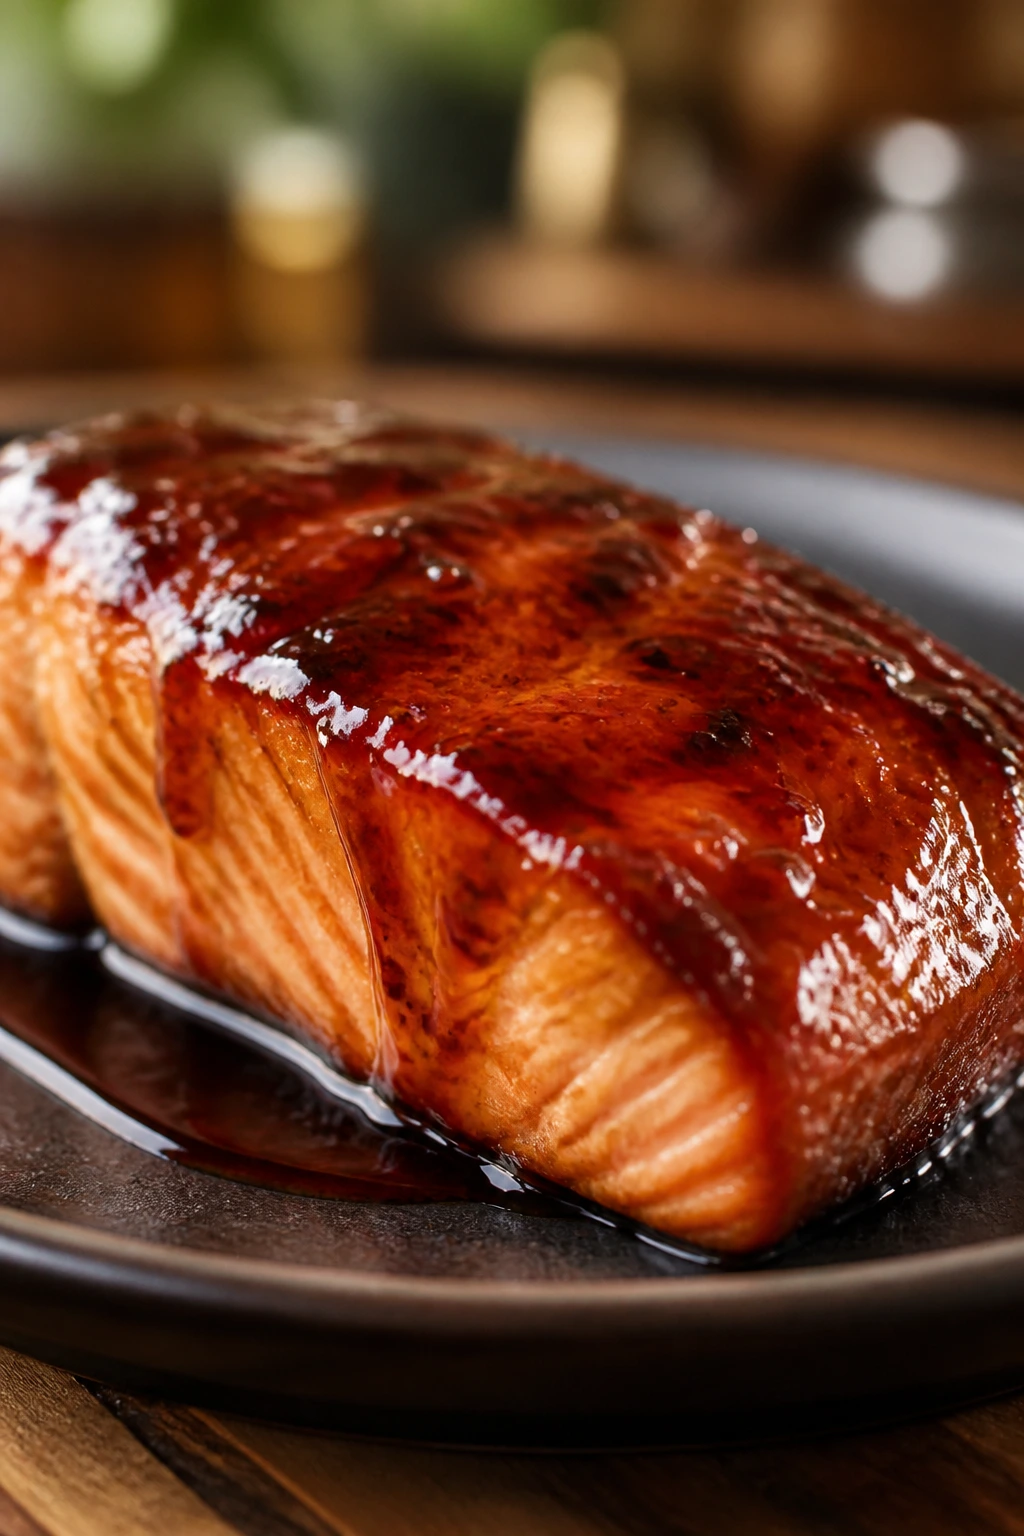
I like this style of sauce because it behaves like a coat, not a puddle. Brush it onto roasted salmon, toss it with crispy tofu, or spoon it over rice with leftover chicken and a handful of scallions. The kitchen smell alone is worth making it — garlic, ginger, pineapple, and soy warming together does more than fill the room; it tells you dinner is about to stop being boring.
And yes, it is the kind of glaze that beats the jar every time, mostly because you can taste the vinegar before the sugar gets lazy.
Why This Glaze Earns Its Keep
-
Sticky without being syrupy: The cornstarch thickens the sauce into a brushable glaze, so it clings to food instead of running to the bottom of the plate.
-
Sweet, sour, and salty stay in line: Pineapple juice and rice vinegar keep the brown sugar and honey from turning heavy, which is where so many homemade sauces go wrong.
-
One batch covers a lot of ground: A cup of glaze stretches across chicken thighs, salmon fillets, tofu cubes, or a tray of roasted vegetables without needing extra sauce on the side.
-
Built from normal pantry food: Soy sauce, vinegar, sugar, garlic, ginger, and cornstarch are easy to keep around, which means this isn’t a “special trip to the store” recipe.
-
It tastes better when it hits hot food: The glaze sets into a shiny coat the moment it meets heat, which is why it works so well brushed on at the end.
Timing, Yield, and the Sweet Spot for Serving
Yield: Makes about 1 cup glaze, enough for 4 to 6 servings of protein or vegetables
Prep Time: 10 minutes
Cook Time: 5 minutes
Total Time: 15 minutes
Difficulty: Beginner — the pan does most of the work, and the visual cues are easy to spot.
Best Served: Warm, brushed over hot food or used as a finishing sauce
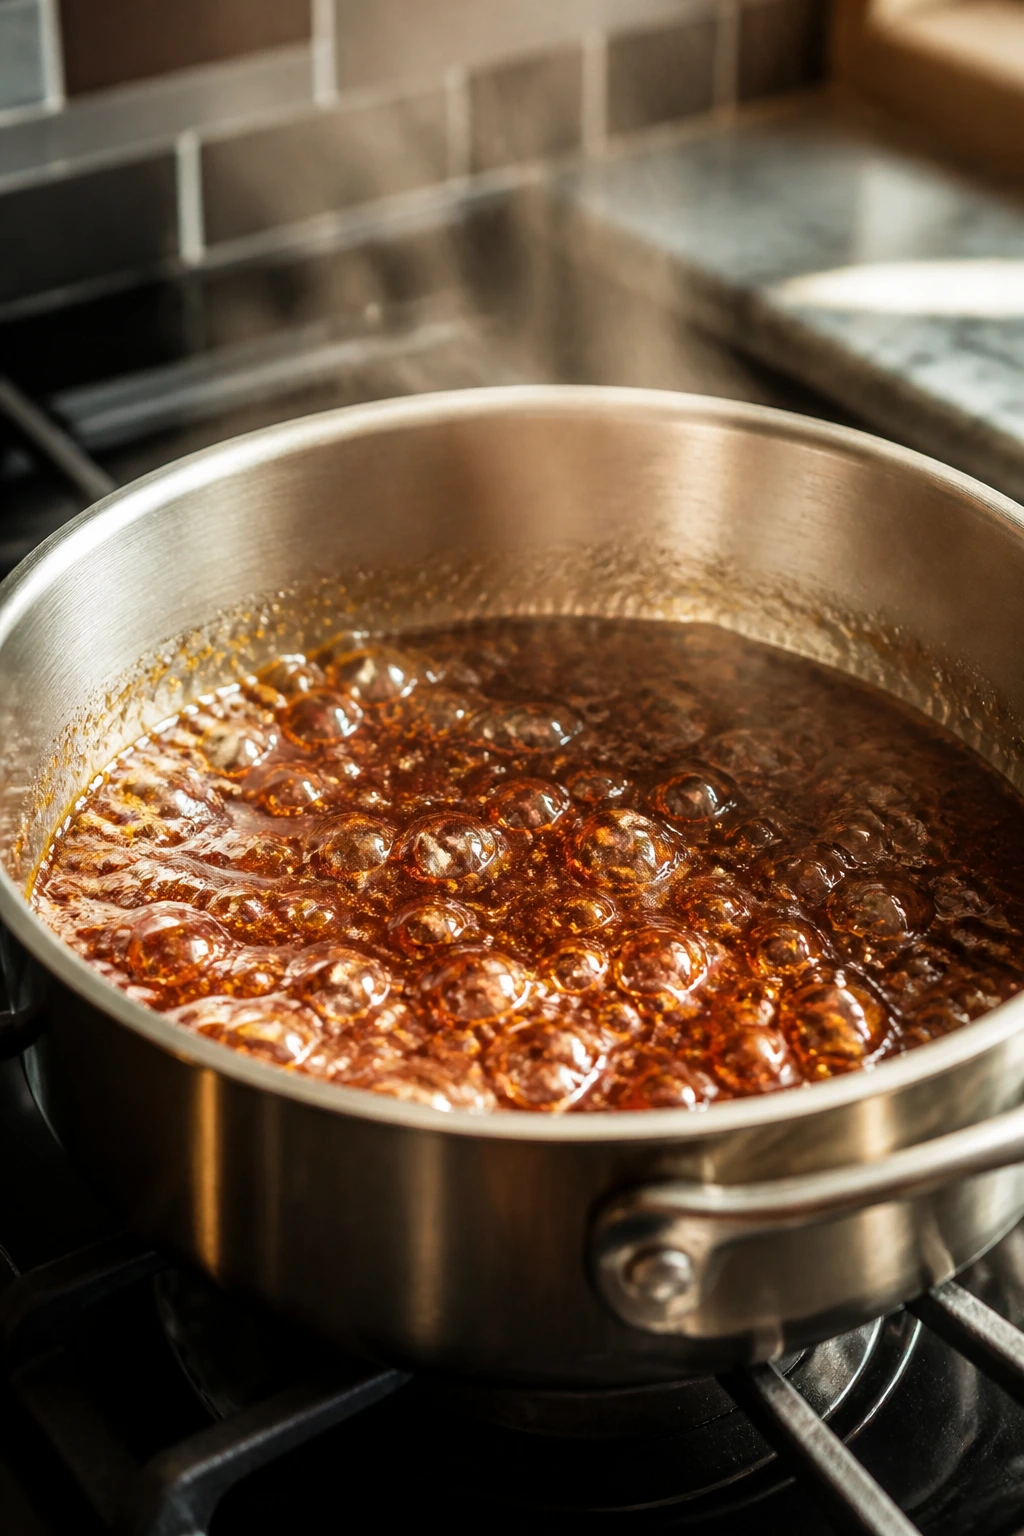
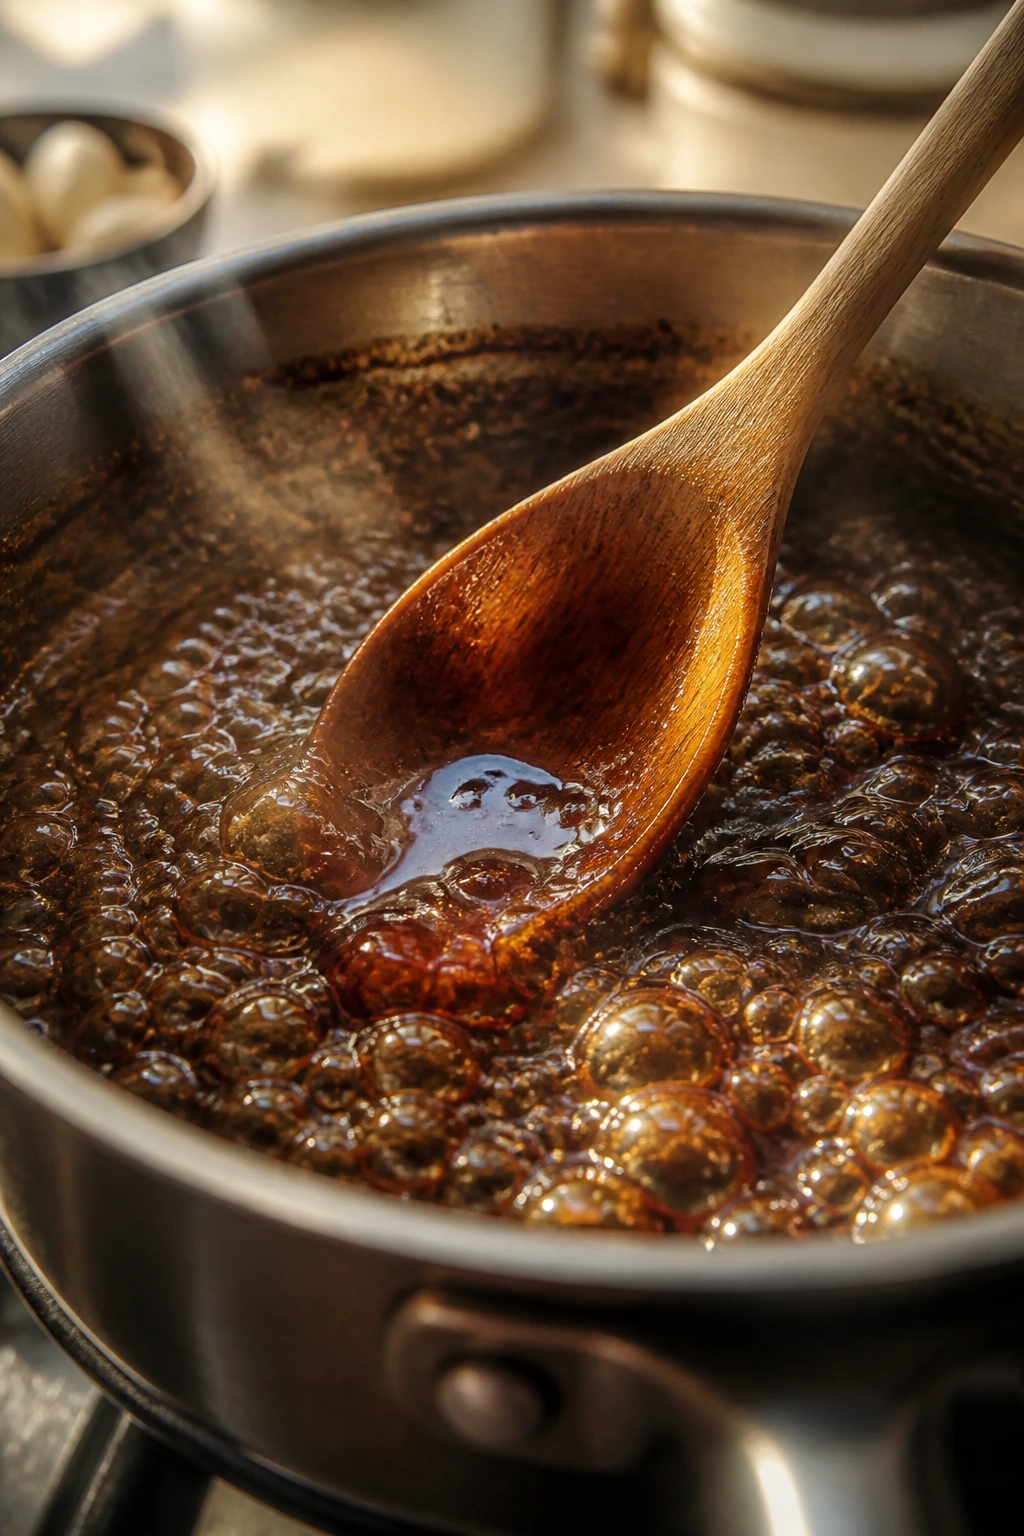
A sauce like this rewards a short cooking window. If you rush it with high heat, the sugar can darken too fast and the vinegar loses its edge. If you baby it on very low heat, it stays thin and a little dull.
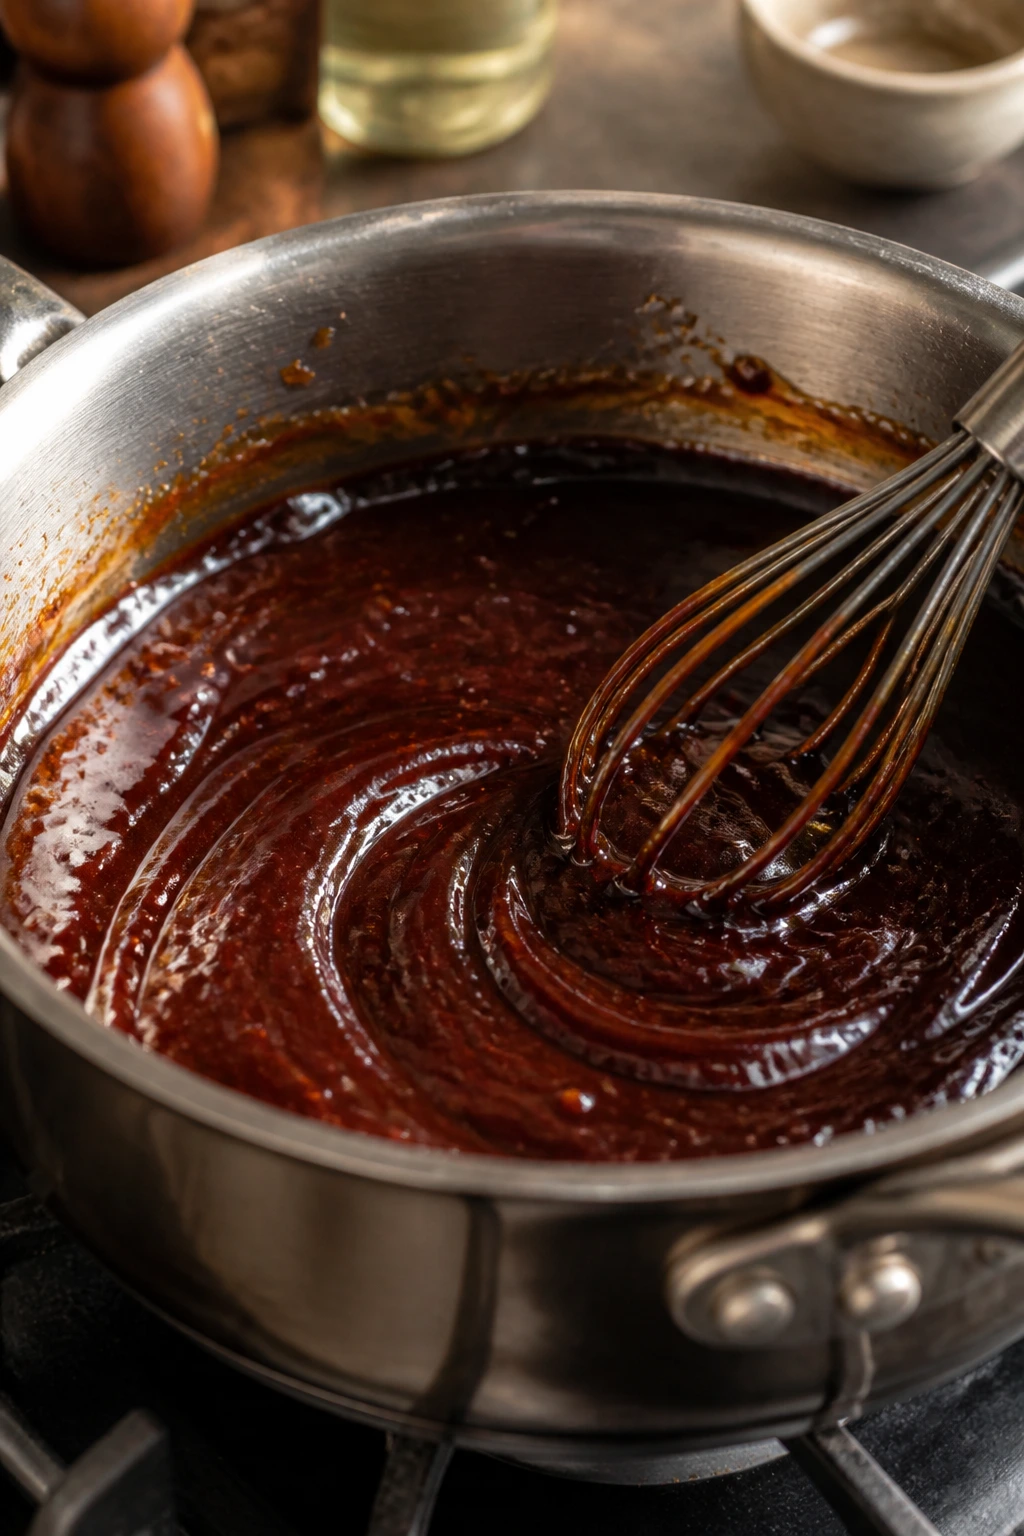
The sweet spot is a steady simmer. Not a roar. Not a lazy whisper either. You want the sauce to bubble around the edges, then thicken just enough to leave a trail when you drag a spoon through the pan.
Where This Sauce Comes From, and Why the Hybrid Works
Teriyaki literally points toward shine. That shine matters. In Japanese cooking, the idea is less about a fixed ingredient list and more about a glossy, seasoned surface on grilled or broiled food. Soy sauce gives depth, sugar helps it caramelize, and the finish should look almost varnished.
This sweet and sour teriyaki glaze borrows that logic and gives it a brighter edge. That is why it tastes so familiar on the first bite. The soy and ginger say teriyaki. The pineapple juice and rice vinegar bring a sharp, lively snap that keeps the sweetness from collapsing into sticky candy.
The teriyaki side of the story
A lot of homemade “teriyaki” sauces are really soy syrup with garlic. They brown fast and can taste flat after a minute on the tongue. The version here keeps the umami backbone, but the brown sugar and honey are not left alone to do all the work. They get support from fruit and acid, which changes the whole mood of the sauce.
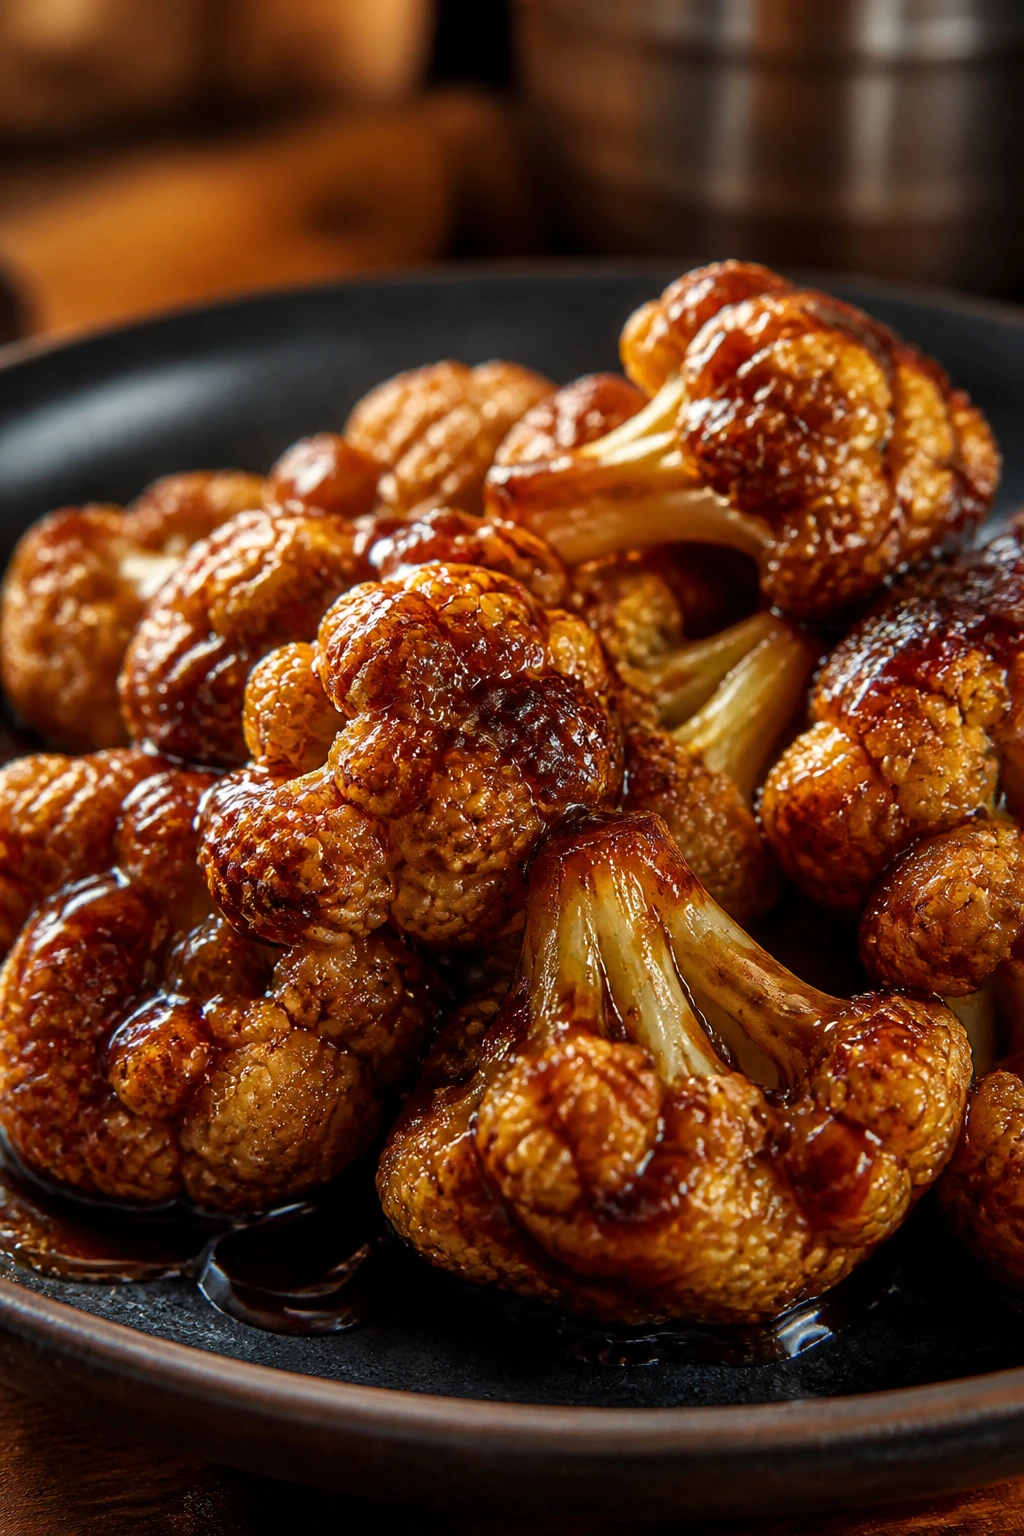
That matters most when the glaze is going onto food that already has its own flavor — salmon, tofu, roasted cauliflower, chicken thighs. Plain sweetness disappears there. A stronger balance stands up.
Why the sweet-sour turn makes it better
Pineapple juice does two things at once. It brings sweetness, yes, but it also adds a fruity tang that keeps the glaze bright even after the heat has done its work. Rice vinegar sharpens that effect without making the sauce smell harsh or pickled.
The result is a sauce that tastes complete. Not clever. Complete. You get salty soy on the front, a round middle from honey and brown sugar, then a clean finish that stops the whole thing from feeling heavy.
The Exact Ingredients for a Sticky, Balanced Glaze
For the Glaze:
- 1/2 cup low-sodium soy sauce
- 1/2 cup pineapple juice, 100% juice if possible
- 1/4 cup rice vinegar
- 1/4 cup packed light brown sugar
- 2 tablespoons honey
- 1 tablespoon ketchup
- 2 cloves garlic, finely minced
- 1 tablespoon fresh ginger, finely grated
- 1 teaspoon toasted sesame oil
- 1 tablespoon cornstarch
- 2 tablespoons cold water
Low-sodium soy sauce matters more than people think. The glaze reduces quickly, and salt concentrates as water evaporates. Use regular soy if that is what you have, but expect a harder edge and plan to taste carefully.
The pineapple juice is not there just for sweetness. It gives the glaze a fruit note that reads brighter than plain sugar alone. If the juice is pulpy, strain it before you start so the finished glaze stays smooth instead of gritty.
Ketchup is the ingredient some people side-eye until they taste the finished sauce. It adds a little body and a reddish glow that makes the glaze look more like the takeout sauces people remember from childhood dinners. One tablespoon is enough. More than that, and you start drifting into barbecue territory.
How Each Ingredient Does Its Part
Soy Sauce and Pineapple Juice
What to use: 1/2 cup low-sodium soy sauce and 1/2 cup pineapple juice.
Preparation: Measure both before you turn on the burner so the sauce can move fast once the sugar hits heat. If the pineapple juice has pulp, strain it first for a cleaner finish.
Substitutions: Tamari works cleanly if you need a gluten-free glaze. Coconut aminos can step in, but they are sweeter and lighter, so add a pinch of salt if the sauce tastes too soft.
Tips: Low-sodium soy keeps the final glaze from turning harsh after reduction. Regular soy can still work, but you have less room to maneuver once the cornstarch goes in.
Sweeteners and Sourness
What to use: 1/4 cup packed light brown sugar, 2 tablespoons honey, 1/4 cup rice vinegar, and 1 tablespoon ketchup.
Preparation: Pack the brown sugar firmly so the quantity is accurate. Keep the vinegar separate until you measure it; too much acid can sneak up on you in a sauce this small.
Substitutions: Maple syrup can replace the honey, though the flavor gets a little darker. Apple cider vinegar works if rice vinegar is missing, but it is sharper and less rounded.
Tips: Taste the sauce before thickening. It should seem a touch too sharp and slightly too sweet at the same time — the simmer will pull those edges together.
Aromatics and Finish
What to use: 2 cloves garlic, finely minced; 1 tablespoon fresh ginger, finely grated; 1 teaspoon toasted sesame oil.
Preparation: Mince the garlic small enough that it softens quickly in the simmer. Grate the ginger on a microplane or the fine side of a box grater so it melts into the sauce.
Substitutions: Garlic paste works if you are in a hurry. Ground ginger can stand in, but use only 1/2 teaspoon because it reads warmer and more blunt than fresh ginger.
Tips: Sesame oil belongs at the end or very near the end. Heat flattens its nutty aroma, and that tiny smell is part of what makes the glaze feel finished.
Thickener
What to use: 1 tablespoon cornstarch and 2 tablespoons cold water.
Preparation: Stir them together in a small bowl until the mixture looks smooth and milky. No dry pockets. No lumps.
Substitutions: Arrowroot works in the same amount and gives a slightly clearer gloss. Potato starch can also work, but it thickens fast, so watch the pan closely.
Tips: Add the slurry to a simmering sauce, not a boiling one. The change should happen in seconds; if the pan is angry and spitting, the thickener can clump before it disperses.
The Few Tools You Actually Need
-
Small saucepan, 1 to 1.5 quart: A heavy-bottomed pan helps the sugar heat evenly and keeps hot spots from burning the glaze.
-
Whisk: This is what keeps the cornstarch slurry smooth and the final sauce glossy.
-
Microplane or fine grater: Best for ginger. A knife works for garlic, but ginger wants a finer texture.
-
Measuring cups and spoons: Small quantities matter here. Eyeballing the vinegar or cornstarch can throw off the balance fast.
-
Small bowl: Use it for the slurry so the cornstarch is fully dissolved before it hits the pan.
-
Heatproof spoon or spatula: Handy for stirring once the sauce thickens and starts to cling.
-
Fine-mesh strainer, optional: Useful if you want the smoothest possible glaze, especially if your ginger is fibrous or your juice is pulpy.
How to Cook Sweet and Sour Teriyaki Glaze
Build the Base
-
In a small saucepan, whisk together the soy sauce, pineapple juice, rice vinegar, brown sugar, honey, ketchup, garlic, and ginger until the sugar starts dissolving.
-
Set the pan over medium heat and bring the mixture to a steady simmer. Do not blast it over high heat — the sugar can darken too fast and the vinegar edge can turn sharp and rough.
-
Simmer for 2 minutes, whisking once or twice, until the sauce smells rounder and the raw vinegar bite has softened a little.
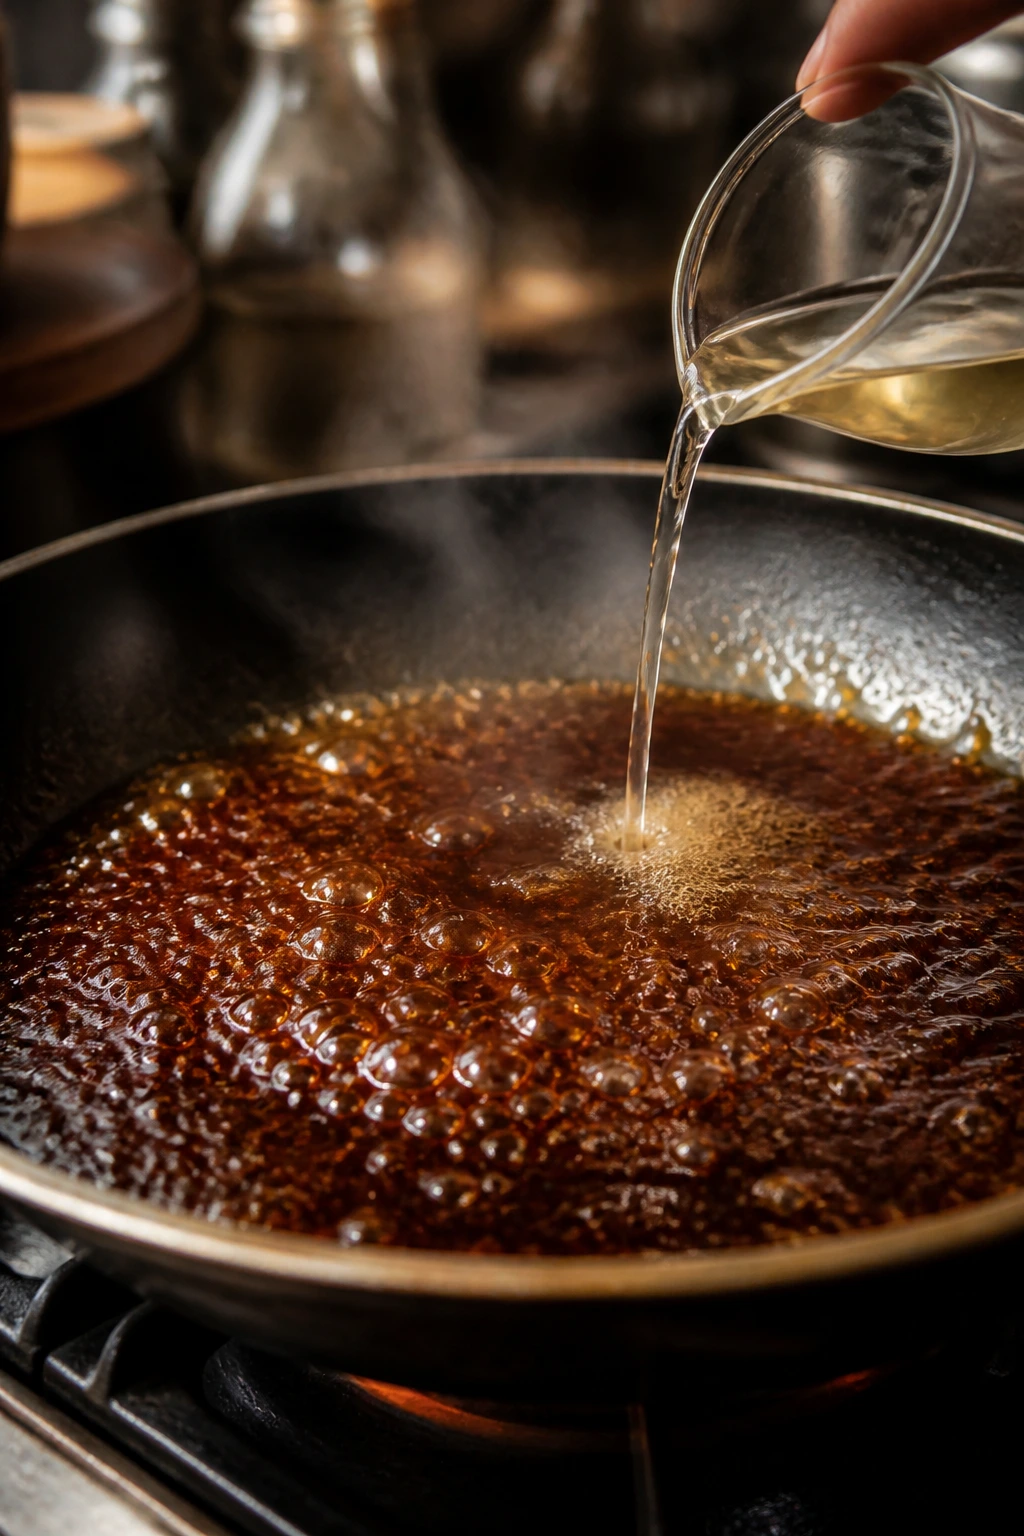
Thicken the Glaze
-
In a small bowl, stir the cornstarch and cold water until the slurry is completely smooth. If it looks pasty or dry, keep whisking for another few seconds.
-
Whisk the slurry into the simmering sauce in a thin stream. Keep whisking for 30 to 60 seconds until the glaze turns shiny and starts to coat the back of a spoon in a thin, even layer. For a thinner dipping sauce, stop closer to 30 seconds; for a brush-on glaze, go the full minute.
Finish and Taste
- Remove the pan from the heat and stir in the toasted sesame oil. Let the glaze cool for 5 minutes, then taste a spoonful. If it feels too thick, whisk in 1 teaspoon of warm water at a time. If it tastes too sharp, it needs another minute of rest, not more sugar.
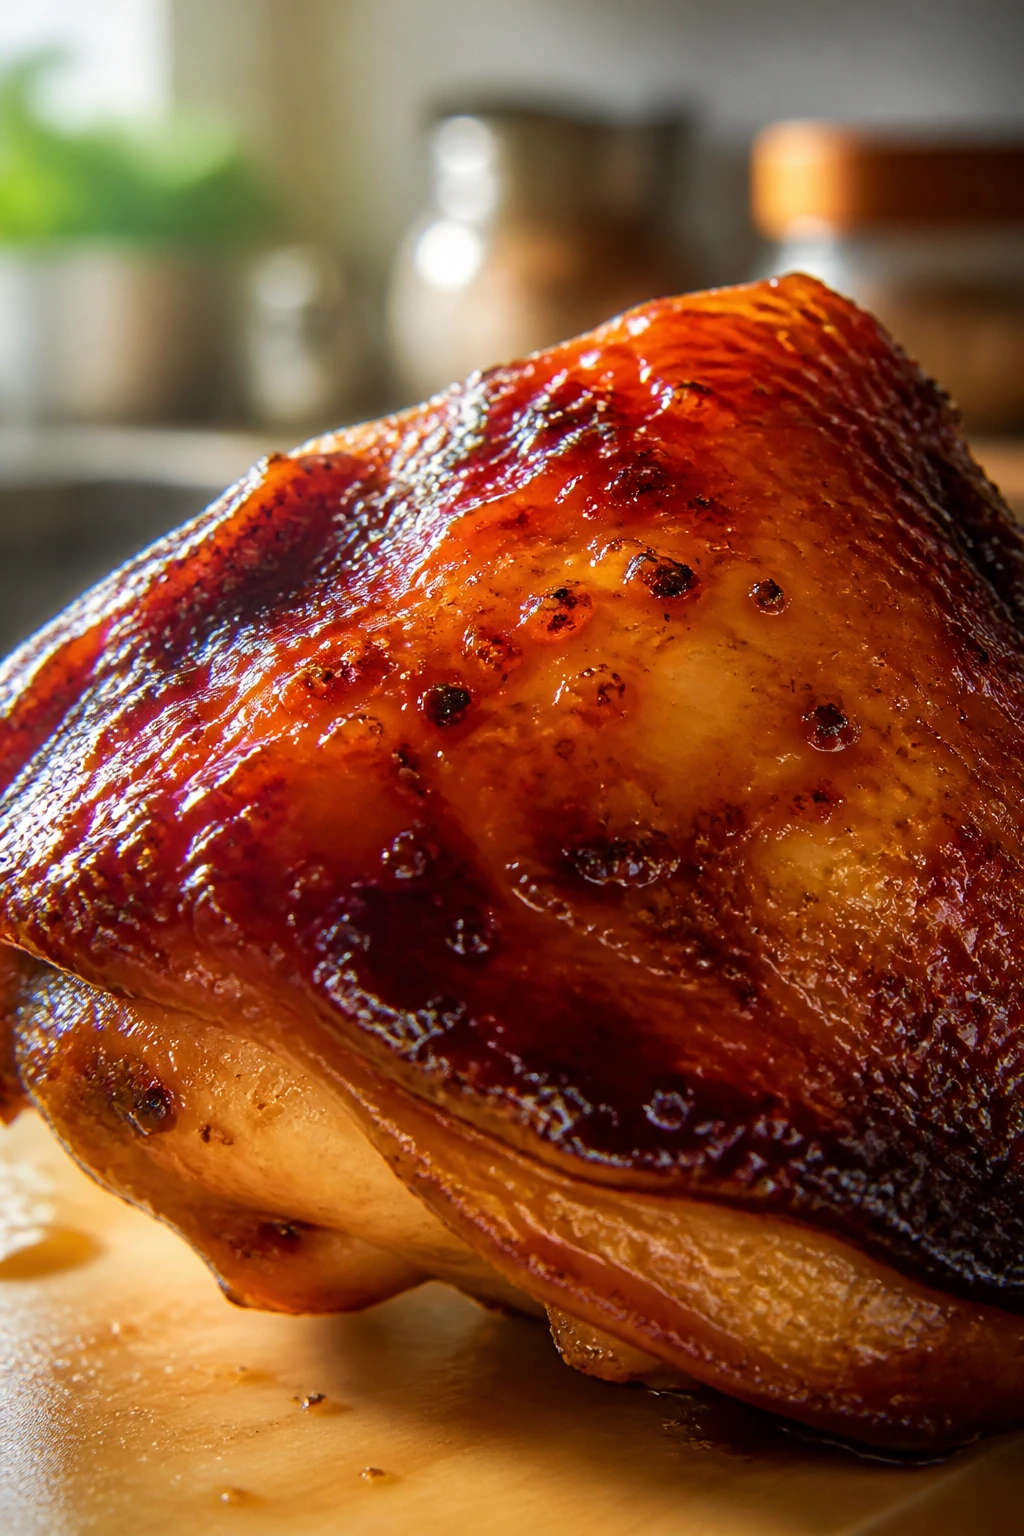
The biggest clue is visual. The glaze should look glossy, not cloudy. It should move like warm honey, not run like broth. Once it reaches that stage, stop. It will thicken a bit more as it cools, and that is the behavior you want.
How to Brush, Toss, and Plate It
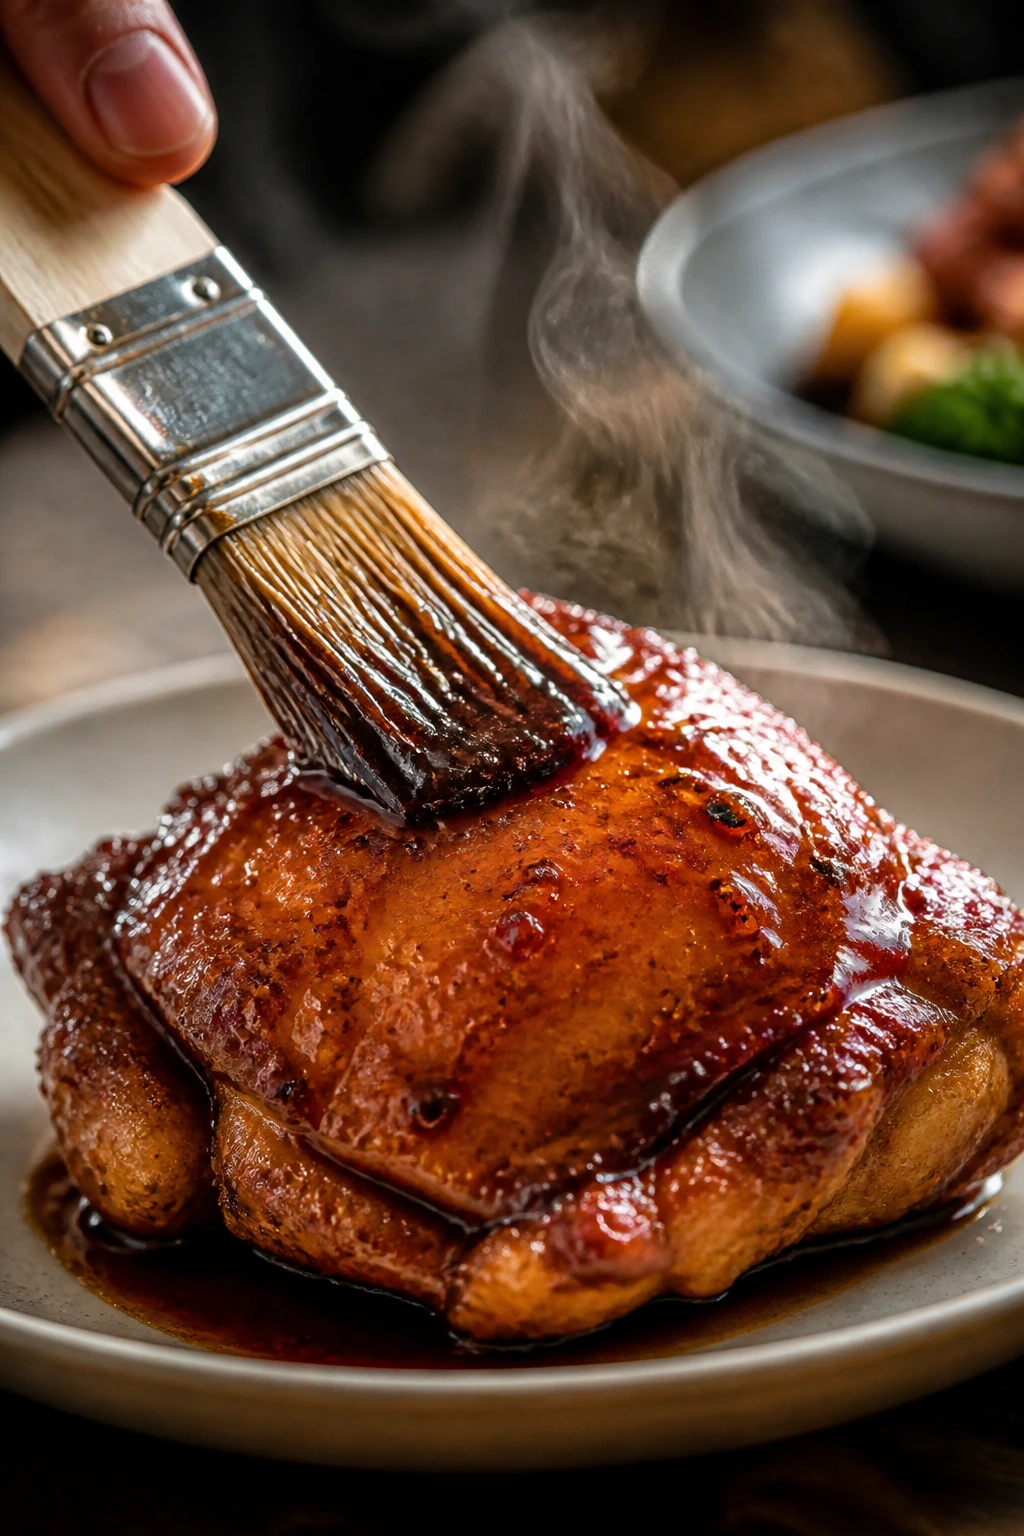
Presentation: Brush the glaze onto hot chicken thighs, salmon, or tofu while the food is still steaming. That first coat sets fast and gives you the cleanest shine. If you spoon it over rice, let the glaze fall on the protein first, then drip a little around the edges of the plate — messy in a controlled way looks better than dumping it in the center.
Accompaniments: Steamed jasmine rice is the obvious partner, and for once obvious is correct. Add blistered broccoli, snap peas, green beans, or shredded cabbage for crunch. If you want a fuller plate, serve it with sesame noodles or a quick cucumber salad with rice vinegar and salt.
Portions: Plan on about 2 tablespoons of glaze per person for coating and 1 tablespoon if you’re serving it as a dip. One batch handles roughly 1 1/2 pounds of chicken or tofu, or 4 to 5 cups of vegetables, depending on how heavy-handed you are with the brush.
Beverage Pairing: Unsweetened iced green tea cuts the sweetness cleanly. A light lager works if dinner wants something colder and a little crisp. Sparkling water with lime keeps the palate fresh without fighting the sauce.
Small Adjustments That Change the Finish
Flavor Enhancement: A teaspoon of rice vinegar stirred in at the end makes the sour note pop again after cooking. That tiny hit can wake the glaze up if it tastes a little sleepy once it cools.
Texture Trick: If you want a thinner sauce for noodles or rice bowls, whisk in 1 to 2 teaspoons of warm water off the heat. If you want a thicker lacquer for grilled meat, let it bubble for the full minute after the slurry goes in, then stop early rather than late.
Customization: A spoonful of chili garlic sauce gives the glaze heat and a little roughness at the edges, which is nice on tofu and shrimp. Orange zest brings a brighter finish, while a pinch of five-spice pushes the flavor toward a deeper takeout-style profile.
Serving Suggestions: Finish with sliced scallions, toasted sesame seeds, or a few drops of chili oil. Those little extras matter because the glaze itself is dark and shiny; it benefits from something green, pale, or red on top so the plate doesn’t look one-note.
Mistakes That Make It Too Thin, Too Salty, or Burnt
-
Boiling it hard: The sauce can go from glossy to scorched fast if the burner is too high. The symptom is a bitter, slightly burnt smell that shows up before the glaze has thickened enough. Keep the heat at medium and accept a gentler simmer.
-
Adding dry cornstarch straight into the pan: This is the fastest way to get little floury-looking lumps that never fully disappear. Mix the cornstarch with cold water first, then whisk it in while the sauce is bubbling.
-
Reducing it past the useful point: A glaze that looks perfect in the pan can become glue once it cools. If the spoon leaves thick tracks and the sauce starts to mound instead of flowing, pull it off the heat immediately and let the residual heat do the rest.
-
Using regular soy sauce without adjusting anything else: The finished glaze can end up too salty once it reduces. If regular soy is all you have, back off the ketchup slightly or add a splash more pineapple juice so the salt does not dominate.
-
Brushing it on too early over direct heat: Sugar burns. That is the rule. If you coat chicken or vegetables too soon on a grill or under a broiler, the glaze can blacken at the edges before the food is done. Save the final brush for the last 2 to 3 minutes, or glaze after cooking.
-
Skipping the rest time: Right off the stove, the glaze can seem thinner than it really is. Five minutes later it has settled into the texture you actually wanted. Trust the cooling stage; it matters more than people think.
Variations That Keep the Same Personality
Spicy Chili Snap
Add 1 to 2 teaspoons of chili garlic sauce with the other liquids. The sauce keeps its sweet-sour backbone, but the heat gives it a more awake finish, which works especially well on chicken wings or tofu cubes.
Orange-Zest Shine
Replace 2 tablespoons of the pineapple juice with fresh orange juice and stir in 1 teaspoon of finely grated orange zest at the end. The result is a lighter, brighter glaze with a citrus top note that plays nicely with salmon and shrimp.
Gluten-Free Tamari Version
Swap the soy sauce for an equal amount of tamari and make sure your ketchup is certified gluten-free if that matters in your kitchen. The flavor stays close, though tamari usually tastes a touch rounder and less sharp.
Garlic-Forward Weeknight Batch
Double the garlic to 4 cloves and keep the rest the same. This version gets more savory and less sweet, which is a good move when you want it to feel closer to a dinner sauce than a dip.
Lower-Sugar Pour
Reduce the brown sugar to 2 tablespoons and the honey to 1 tablespoon, then keep the pineapple juice as written. The glaze will be a little looser and less sticky, but it still works well over vegetables and rice bowls where you want the sauce to stay lighter.
Storage, Reheating, and Make-Ahead Notes
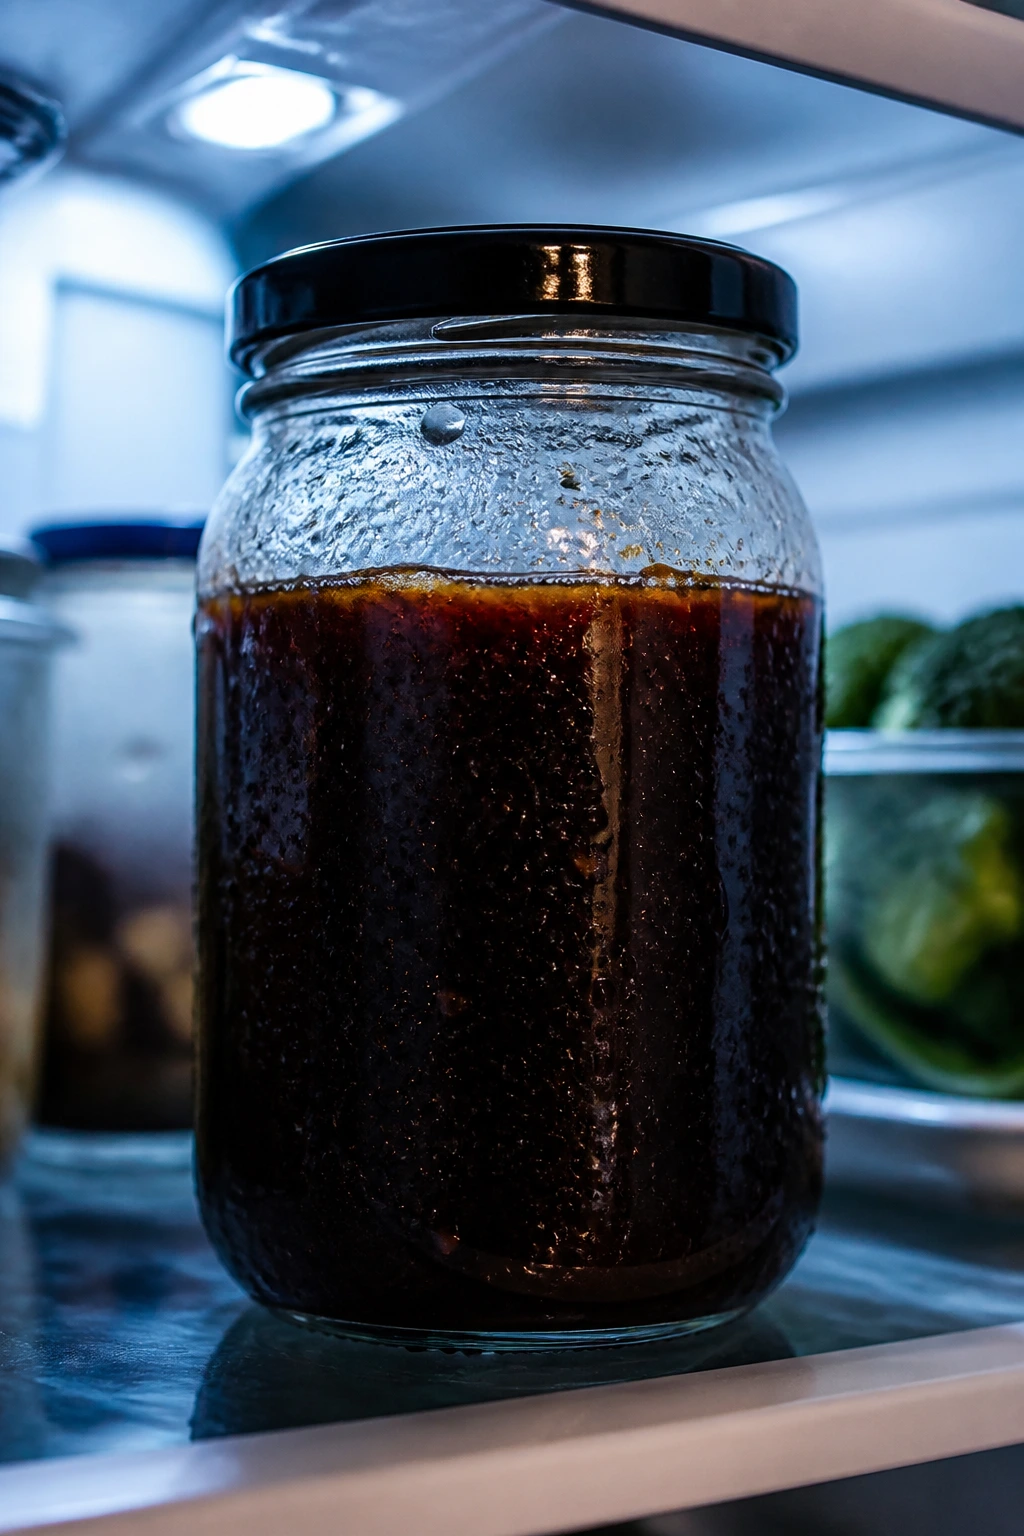
In the Fridge
Store the cooled glaze in an airtight jar or container for up to 1 week. It will thicken as it chills, sometimes to the point where it looks almost set. That is normal. A quick stir after reheating brings it right back.
In the Freezer
Freeze the glaze for up to 2 months in a small freezer-safe container. I like to leave a little headspace because sauce expands when frozen. Thaw it overnight in the fridge, then warm it gently before using.
Reheating Without Breaking the Shine
Warm the glaze in a small saucepan over low heat, stirring often. If it feels too tight, add 1 teaspoon of water at a time until it loosens. The microwave works in 15-second bursts, but stir between each burst or the edges can overheat while the center stays cold.
Making It Ahead
You can make this glaze 2 to 3 days before dinner and keep it chilled until you need it. In fact, I think it tastes a little calmer after sitting overnight; the garlic and ginger settle into the soy instead of shouting over it. If you plan to brush it on grilled food, make it ahead, rewarm it, and keep a separate spoon for the cooked batch so nothing raw touches the finished sauce.
Questions Home Cooks Ask Before They Start
Can I make this without pineapple juice?
Yes. Orange juice gives a brighter citrus note, while apple juice makes the glaze softer and a little rounder. If you swap the juice, keep the same amount of rice vinegar so the sauce does not drift too sweet.
Do I have to use ketchup?
No, but it does more than people expect. It adds color and a bit of body. If you leave it out, add 1 extra tablespoon of pineapple juice and a teaspoon of brown sugar so the glaze does not taste flat.
Can this work as a marinade?
Not in the exact finished form. Because it contains cornstarch, it is better as a glaze or finishing sauce. If you want a marinade, make the sauce base first, leave out the slurry, marinate the food, then boil the unused liquid before using it as a glaze.
Why did my glaze get lumpy?
The cornstarch probably went in too fast, or the sauce was boiling too hard when you added it. Whisking the slurry in a thin stream into a gentle simmer usually fixes the problem. If lumps remain, strain the sauce through a fine-mesh sieve.
Can I use this on the grill?
Yes, but wait until the last few minutes. The sugar in the sauce can scorch on direct flame if it goes on too early. Brush lightly first, then add a second coat only after the food has mostly cooked.
How do I make it thicker without making it gummy?
Keep the simmer going for 15 to 20 seconds after the glaze starts to turn shiny, then stop and let it rest. If you keep reducing forever, the starch tightens up and the sauce turns pasty once it cools.
Is there a way to make it less salty without losing flavor?
Use low-sodium soy sauce from the start, then taste after thickening before you change anything else. If it still reads sharp, add 1 teaspoon more pineapple juice or a splash of water, not more sugar. Sugar covers salt for a minute; it does not fix the balance.
A Sticky Finish Worth Repeating
There is a reason this kind of glaze earns a permanent spot in the kitchen. It does not ask much. A few pantry staples, one saucepan, five minutes on the stove, and you end up with something that can pull a plain tray of vegetables or a pan of chicken into shape fast.
I keep coming back to sauces like this because they solve a real dinner problem. Food can be cooked properly and still taste unfinished. A brush of sweet, sour, salty glaze fixes that without turning the meal into a project.
Make it once, and you’ll probably start keeping rice vinegar and pineapple juice on hand without thinking about it. That’s usually how these things go — one sticky spoonful, then suddenly you’ve got a sauce you reach for before you even know what’s for dinner.
Sweet and Sour Teriyaki Glaze — Recipe Card

Recipe Name: Sweet and Sour Teriyaki Glaze
Description: A glossy, sticky glaze made with soy sauce, pineapple juice, rice vinegar, brown sugar, honey, garlic, ginger, ketchup, and sesame oil. It clings to chicken, salmon, tofu, and vegetables without tasting heavy.
Prep Time: 10 minutes
Cook Time: 5 minutes
Total Time: 15 minutes
Course: Sauce, Condiment
Cuisine: Asian-Inspired
Servings: Makes about 1 cup, enough for 4 to 6 servings
Calories: About 45 kcal per 2-tablespoon serving
Ingredients
For the Glaze:
- 1/2 cup low-sodium soy sauce
- 1/2 cup pineapple juice, 100% juice if possible
- 1/4 cup rice vinegar
- 1/4 cup packed light brown sugar
- 2 tablespoons honey
- 1 tablespoon ketchup
- 2 cloves garlic, finely minced
- 1 tablespoon fresh ginger, finely grated
- 1 teaspoon toasted sesame oil
- 1 tablespoon cornstarch
- 2 tablespoons cold water
Instructions
-
Whisk the soy sauce, pineapple juice, rice vinegar, brown sugar, honey, ketchup, garlic, and ginger together in a small saucepan.
-
Set the pan over medium heat and bring the mixture to a steady simmer, whisking once or twice until the sugar dissolves.
-
In a small bowl, stir the cornstarch and cold water until smooth.
-
Whisk the slurry into the simmering sauce in a thin stream and cook for 30 to 60 seconds, until the glaze turns glossy and coats a spoon.
-
Remove from the heat and stir in the toasted sesame oil.
-
Let the glaze cool for 5 minutes before brushing, tossing, or serving.
Notes: For a thinner dipping sauce, stop cooking as soon as the glaze thickens lightly. For a thicker brush-on glaze, simmer the slurry for the full 60 seconds, then let it rest so it finishes tightening as it cools.